HUSKER HENS FARMS
I began this adventure in late march of 2011. A trip to TSC found me returning home with 8 little chicks. I used a cardboard box for a brooder and started to plan my coop. Meanwhile another trip to TSC 2 weeks later found me going home with 4 more chicks. I figured I would probably have some roos and I wanted to make sure I had at least 8 hens. I spent the next 7 weeks working weekends and evenings when I could find some free time. I got the coop finished enough to move them out at 7 weeks old. I am still adding things to the coop and run and I am not sure when It will be totally finished, probably not till next spring some time. I spent a lot of time on the farm as a kid and wanted to bring a little farm to the city.I will post some pics of the coop construction and update as I continue to add new stuff.

The adventure begins.
First weekend of work.
End of weekend number 2.
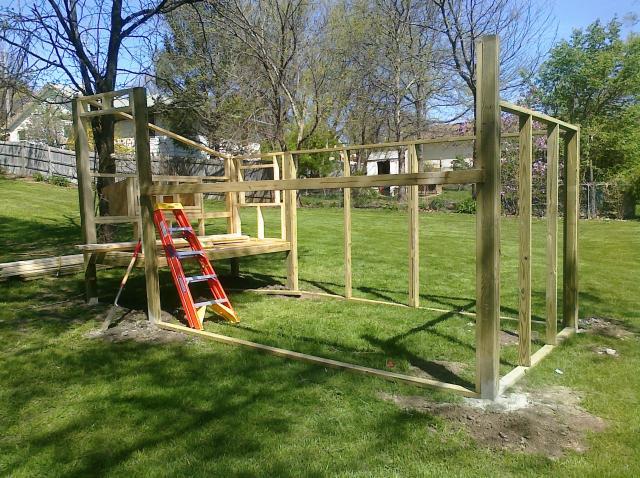
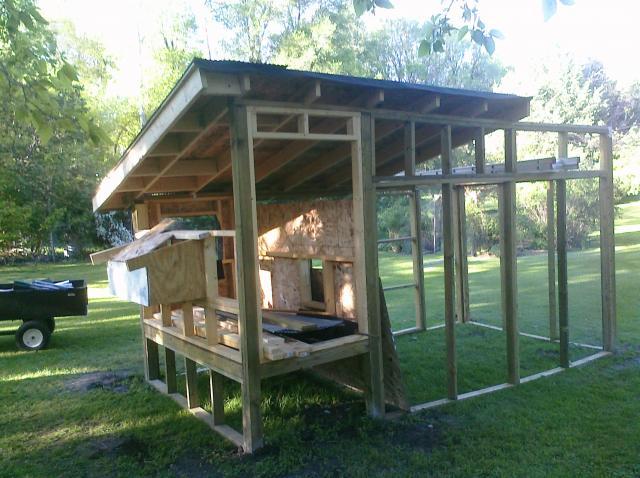
Weekend 3 starting to put up rafters. I got some framing done during the week.
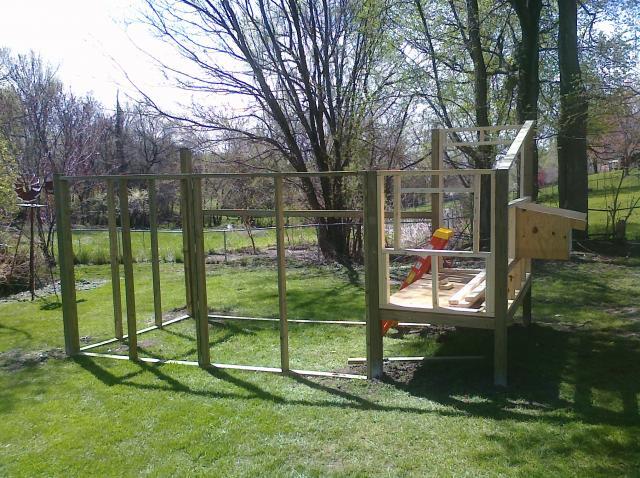
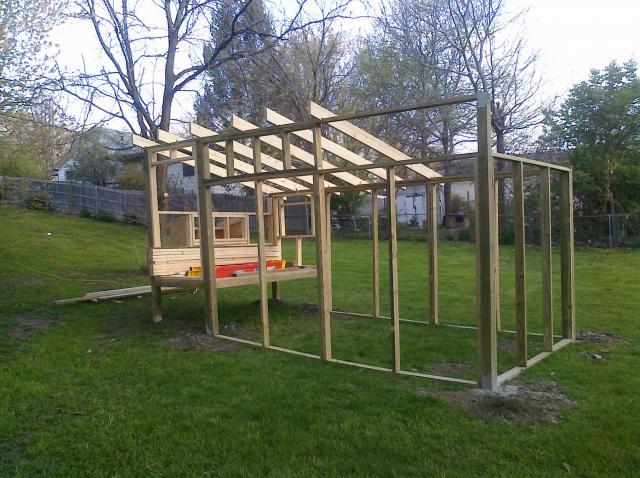
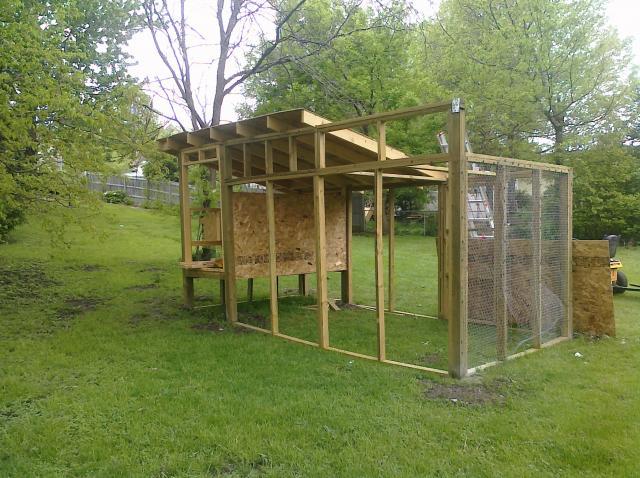
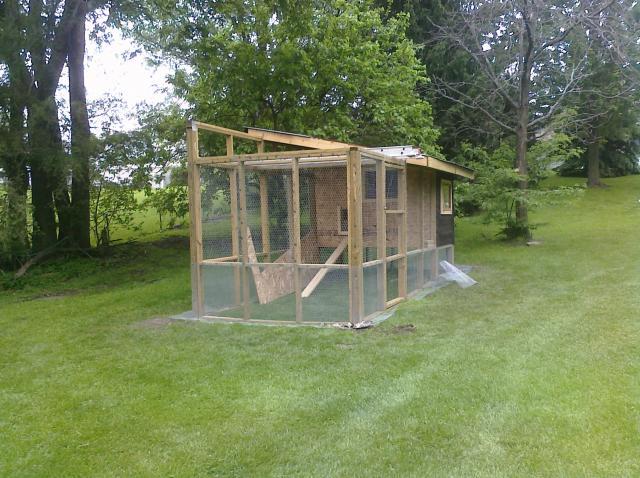
Starting to get an idea of what it will look like. Overall size is 16' x 8'. Coop will be 4' x 8' . It will be 2' off the ground.
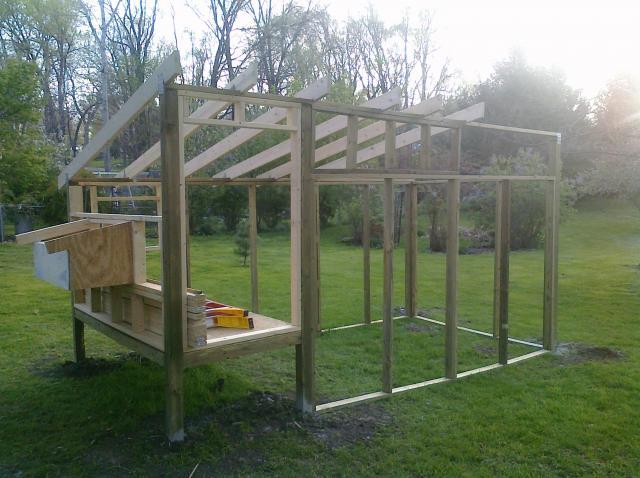
Starting to put the roof on. The roof will cover 6' of the run and overhang 1' all the way around. I will probably cover the rest of the run later.
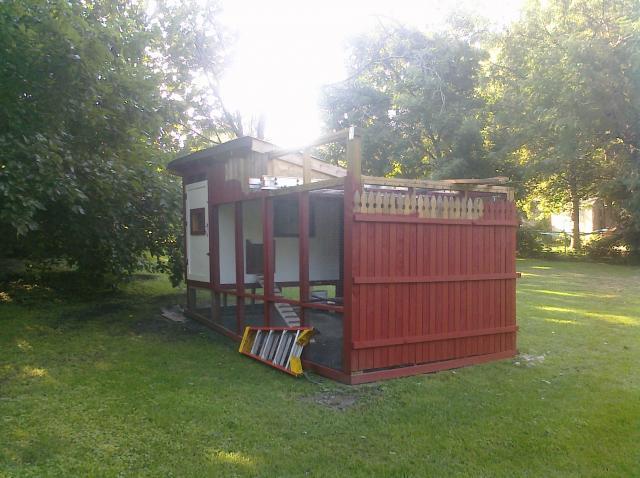
view from the south side. started putting up some wire while working on the roof. I believe this was the 4th weekend of the project.
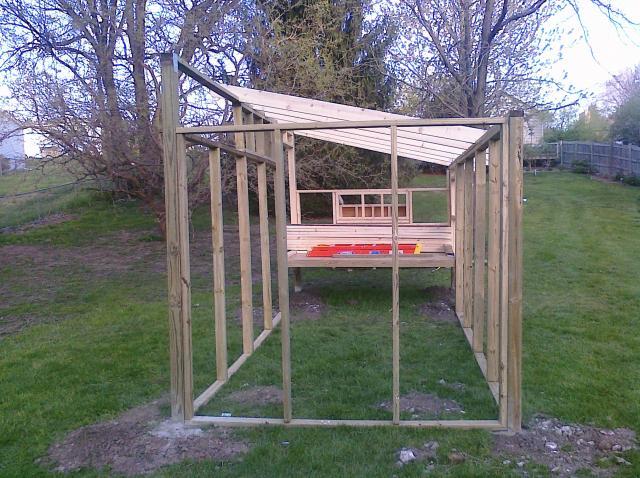
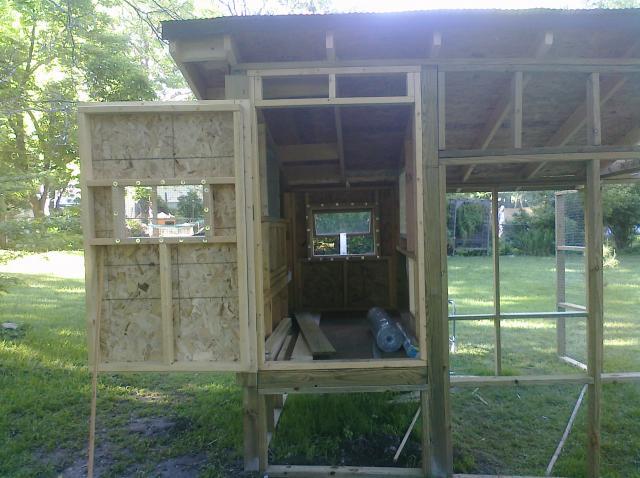
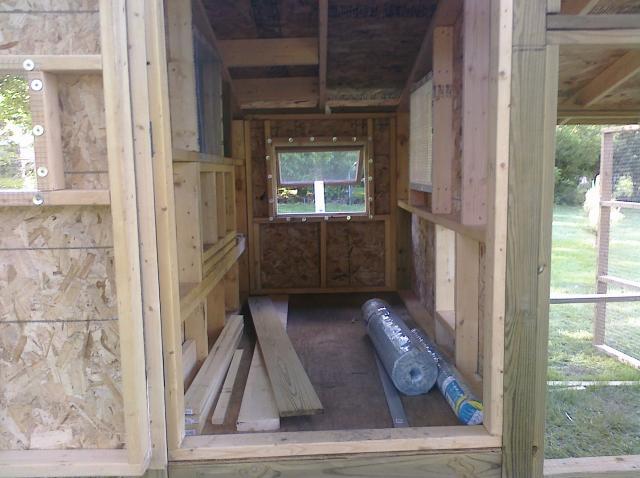
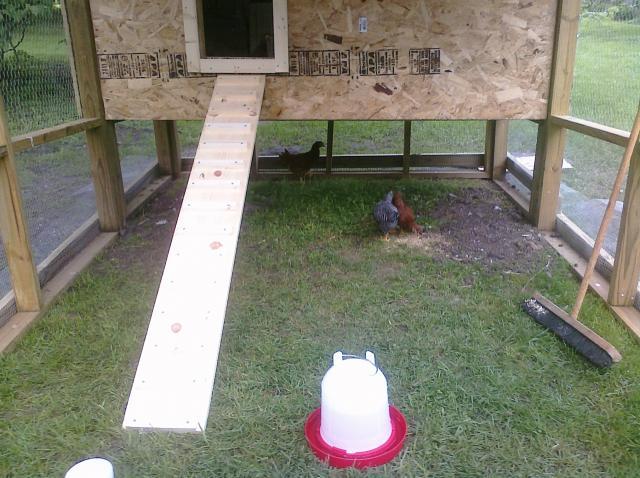
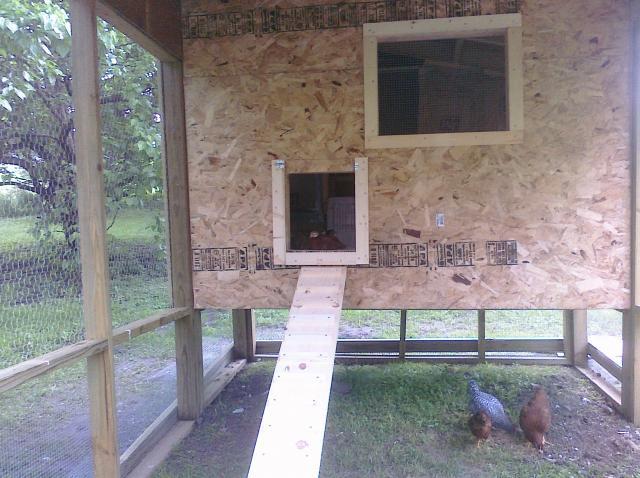
View from the north side of coop looking south. You can see where the nesting boxes will be. I built them in the garage one evening when it was raining and installed them in the rough opening i had built. I wasn't taking pics from the start so I don't have any pics of them being built. There are 3 nesting boxes.
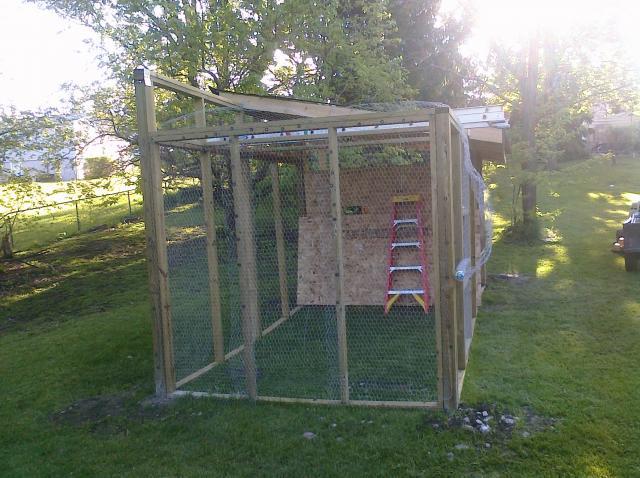
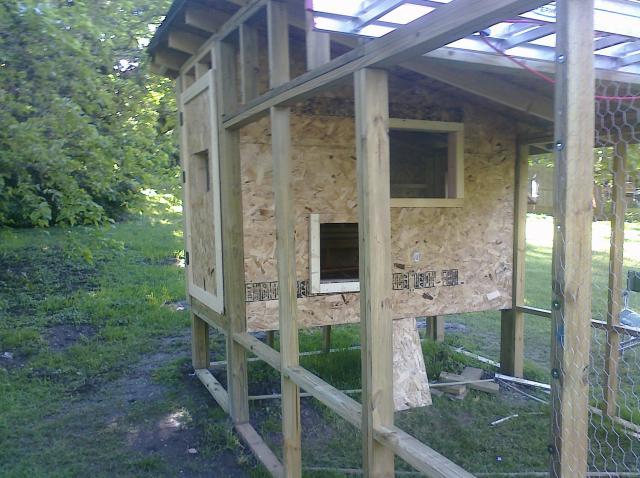
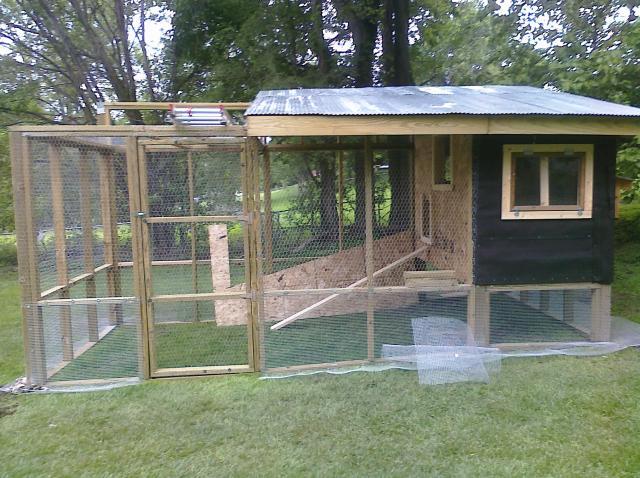
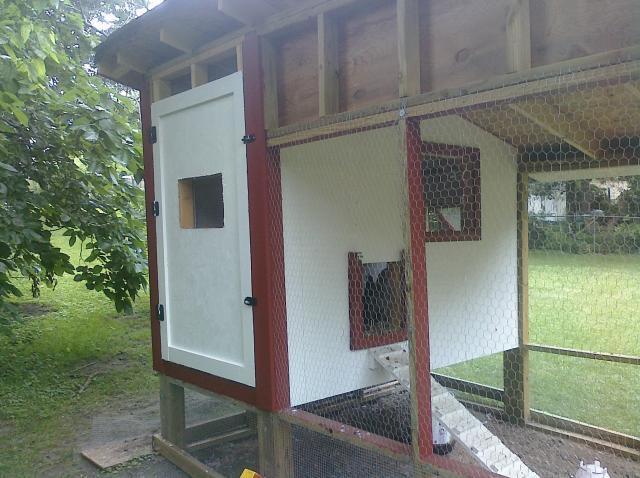
View from the east. More wire going on. Bottom 2' will be hardware cloth with a 1' apron all the way around enclosure.
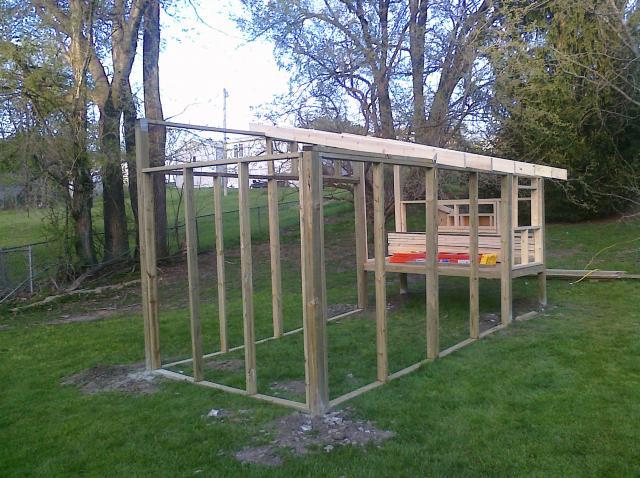
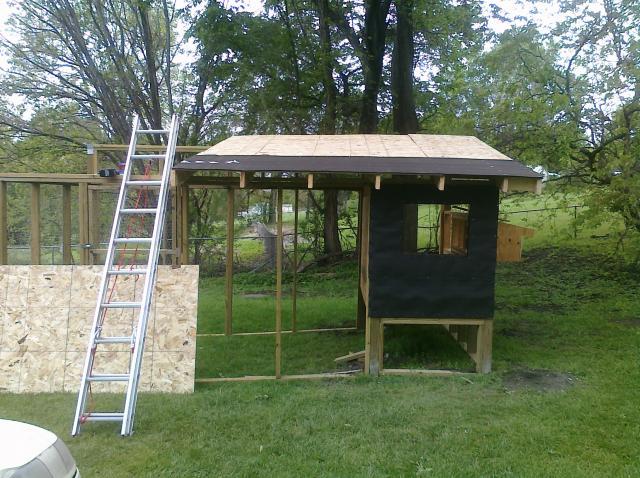
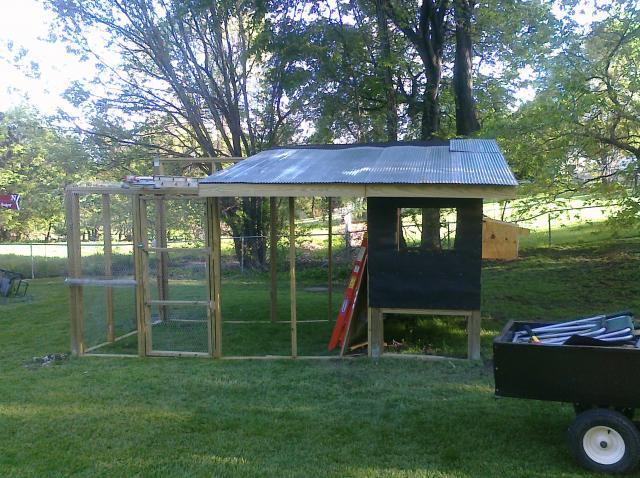
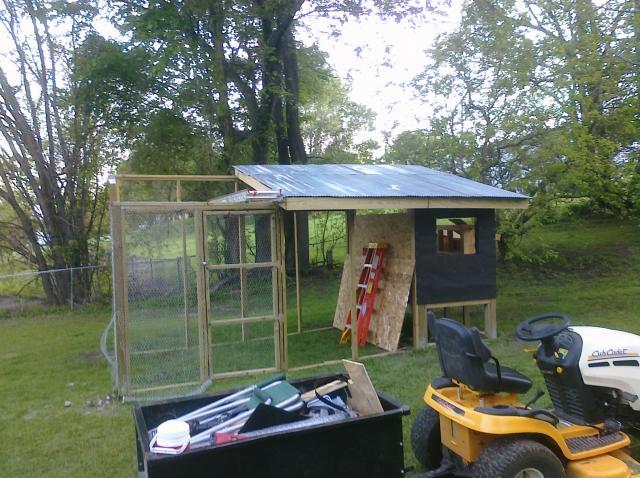
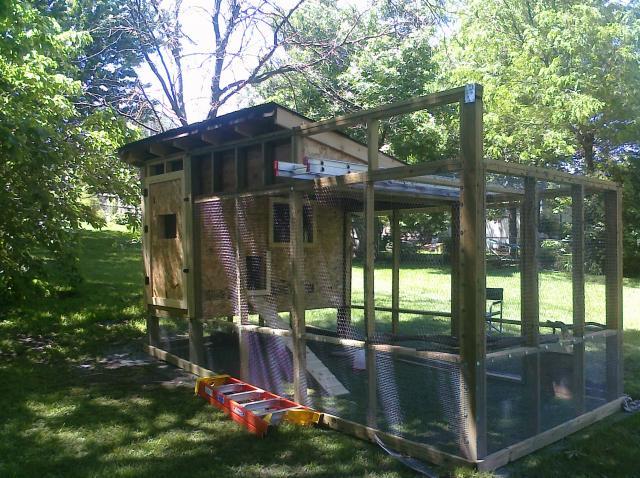
Roof all installed. I got the tin for free from a friend who was getting rid of it. I like free stuff. Really starting to take shape.
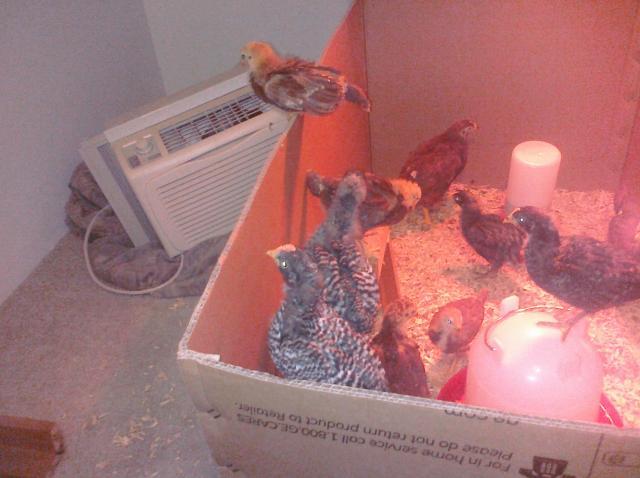
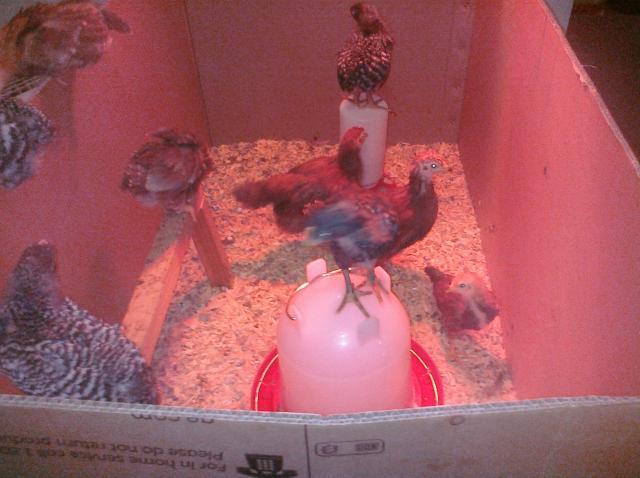
I better get busy, they are starting to outgrow the brooder box. They like to jump out and wander around.
I can't believe how much they have grown in five weeks.
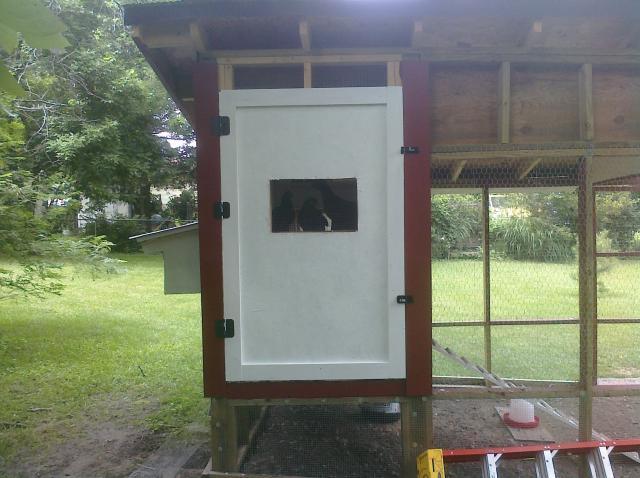
South side of coop, this will be main access to coop. Door is 32x60.
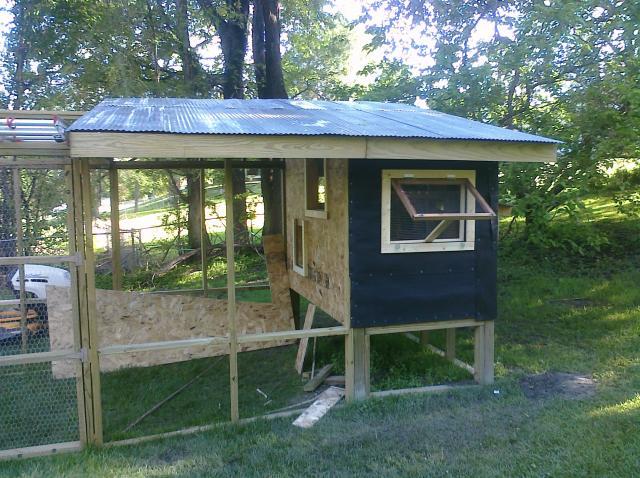
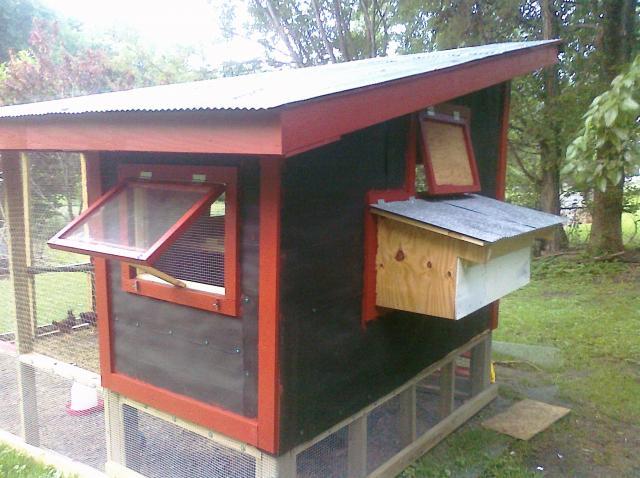
Got my first window built and installed. It is made of 2x2 cedar mitered and routed so that the plexiglass will fit inside. There are stops built into the window frame which will be caulked and covered with foam insulation to seal out drafts. This is on the northside of coop. Inside is covered with hardware cloth.
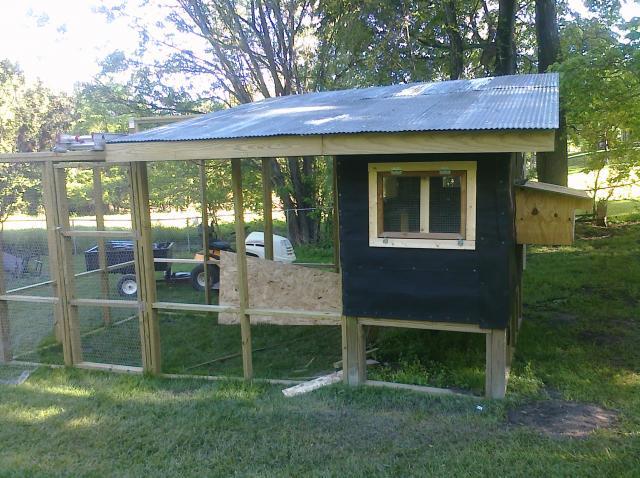
Same view with window closed.
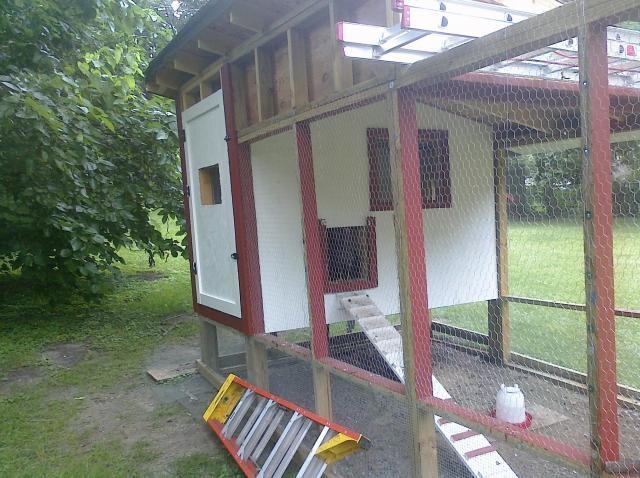
Going to town on the wire installation. I need to get it finished enough to move the chicks in soon.
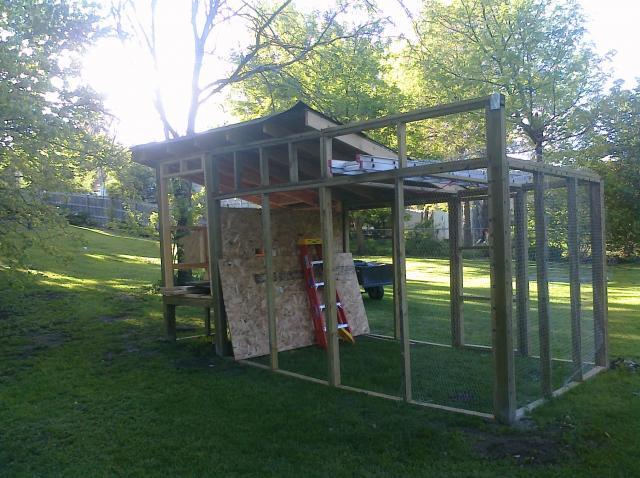
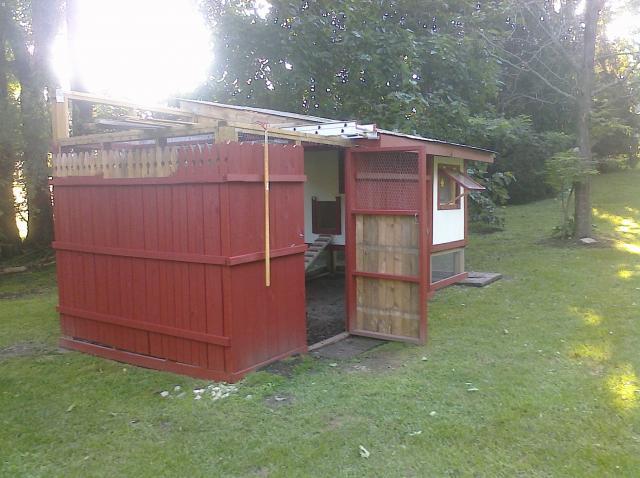
Wire all installed. I used washers and screws to install the hardware cloth and chicken wire. There will be trim installed over at a later time. I wish I had painted before installing the wire, would have been much easier to paint.
Weekend number 7, finally done enough for moving day. Too bad the grass won't last long in the run. I think it took about 2 weeks for it to be all destroyed.
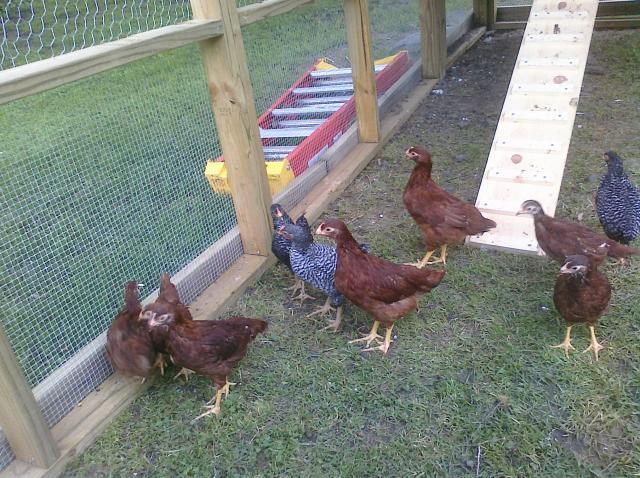
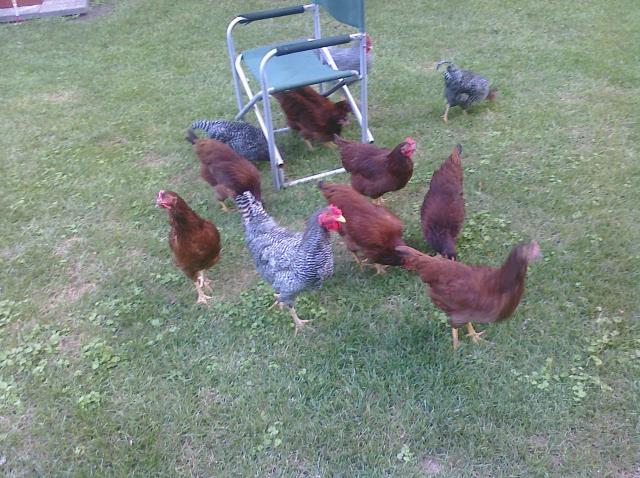
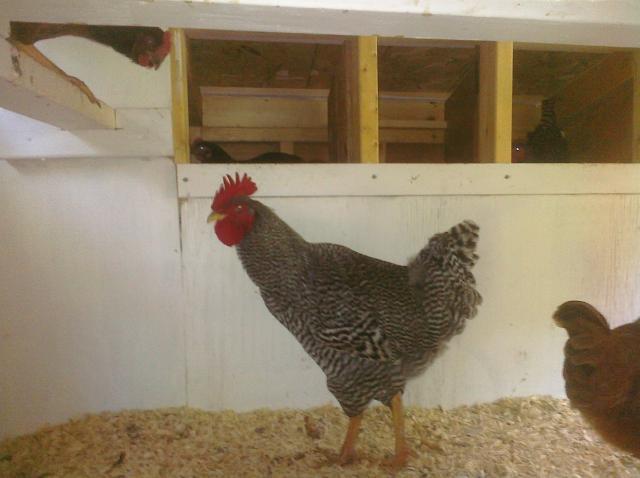
Some more of the new residents. 8 production reds, 2 barred rocks and 2 domeniques.
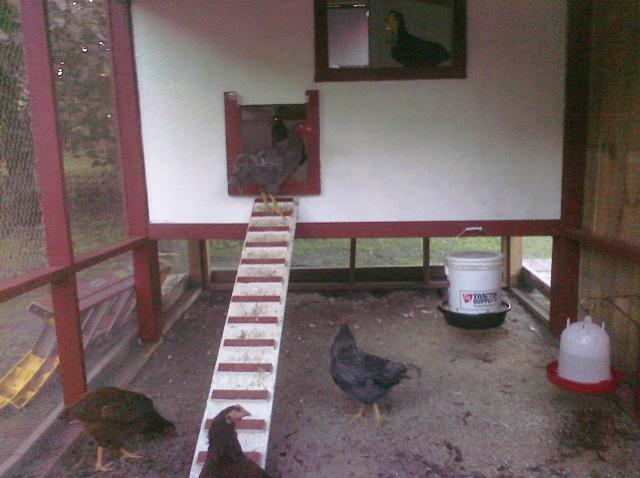
Inside view of coop and roosts, you can see the recycled plywood that I used a lot of in building this coop. Luv that free stuff.
My chair for taking breaks. You can see the roosts I put in the run for them, old tree branches. I used the left over roofing felt to cover the osb board I used to side the coop. I wasn't sure what I was going to do for siding at this point in time.
They are enjoying their new home, glad to be out of the cardboard box.
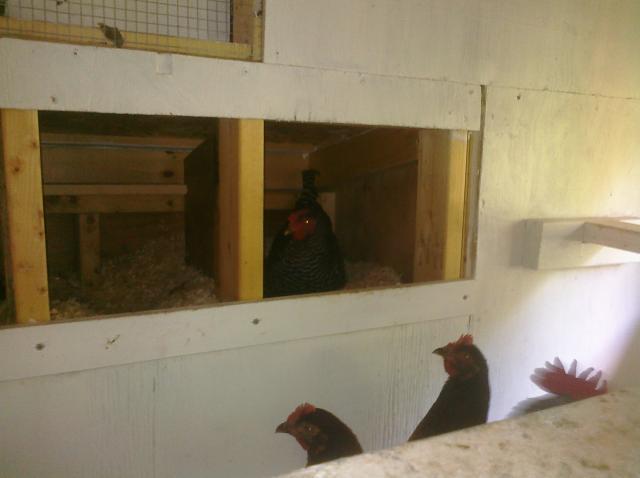
Better view of nesting boxes. Roofed and ready for use. More of that recycled plywood. Also got some trim put up and painted.
Better view of boxes and trim work going on.
I am well into week 8 or 9 not sure they were starting to blend together by now.
First time outside of the run. They did pretty well.
A little paint, sure does make things look better. The chickens were watching me paint from the roost.
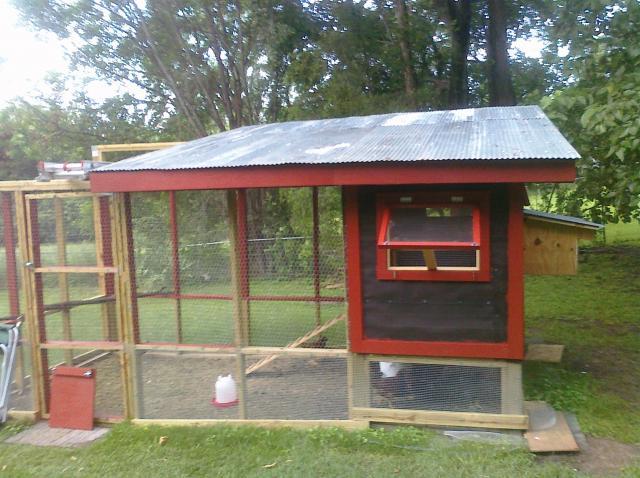
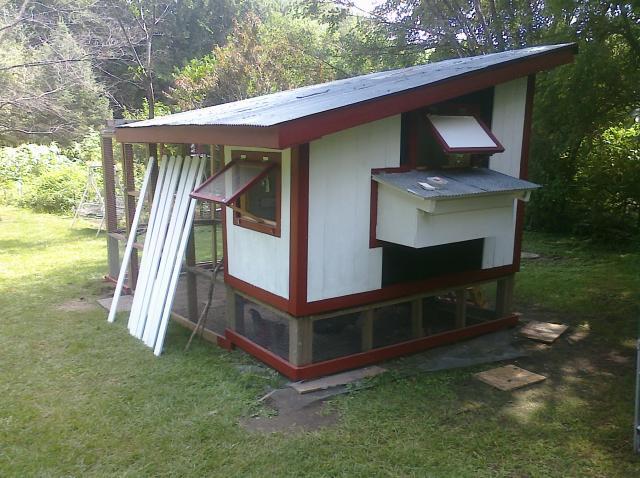
I got some free fence panels, so I took them apart, painted and used them for siding. I like the way it turned out. Again Luv that free stuff that can be recycled.
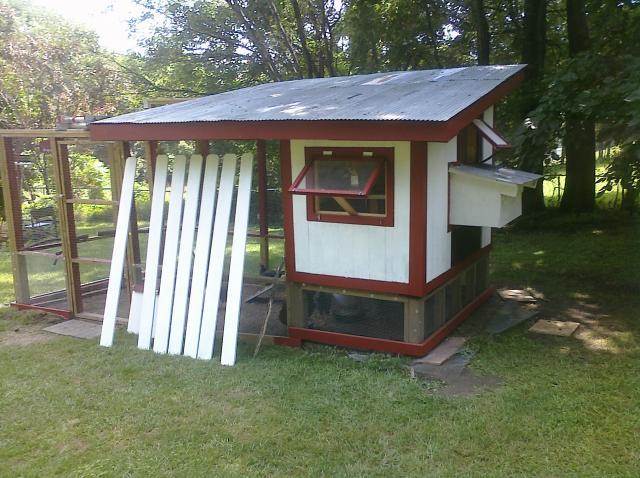
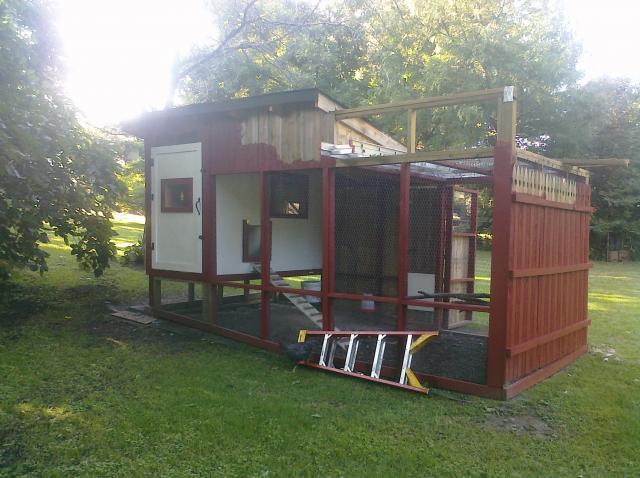
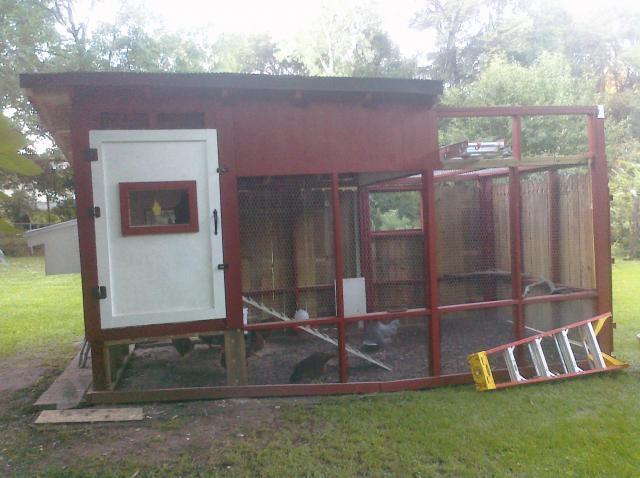
Siding finished and installed.
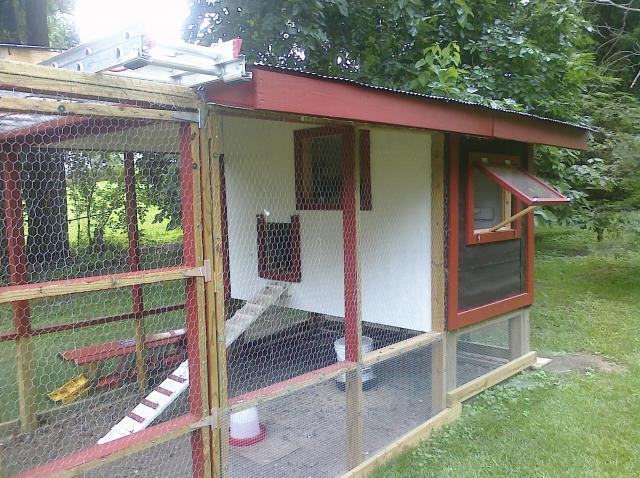
I used more of the fence panels to cover the north side of the run and also the east side, this should help to keep the snow out this winter.
Enjoying some outside time.
Inside the run. Notice the homemade feeder. It cost about 8.00 for the materials and took about 1/2 hour to make. It holds rougly 25#'s of food and will last 10-12 days before needing refilled. I got the idea for feeder from BYC.
South side of run, not quite finished painting yet.
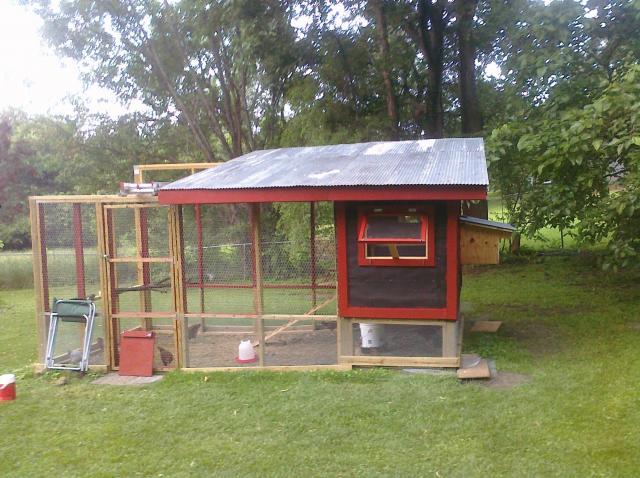
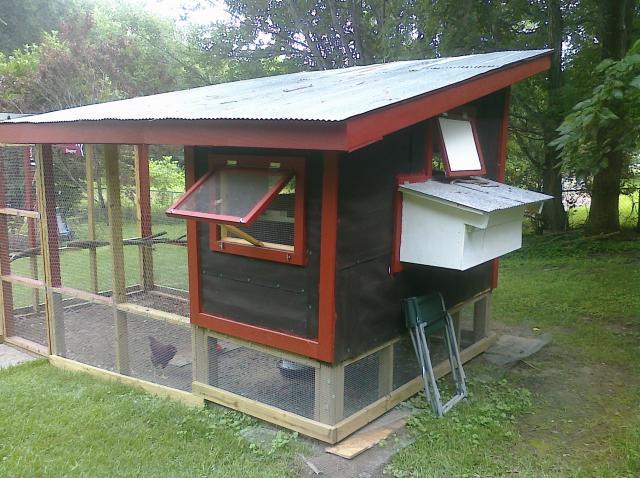
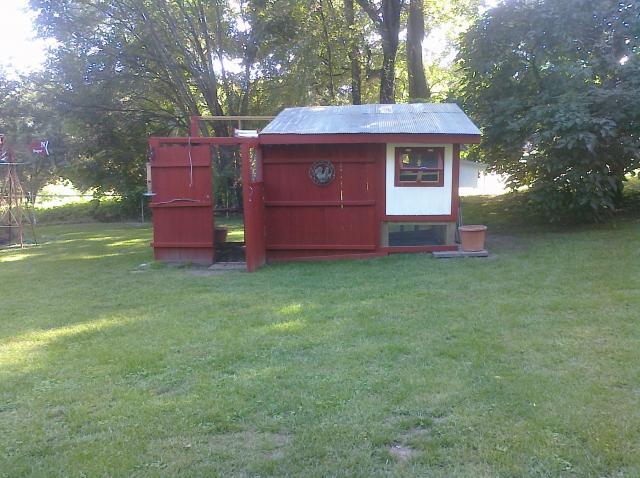
Looking back from southeast of coop.
Looking back from northeast corner of run.
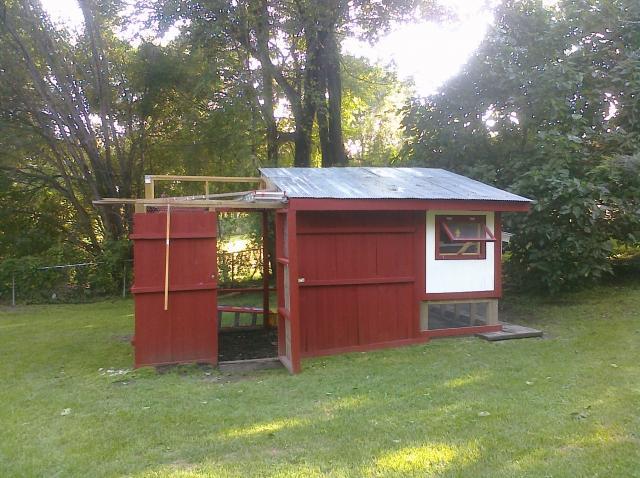
View from north side. If you look close you can see the pine bark mulch i am using in my run to keep it from being so muddy. I built this on a hill and just went with the slope in building trying to keep it level from the coop floor up.
They finally started laying eggs. Looks like everyone wants to watch.
I am pretty sure she would like to be left alone, but I couldn't resist taking a pic.
More painting finished.
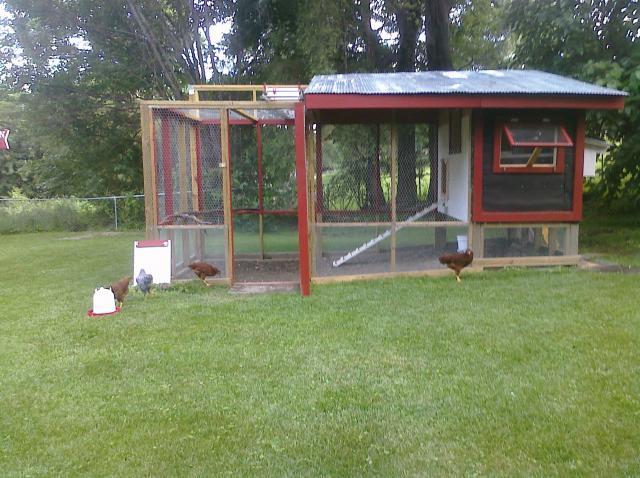
One of the ladies out for a stroll.
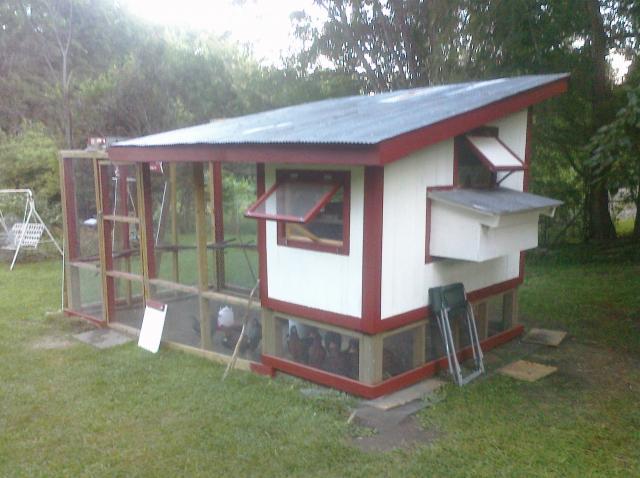
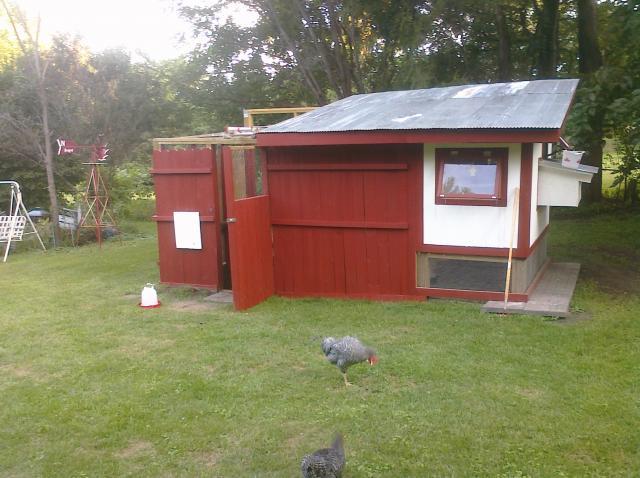
A few decorative touches added and all painting finally finished.
I still have some stuff to do. I want to add a gutter on the north side and a rain barrel, so that I can install some water cups. I also will close off under the coop before winter gets here. I do live in Omaha, Nebraska and we will definitely get some snow. My inspiration for the coop came from the Wichita Cabin Coop that you can find in the coop section here at BYC. I do have some rough plans that i will download later. I have been at this for 6 months and have had a lot of fun getting to this point. I would like to thank everyone at BYC for all their inspiration that has made this possible. I hope you all enjoy this page, and I will update as I get more done.
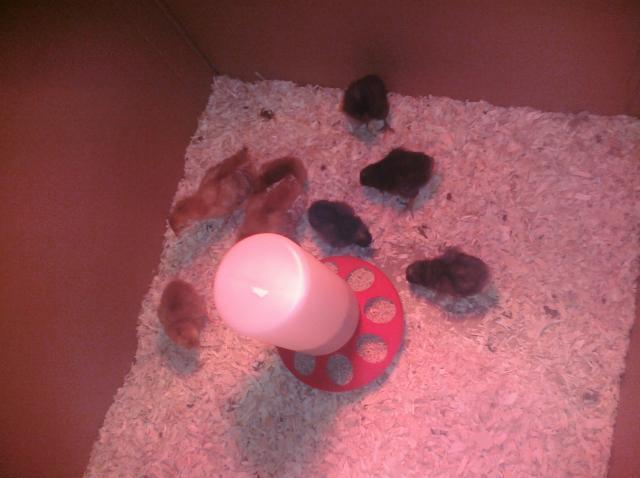
The adventure begins.
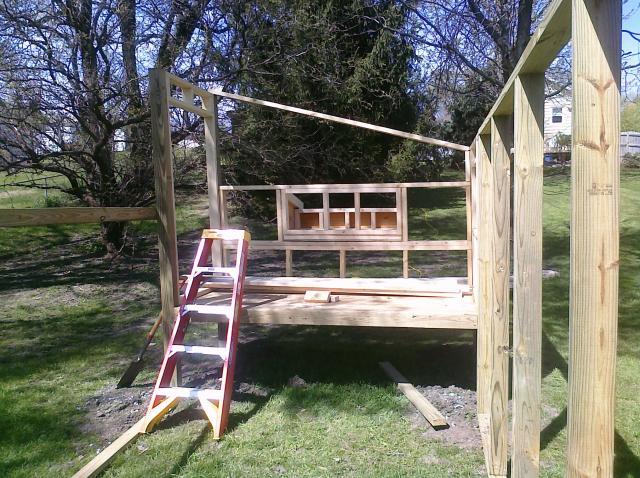
First weekend of work.
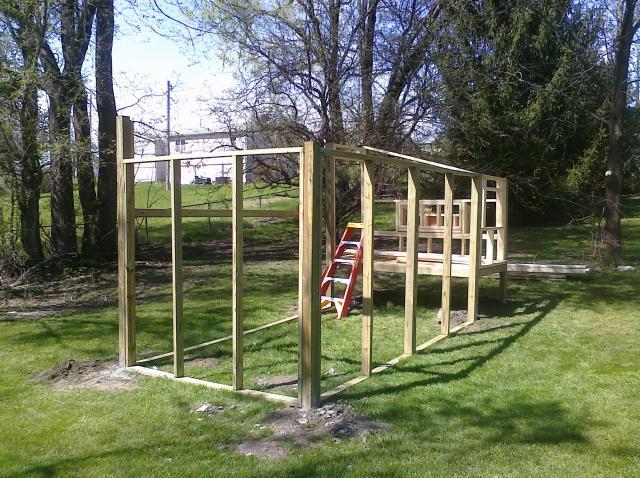
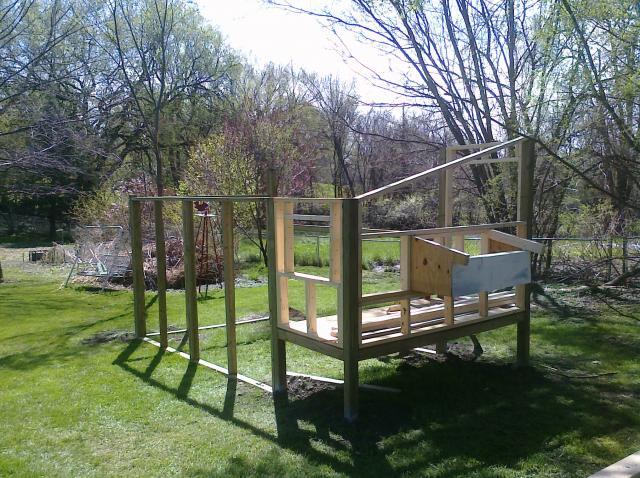
End of weekend number 2.
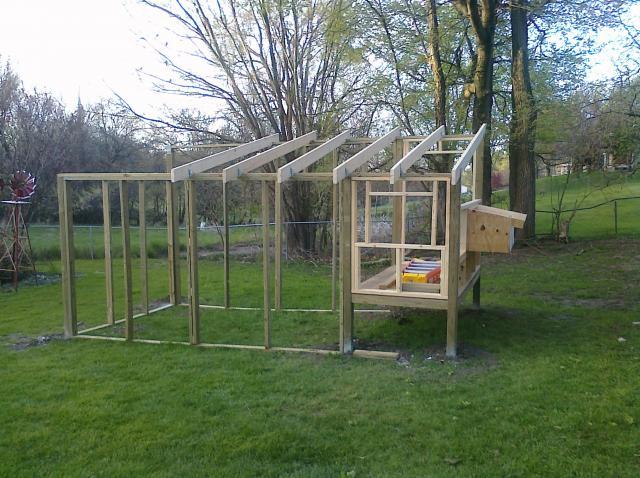
Weekend 3 starting to put up rafters. I got some framing done during the week.
Starting to get an idea of what it will look like. Overall size is 16' x 8'. Coop will be 4' x 8' . It will be 2' off the ground.
Starting to put the roof on. The roof will cover 6' of the run and overhang 1' all the way around. I will probably cover the rest of the run later.
view from the south side. started putting up some wire while working on the roof. I believe this was the 4th weekend of the project.

View from the north side of coop looking south. You can see where the nesting boxes will be. I built them in the garage one evening when it was raining and installed them in the rough opening i had built. I wasn't taking pics from the start so I don't have any pics of them being built. There are 3 nesting boxes.
View from the east. More wire going on. Bottom 2' will be hardware cloth with a 1' apron all the way around enclosure.
Roof all installed. I got the tin for free from a friend who was getting rid of it. I like free stuff. Really starting to take shape.
I better get busy, they are starting to outgrow the brooder box. They like to jump out and wander around.
I can't believe how much they have grown in five weeks.
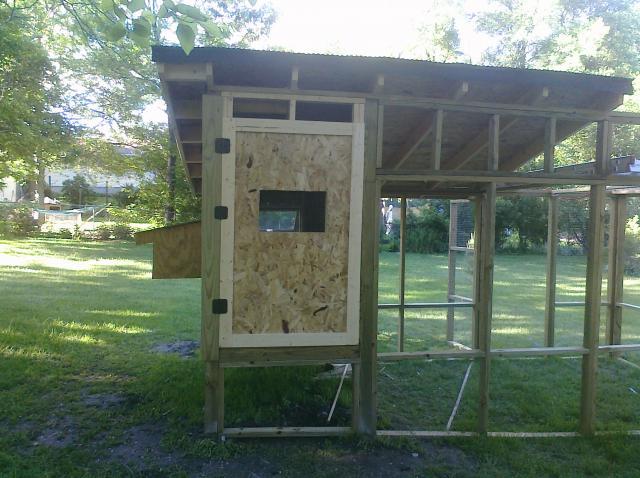
South side of coop, this will be main access to coop. Door is 32x60.
Got my first window built and installed. It is made of 2x2 cedar mitered and routed so that the plexiglass will fit inside. There are stops built into the window frame which will be caulked and covered with foam insulation to seal out drafts. This is on the northside of coop. Inside is covered with hardware cloth.
Same view with window closed.
Going to town on the wire installation. I need to get it finished enough to move the chicks in soon.
Wire all installed. I used washers and screws to install the hardware cloth and chicken wire. There will be trim installed over at a later time. I wish I had painted before installing the wire, would have been much easier to paint.
Weekend number 7, finally done enough for moving day. Too bad the grass won't last long in the run. I think it took about 2 weeks for it to be all destroyed.
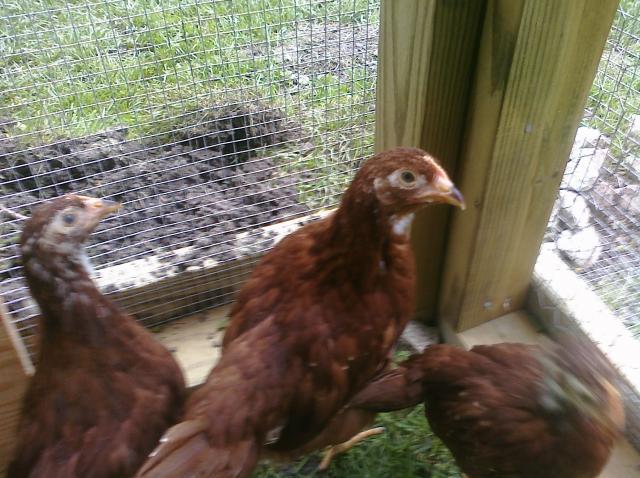
Some more of the new residents. 8 production reds, 2 barred rocks and 2 domeniques.
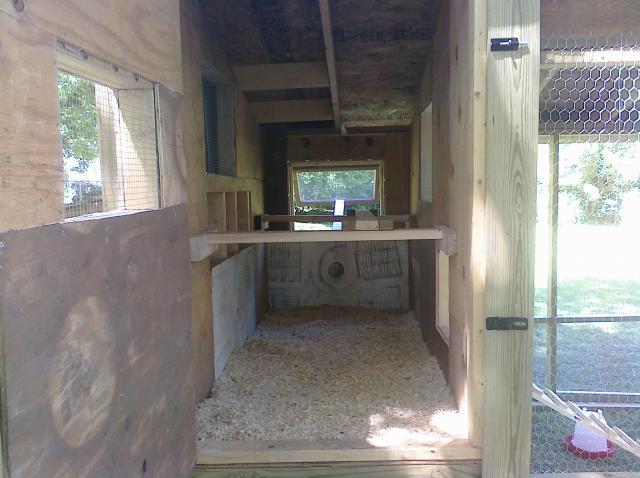
Inside view of coop and roosts, you can see the recycled plywood that I used a lot of in building this coop. Luv that free stuff.
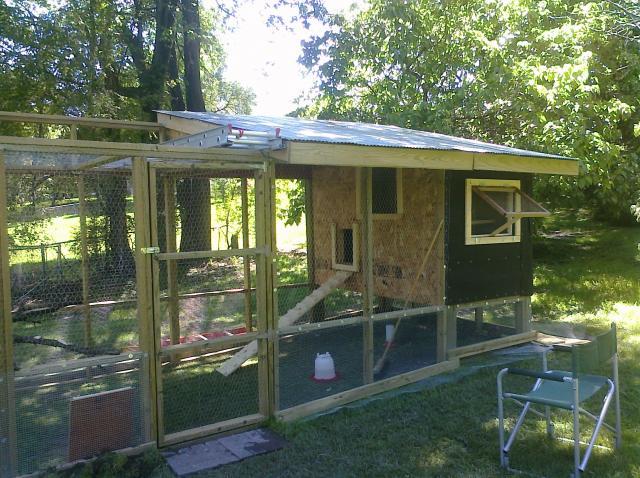
My chair for taking breaks. You can see the roosts I put in the run for them, old tree branches. I used the left over roofing felt to cover the osb board I used to side the coop. I wasn't sure what I was going to do for siding at this point in time.
They are enjoying their new home, glad to be out of the cardboard box.
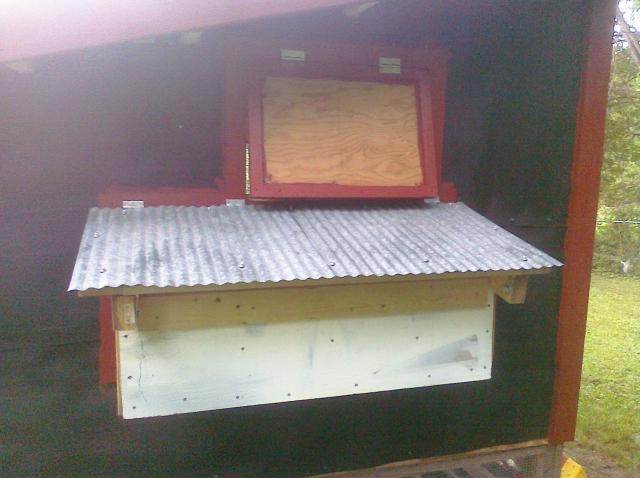
Better view of nesting boxes. Roofed and ready for use. More of that recycled plywood. Also got some trim put up and painted.
Better view of boxes and trim work going on.
I am well into week 8 or 9 not sure they were starting to blend together by now.
First time outside of the run. They did pretty well.
A little paint, sure does make things look better. The chickens were watching me paint from the roost.
I got some free fence panels, so I took them apart, painted and used them for siding. I like the way it turned out. Again Luv that free stuff that can be recycled.
Siding finished and installed.
I used more of the fence panels to cover the north side of the run and also the east side, this should help to keep the snow out this winter.
Enjoying some outside time.
Inside the run. Notice the homemade feeder. It cost about 8.00 for the materials and took about 1/2 hour to make. It holds rougly 25#'s of food and will last 10-12 days before needing refilled. I got the idea for feeder from BYC.
South side of run, not quite finished painting yet.
Looking back from southeast of coop.
Looking back from northeast corner of run.
View from north side. If you look close you can see the pine bark mulch i am using in my run to keep it from being so muddy. I built this on a hill and just went with the slope in building trying to keep it level from the coop floor up.
They finally started laying eggs. Looks like everyone wants to watch.
I am pretty sure she would like to be left alone, but I couldn't resist taking a pic.
More painting finished.
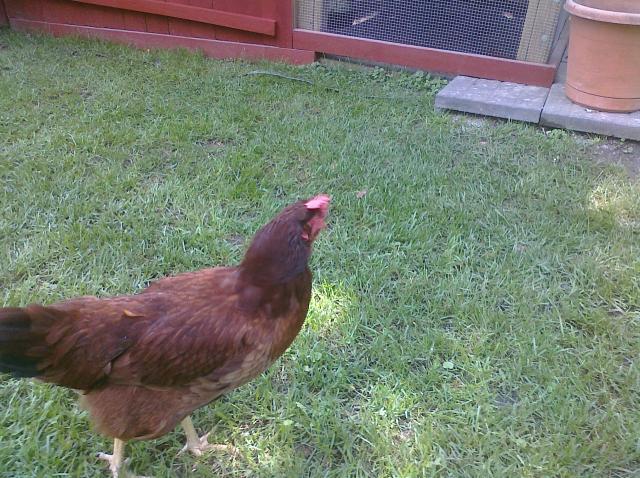
One of the ladies out for a stroll.
A few decorative touches added and all painting finally finished.
I still have some stuff to do. I want to add a gutter on the north side and a rain barrel, so that I can install some water cups. I also will close off under the coop before winter gets here. I do live in Omaha, Nebraska and we will definitely get some snow. My inspiration for the coop came from the Wichita Cabin Coop that you can find in the coop section here at BYC. I do have some rough plans that i will download later. I have been at this for 6 months and have had a lot of fun getting to this point. I would like to thank everyone at BYC for all their inspiration that has made this possible. I hope you all enjoy this page, and I will update as I get more done.