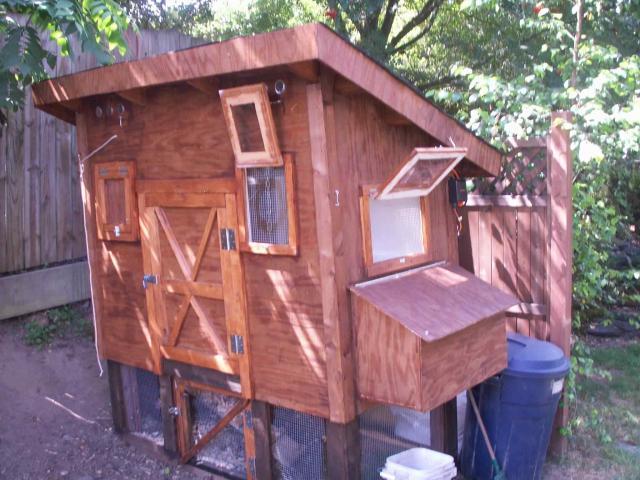
“Le Grand Habitant”
CHECK BACK OFTEN FOR UPDATES
(Go to bottom of page for newest postings. )Last Update July 9, 2012
(Go to bottom of page for newest postings. )Last Update July 9, 2012
June 25, 2012
August, 2011 Stage 1 finished
Before going on with the details of ”Le Habitant” I want to give credit to those who inspired me to keep chickens in the city or who helped in design and construction.
First of all to the Garden Spot Nursery in Bellingham, WA for keeping chickens running around their place making me think, “If they can, why can’t I?”, I had actually been thinking about it for a while but needed a shove. Secondly to my Son-in-Law John and daughter Tami who drove to Seattle from Coeur d'Alene, Idaho to help with construction and keep me from seriously hurting myself trying to build something like this. Last and most importantly, to my wife and partner in all things, Catherine. Whenever I come up with hair brained projects she supports my insanity completely. If it involves any form of food stuff she is usually on board.
At first Catherine was skeptical about the idea but now loves the chickens and the fresh eggs. The idea fits into our overall sustainability plan as a couple years ago we decided to grow as much food as we could because between agribusiness and the government they are trying to either poison us or drive us broke. We also get organic garden fertilizer so you see it all fits into the “greener plan”.
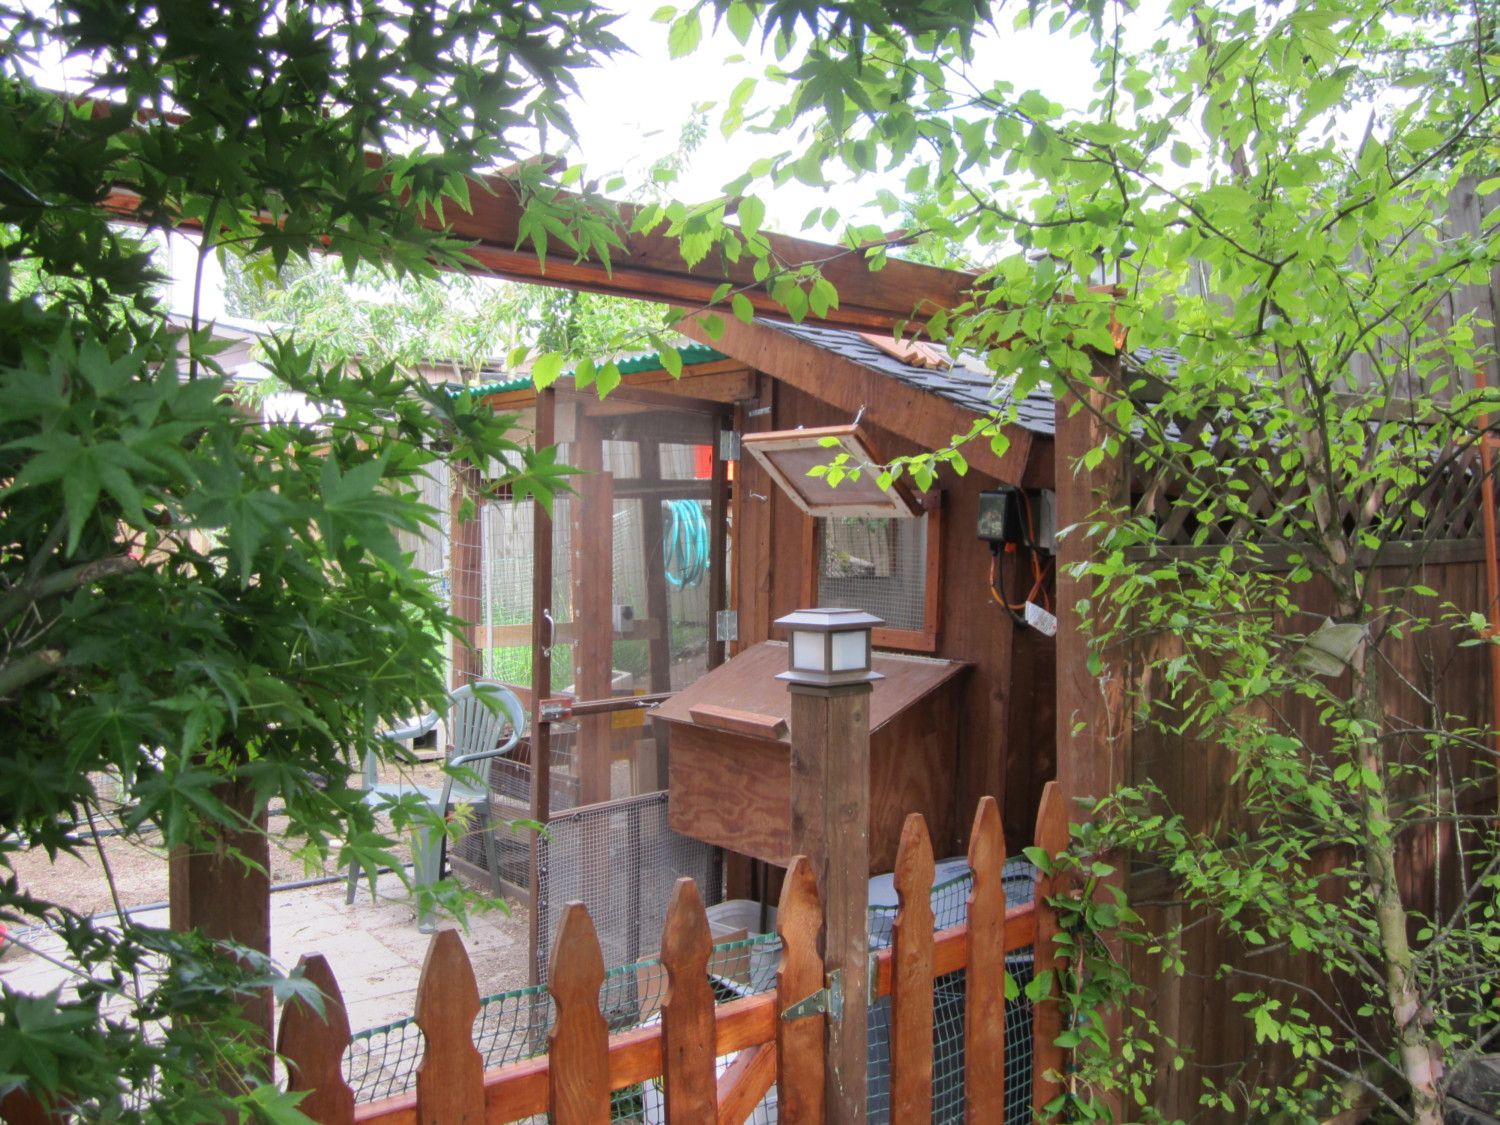
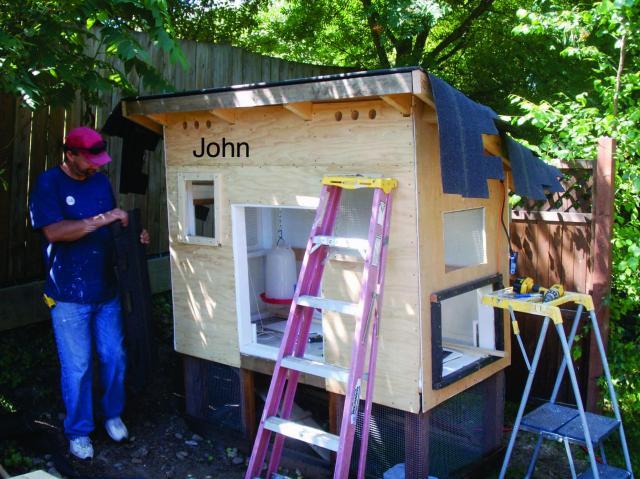
The design was primarily taken from the amazing “Tangled Nest Coop” I found on backyardchickens.com. I looked at two other coops on Backyard that also gave me ideas to change it up. They were the “Wichita Cabin Coop” and “The Red Roost Inn”. As you will see my major design change was putting the nest box outside to give more inside room. I also added several windows screened on the inside with acrylic window panes for light and ventilation and a “trap door” in the floor. On the left side is an access door for the electrical controls and timers on the inside. I wanted automatic doors to let the kids out to play in their run while I am at work so have installed 2 add-a-motor model D20’s for that task http://www.add-a-motor.com/ . Given that I built it in the shade I also added a roof skylight for additional light inside which I ordered from the “Atlantic Shed Supply” web store. Initially for the windows I wanted small sliding windows but couldn’t find any small ones to fit a 3/6 coop. Atlantic has them for shed and coops as small as 12x12 inches, I discovered this too late for my coop.
So here we go with the construction photos:
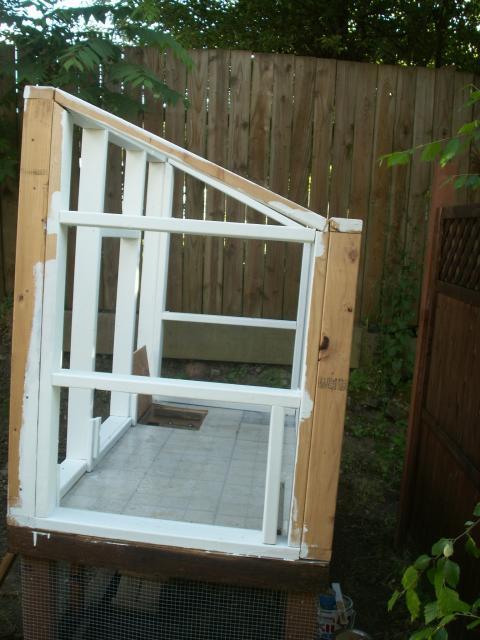
Framing:
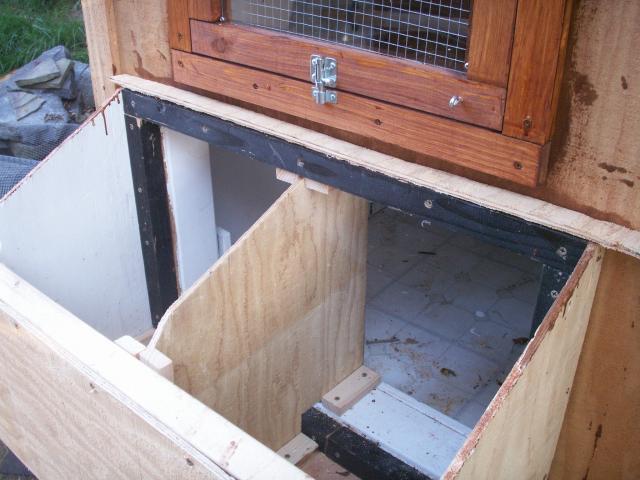
The overall dimension is 3x6 feet. This will house about 5-6 birds. The base is treated 4x4 post sunk in the ground then 2x4 frame around that. 4x4 are buried in the ground at the base to which the wire is attached then 1x4 over that to secure the wire to make it predator resistant. The floor set on top of the upper frame and walls framed above that using the tangled nest plan for frame and door sizing. We painted all inside parts with white latex primer as we went. Those are left over linoleum squares on the floor. The hinged trap door is 12x15, detail photos later. By the way, if it looks crooked to you, it is. Nothing I build is ever square. I’m the guy that measures a board 4 times and still cuts it wrong, plus it’s built on a slope making me as tippy as the coop adding another dimension entirely to the “lack of square”.

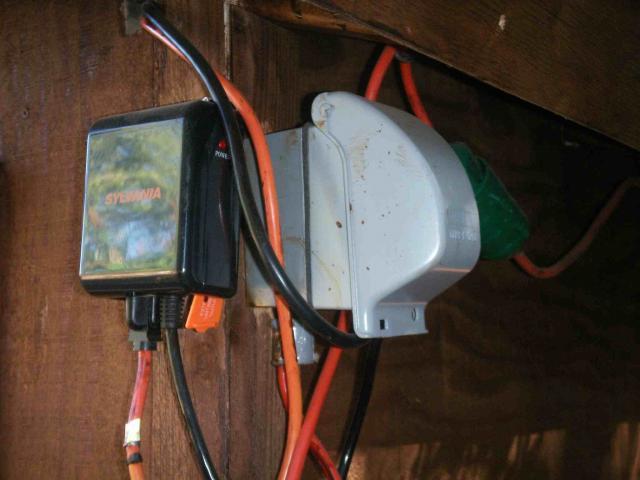
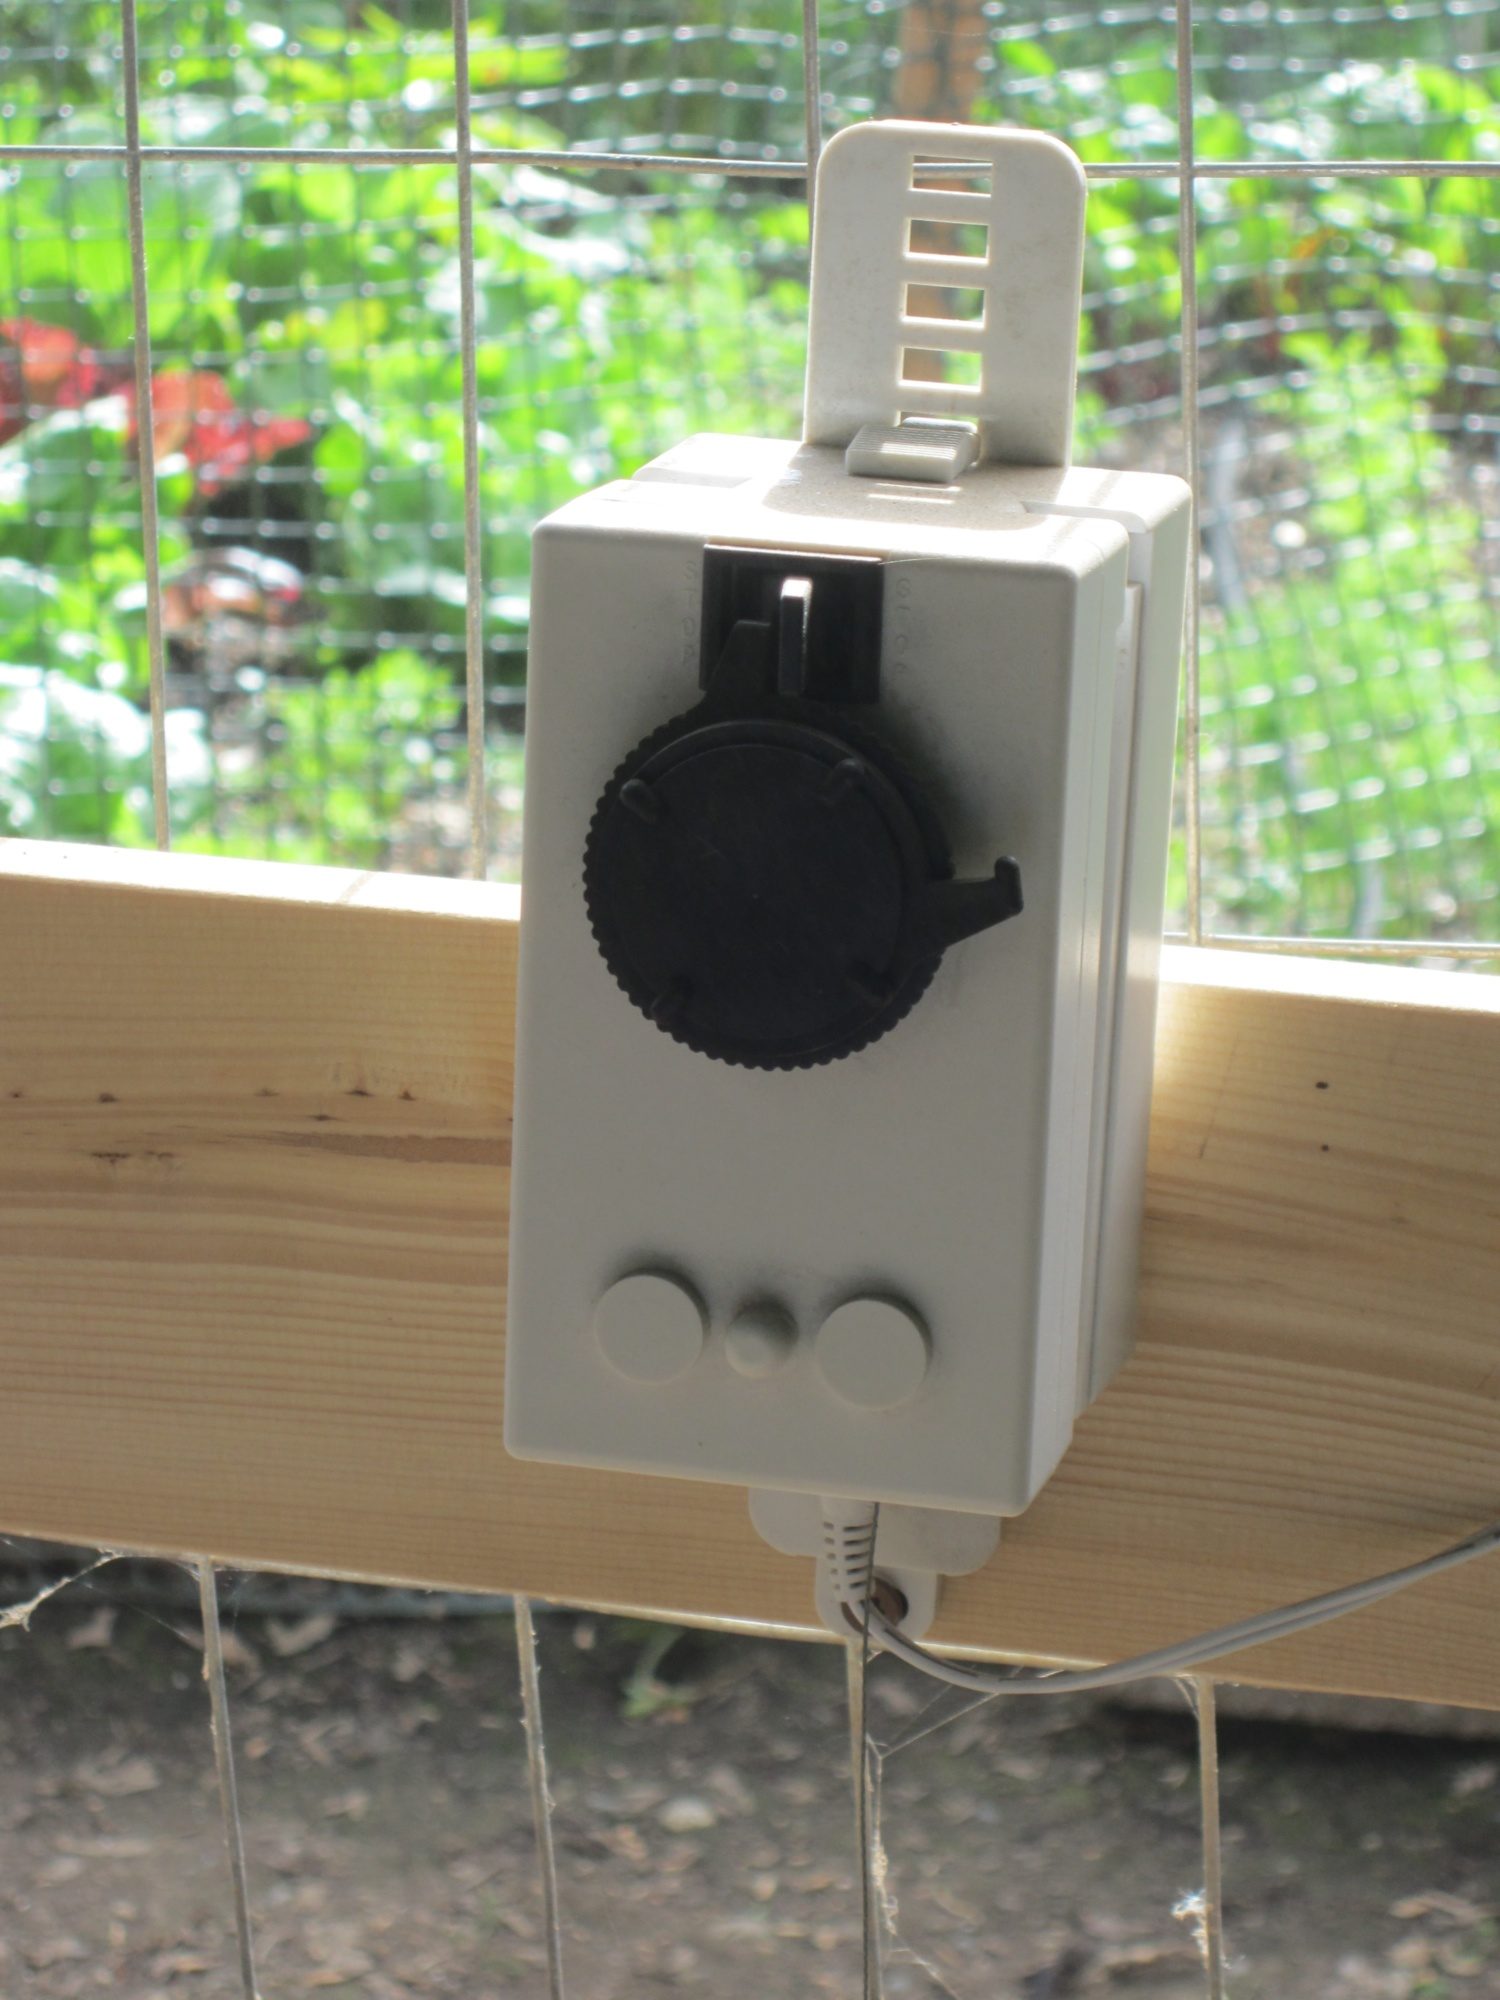
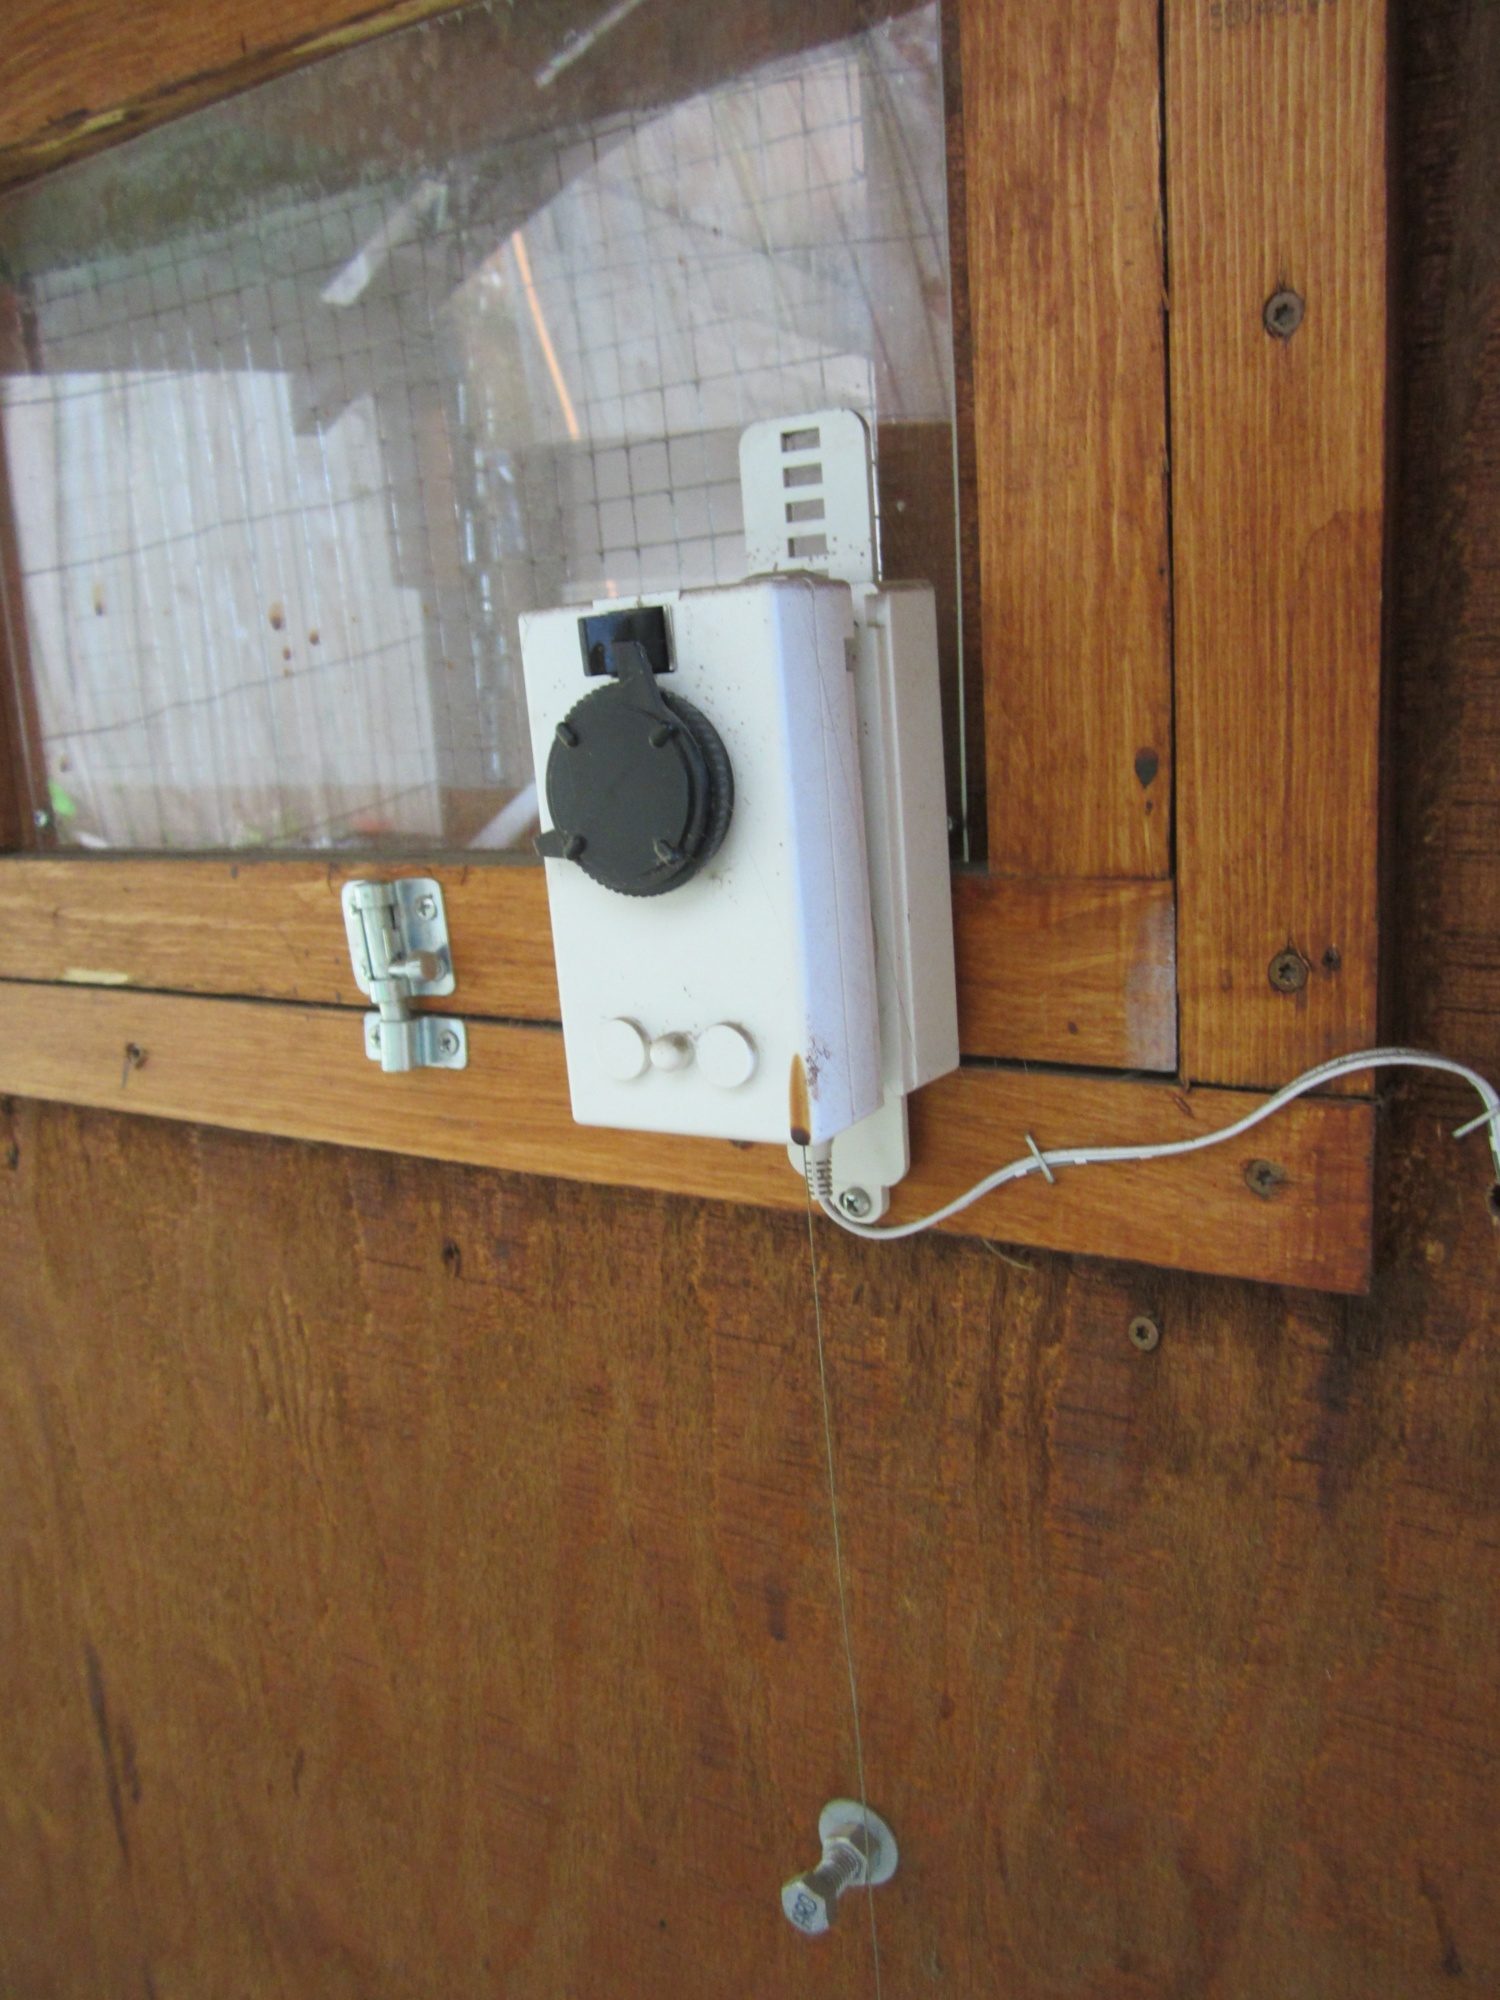
Next I wired up the inside with a heat lamp for winter which is on a thermocube switch so it goes on and off automatically with the temperature fluctuations, a daylight bulb in a standard socket on a timer to give 14 hours of light and keep the ladies laying, and a powerstrip inside the access door for added electricals like the add-a-motors for doors and any future needs electrically (I kind of overthink and overbuild everything…this happened when you have insomnia and a computer to spend nights searching the web for ideas). Sorry…I didn’t take pics of this phase. I installed an outdoor receptacle on the back with a power cord running to the coop and an outdoor timer run out of it
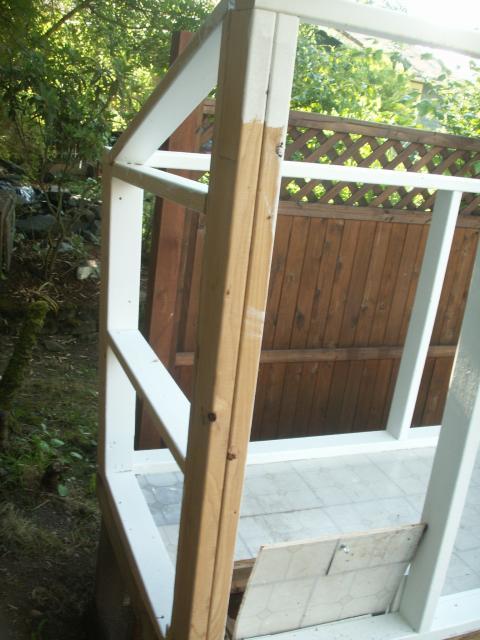
Walls:
This is where I made my big mistake. I was trying to save money so I used T-111 exterior 3/8 sheeting for the walls and floor…USE ½ MINIMUM. I had to put a lot more screws in it to keep the walls from warping and more floor studs for the same reason. We cut the door and window holes and did the inside paint before hanging the walls.
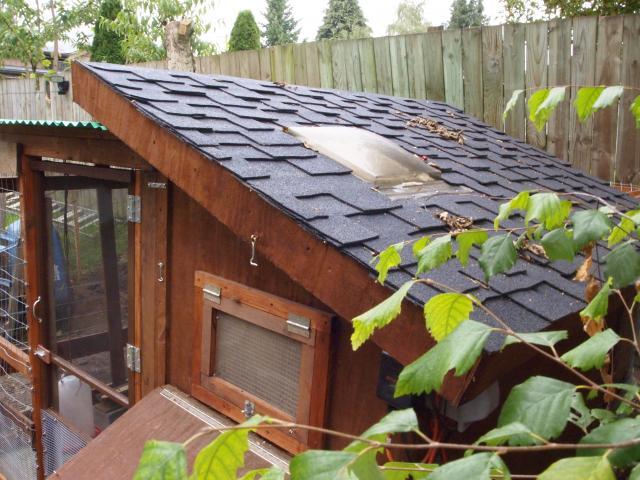
The corners were trimmed with cedar fence boards which are cheap.
John had some left over deluxe roofing shingles so those made up the roof. We installed the roof skylight from Atlantic Shed which adds a lot of interior light.
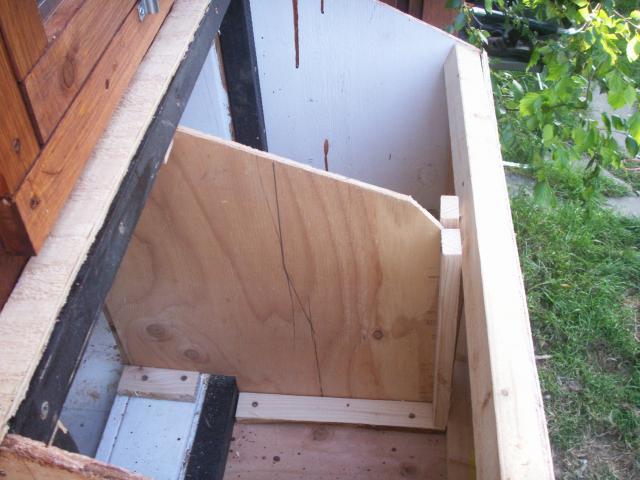
Nestbox:
The nest box is 23 inches long by 15 inches high at the high end. The middle divider then gives two, 11.5x15x14 inch deep nest boxes for the girls' daily egg repose. After the fact, I now wish I had put a “clean out door" in the box front to aid in cleaning.
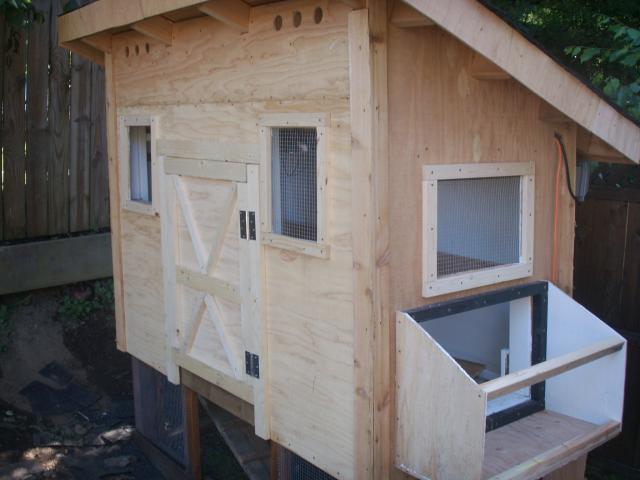
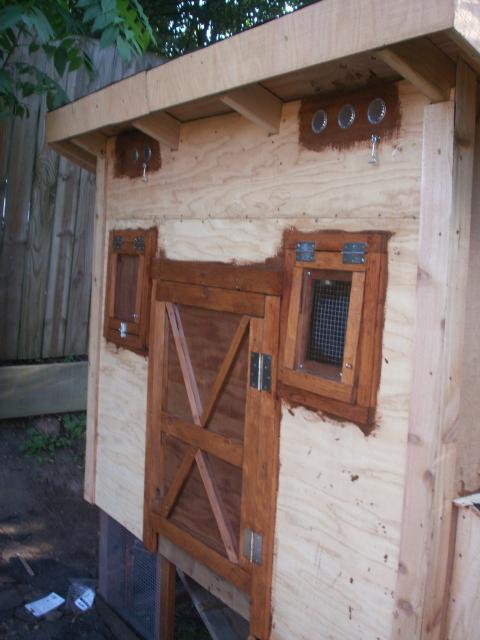
Finishing:
Window frames were built and acrylic window panes cut and screwed into them. Exterior was stained with a water based exterior stain matching our fencing, again the inside was all white. Each window has a eye and hook to keep them open. Doors have strong locking hasps to keep creative critters out.
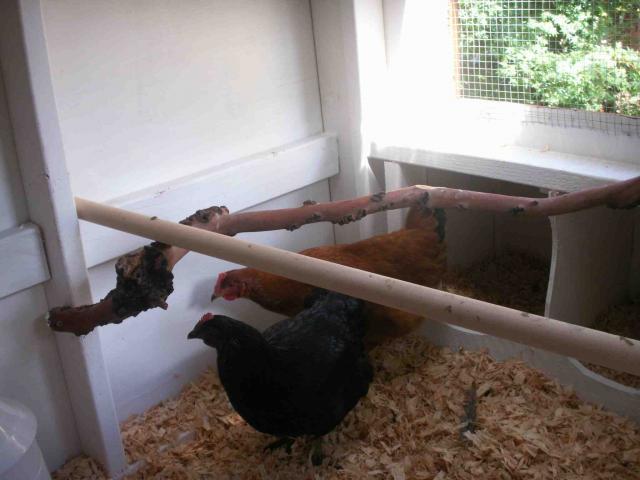
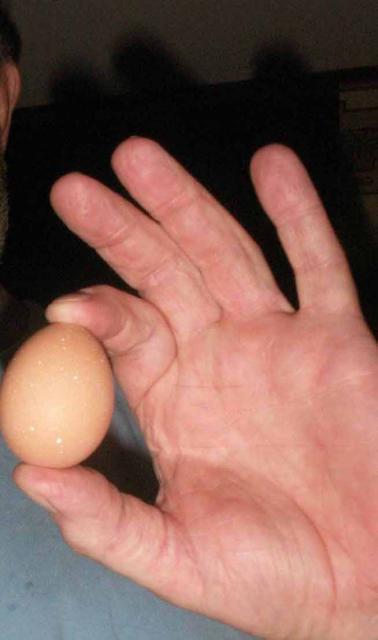
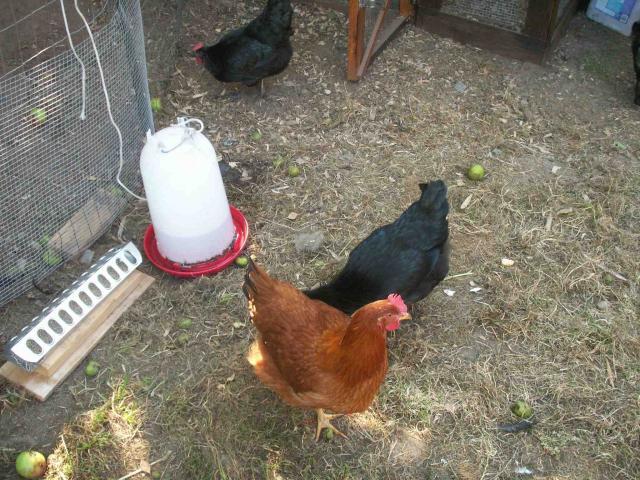
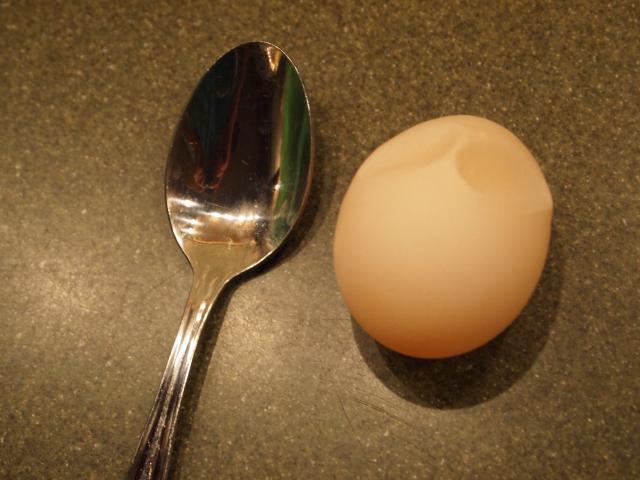
We started building the first of July and on Saturday August 13, 2011, 2-Ameraucana, 2-Black Star and 1-New Hampshire Red pullets came home to roost as the first “habitants” of “Le Habitant”. They are all about 20 weeks old so are just starting to lay…small eggs. Week 2 we got 4 brown eggs in 1 day from the 3 layers.
Egg #1 found on day 2.
Ongoing work will be to build a larger outside fenced and covered run. I already have made several modifications after having them home 2 weeks. I added a lift door in the coop basement that goes out into an outdoor run which will eventually be on a motor and timer. Like a garden, this will be an ever changing entity over time.
These ladies love to range in our large back yard which is tightly fenced and all gardens (we did fence off the veggies). Besides eggs we are getting bug, slug and weed control work from them. We have also significantly decreased food waste as they eat most anything from the kitchen.
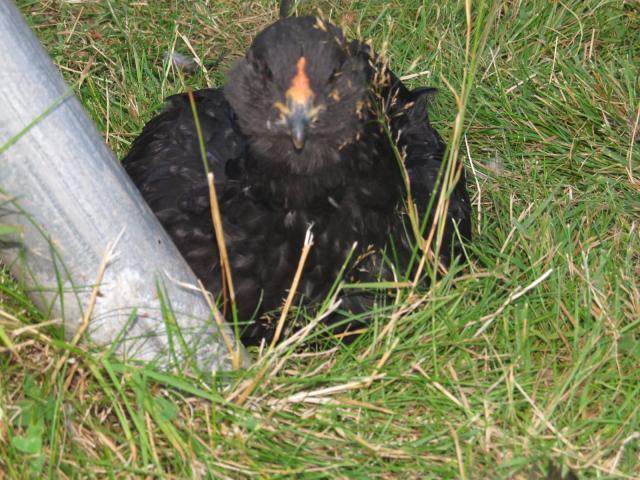
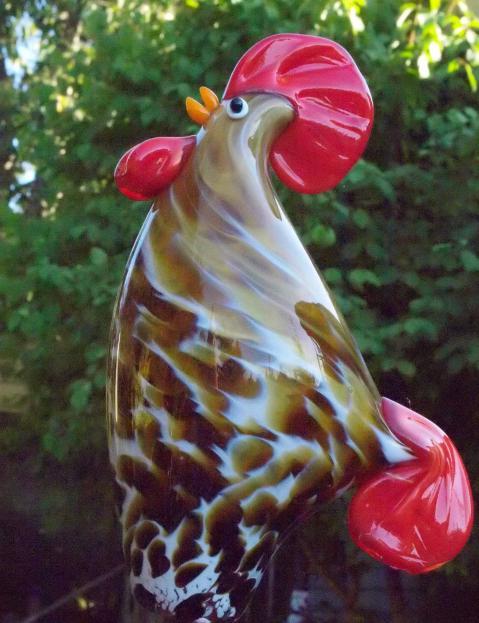
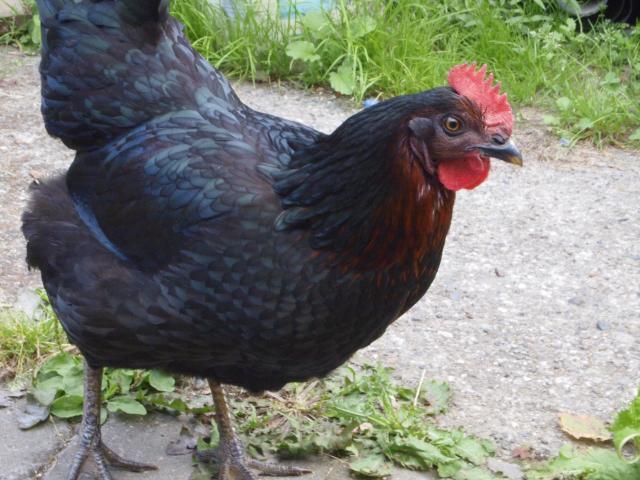
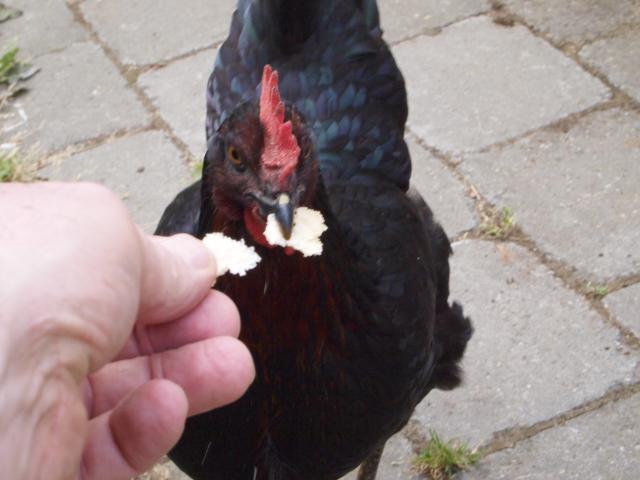
This is “nameless". A real beauty eh?
EPILOGUE
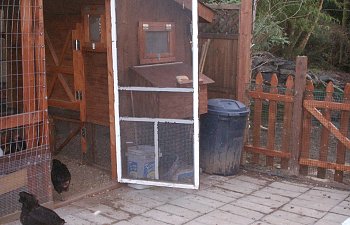
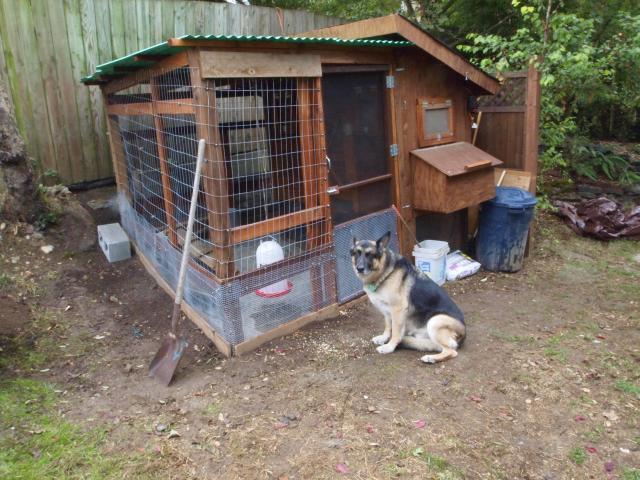
So 2 weeks after it was done and we had chickens. I got to thinking that they needed more secure space where they could be safe out of the coop if we weren’t home. So this ensued…
Luther is watching over his chickens…
The basic design came from this coop on BYC: https://www.backyardchickens.com/web/viewblog.php?id=30865-coop
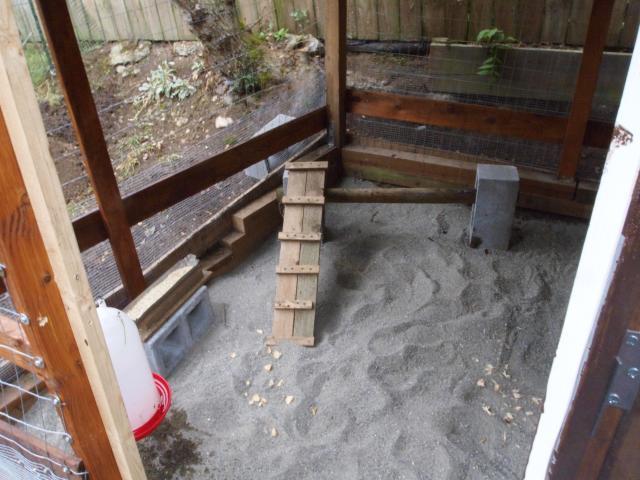
It is a fortress as far as security goes with 4x4’s buried in the ground. It has the motorized door set up to let them out at 10 am after laying is done and close after roosting time in the evening. Before that time they can get into the basement of the coop which as you have seen is outside. This way when we are at work they can be out but in as it were. The bottom has a second layer of hardware cloth which is 24 inches high and securely fastened with 1x6 boards all round the base and wire buried several inches in the ground.
There is a 3 inch layer of coarse, washed construction sand in the bottom.
They will have toys as well…with more to come.
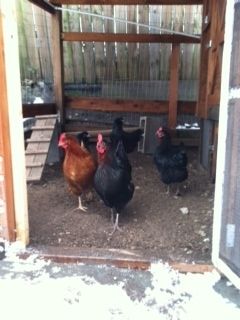
The girls are happy…
and so are we…

The information and member experience on BYC is invaluable, so thanks for all the help. Feel free to contact me with questions or comments. Happy chicken keeping.
____________________________________________________________________________________
____________________________________________________________________________________
Ongoing Blog:
Oct 30, 2011
We got the first egg from one of 2 easter eggers that were hatched May 24, 2011 today. It has a paper thin shell and was cream colored.
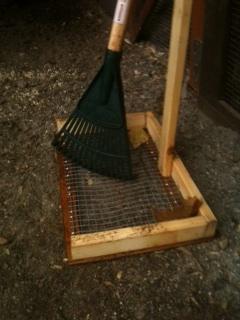
Do you have sand in your run? Well my problem was how to clean out the Chicekn poop and leave the sand. I came up with a pooper scooper for the chicken run.
______________________________________________________________________________________________________________________________________
I took a piece of 3/8 CDX left over and cut a big hole in it with a jig saw, stapled on some hardware cloth and screw on some 1x1/2 inch pieces for side and back, screwed on a handle and...there you have it, a cheap method to sift out the poop.
12/19/12 Seattle Chickens don't really do snow!
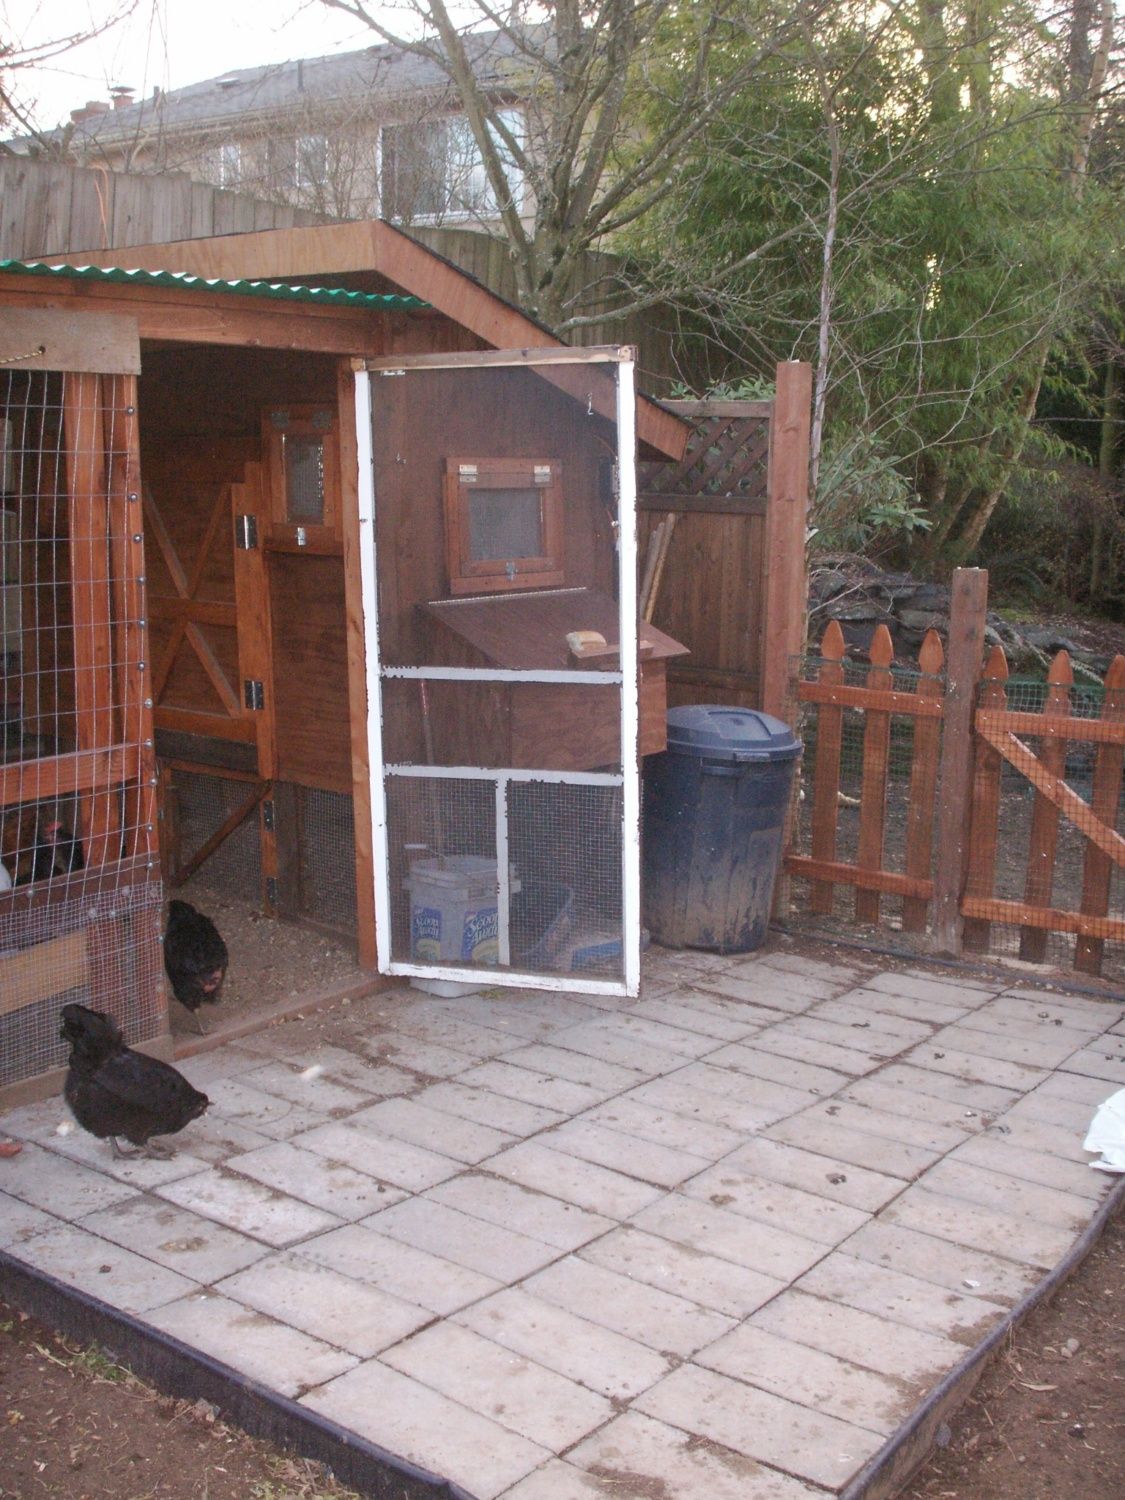
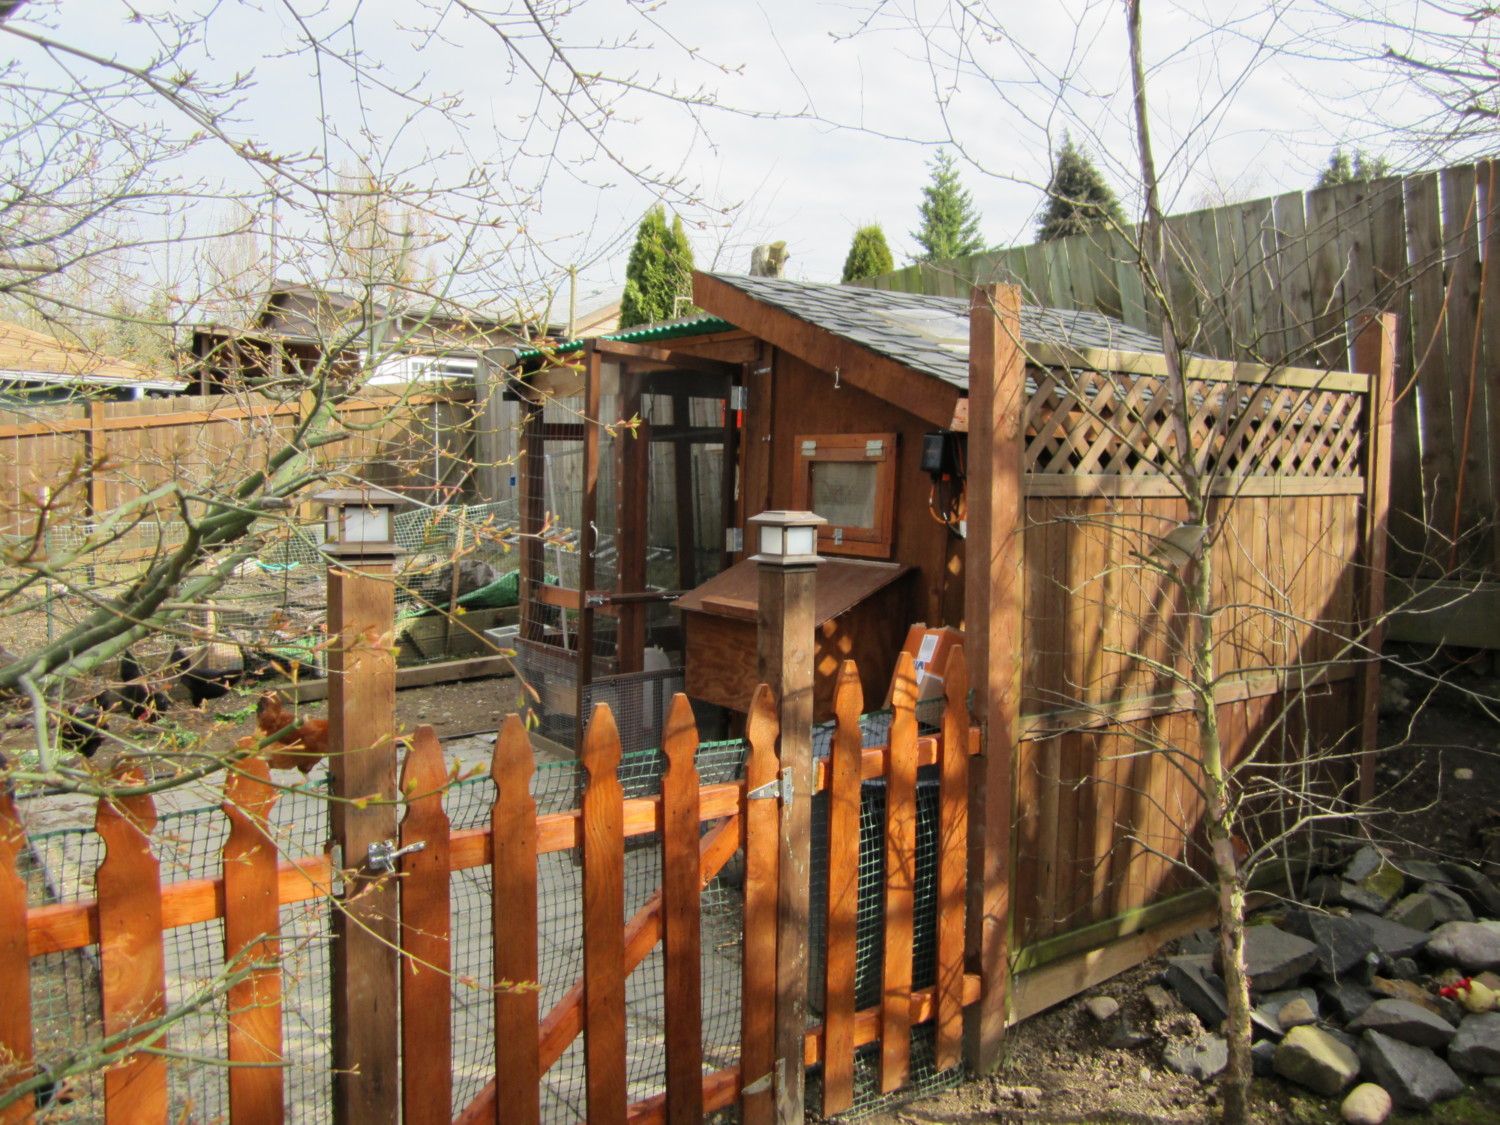
SPRING 2012 ADDITIONS
Over the winter I found the area outside my coop to be a real mud hole so I added a cheap concreter paver area oout front to give us something relatively dry to walk on. It cost littel and took a day to put together.
I also found that true to the advise from BYC that when I let my chickens run free everywhere, they ate all my garden plans so I fenced this large area that is about 30x25 or so. Again , I used a lot of reclaimed or used materials, steeel fence posts and the inexpensive plastic green fencing. Now they are contained and happy with the "chicken yard".
I am currently working on an automatic watering system and will post pictures as soon as it is completed.
____________________________________________________________________________________
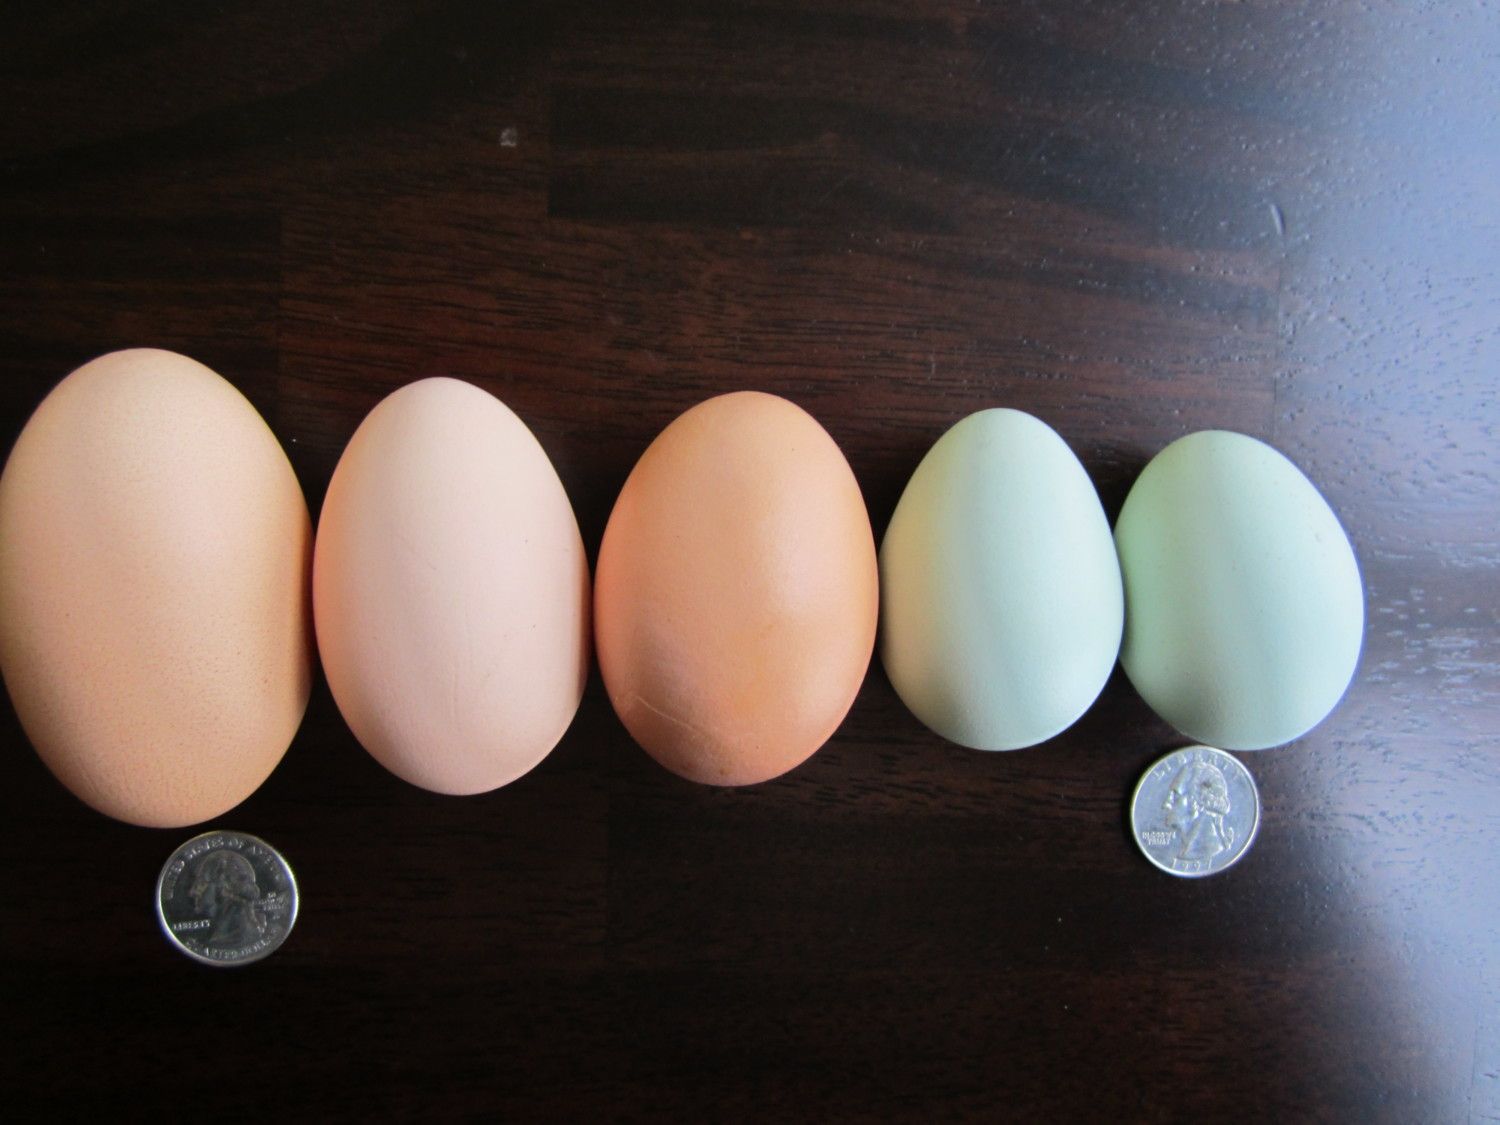
Easter 2011
Eggs from Easter 2011
Left to right is a giant double youled egg from one of our Black Stars, 3rd from left is from a New Hampshire Red and 2 pale green eggs from Ameraucanas.

____________________________________________________________________________________AUTOMATIC WATERING SYSTEM 2012
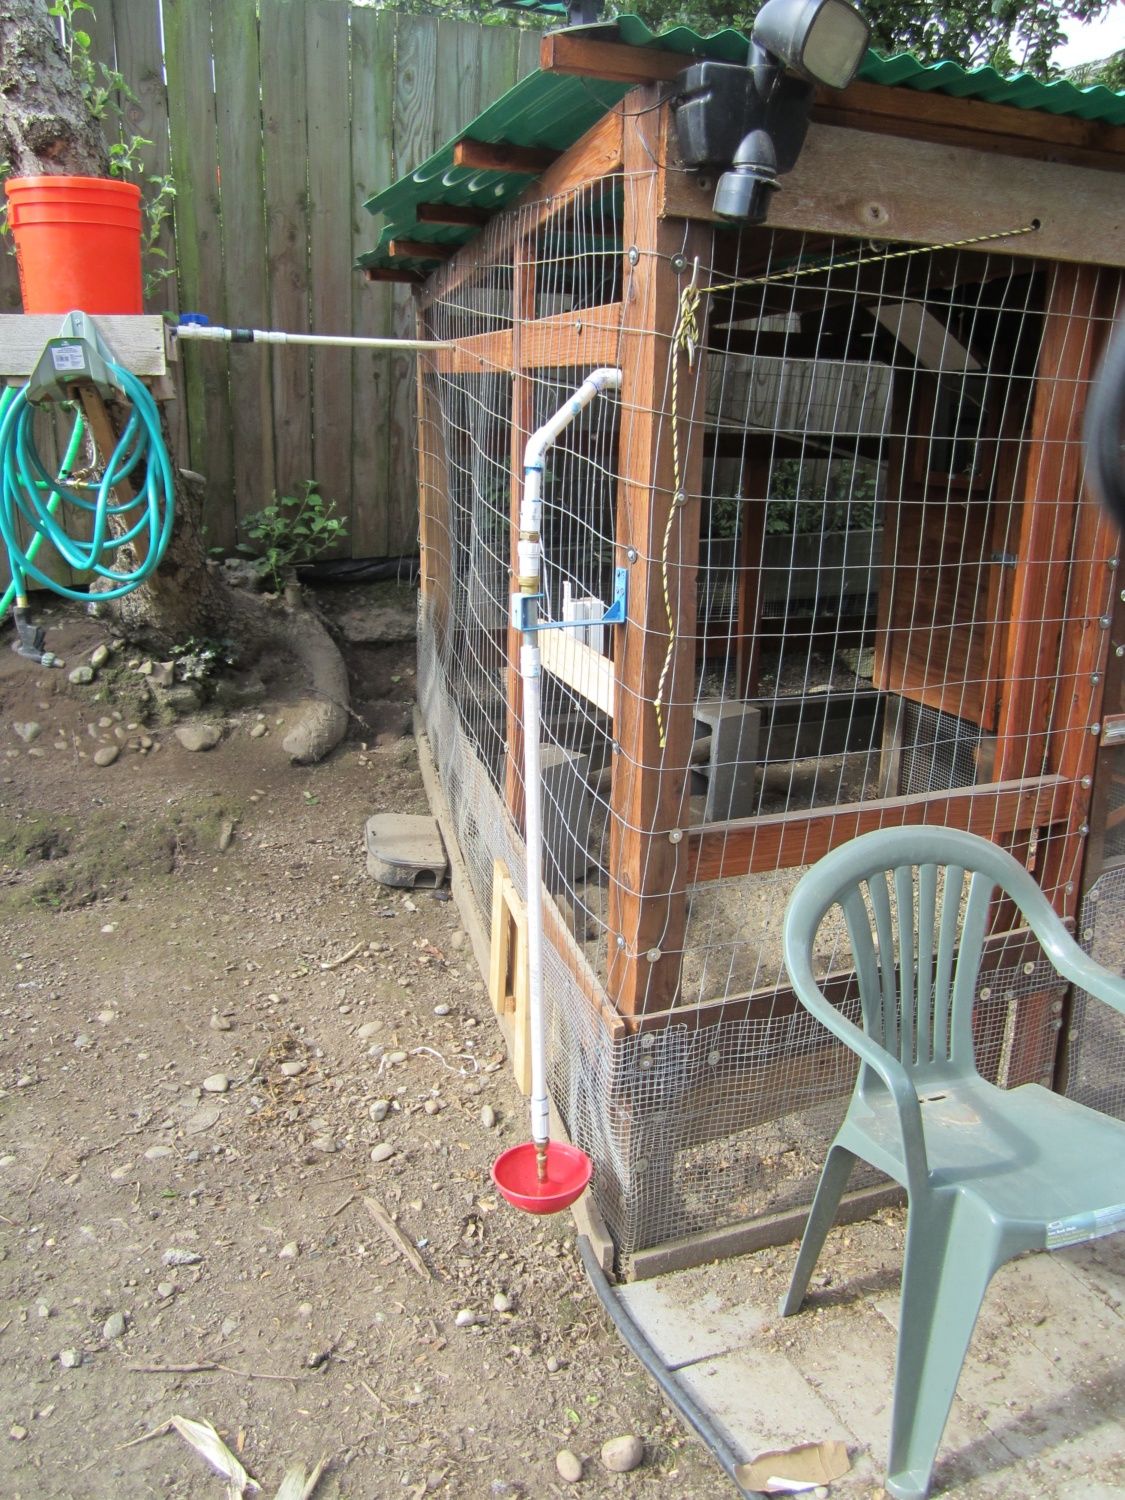
Chicken Auto Watering System
I built this system using both cups and a Little Giant font as I wanted the fot for water outside my coop and pen, and cups inside the pen and 2 inside the coop itself.
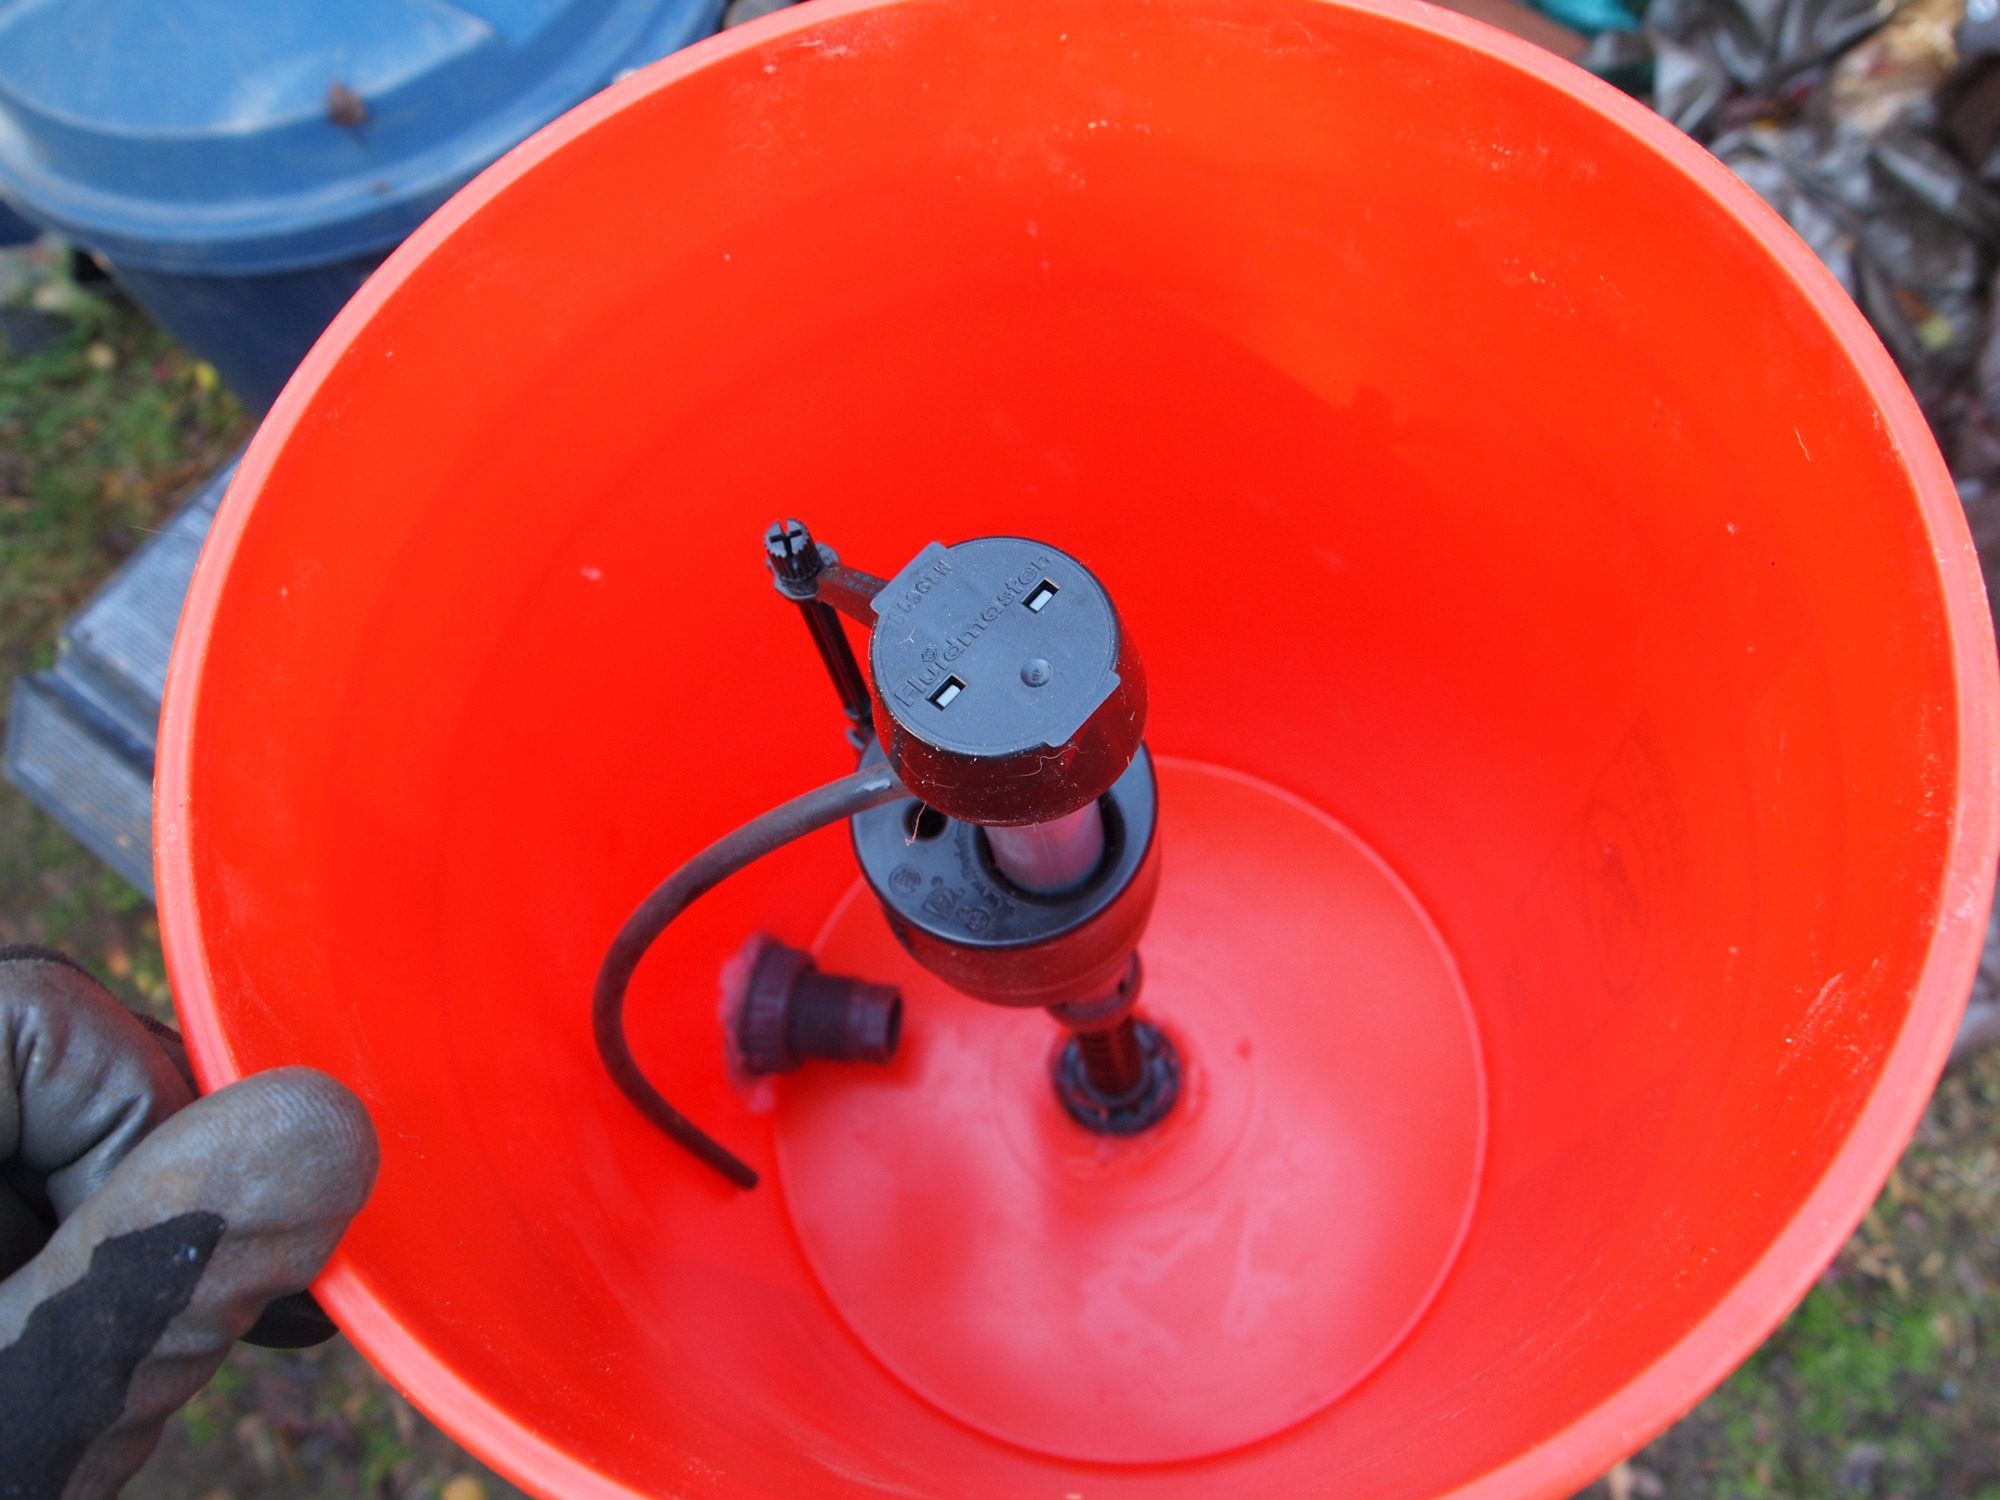
I used a Home Depot 5 gallon bucket with a standard toilet float as a shut off valve and connected it to a hose for the water supply. I plumbed my coop and run with ½ inch PVC. The pictures below make it pretty much self explanatory but feel free to contact me with any questions.
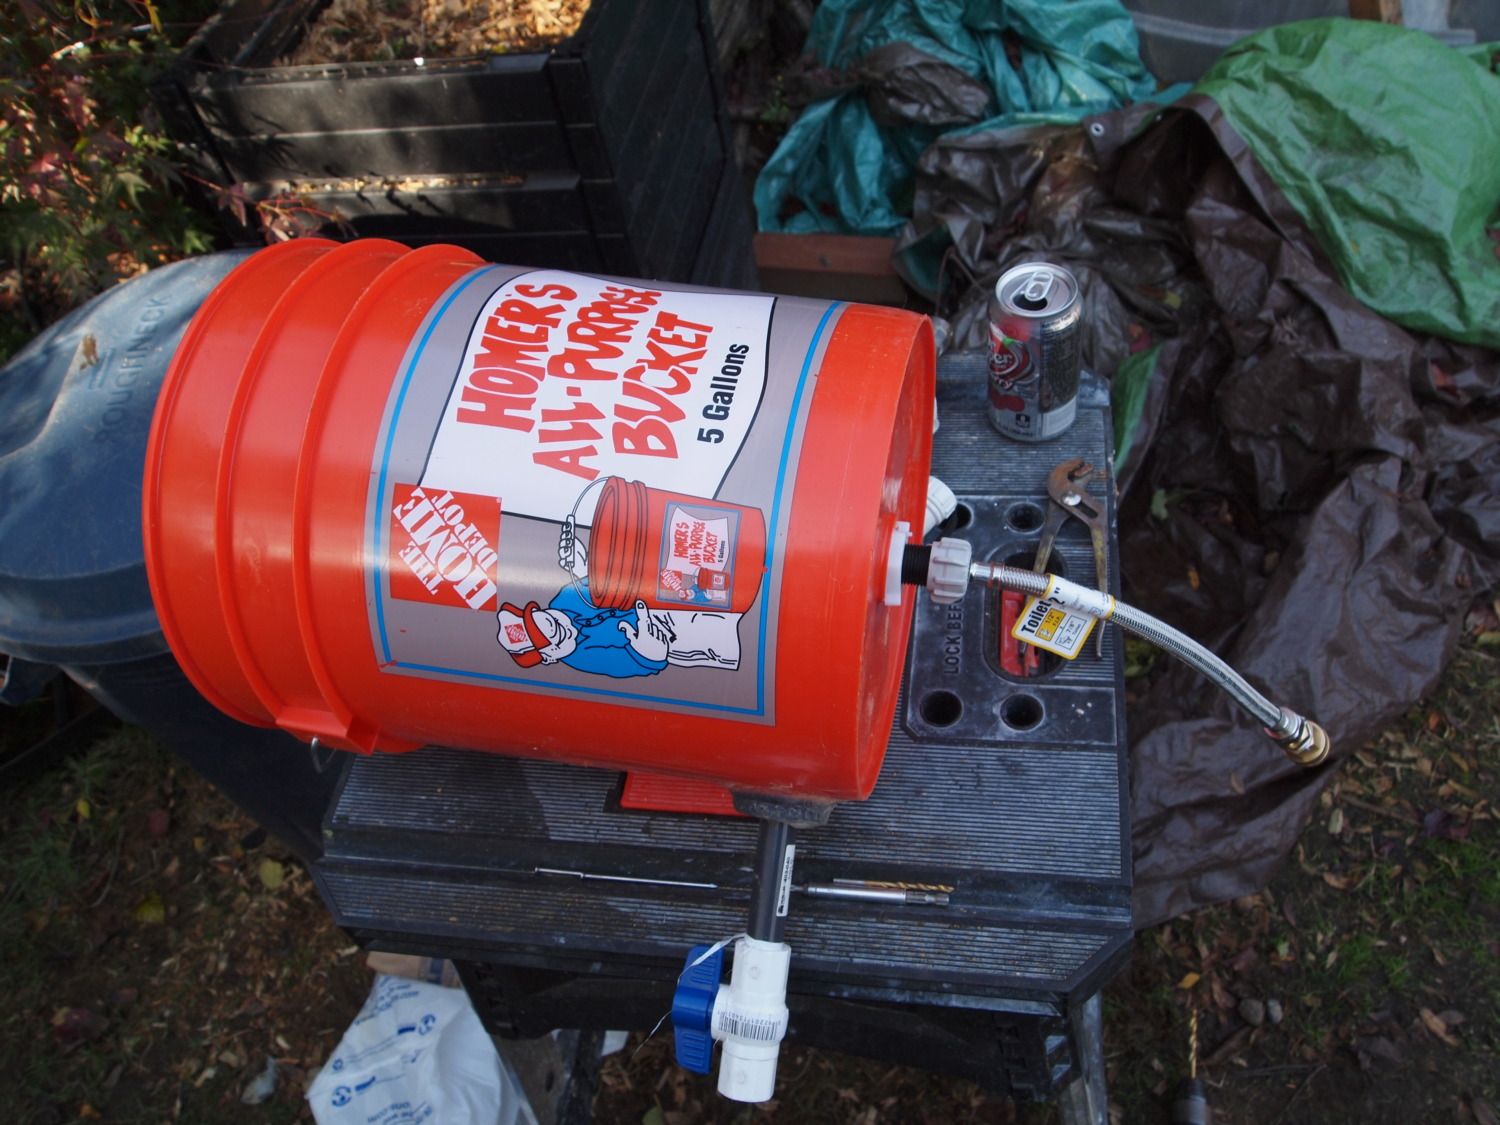
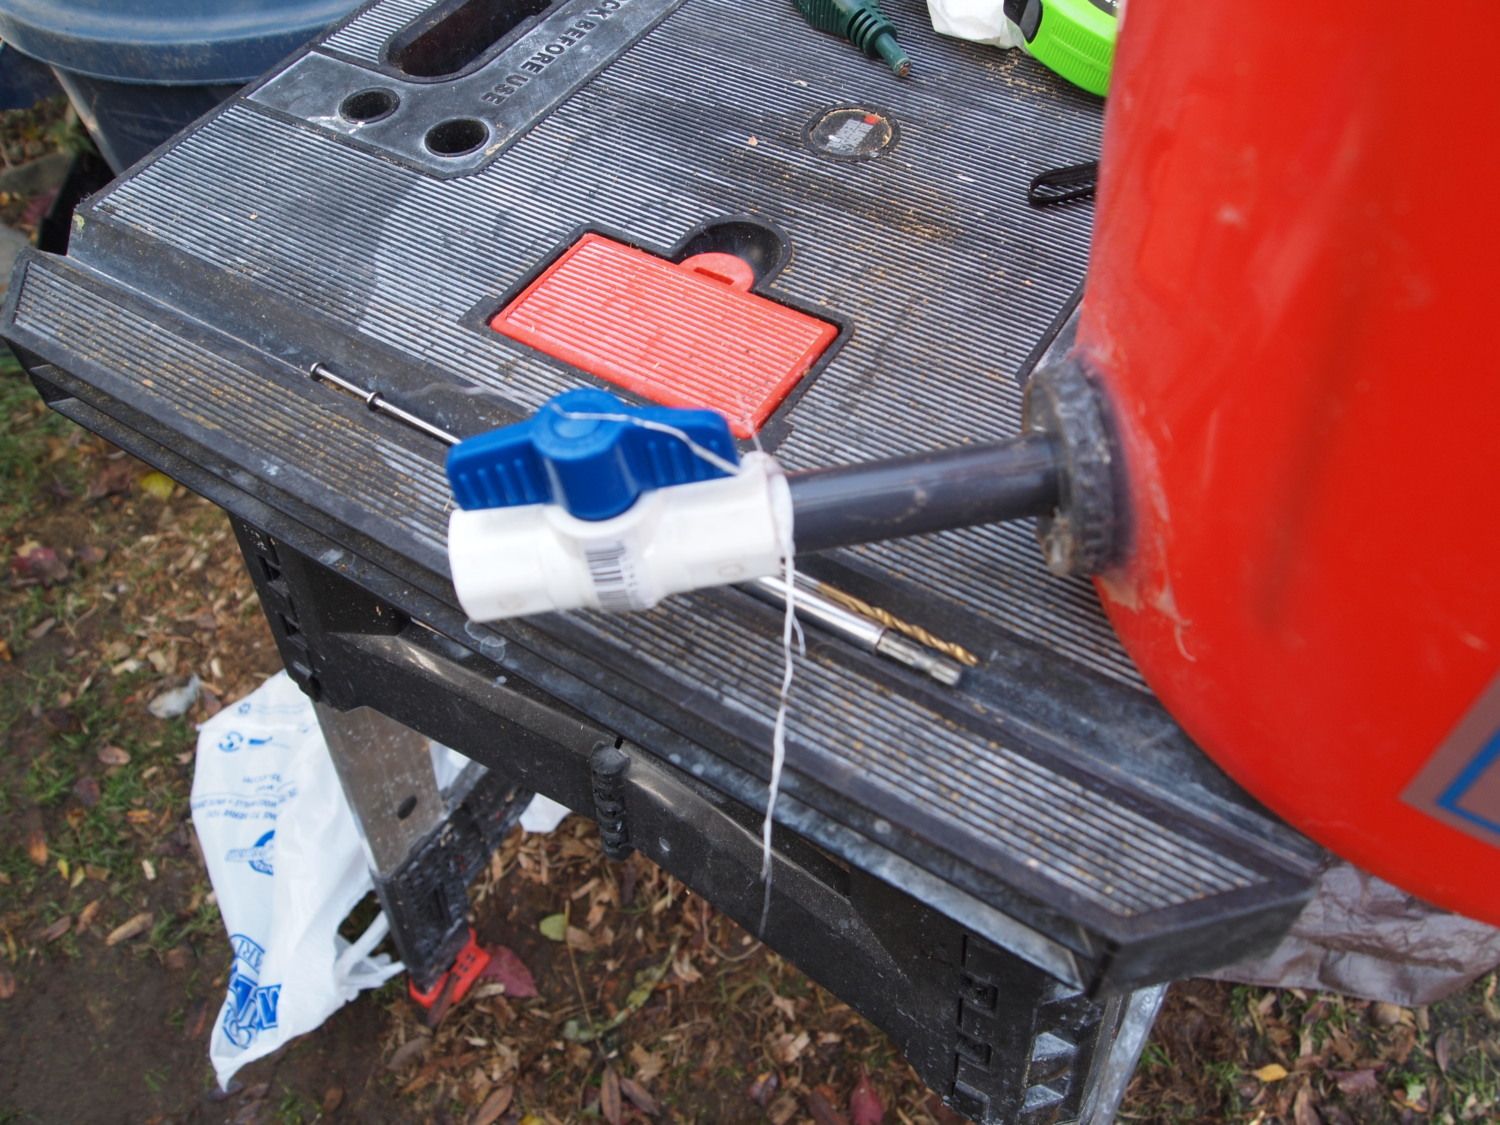
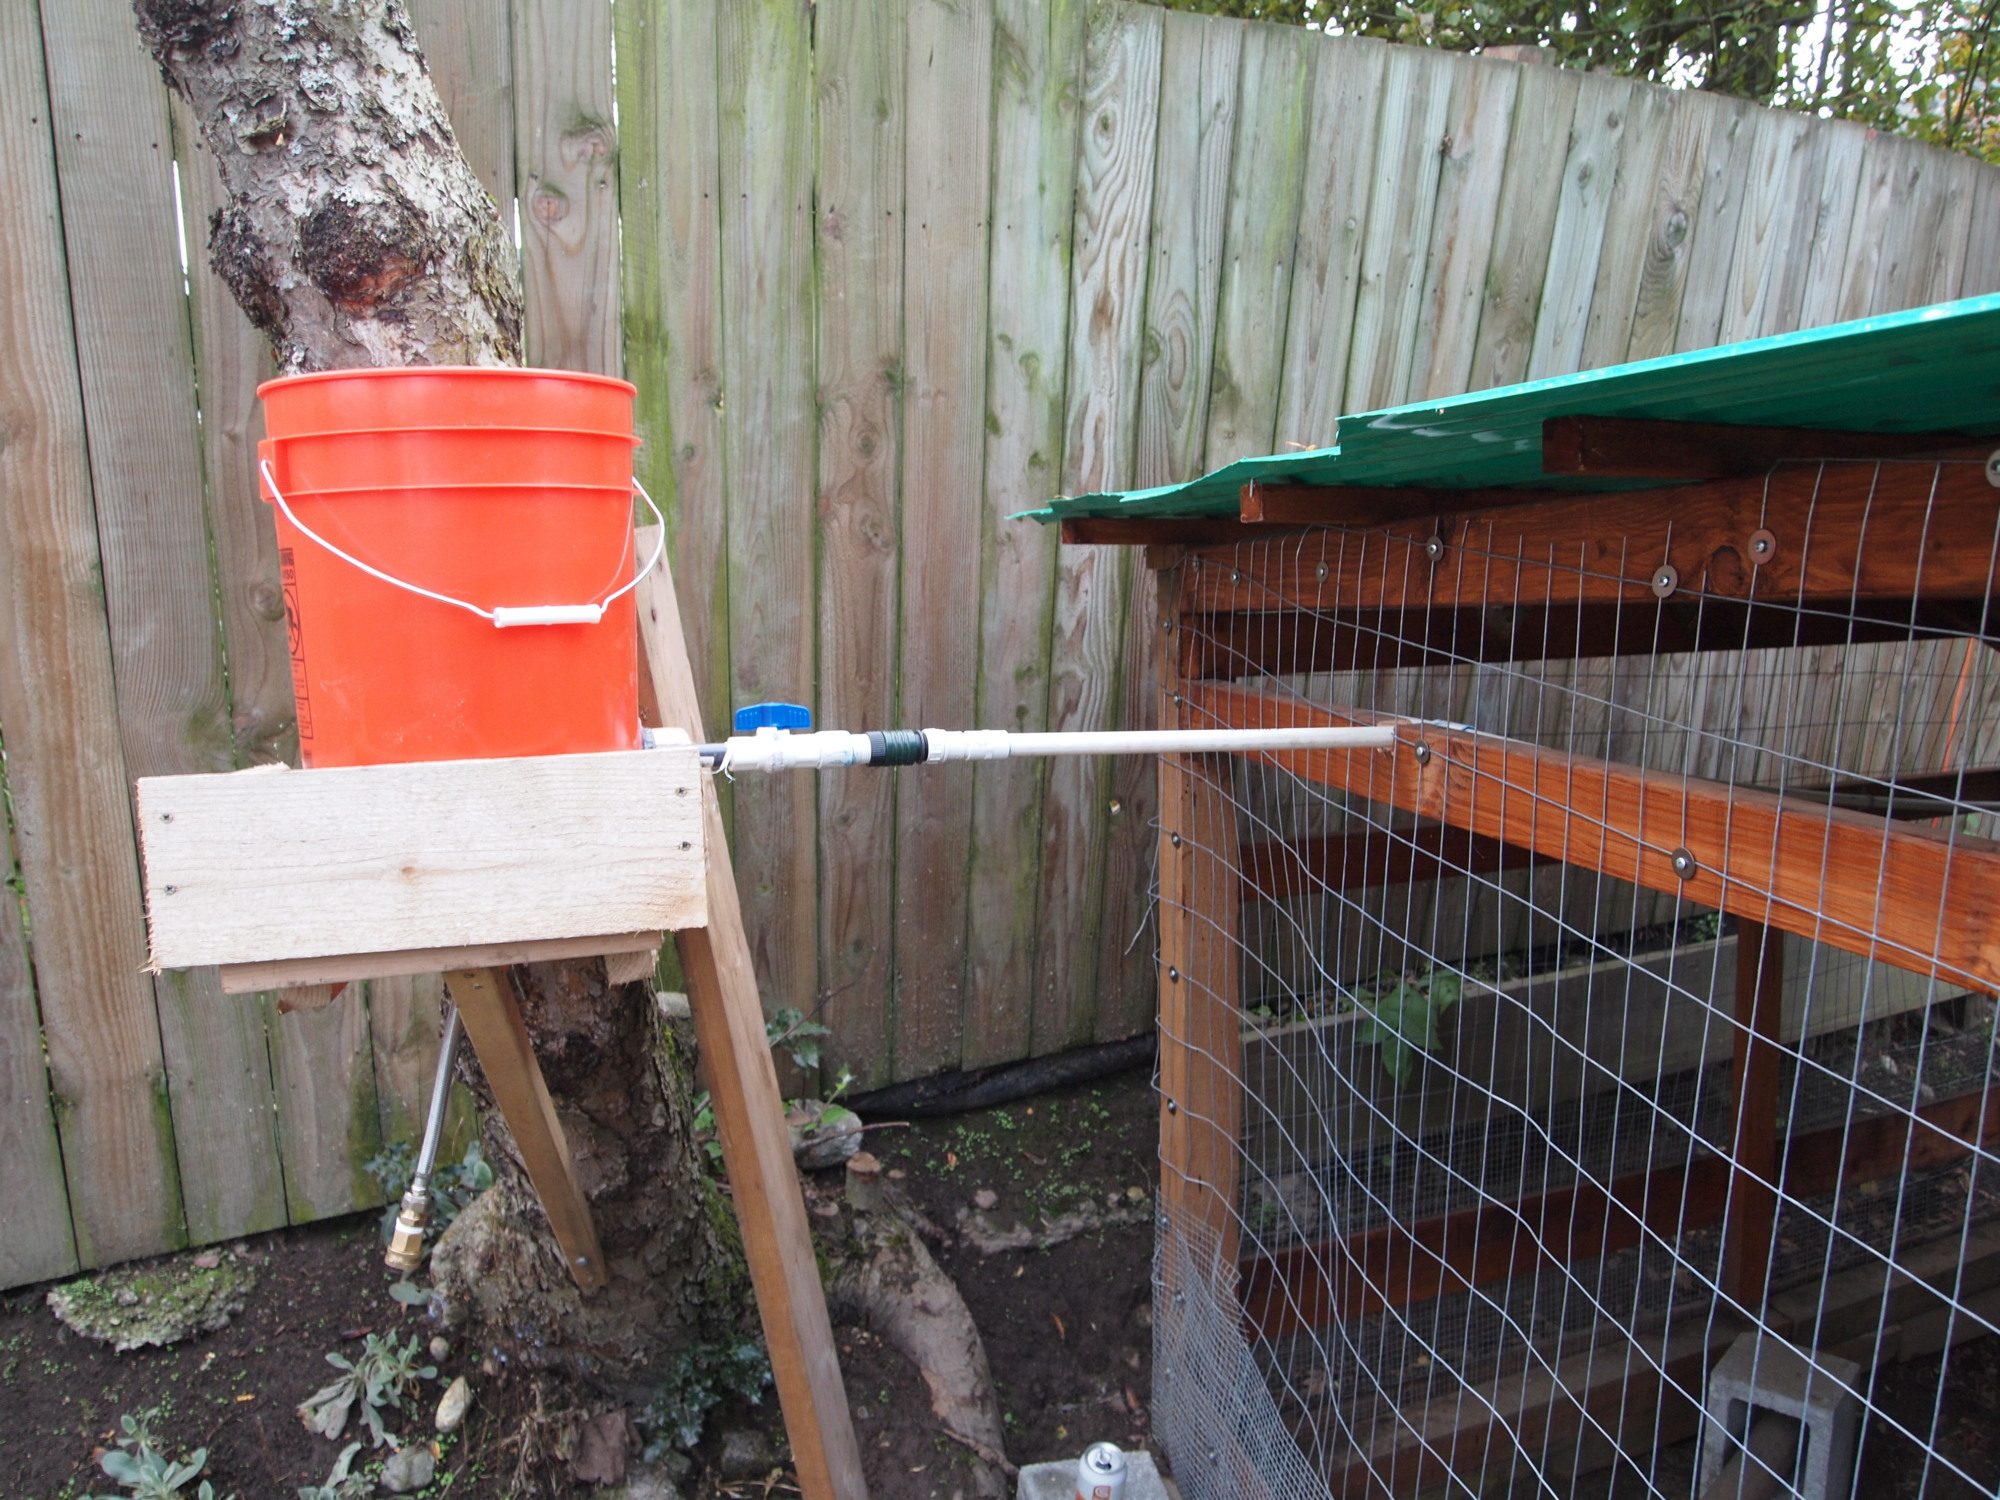
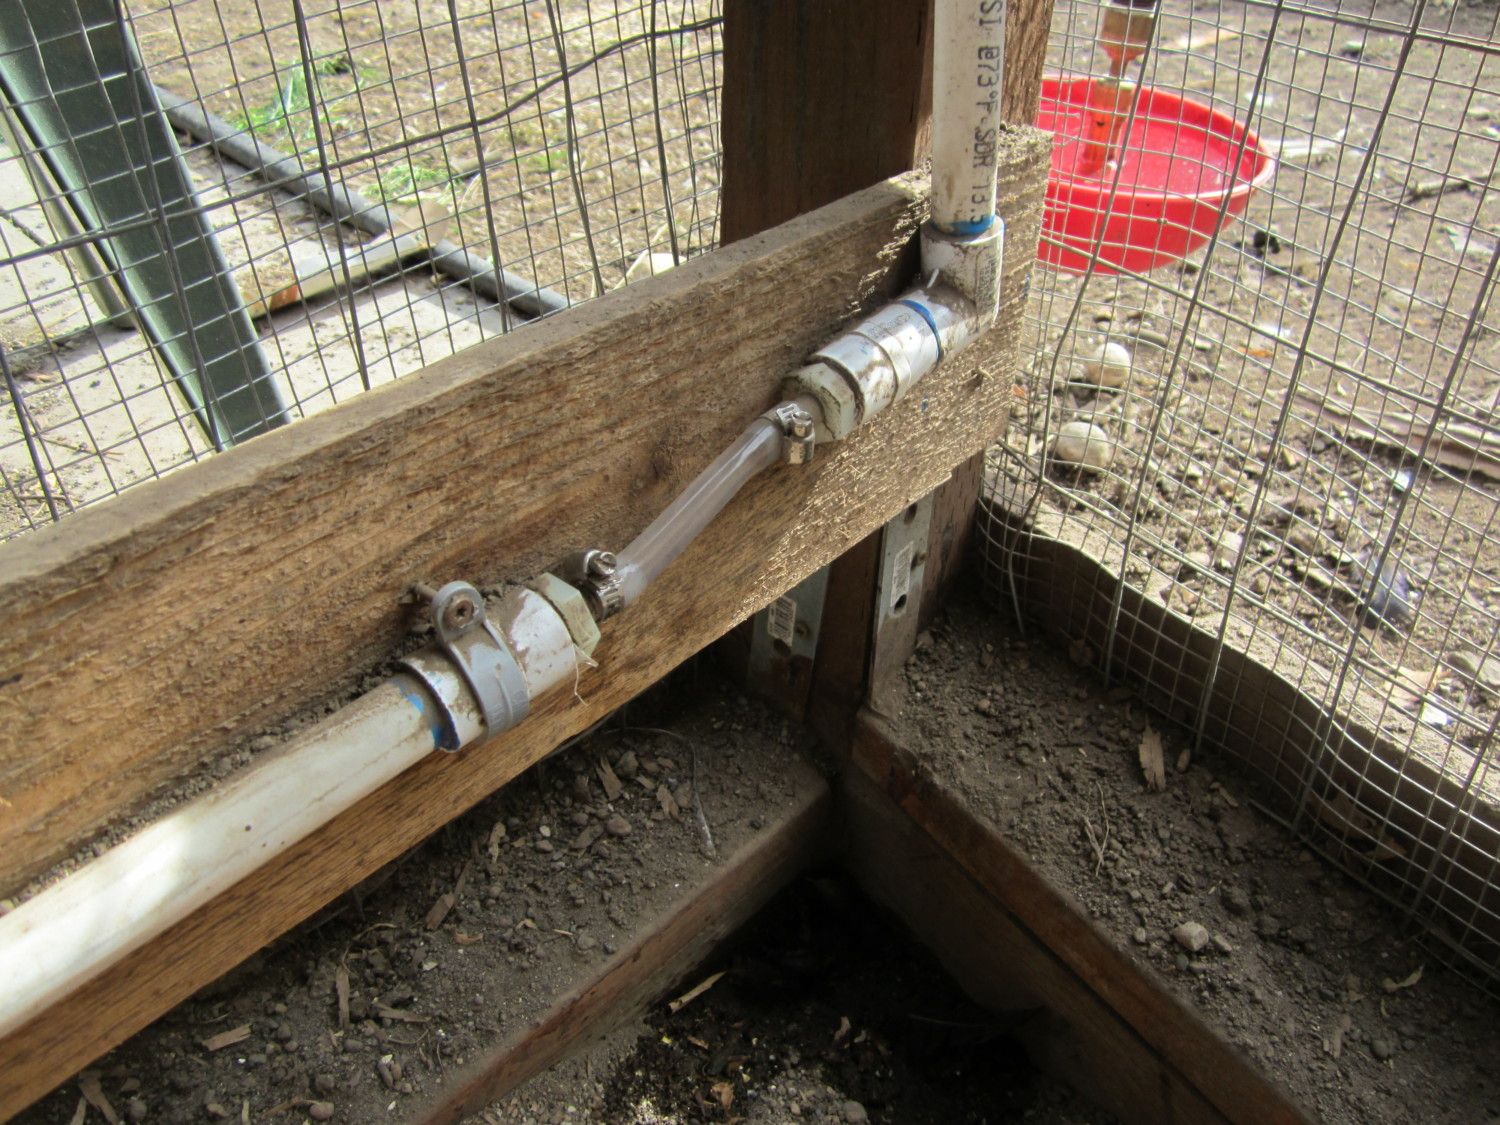
Note the screw cap on the end for cleaning and winter draining.
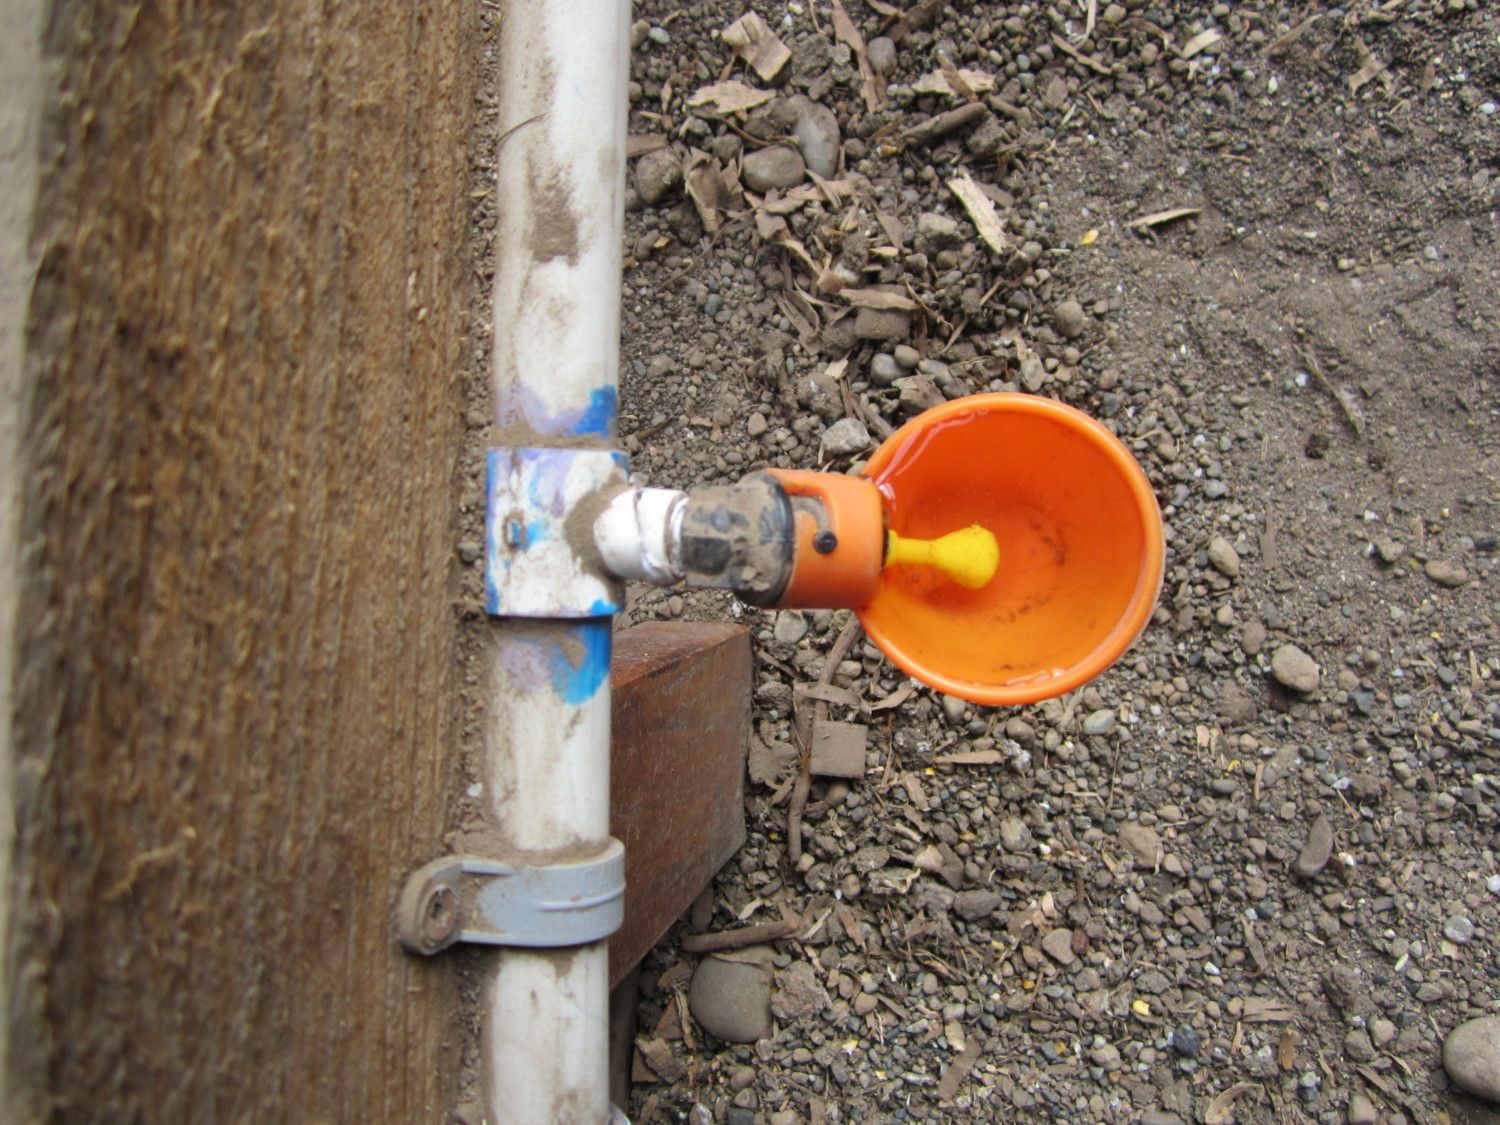
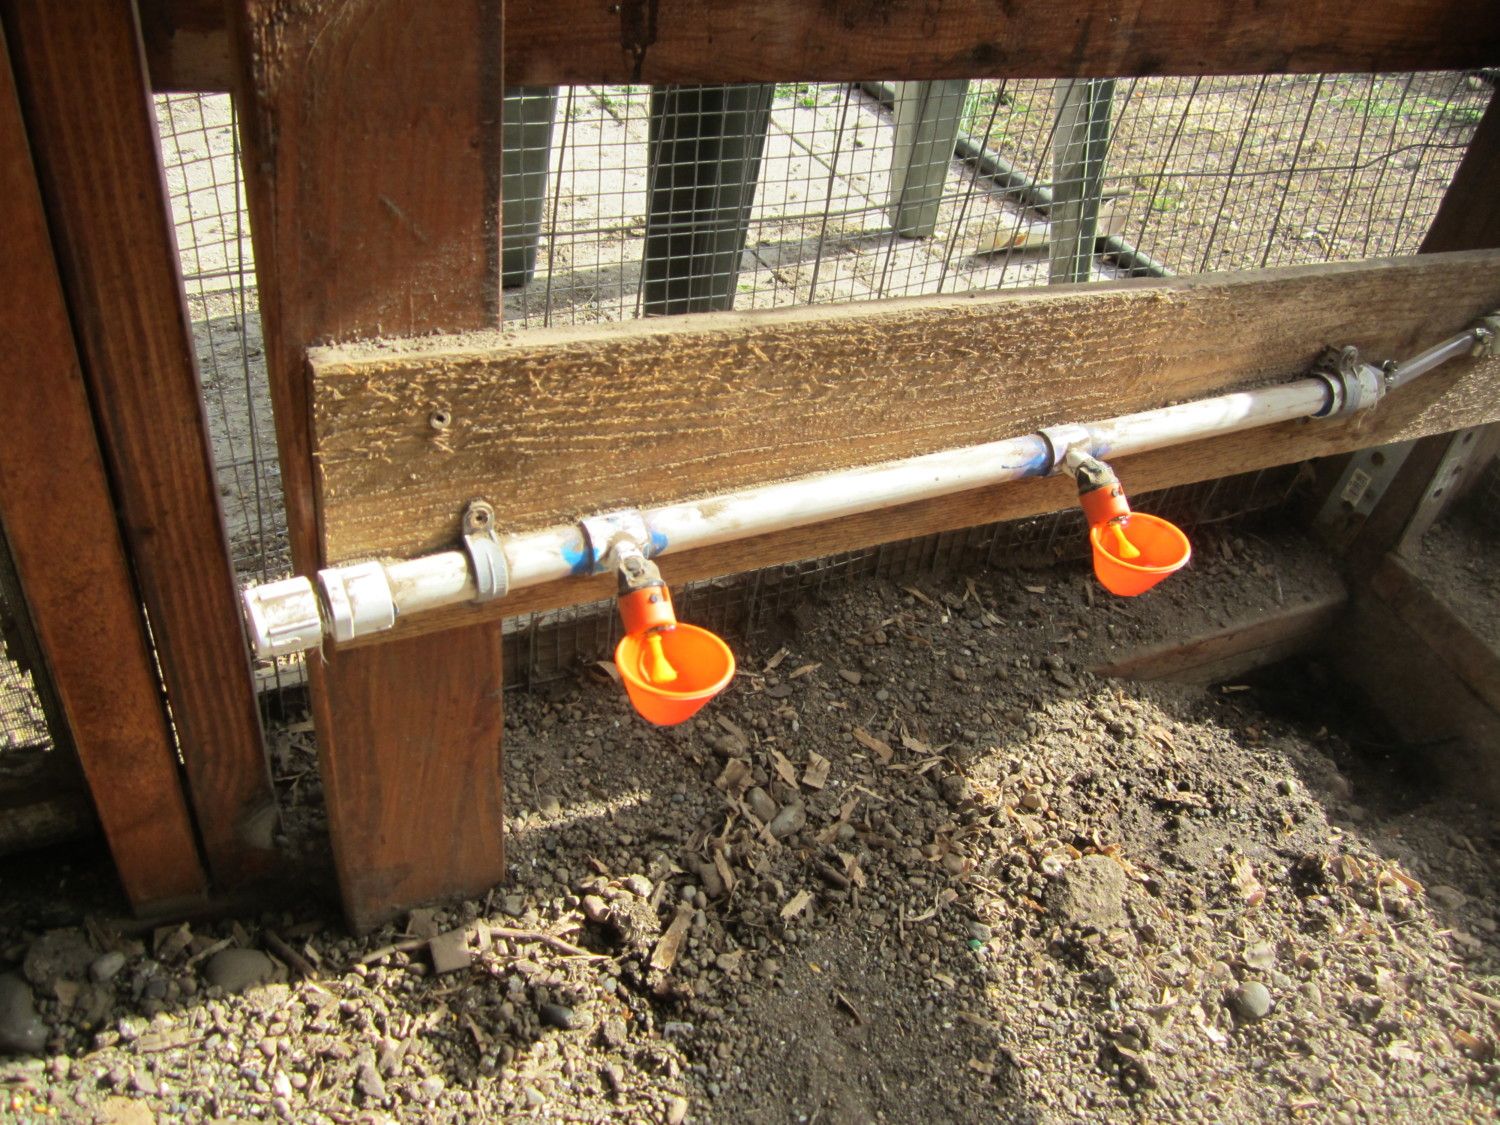
When the bird pecks at the yellow post it fills the cup, the cups twist off for cleaning.
There are 2 more cups mounted inside the coop when the girls are locked up.
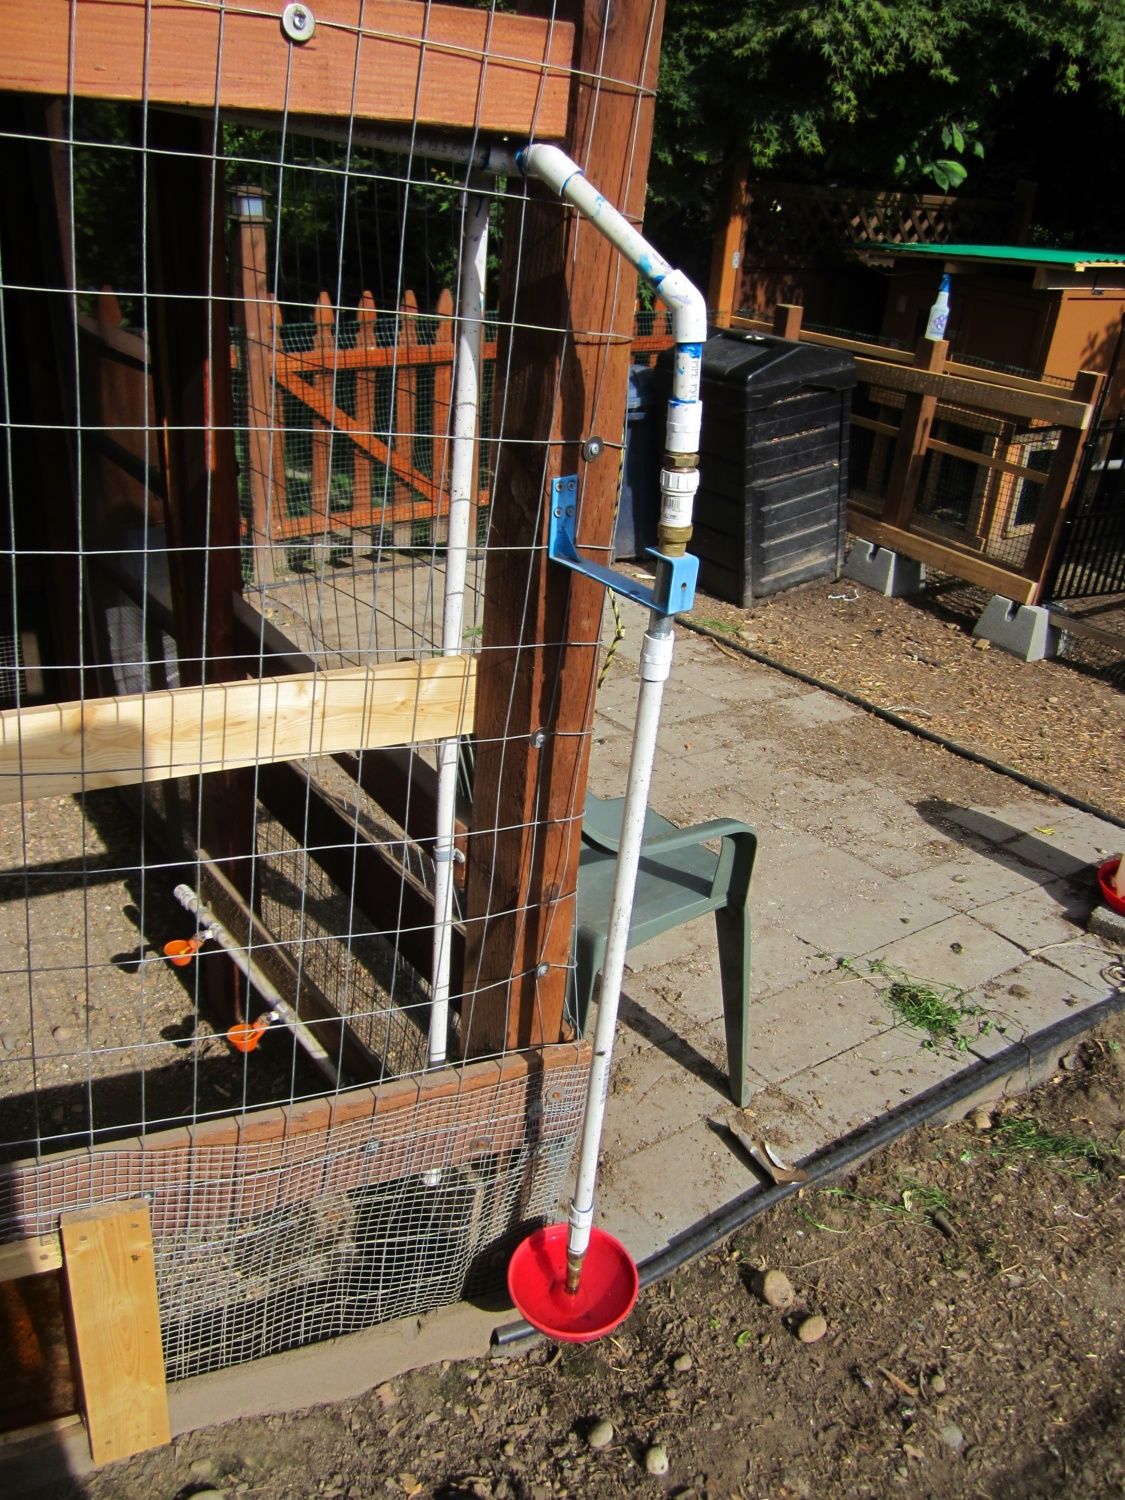
this “Little Giant”automatically fills and shuts off
____________________________________________________________________________________
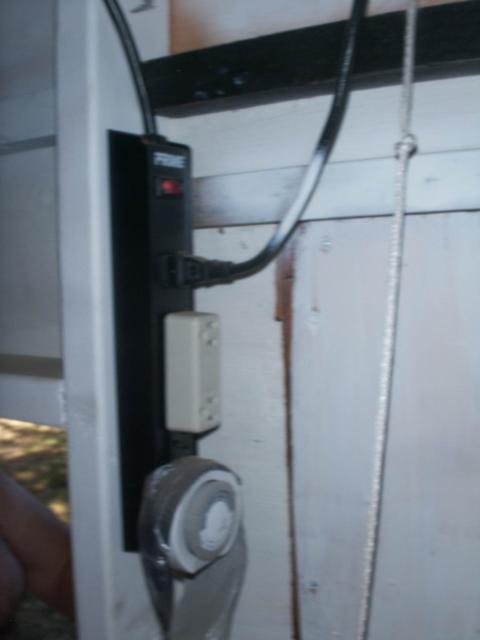
AUTOMATIC DOORS
There are 2 automatic doors on timers in our system. One goes from the coop to the secure pen. It lets them out of the coop at 10am so they can scratch after laying. The second is a newer door which I made from a yellow plastic clipboard. It go directly outside to the fenced chicken yard. When we both work away all day, I figured to let them outside into the yard (secure and fenced with chicken fence) mid afternoon a couple hours before I get home from work.
Both doors are on "add-a-motor D20 chicken coop motors", about $70 each, and a common household light timer plugged into my coop power. They work really well and are dependable and the girls love it. They are lined up at the doors before they open each day. They then know where to go to get back into the coop and what time the doors close...smart birds I guess.
The bolt is a stop in the wall so the door doesn't come up too high and fall out of it's track.
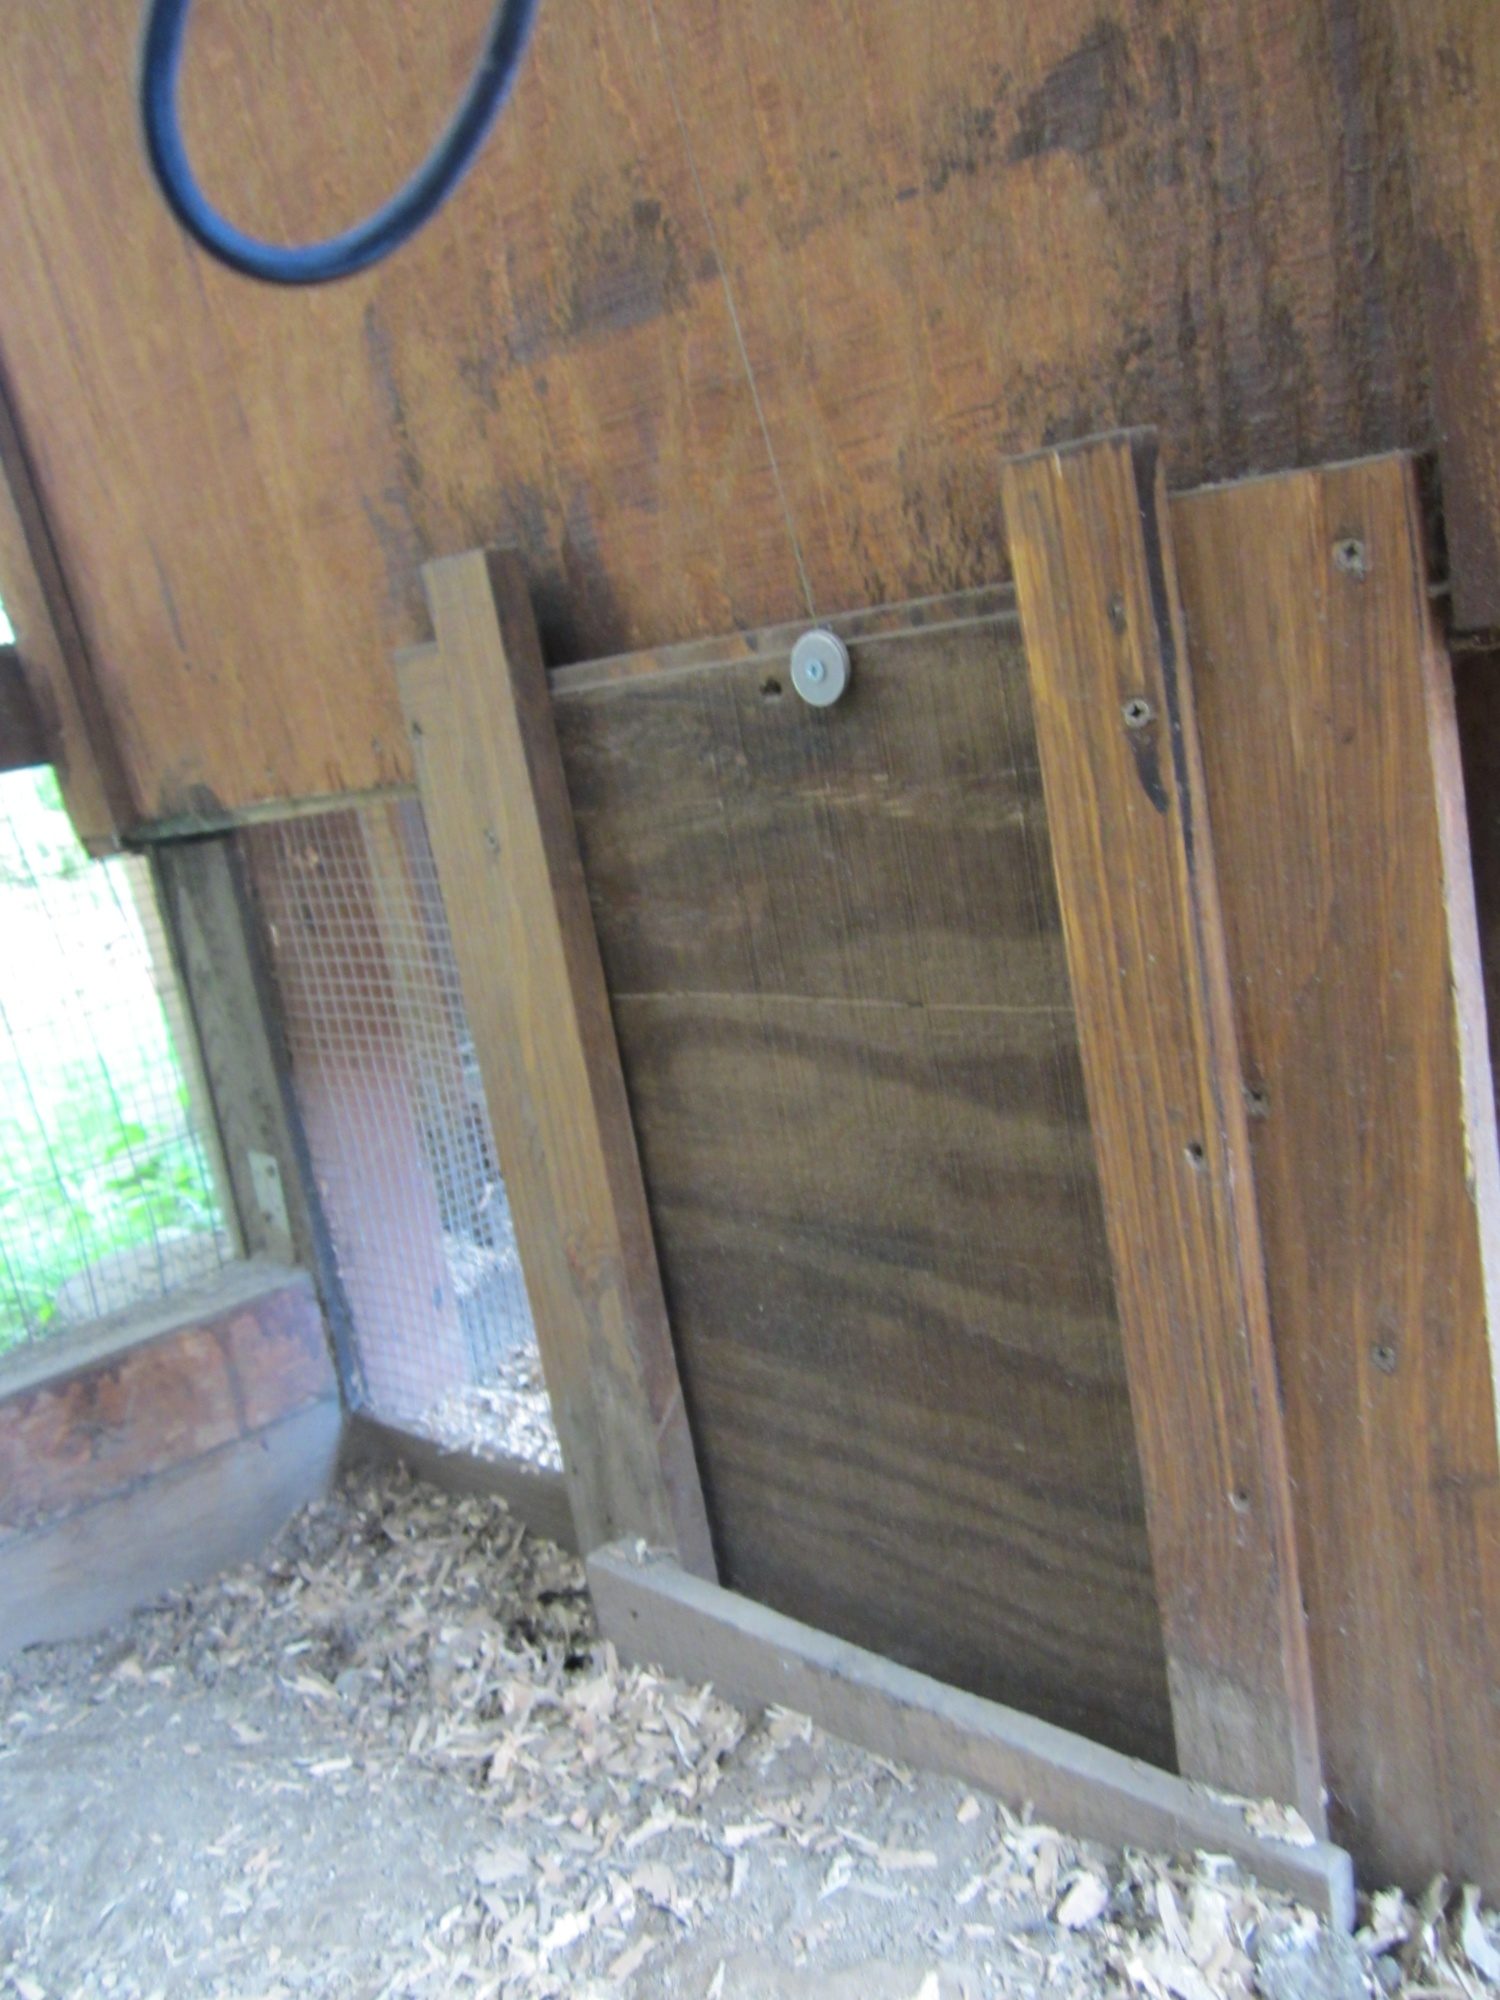
12x15 3/8 inch thick CDX scrap, note the 100# test fishing line going up to the motor which lifts the door.
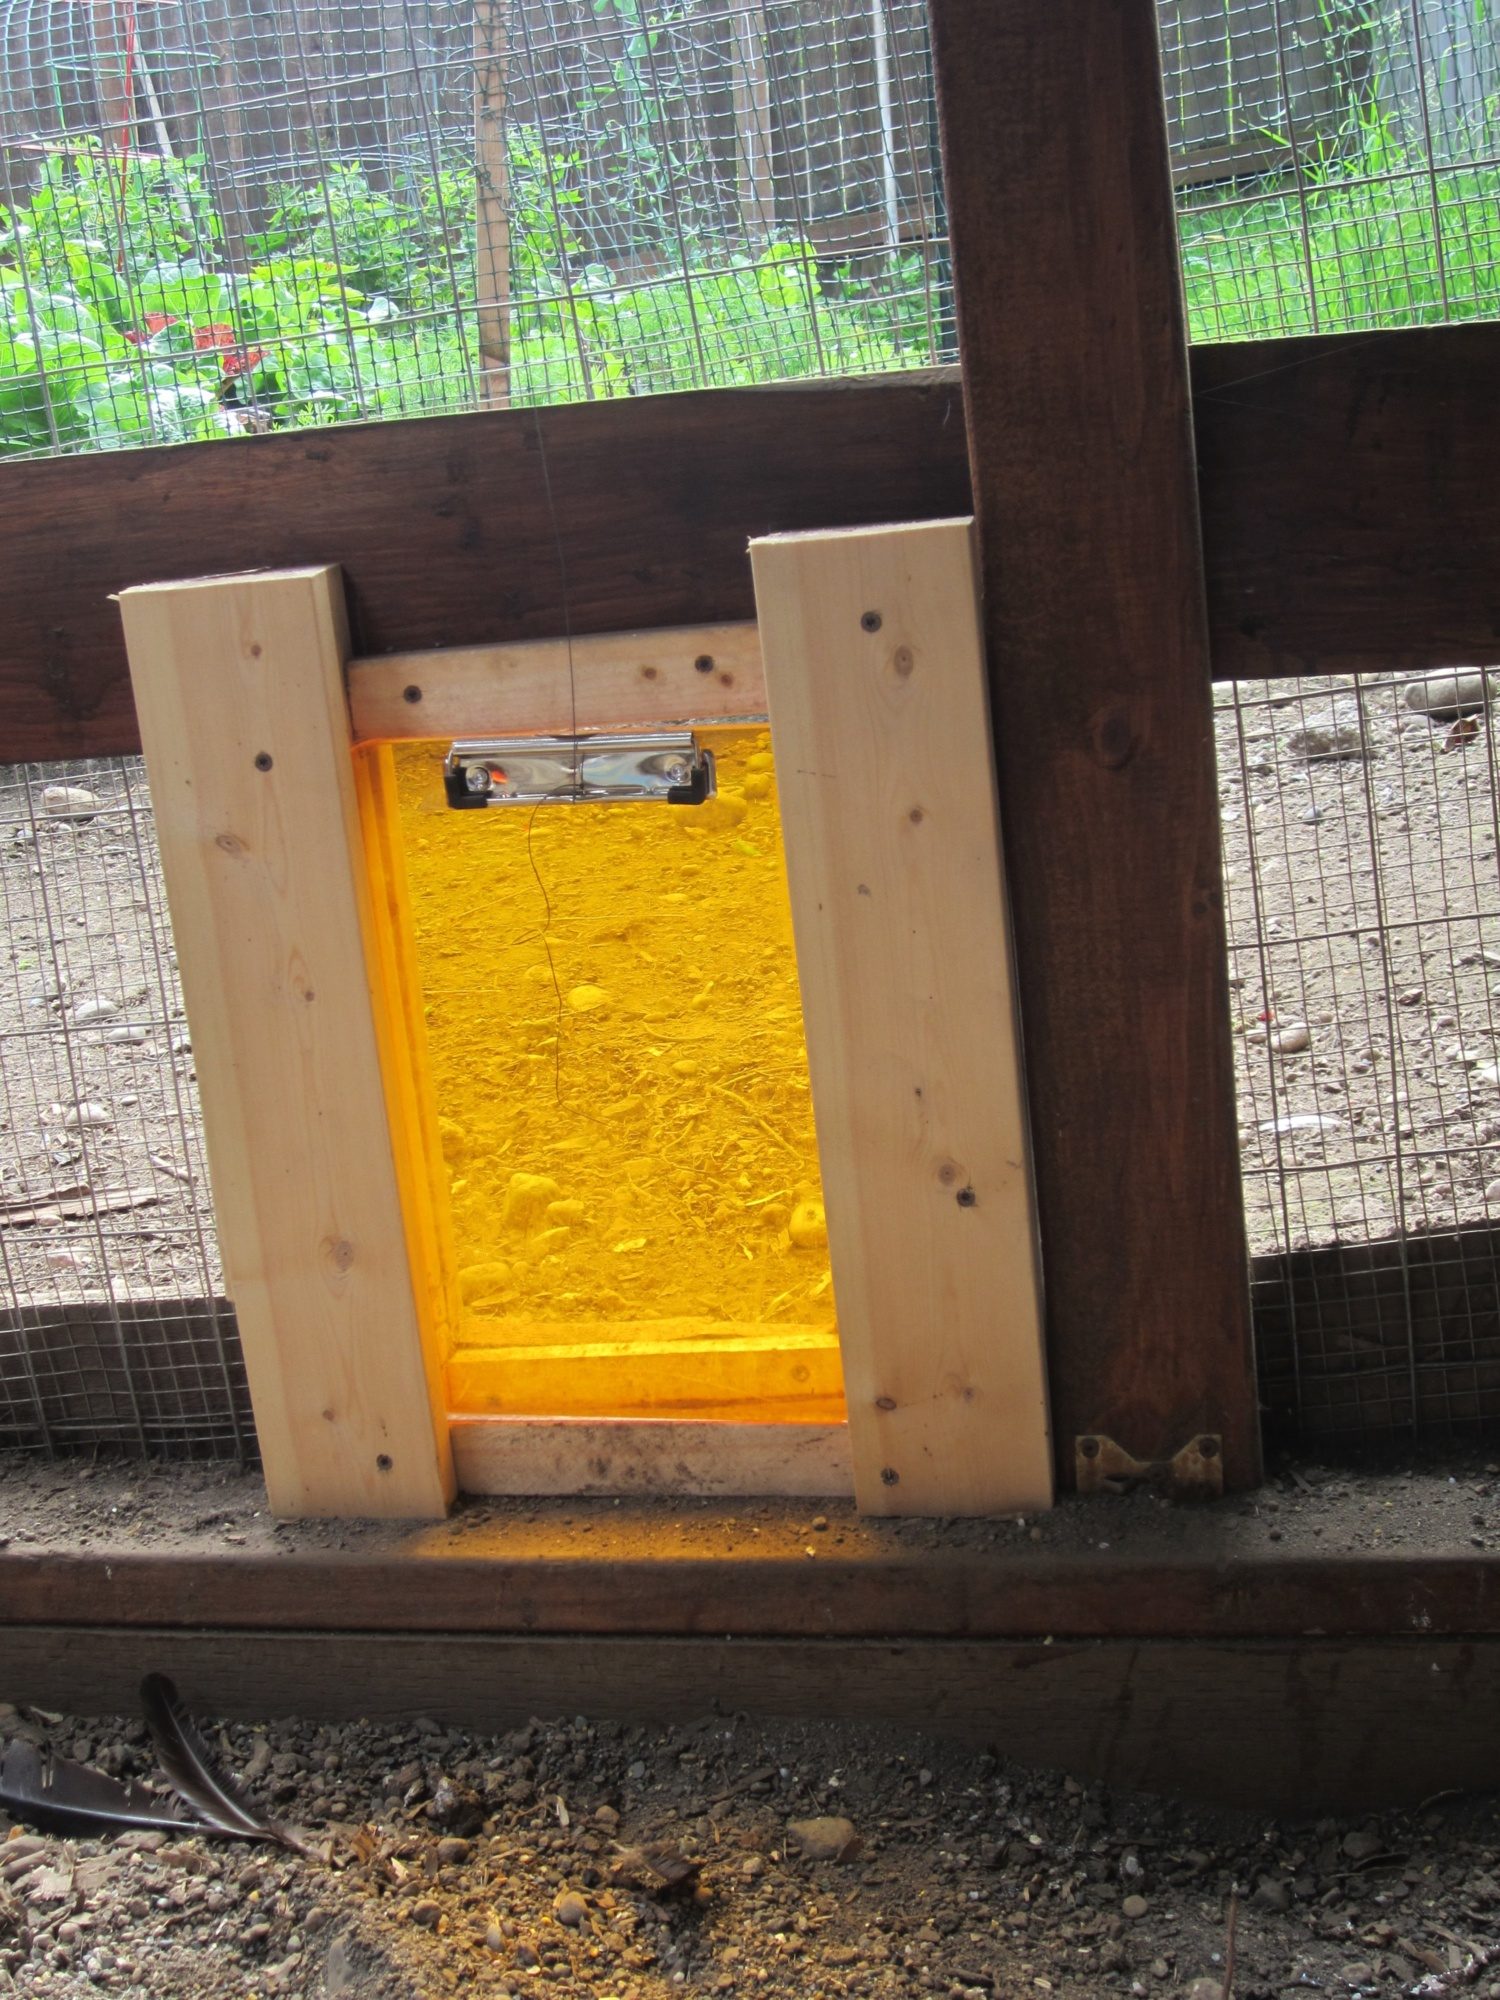
standard size plastic clipboard connected again with fishing line (comes with the motor) to the motor. Door opens and closes at the times set on the household timer.
_____________________________________________________________________________________
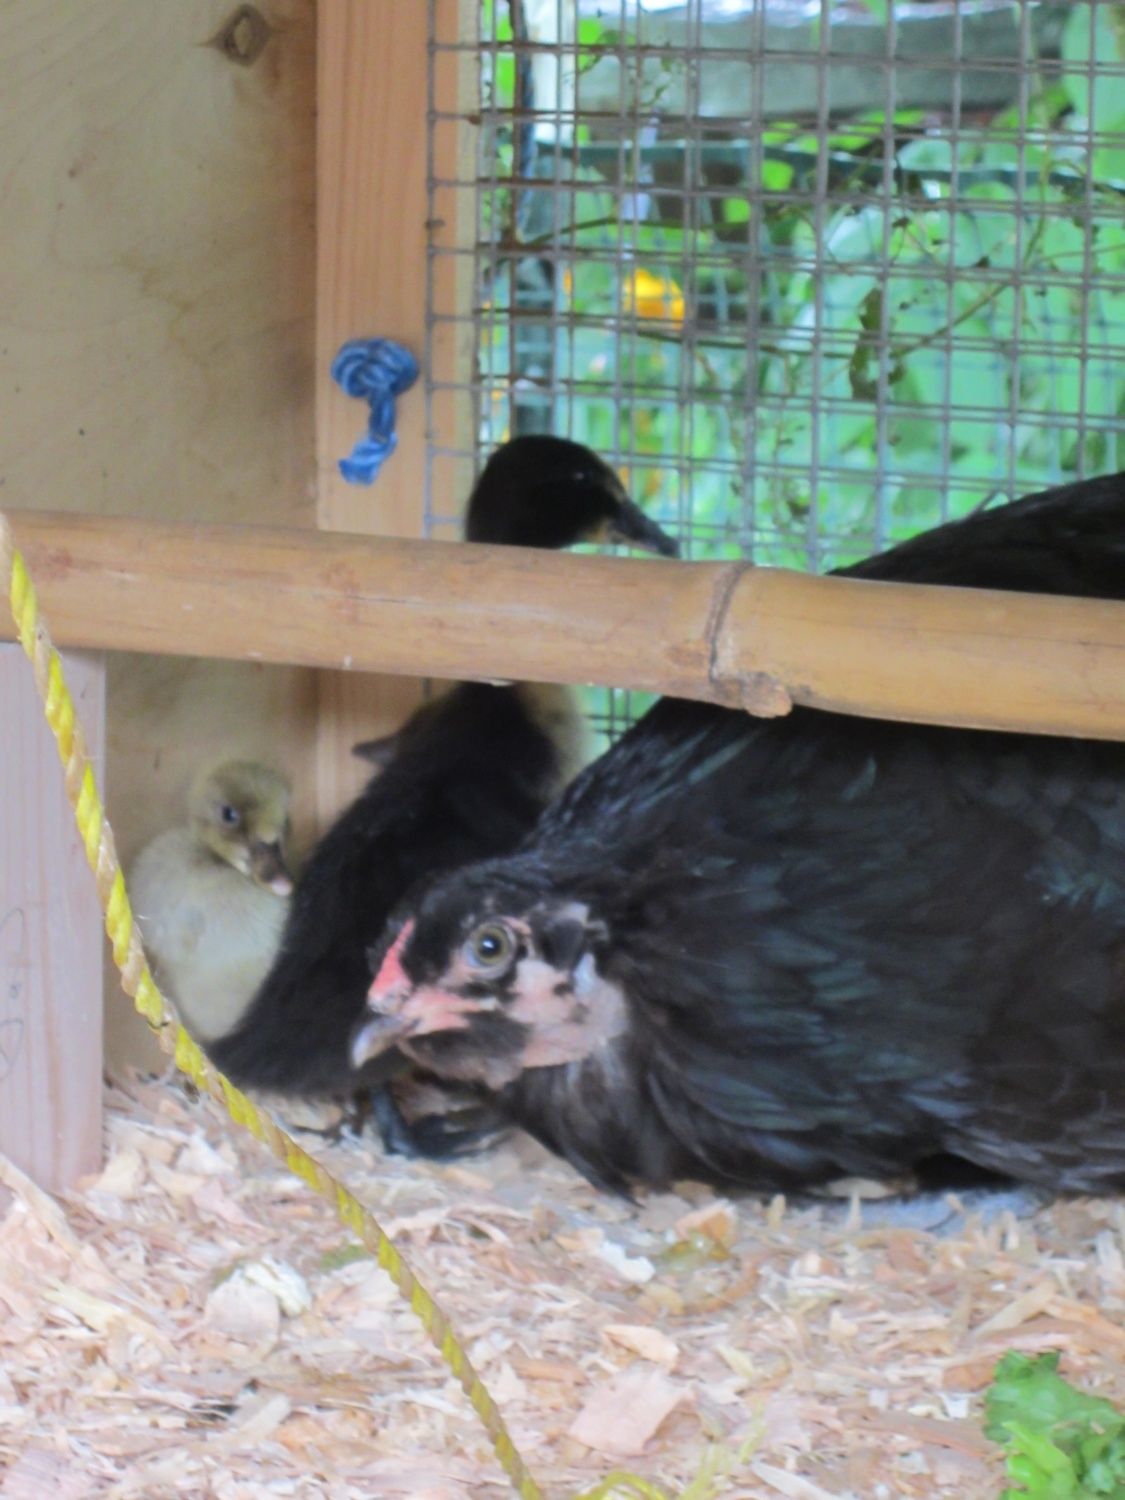
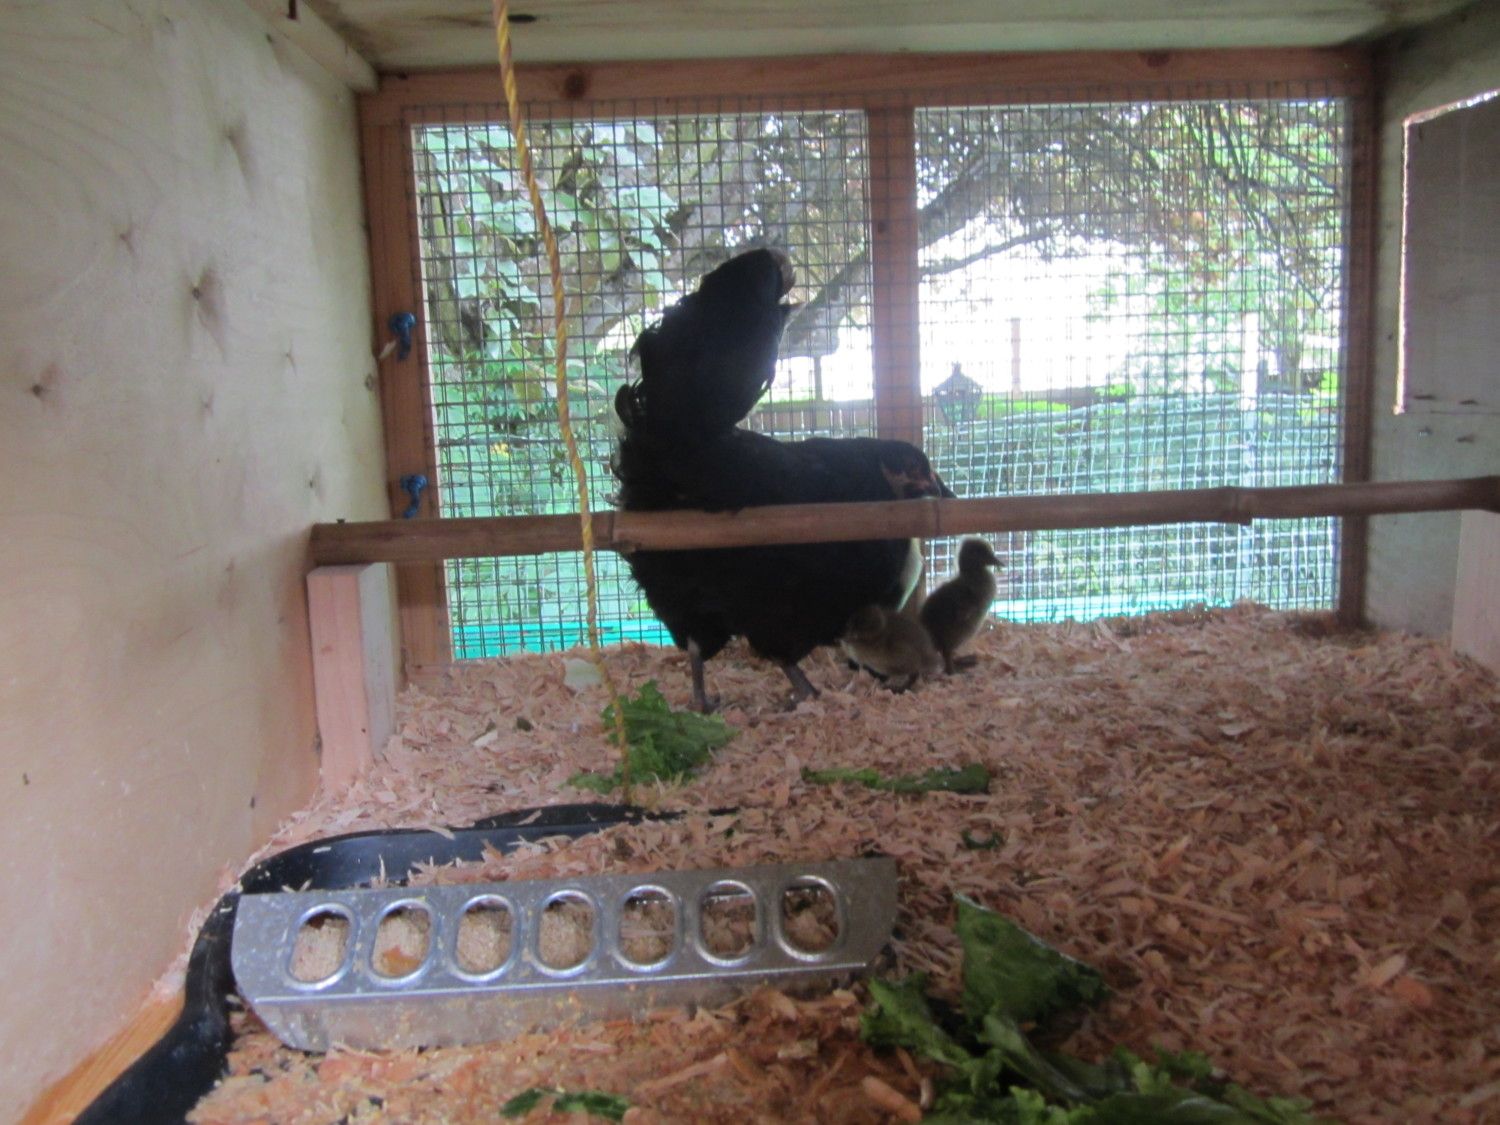
One of our Ameracanas went broody so we put some duck eggs under her and voila...
They are about a week old here.

The Evil Eye!!