My Chicken Coop.
I like to salvage and reuse anything I can for any of my projects. My goal is to spend no $ except for nails/screws. So my materials for this coop was any wood I could get my hands on, which is kind of hard for a city bound peep with no transportation.
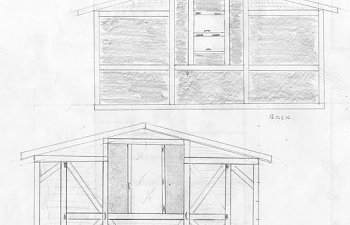
I drew out what I think would fit in my yard and also be a good coop. *drawing shows where 2x4's are placed and not entirely accurate in scale.
Nesting box doors has been changed to be vertical rather then horizontal.

The back and sides are solid and the entire front is screen except for the center box which is a glass door so we can see inside. This design allows for 3 distinct areas.
The Center Box Build
Above photos: Turned back to upright position. *Looking through the nesting box area and out the front door.
Above Photo: Inside coop looking at nesting box and pet door.
Above Photo: Outside view of the Pet door that allows access to coop run.
Above Photo: Front door to Center Coop House
My baby Chickens needed to get outside fast as they had outgrown the brooder so They now live in the center box while I work on it! As you can see I used 1/4" hardware wire cloth for now But I plan on making a plexiglass or some kind of clear window so that in the winter the birds are warm and protected.
The floor is 4'x4' and I used a 4' wide 1/4" hardware wire cloth held down with large washers and screws. The babies have a old dog crate tray and box on the floor for the moment until they get a bit bigger and more comfortable with the new space.
Above Photo of the roof from the inside of coop.
The roof is removable and made from 2x2 lumber I was able to find. I got 5 sheets of corrugated roofing 2'x8'. I used a metal hand saw blade and cut the clear panel in half. And I will never do that again! The plastic will splinter, crack and break if you push to hard so the fine tooth metal saw blade took for ever to cut the roofing. I used the clear roofing in the center as skylights and the white panels on the edges (the white does not really allow light in like I thought it would).
Once the roof was on and attached to the center box with copper plumbing anchor strips, I then installed 1/4" wire on the ends. I plan on also finding something to cover the 1/4" wire ends for the winter.
Above Photo: You can see the washers I used to secure the wire and you can see the copper plumbers anchor strips.
I got some aluminum tape from a neighbor and that will be used to seal the peak of the roof to prevent leaks.
I am currently building one of the side boxes (the left side with storage). I hope to take some photos of that soon but its been raining and I've been unable to finish painting anything :/
Next on list:
I like to salvage and reuse anything I can for any of my projects. My goal is to spend no $ except for nails/screws. So my materials for this coop was any wood I could get my hands on, which is kind of hard for a city bound peep with no transportation.
- $ 0.00 2x4's salvaged from my cousins remodel.
- $ 0.00 1x4's salvaged from pallets.
- $ 0.00 Plywood salvaged from a old truck side boards and an awesome shipping crate!
- $ 0.00 PVC piping 3" and some 1.5"
- $ 0.00 Pet door with sliding lock door. Brand new and thrown out in the trash. Good thing some of us rescue and reuse.
- $10.00 2lbs of 2 1/2" screws
- $ 6.00 1lb of 1 1/2" screws
- $ 5.00 1 gallon of "oops" paint from the paint store... green-ish maybe
- $15.00 1/2 gallon primer (could not find oops or recycled
 )
) - $10.00 Hinges for doors
- $35.00 Corrugated roofing (finally had to buy some as no one was getting rid of any and I could not find any recycled. :/
- Still working on finding more 1/4" hardwire cloth, plywood scrap, connectors for the pvc piping and something to shutter the high screens during the winter.
I drew out what I think would fit in my yard and also be a good coop. *drawing shows where 2x4's are placed and not entirely accurate in scale.
Nesting box doors has been changed to be vertical rather then horizontal.
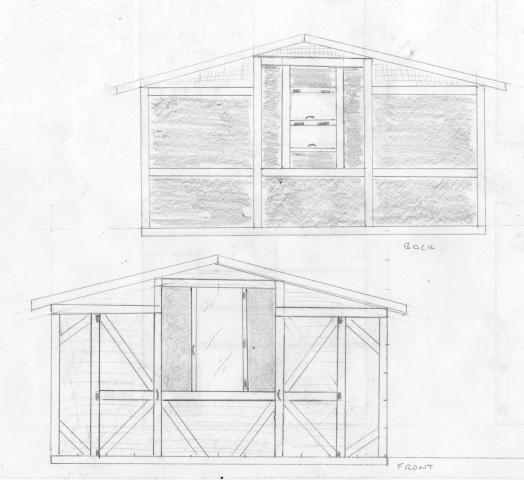
The back and sides are solid and the entire front is screen except for the center box which is a glass door so we can see inside. This design allows for 3 distinct areas.
- The center box and main coop house.
- The right side chicken coop run (also under the center box)
- The left side storage and quail cage area.
The Center Box Build
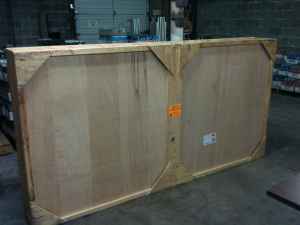
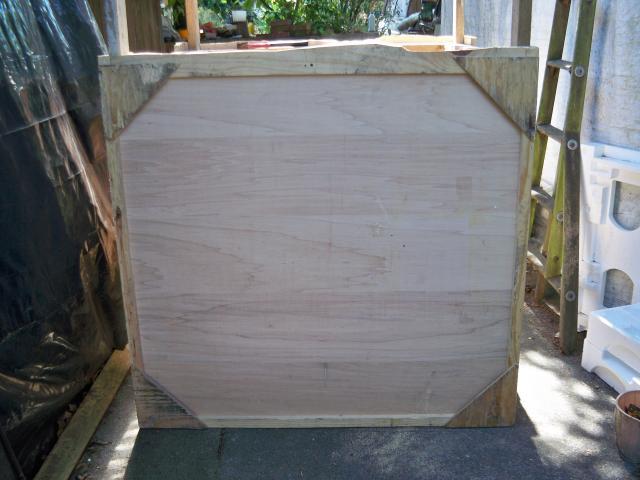
- So first thing I did was cut this shipping box in half. Since there are heavy duty staples every inch I had a hard time keeping my saw straight. :/
- Next I cut some 2x4's to 6' lengths to use for legs and 4' cross bars and screwed them inside the shipping crate to form the sides of my coop.
- Then I attached the 2 sides together to form a box. (in the above photo the coop is upside down so it is easier to work on.)
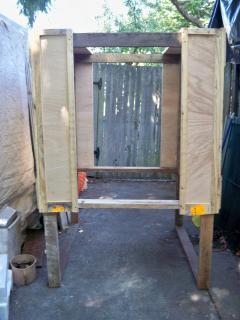
Above photos: Turned back to upright position. *Looking through the nesting box area and out the front door.
- Inserted crossbar supports for the nesting box and floor
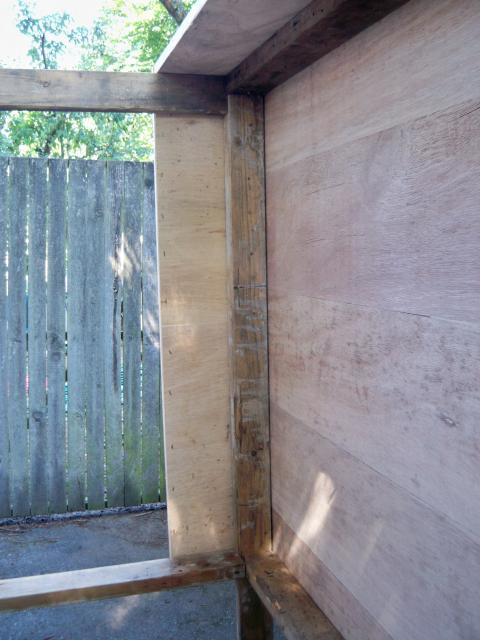
- Cut hole for the pet door to be inserted
- Cut door frame for suport around pet door.
- Built nesting box to be inserted after painting.
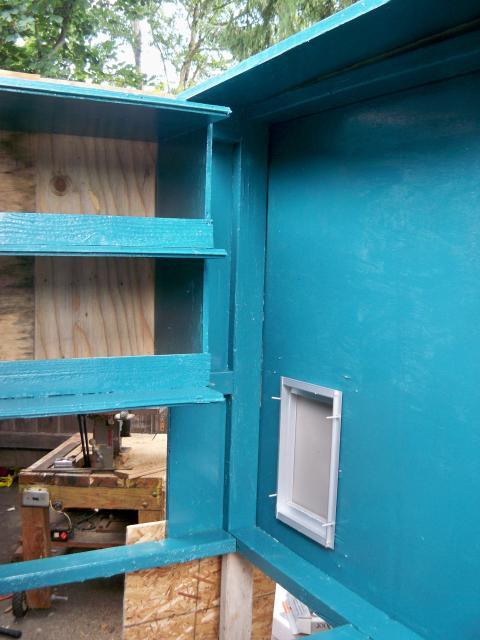
Above Photo: Inside coop looking at nesting box and pet door.
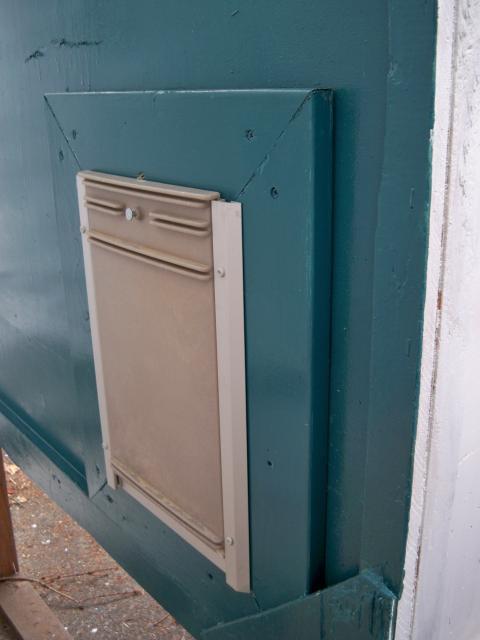
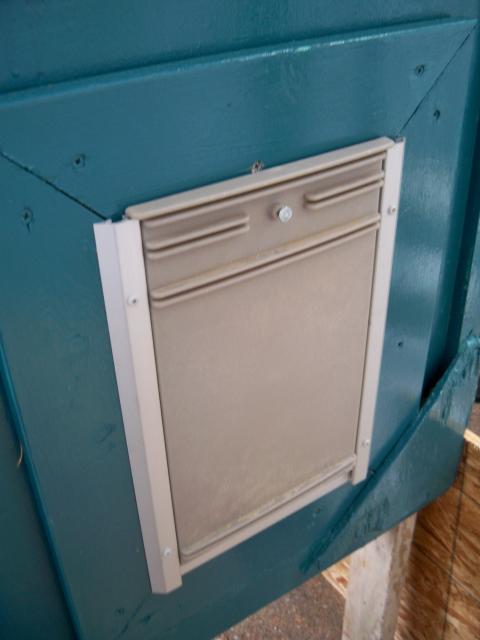
Above Photo: Outside view of the Pet door that allows access to coop run.
- Painted inside out with primer (white)
- Painted inside with exterior gloss paint (makes it easy to clean!)
- Installed nesting box
- Installed pet door
- Cut and hung nesting box access doors
- Cut clean out door (added under the nesting box because scrap plywood is hard to get!)
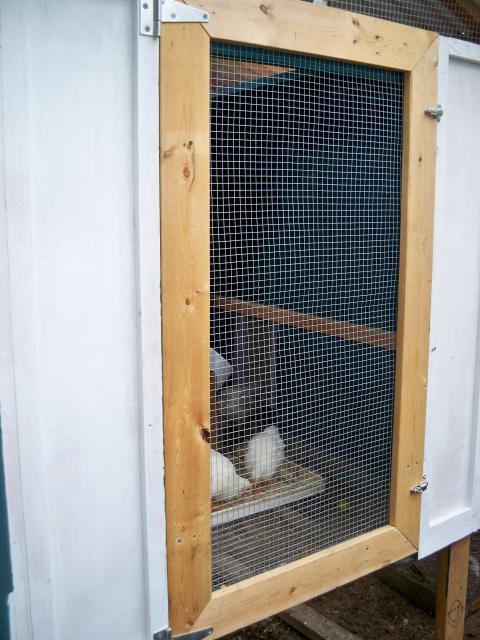
Above Photo: Front door to Center Coop House
My baby Chickens needed to get outside fast as they had outgrown the brooder so They now live in the center box while I work on it! As you can see I used 1/4" hardware wire cloth for now But I plan on making a plexiglass or some kind of clear window so that in the winter the birds are warm and protected.
The floor is 4'x4' and I used a 4' wide 1/4" hardware wire cloth held down with large washers and screws. The babies have a old dog crate tray and box on the floor for the moment until they get a bit bigger and more comfortable with the new space.
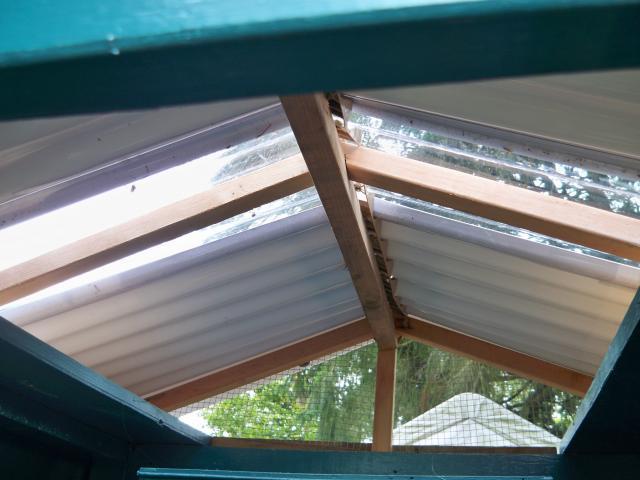
Above Photo of the roof from the inside of coop.
The roof is removable and made from 2x2 lumber I was able to find. I got 5 sheets of corrugated roofing 2'x8'. I used a metal hand saw blade and cut the clear panel in half. And I will never do that again! The plastic will splinter, crack and break if you push to hard so the fine tooth metal saw blade took for ever to cut the roofing. I used the clear roofing in the center as skylights and the white panels on the edges (the white does not really allow light in like I thought it would).
Once the roof was on and attached to the center box with copper plumbing anchor strips, I then installed 1/4" wire on the ends. I plan on also finding something to cover the 1/4" wire ends for the winter.
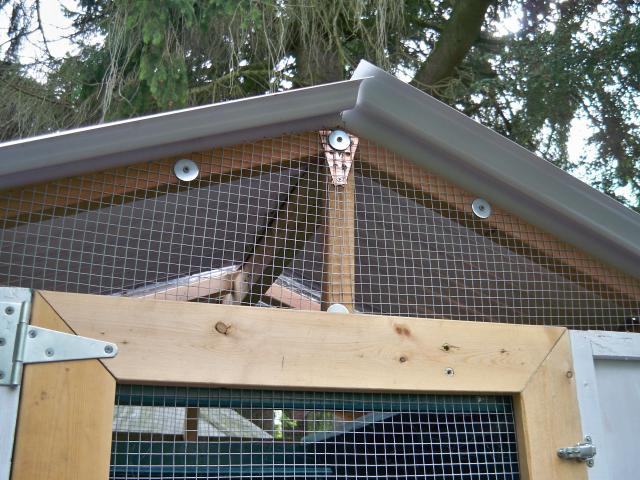
Above Photo: You can see the washers I used to secure the wire and you can see the copper plumbers anchor strips.
I got some aluminum tape from a neighbor and that will be used to seal the peak of the roof to prevent leaks.
I am currently building one of the side boxes (the left side with storage). I hope to take some photos of that soon but its been raining and I've been unable to finish painting anything :/
Next on list:
- Tape roof peak and seal with some spray foam insulation.
- Paint! any day thats sunny will be for painting all the parts not painted already.
- Use 1/4" wire and seal the bottom of the center coop
- Find something to block out the wind since winter is coming fast!