Our Handmade Wooden Chicken Grit / Feeder
Multi - purpose feeder! May be used for feed, grit or even oyster shell.
Multi - purpose feeder! May be used for feed, grit or even oyster shell.

This project was started due do the fact we have standard and bantam sized chickens and needed a smaller feeder to be used in the bantams coop. So, we ran an internet search looking at all the various types of feeders and came up with this simple design using scrap lumber left over from previous projects.
This multi-purpose feeder can be used for feed, grit or oyster shell.
We were able to complete this feeder is less then an hour with little construction experience. The overall dimensions are roughly 11" long by 6 " deep by 12" tall.
You will need the following materials to make this feeder:
hammer, electric jig saw, electric drill, screwdriver, sandpaper, drill bit
nails and wood screws
scrap 1/2" plywood
one piece 1" x 6" cut 11 inches long
1"x1" pine trim
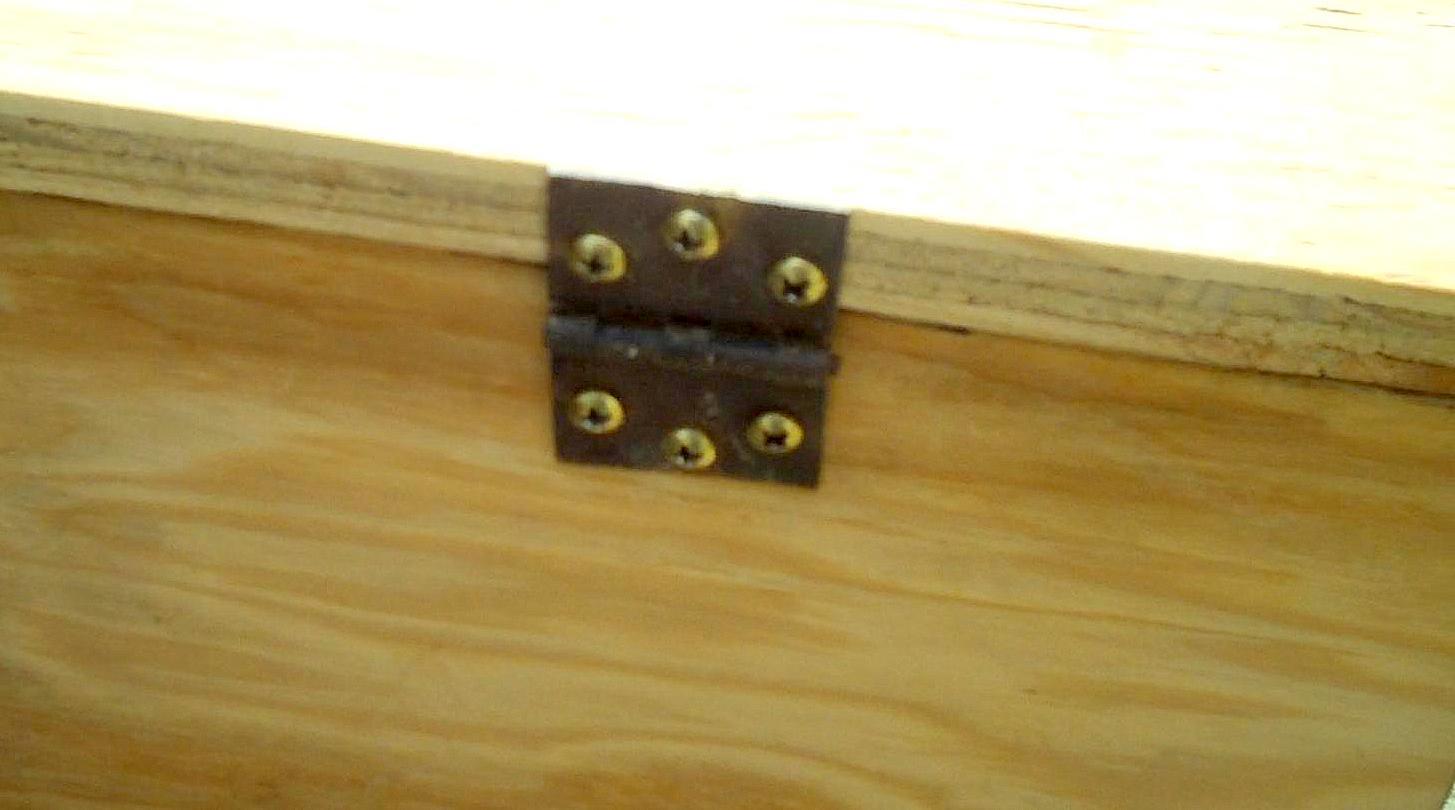
2 small hinges
1 cabinet door handle
Good grade duct tape.
plexi-glass "we stole the plexi-glass from an old wood bird feeder we no longer used'.
Here we go!!
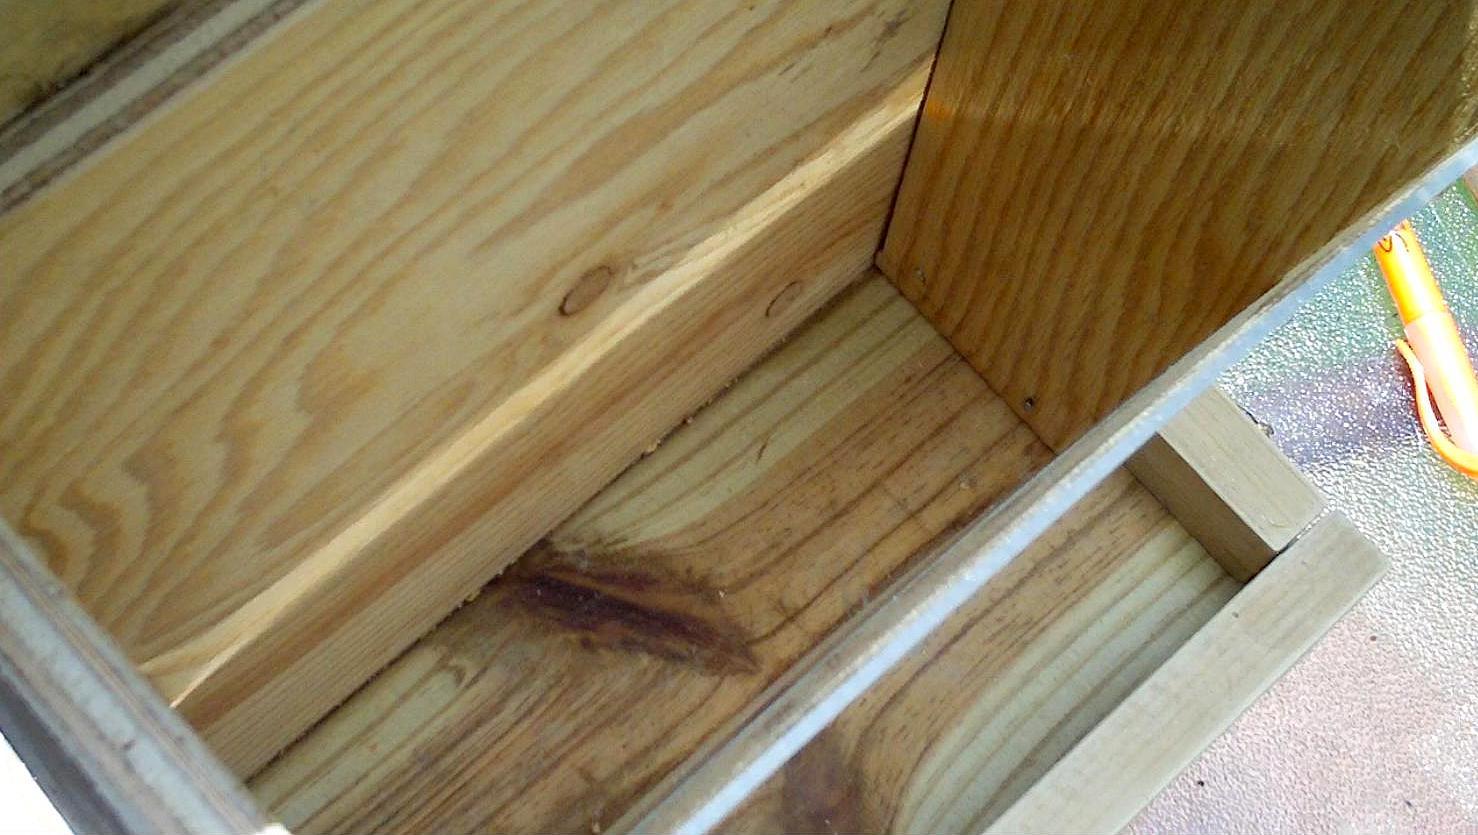
The base wood board is first cut from the 1" x 6" plank to 11" long.
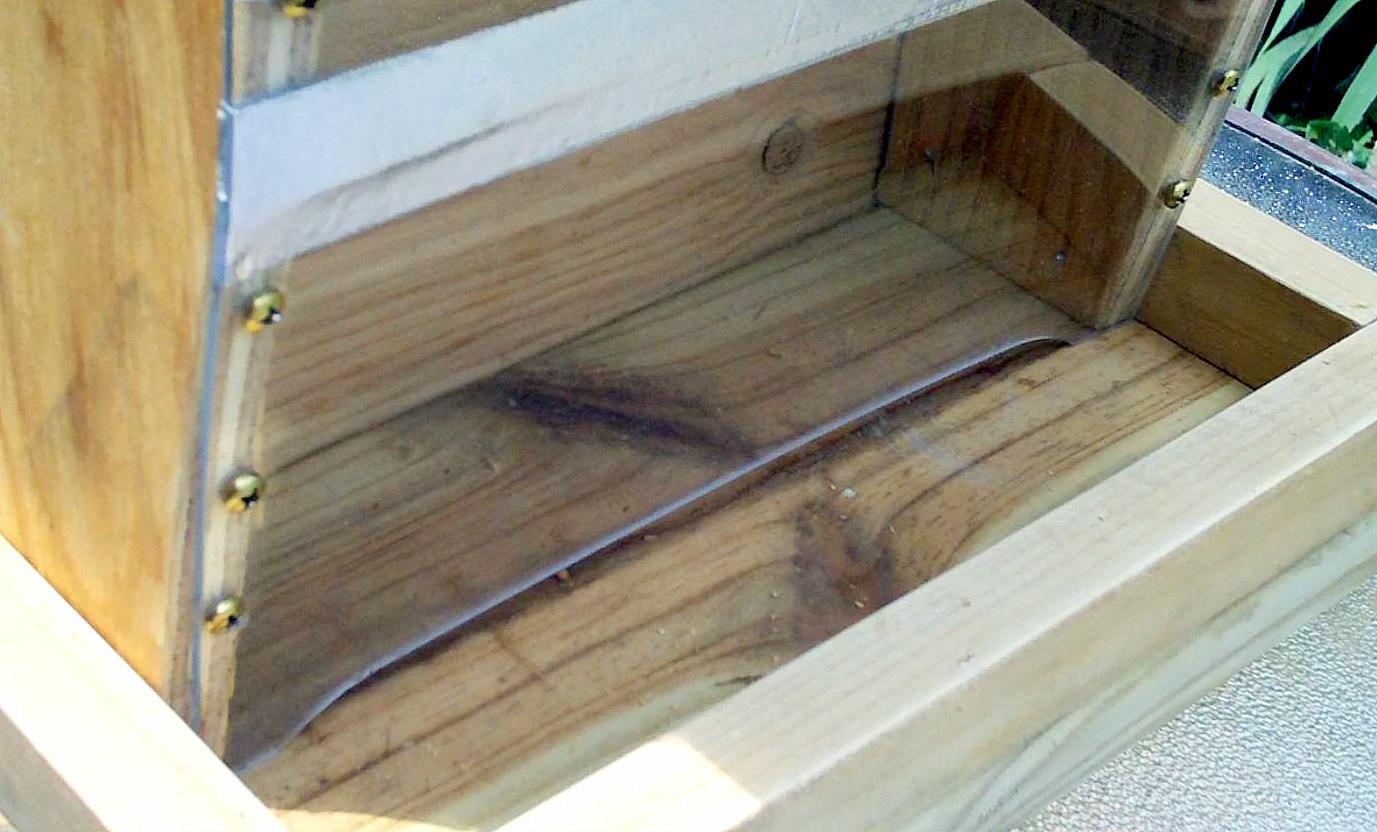
Next the 1" x 1" pine trim is nailed to the 1" x 6" bottom.
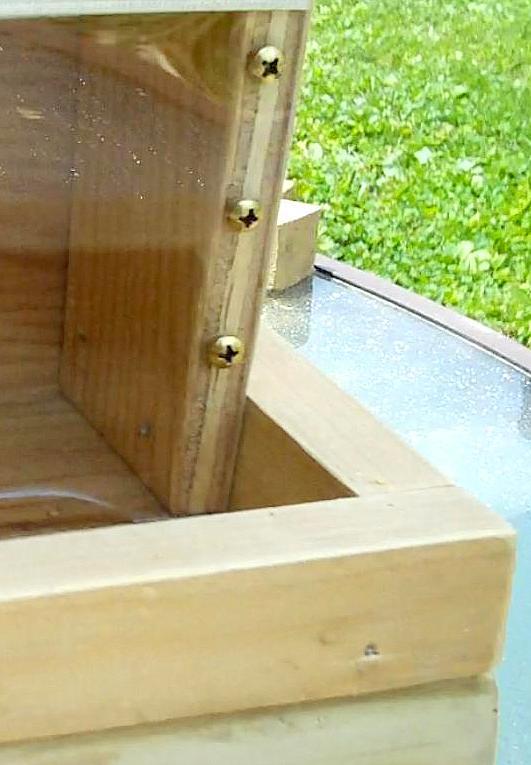
Next, we cut the plywood into two exact pieces that will become the angled side ends. The top measures 5" across and the bottom is 3" across, height will be 10" tall. So, this gives you the angle needed. So, each end will be 3" x 5"x 10". Secure each of the bottom 3" ends against the inner 1" x 1" pine trim using screws.

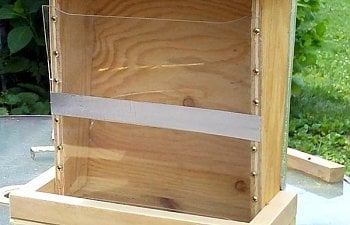
Once this has been completed take the two plexi-glass panels and drill holes using a drill bit very close to the outside edges. Be very careful and don't press down to hard or you will crack the plexi-glass, like we did.

ls.Now using duct tape secure the plexi-glass pieces together. Once completed using screws gently secure the plexi-glass panels to the edges of the plywood pieces you just cut and nailed. We drilled 6 holes in each end of the plexi-glass pane
Once this has been completed you will want to measure the back of the feeder edge to edge and cut a piece of plywood to the dimensions to completely cover the back.
We used nails to secure the back panel to the side panels. Be careful when nailing that the nails do not come through the edges of the 1/2" plywood panels. Now using the duck tape running it along the edges of the back panels to seam in gaps left from the wood. Calking might also be used.
It's almost completed now! Fast huh?
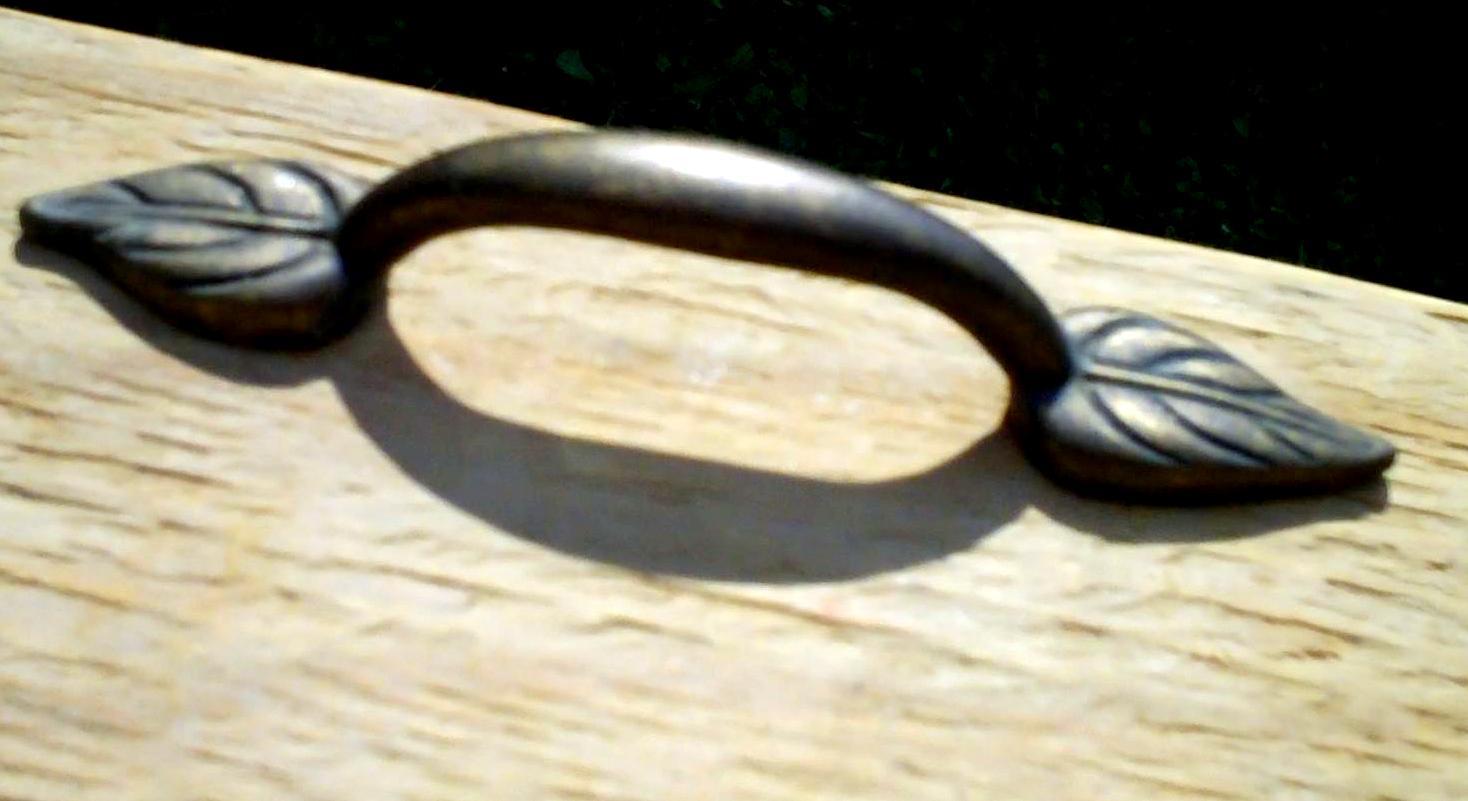
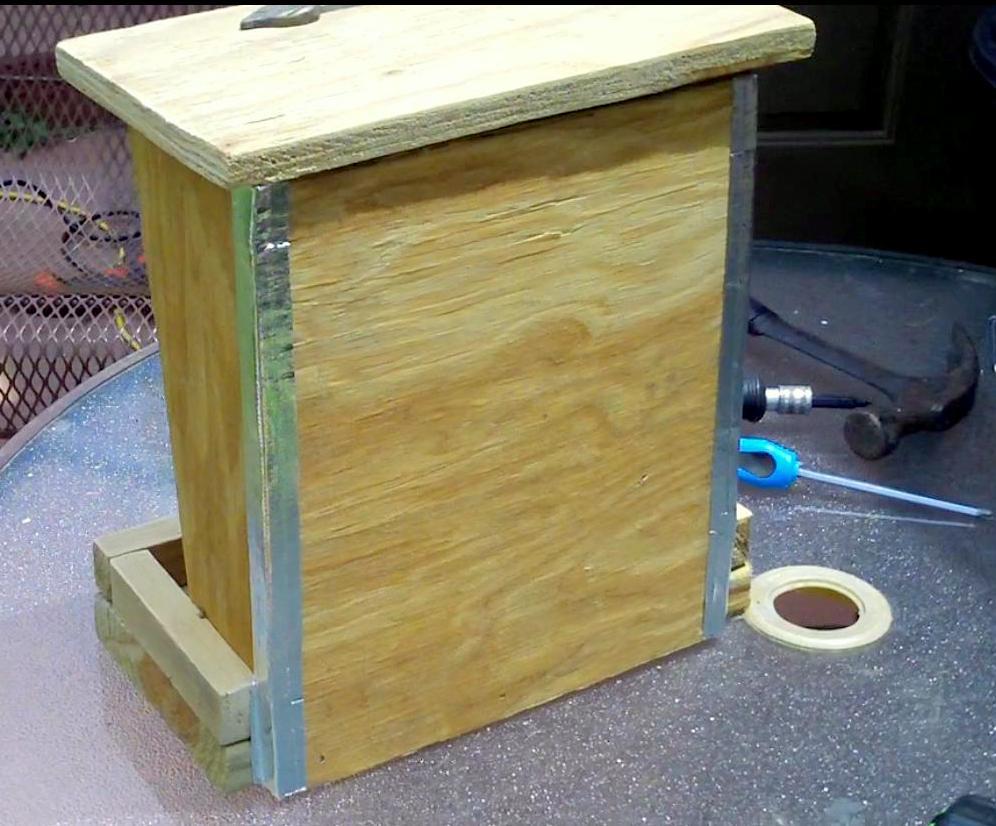
You will now want to cut the top lid using the 1/2" plywood to 6" x 11". This will give you a front and side overhang. Once this has been done you can add a handle if desired. Door handles most often come with the template to drill the holes to the correct spacing.
Once this had been completed sit the top onto the feeder and using two hinges secure it to the feeder with wood screws.
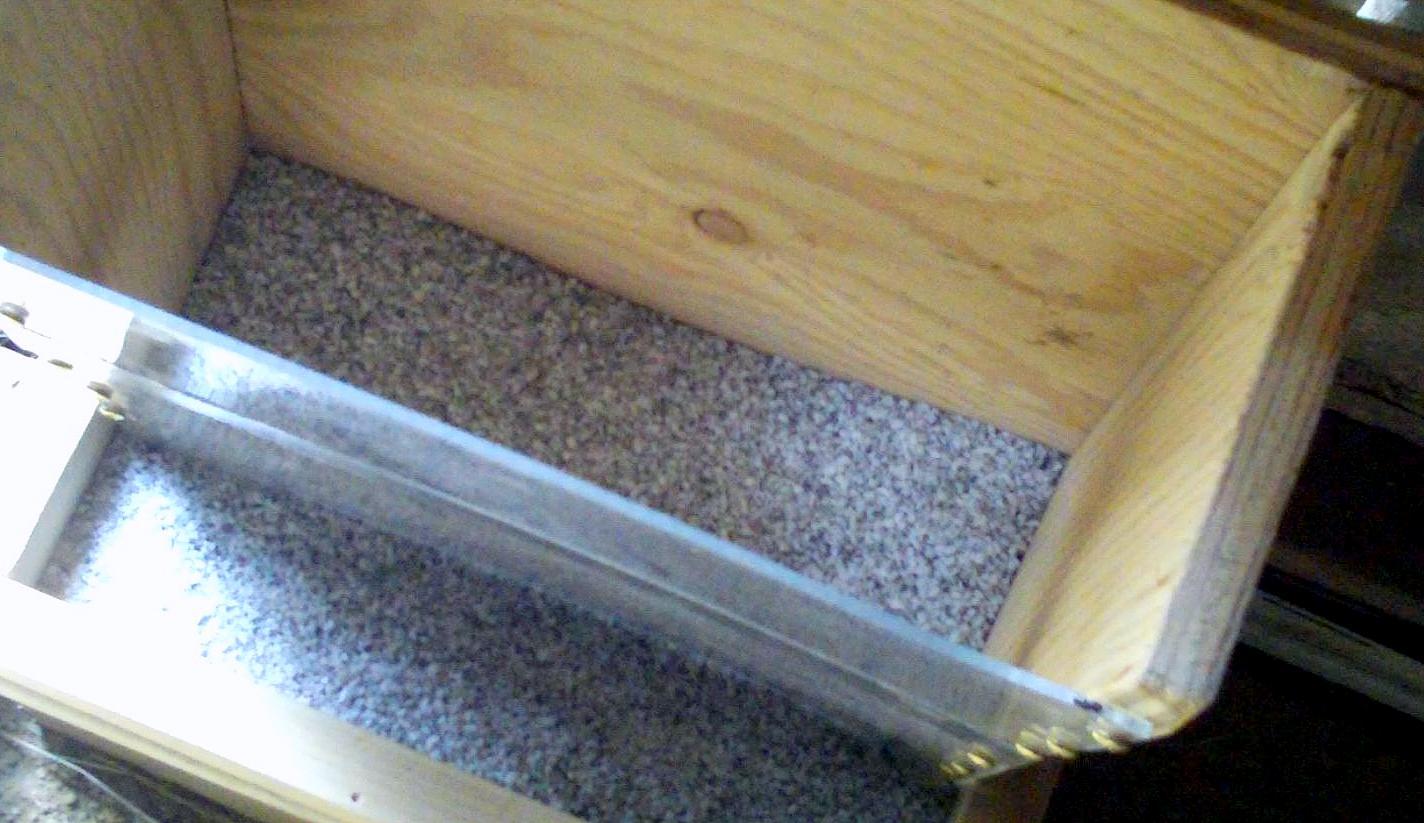
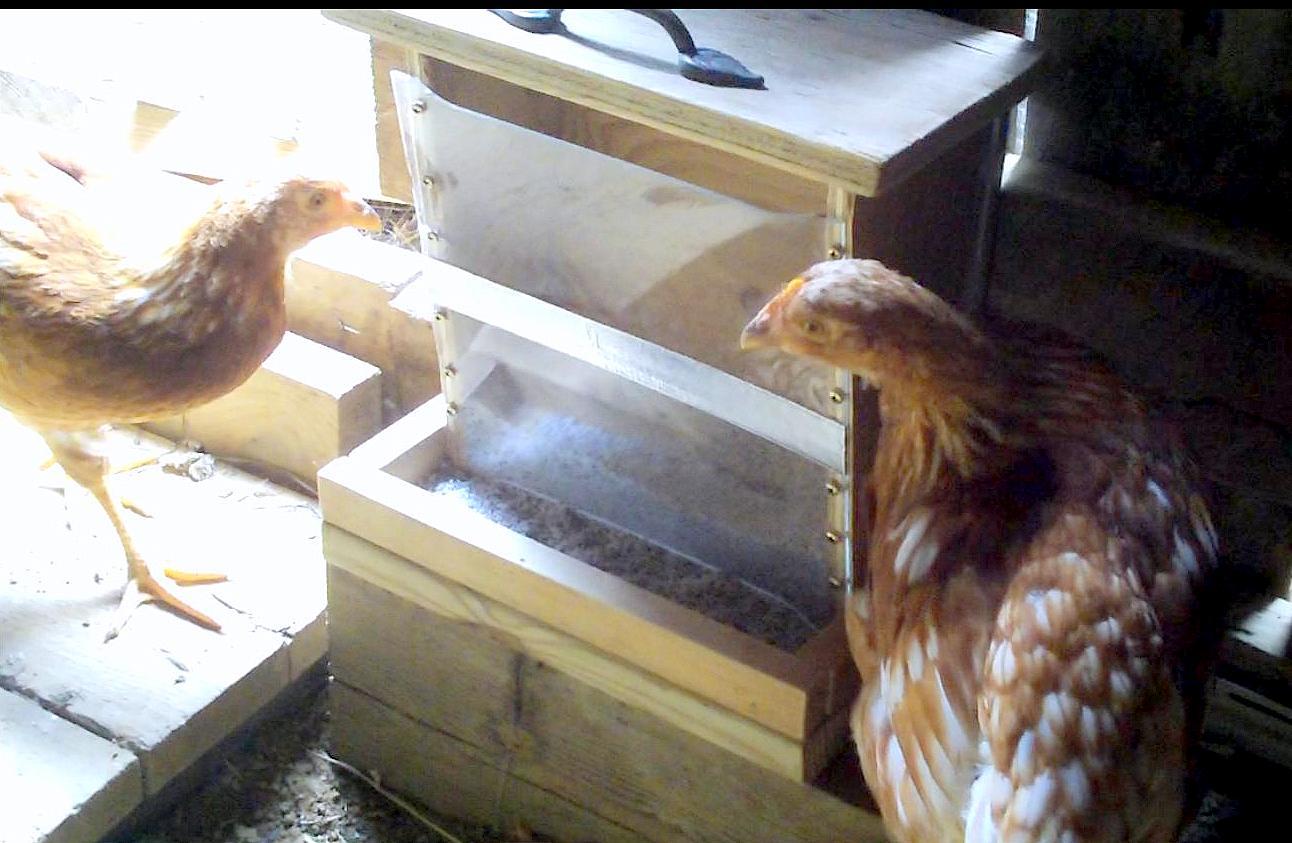
You feeder is now completed!
We filled ours with chicken grit.
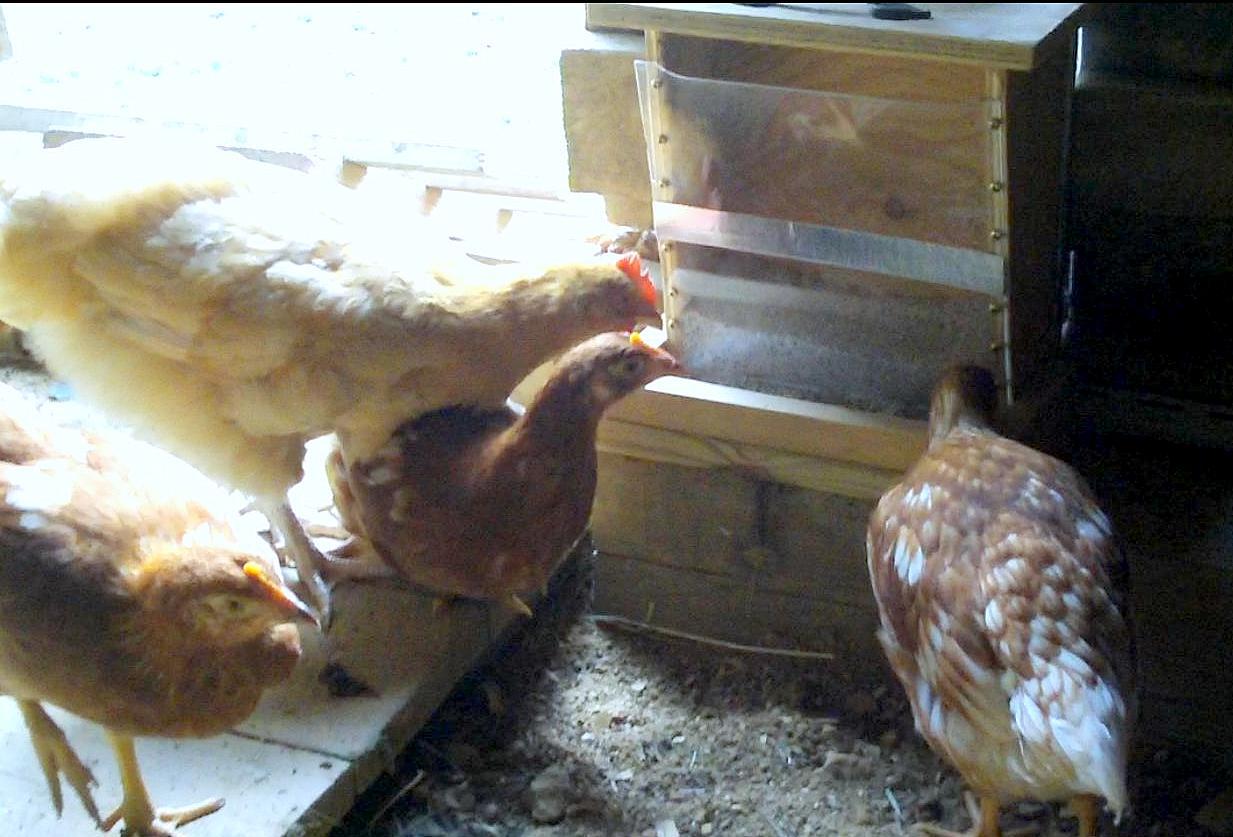
It didn't take long for the chickens to discover the feeder!
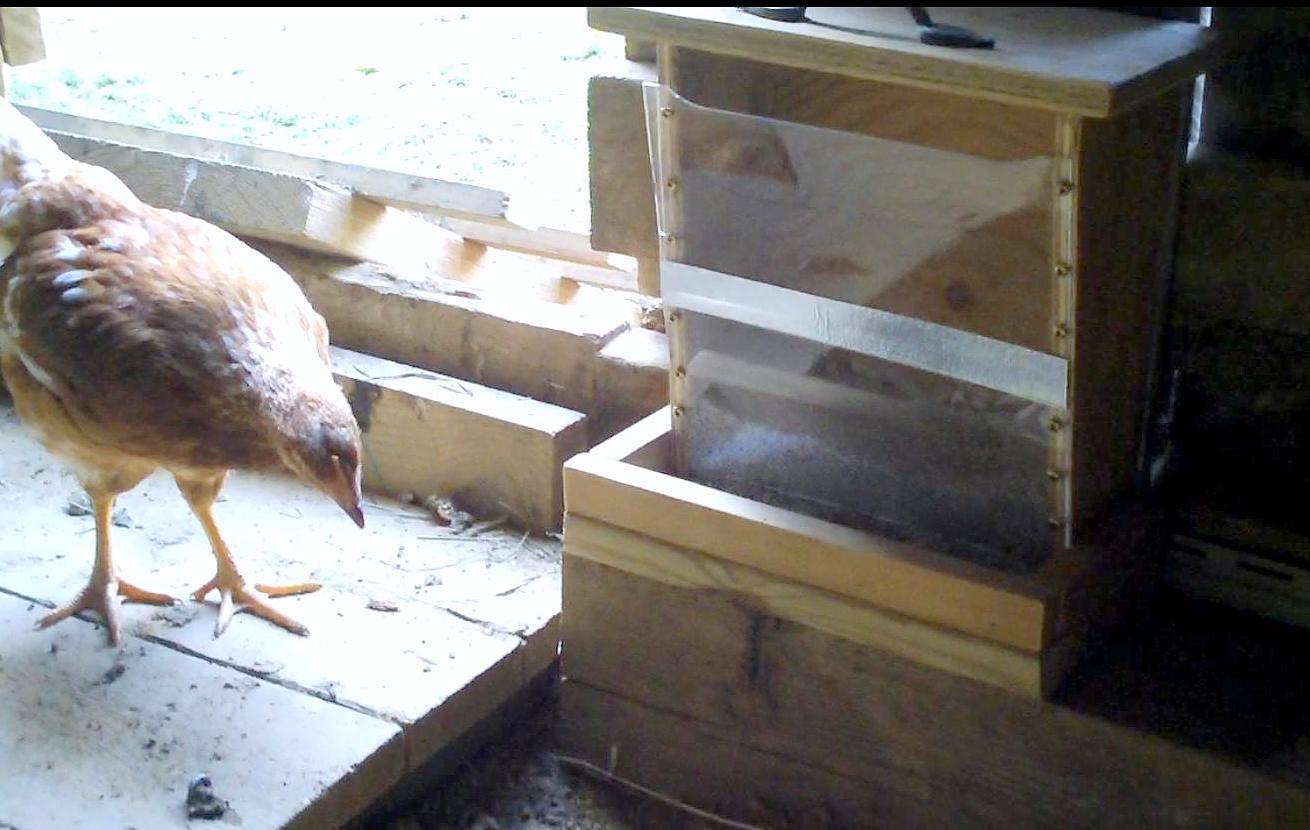
One curious chicken found the new feeder and all the others followed in row!
We hope these instructions were easy to understand and might help in planning your own feeder.
This is the first feeder we've made but do plan on making a few more to hold both the grit and feed for both our standard and bantam size flocks.
Thanks for stopping by and we look forward to any replies and suggestions!
Red Barn Farms