Pampered Poultry Palace
(PPP for short)
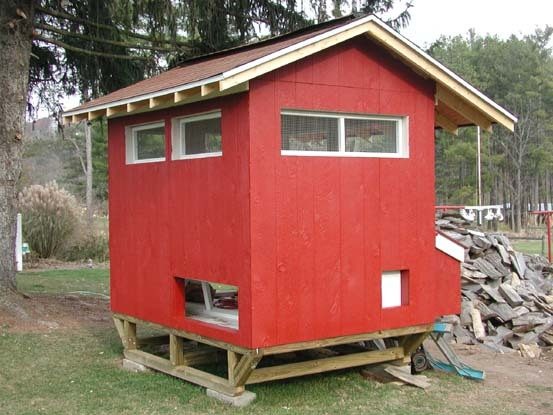
 This is my diary of the construction of the "Pampered Poultry Palace", or PeeP Palace, or PPP for short. I scoured the internet looking for plans; what plans exactly? Well, I wasn't all too certain but knew that when I saw it I'd just know. I decided early on that I wanted something movable. I have a large field behind my barn and wanted to be able to move them about, yet keep them safely in a temporary, summer run. I found a sled design that I liked but never really found the specific coop that I wanted. So, I constructed the sled and went about designing my own coop. Thanks to all of the generous people here on BackYard Chickens, I knew what was needed to keep my girls happy and healthy.
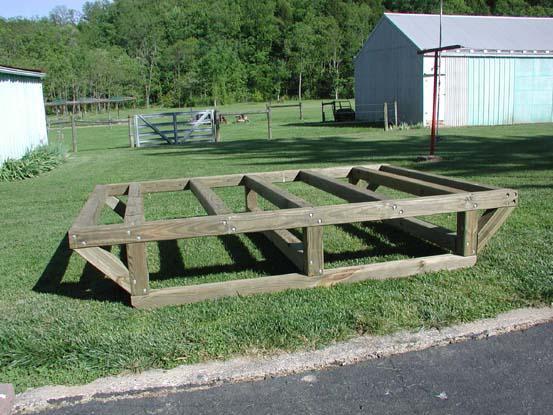
Here is a picture of the completed sled. It did take me a while to complete because the entire sled is made up of 4x4 treated lumber. If you ever need to use treated, don't purchase it until you are ready to use it because it will begin to dry and will warp and twist on you, making it difficult to get good, square construction.
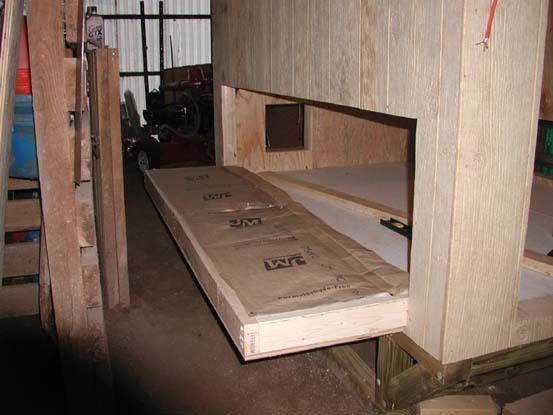
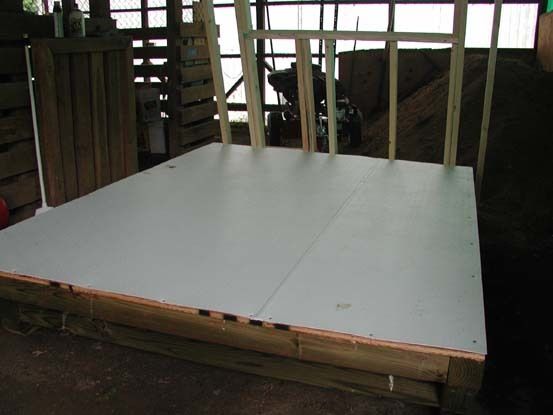
We were getting quite a bit of rain, so I moved the sled into my barn so I could work on it at any time. Here is a picture of the flooring, which I found at Lowes and comes in a 4' x 8' sheet. I'm not sure what it's called but it's something like Dura Tuff. Now, if I were building the coop again, I would just buy some cheap linoleum because this stuff isn't cheep at over $20/sheet.
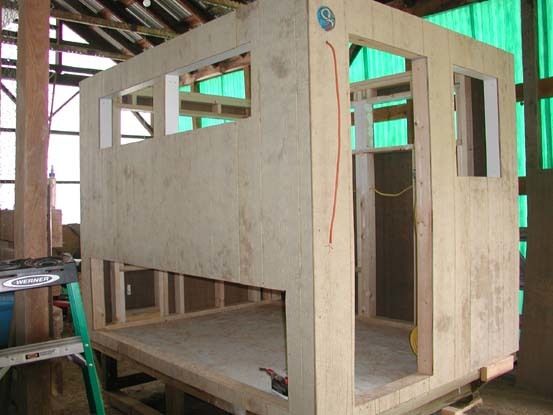
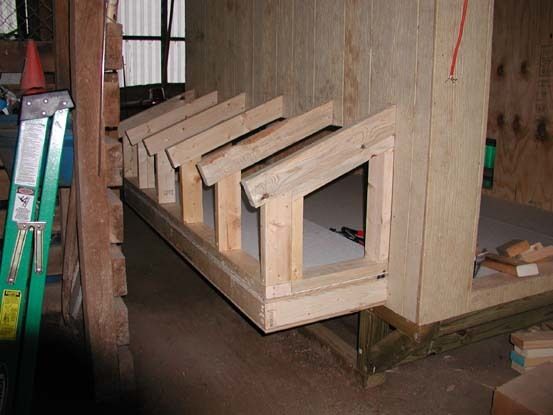
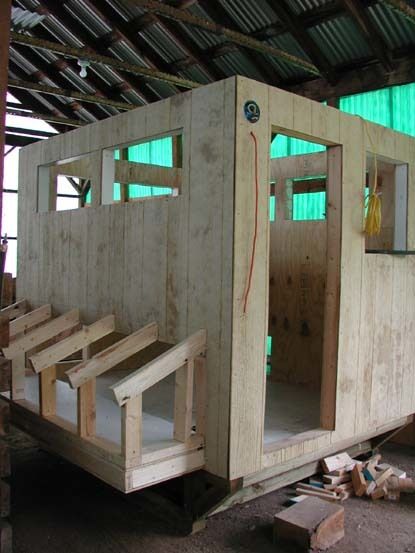
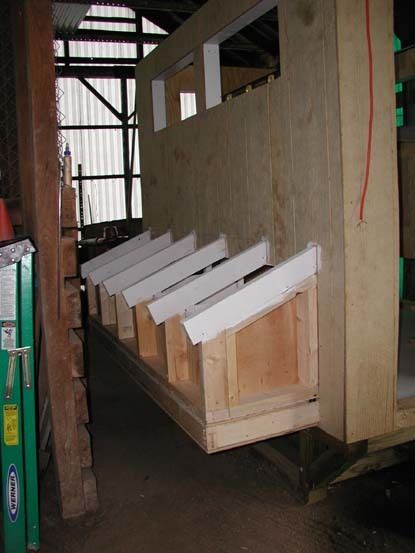
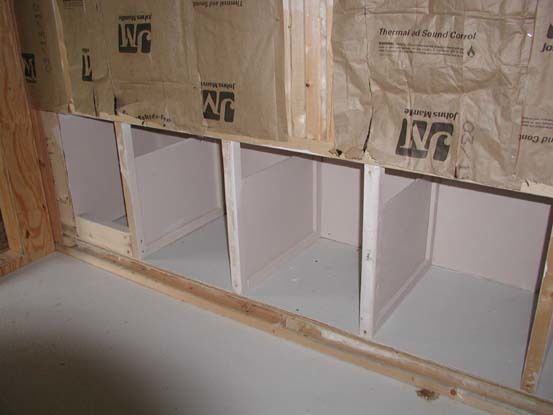
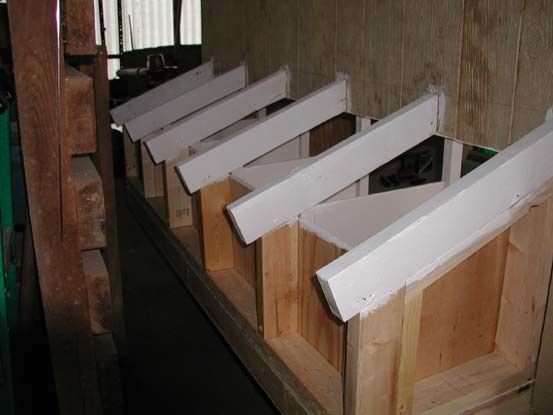
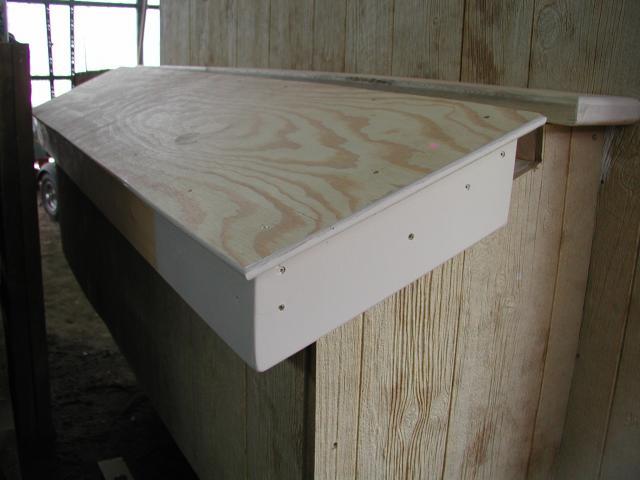
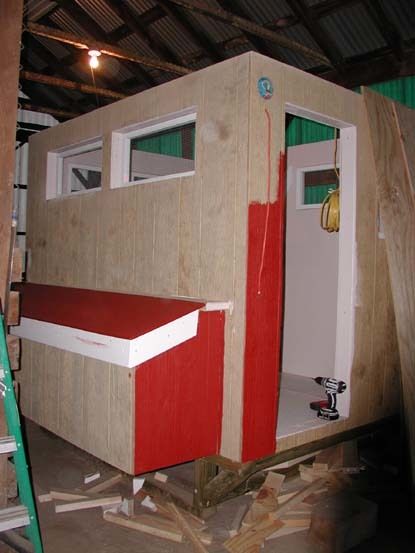
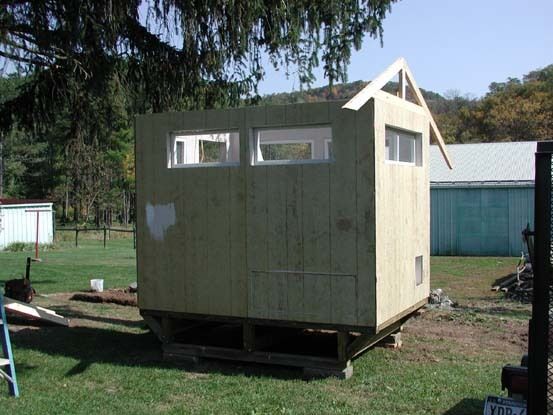
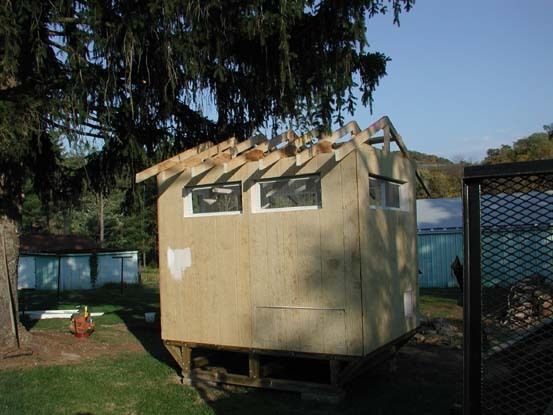
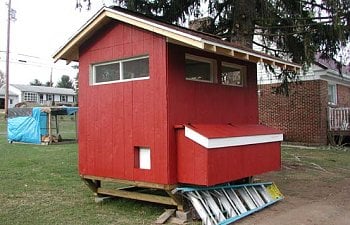
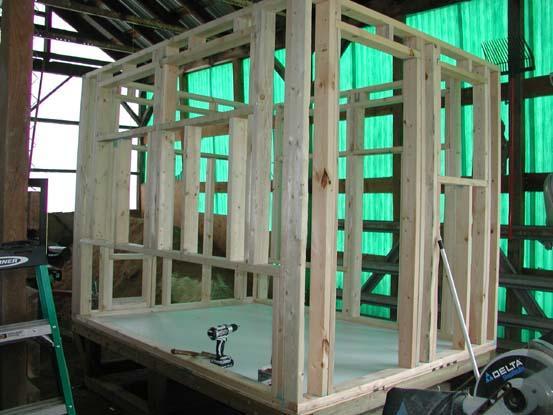
Here's a picture with all the four walls framed and set up. You will notice a large area where the drill/driver is sitting. I decided that I wanted the nest boxes outside to allow for more coop space for the chickens to roam around, since I have fifteen of the little rascals! I've built window frames when will be screened with 1/2" hardware cloth, then I will construct windows that will fit on the outside of the screens.
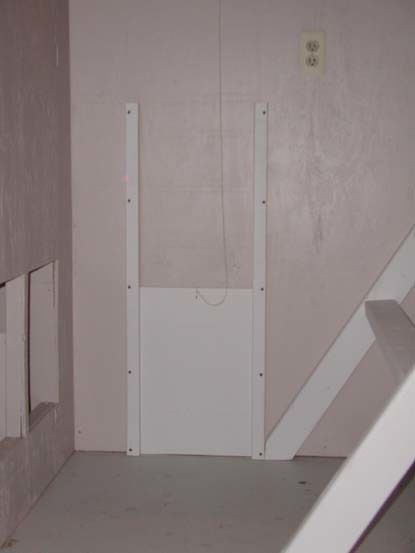
Currently I've finished the wiring which includes an outside light, then inside to the right of the door is a light switch that will control the light that will be in the center of the ceiling, and I've wired for two receptacles. I'll upload pictures soon! Now I'm ready to begin the siding, but have to wait until my neighbor can help because I'm only 5' tall and won't be able to set the sheets by myself.
The clock is ticking. My chicks are now 3 1/2 weeks old and ready to head out into the great outdoors!
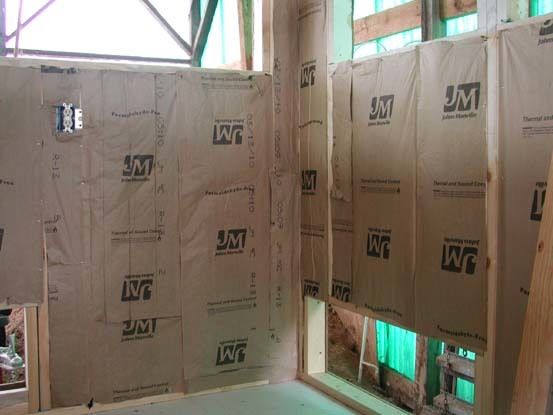
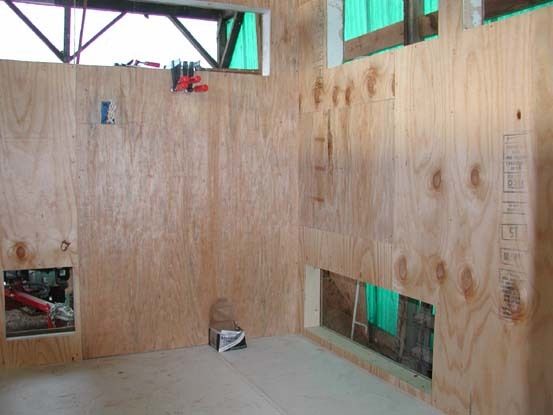
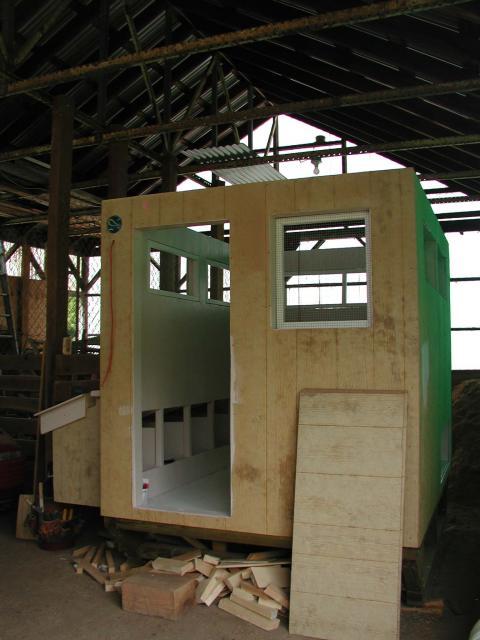
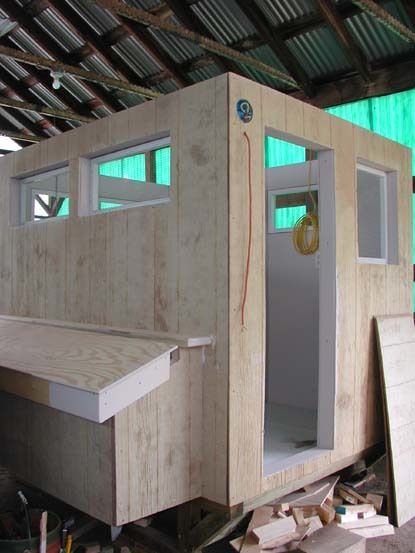
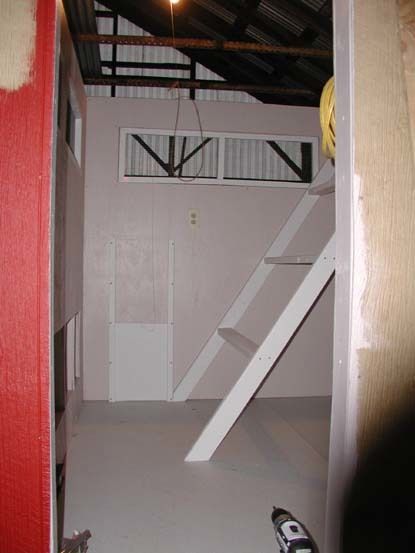
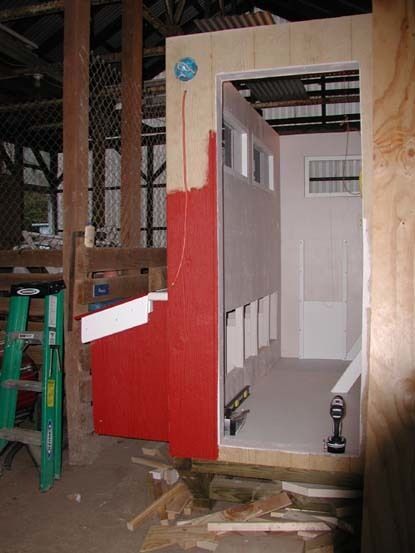
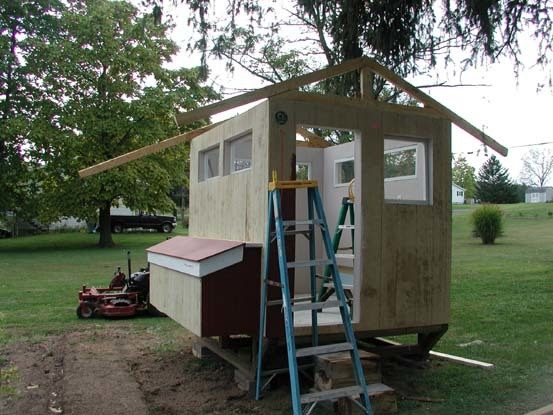
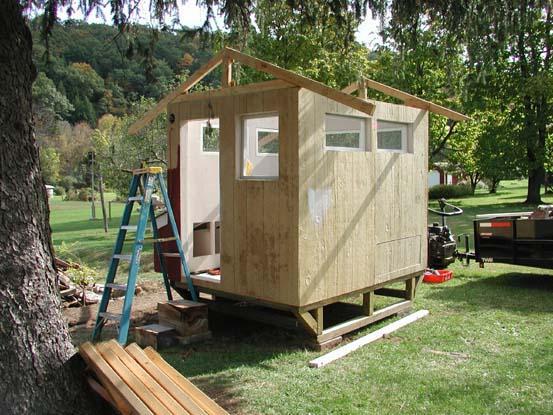
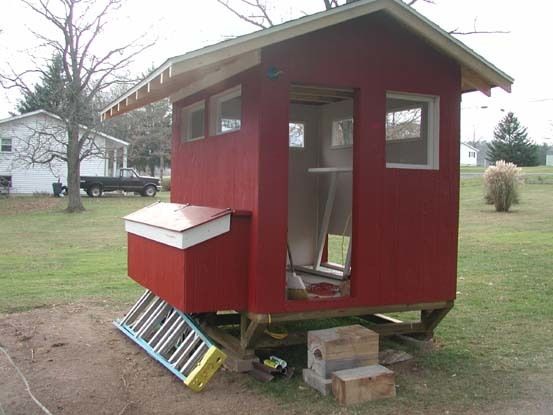
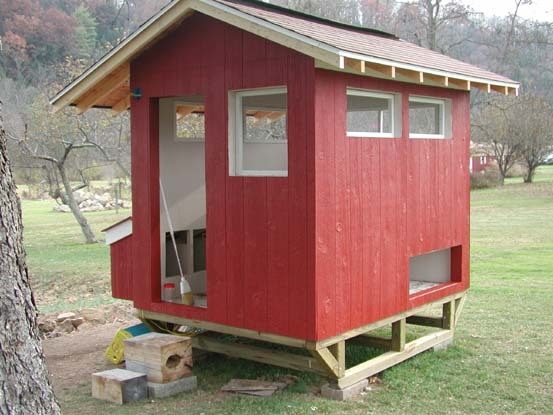
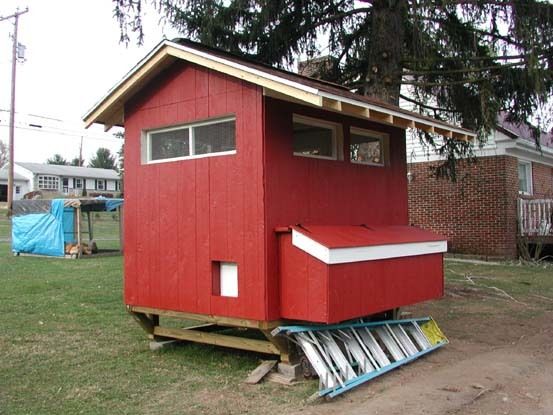
The following pictures show the exterior siding, electric, insulation and interior wall plywood installation.
(PPP for short)
Here is a picture of the completed sled. It did take me a while to complete because the entire sled is made up of 4x4 treated lumber. If you ever need to use treated, don't purchase it until you are ready to use it because it will begin to dry and will warp and twist on you, making it difficult to get good, square construction.
We were getting quite a bit of rain, so I moved the sled into my barn so I could work on it at any time. Here is a picture of the flooring, which I found at Lowes and comes in a 4' x 8' sheet. I'm not sure what it's called but it's something like Dura Tuff. Now, if I were building the coop again, I would just buy some cheap linoleum because this stuff isn't cheep at over $20/sheet.
Currently I've finished the wiring which includes an outside light, then inside to the right of the door is a light switch that will control the light that will be in the center of the ceiling, and I've wired for two receptacles. I'll upload pictures soon! Now I'm ready to begin the siding, but have to wait until my neighbor can help because I'm only 5' tall and won't be able to set the sheets by myself.
The clock is ticking. My chicks are now 3 1/2 weeks old and ready to head out into the great outdoors!
The following pictures show the exterior siding, electric, insulation and interior wall plywood installation.