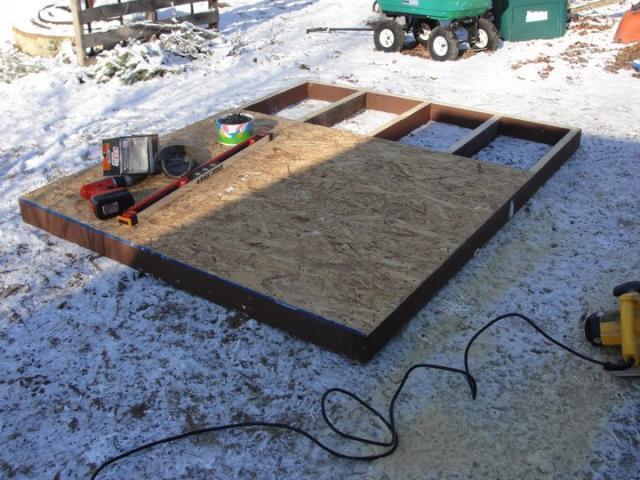
Here is the start of my 5' x 6' coop

floor framing
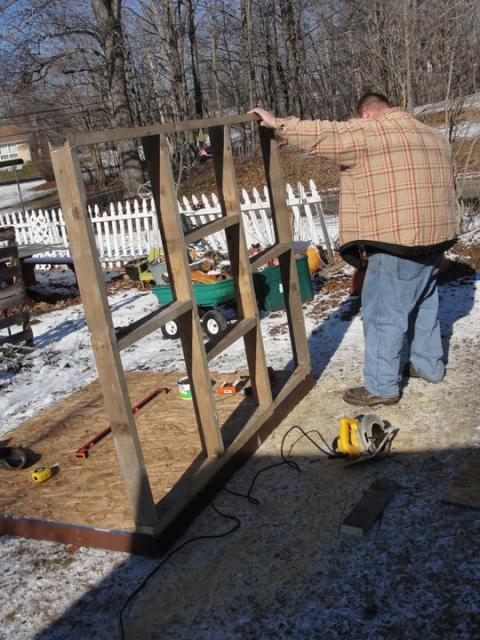
walls going up
back view
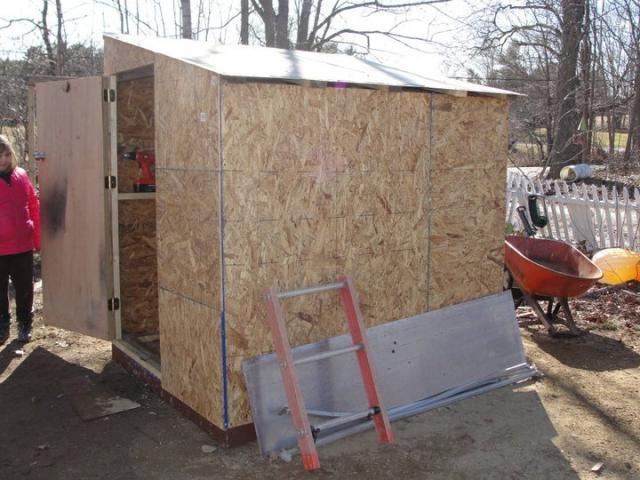
front view
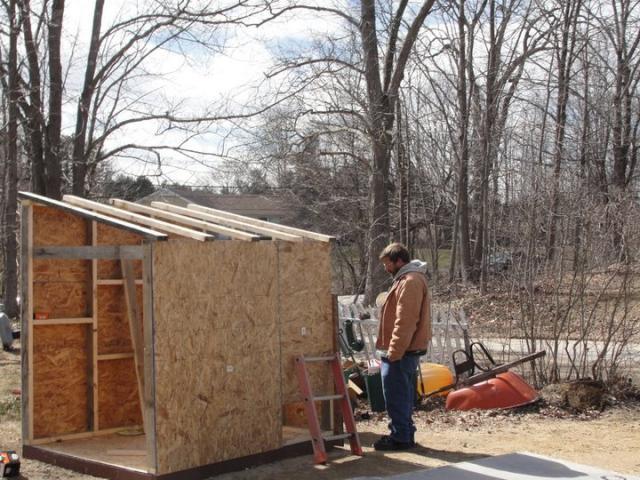
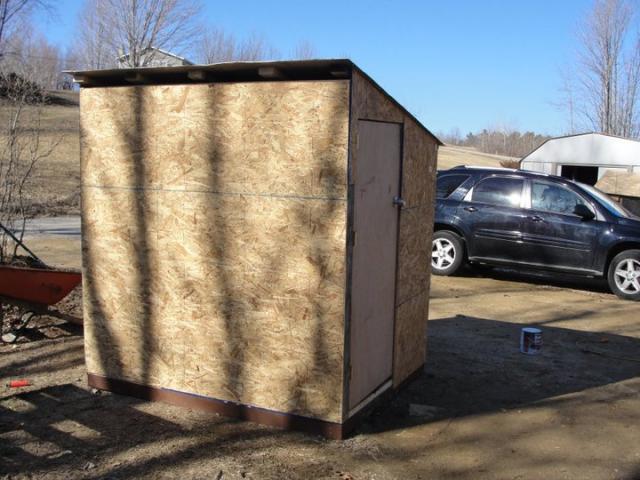
back view with roof
inside view
auto feeder inside the coop, has storage room for (2) 50LB bags of feed
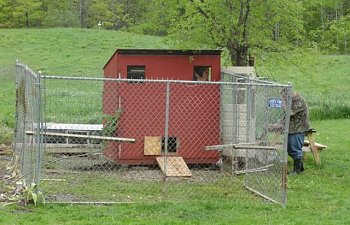
completed coop with 12' X 12' run
This coop was built for about $65.00. The only purchased materials was the plywood sheathing, screws and paint.
I had a lot of labor into this coop as I worked on mostly by myself. I started with (10) 2X12's that I got for free, my
father inlaw has a few lifts of them out back, he told me to help myself. I had many drawings and hand written plans
for minimal waste. I ripped those down to 2X4's for the framing. I framed the floor, front and back walls first.
I sheathed the floor, stood the front and back walls up and sheathed them. Next was the roof rafters. I laid 2X4's
flat and spaced them 18" apart. I mitered one end of a 2X4 to the same angle of the roof rafters and cut to
fit for the side walls, one wall is 20" on center and the other wall was framed to fit a 28" door. I started with a interior
door (basically framed the wall to fit the door). Later I got a 1960's era exterior door with 3 window panes in it. I had
to remove 1 glass pane and shorten the door, I cut a bit off the top and bottom, this door was 32" wide so I had to trim
2" off both sides. The roof is made out of a old aluminum truck camper top, I unscrewed the roof of the camper top and
found it to be 7 1/2' by 6'. I used my circular saw (with the blade on backwards) to cut the sheet of aluminum to 74"X62"
and lined it up on the rafters and screwd it down using the existing holes and metal roofing screws. The paint went on
next, picnic table and fence stain $8.00 at HD, 2 cans to get real good covereage. Then I roughed out 2 window openings.
I built 2 windows using 2X2's and old farm house windows, I cut my 2X'2s to length then ripped a groove in them and then
finish nailed 3 sides together and slid in the glass pane and nailed in the 4th side. Finally the nesting boxes, I roughed
out the opening, a 68"X12" opening. I preassembled the nesting box and attached it to the outside, using the left over
piece of the truck camper top I made the hinged lid to the nesting boxes. I still have trim to put up and maybe add
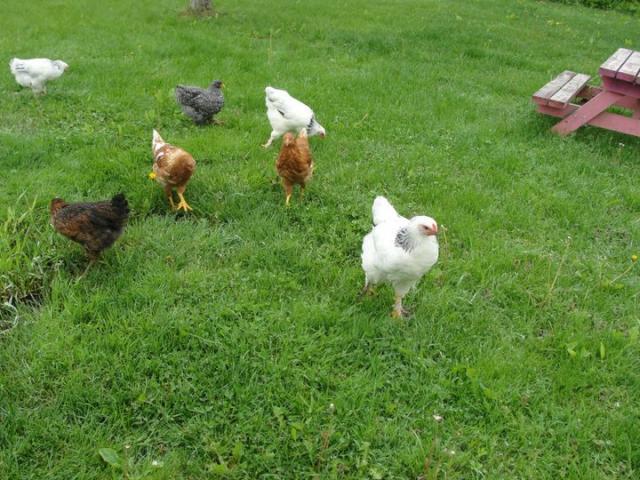
another window on the narrow wall and a little more ventilation. The chickens are happy as could be.
Thanks for looking at my first coop.
floor framing
walls going up
back view
front view
back view with roof
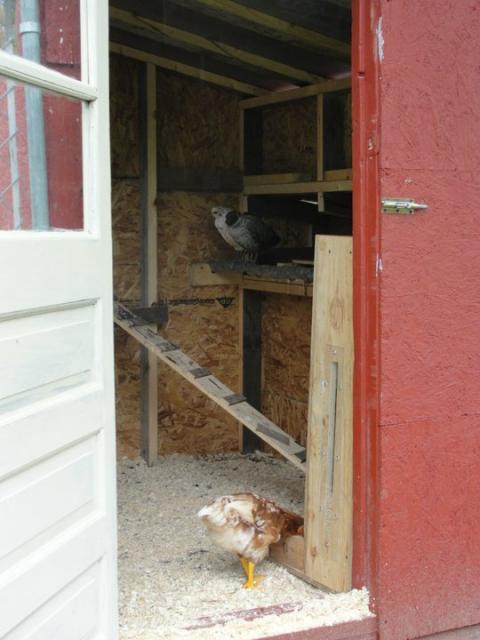
inside view
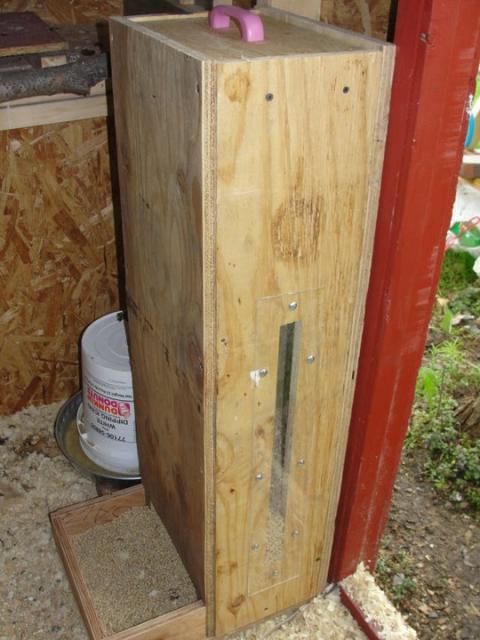
auto feeder inside the coop, has storage room for (2) 50LB bags of feed
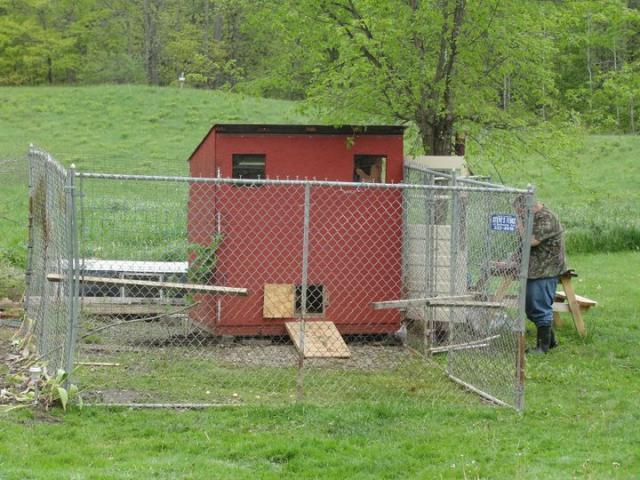
completed coop with 12' X 12' run
This coop was built for about $65.00. The only purchased materials was the plywood sheathing, screws and paint.
I had a lot of labor into this coop as I worked on mostly by myself. I started with (10) 2X12's that I got for free, my
father inlaw has a few lifts of them out back, he told me to help myself. I had many drawings and hand written plans
for minimal waste. I ripped those down to 2X4's for the framing. I framed the floor, front and back walls first.
I sheathed the floor, stood the front and back walls up and sheathed them. Next was the roof rafters. I laid 2X4's
flat and spaced them 18" apart. I mitered one end of a 2X4 to the same angle of the roof rafters and cut to
fit for the side walls, one wall is 20" on center and the other wall was framed to fit a 28" door. I started with a interior
door (basically framed the wall to fit the door). Later I got a 1960's era exterior door with 3 window panes in it. I had
to remove 1 glass pane and shorten the door, I cut a bit off the top and bottom, this door was 32" wide so I had to trim
2" off both sides. The roof is made out of a old aluminum truck camper top, I unscrewed the roof of the camper top and
found it to be 7 1/2' by 6'. I used my circular saw (with the blade on backwards) to cut the sheet of aluminum to 74"X62"
and lined it up on the rafters and screwd it down using the existing holes and metal roofing screws. The paint went on
next, picnic table and fence stain $8.00 at HD, 2 cans to get real good covereage. Then I roughed out 2 window openings.
I built 2 windows using 2X2's and old farm house windows, I cut my 2X'2s to length then ripped a groove in them and then
finish nailed 3 sides together and slid in the glass pane and nailed in the 4th side. Finally the nesting boxes, I roughed
out the opening, a 68"X12" opening. I preassembled the nesting box and attached it to the outside, using the left over
piece of the truck camper top I made the hinged lid to the nesting boxes. I still have trim to put up and maybe add
another window on the narrow wall and a little more ventilation. The chickens are happy as could be.
Thanks for looking at my first coop.