THE STORY OF THE COOP: ")
THIS TURNED OUT TO BE A GREAT LEARNING EXPERIENCE IN FRAMING FOR ME,
AND ALSO, A GREAT FATHER-SON PROJECT......
FOR SOMEONE WHO HATED THE IDEA OF CHICKENS, I'M REALLY GLAD THEY SHOWED UP
FOR NUMEROUS REASONS....
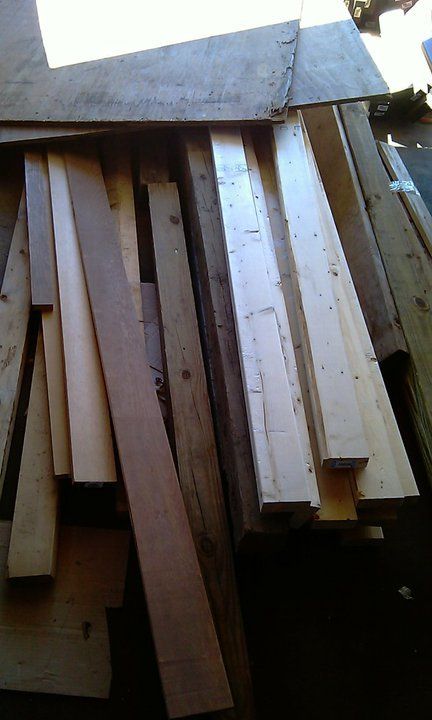
Well it starts with a pile of wood.. some new, some recycled, and some recycled windows.....
 fi
fi
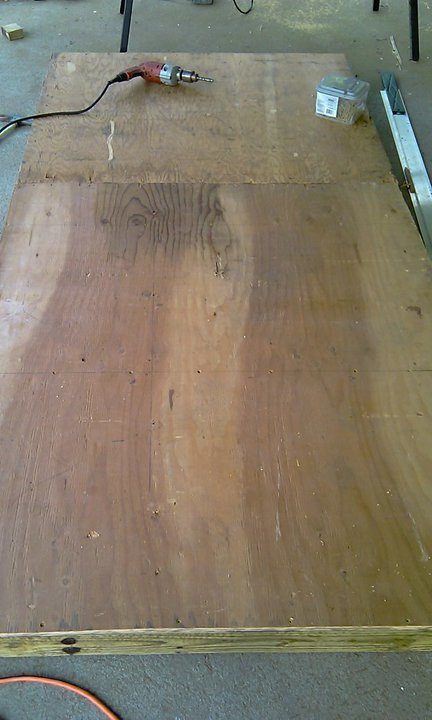
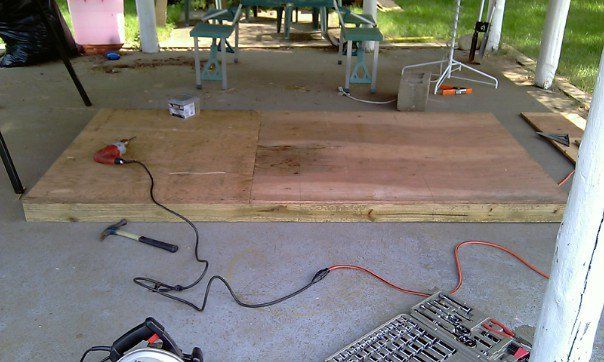
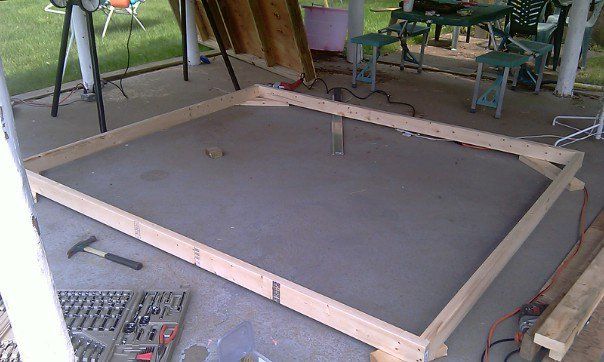
First we build a simple 4 X 8 Floor with pressure treated lumber:
Then we work on a design and begin framing the back wall:
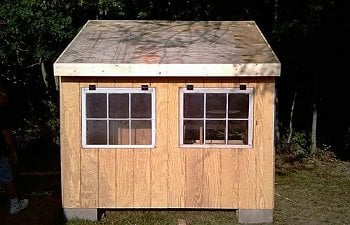
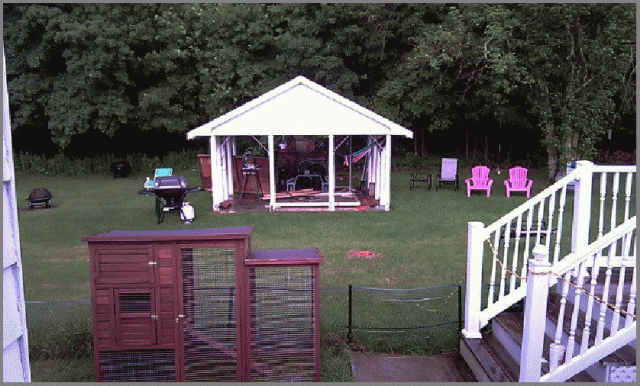
A little rain put the project on hold for a bit..... you can see the coop we bought online in the foreground.
Not enough for 4-6 hens as they claimed.....
We frame out the door and the openings for the nesting boxes.... Dad is here fielding text messages from my sis....
Next we level the floor and put up the back wall... Dad goofing off as usual....
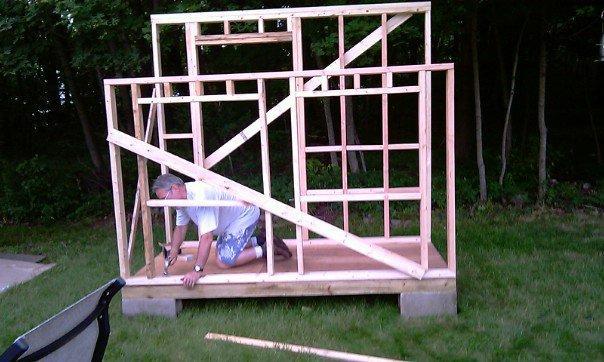
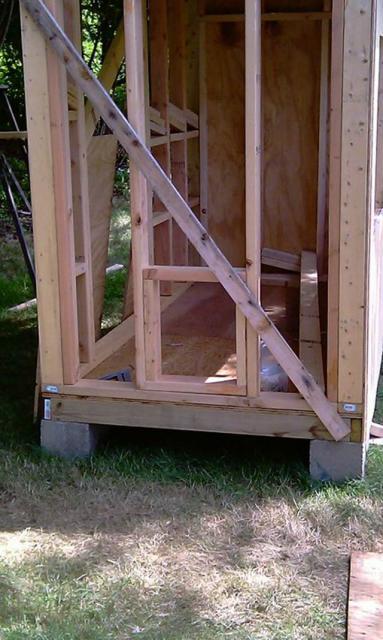
Then we frame out the front... and set it into place .. Diagonals are just braces to hold it square.
I went 6 1/2 in the back and 5' in the front...
The 2 openings in the front will be two 6 pane windows......
]
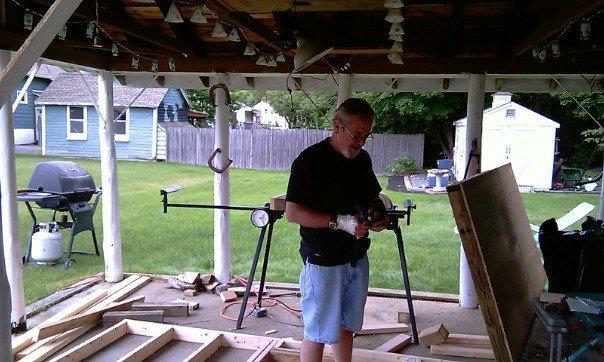
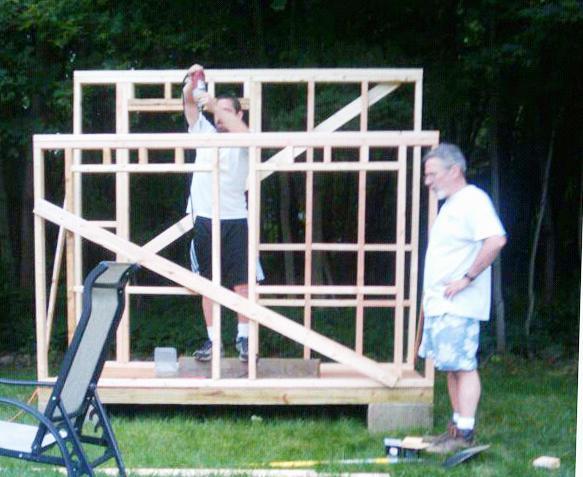
Special Thanks to my wife for this pic to prove I'm actually doing work, not just taking pictures...
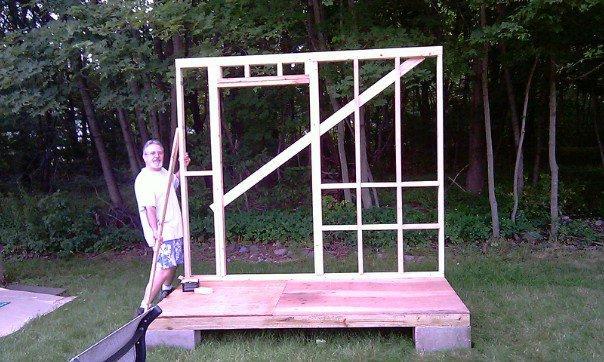
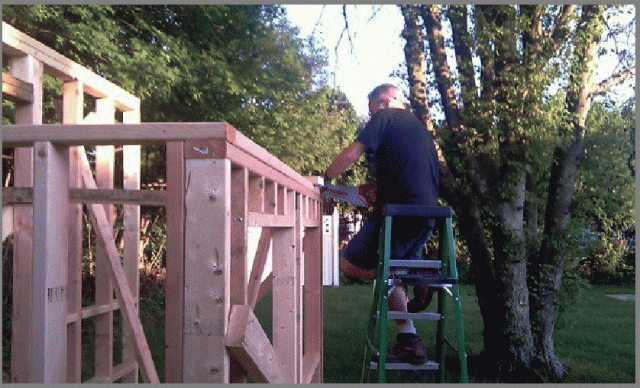
NOW FOR THE SIDE WALLS...
We decided to notch out the top piece for the main cross piece of the side wall ..
It's great having a Dad that's retired, AND likes to help.....
First we "boxed-out" the side wall to top of the front wall... Dad again...
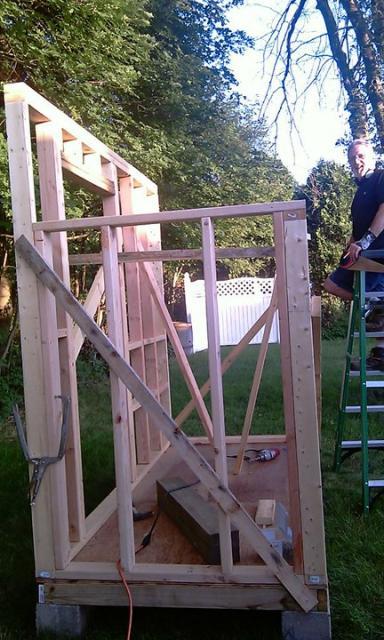
Close up of corner framing.....
Not sure if this is 100% correct method but, saw it online and it looked a little bit more sturdy...
Now to begin the roof....
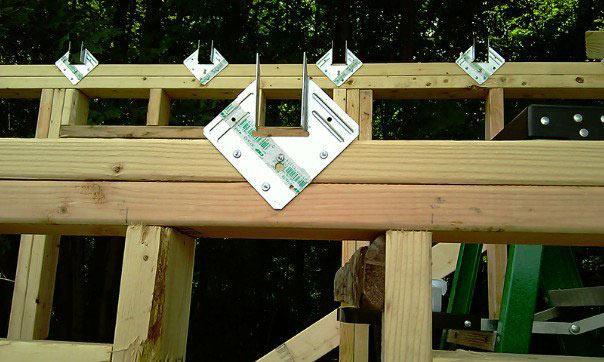
Got these brackets at Lowe's for 44 cents a piece.. eliminates the need to notch all your rafters...
Put them all 16" on center
Time to get some rafters on there..........
Precut all rafters leaving a 6" overhang on front and back, and angle cut the fronts and backs for later application of Trim Boards
Here they are all installed....
Here's a side shot of cuts and installation:
NOW TIME FOR THE ROOF:
Had to cut the edge of the plywood at the same angle to insure flush edge when applying front piece of trim..
Other than that, the roof is the easiest part of the whole deal.
Here it is:
The "girls" learning to roost, while I build their home....
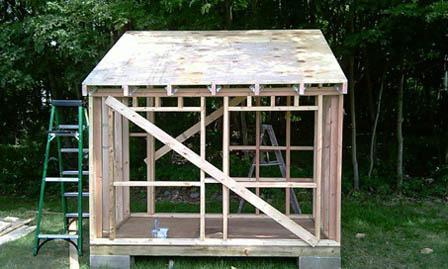
OK took a week and a half off due to oppressive heat... here we go...
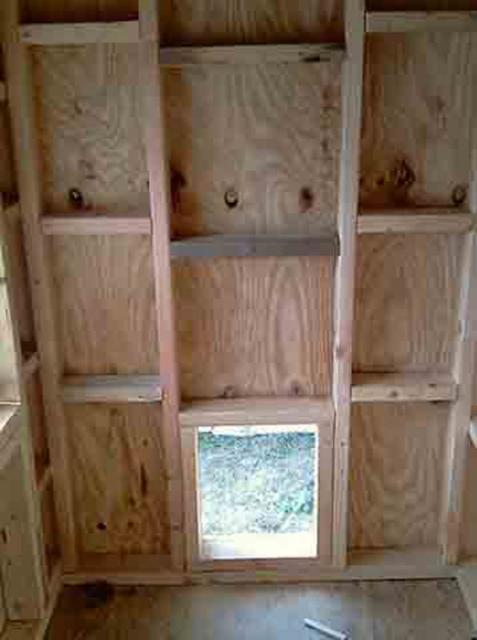
So Framing continues... future chicken door at bottom.
Here is the framing from the INSIDE of front wall :
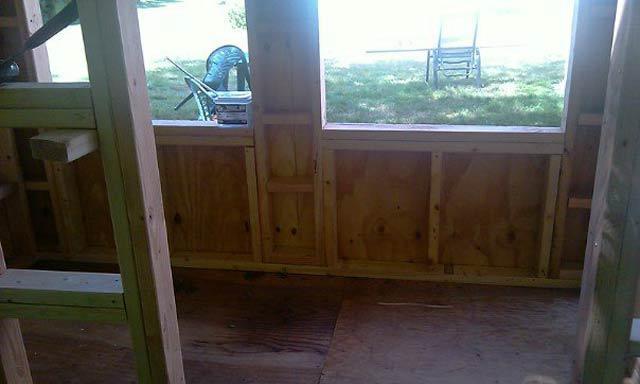
And under the front windows...
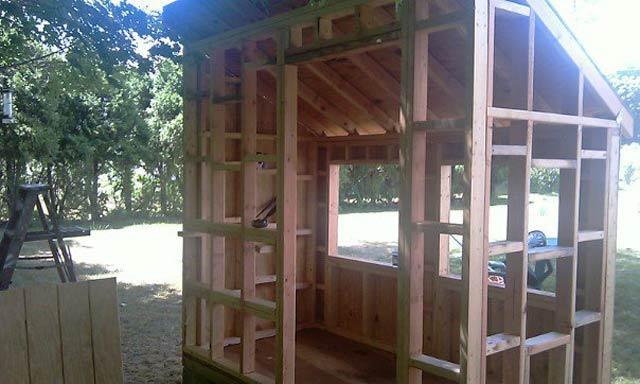
And the framing completed...
Side wall goes up...
And the INSIDE OF THAT WALL:
Front Panel goes on used the nice T-111 for the front... 2 full sized windows going in there.. "eventually"...
BAck wall gets started... I was able to use all the scraps from the T-111 from the front to do this entire section. saved more $$$
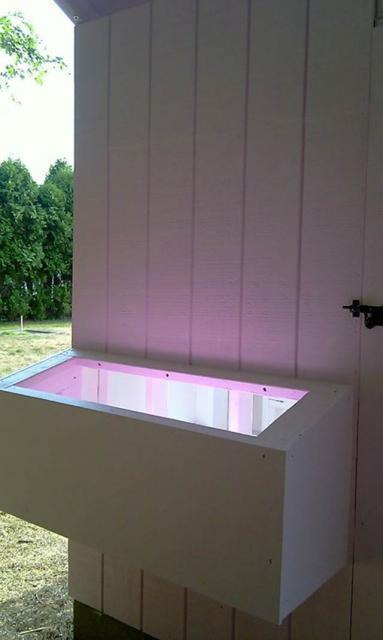
You can see the cutouts for the external nest boxes...
TIME TO START THE NESTBOXES...
Here are the side panels:
And a couple shots of the assembled frame....
And that's where we stand as of today... JULY 18th. I gotta get moving... the "girls" seemed to have DOUBLED in size in the last week!
No more slacking!
UPDATE JULY 21......
Yesterday Dad and I were at it again....
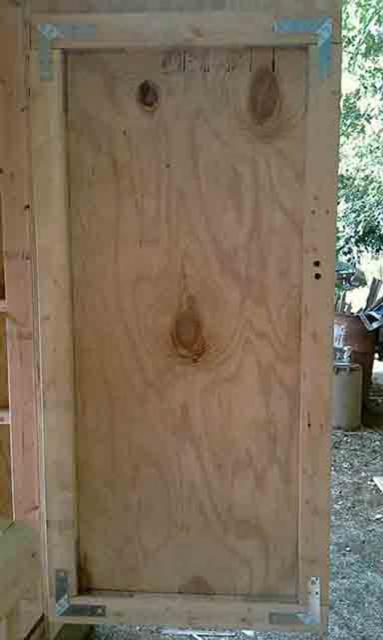
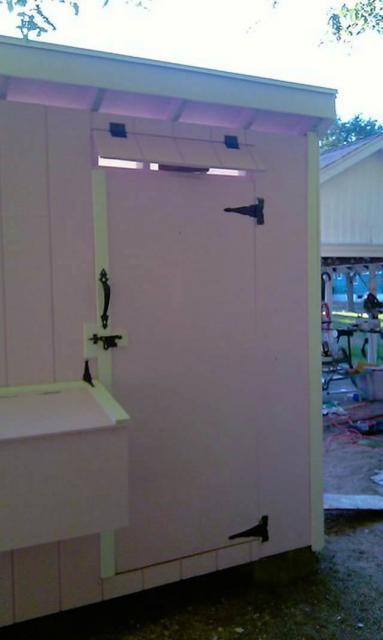
we got the door hung.... simple construction, just a nice sturdy 2x4 frame, & plywood cut to fit door opening.
Hung with heavy duty hinges...
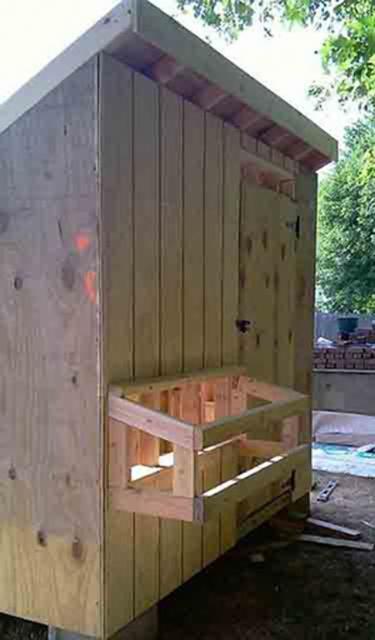
Then we finished the hanging of the final side wall and back wall and hung the nestboxes....
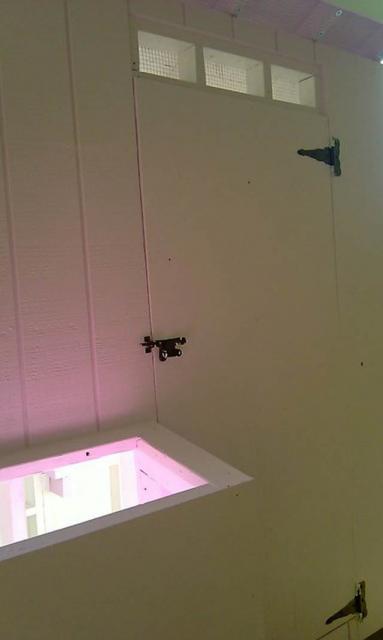
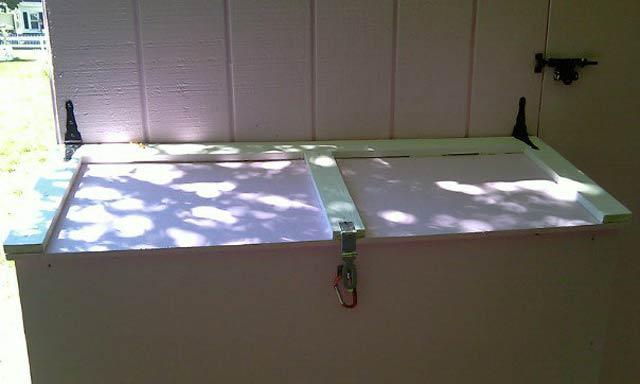
The opening above the door will be a hinged panel for more ventilation that I can close in the winter......
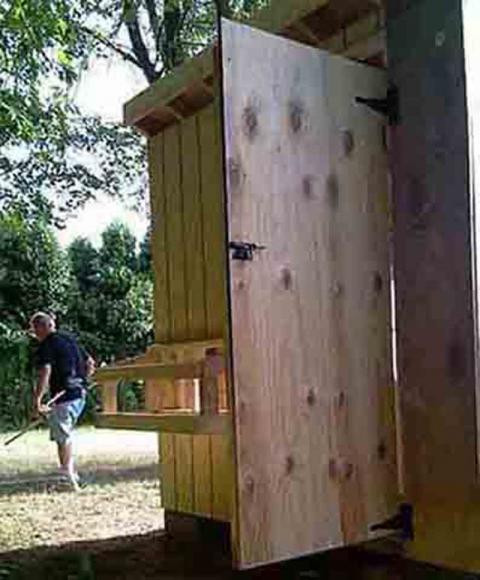
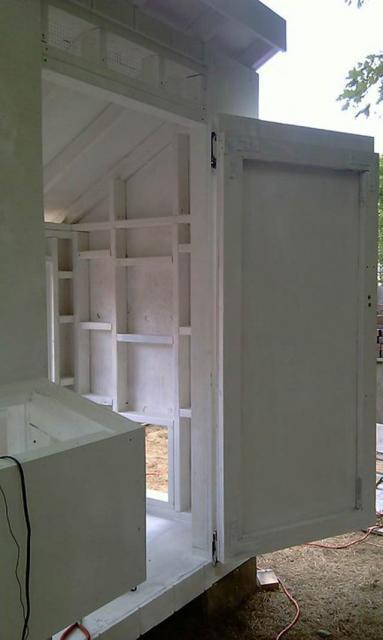
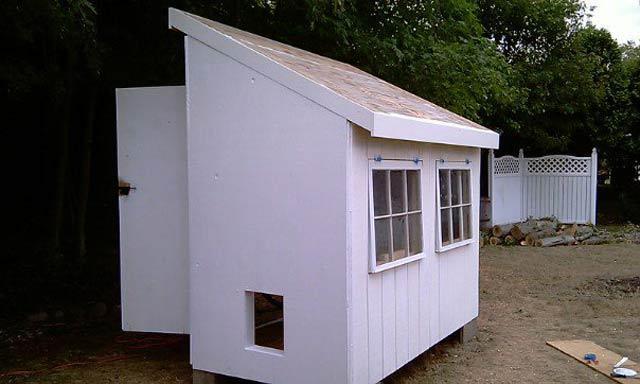
Here's a shot from the other side with the door open.
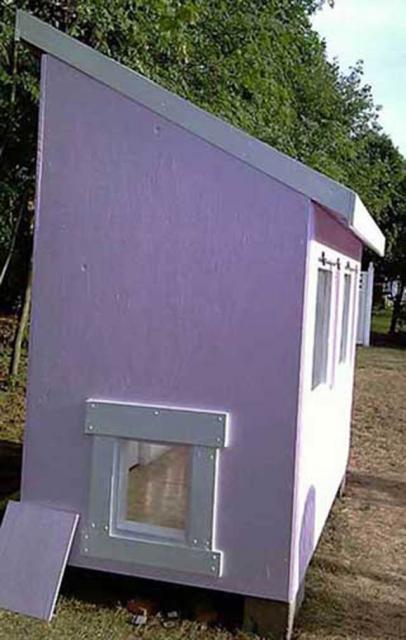
Time to finally cut the chicken door. And here it is: Oh and yes, that's me......
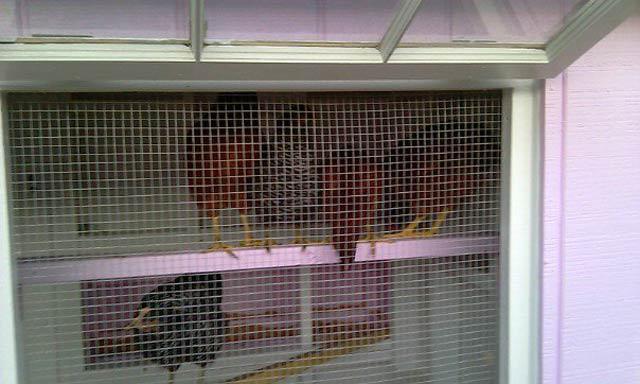
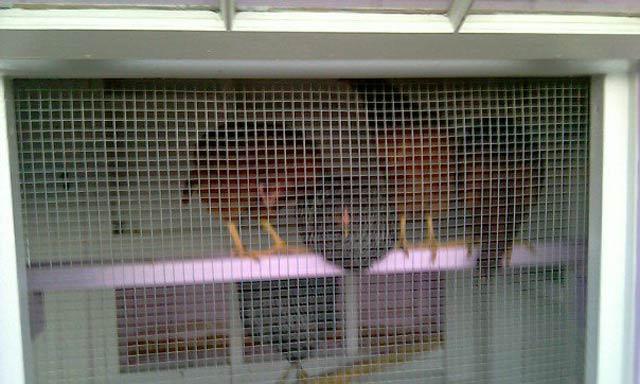
And let's not forget THEIR view.
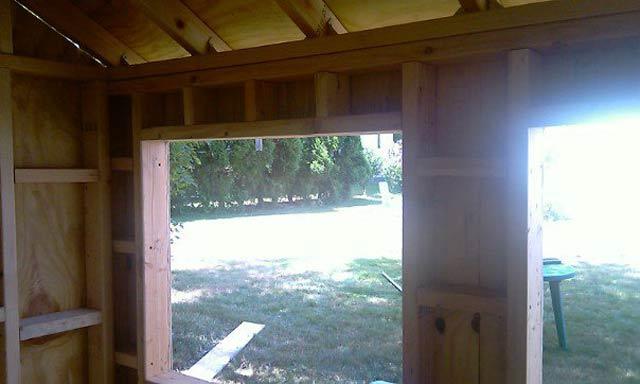
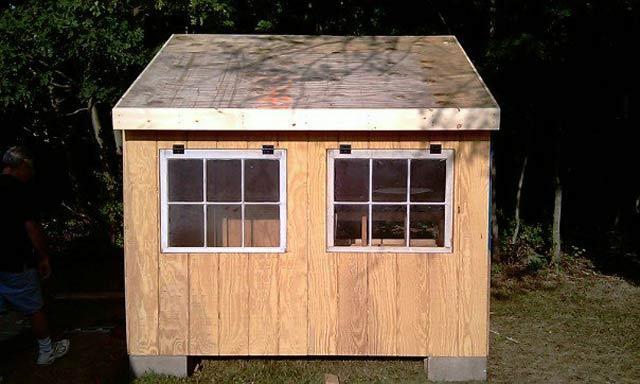
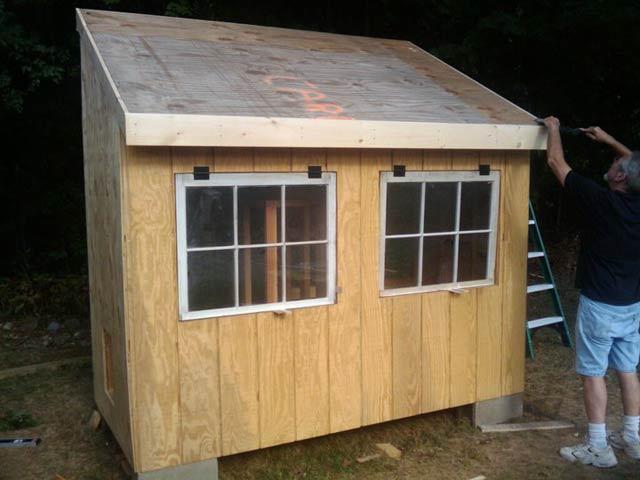
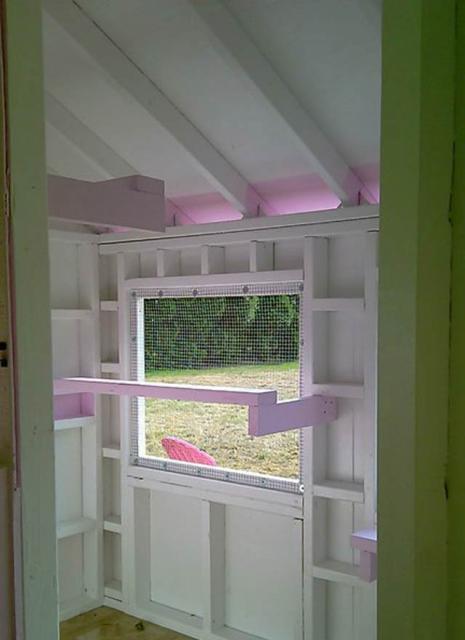
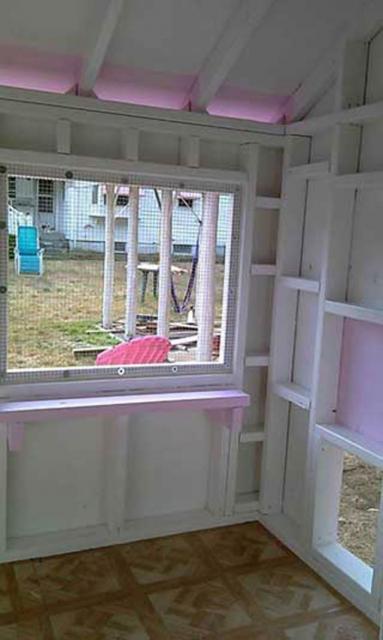
And we FINALLY put in the front windows ... it's starting to come together! These were recycled windows....
You can also see we put on all the trim pieces as well.....
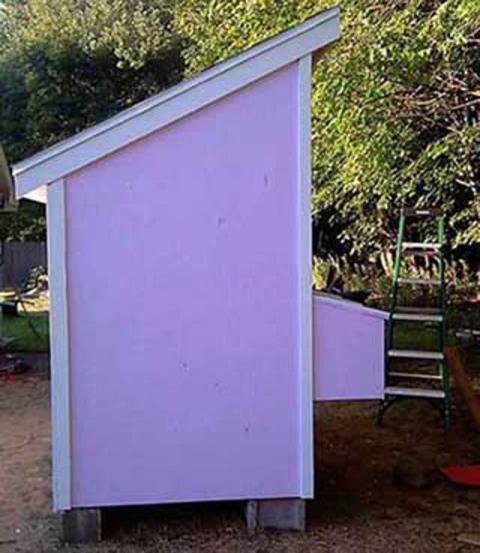
And now just a few shots of where we are at now.......
More to come soon, hopefully!
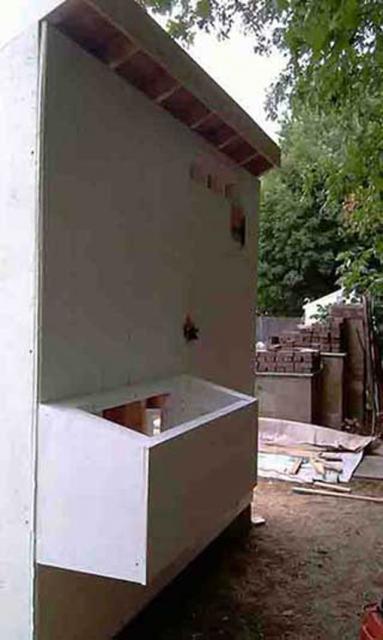
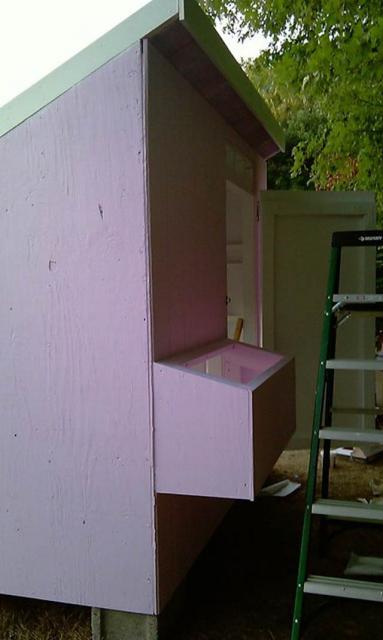
OK here's the inside of the nesting boxes..........
FINALLY TIME FOR SOME PRIMER!
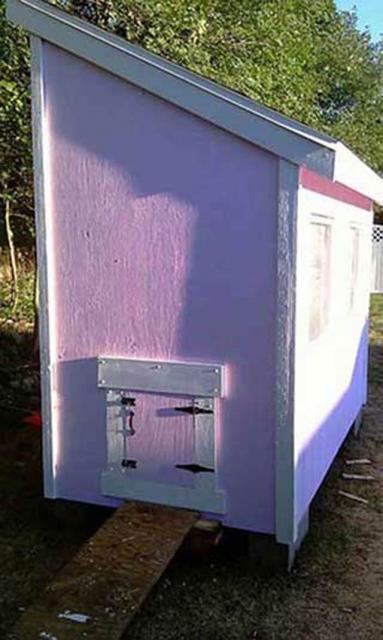
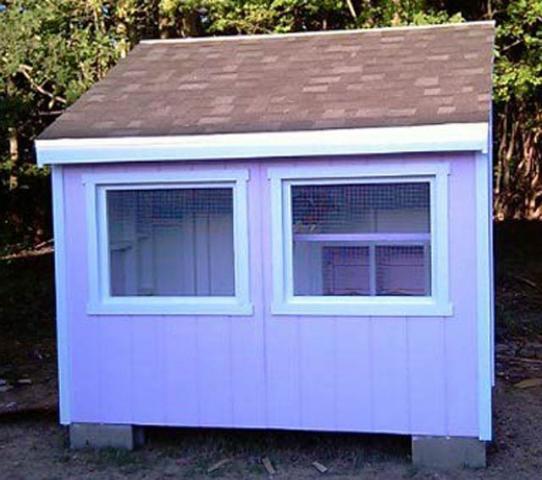
ANd then finally Paint............ the DW chose BUNNY NOSE PINK for the ladies...
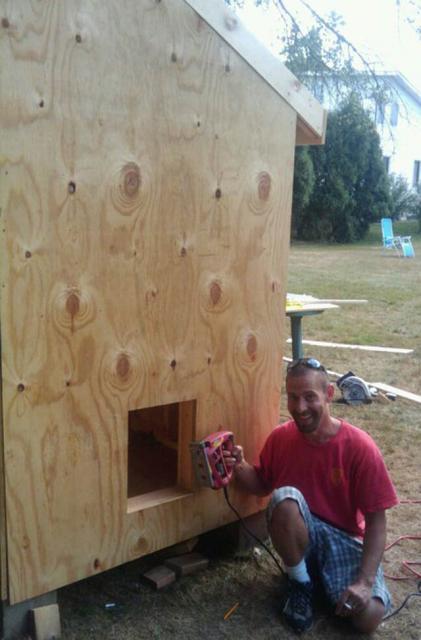
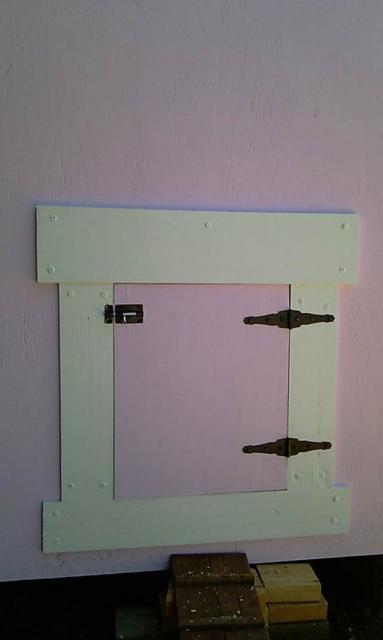
Time to frame out the chicken door........
And of course add some hardware.........
close up........
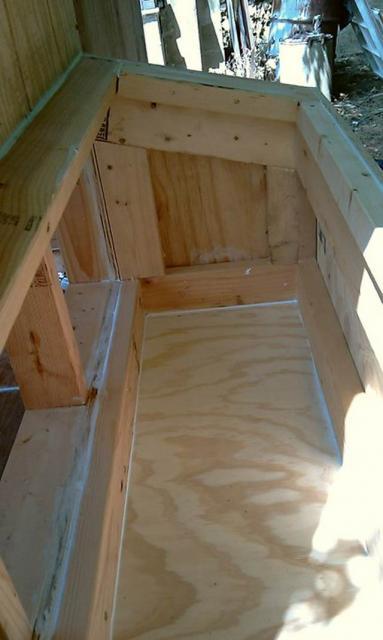
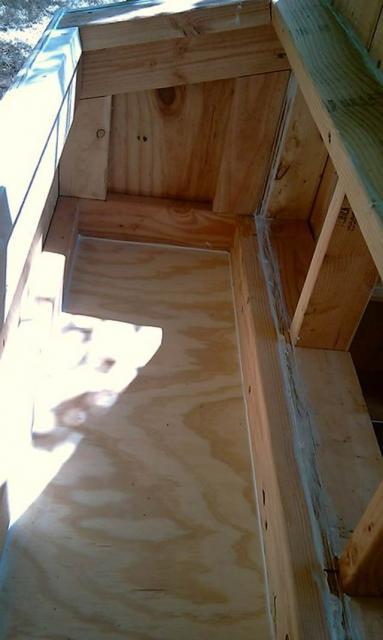
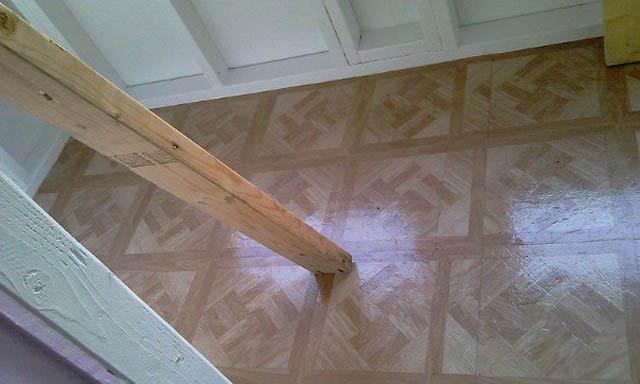
And while we're at it... a floor.............
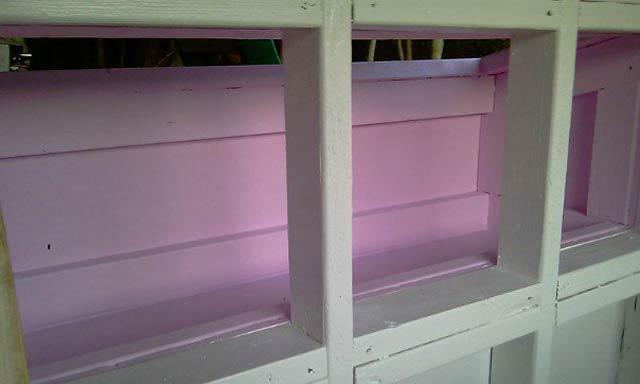
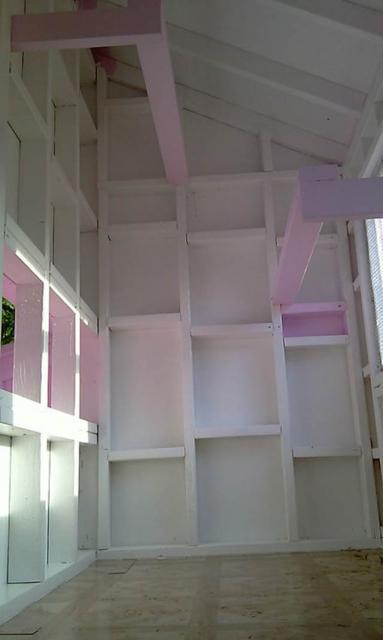
Time to spruce up the interior a bit.......
the roosts.....
looking into the neastboxes from inside
ROOFING FINALLY GOES ON!
added some trim for some finishing touches
and an extra bolt on that entry door
finishing touches again, hardware
close up of nestboxes
Back door with vent above it
and final framing of windows on front before they go on pemanently
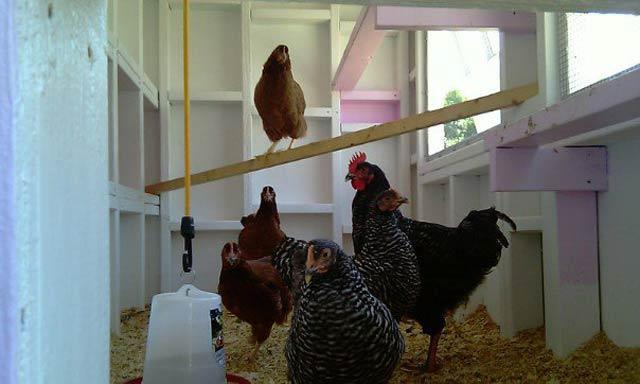
AND THE LADIES, (and Mr. Rooster) move IN!
HOPE THEY LIKE IT!
Hope you liked it as well....... feel free to contact me with any questions.........
THIS TURNED OUT TO BE A GREAT LEARNING EXPERIENCE IN FRAMING FOR ME,
AND ALSO, A GREAT FATHER-SON PROJECT......
FOR SOMEONE WHO HATED THE IDEA OF CHICKENS, I'M REALLY GLAD THEY SHOWED UP
FOR NUMEROUS REASONS....
Well it starts with a pile of wood.. some new, some recycled, and some recycled windows.....
First we build a simple 4 X 8 Floor with pressure treated lumber:
Then we work on a design and begin framing the back wall:
A little rain put the project on hold for a bit..... you can see the coop we bought online in the foreground.
Not enough for 4-6 hens as they claimed.....
We frame out the door and the openings for the nesting boxes.... Dad is here fielding text messages from my sis....
Next we level the floor and put up the back wall... Dad goofing off as usual....
Then we frame out the front... and set it into place .. Diagonals are just braces to hold it square.
I went 6 1/2 in the back and 5' in the front...
The 2 openings in the front will be two 6 pane windows......
]
Special Thanks to my wife for this pic to prove I'm actually doing work, not just taking pictures...
NOW FOR THE SIDE WALLS...
We decided to notch out the top piece for the main cross piece of the side wall ..
It's great having a Dad that's retired, AND likes to help.....
First we "boxed-out" the side wall to top of the front wall... Dad again...
Close up of corner framing.....
Not sure if this is 100% correct method but, saw it online and it looked a little bit more sturdy...

Now to begin the roof....
Got these brackets at Lowe's for 44 cents a piece.. eliminates the need to notch all your rafters...
Put them all 16" on center
Time to get some rafters on there..........
Precut all rafters leaving a 6" overhang on front and back, and angle cut the fronts and backs for later application of Trim Boards
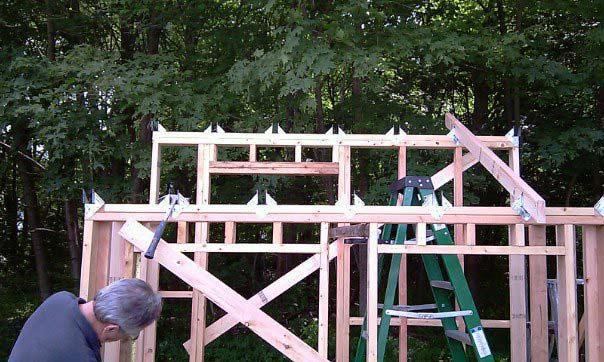
Here they are all installed....

Here's a side shot of cuts and installation:
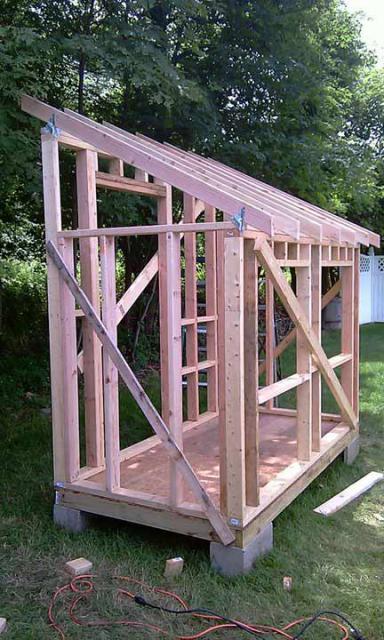
NOW TIME FOR THE ROOF:
Had to cut the edge of the plywood at the same angle to insure flush edge when applying front piece of trim..
Other than that, the roof is the easiest part of the whole deal.
Here it is:
The "girls" learning to roost, while I build their home....

OK took a week and a half off due to oppressive heat... here we go...
So Framing continues... future chicken door at bottom.
Here is the framing from the INSIDE of front wall :
And under the front windows...
And the framing completed...
Side wall goes up...

And the INSIDE OF THAT WALL:
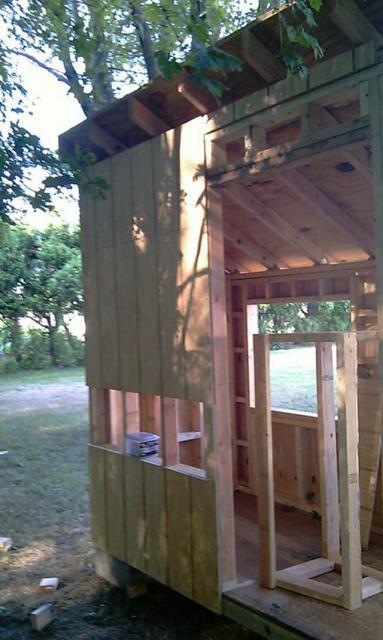
Front Panel goes on used the nice T-111 for the front... 2 full sized windows going in there.. "eventually"...
BAck wall gets started... I was able to use all the scraps from the T-111 from the front to do this entire section. saved more $$$
You can see the cutouts for the external nest boxes...
TIME TO START THE NESTBOXES...
Here are the side panels:

And a couple shots of the assembled frame....


And that's where we stand as of today... JULY 18th. I gotta get moving... the "girls" seemed to have DOUBLED in size in the last week!
No more slacking!
UPDATE JULY 21......
Yesterday Dad and I were at it again....
we got the door hung.... simple construction, just a nice sturdy 2x4 frame, & plywood cut to fit door opening.
Hung with heavy duty hinges...
Then we finished the hanging of the final side wall and back wall and hung the nestboxes....
The opening above the door will be a hinged panel for more ventilation that I can close in the winter......
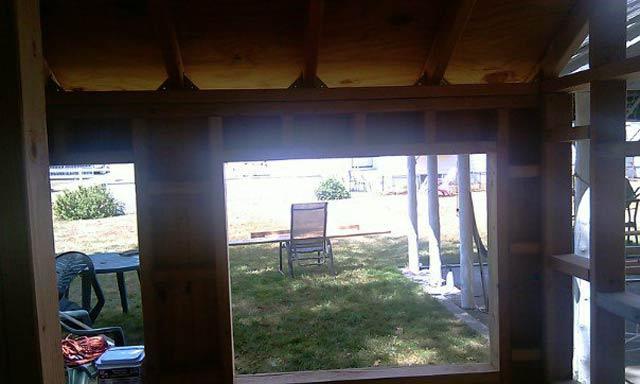
Here's a shot from the other side with the door open.
Time to finally cut the chicken door. And here it is: Oh and yes, that's me......
And let's not forget THEIR view.
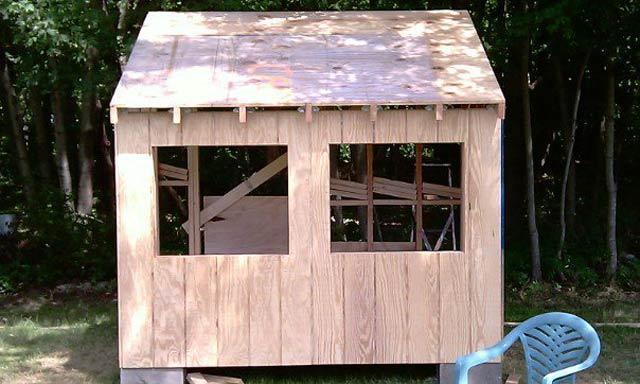
And we FINALLY put in the front windows ... it's starting to come together! These were recycled windows....
You can also see we put on all the trim pieces as well.....
And now just a few shots of where we are at now.......


More to come soon, hopefully!
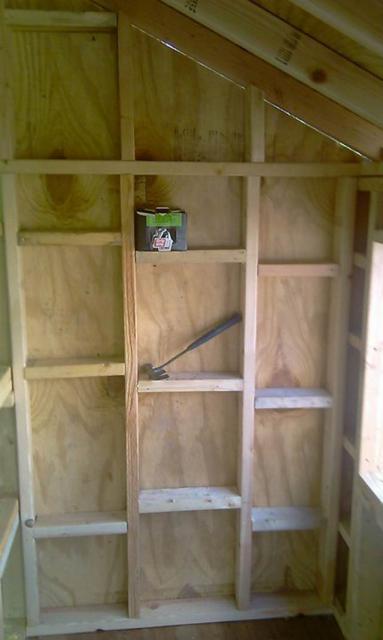
OK here's the inside of the nesting boxes..........
FINALLY TIME FOR SOME PRIMER!
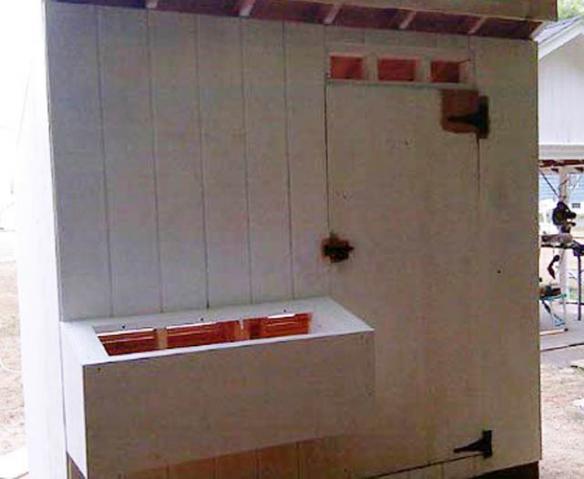
ANd then finally Paint............ the DW chose BUNNY NOSE PINK for the ladies...

Time to frame out the chicken door........
And of course add some hardware.........
close up........
And while we're at it... a floor.............
Time to spruce up the interior a bit.......
the roosts.....
looking into the neastboxes from inside
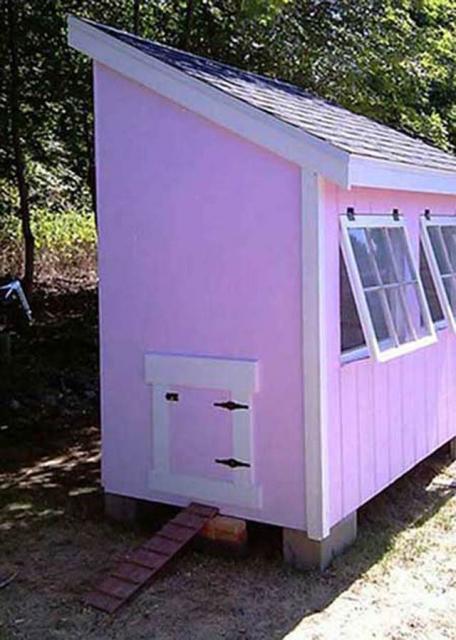
ROOFING FINALLY GOES ON!

added some trim for some finishing touches
and an extra bolt on that entry door
finishing touches again, hardware

close up of nestboxes
Back door with vent above it
and final framing of windows on front before they go on pemanently
AND THE LADIES, (and Mr. Rooster) move IN!
HOPE THEY LIKE IT!
Hope you liked it as well....... feel free to contact me with any questions.........