The Coop de Grass
They say that immitation is the most sincerest form of flattery! If so, I will shamelessly say that we copied our coop design from one we saw on the coop forum. Todtrac and Be_collective provided the design that allowed us to place our coop in full view. Our coop space is right at the entrance to our home and driveway, so creating a building that was functional, yet architecturally pleasing, was very important to us. We also wanted it near our garden space. Our chicks arrived Friday, May 13, 2011, and the coop building started the following week.
I mixed up the first and second pics - reverse order!
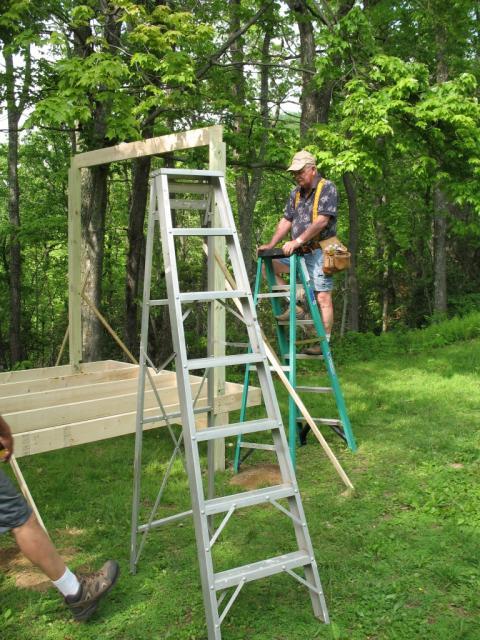
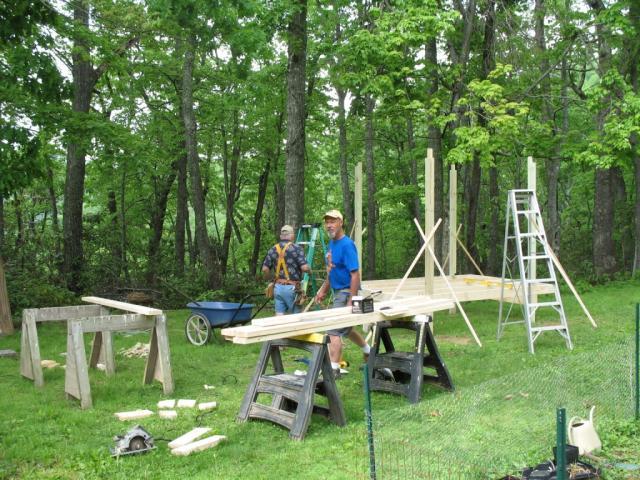
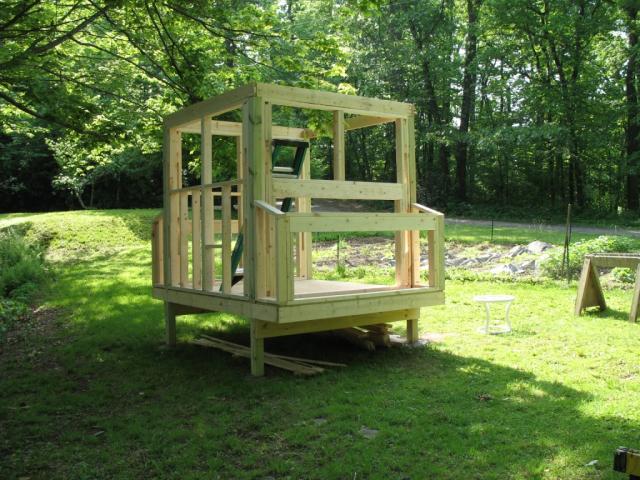
Framing up the coop - it is 7 x 10 in order to allow the nesting boxes and storage area to be on the outside. Interior space will be 7 x 7. We are in a temperate climate; I imagine the chick(en)s will be outside much of the time. Initially I intended to give away some of our chicks, thereby keeping our flock managable, but our daughter nixed that. "If you had 22 children would you give one up?"
Our friend keeps saying, "this is for chickens?"
Next the roof was framed:

Then some plywood:

The top needs to be finished off before the shingles can be added.
A week later, shingles!
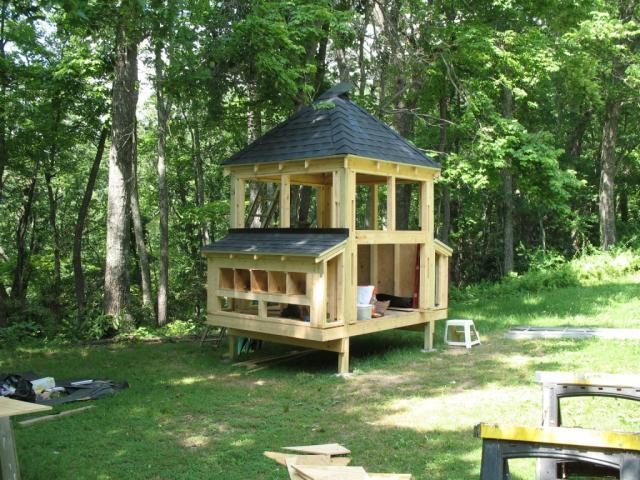
And some nesting boxes getting final touches:
We are still trying to figure out exactly how to situate the roosting area. Since our space is limited, we are going to give them two levels, space beneath the roosting area and a ramp to access the second floor. Lucky birds!
June 10, 2011
Back at work - some issues resolved.

We decided to have one window on each side open. Originally I wanted all 8 to open but had to consider the timing involved to make that happen, so we compromised. The windows were free on freecycle - a remodeling job. Nice way to recycle windows.
Here is a picture of the inside- nice work.
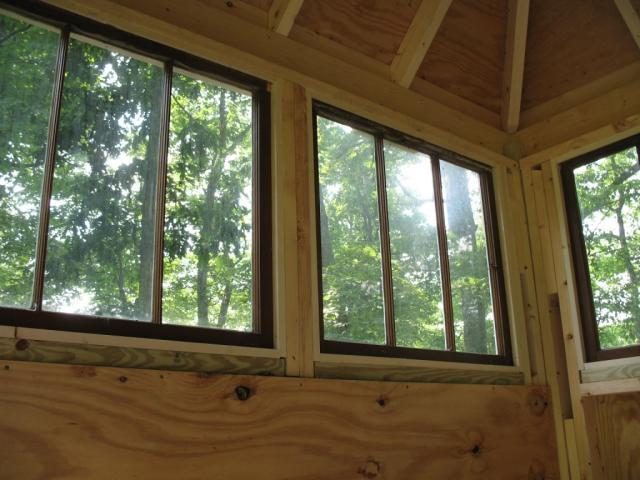
Monday they will add the trim.
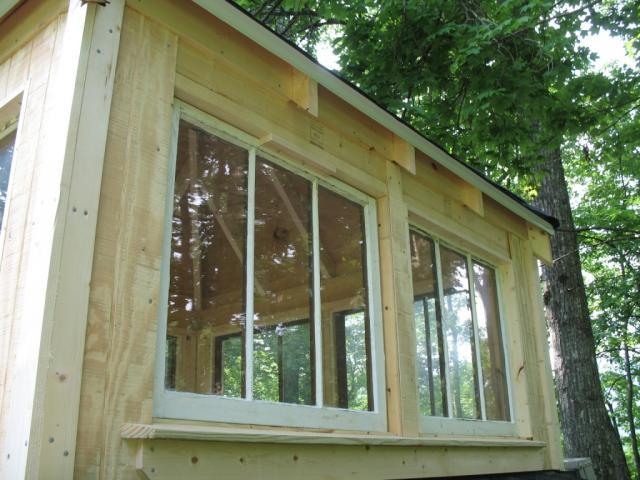
And this is the outside
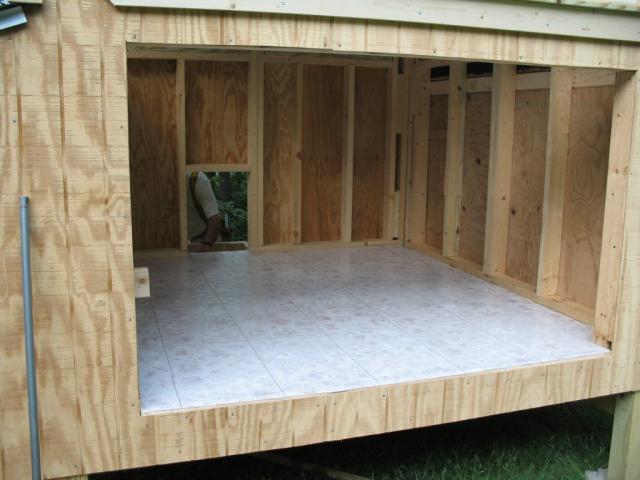
And finally, my contribution today - adding the vinyl flooring, a remnant.
June 14 2011, some more progress! Which is a good thing, because chicks are getting BIG.
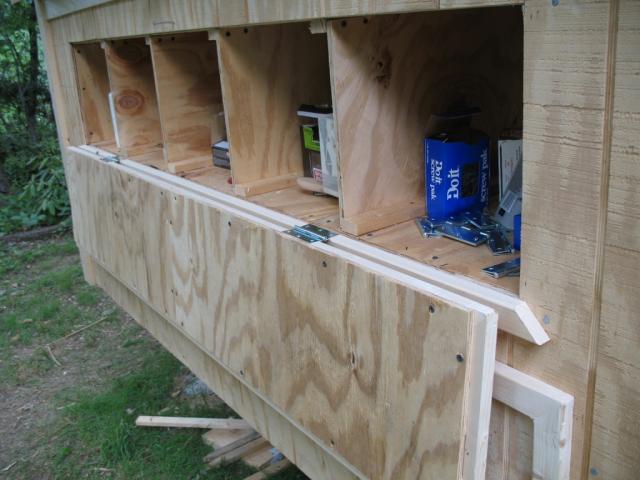
Here is the coop with the doors on, the clean-out doors are not closed all the way, needs some latches, and - still needs some trim:
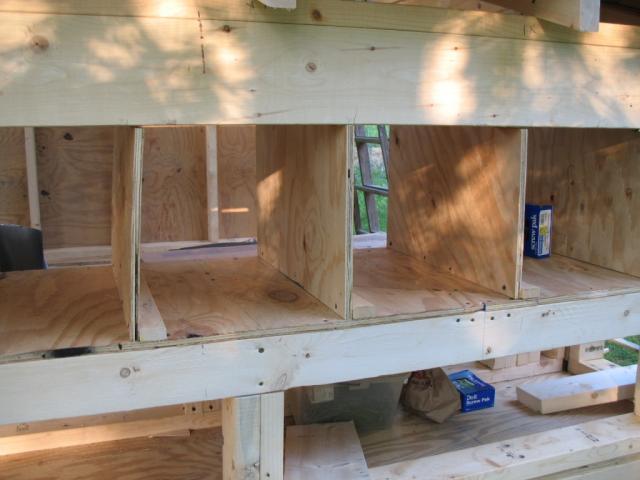
Here is a close-up of the nesting boxes, lid open:
And the other side of the coop:
We did a little more work today - finishing touches inside

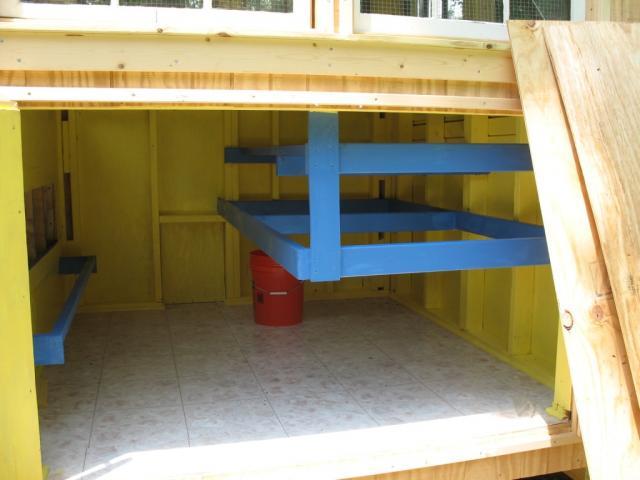
The coop has a level for the roost and poop deck!
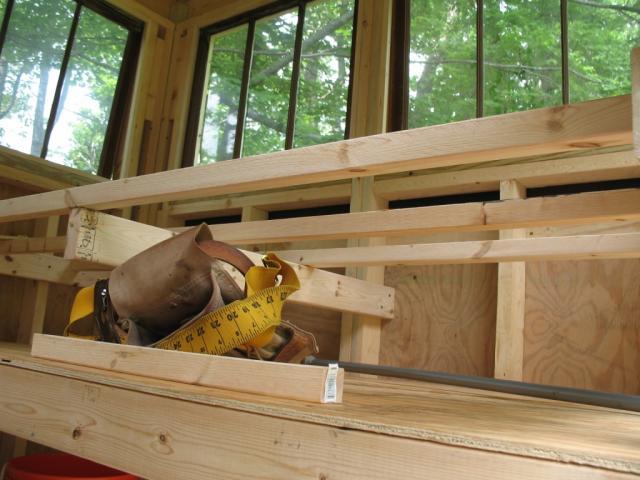
The roosts are about a foot from the window.

And they have about 2 feet underneath the poop deck. You can also see the addition of a bar for the nesting area. Hope to get it painted tomorrow!
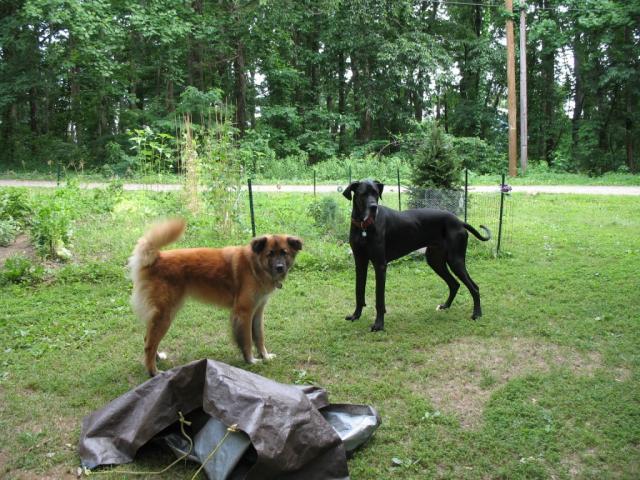
Oh, and here are two of our helpers - Teddy and Atticus:
And here is the painted interior - I know, soon to be covered in chicken poop. But fun to see freshly painted! We put 1/2 inch hardware cloth over the window interiors, and will bolster the staples with a wood frame. We have lots of clever predators around here.
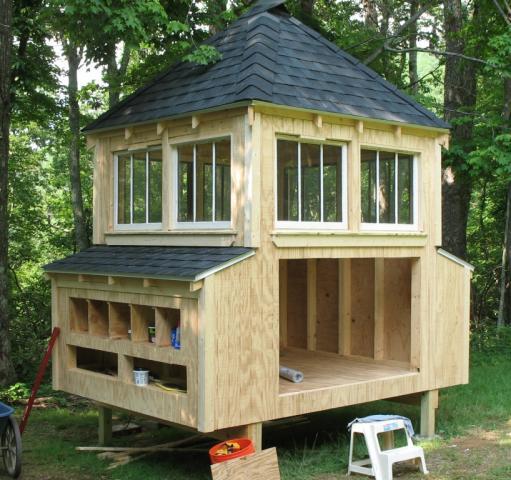
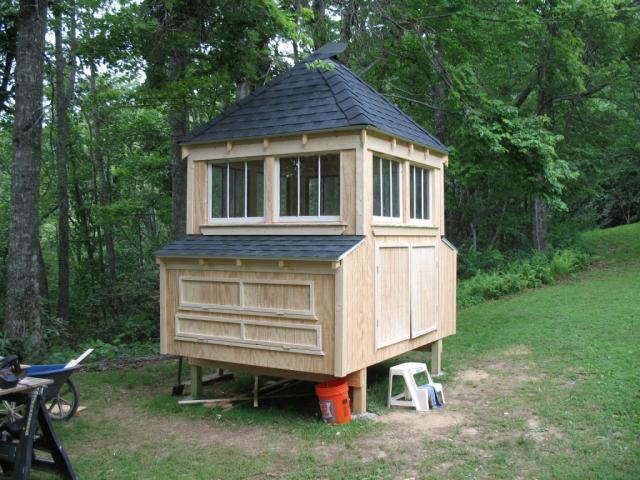
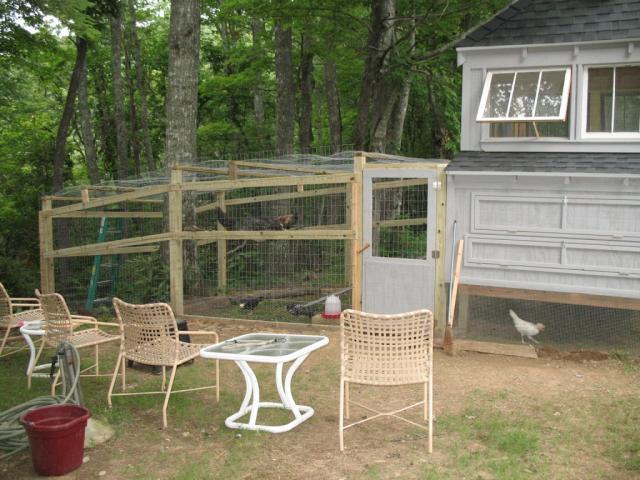
Here is a picture of the coop, finally outside stained. I hate to paint.
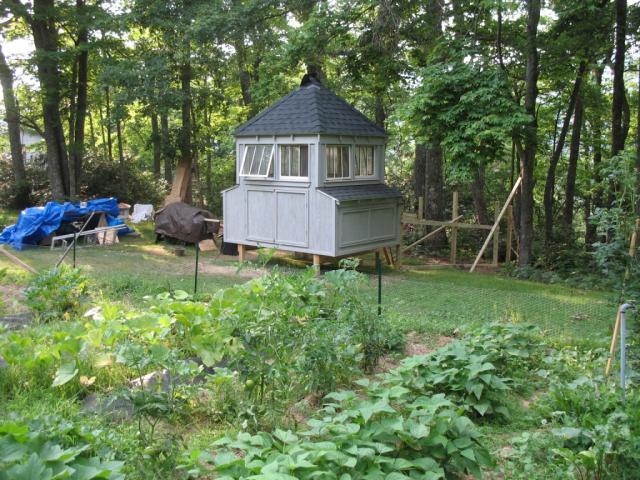
Take a look at the tomato plant crawling up the right side of the photo! I bought the plant locally - it doesn't seem to want to stop growing....
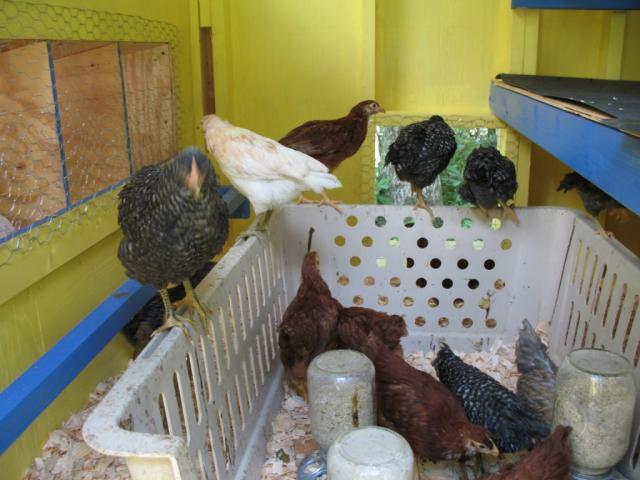
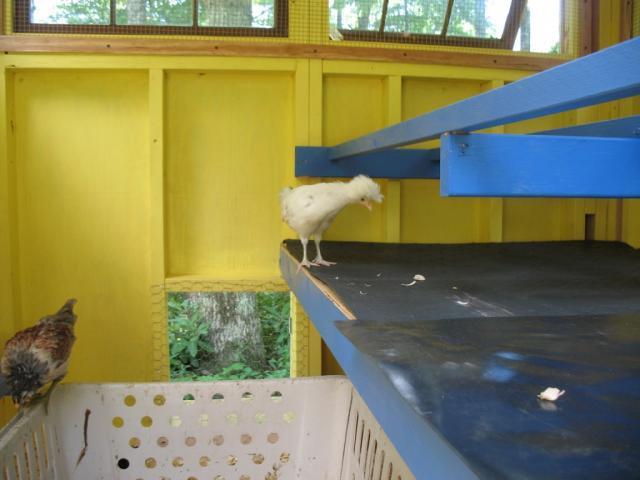
And here are some pics of the peeps inside their new digs
And here they are at night, dark picture
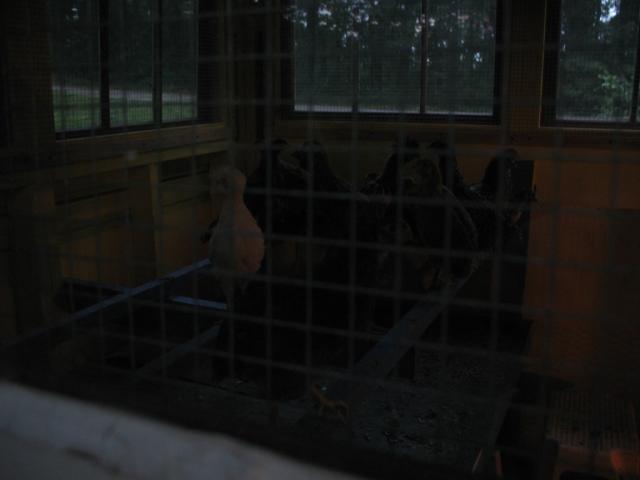
They love their new coop, and are now all sleeping on the roost.
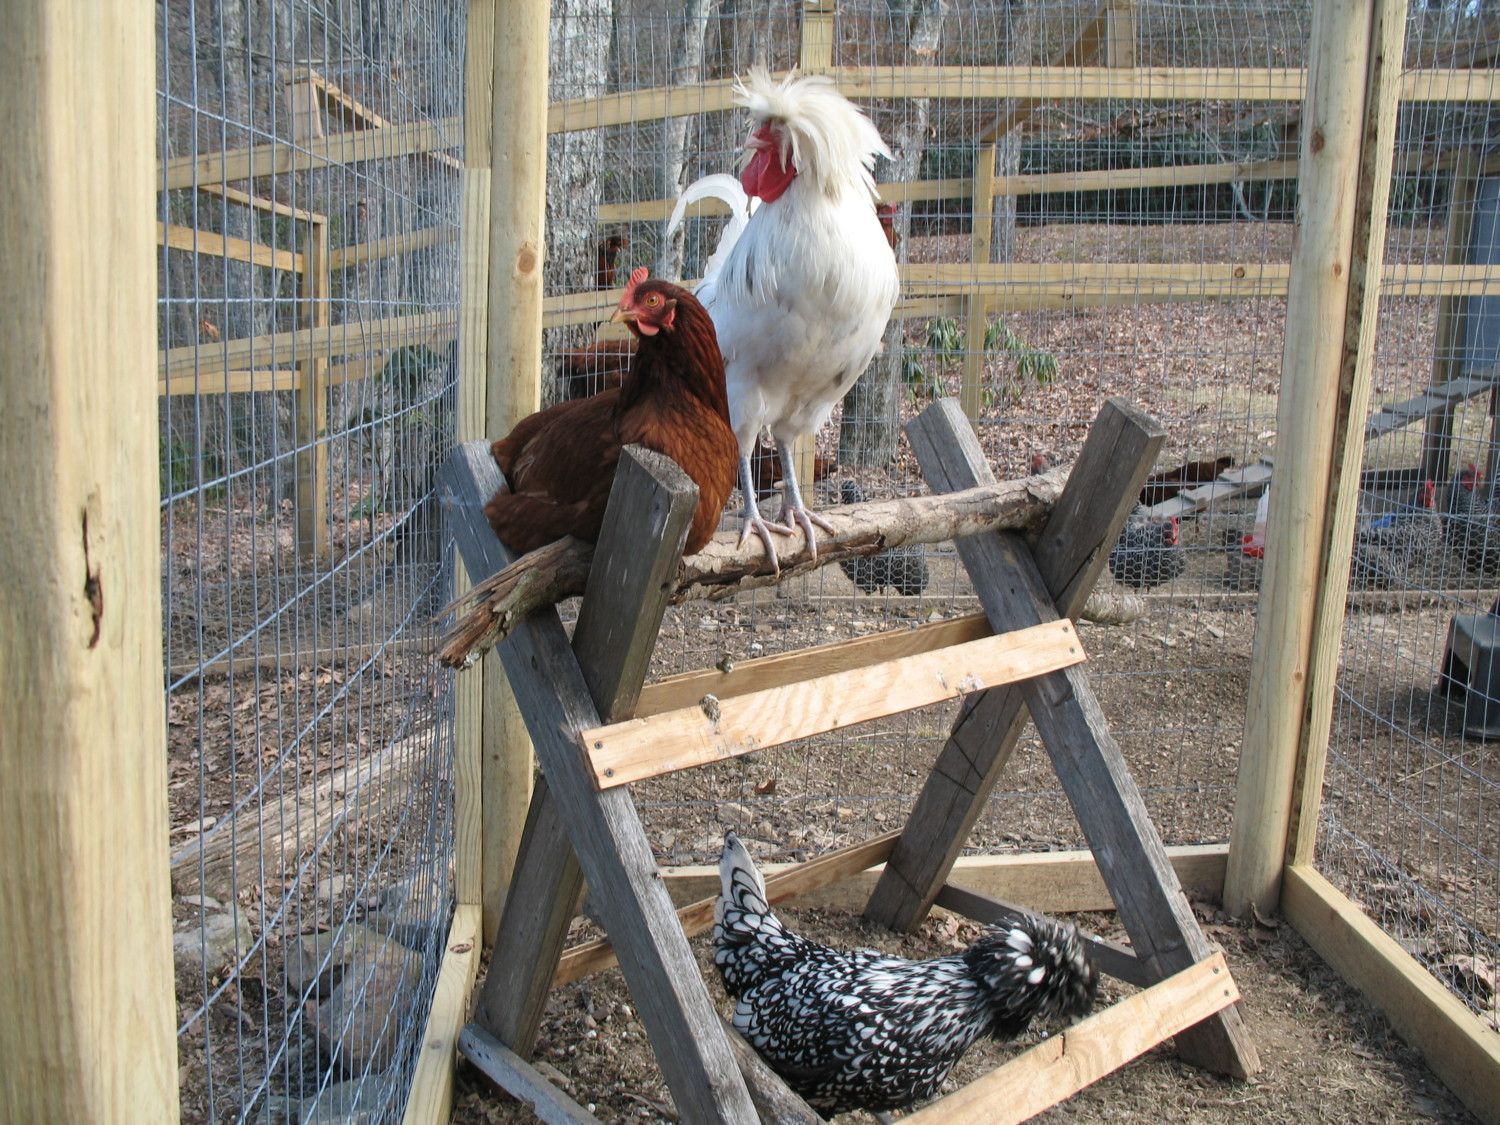
And finally, the run is somewhat finished - finished enough for the chicks to be outside unsupervised during the day.
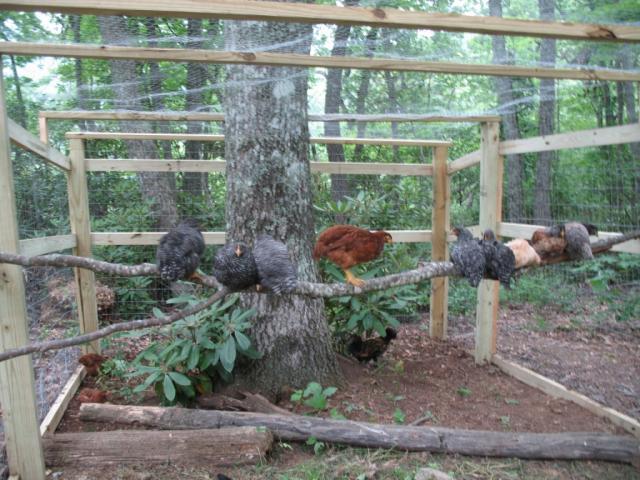
The chicks have a rhodo rimmed oak tree inside their run, and we stuck a branch to help them feel a little bit on the wild side.
And now we can sit back and enjoy the show!
The wire on the run is buried 6 inches and we have a 2 ft apron running around the entire run.
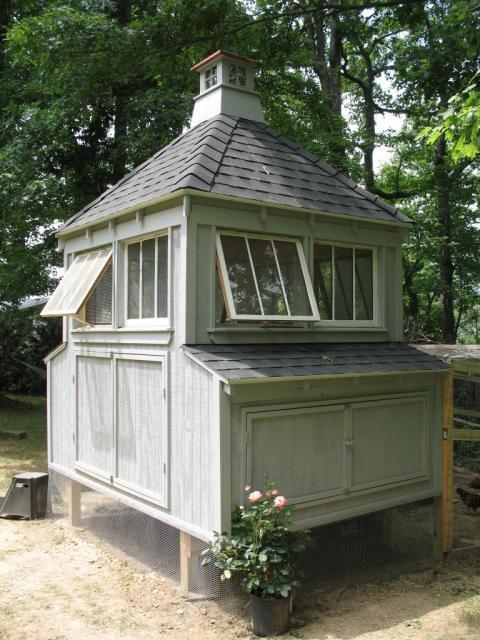
Things left to do: install the cupola, secure the netting ontop of the run, install hooks on the windows to replace the sticks I am using to prop them open.
August 13, 2011
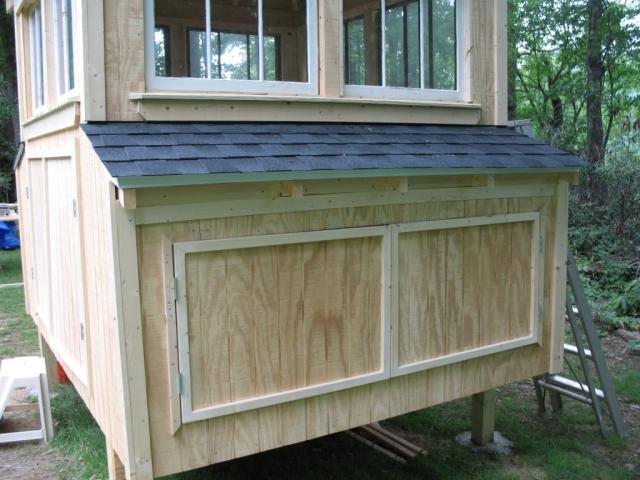
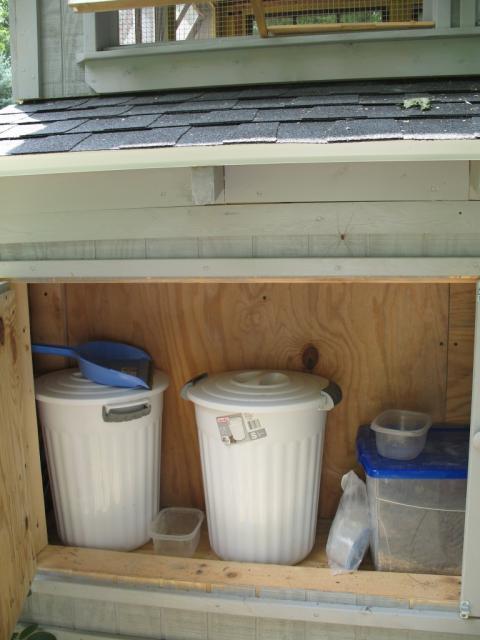
Finally some recent shots - here is the storage area on the side of the coop
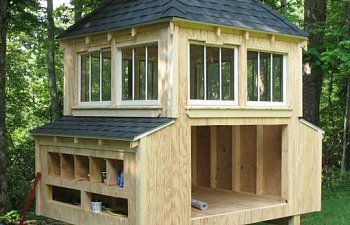
And finally, a shot of the cupola - we are still searching for the perfect weathervane

Almost a year later, we needed to add a coop for those with special needs.