This is the story of the Little Red Hen House.
Once upon a time (July 2011) my dear husband built me a chicken coop.
We live in North Central Washington on a high plateau (elevation of 2800') surrounded by dry land wheat. Our little town has a population of 1,000 people so when we were building our new coop, it was noticed by everyone. I started raising hens about 4 years ago and I have 7 hens right now:
2 Black Australorps (Gert and Alice)
1 Buff Orpington (Betty)
1 Plymouth Rock (Janie)
1 Silver Laced Wyandotte (Grace)
2 Rhode Island Reds (Lyla, Lucy)
We live within the city limits of our town, so I cannot have a rooster. So far I have started chicks after they have hatched (I might get brave someday and buy eggs and incubate them, but for now, I get fluffy chicks to fall in love with). This spring I bought 4 chicks (three days old):
2 Buff Orpingtons and 2 Silver Laced Wyandottes (both of these do well in the cold weather).
So in total I will have 11 hens getting to enjoy the Little Red Hen House by this next winter.
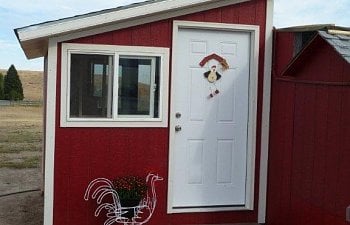
Above is a picture of the finished Coop, but the journey begins about a month and a half earlier . . .
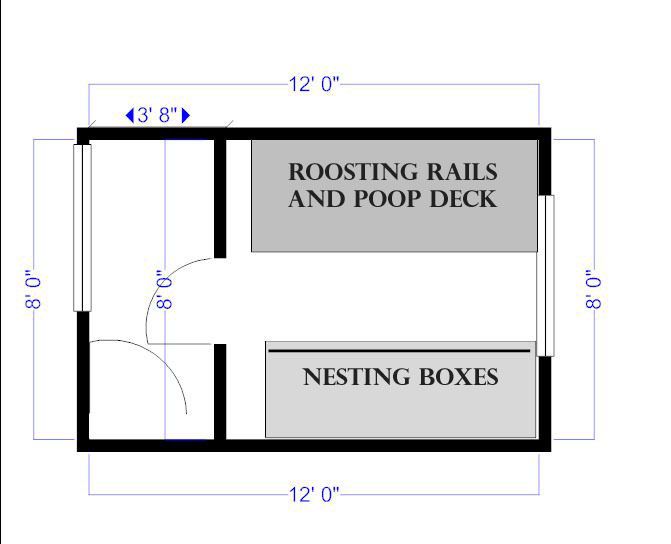
Here is the "footprint" of the coop. The front part is my storage area and is separated by chicken wire and a screen door; I store their food and misc items there. You will see pictures of the construction and the girls enjoying their new home below.
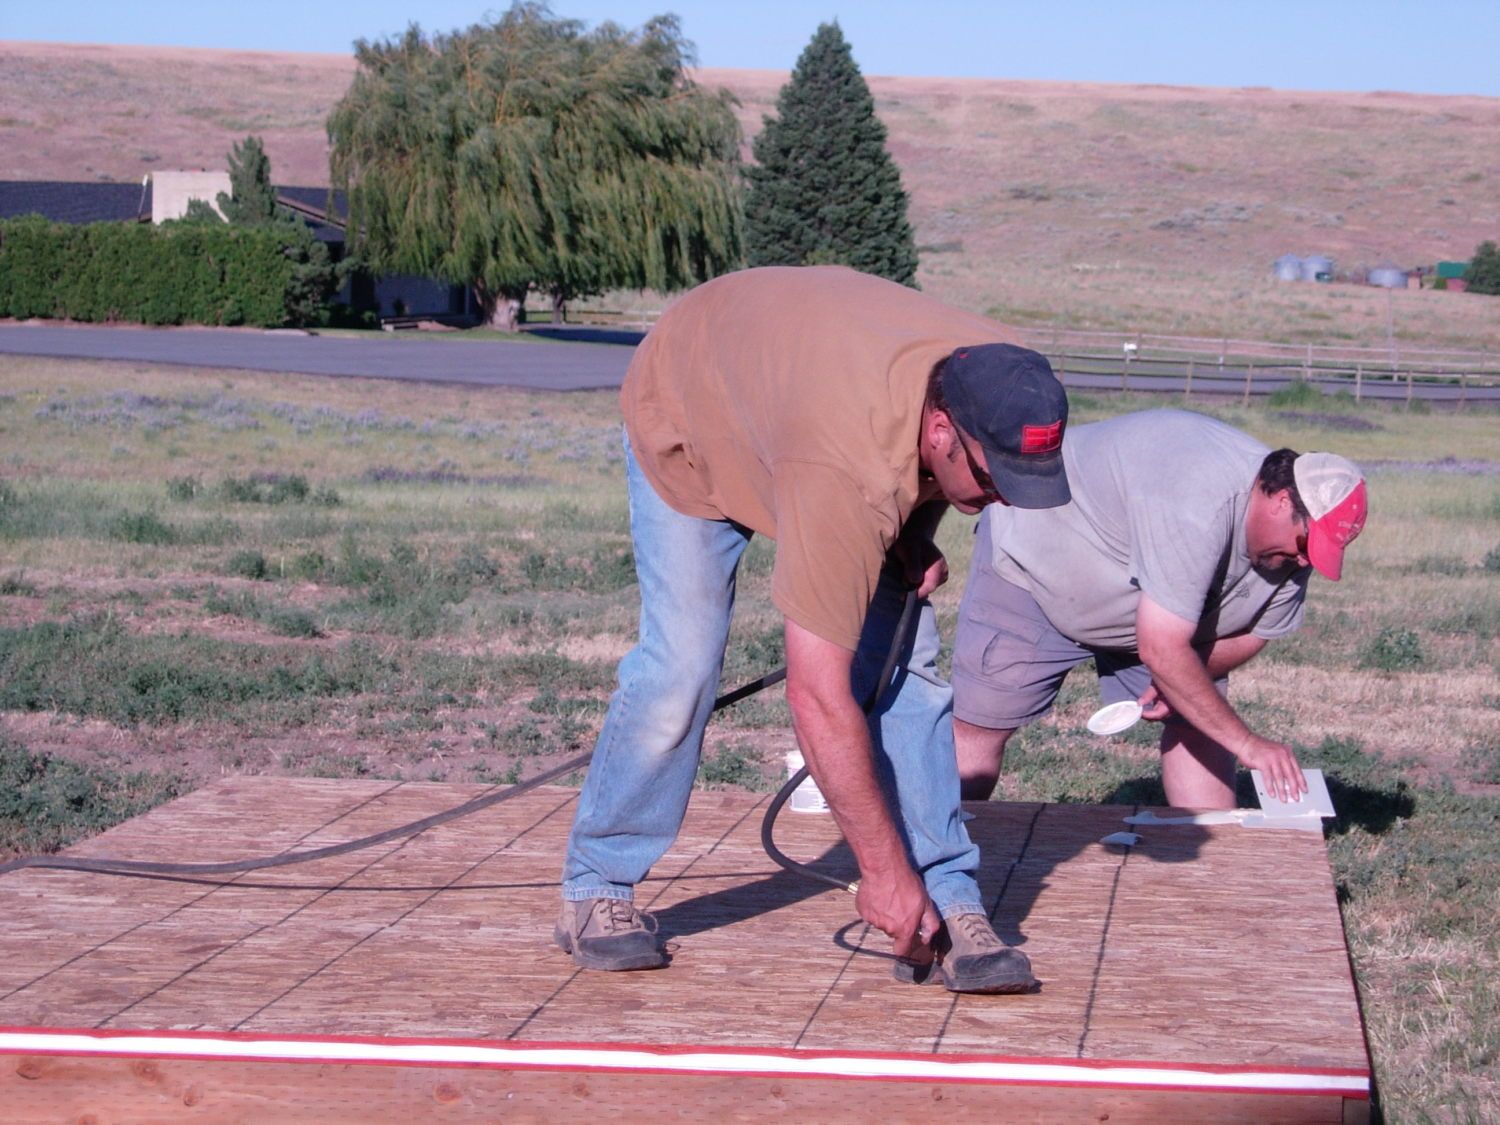
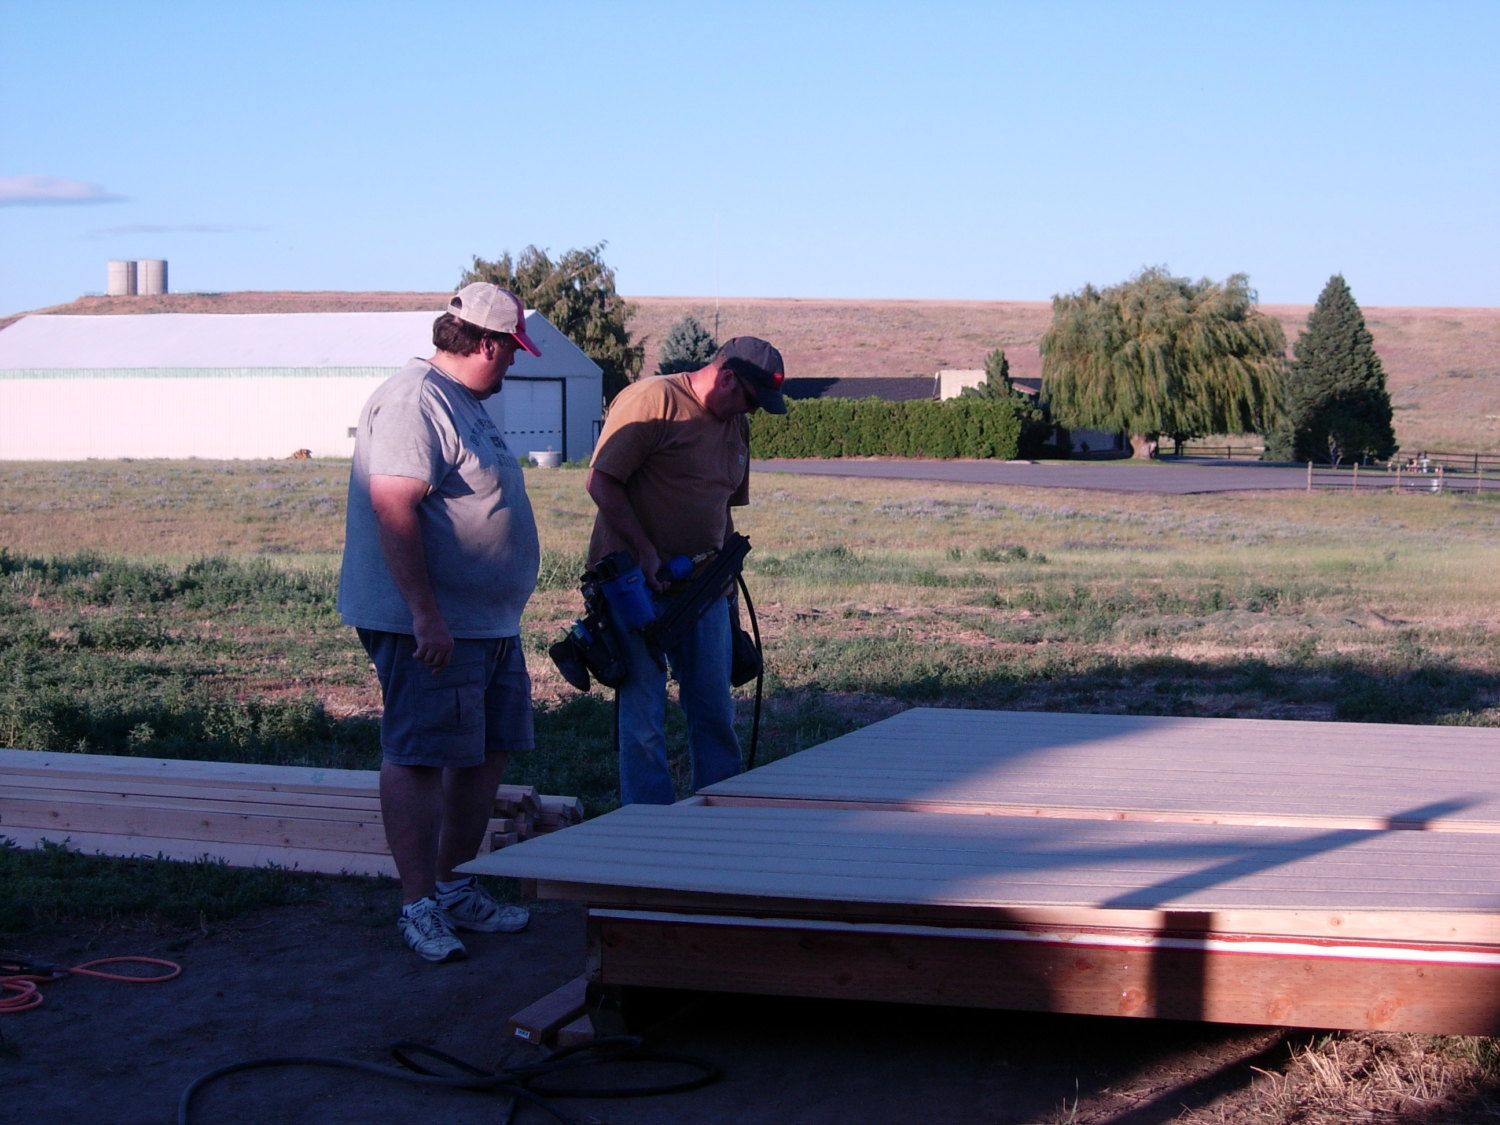
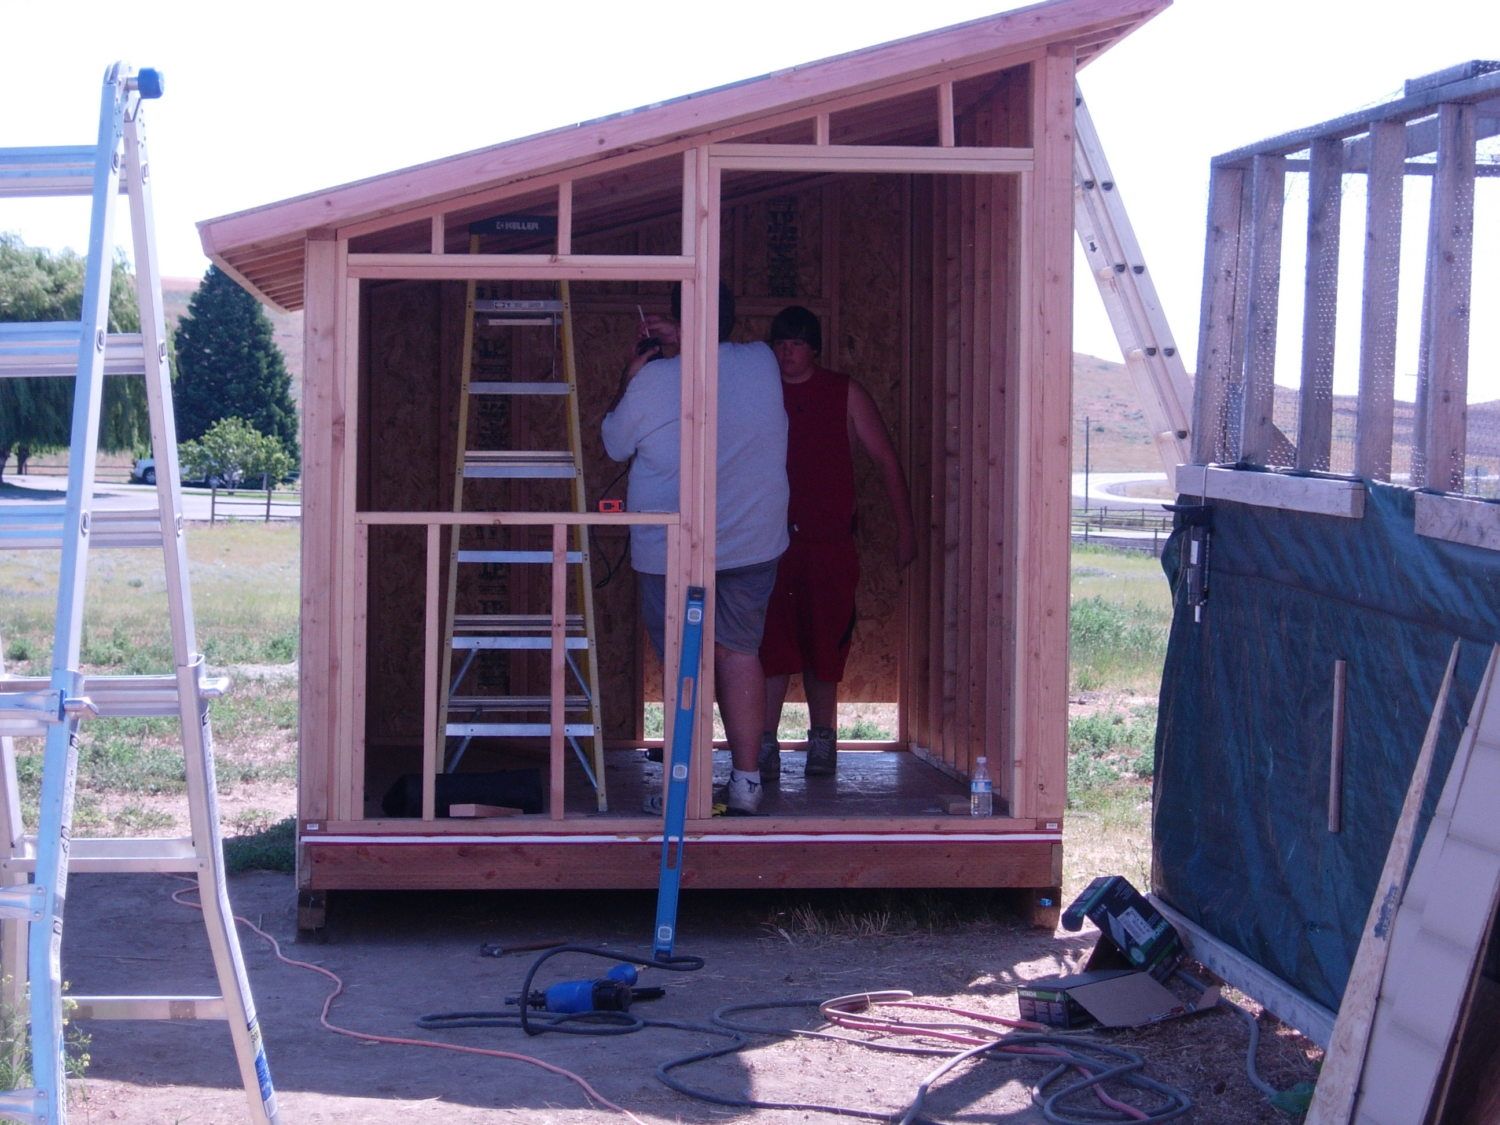
This is my husband Greg (right) and his friend Sam installing the floor (1" moisture barrier sandwiched between the 1/2" plywood on the top and bottom) We built the platform base (8 x 12) on skids so that we could move it into place and if needed later, it could be moved to another location. Below Greg and Sam are applying the paste for the linoleum flooring that covers the entire coop. I purchased this at Lowes (8x12 for $49.99).
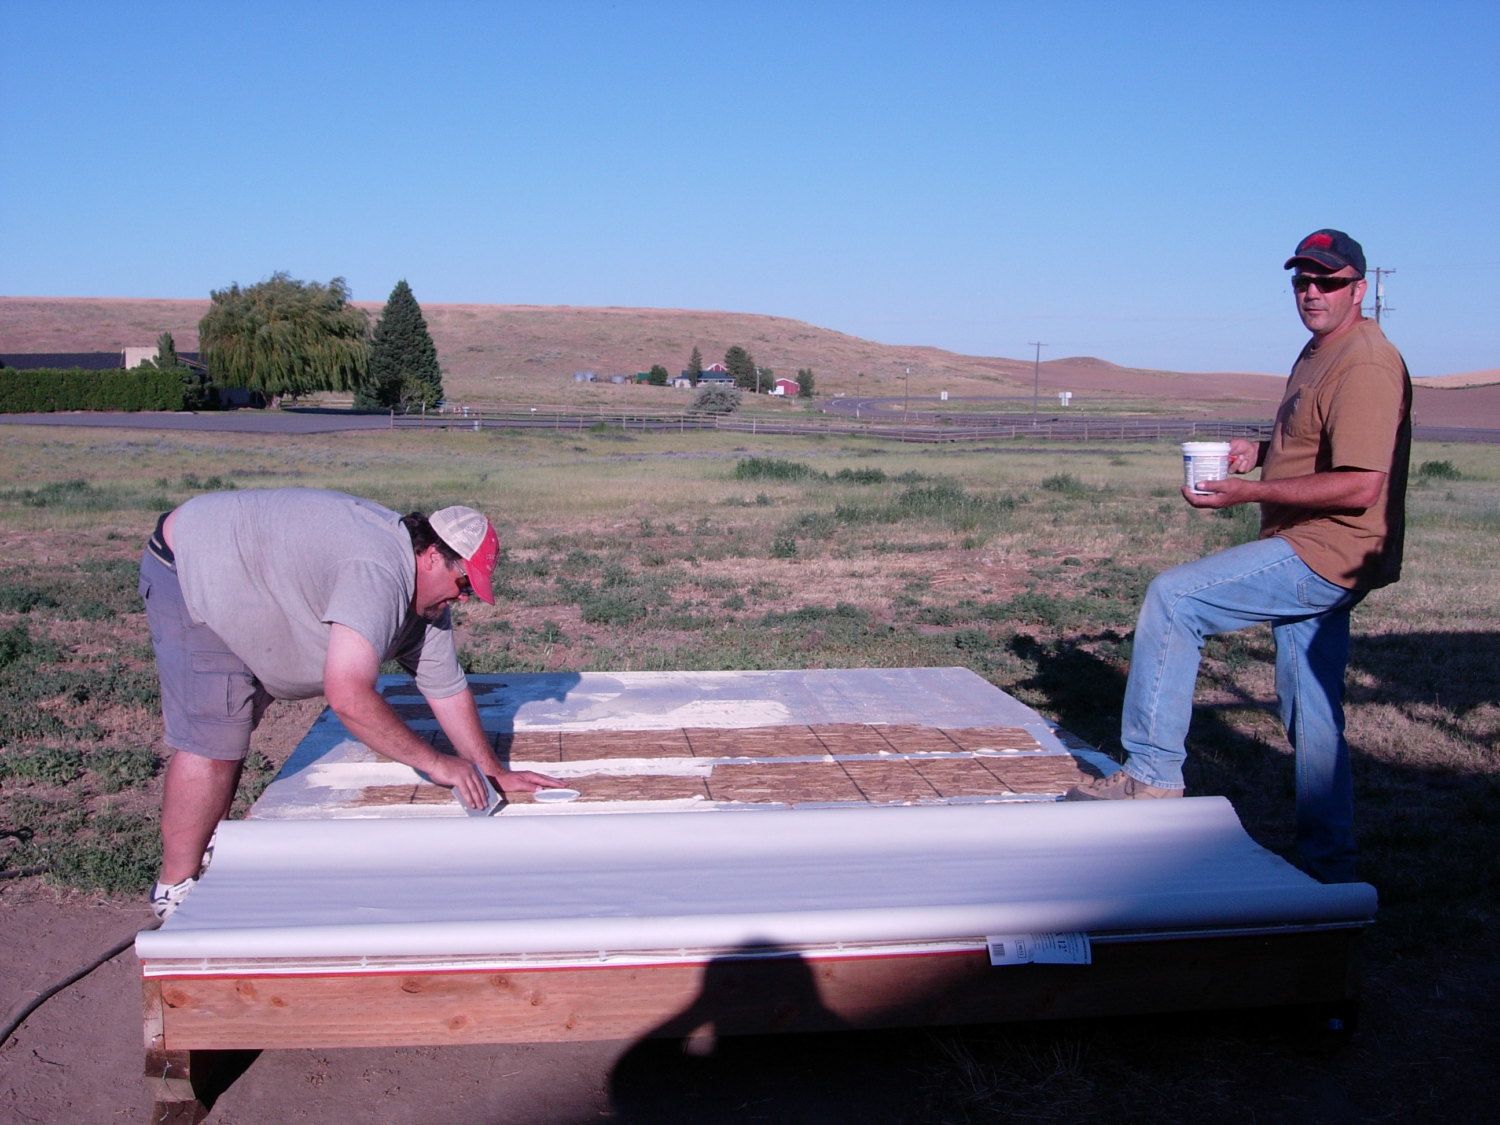
I had read that it was a good idea to have a solid flooring for the coop for weatherproofing and water barrier. It has worked out great and I am glad that we went this way with it.
Framing the first wall - yay! We put T1-11 siding on the exterior walls.
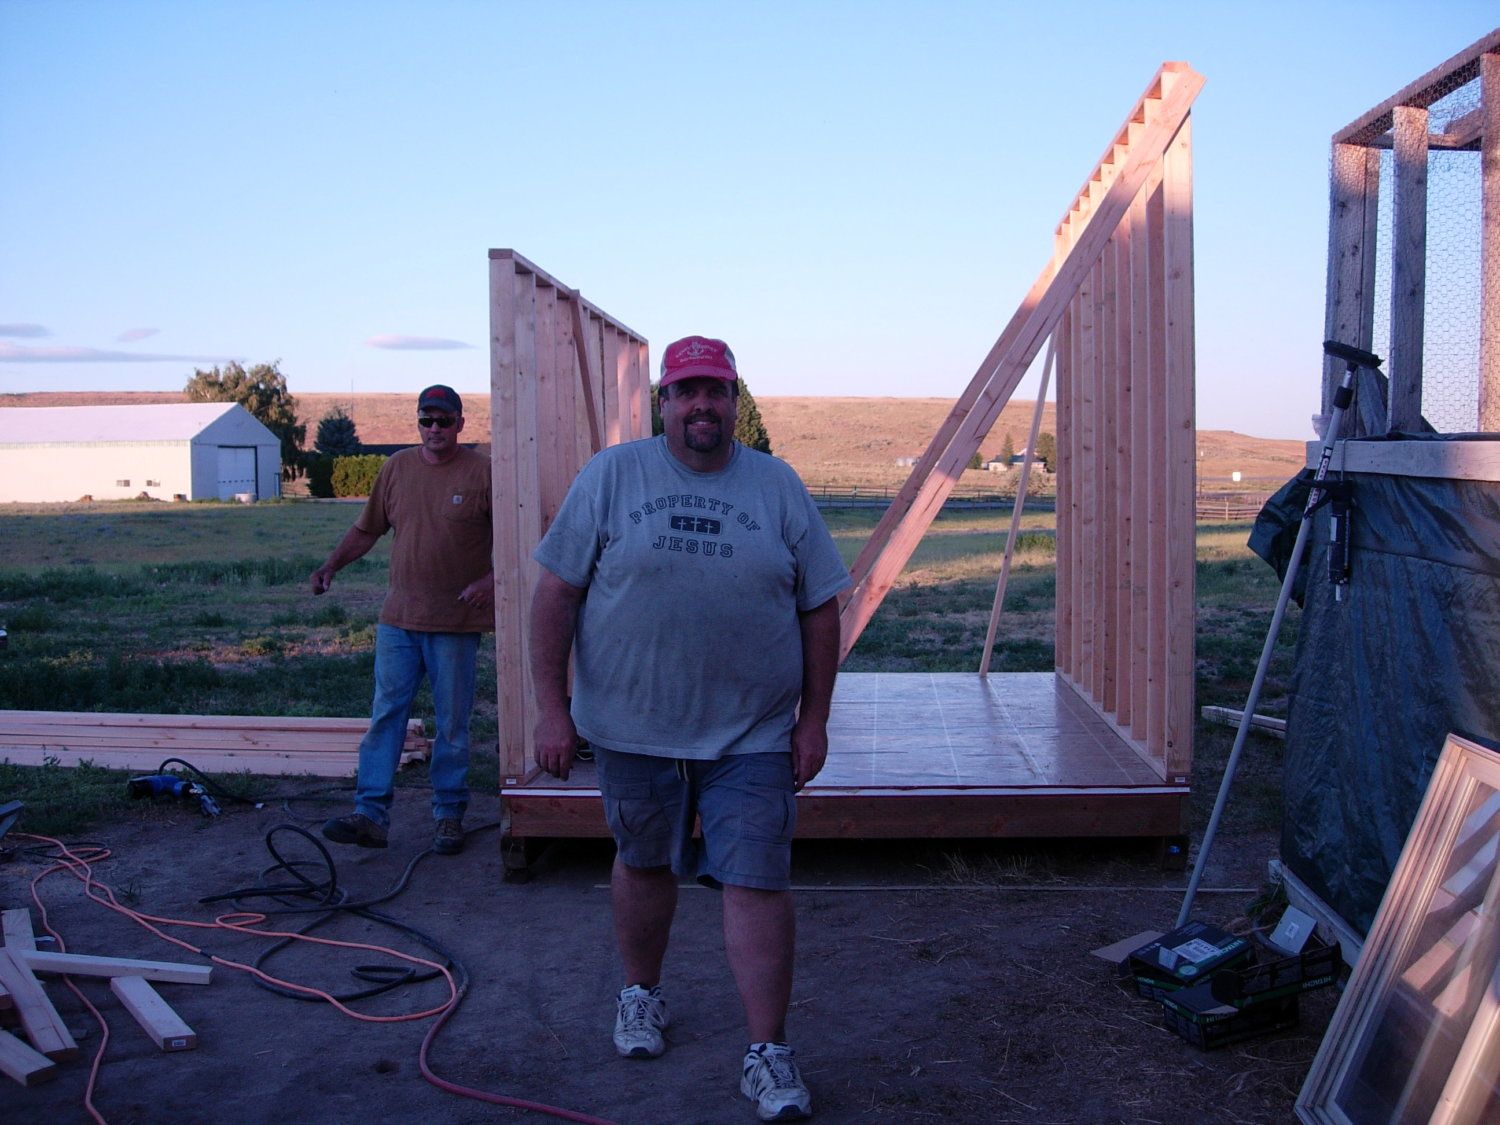
The second wall is up
") You can see the outside run the right; when the coop was finished, we pulled it into place and attached it to the run. Can you see the smile on Greg's face? He won't admit it, but he did have a good time.
You can see the outside run the right; when the coop was finished, we pulled it into place and attached it to the run. Can you see the smile on Greg's face? He won't admit it, but he did have a good time. 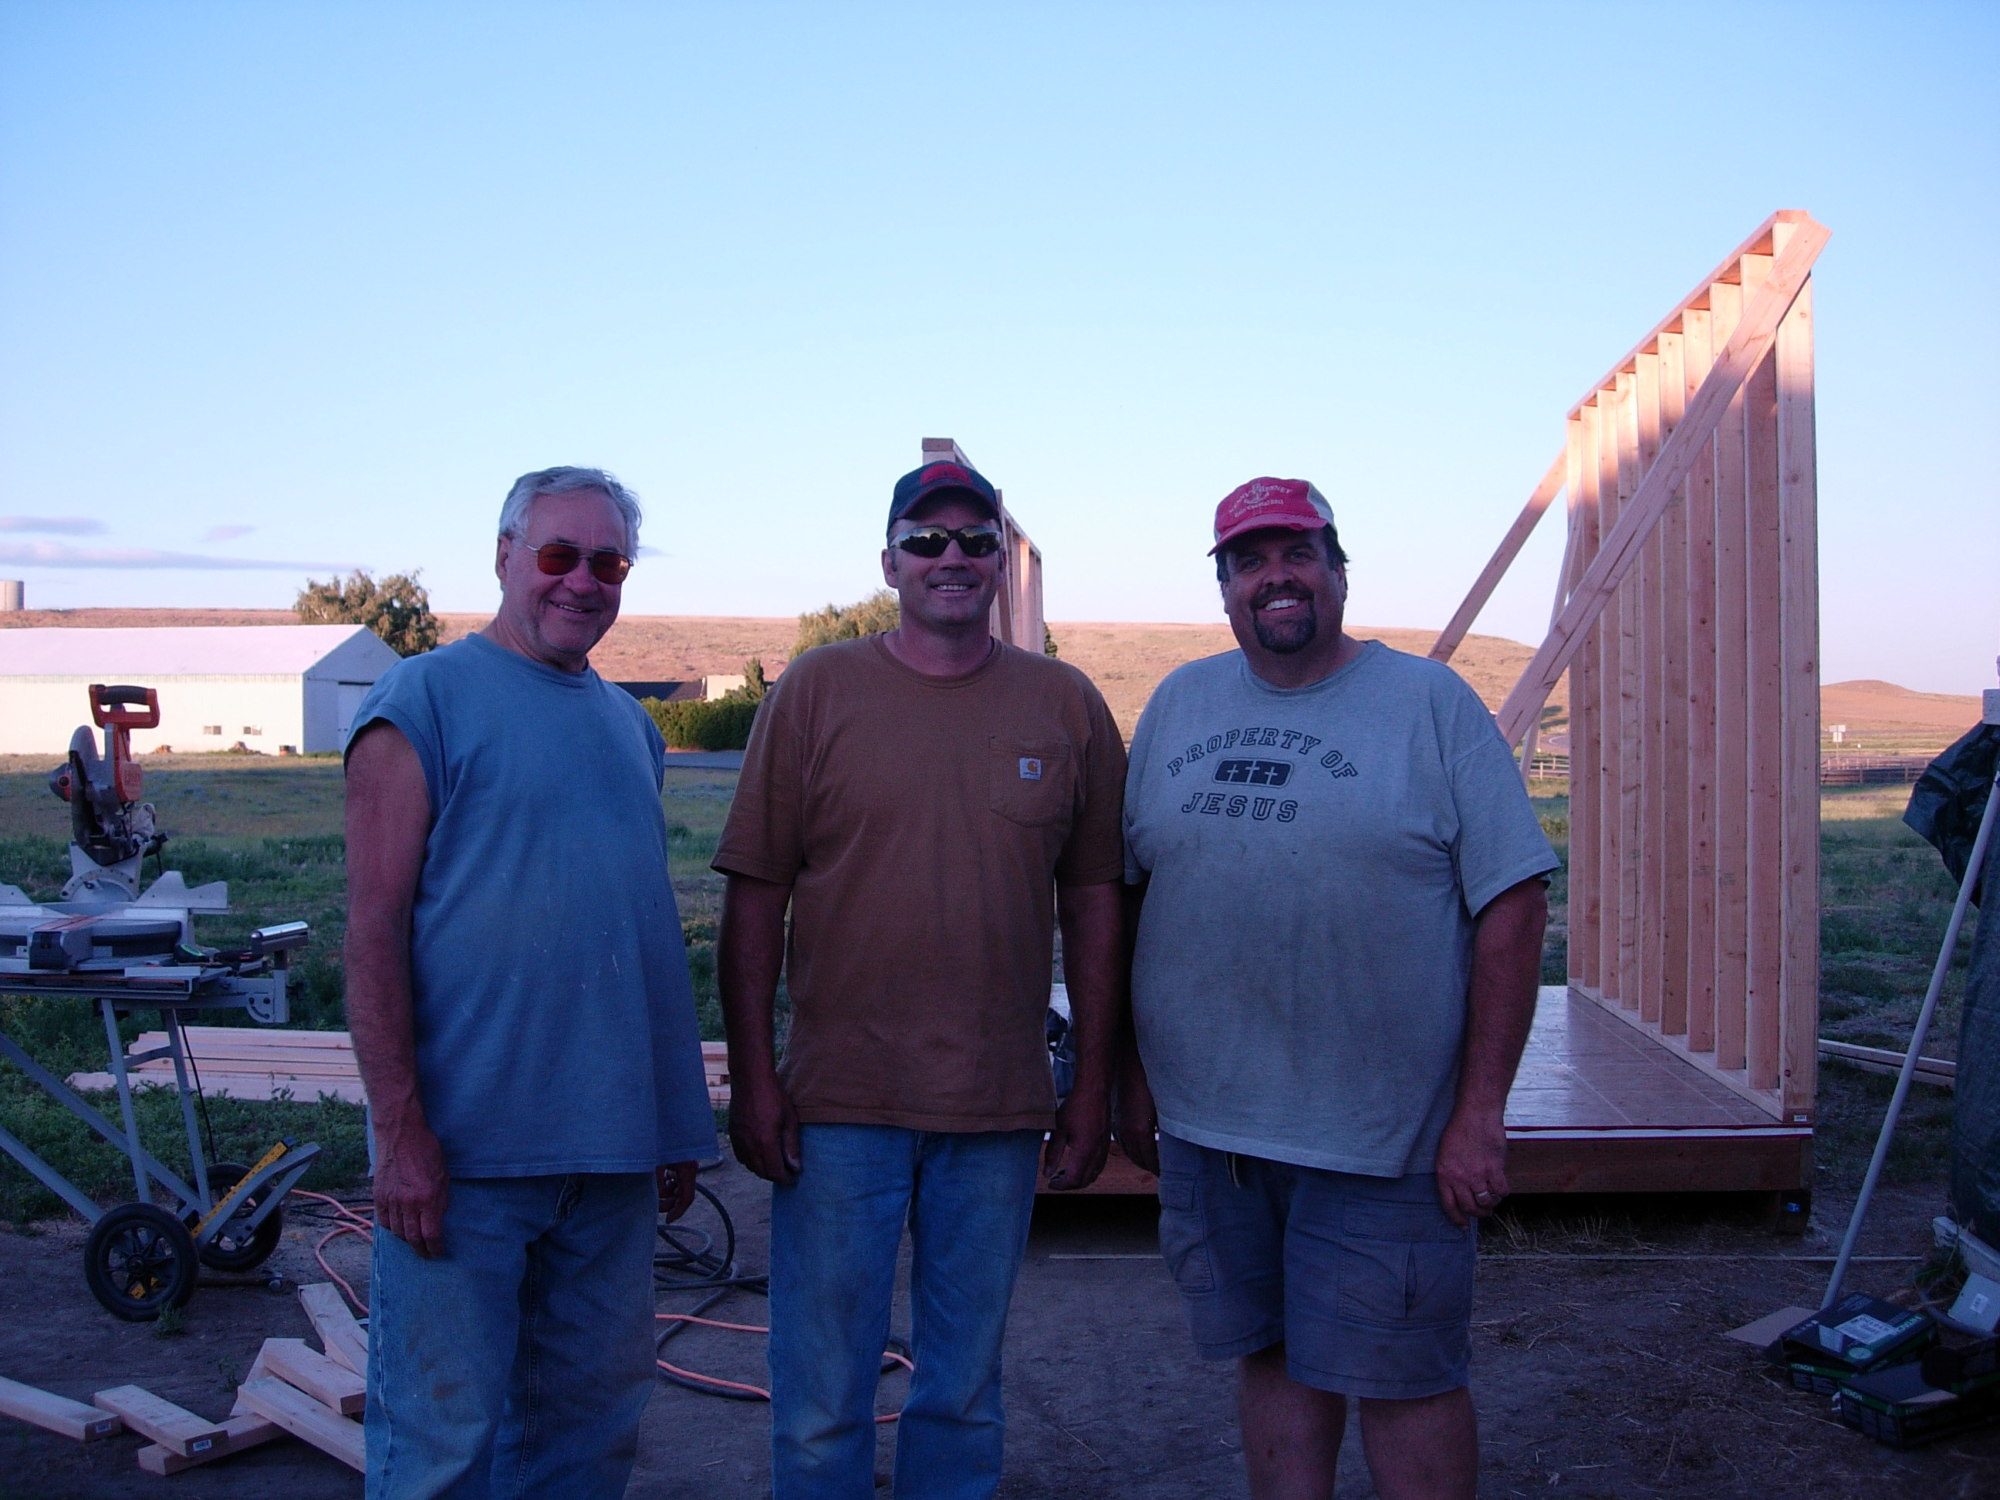
The "Three Amigos" - my Dad (Bill), Sam, and Greg. Although they all would rather be out on the golf course, together, they are sacrificing their time and building my girls a new home; what a bunch of swell guys!
All framed and 3 sides up, well 4 if you count the roof - getting closer!
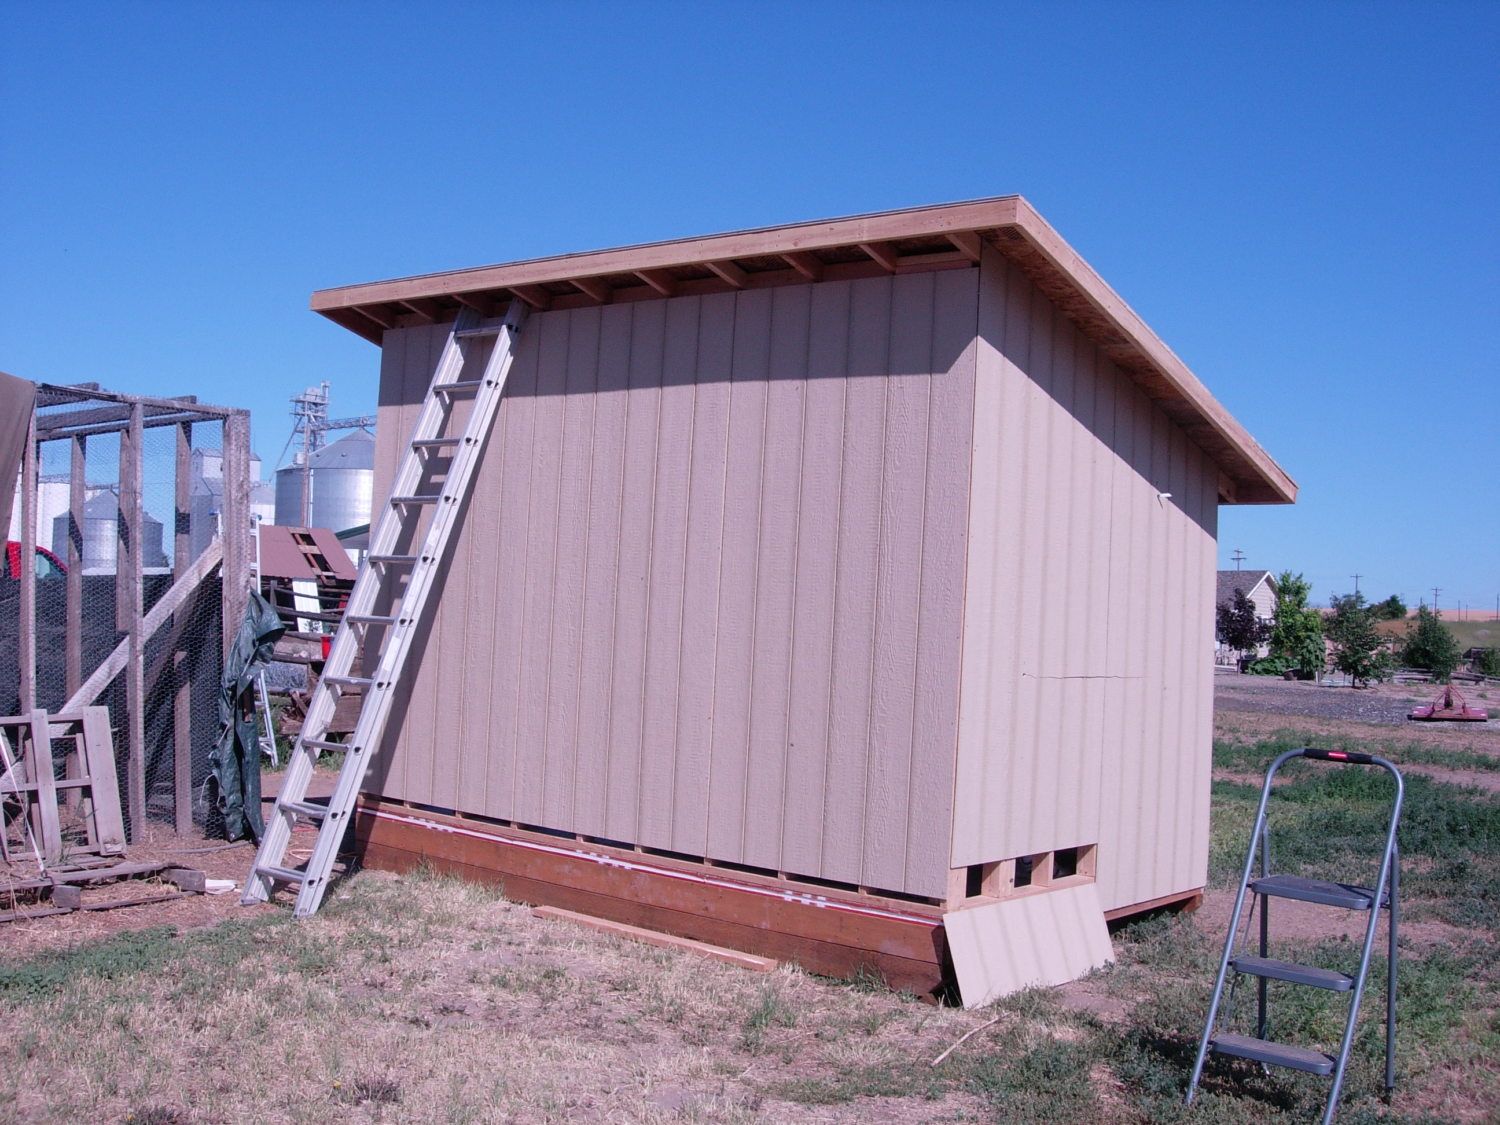
This is the side that will join up to the run once it is all complete. Need to put the finishing row on the bottom and the side so that it is finished up cleanly.
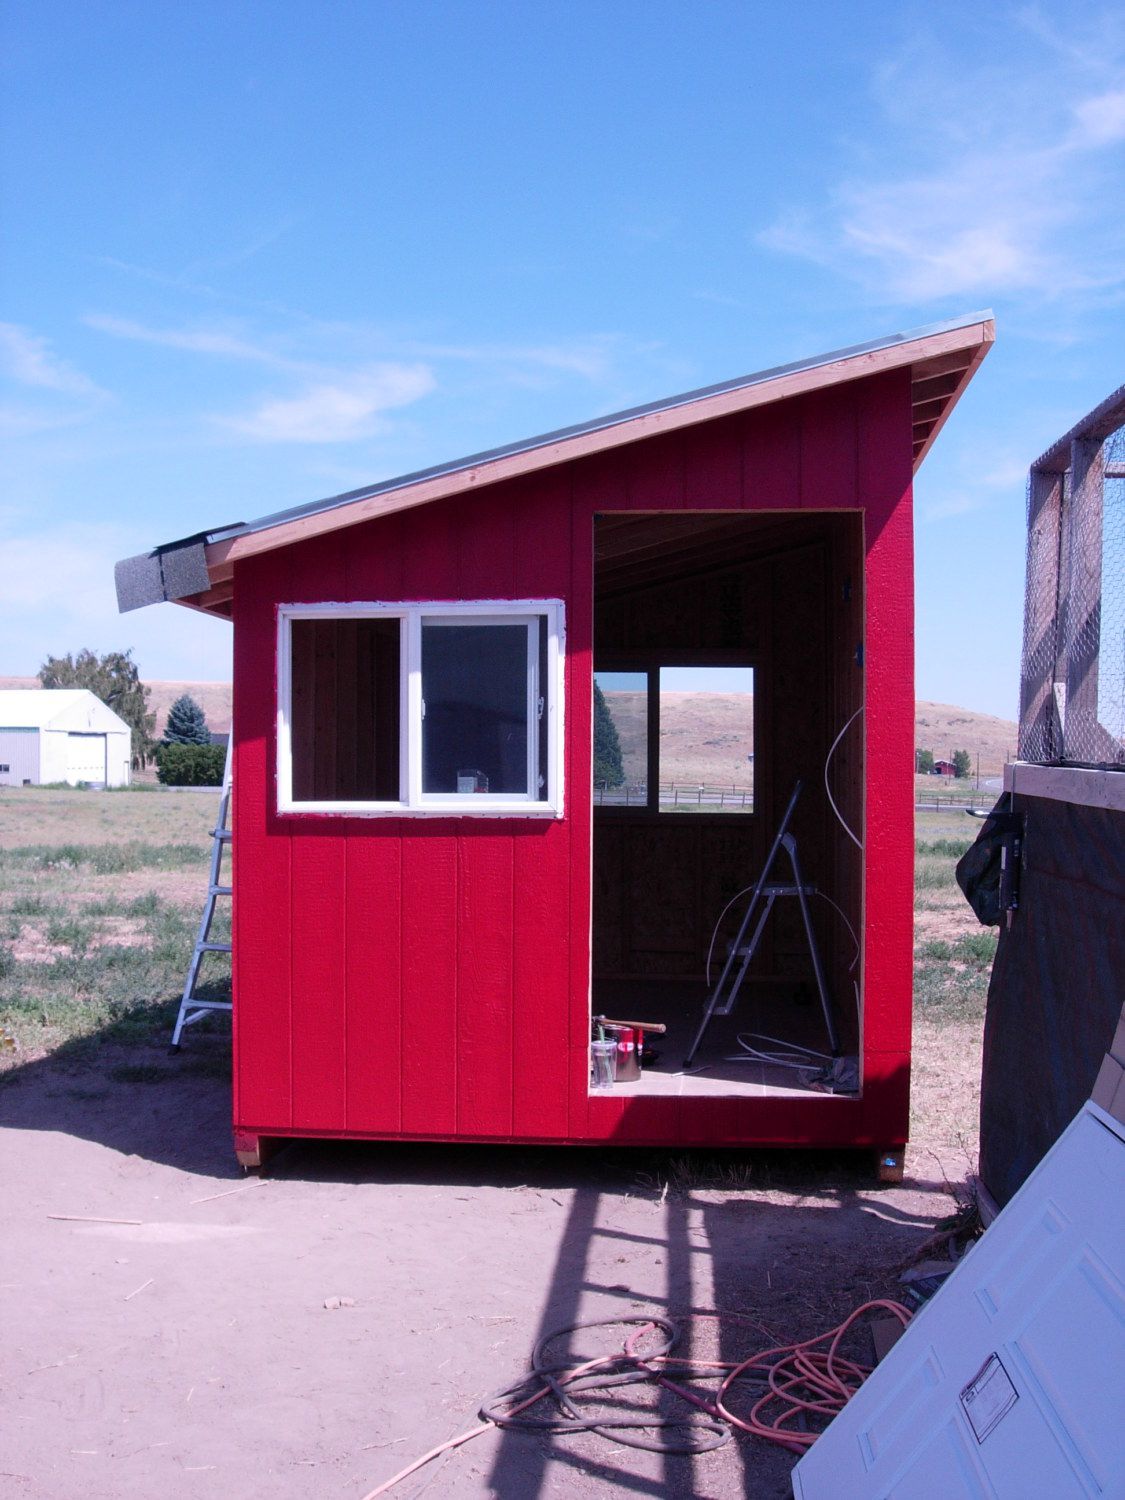
First coat of paint, windows in, and roof going on. I ended up applying 3 coats of red paint.
We had purchased the windows at an auction about 3 years earlier for next to nothing and knew that they would come in handy some day - and they did!
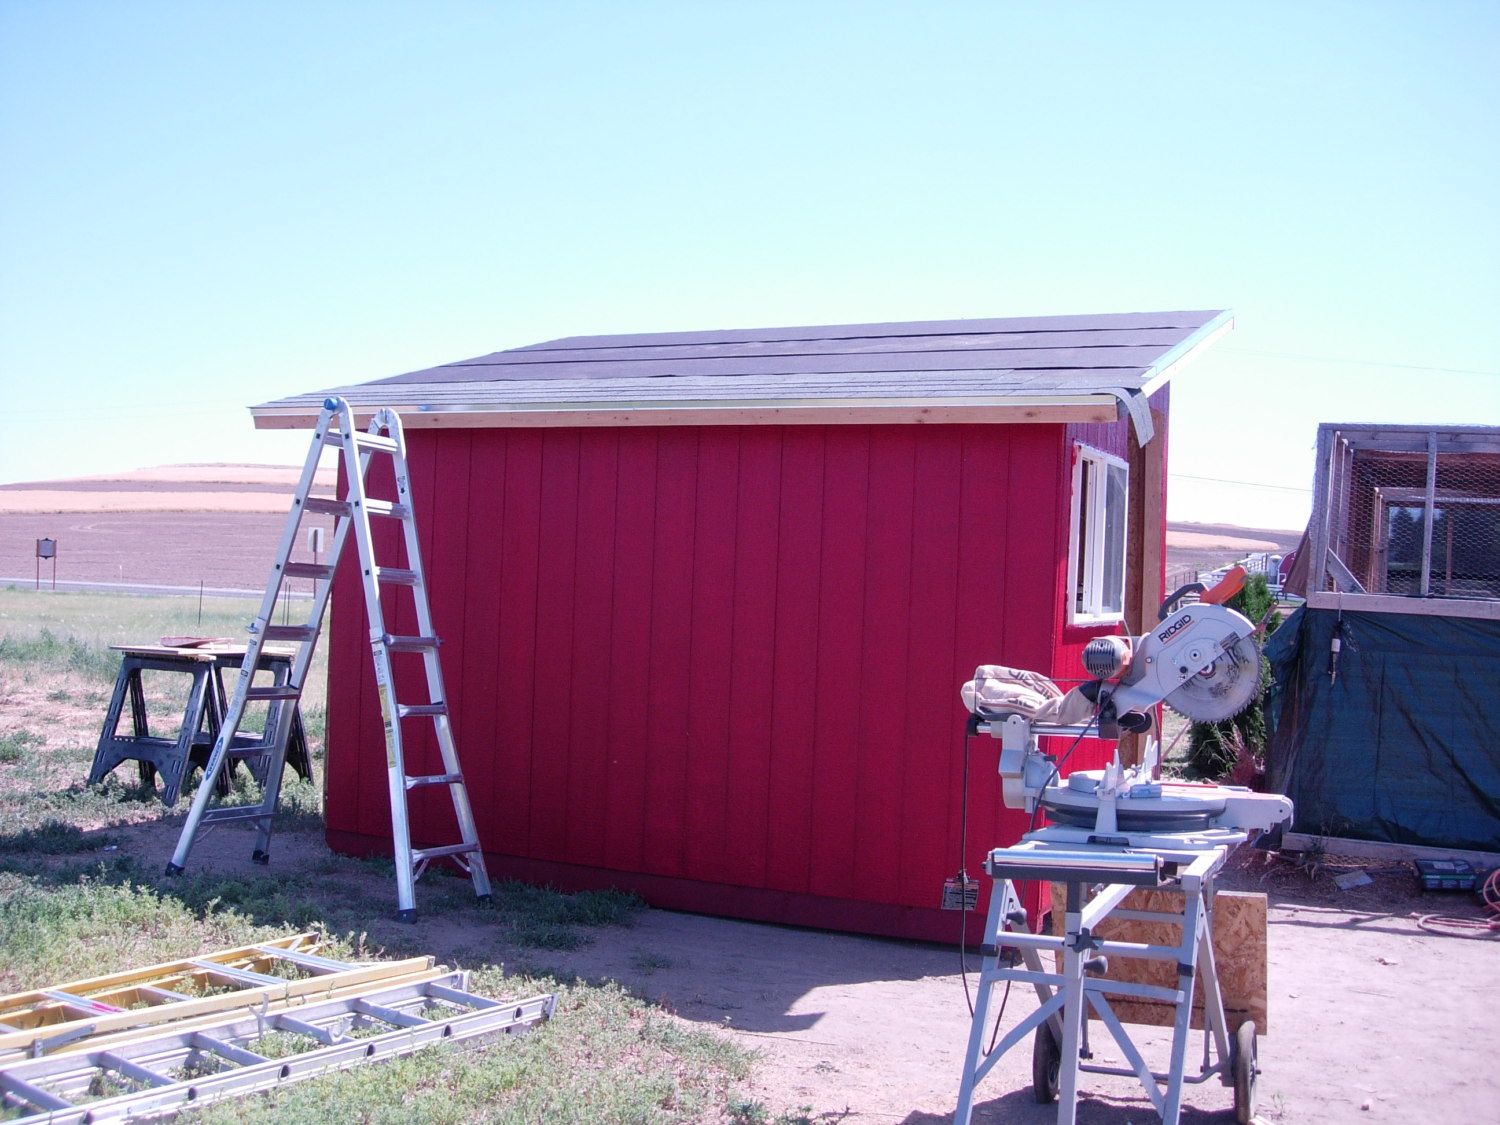
We decided to go with a composition roof instead of metal roofing; more economical and easier to install.
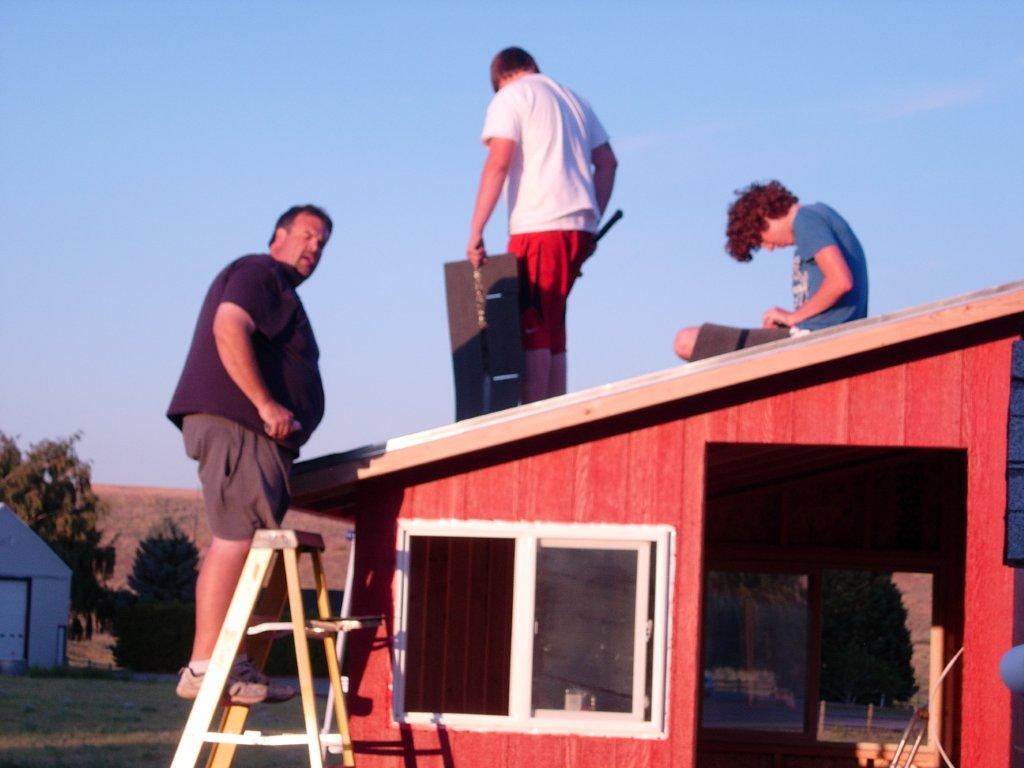
Cheap labor - my son and his friend. They worked hard in the summer sun and made some money as well as scoring points with the mom!
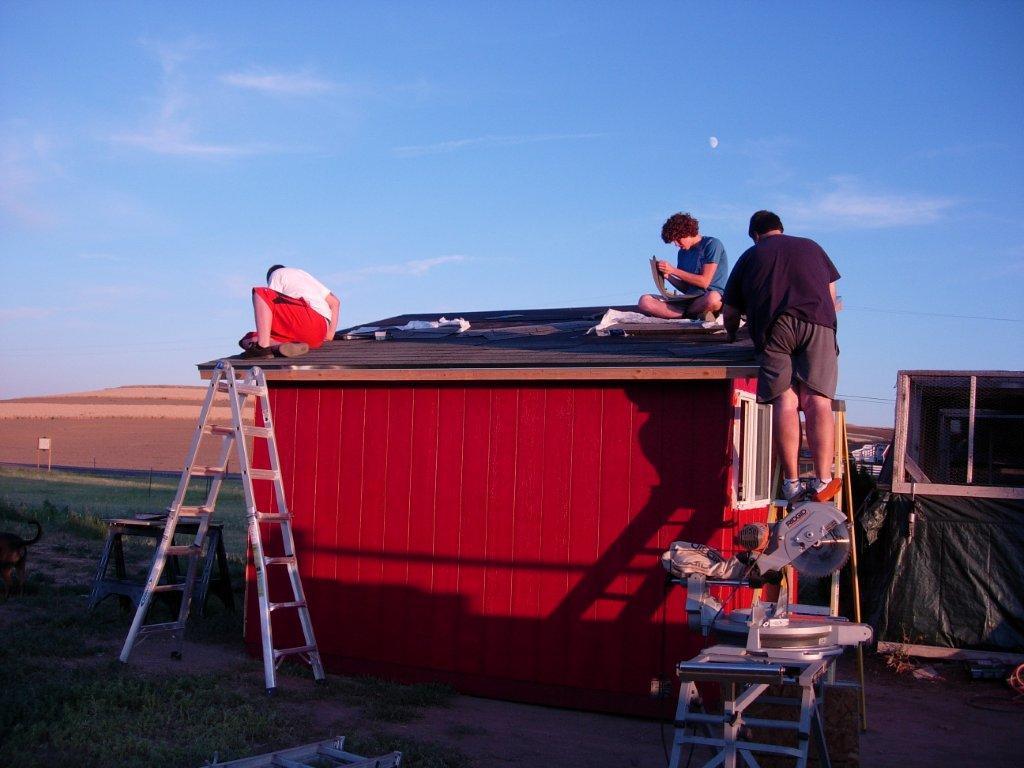
Thanks guys - it is looking good!
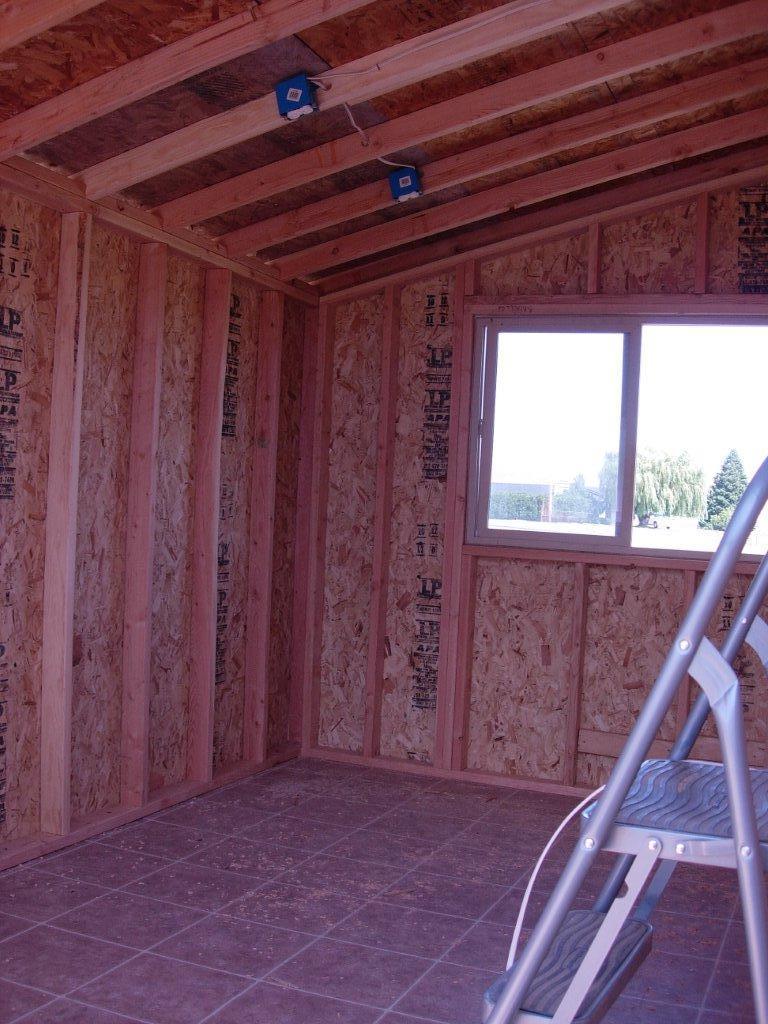
The electricity is ran to the outlets and the lights. We insulated the walls and the ceiling before putting up the interior walls. We used plywood and painted them with white paint. We run a heater and lights (so they have 14 hours of light) in the winter.
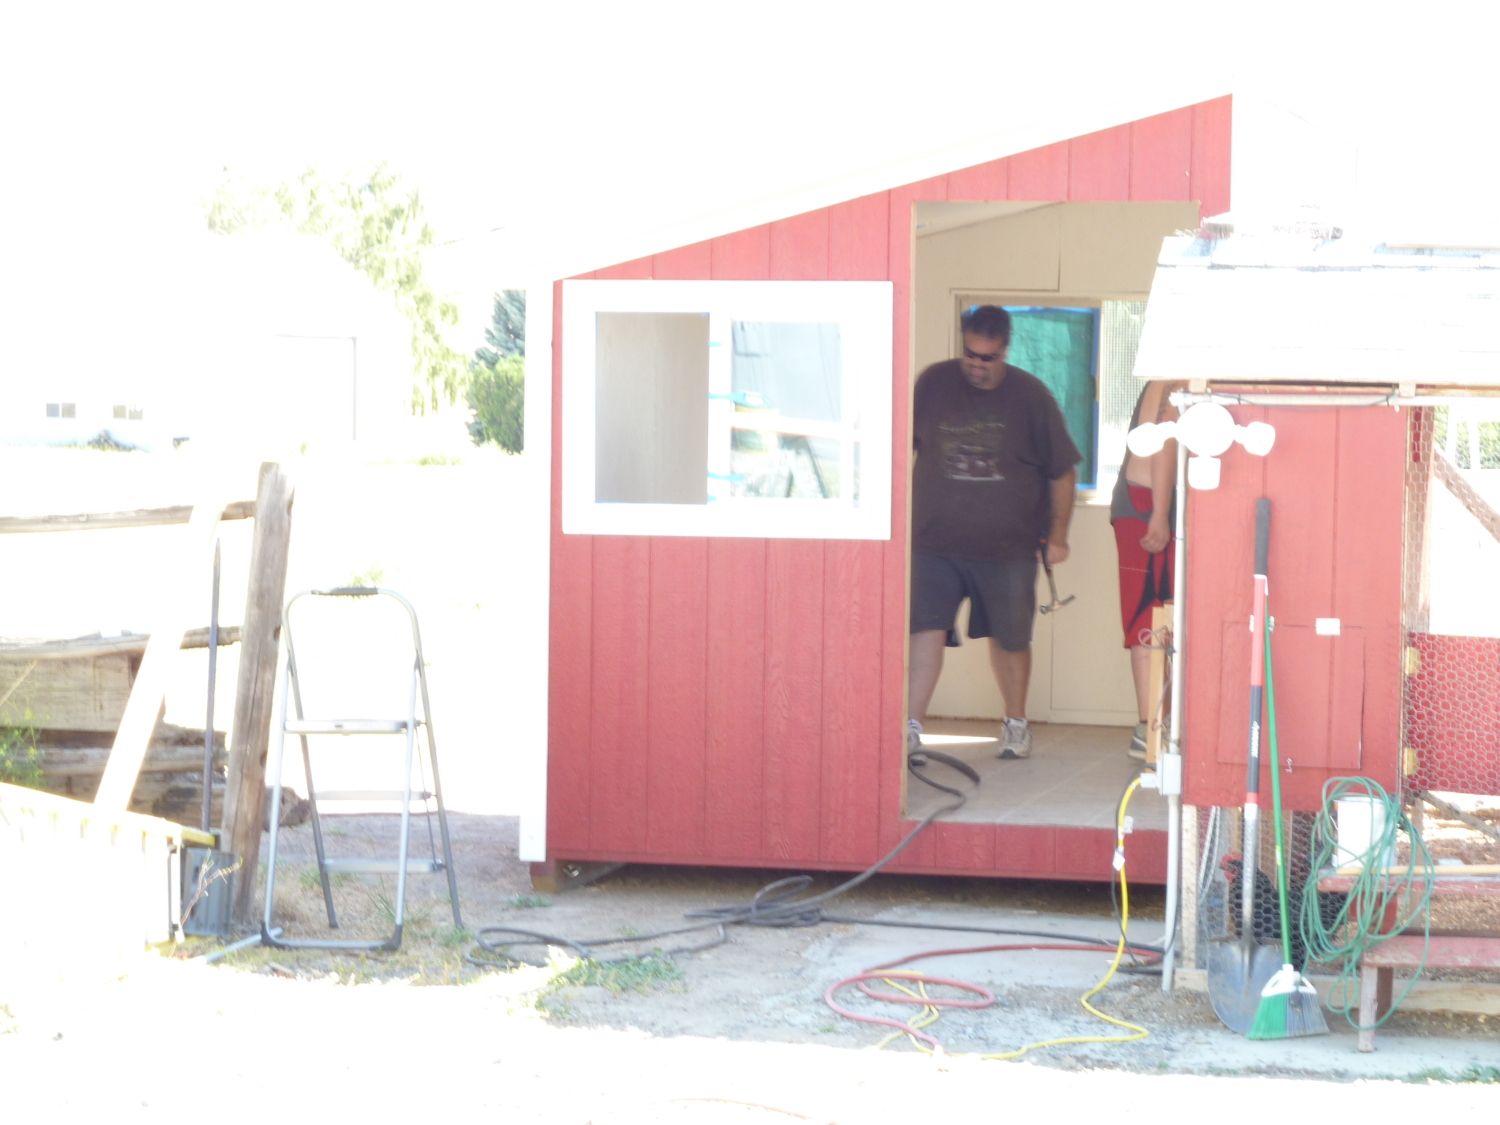
Getting ready to build the nesting boxes. The coop has been pulled forward and is now in place against the run. Notice the chicken in the run on the lower right of the picture - they are so curious and watch everything. In this picture you can see the coops (I have two of them) that they had before. Kinda crowded housing for 11 chickens!
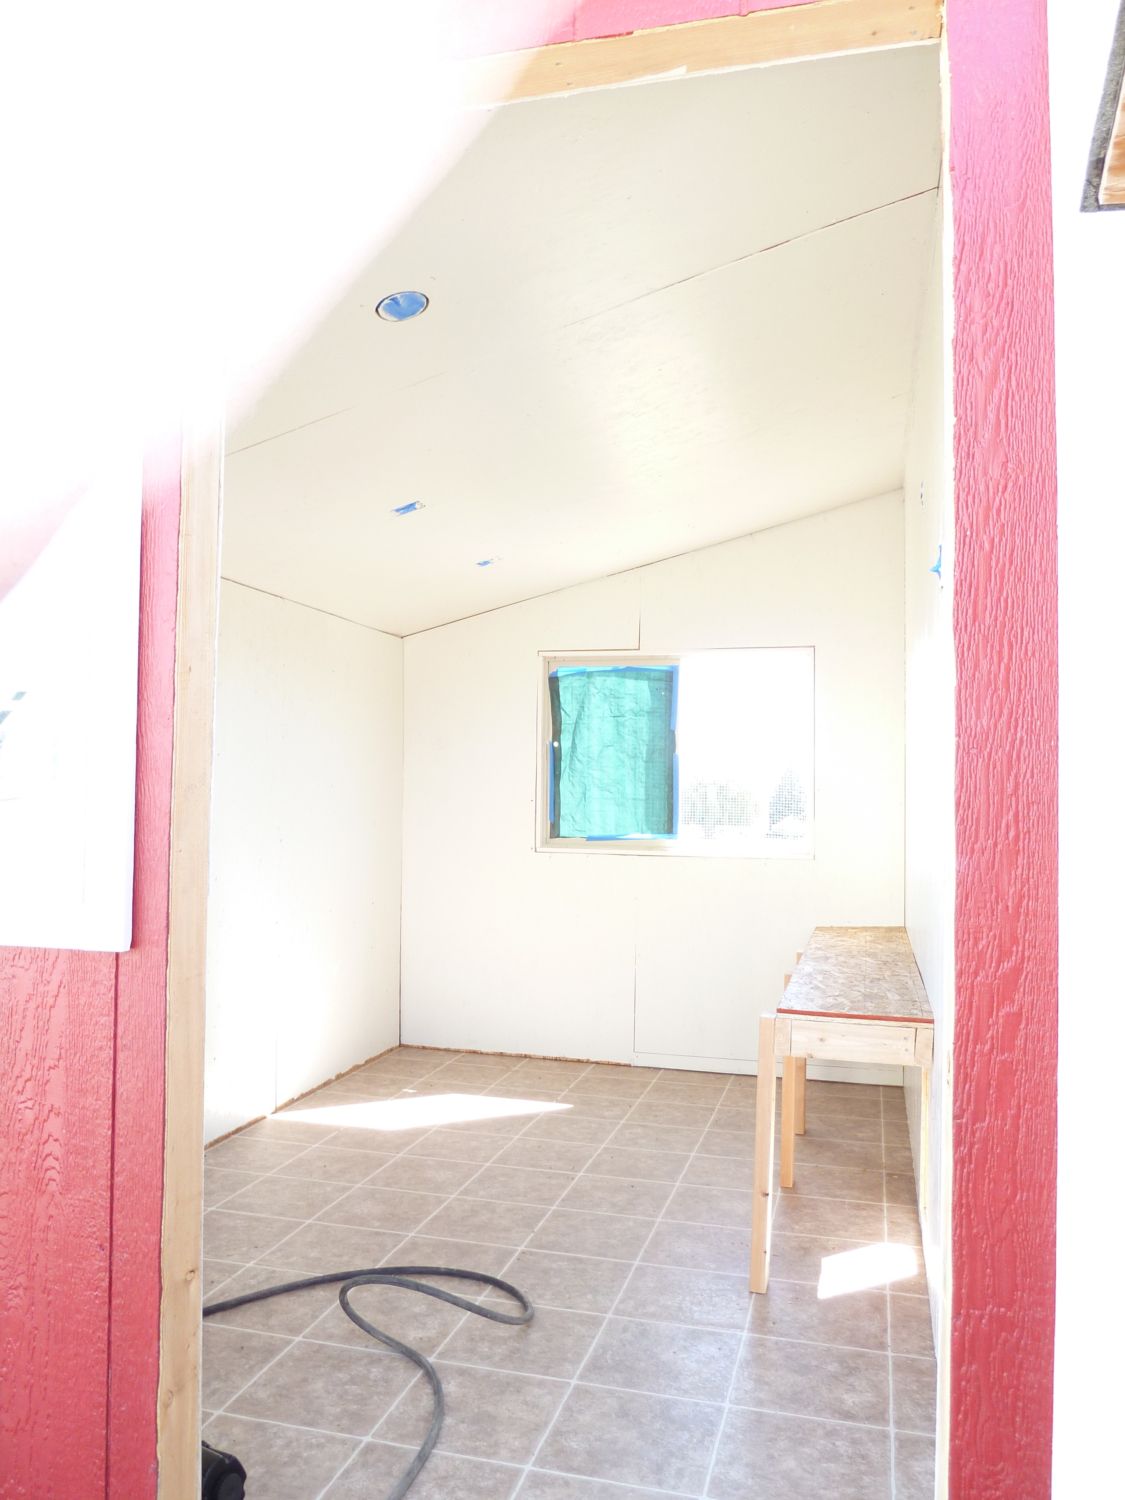
Interior walls in and painted. The first part of the nesting boxes.
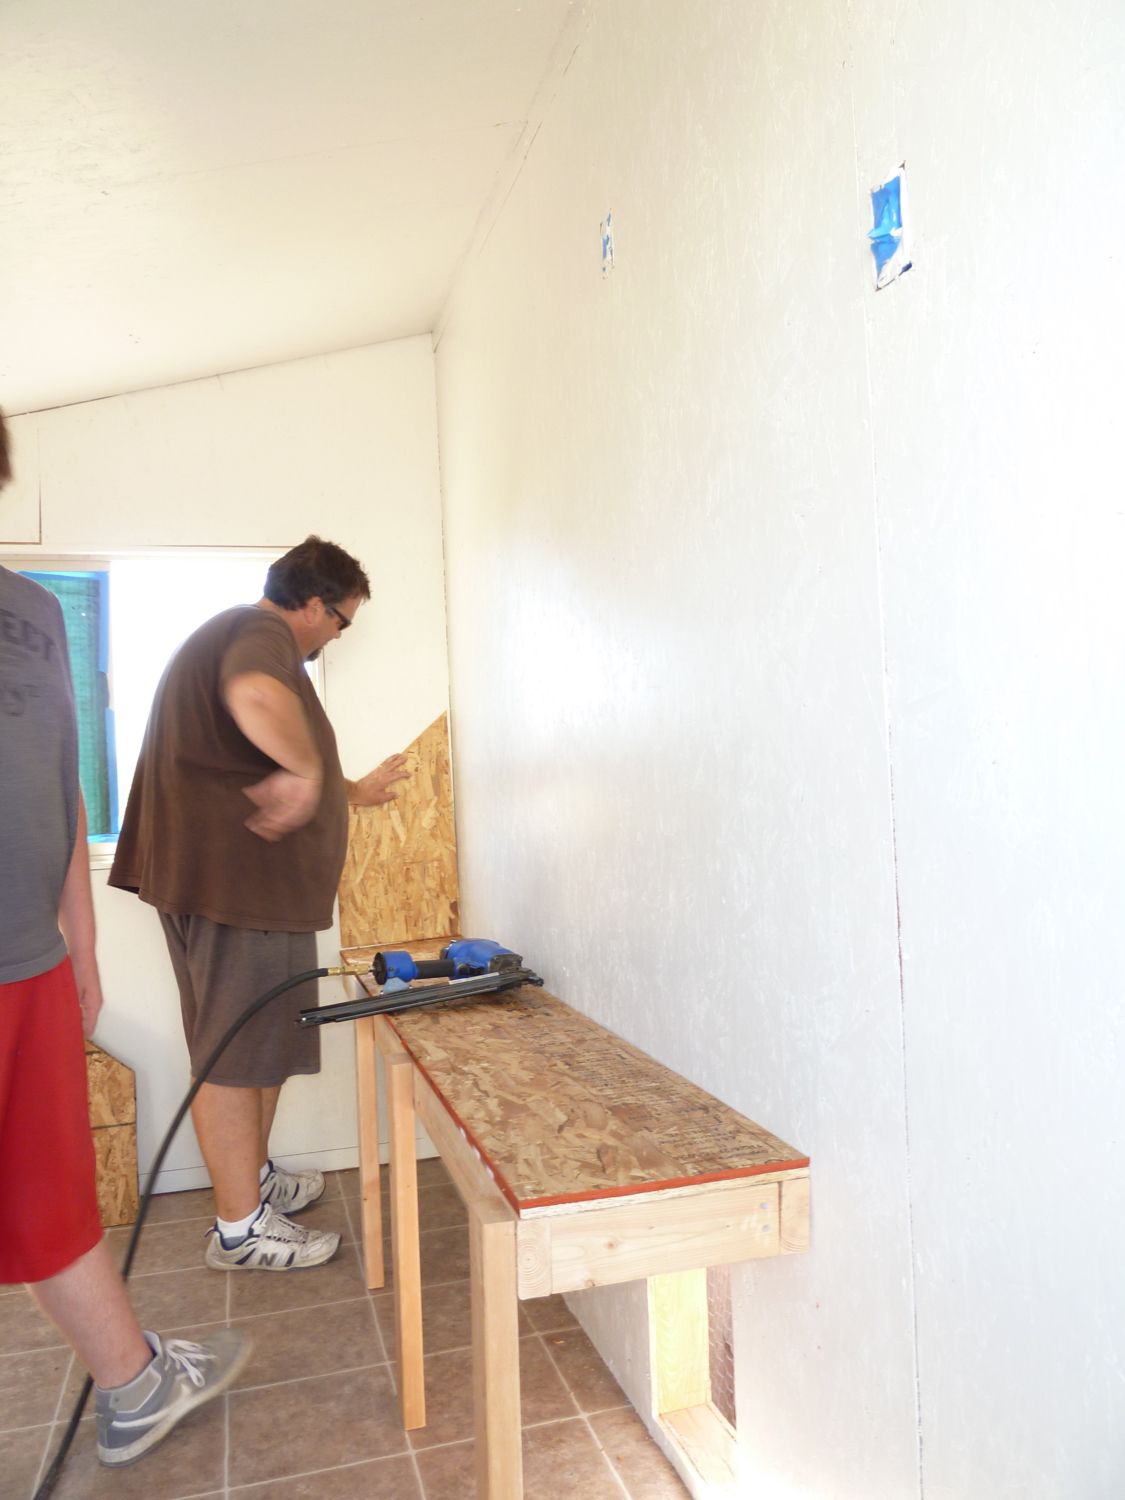
We wanted to put a hinged lid on top, so Greg is "thinking" of the best way to do it. (They turned out great by the way). Notice the door to the run at the bottom right of the picture. We are not ready for the ladies yet, so we left the fencing and did not cut the hole yet.
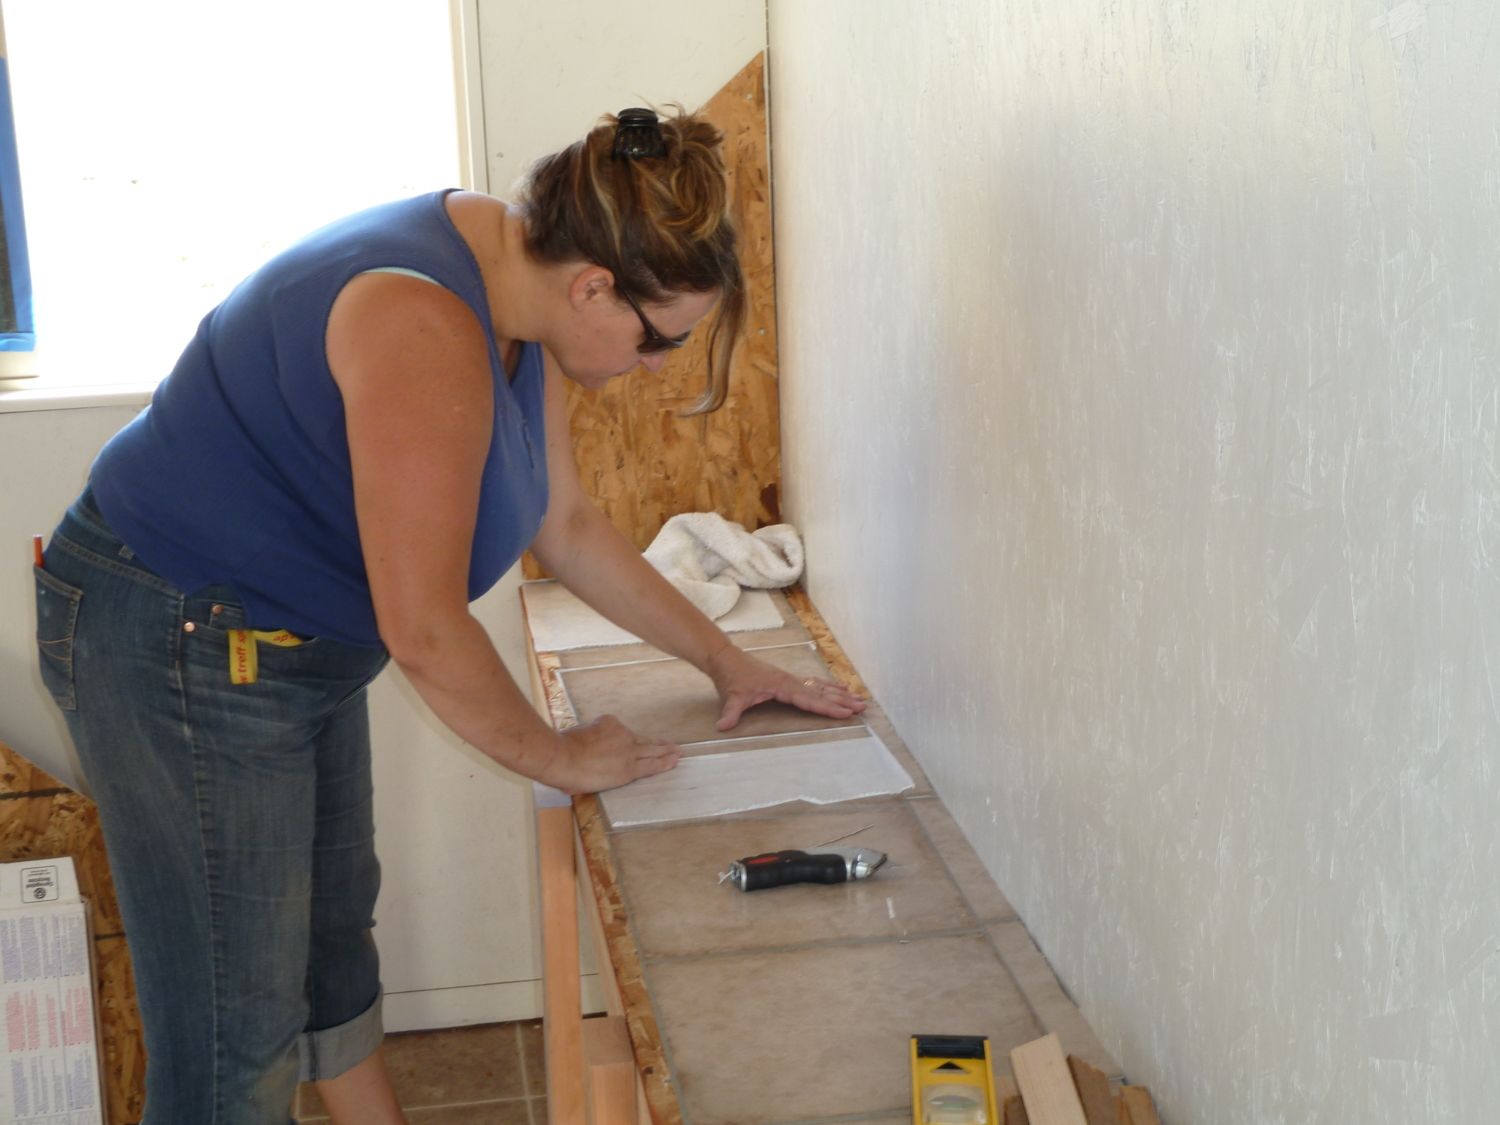
I actually did work on the coop also (usually I was the one taking the pictures). I put stick-on linoleum tiles under the nesting boxes to keep them moisture sealed (we got them at Home Depot on clearance). It works great!
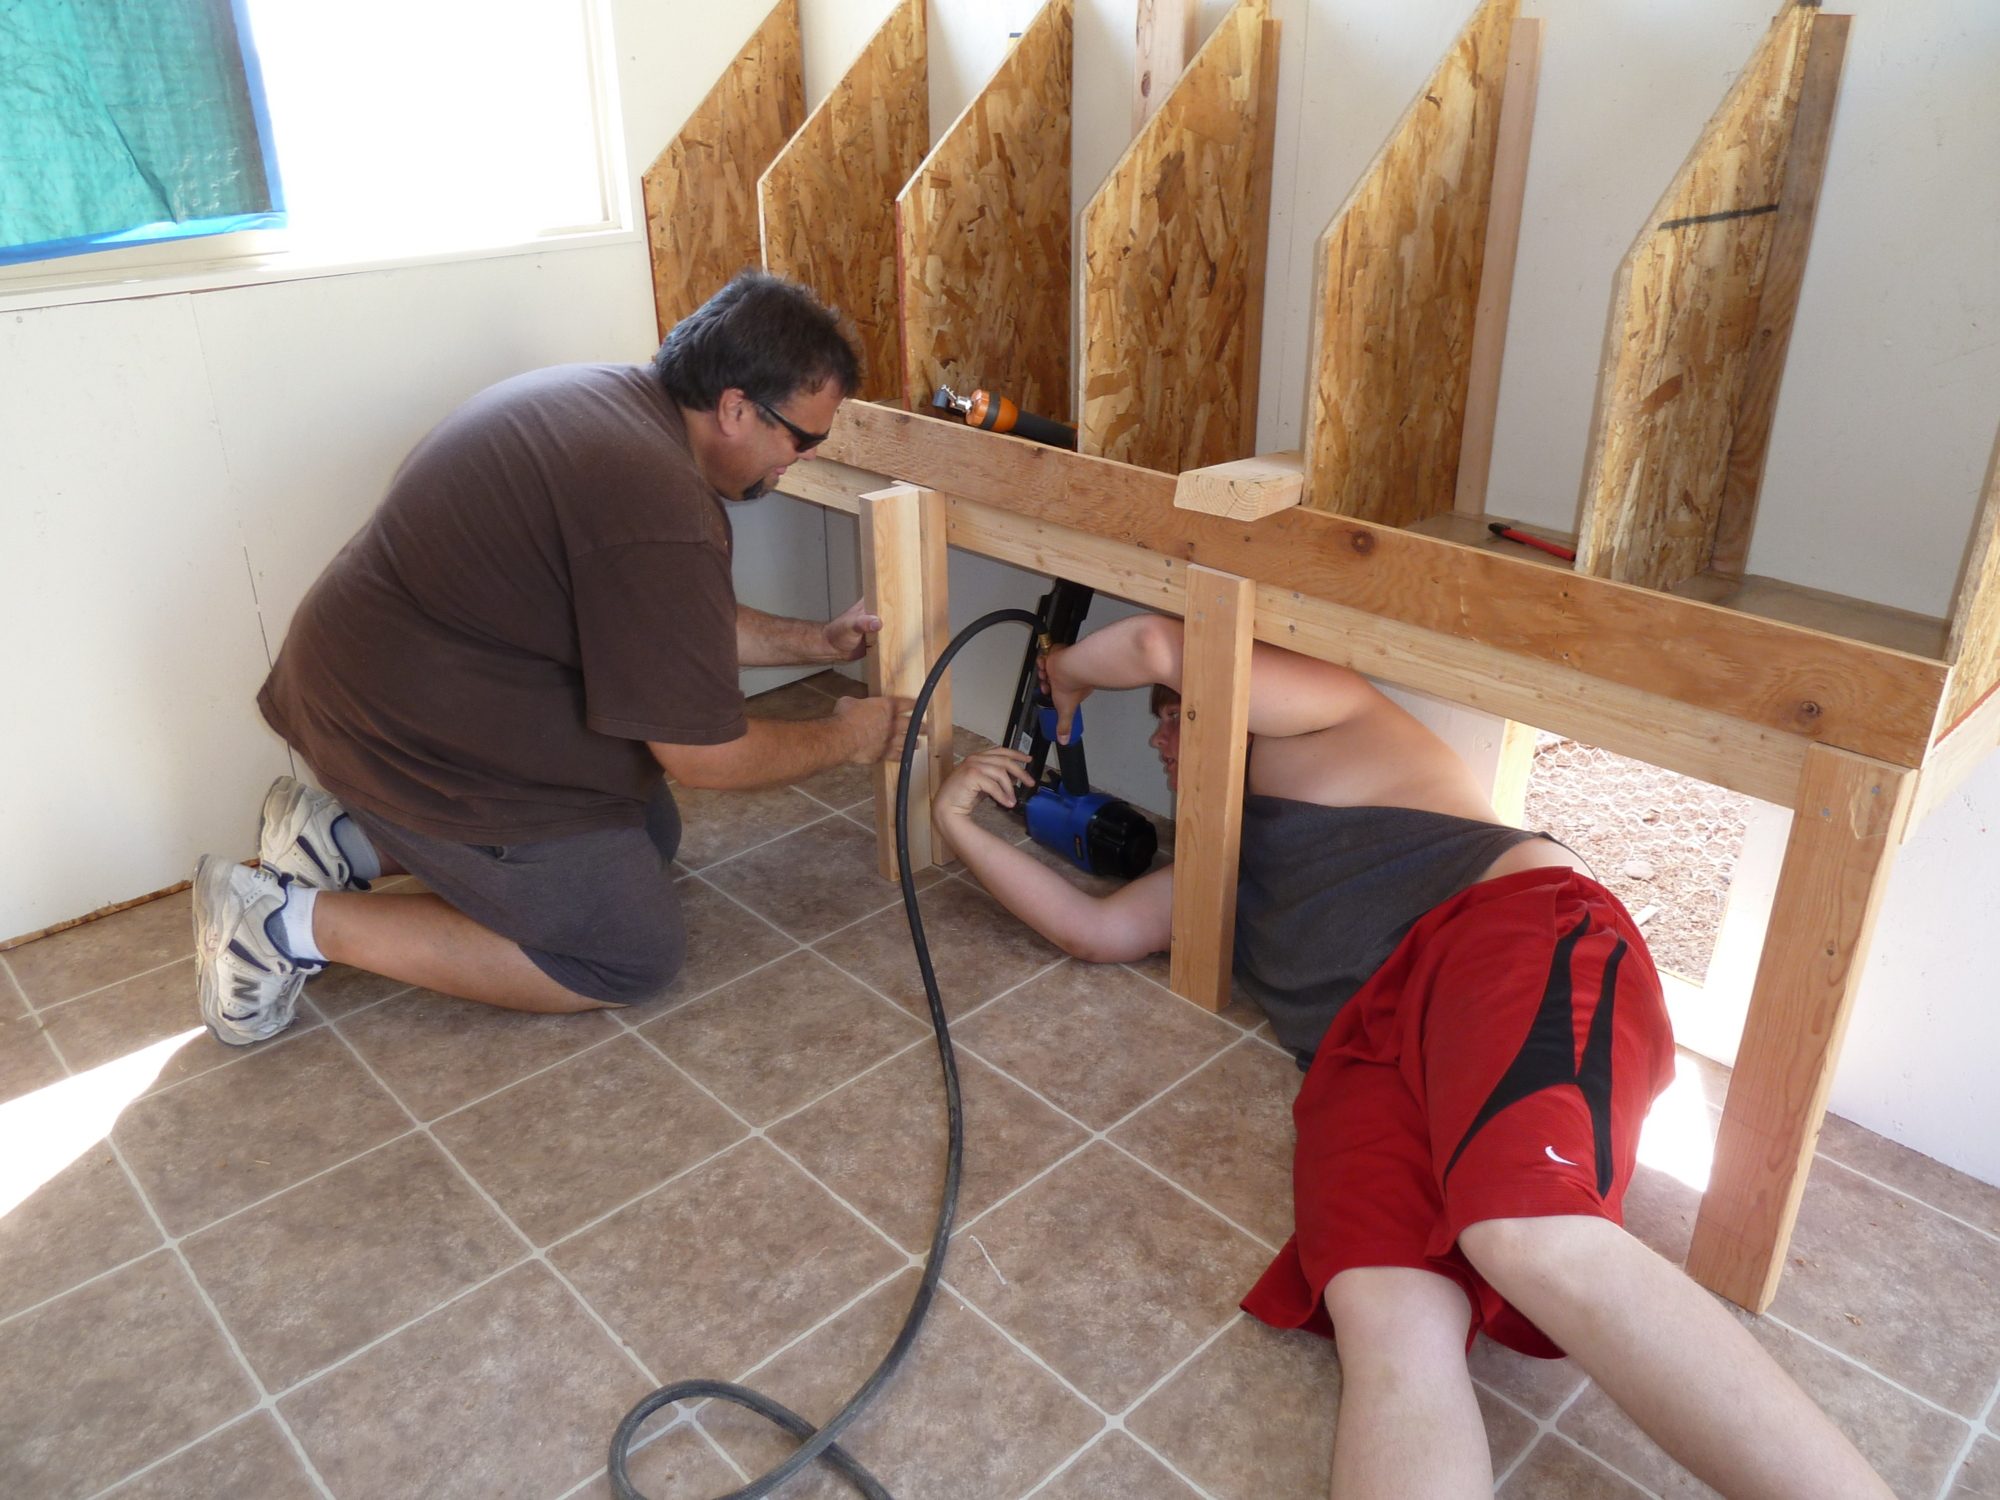
We decided on 6 nesting boxes and most of the time, they all lay in the same box. The boxes are 12 inches wide and 16 inches deep. That seems to give even my biggest girl (Betty the Buff Orpington) plenty of room.
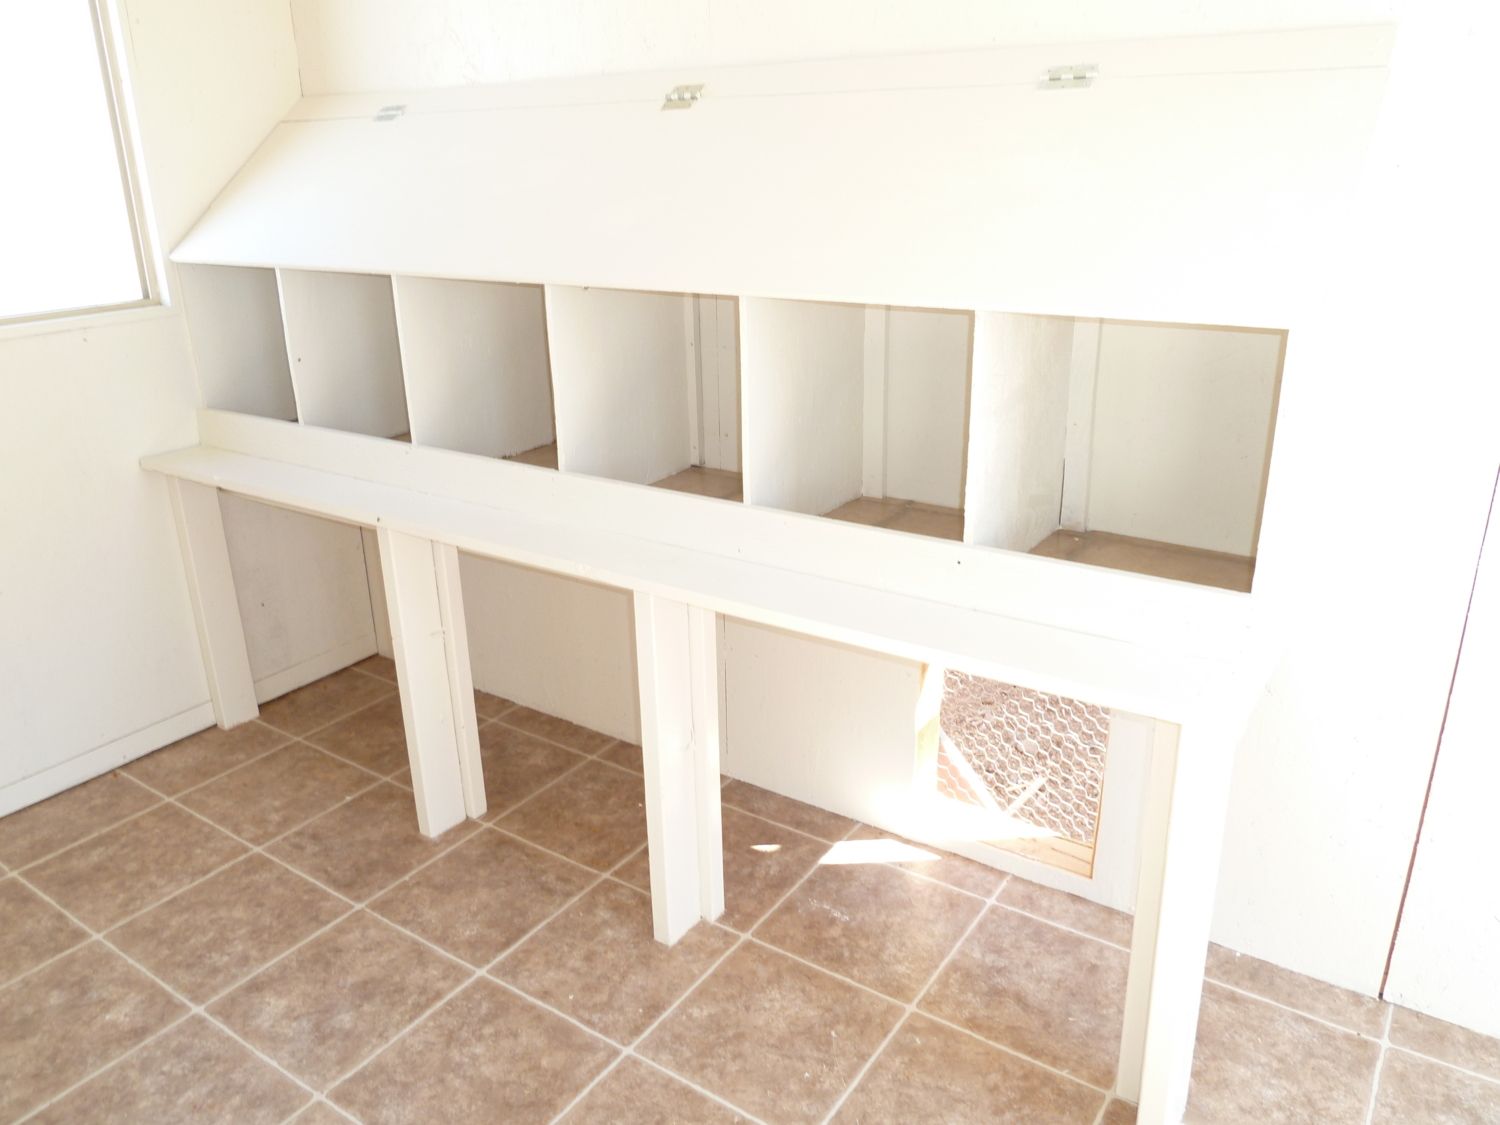
Completed nesting boxes! Aren't they pretty? We put a hinged lid on top (used 3 piano hinges) in case I need more room to clean or get under a chicken who is having a bad day and does not like me messing with her. Know what I mean?
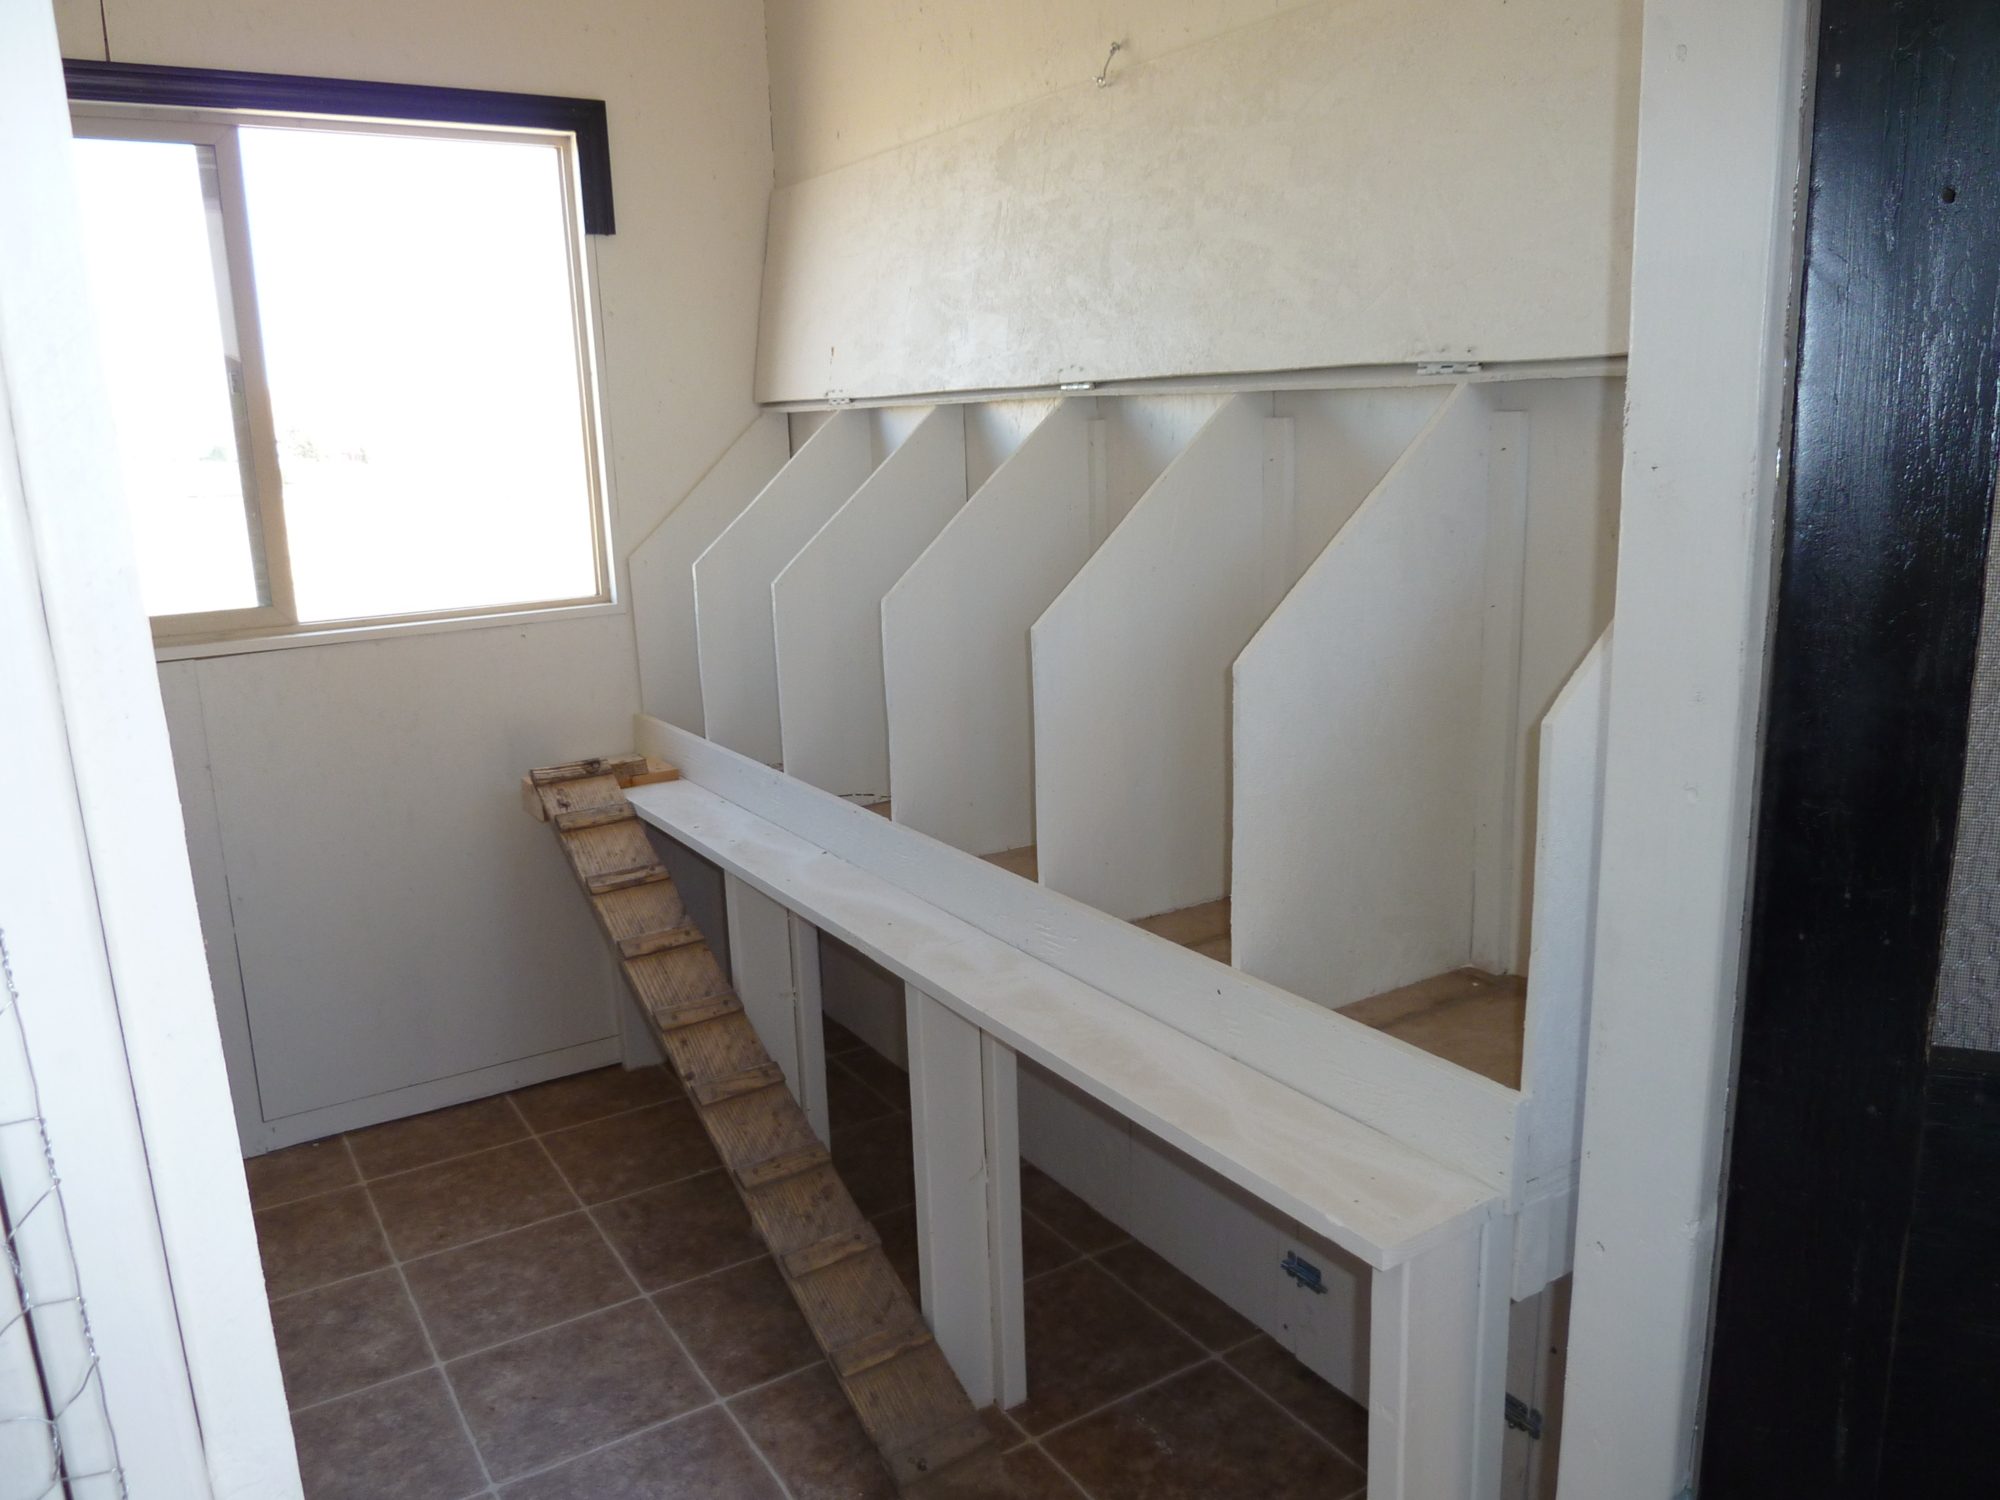
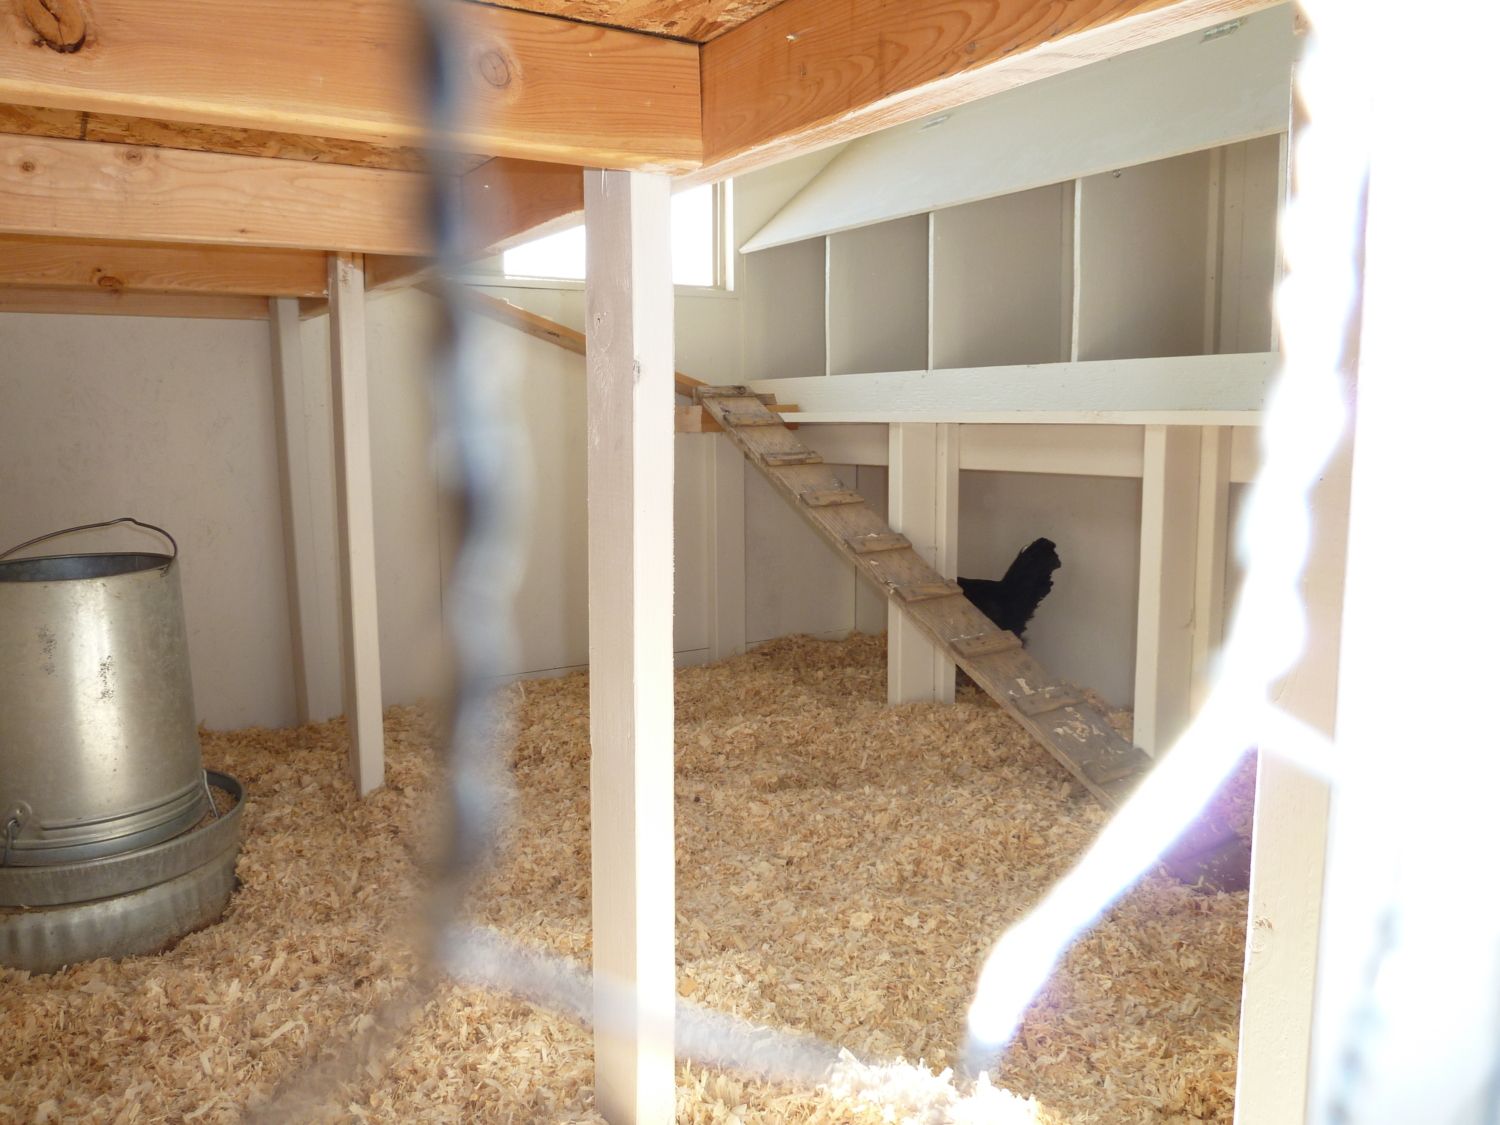
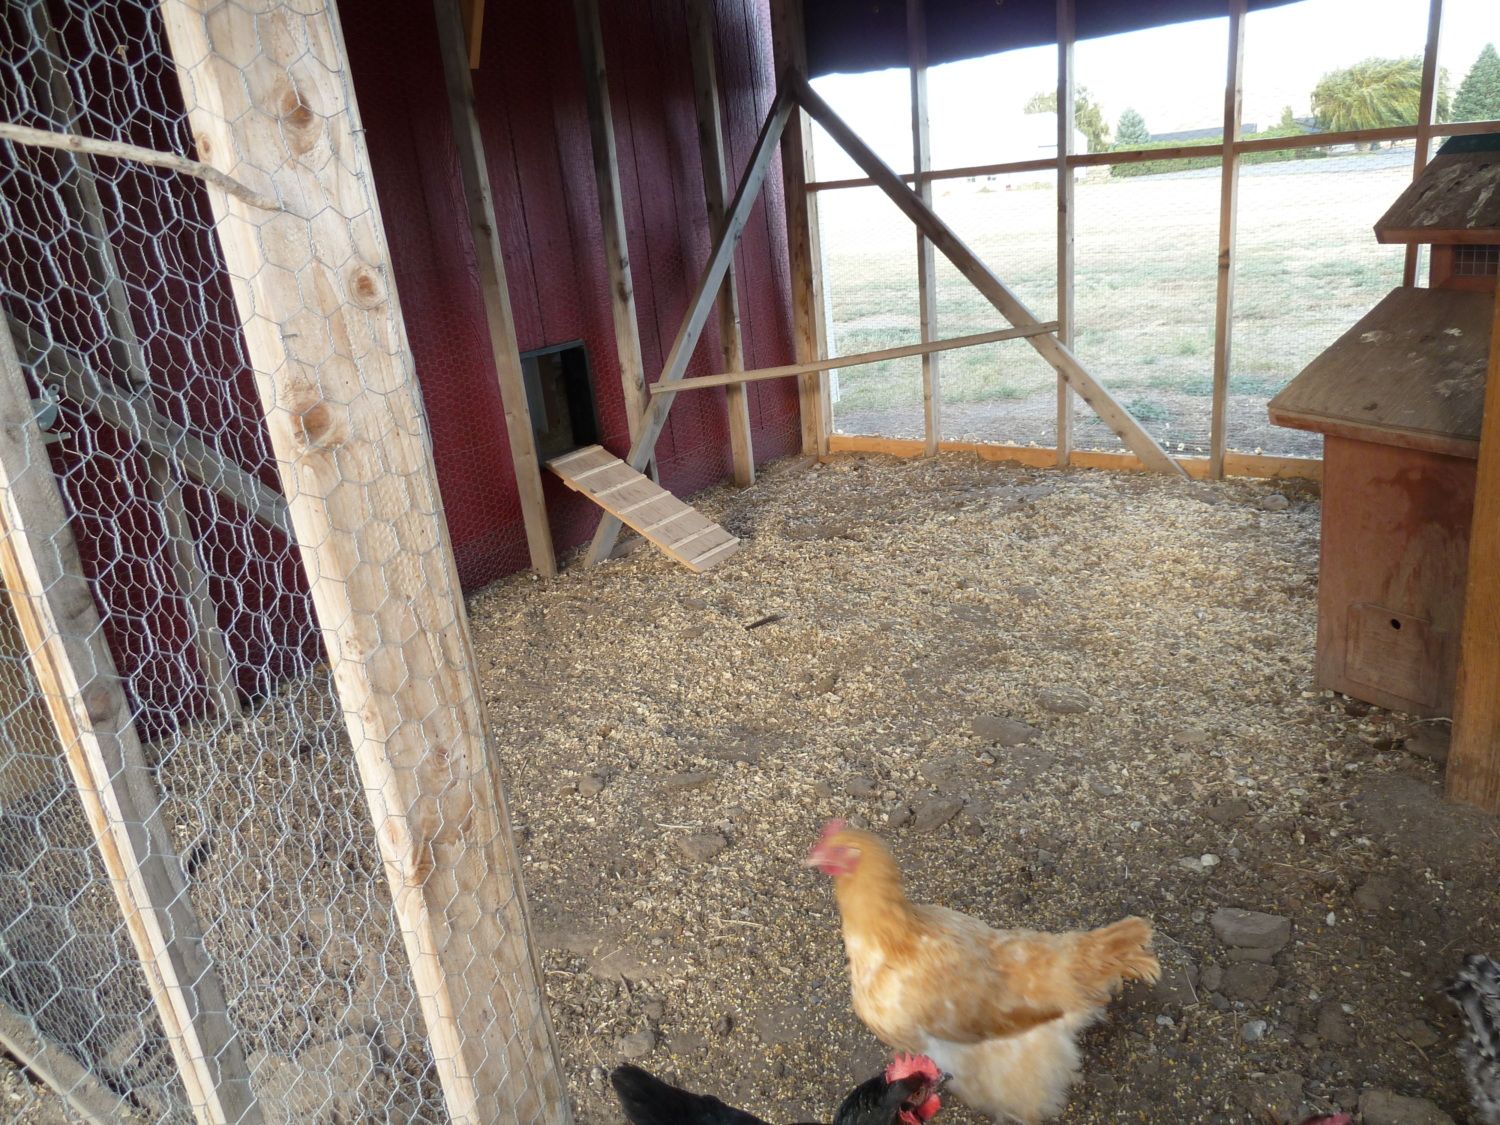
Ramp to the nesting boxes . . . works great! Nesting Boxes with lid open (held up by a hook on the wall).
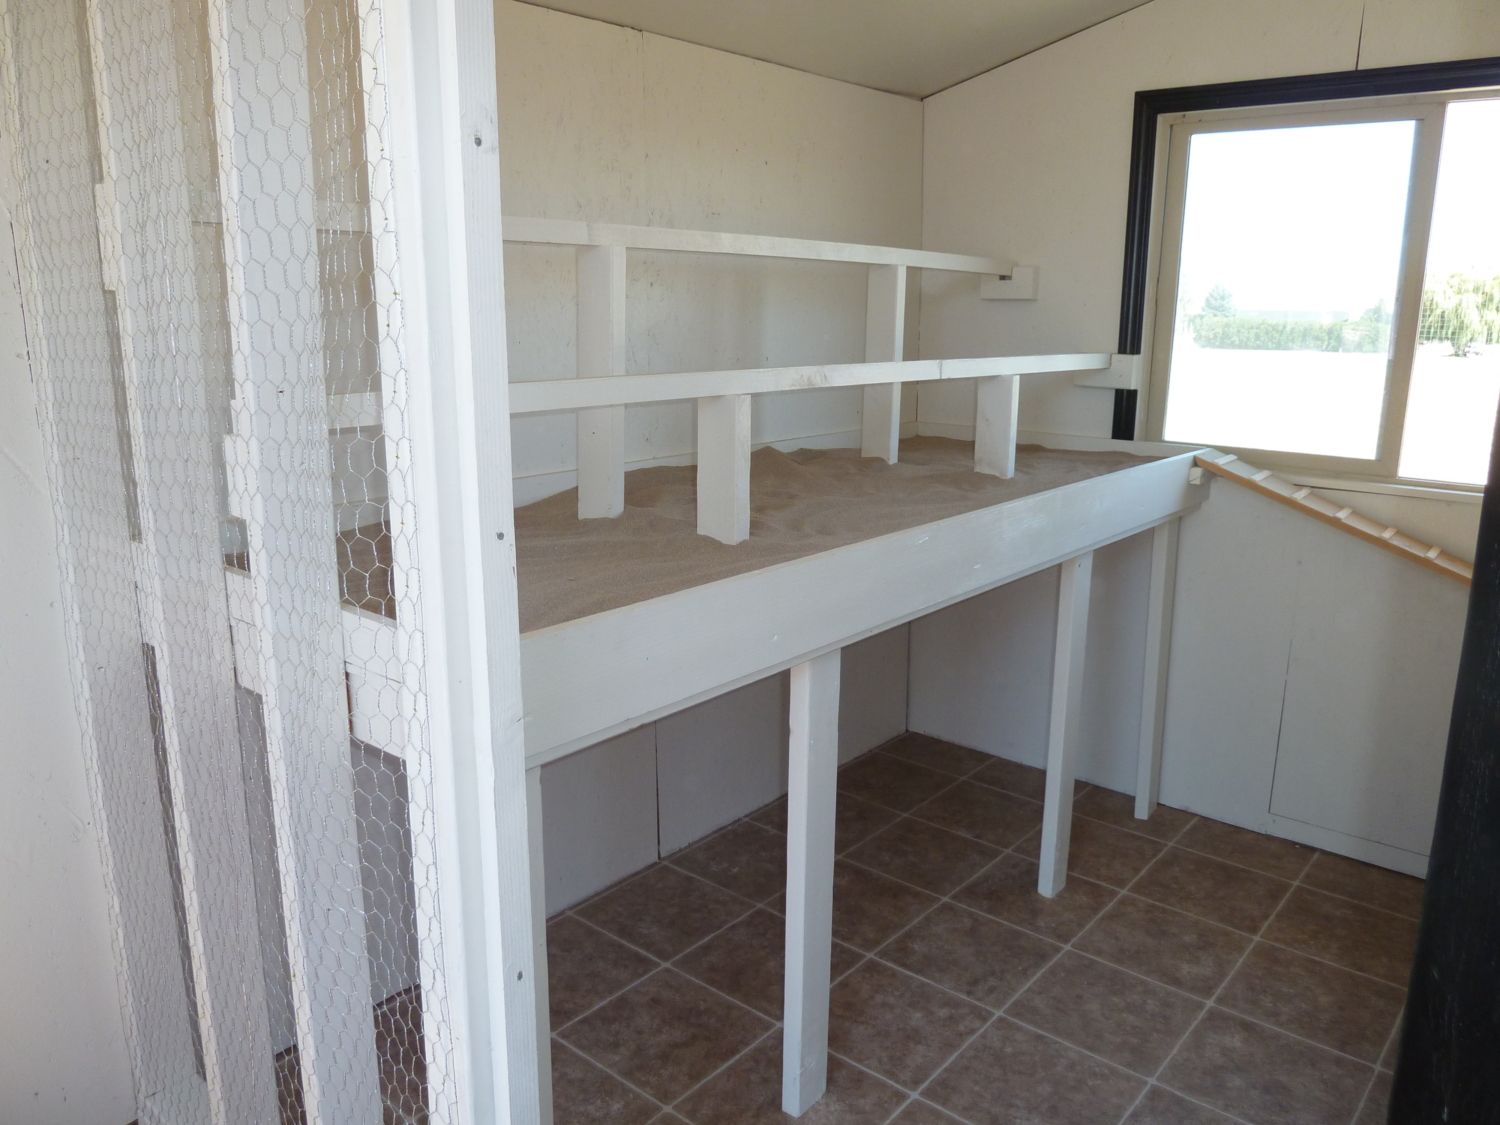
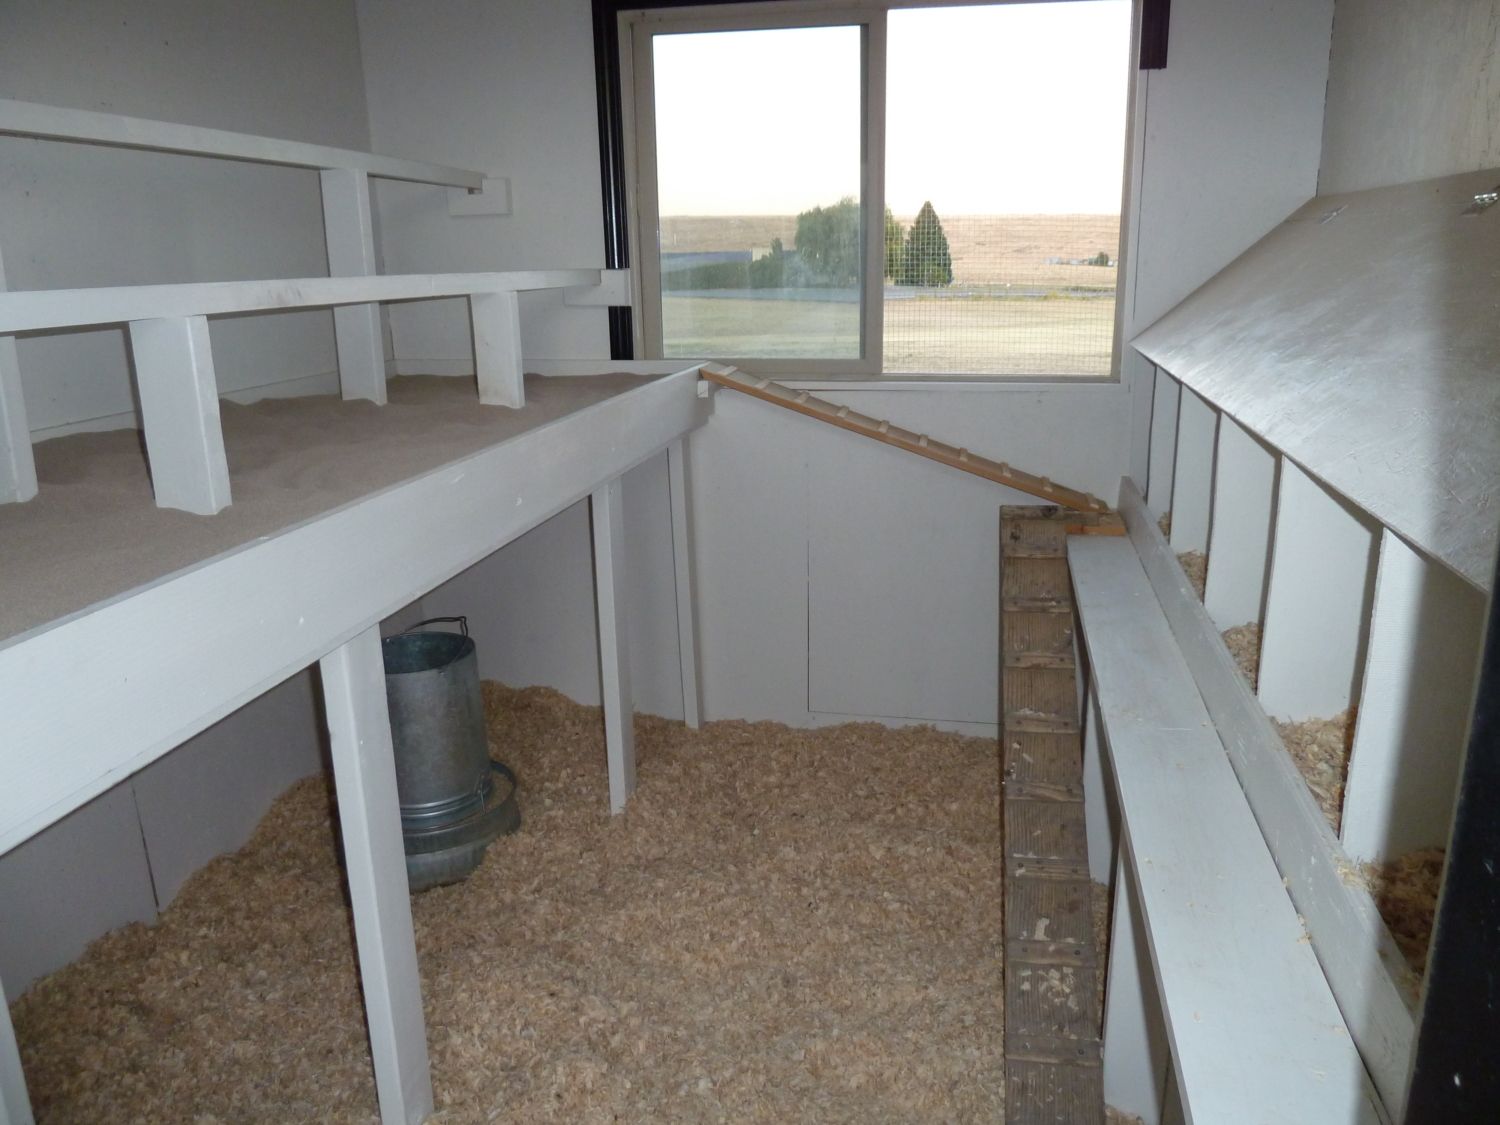
Roosting rails and poop deck. We put "stall dry" (a sandy-like material that is used for livestock stalls and is not harmful to animals) down. I use a kitty litter scoop to clean it about every other day. You can see from this picture that we also divided the coop and the front part is my storage area.
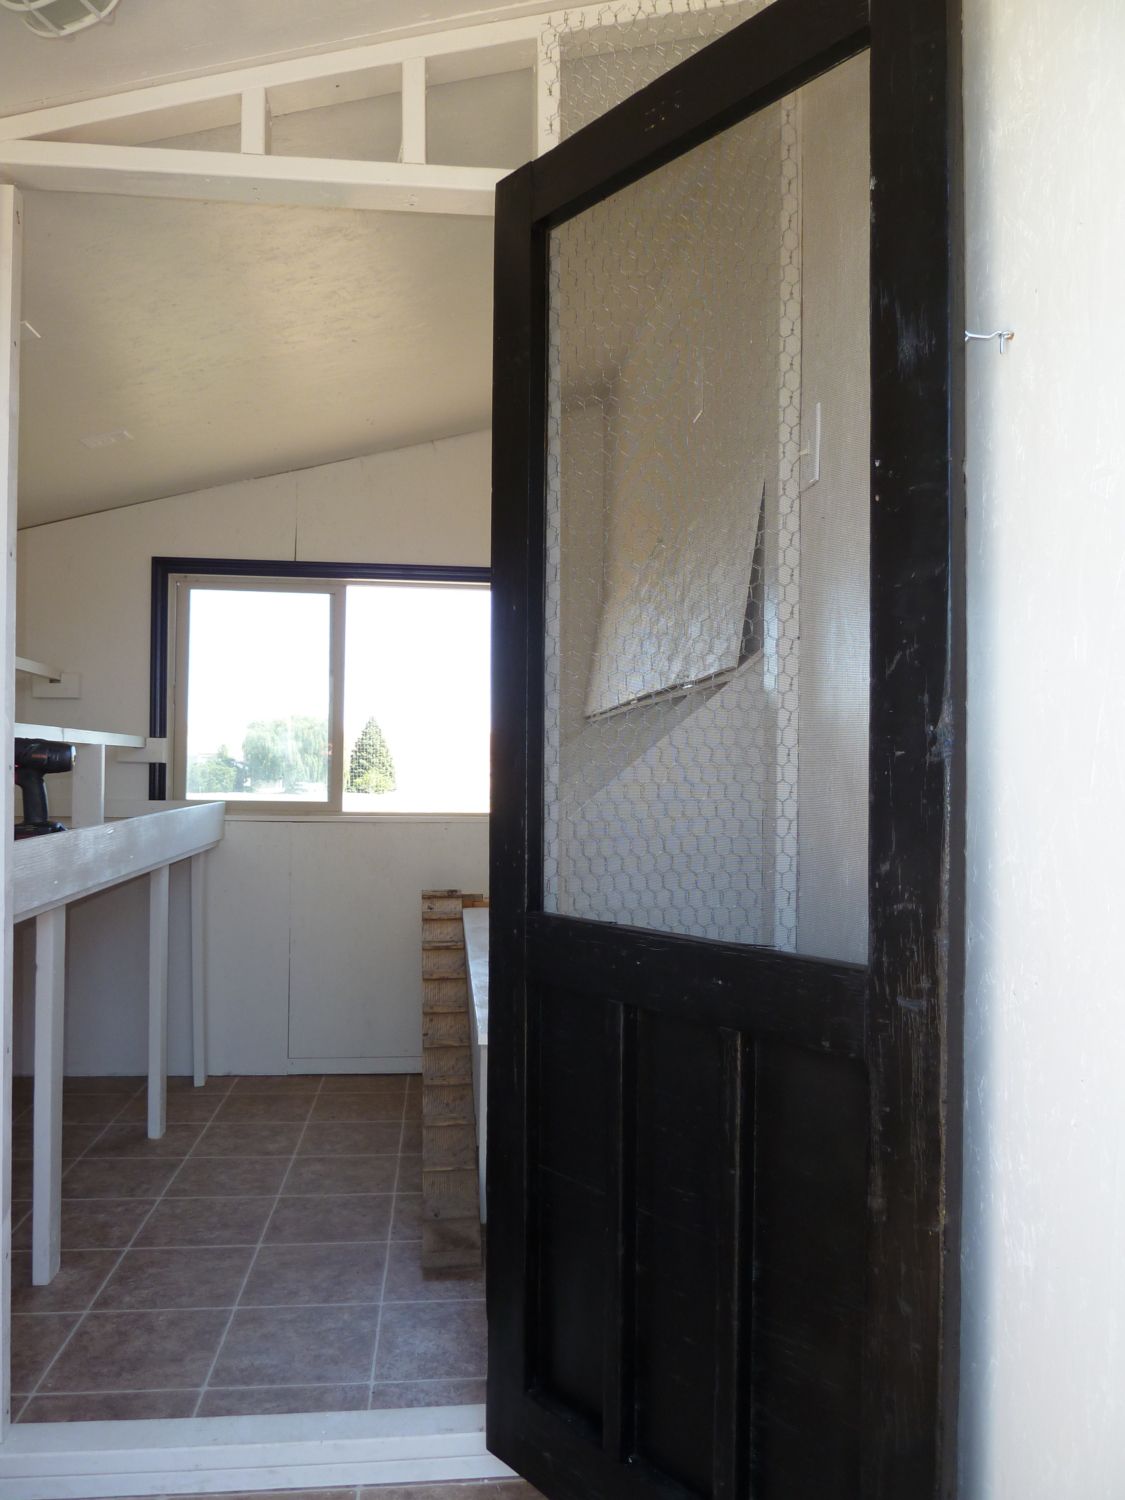
I have a screen door that we found at a garage sale for next to nothing that I repainted and re-screened. It was yellow when we found it, but it really needed to be painted and I was going red, white, and black so it ended up black. It now has about 7 layers of different colored paint on it. I love to repurpose items and do whenever I can. (Note - we ended up taking off the screening and putting chicken wire on the screen door - it works alot better).
Ready for the girls. I use pine shavings on the coop floor and a mixture of shavings and straw for the nesting boxes. About every 3 months, I remove the shavings and put down new.
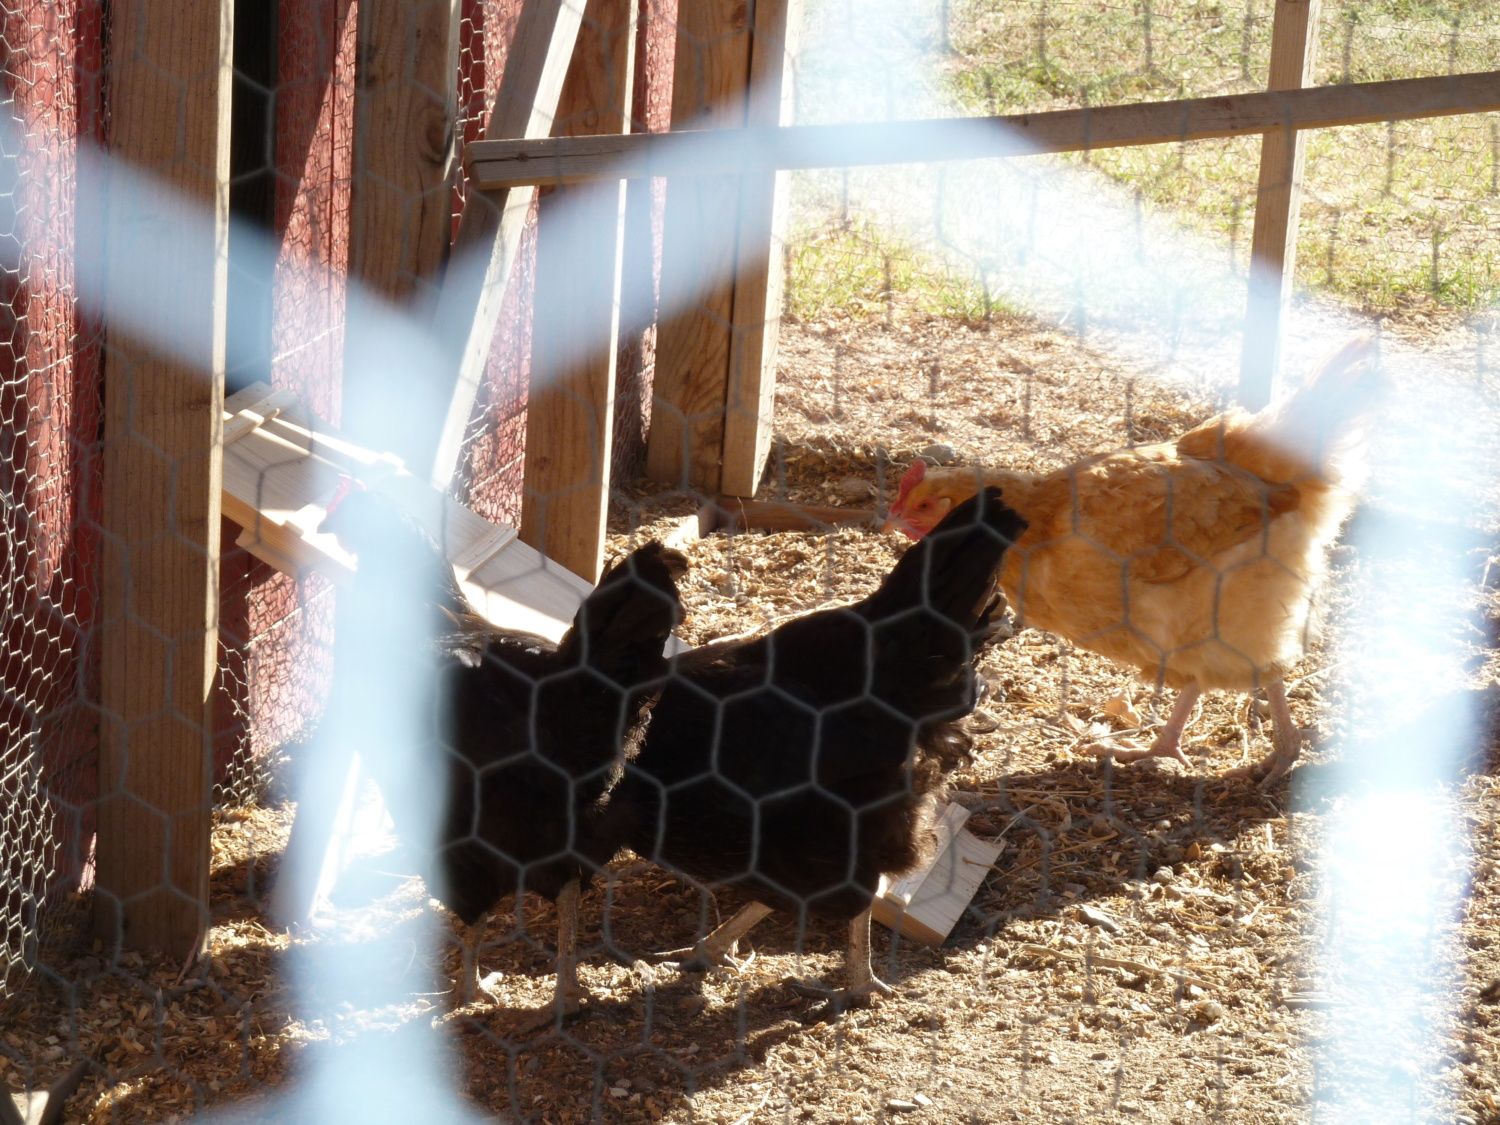
The Girls in the run before entering the Coop for the first time. They are a little skeptical, although curious.
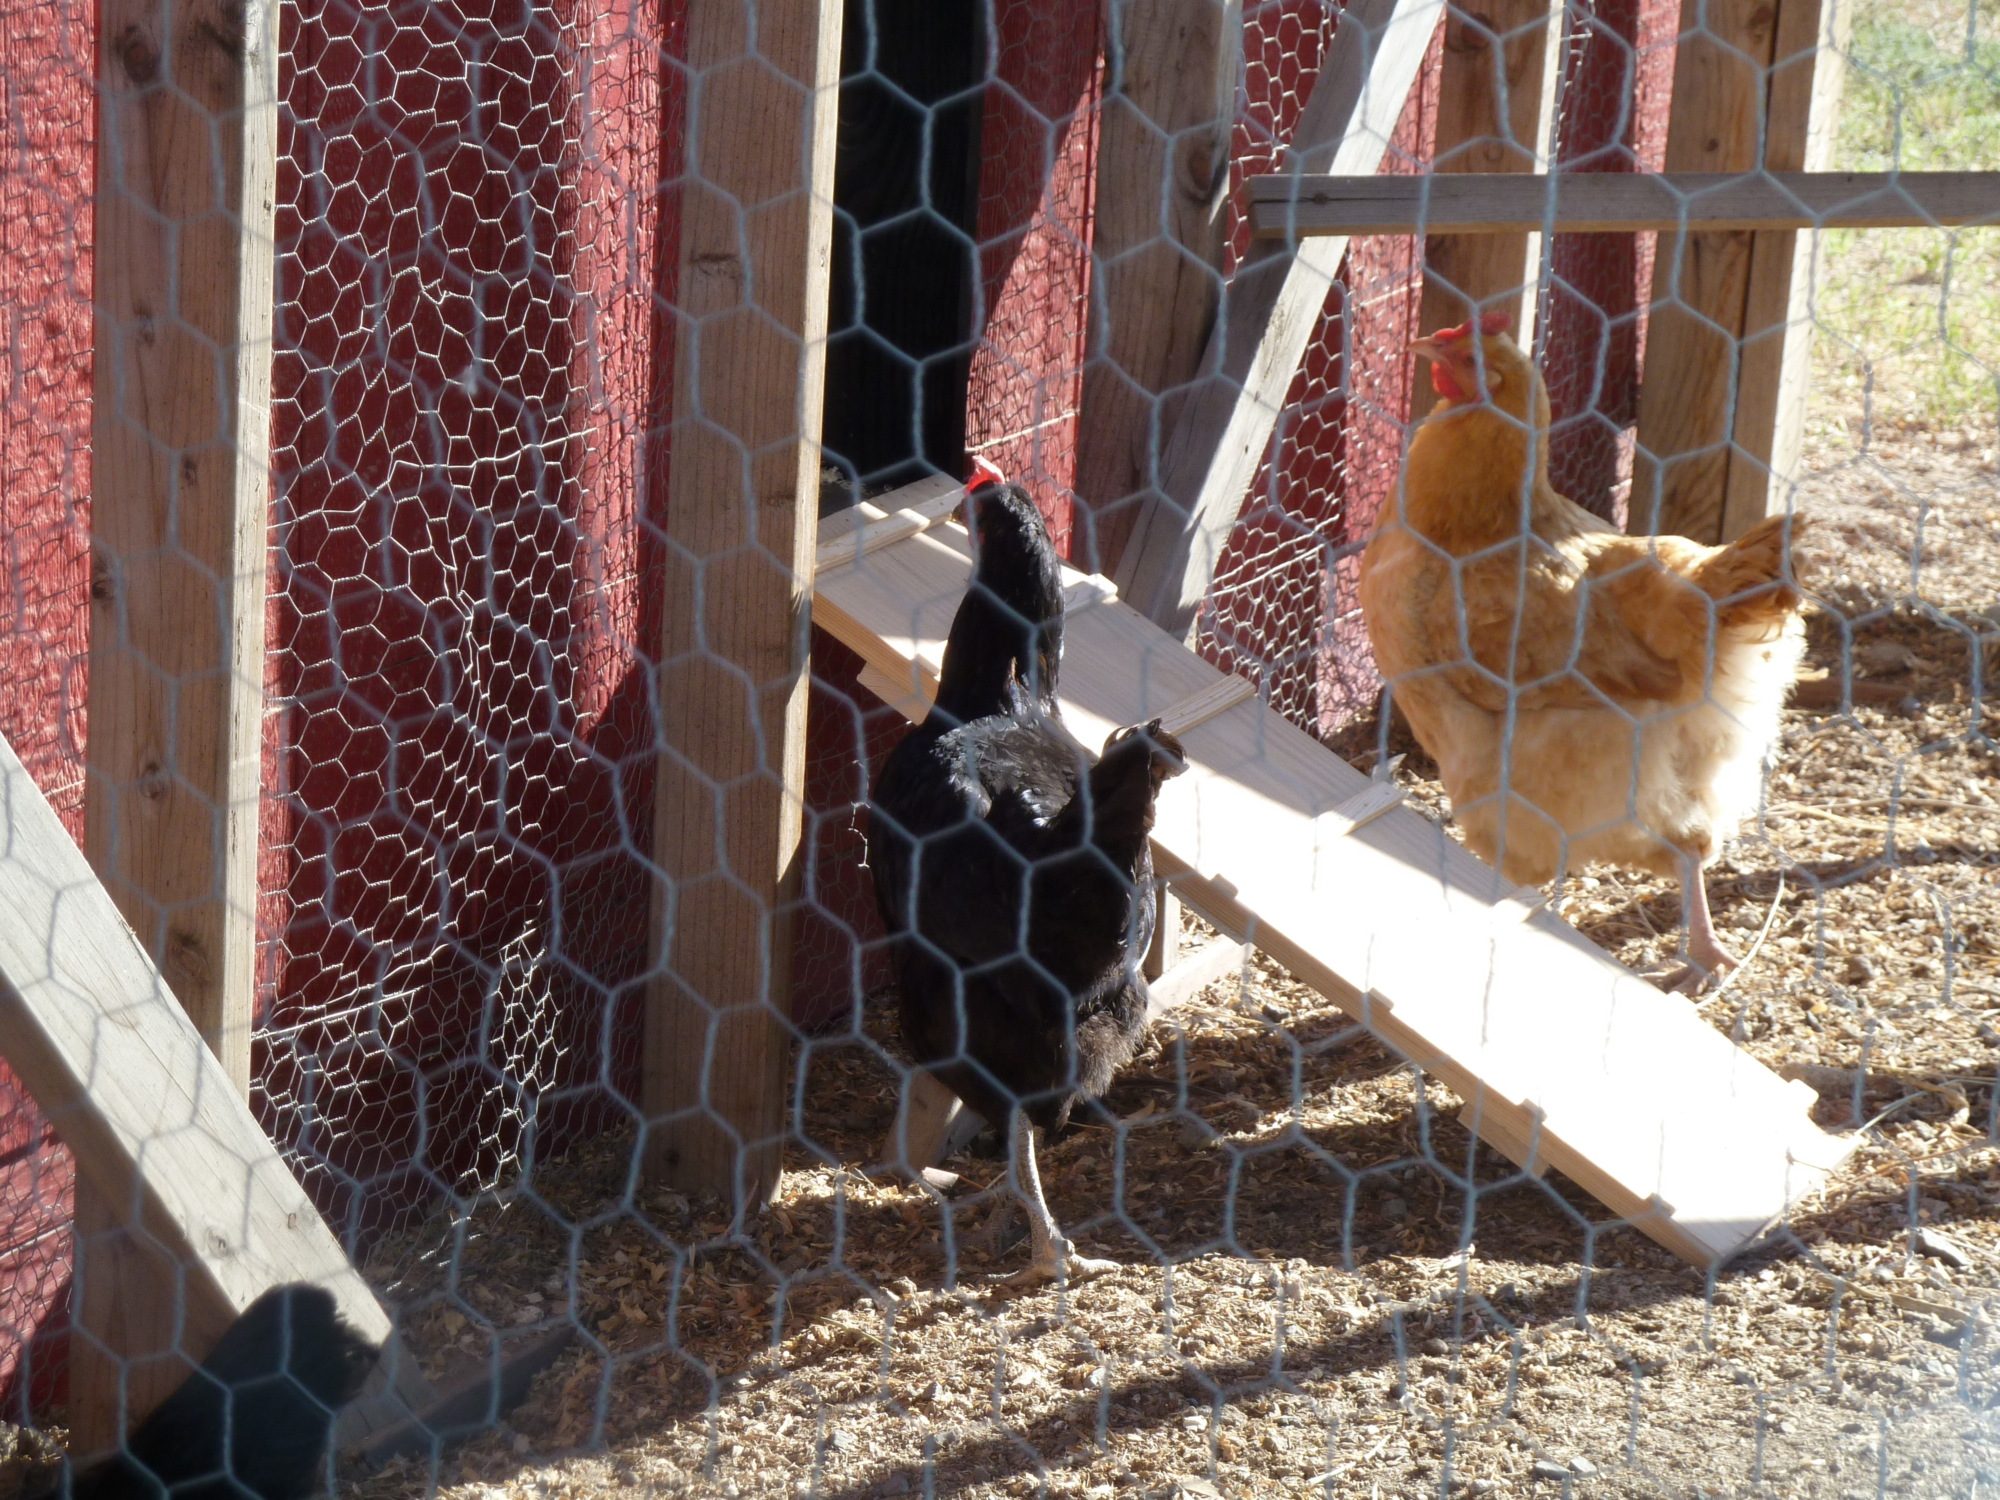
Checking it out. But still not sure.
First girl in . . .
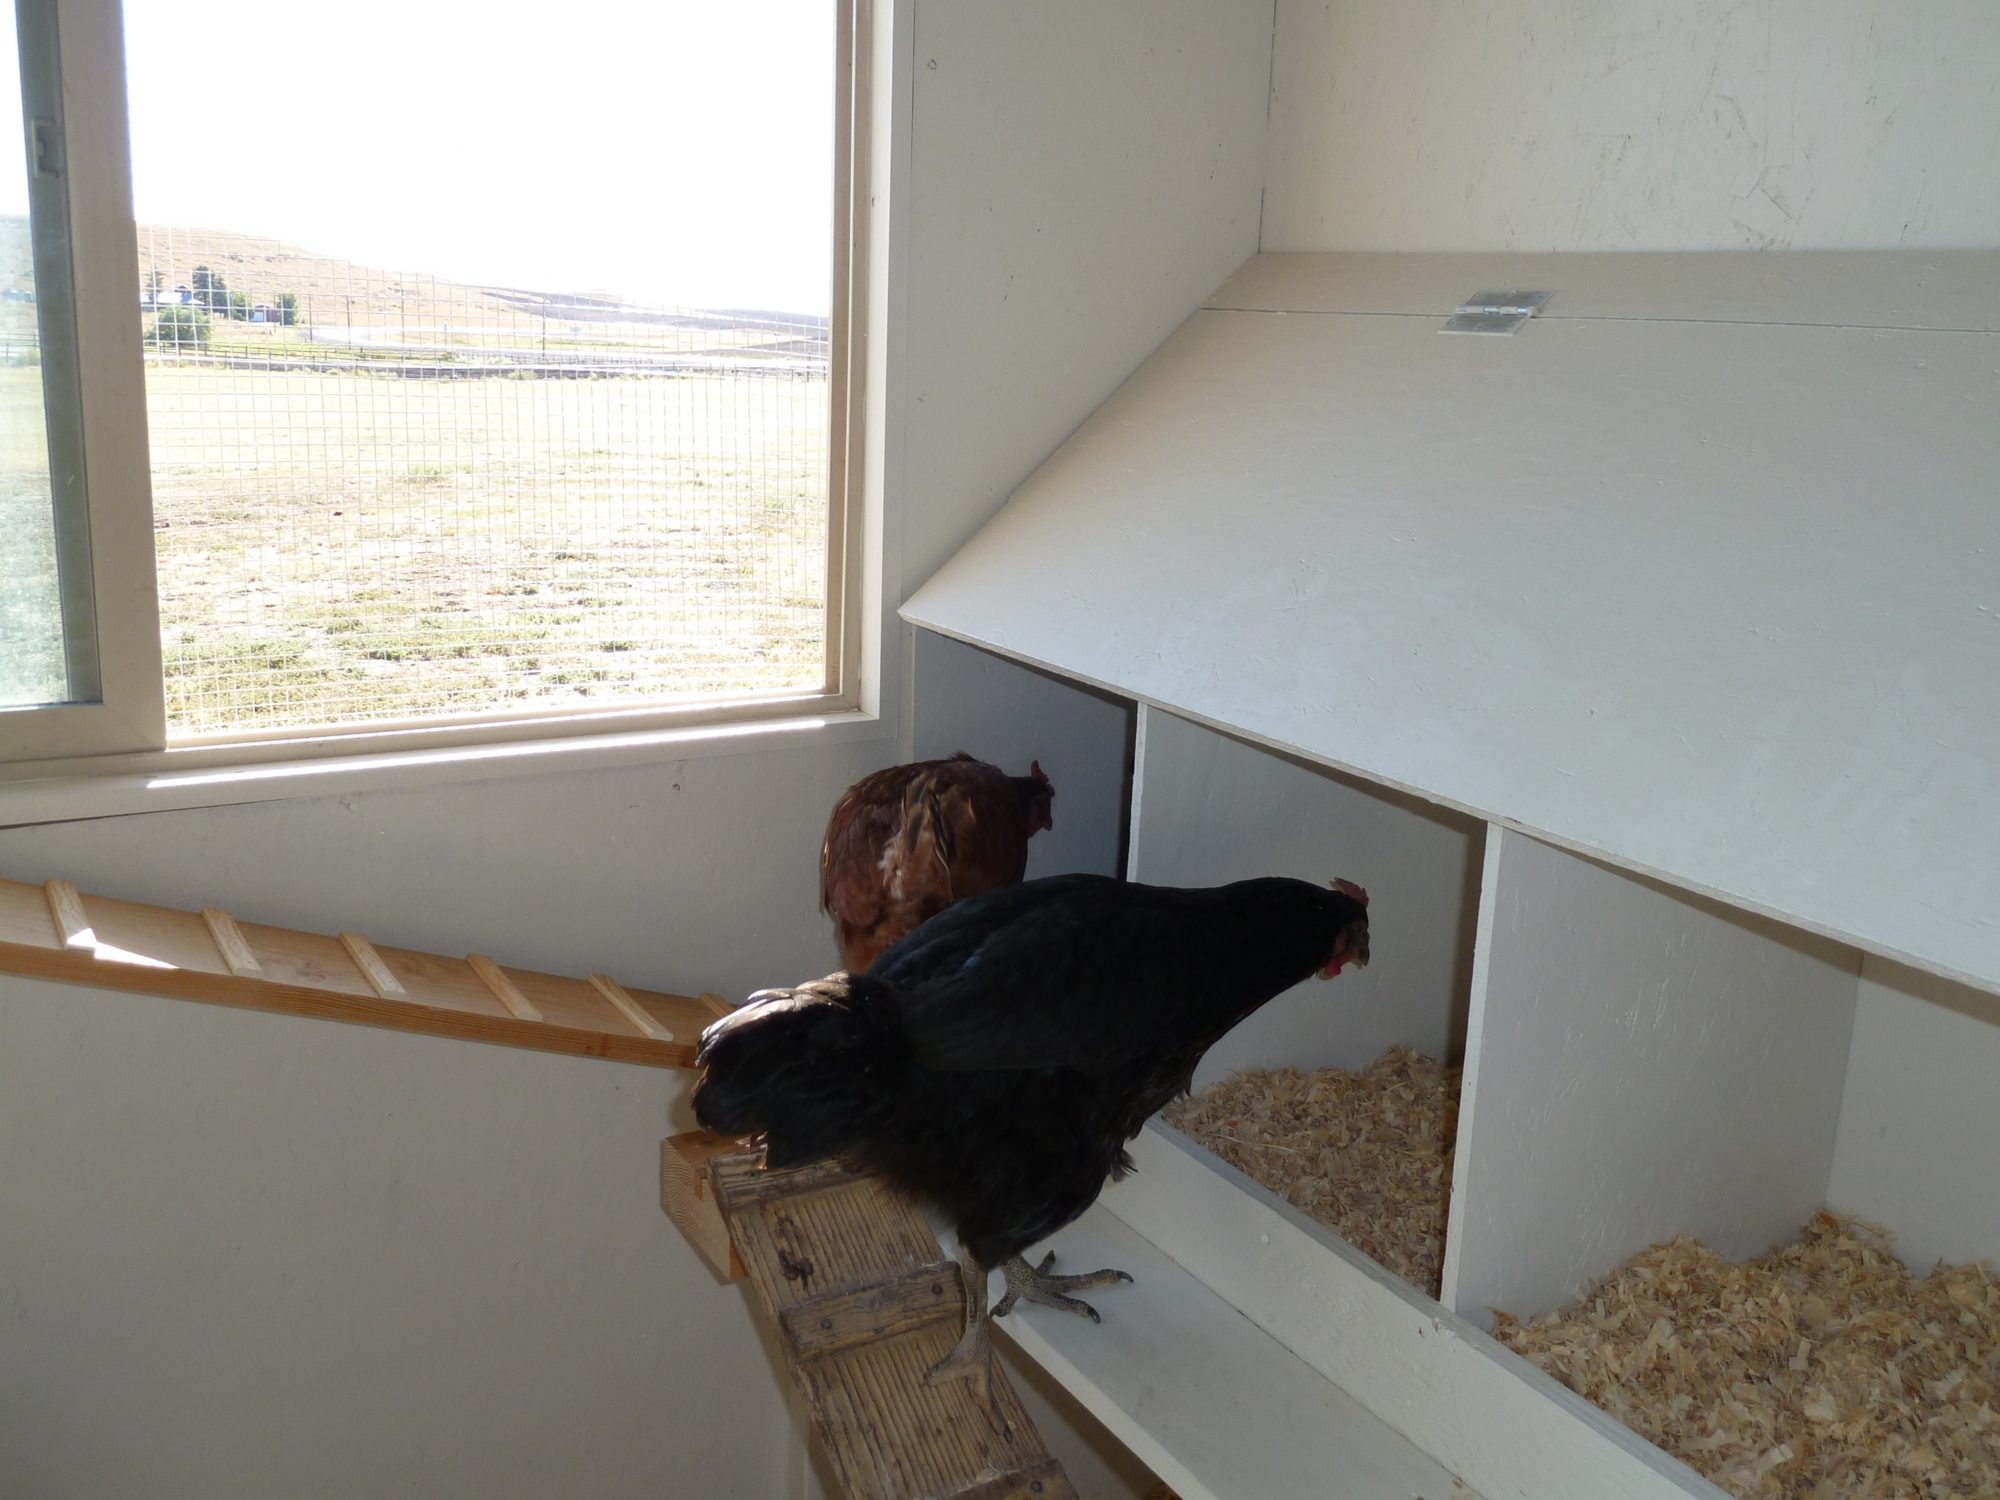
Check this out! Real nesting boxes! (Notice the screen/fencing over the window for security).
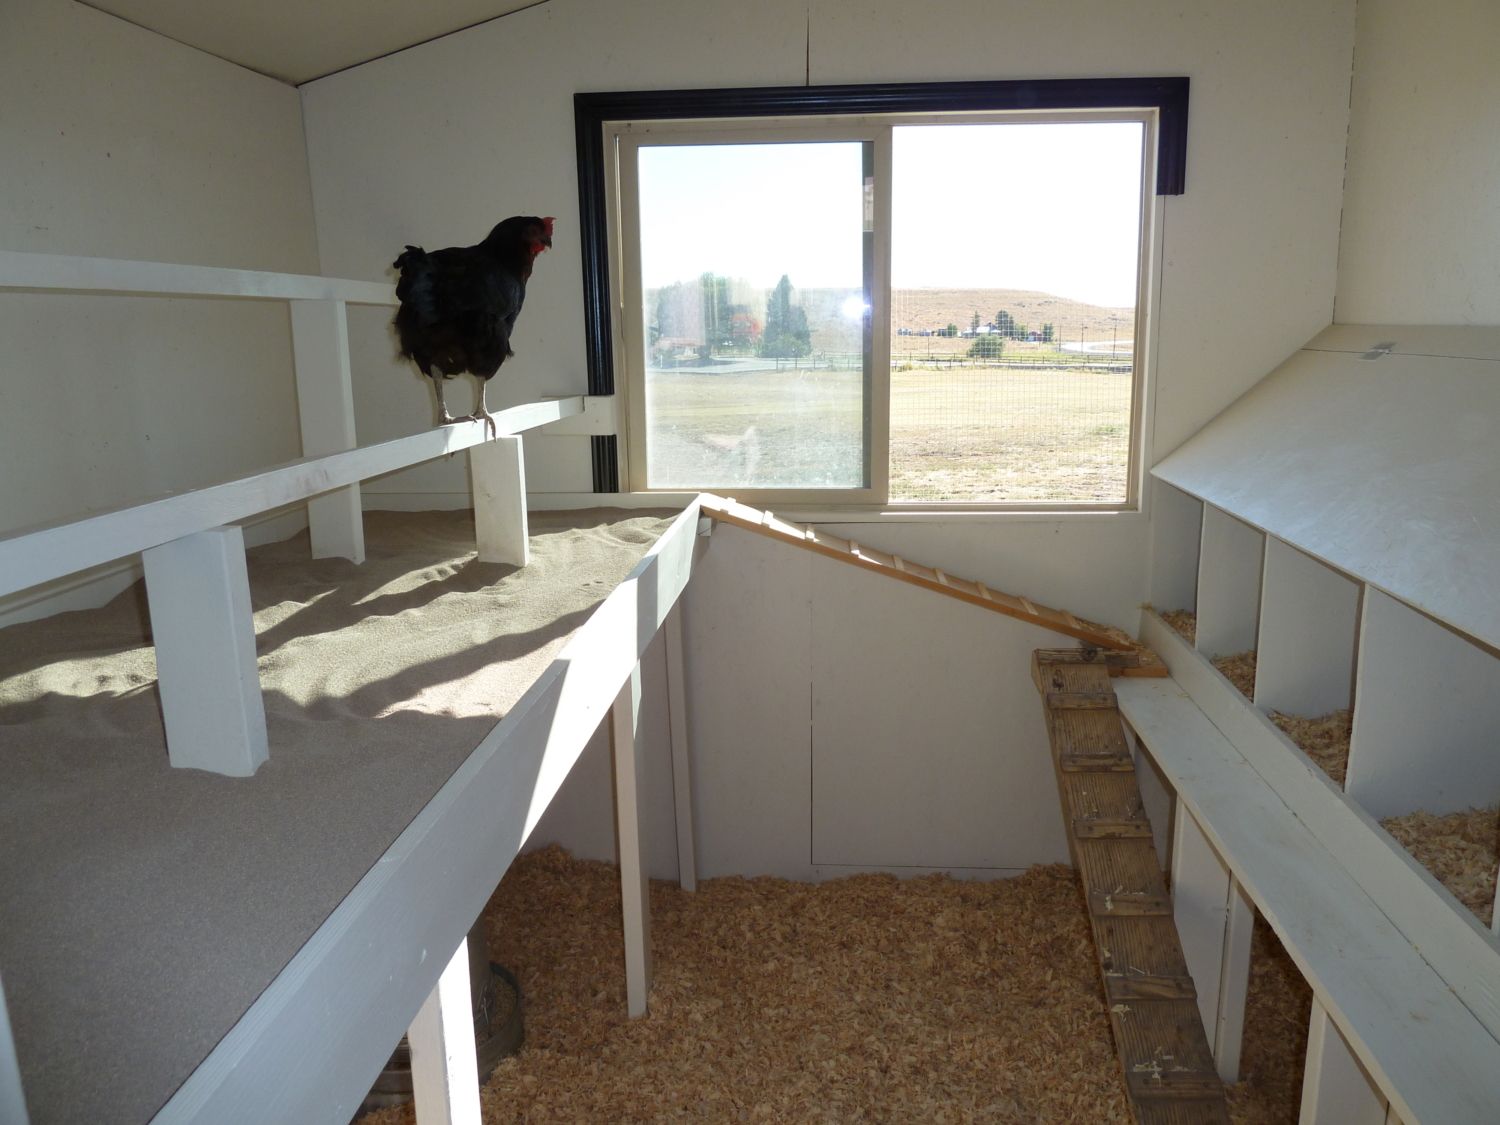
Lovin' the new roosting rails!
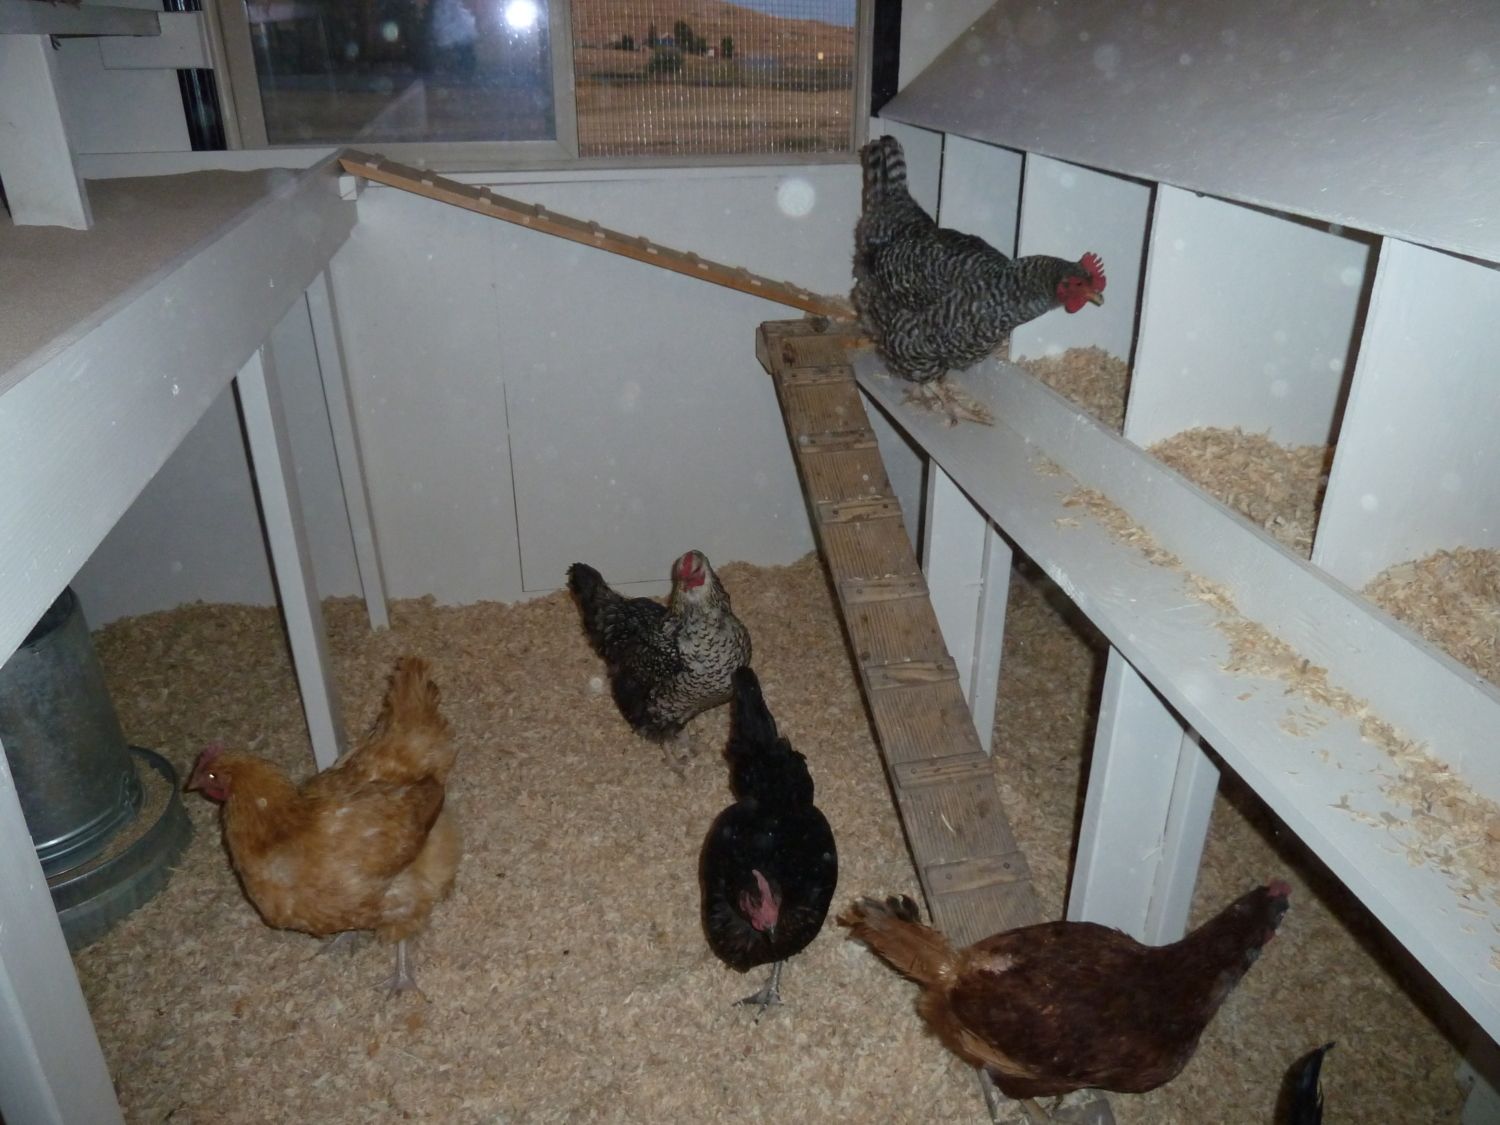
More residents . . .
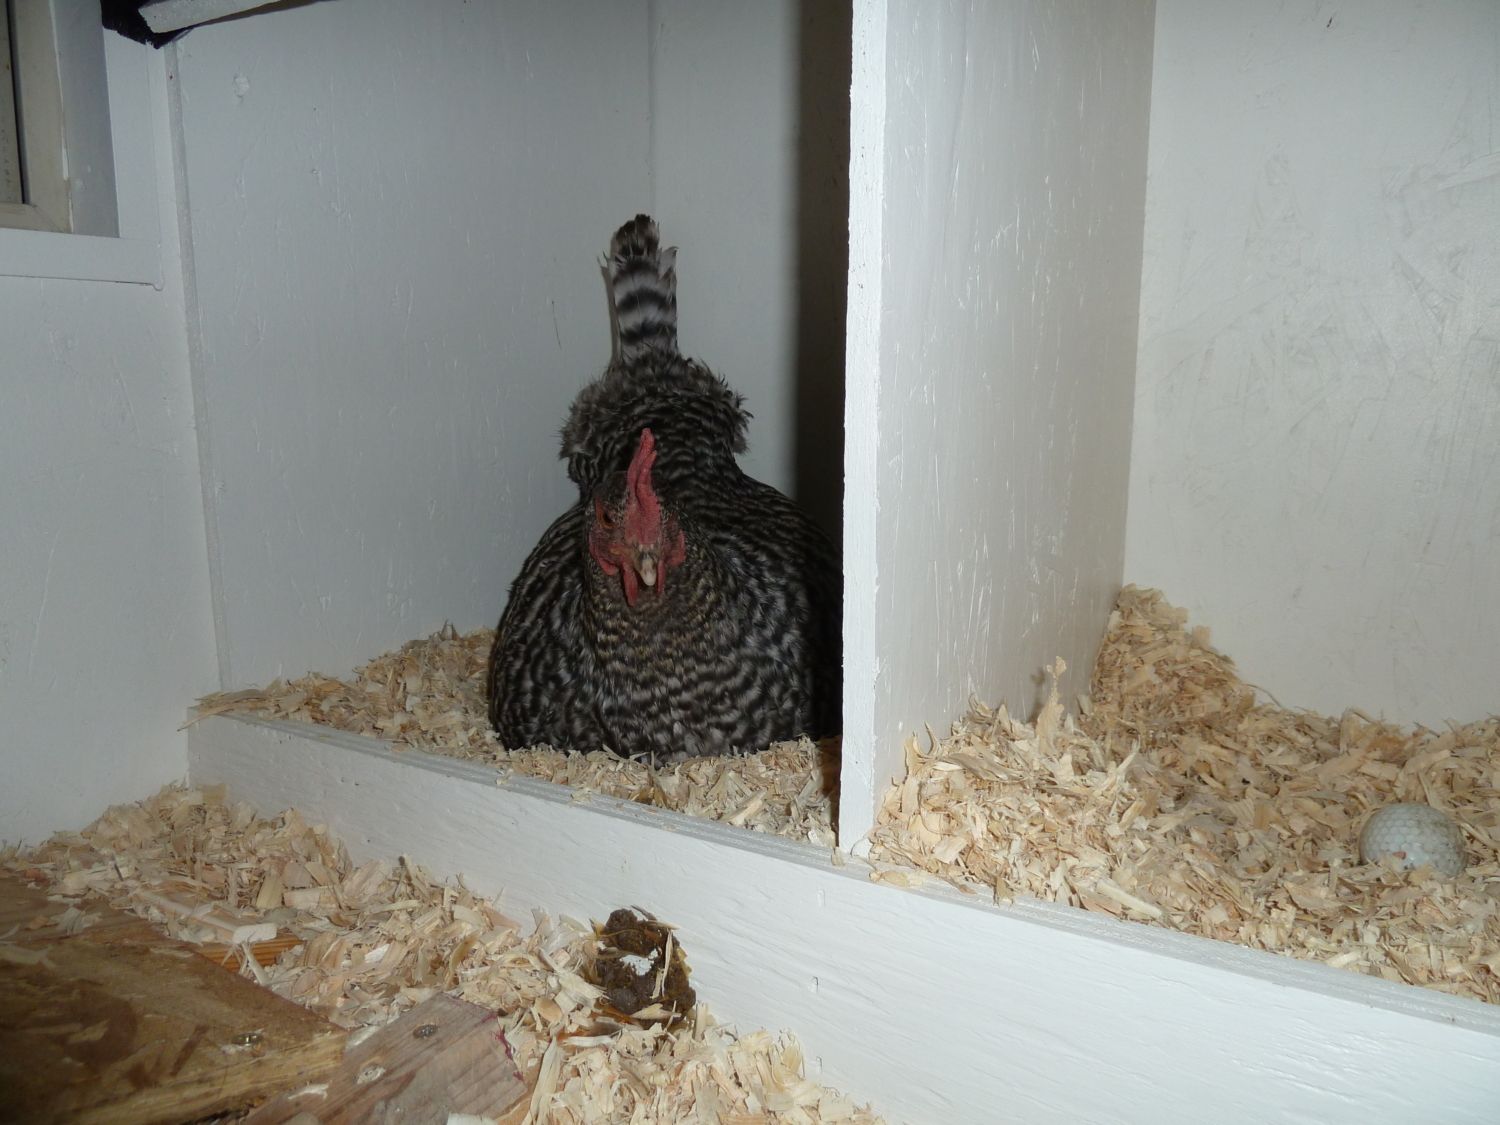
Just making myself at home. (I put golf balls in the nesting boxes to encourage them to lay in their new boxes . . . seemed to work).
Inside of the run - there is chicken wire between the coop and the run to keep out any intruders. We have coyotes around us that love chickens!
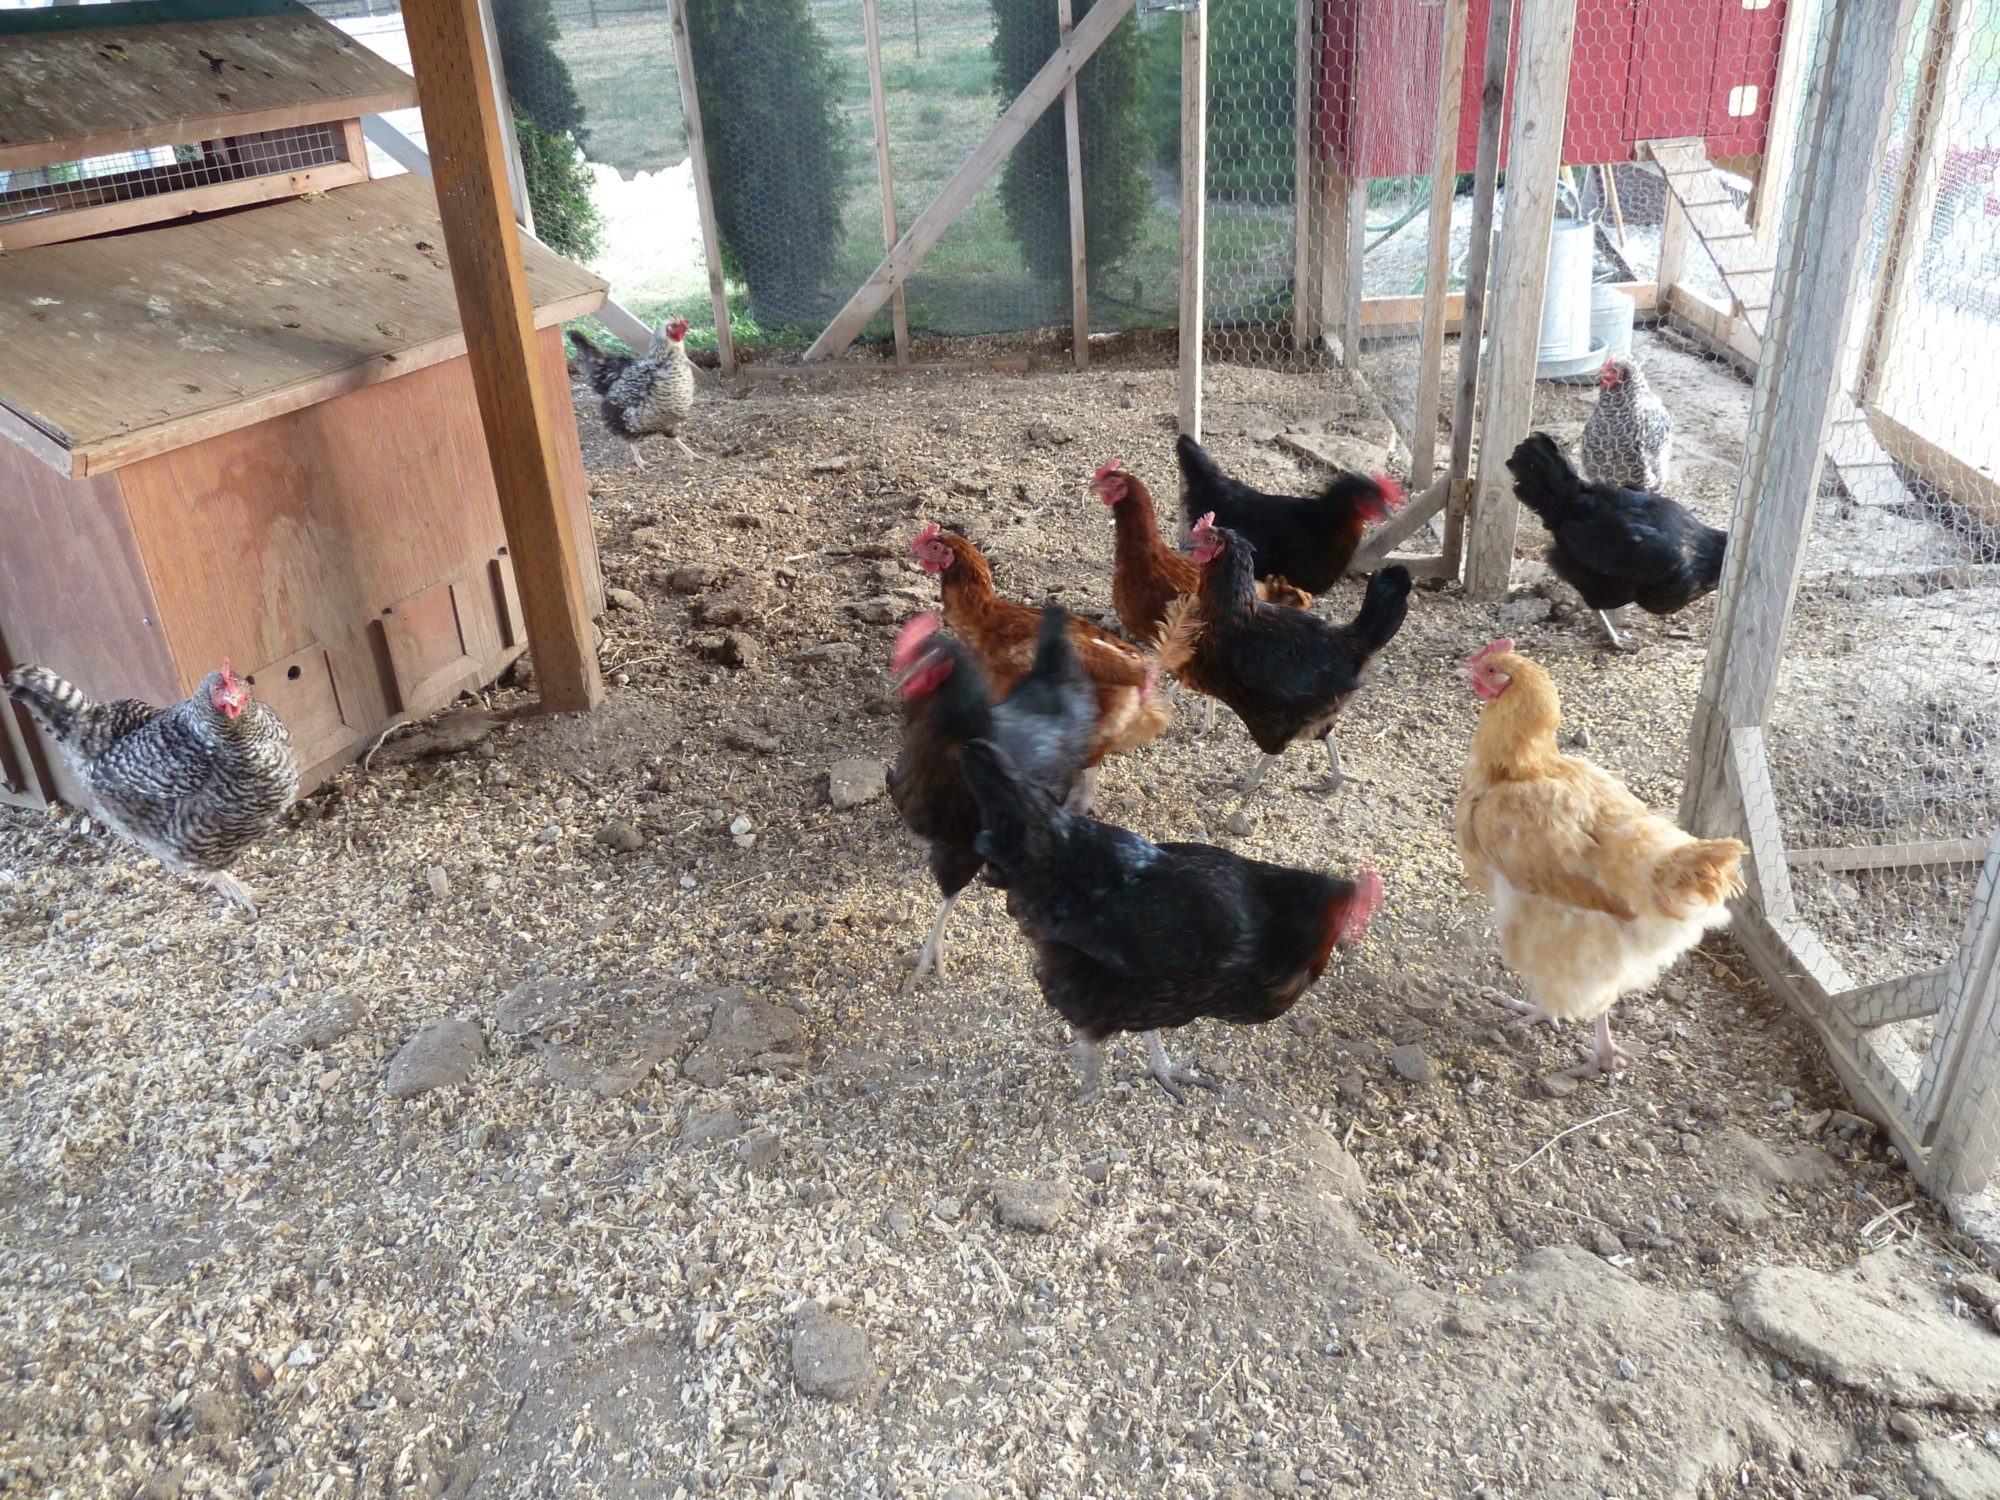
The girls have a (bunny) hutch in their run to roost on and play in. You can see one of their "former coops" to the top right of the picture. I will use that one to integrate the chicks into the flock this summer. It can be separated off by closing the door so they will be safe until they get big enough to hold their own. Should be interesting! (Note - I now have put the babies - they are about 3 months old now) - out into their own "mini" coop and run. I am using the one above for them. They are doing great and are getting used to being outside. I plan to wait until they are at least 5 months old to let them out into the big run. This has been a great way to introduce them but keep them safe also).
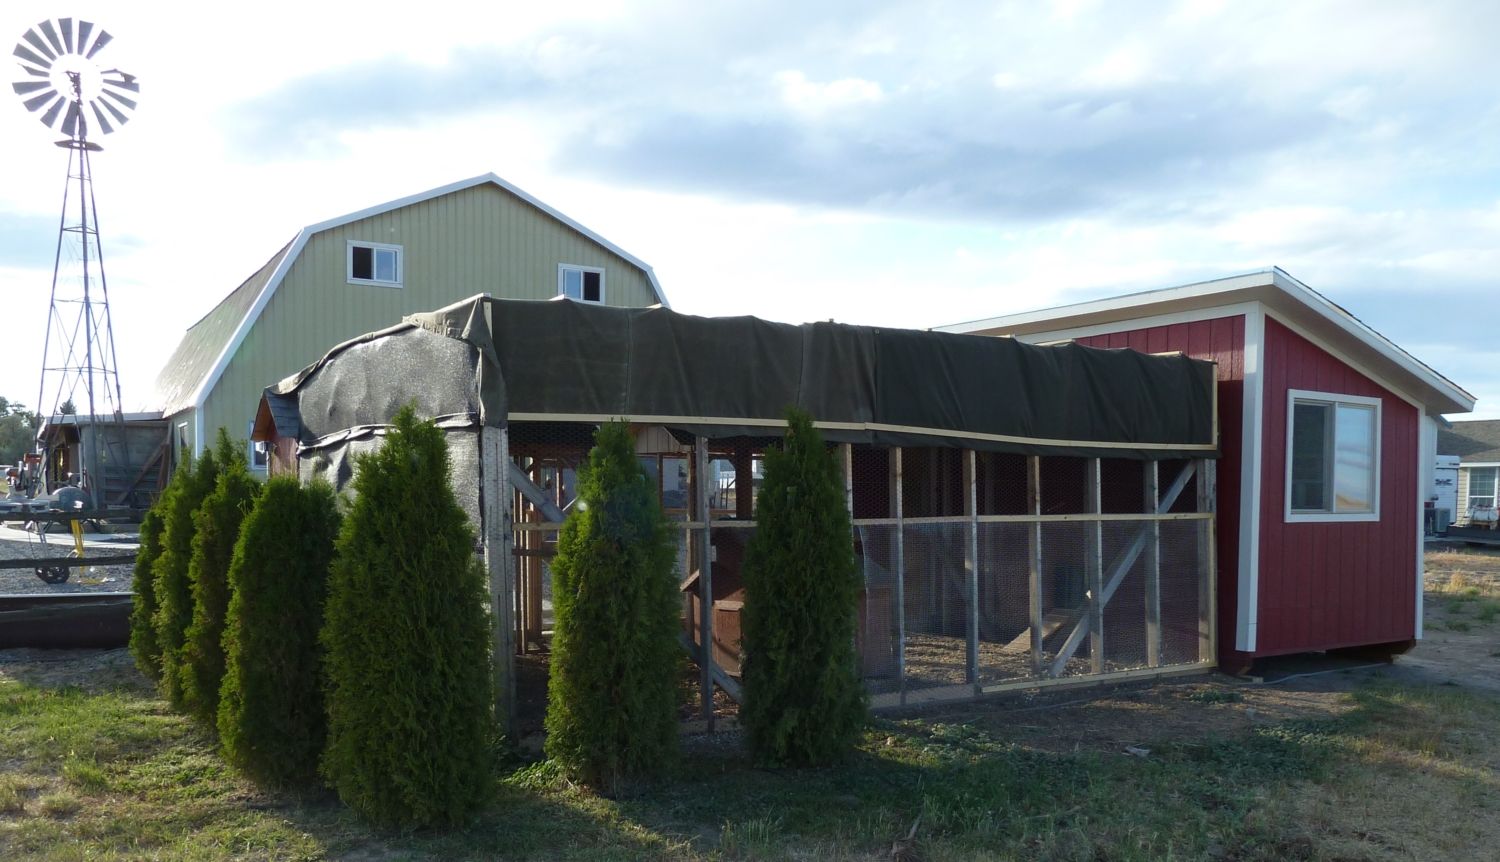
A view of the back of the coop and run. We bought two large army type tarps (waterproof), overlapped them and secured them with boards. They not only give the girls shade, but also keep most of the rain and snow from the run.
About three summers ago, we planted the arborvitae trees for shade and they are doing good. They will soon be taller than the run and should provide great shade and wind protection!
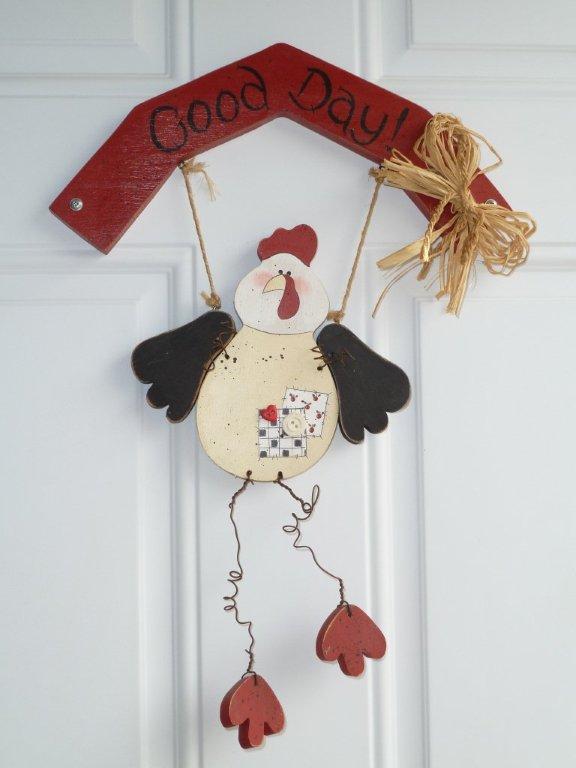
The inspiration for the color scheme. A gift from my parents - very fitting since our last name is "Day" !! I thought it was pretty cute, so it is hanging on the door to the coop.

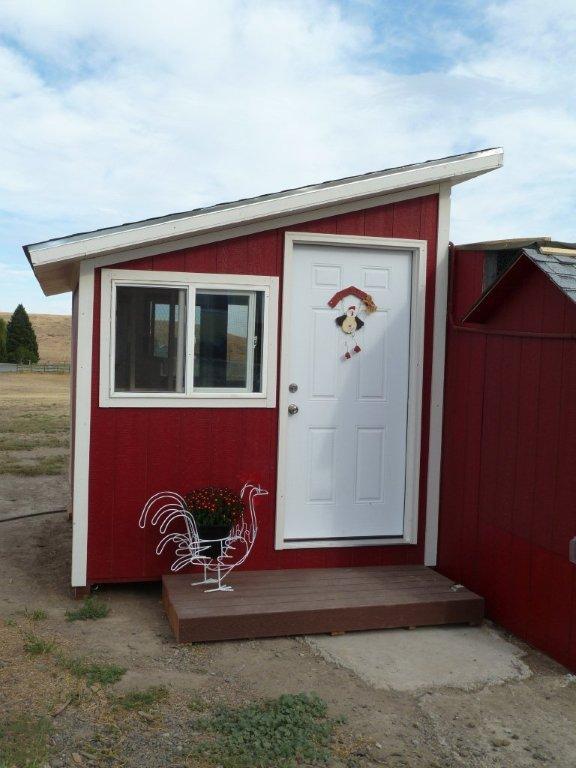
A full view of the coop and run. We absolutely love it - so do my girls!
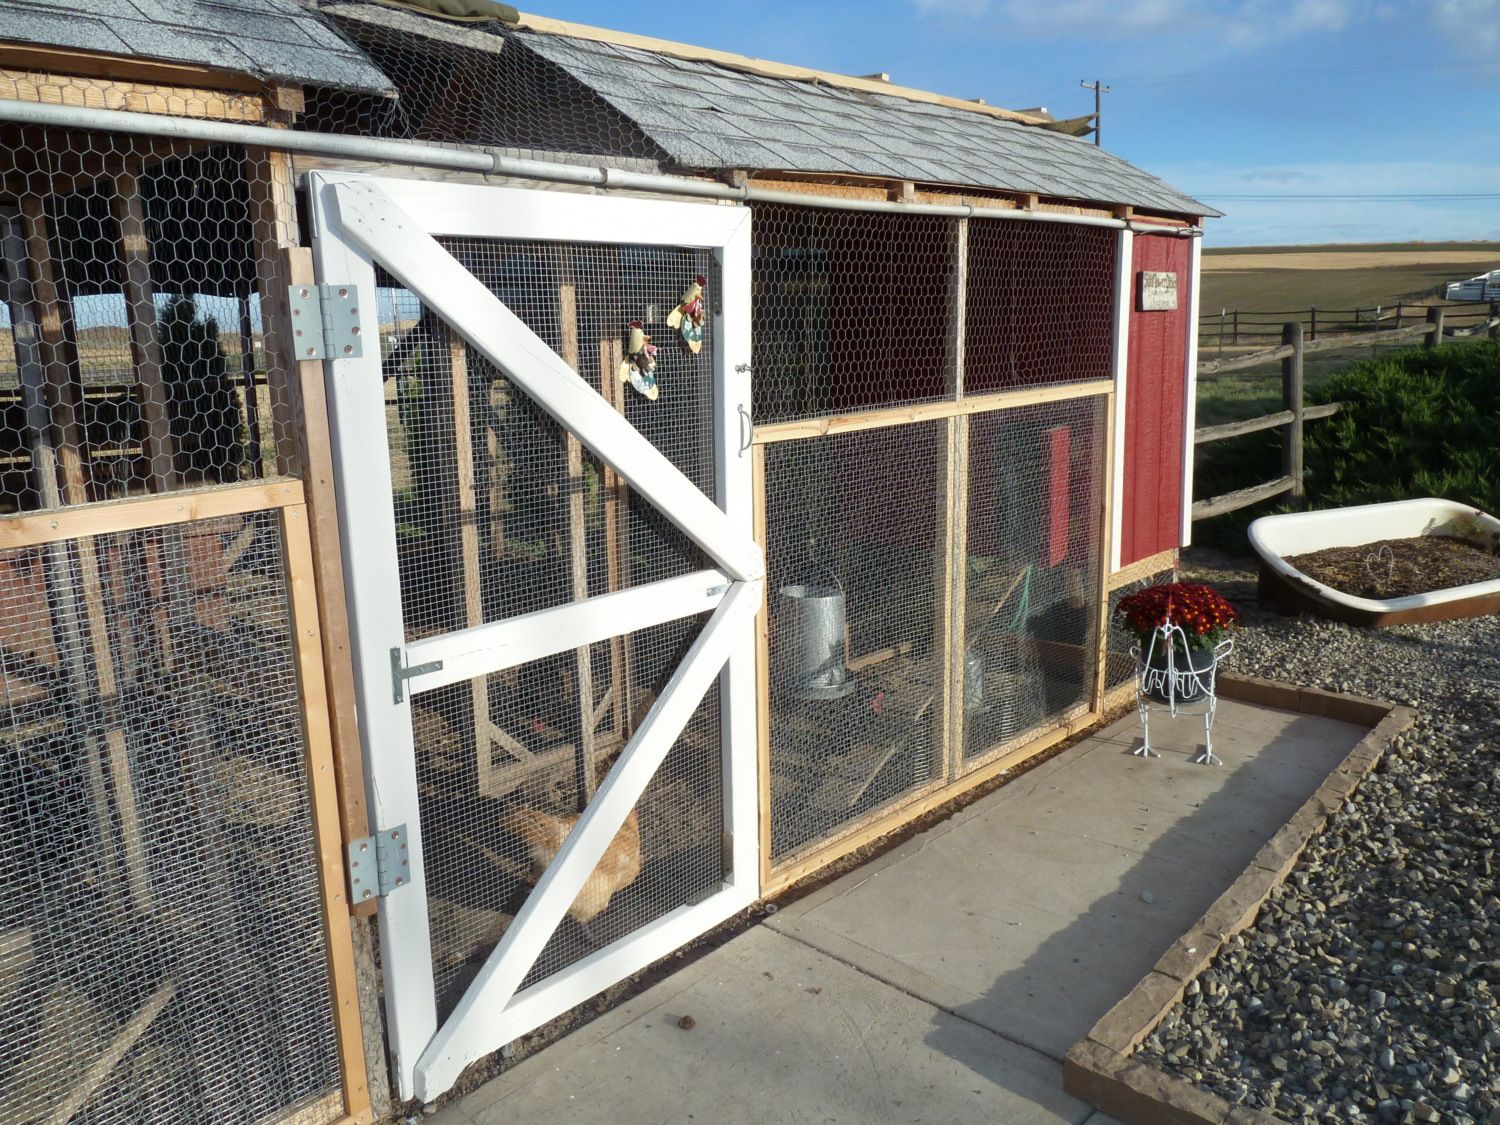
The bathtub to the right is filled with flowers in the spring and summer, but these pictures were taken in late September and the flowers had experienced the first frost, so I cleaned it out . . . but this next year it will look beautiful again!
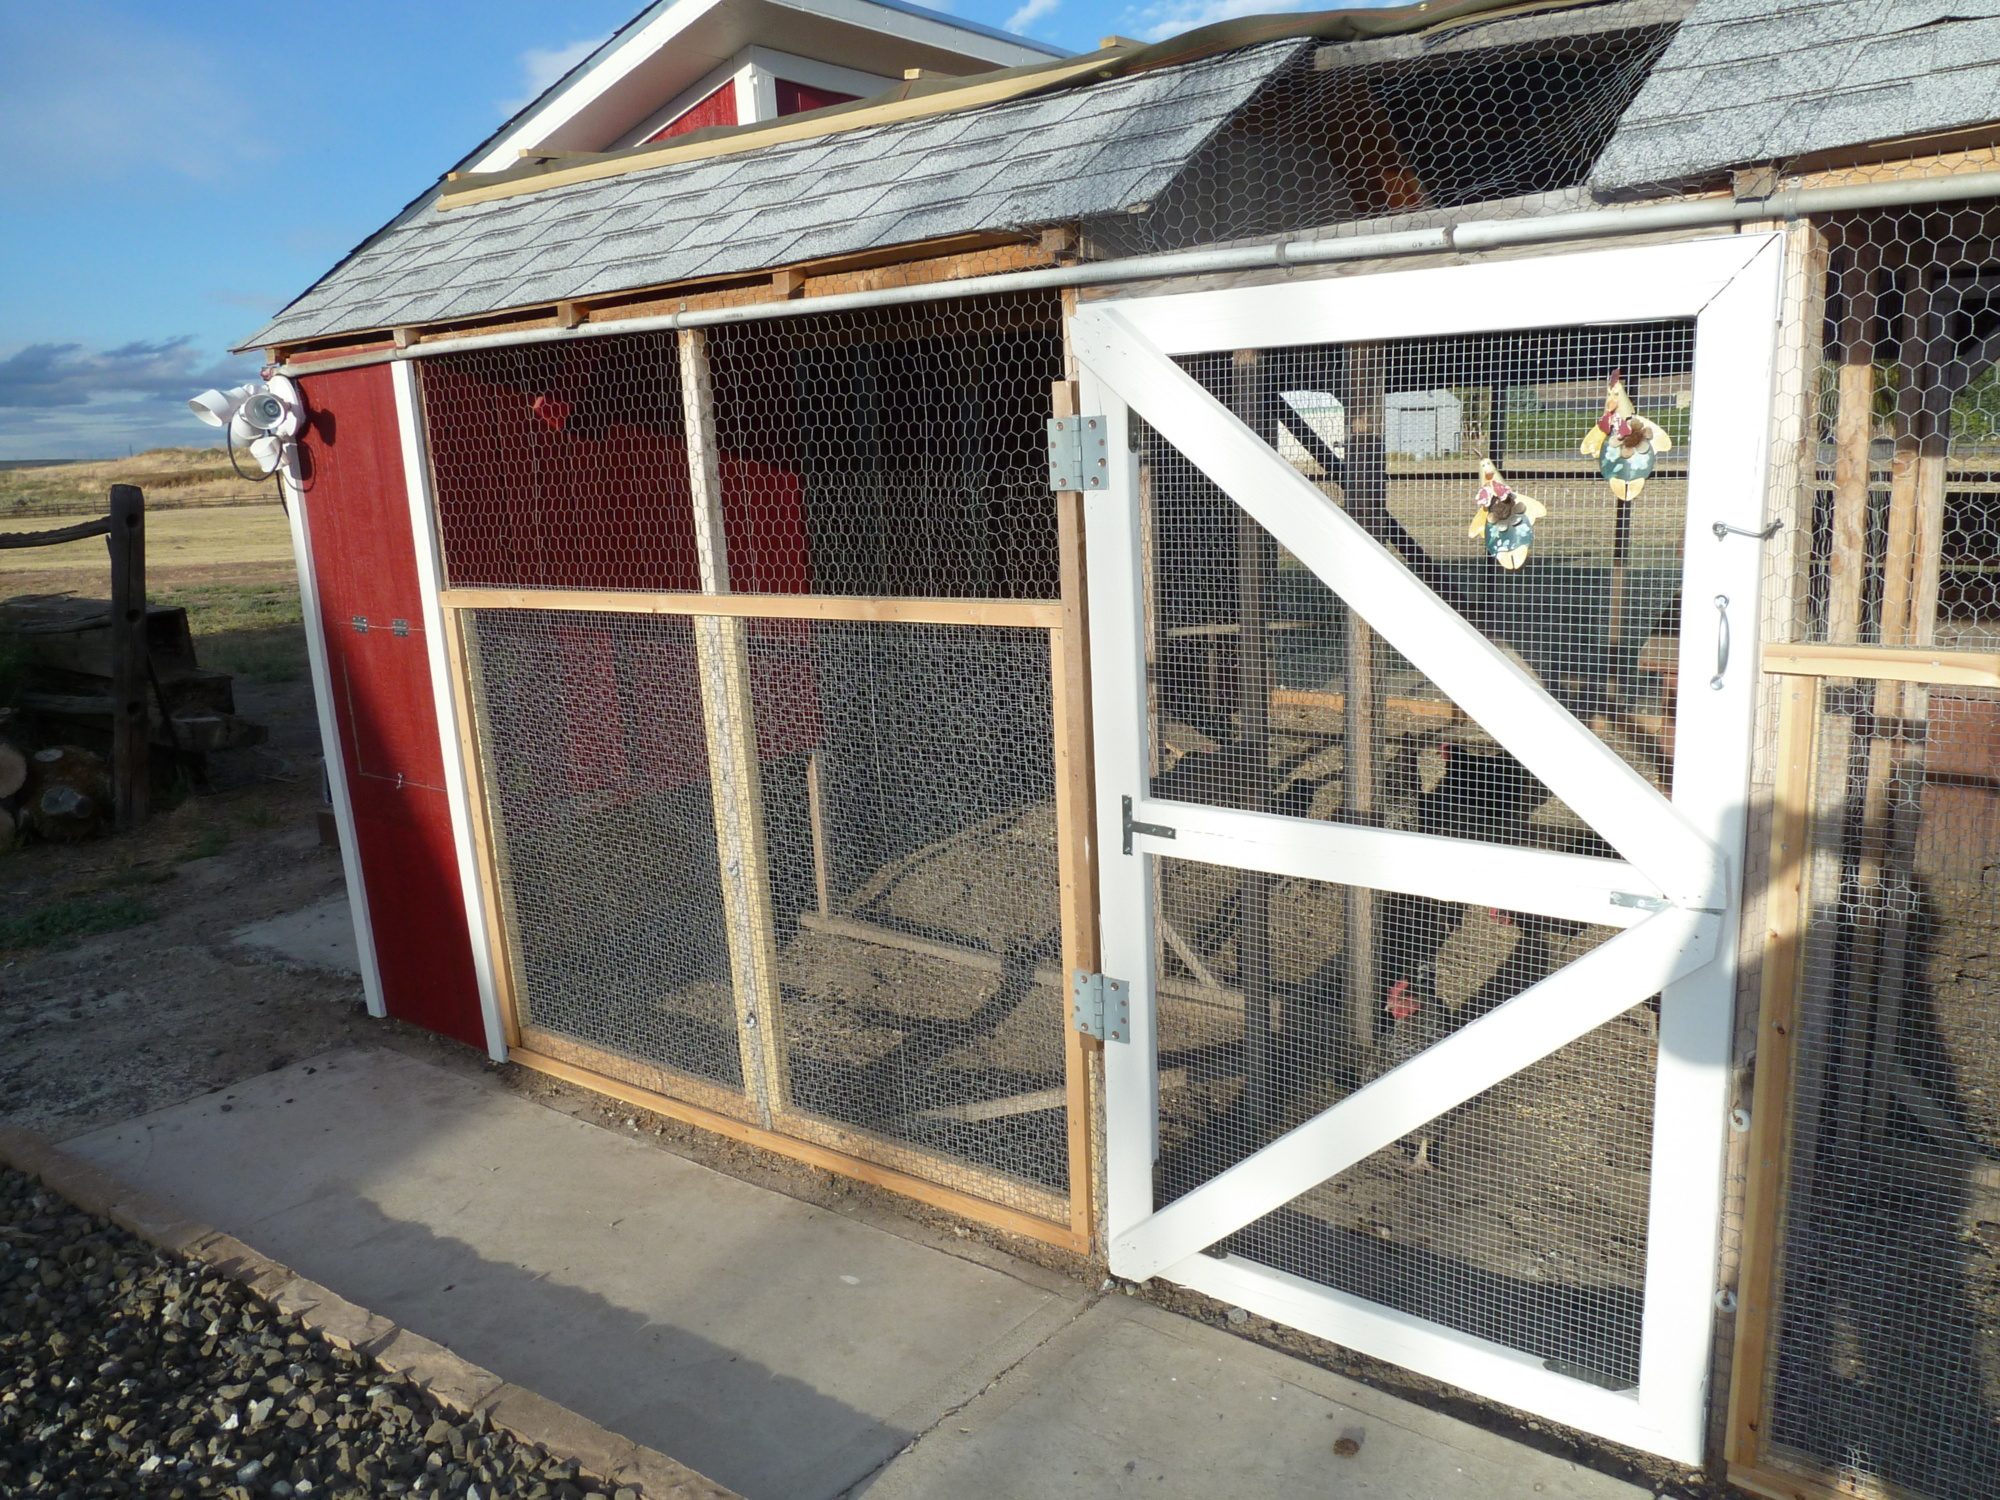
Security light (motion detected) installed to scare off predators at night (coyotes and stray dogs). We reinforced the lower half of the run all the way around to ensure that the girls are safe.
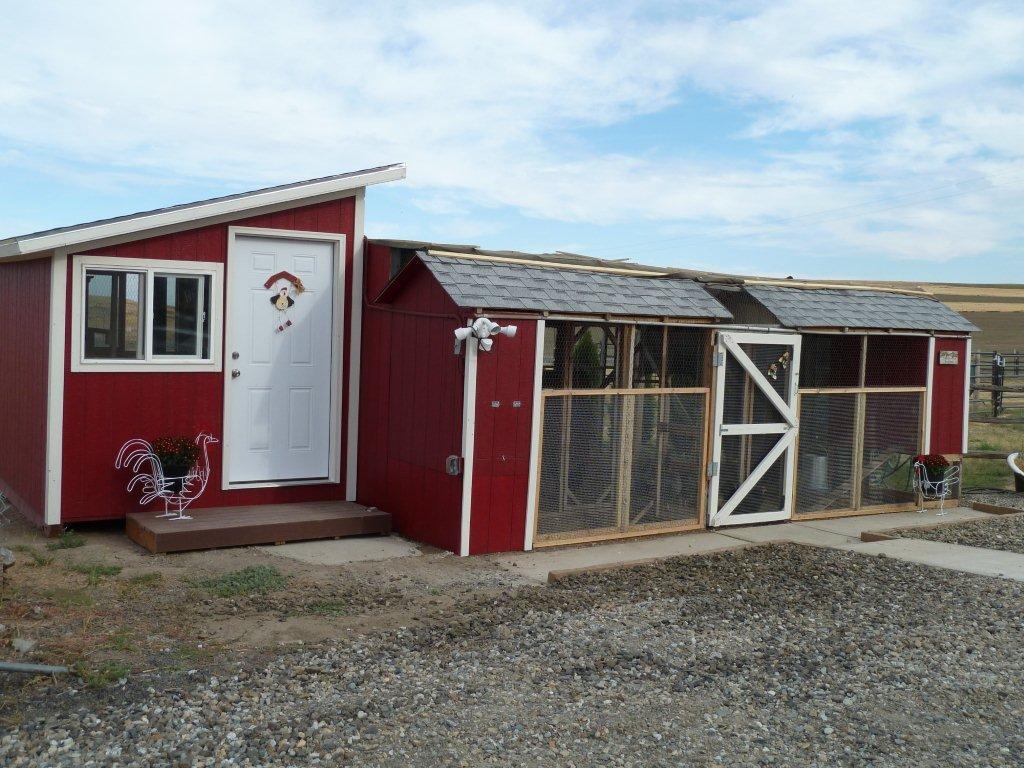
Views of the front of the coop and the run. We put in sidewalks to it since we get snow in the winter so we can make a path with the snow-blower.
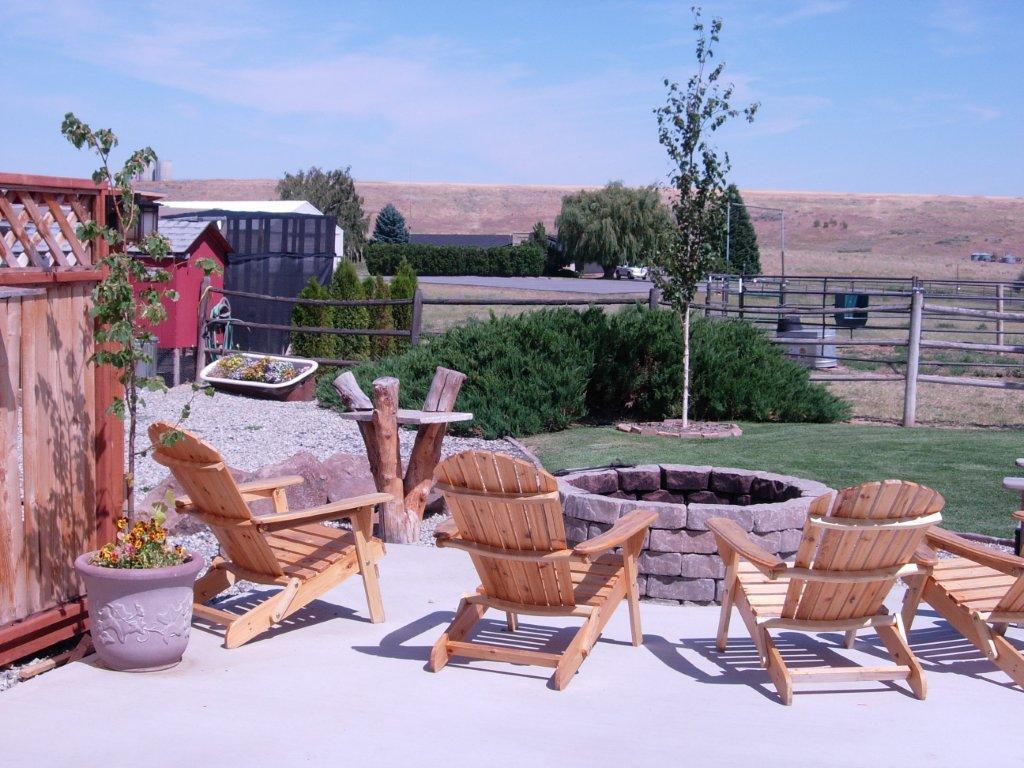
We can sit and enjoy a fire and see the coop (to the left) from our back patio. We love living the country life!
I hope you enjoyed our story; we will add to it as the new chicks get to join in.