The hardest part for us on building a chicken coop was where to start. There are so many ideas, designs, features, “next times”, and “wish we had”, it was difficult committing to anything. Just about the time we had decided to buy a pre-built shed and modifying it….my wife brought home the “Building a Chicken Coop for Dummies” book, and that gave us a starting point. The nice part about the plans in this book were the purchase and cut lists. There are a few dimensions in the plans that are wrong, but you can generally see them coming. My advice? Use the plans as a guide….measure before cutting, don’t just use the books dimensions….and modify as necessary!

Not too bad....the runners underneath are pressure treated 4x4's. We had some railroad ties laying around so we placed the floor (with runners) up on the ties.
Sheathed in 3/4" OSB, maybe a little thick, but I would rather it be over-engineered!
The same OSB on the roof. The truck and the bucket on the tractor as work platforms made it much easier than trying to get those panels on the roof using a ladder!
The posts on the run are 8' pressure treated 4x4's set in concrete 3' in the ground. We went with a full size door and window just to make the measurements easy.
The roof line where the joists come over the wall is open and covered with hardware cloth. The window is also covered with hardware cloth, which is very convenient for hanging a box fan for added ventilation on those really hot days! The outside is going to be sheathed in cedar paneling, re-purposed from our porch roof renovation.
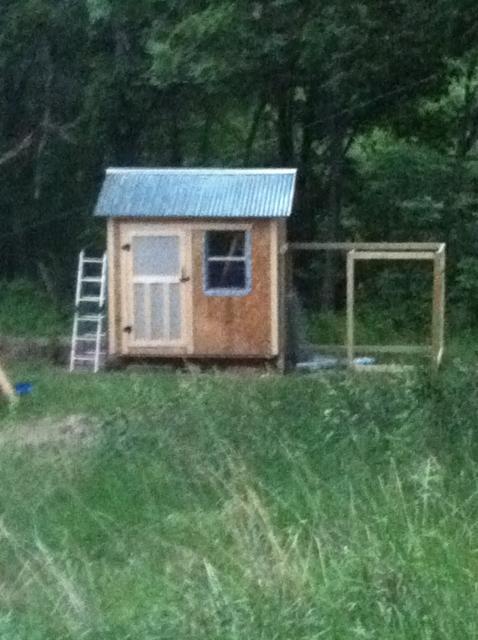
This picture exagerates the lean! It's not this pronounced in person. The run is also done in hardware cloth and is brought out a couple feet at the bottom, which will be staked down and back filled.
Like the red against the Cedar.
The girls seem fine with it too. Still a "work in progress".
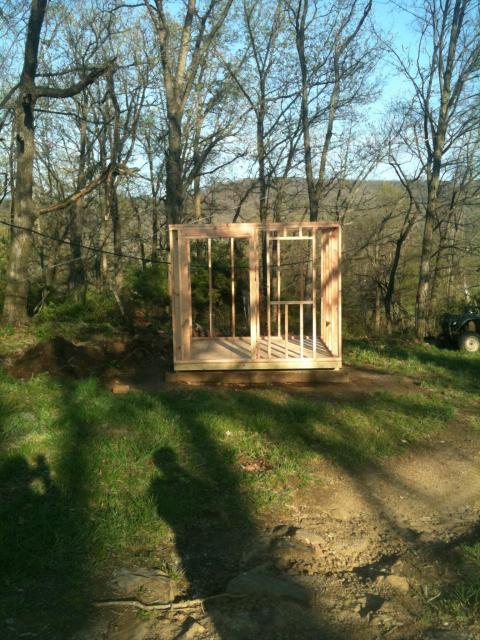
Not too bad....the runners underneath are pressure treated 4x4's. We had some railroad ties laying around so we placed the floor (with runners) up on the ties.
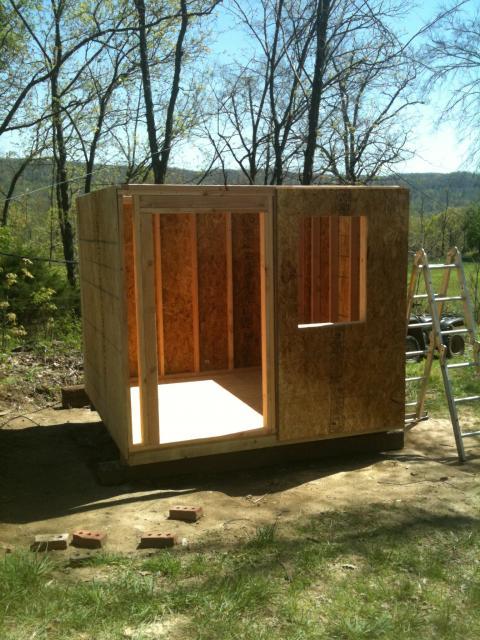
Sheathed in 3/4" OSB, maybe a little thick, but I would rather it be over-engineered!
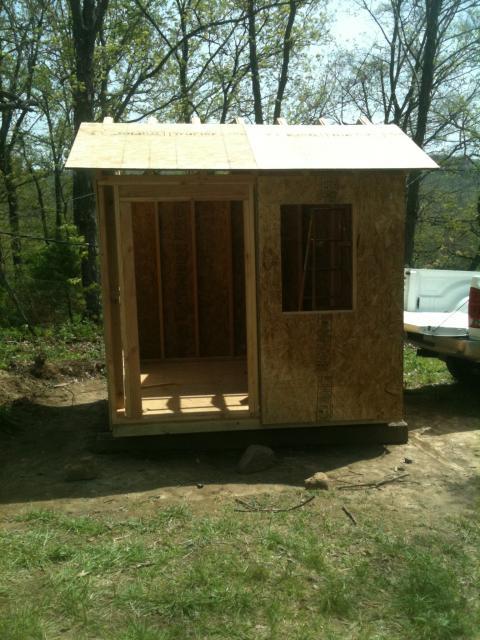
The same OSB on the roof. The truck and the bucket on the tractor as work platforms made it much easier than trying to get those panels on the roof using a ladder!
The posts on the run are 8' pressure treated 4x4's set in concrete 3' in the ground. We went with a full size door and window just to make the measurements easy.
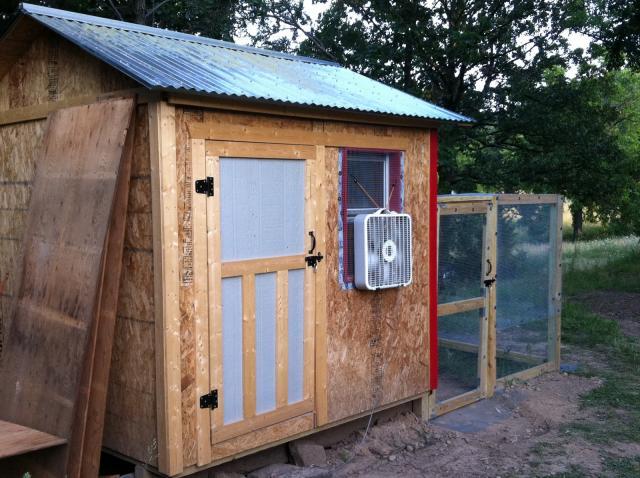
The roof line where the joists come over the wall is open and covered with hardware cloth. The window is also covered with hardware cloth, which is very convenient for hanging a box fan for added ventilation on those really hot days! The outside is going to be sheathed in cedar paneling, re-purposed from our porch roof renovation.
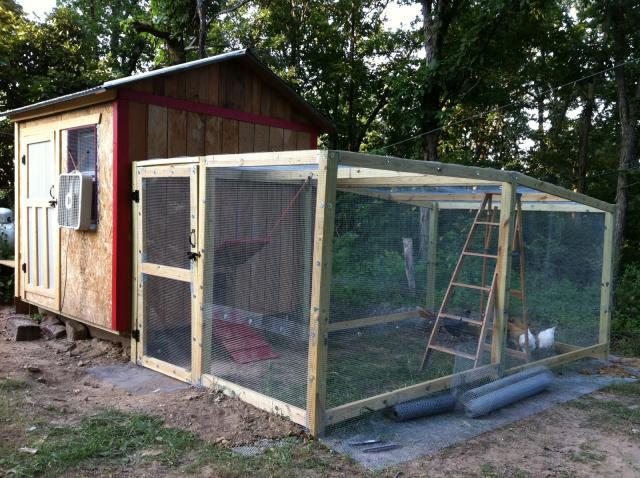
This picture exagerates the lean! It's not this pronounced in person. The run is also done in hardware cloth and is brought out a couple feet at the bottom, which will be staked down and back filled.
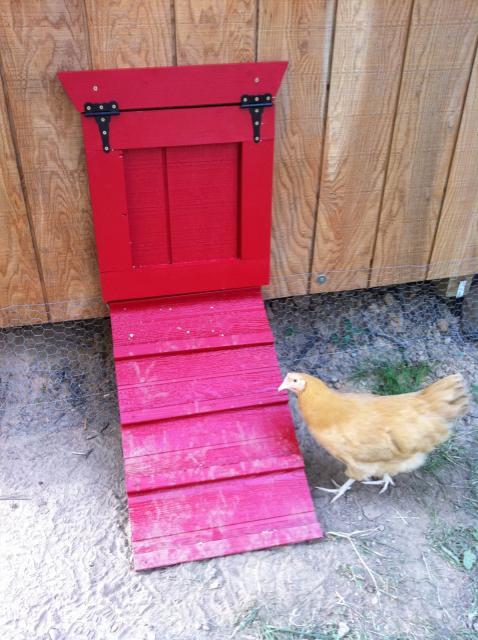
Like the red against the Cedar.
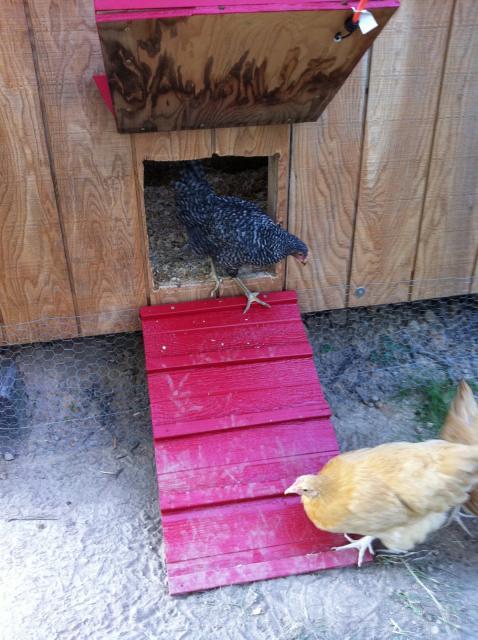
The girls seem fine with it too. Still a "work in progress".