So I know this isn't the "normal build, but it was my experience.
*Warning* this is not 100% done yet... I still need to order larger feeder/water... install the large window (maybe tomorrow)... install exhaust fan and lighting (plus run wires)... put hog panels over the top... and build nesting boxes (still too young to use anyways)!
Sorry for the iPhone pics, I'm too tired to dig out my camera at the moment!
List of materials:
Rubbermaid 7'x7' storage shed = FREE (Craigslist)
Dog Run (2x6', 2x10', 2x12') = FREE (owned)
Chicken Wire 24"x50' = FREE (eBay Bucks Certificate)
Chicken Wire 24"x25' = $8
Green Coated Hardware Wire = $10
Hog Panels = FREE (Craigslist)
Large/Small window (1 of each) = $5 (Craigslist)
3 2"x4"x8' = $7
Spare wood for ramp is a re-use
Screws and other odds and ends laying around
Aside from feeling EXTREMELY lucky to be offering my kids such a good coop for such a CHEAP price, I'm also pretty proud of what can be accomplished in one day! Big thanks to my wife who out of fear of how many chickens I may bring home from tomorrows swap... decided today was the day to do it and offered her help (she knows chicken math)!
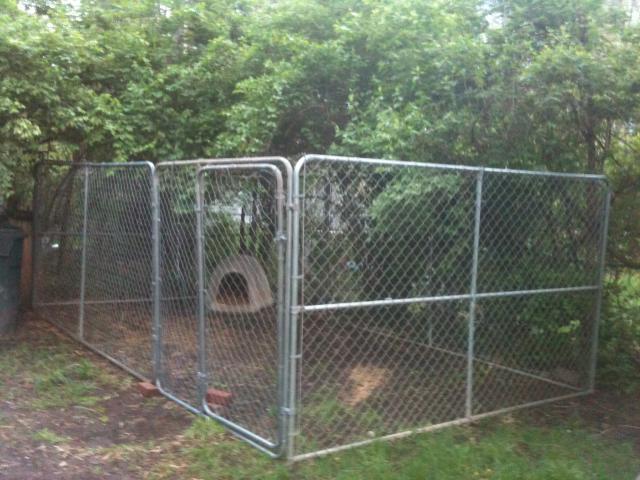
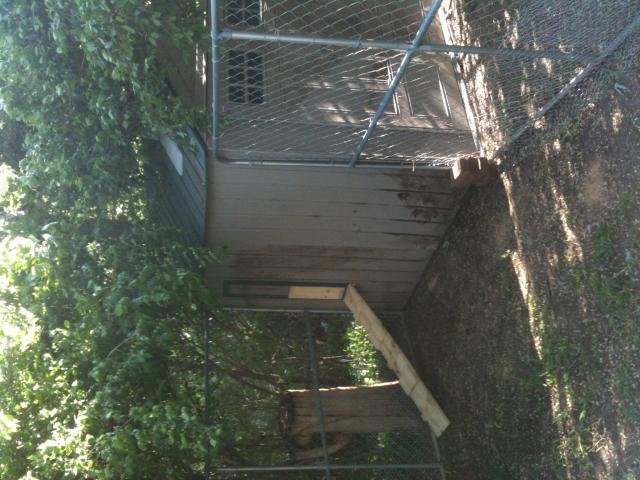
So to start with this is what we started with...

Which soon turned into this
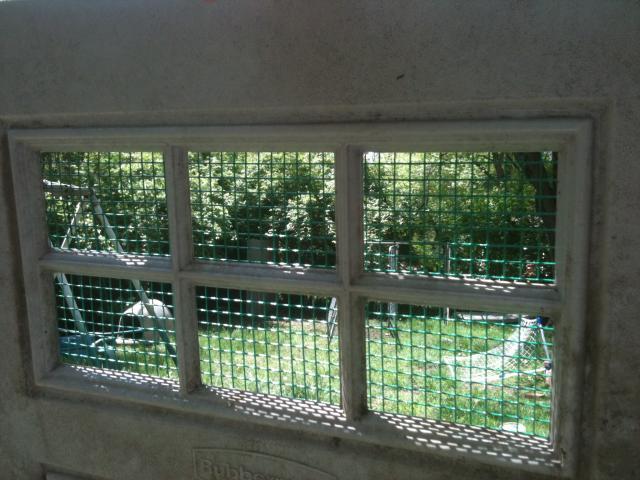
After moving things around a bit we started the shed, we had originally placing the run along the same fence but realized that the corner of the run would be less than 40ft from the neighbors house (against city regulations). We then had to tear down and rebuild the walls after negotiating the 90° CCW turn. This leads me to the door windows, I replaced the factory Plexiglas with green coated hardware cloth prior to installing them onto the structure.
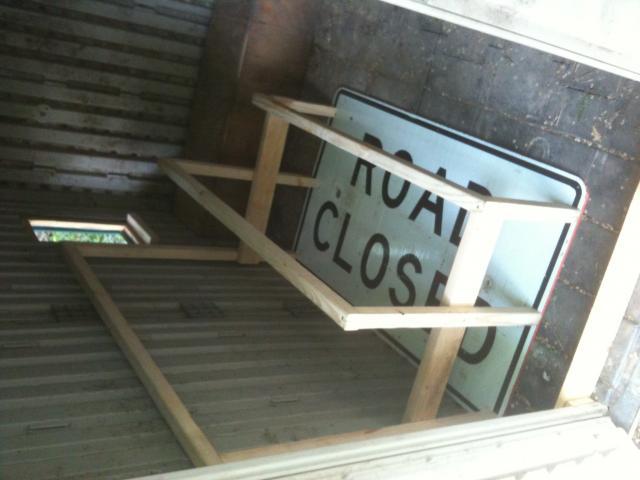
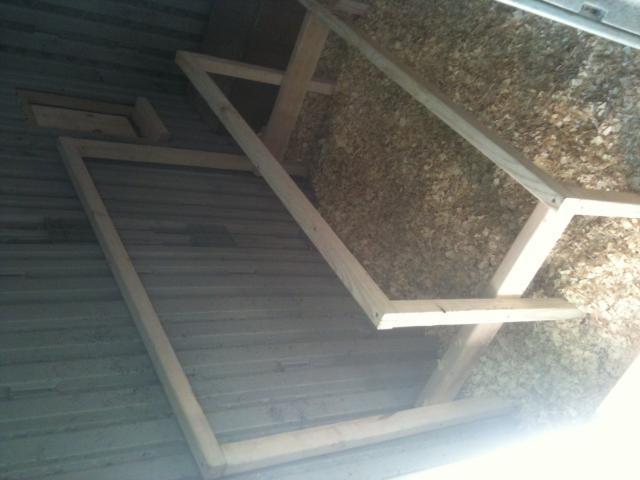
We then installed the roof and made sure everything was secured before moving on to the chicks new entrance door which had to be cut out and then the frame from the small (long) window was placed on the outside along with the piece of wood I fashioned into a sliding door. I then took down a "ROAD CLOSED" sign that was hanging in my garaged and transformed it into a new 4' long set of roosts (stepped 12", 24", 36") and placed it in the coop right in front of where the window will be going later!
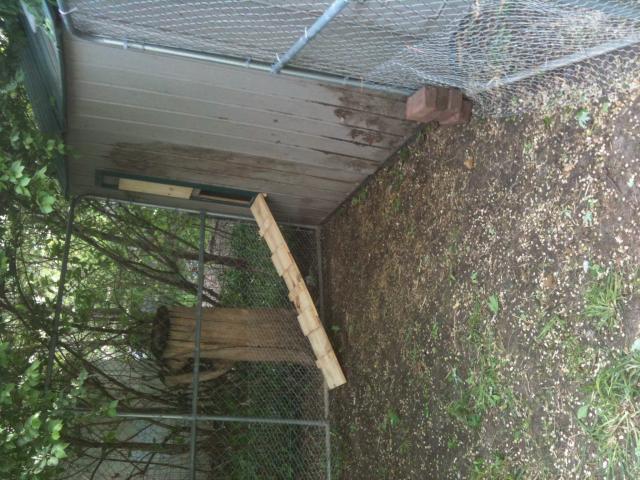
Then it was time to make short work of setting up the run, and then while I was making the ramp from 4 1"x12"x18" boards I had left over from a cat condo I built last year the wife installed the chicken wire around the bottom of the run (this will be expanded on later, plans are for railroad ties). (Pics are chicken door open, chicken door closed)
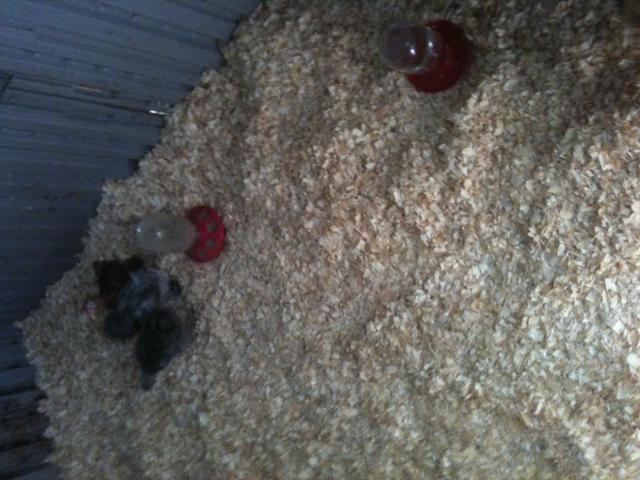
We then filled up the floor up with chips and went to get the 7 week pair of silkies and the 6 week frizzle (they will be spending their first night outside tonight
)!
Aside from the walls still needing cleaned up a bit (we picked this thing up filthy), I'm done for the day...
Semi-Finished!!!!!
I know it's nothing luxurious... but I have a feeling this coop is going to serve our family well for a long time to come!
*Warning* this is not 100% done yet... I still need to order larger feeder/water... install the large window (maybe tomorrow)... install exhaust fan and lighting (plus run wires)... put hog panels over the top... and build nesting boxes (still too young to use anyways)!
Sorry for the iPhone pics, I'm too tired to dig out my camera at the moment!
List of materials:
Rubbermaid 7'x7' storage shed = FREE (Craigslist)
Dog Run (2x6', 2x10', 2x12') = FREE (owned)
Chicken Wire 24"x50' = FREE (eBay Bucks Certificate)
Chicken Wire 24"x25' = $8
Green Coated Hardware Wire = $10
Hog Panels = FREE (Craigslist)
Large/Small window (1 of each) = $5 (Craigslist)
3 2"x4"x8' = $7
Spare wood for ramp is a re-use
Screws and other odds and ends laying around
Aside from feeling EXTREMELY lucky to be offering my kids such a good coop for such a CHEAP price, I'm also pretty proud of what can be accomplished in one day! Big thanks to my wife who out of fear of how many chickens I may bring home from tomorrows swap... decided today was the day to do it and offered her help (she knows chicken math)!
So to start with this is what we started with...
Which soon turned into this

After moving things around a bit we started the shed, we had originally placing the run along the same fence but realized that the corner of the run would be less than 40ft from the neighbors house (against city regulations). We then had to tear down and rebuild the walls after negotiating the 90° CCW turn. This leads me to the door windows, I replaced the factory Plexiglas with green coated hardware cloth prior to installing them onto the structure.
We then installed the roof and made sure everything was secured before moving on to the chicks new entrance door which had to be cut out and then the frame from the small (long) window was placed on the outside along with the piece of wood I fashioned into a sliding door. I then took down a "ROAD CLOSED" sign that was hanging in my garaged and transformed it into a new 4' long set of roosts (stepped 12", 24", 36") and placed it in the coop right in front of where the window will be going later!
Then it was time to make short work of setting up the run, and then while I was making the ramp from 4 1"x12"x18" boards I had left over from a cat condo I built last year the wife installed the chicken wire around the bottom of the run (this will be expanded on later, plans are for railroad ties). (Pics are chicken door open, chicken door closed)
We then filled up the floor up with chips and went to get the 7 week pair of silkies and the 6 week frizzle (they will be spending their first night outside tonight

Aside from the walls still needing cleaned up a bit (we picked this thing up filthy), I'm done for the day...
Semi-Finished!!!!!

I know it's nothing luxurious... but I have a feeling this coop is going to serve our family well for a long time to come!

Last edited:


