Well my girls are now 2 weeks old and I finally got into gear and built my 1st brooder grow-out cage. After reading through a lot of threads on the BYC forum I had a list of goals for my brooder:
No/ limited waste feeder
Auto waterier (this has not been completed. When I complete my roll-out cages I will integrate this with all cages)
Light/ heat source on a thermostat (I have not yet added the thermostat, I will add this when I cull and move them to the breeder cages)
Can use as grow out cage
Clean out tray
As always recycle/ re-purpose as much of the building materials as possible
Cage suspended from ceiling of shed to make it harder for any predators to get at the cots
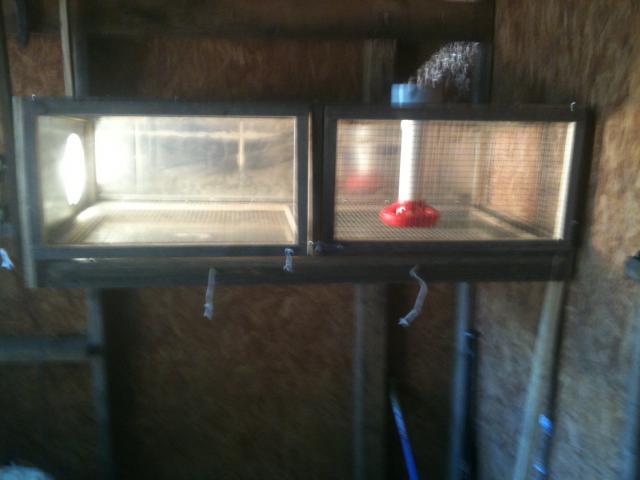
Here is what I have built:
Measures 24x48, 15 tall at front & 8 in back. It has 2 doors in the design, the side with the heat source has a Plexiglas door to keep the heat in, and the other is 1/2 wire.
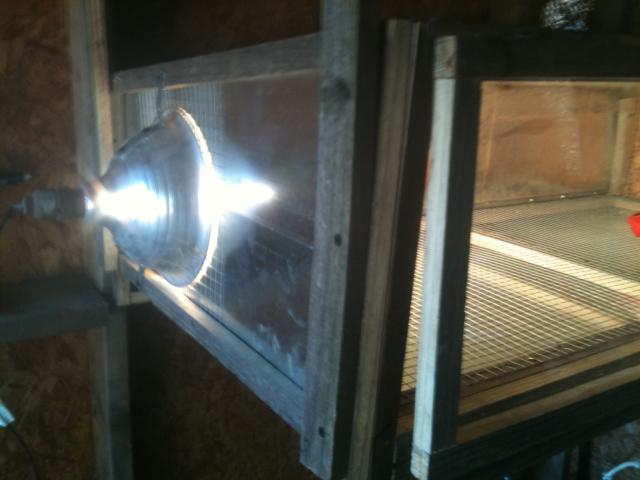
Three sizes are galvanized metal, I installed my light on one of these for safety as well as it helps radiate heat. When I need to replace the bulb it can be done from the outside by removing 2 screws. I covered the hole for the light with ½ wire.
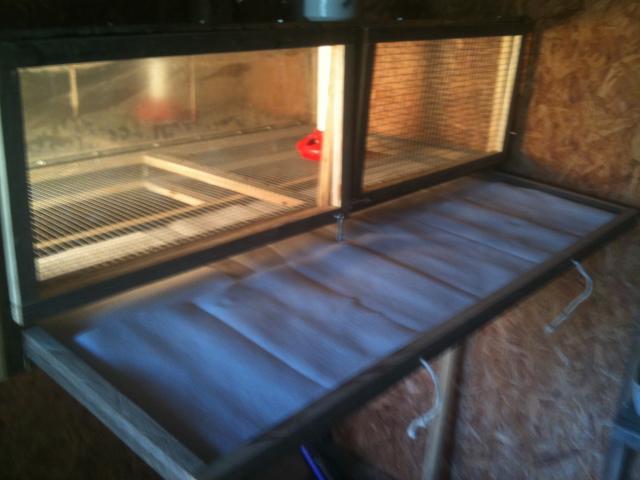
I have a built in slide out tray for catching the amazing amount of quail droppings that corturnix create. I designed it so that it is a snug fit and no gaps for predators can get at the feet of my girls.
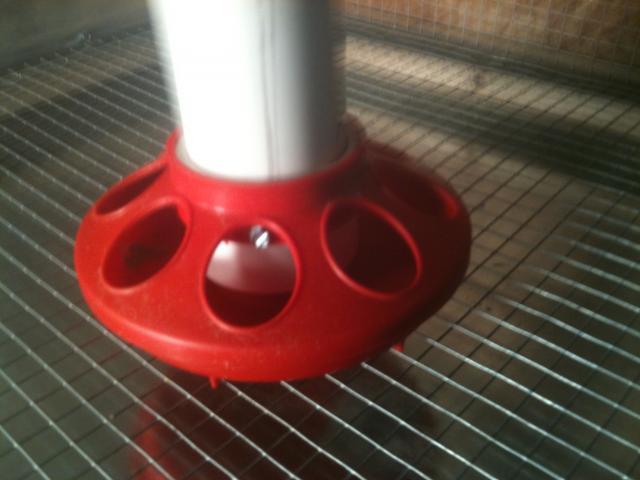
After seeing how much feed these quail waste, I had to find an efficient way of feeding them. I got this idea from Randles post on
https://www.backyardchickens.com/forum/viewtopic.php?id=580498&p=1
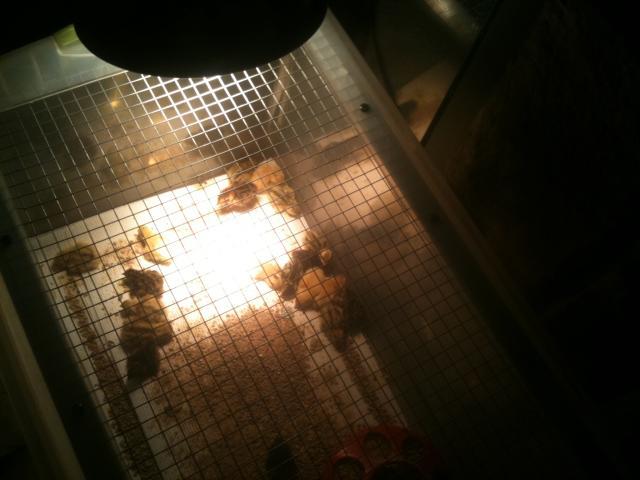
It only allows a 1/8 for the GB feed to spread in the bottom of the feeder. They have been in this cage for a little over a day, this is normally long enough for cots to scratch empty a feed tray, and there is NO waste in the clean out tray. I am trilled with this feeder idea, thanks Randle. By placing the feed tube thru the top of the cage I can check it and keep them fed with out opening the cage.
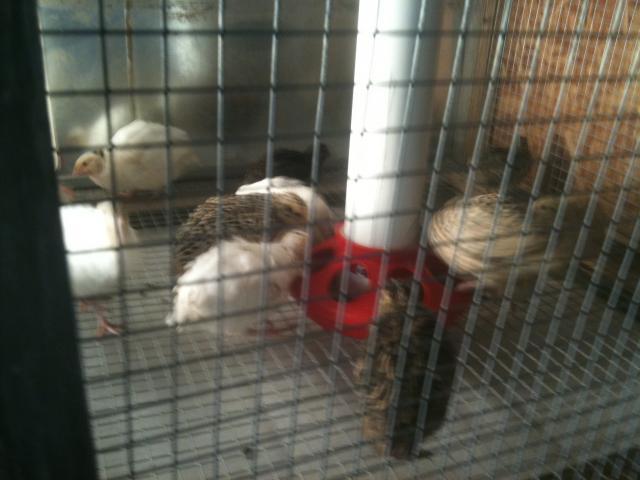
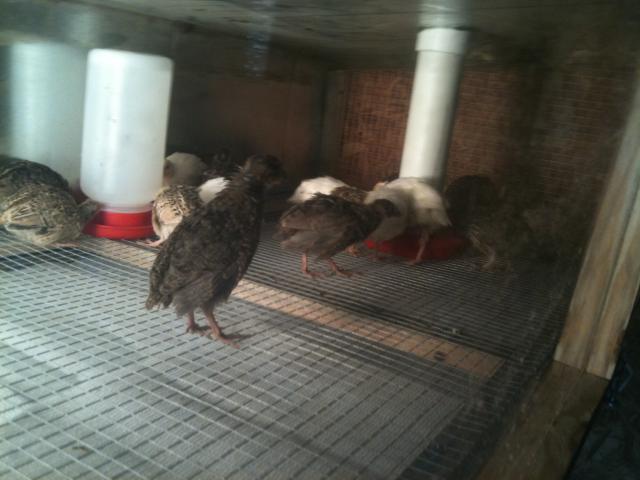
Here are some pics after the girls moved into the new condo.
Update on expenses for my quail project:
$0 wood and Plexiglas are recycled
$0 metal and wire were free from work
$0 light was repurposed from around the homestead
$0 feeder and waterer were moved from the plastic tote brooder
$ 6.47 1 1/4 wood screws for construction
$ 6.28 4 to 2 PVC reducer
Total spent so far $ 67.88 (note I am not adding in feed costs, as we all have those)
Next: Roll-out cages