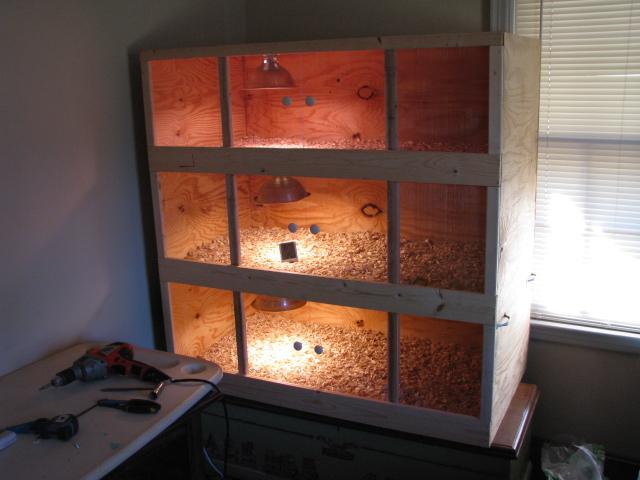
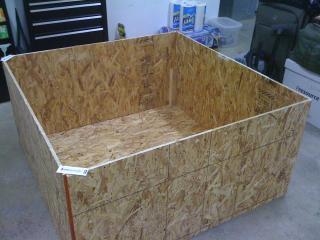
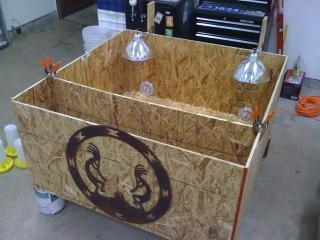
I basically took 4' x 8' sheets of plywood and cut them in half. Then I cut two of the 4' x 4' sections in half, again. I laid a 4' x 4' section down for the floor and used the 2' x 4' sections for the walls. I used another 2' x 4' section as a divider for the 4' x 4' area. I can start out with a smaller area and make it larger for the chicks as they grow.

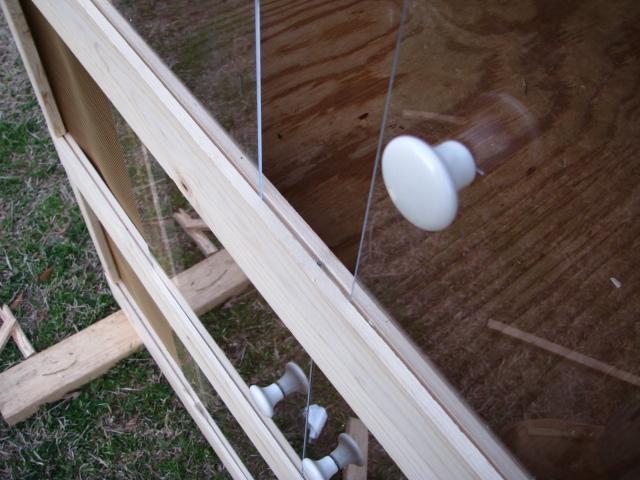
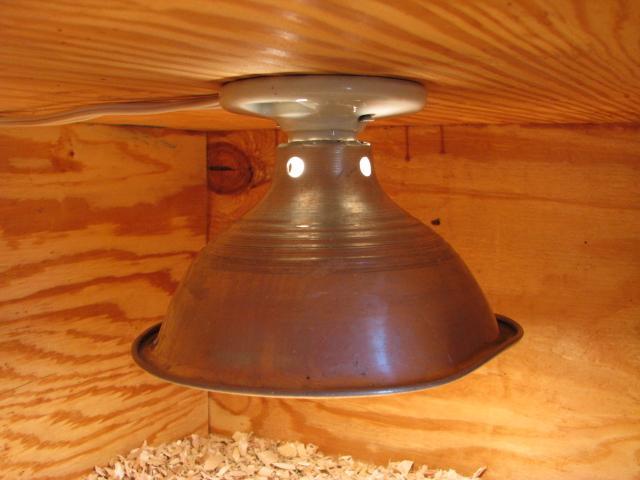
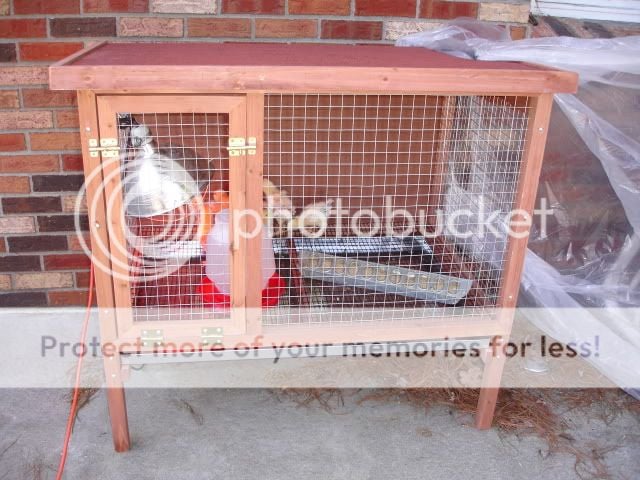
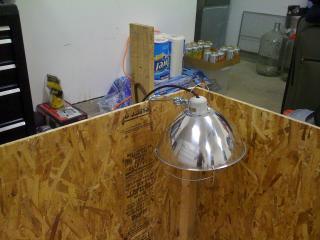
I nailed a couple of boards on one side of the brooder for the lamps to attach to. I can raise and lower the lamps to adjust the temperature, this way. The lamps are 250w red lights. I understand that red lights are better to keep the chicks from pecking each other (a bad habit). There are thermometers in the bottom of the brooder, at chick height, to monitor the temps. But, in reality the birds should tell me whether it's too hot or too cold by the way the huddle under the lamps or move away from them.
I raised the whole thing up about a foot off the garage floor to keep the cold floor from making the box colder. The temperature at night, right now is in the upper 30's or low 40's. Daytime high is barely in the 50's.
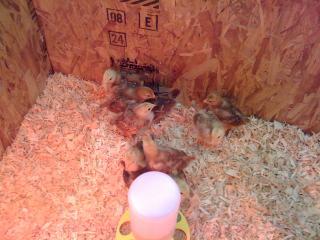
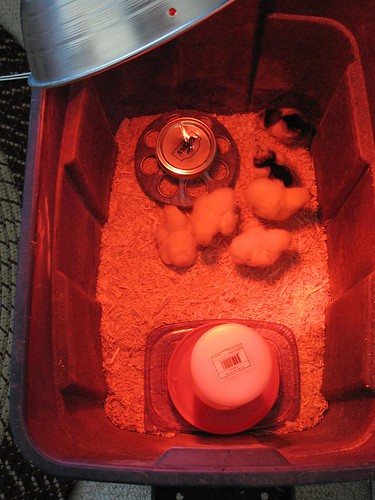
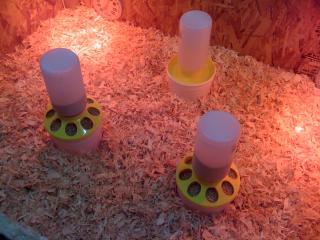
I filled the bottom of the brooder with about 3" of pine wood shavings. Then I cut the bottoms off of three of my little white extract buckets (used for beer making). The openings on the top of these buckets was perfect for sitting the feeders and waterer in. This raised the feeders and waterer off the bedding floor by about 4" or 5". Hopefully, this will keep them a little cleaner.
When they get a little bigger, I am going to attach a wire mesh top to keep them from jumping out.
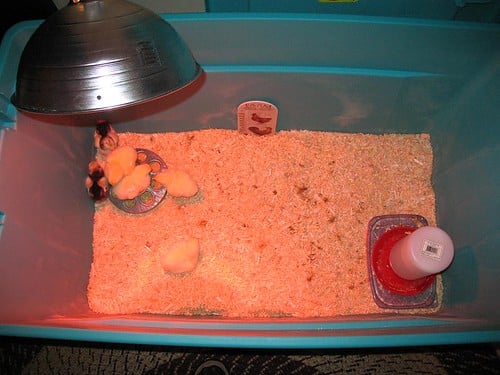
I nailed a couple of boards on one side of the brooder for the lamps to attach to. I can raise and lower the lamps to adjust the temperature, this way. The lamps are 250w red lights. I understand that red lights are better to keep the chicks from pecking each other (a bad habit). There are thermometers in the bottom of the brooder, at chick height, to monitor the temps. But, in reality the birds should tell me whether it's too hot or too cold by the way the huddle under the lamps or move away from them.
I raised the whole thing up about a foot off the garage floor to keep the cold floor from making the box colder. The temperature at night, right now is in the upper 30's or low 40's. Daytime high is barely in the 50's.
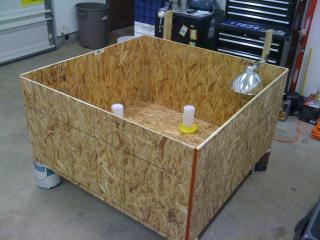
I filled the bottom of the brooder with about 3" of pine wood shavings. Then I cut the bottoms off of three of my little white extract buckets (used for beer making). The openings on the top of these buckets was perfect for sitting the feeders and waterer in. This raised the feeders and waterer off the bedding floor by about 4" or 5". Hopefully, this will keep them a little cleaner.
When they get a little bigger, I am going to attach a wire mesh top to keep them from jumping out.