Quote:
Ive made several over the years, and they all worked well for a long time. I dont have chickens now, but when I did I had this simple sort of 'bator running a lot.
Several things to keep in mind -
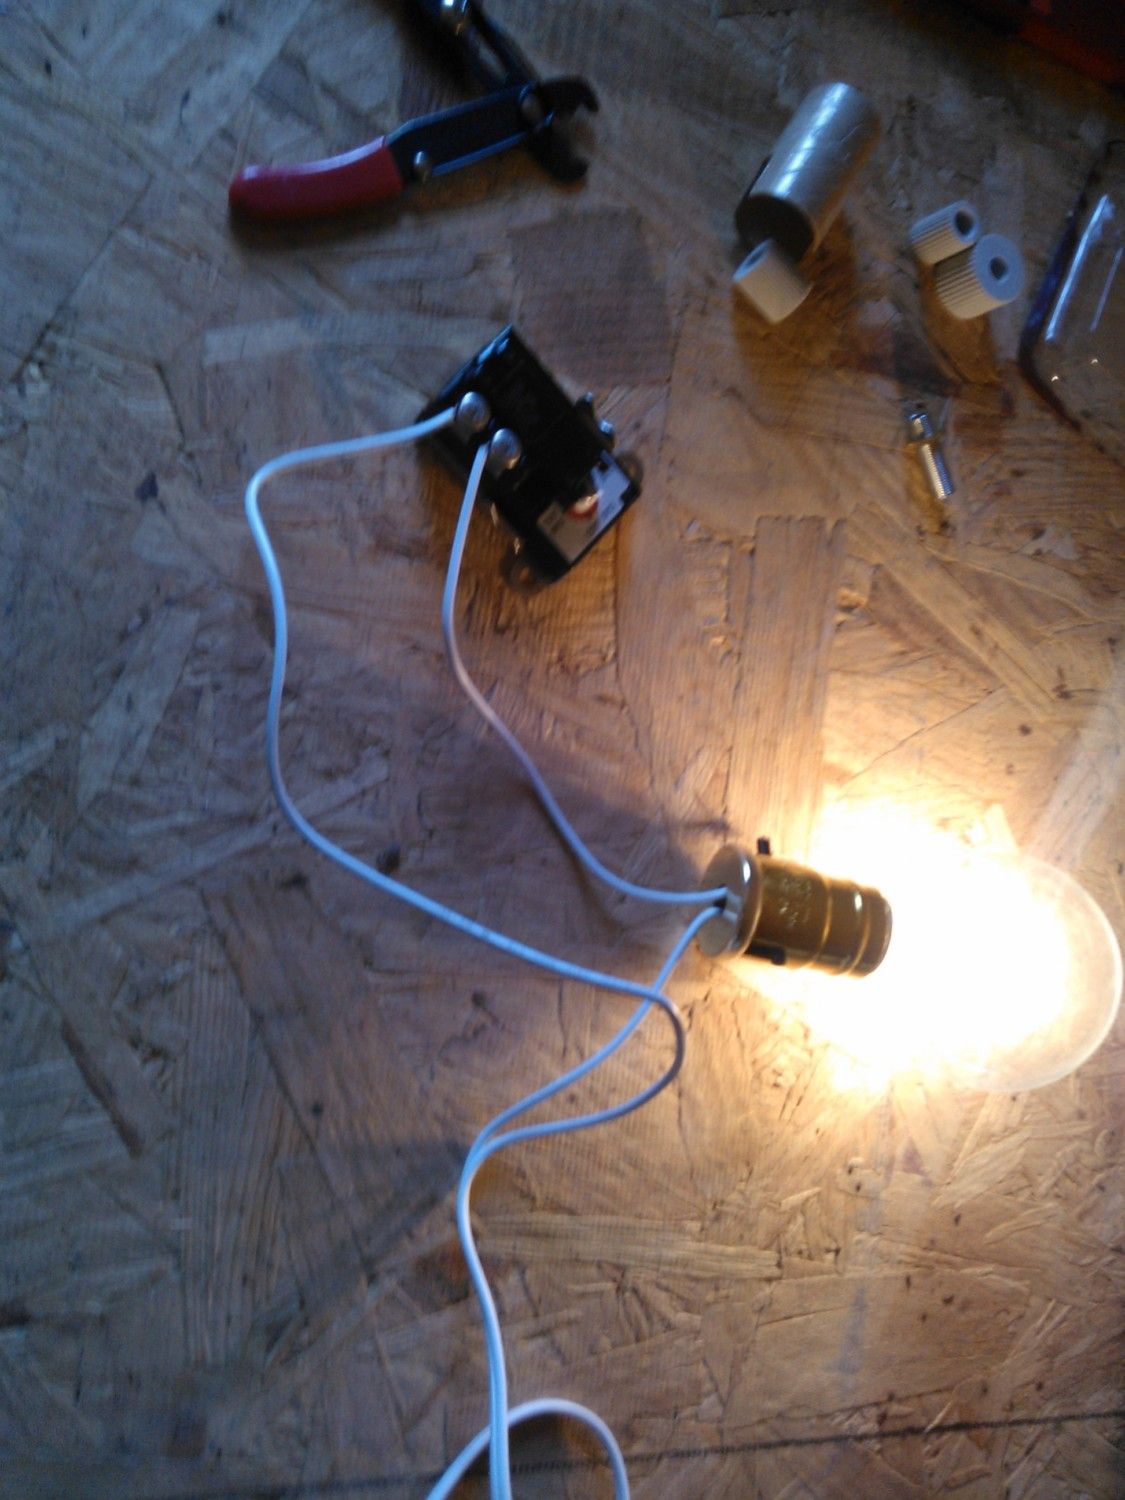
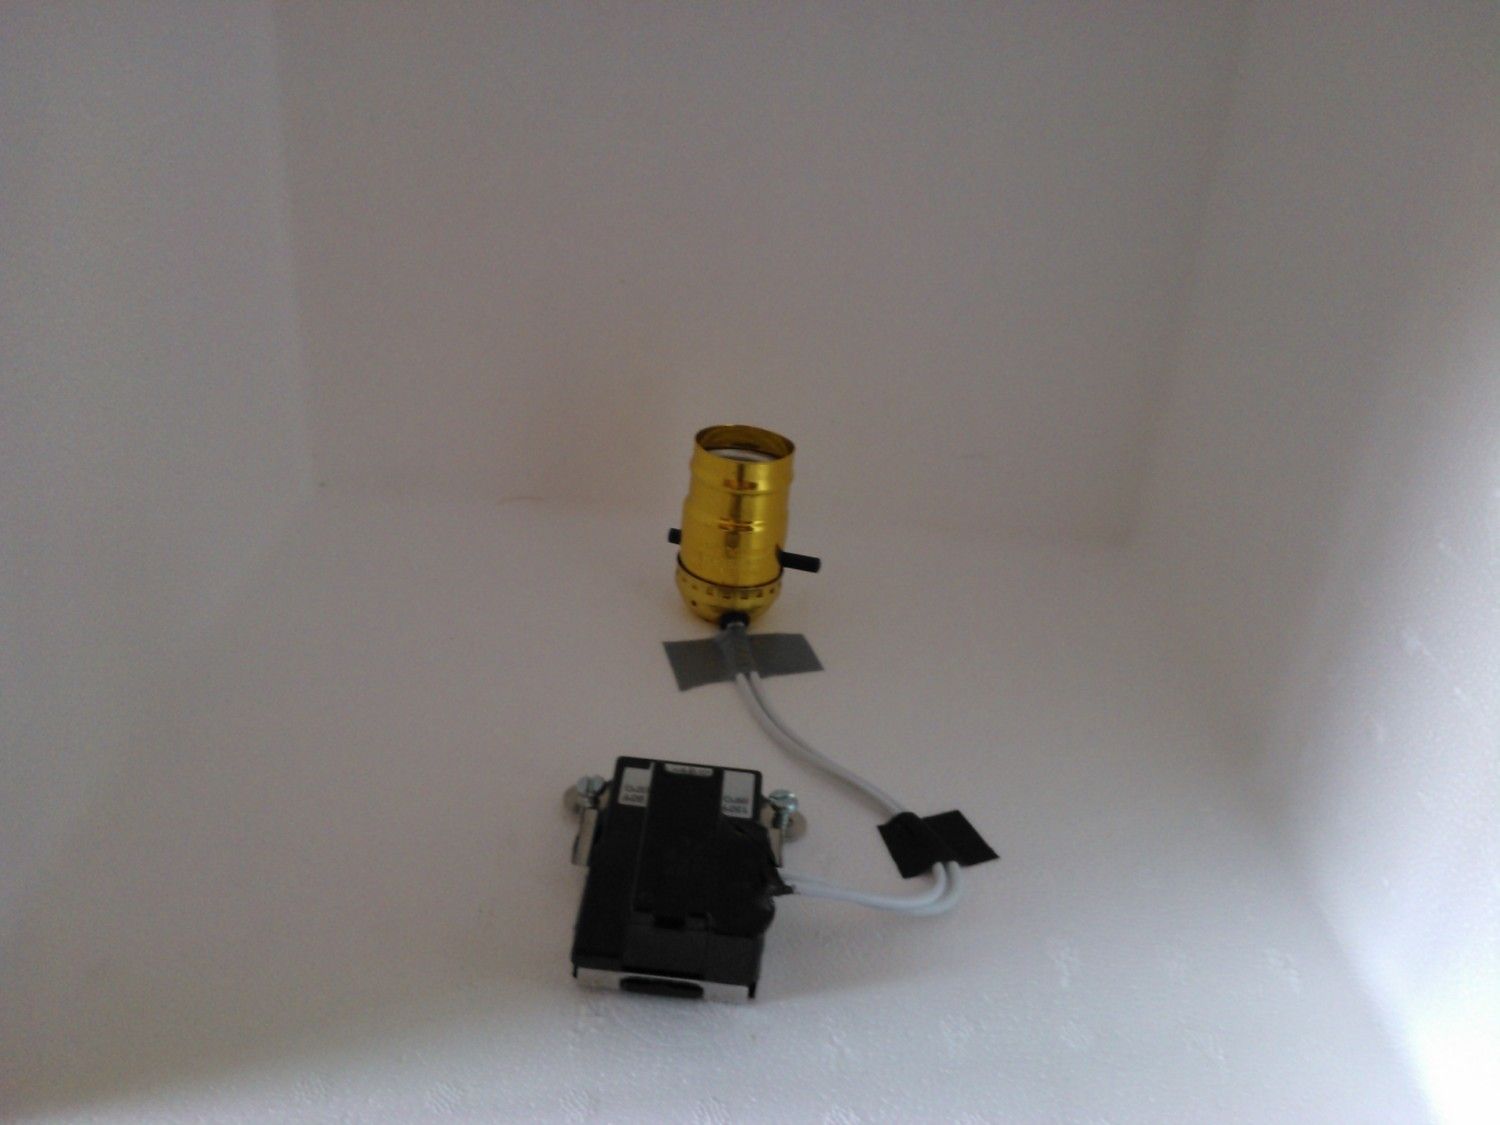
1. Electrical wiring can be done by anybody.
However, it must be done neatly and with no exposed connections. It is always best to keep the wires and connections tight against the interior or routed outside of the unit. If it is flopping or unsecured, fix it! If you have no experience at practical wiring for small electrical appliances, go to the home center and ask someone to show you the many clamps and connectors available to keep wiring together and secure. Rule of thumb should be this: When you shake the incubator, the electrical bits shouldn't shake around with it...
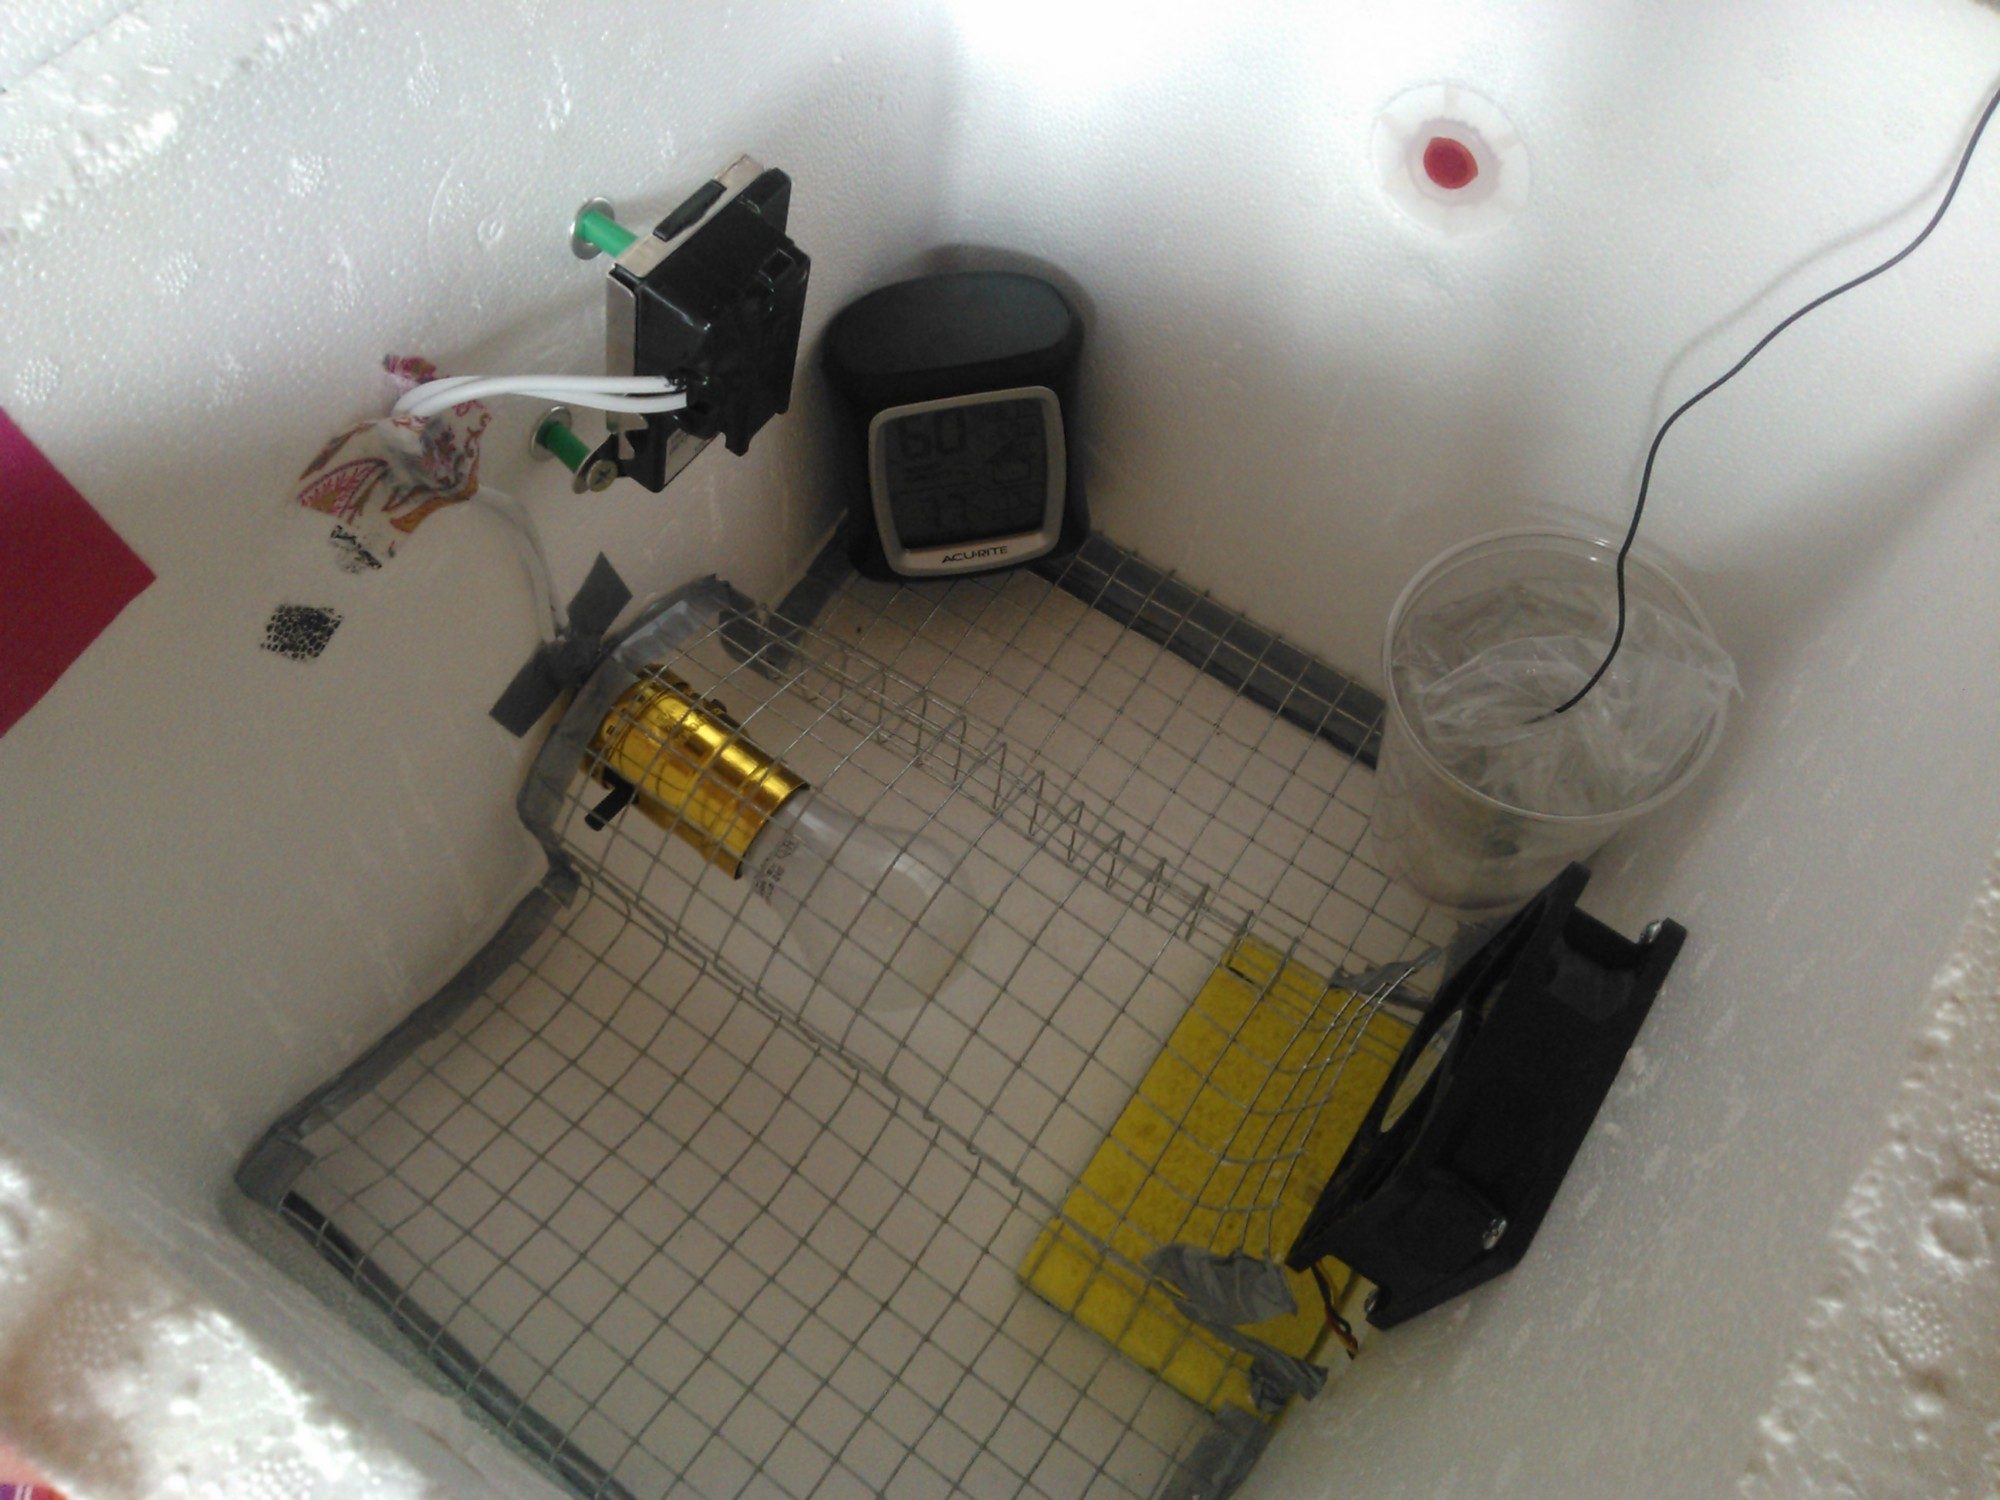
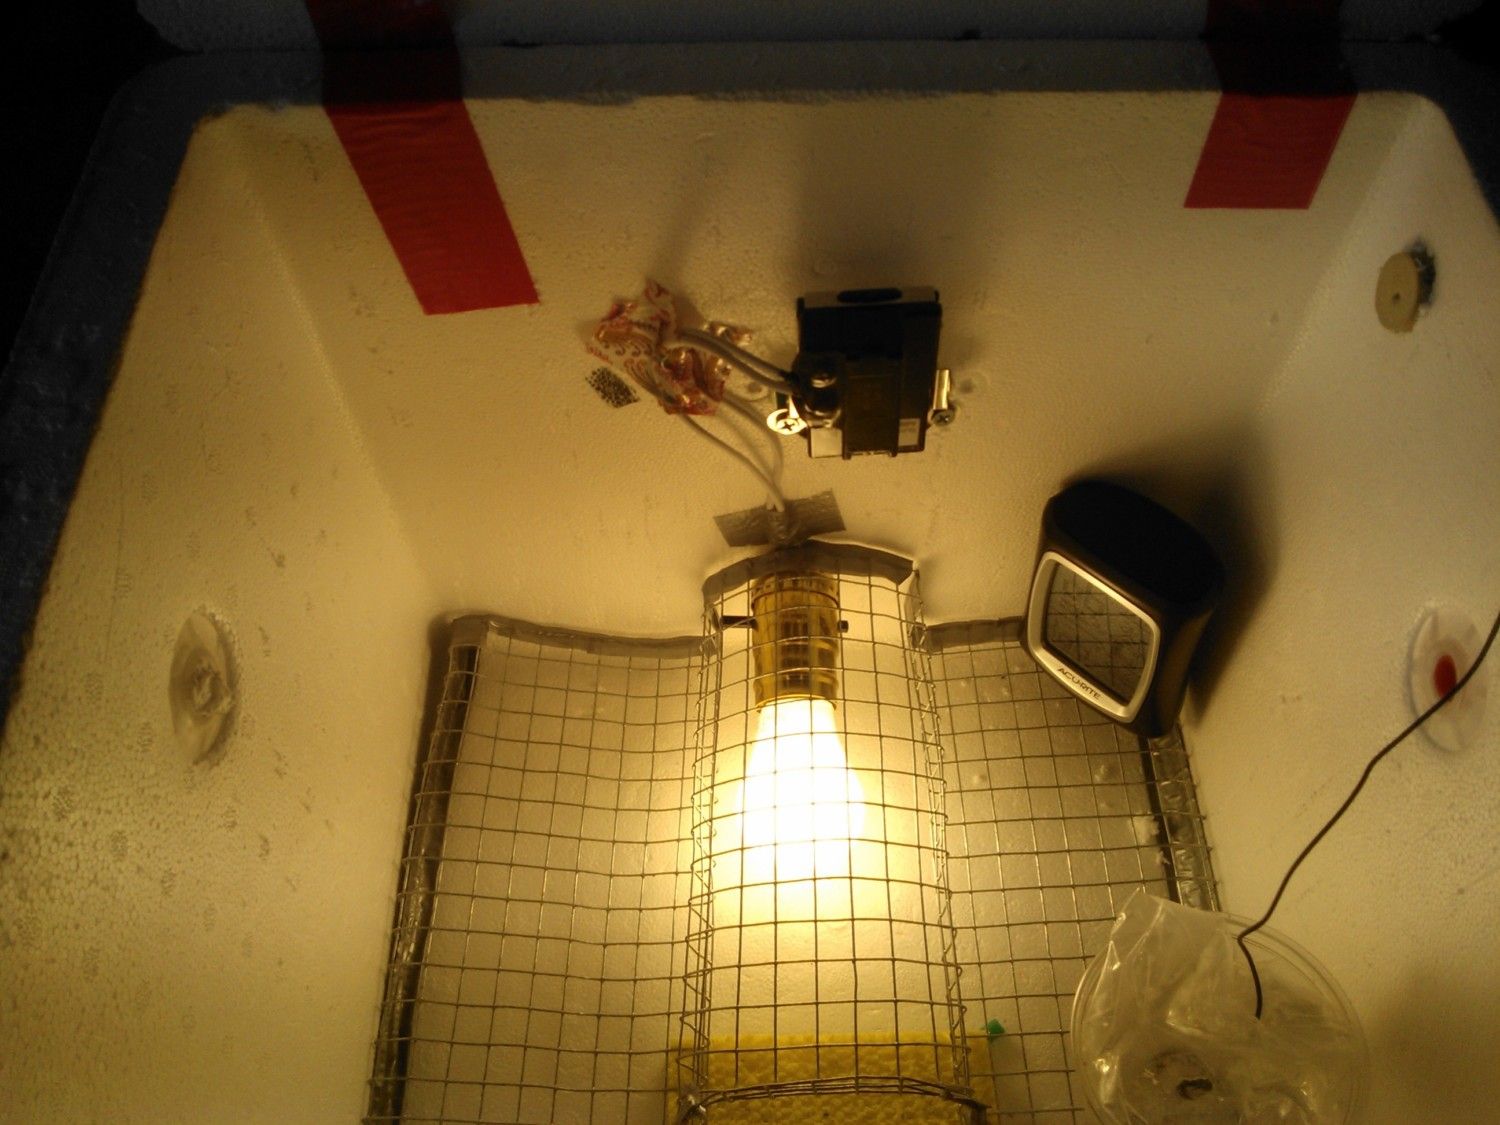
2. Thermostats are the heart of the incubator
They come in several types. Some are way expensive, some are cheap and some are in the middle. I believe that for the best results as a beginner, the old fashioned wafer switch type is best. It is simple, proven reliable and not terribly expensive.
You can go cheaper with water heater thermostats, at about 1/2-2/3 the cost. But one must remember they are intended for maintaining the heat in a mass of water, not an air mass. The experimentation and fiddling needed to get them settled can be minimized (practically eliminated) by using the wafer switch.
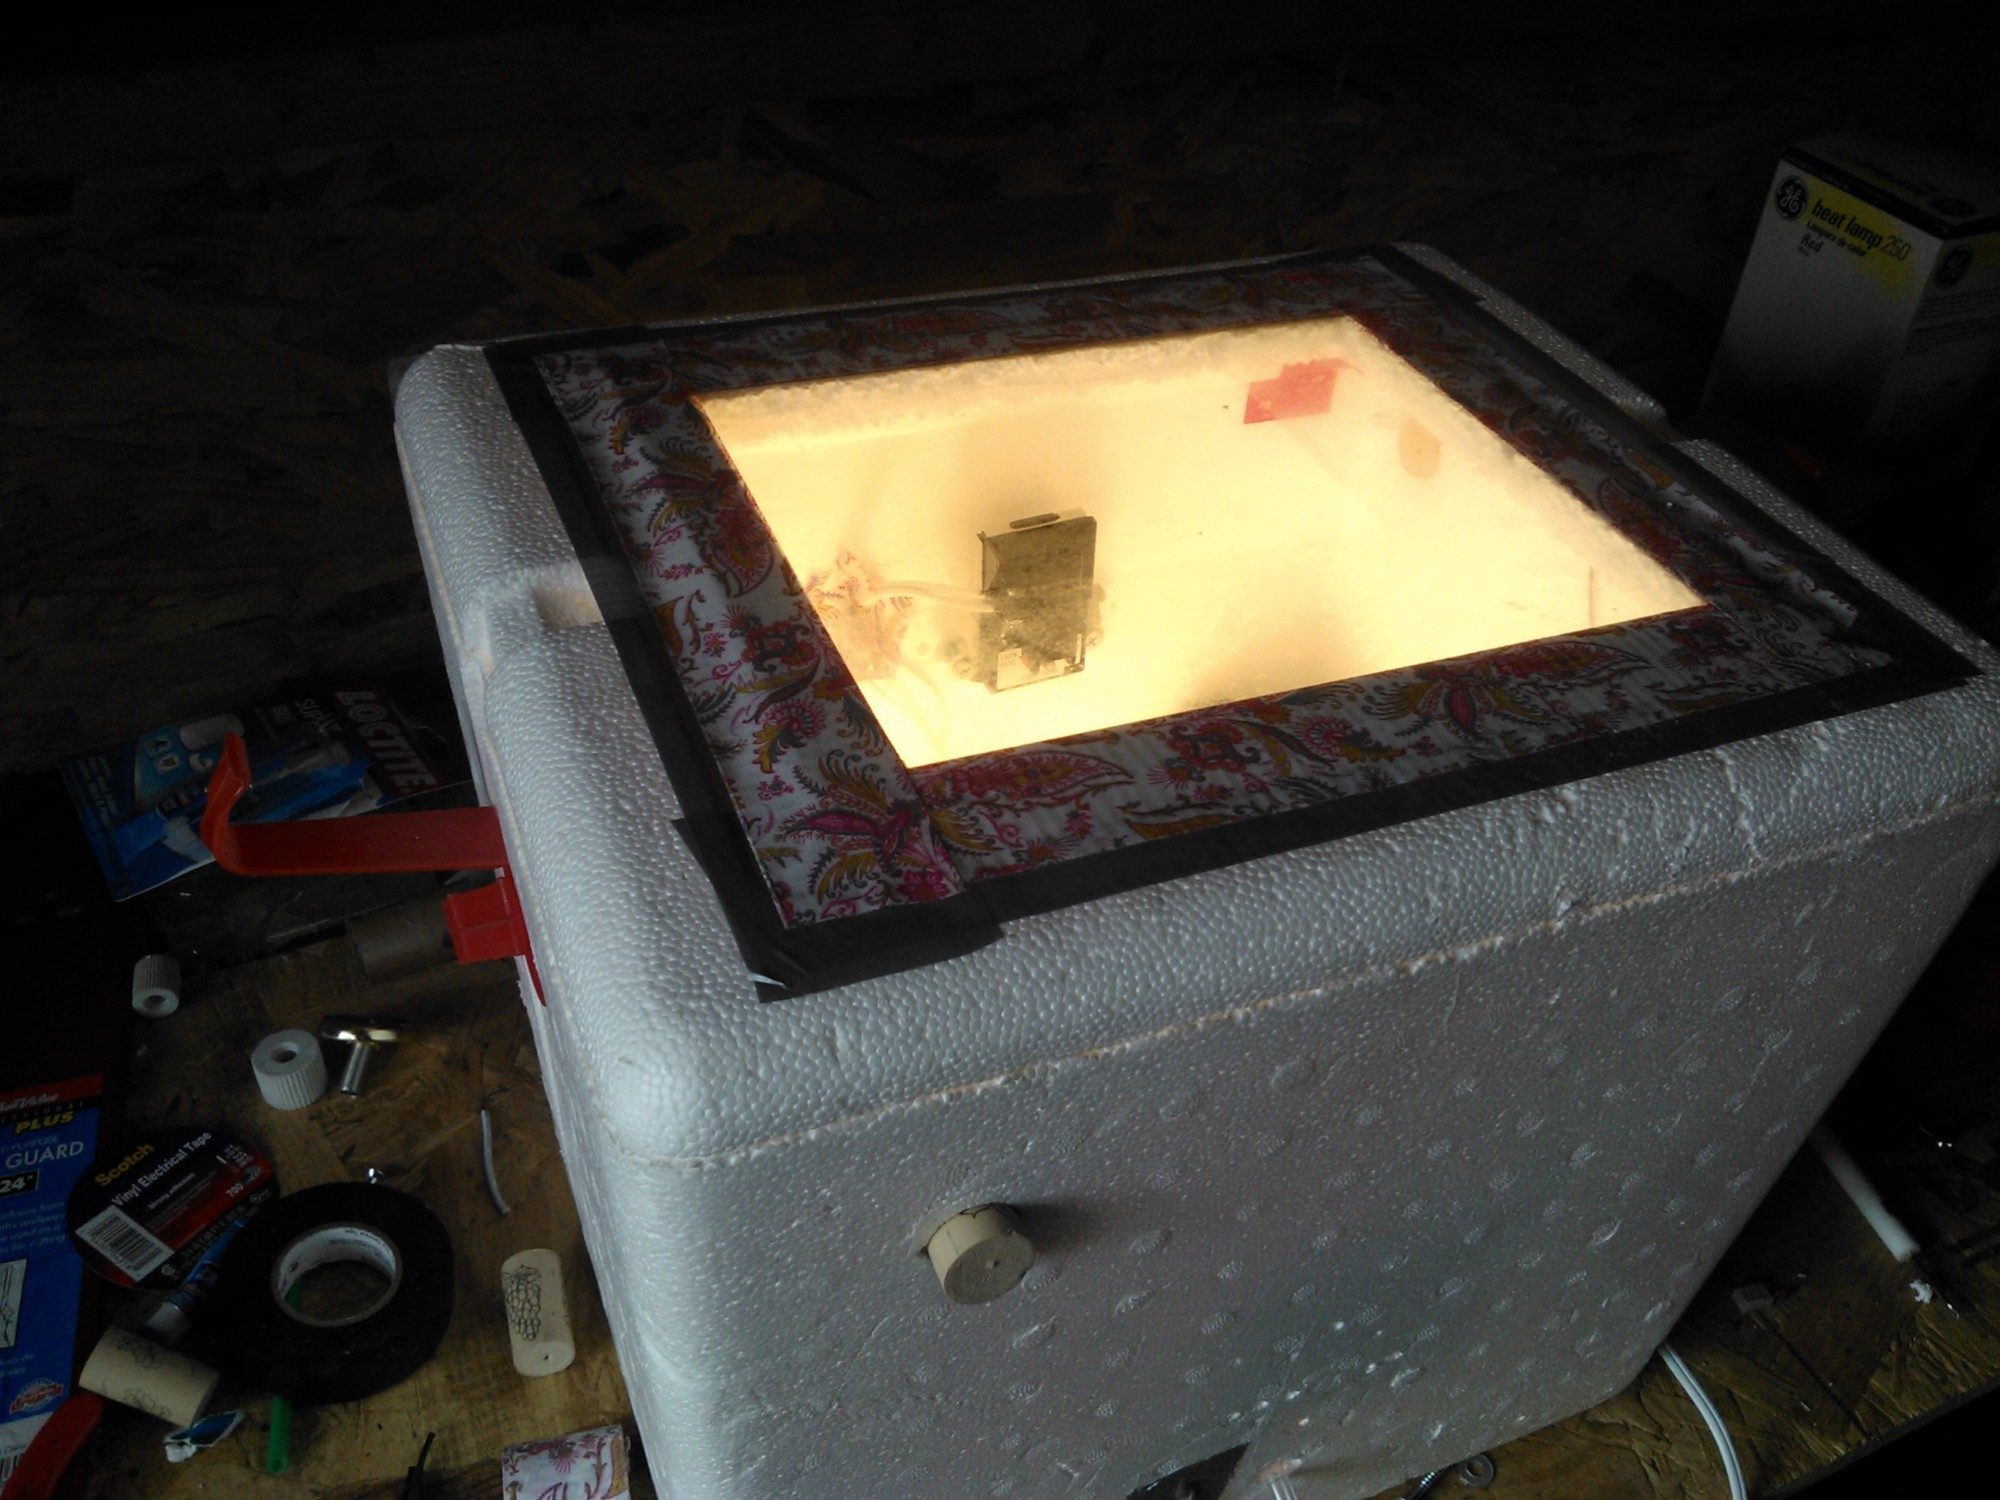
3. Run your incubator for days, even weeks, BEFORE setting eggs
Do this until you are satisfied that it is stable and reliable. Place several of the water weasels inside, or some small bottle's filled with water to simulate the thermal load of eggs - and let it run. This is the time to make adjustments and get to know how it operates.The wrong time to learn that something else needed tweaking is when incubation has started. This single step will eliminate a lot of hand wringing and hurried posts to the BYC forums for emergency responses.
4. Understand the relationship humidity has in incubation.
Getting temperature under control is the easier of the incubating challenges to meet, once you get the hang of it.
But both ambient and chamber humidity can present a sometimes wild dynamic, and offers the bigger challenge long-term.
Remember that the barometric pressure on the outside has an effect on the inside, since you do not have a sealed chamber.
You DID put vents in your incubator, right??
It is critical that you know how to hold the desired range of Rh inside the egg chamber.
I advise you to read this on the matter, if you read nothing else:
https://www.backyardchickens.com/LC-DryIncubation.html
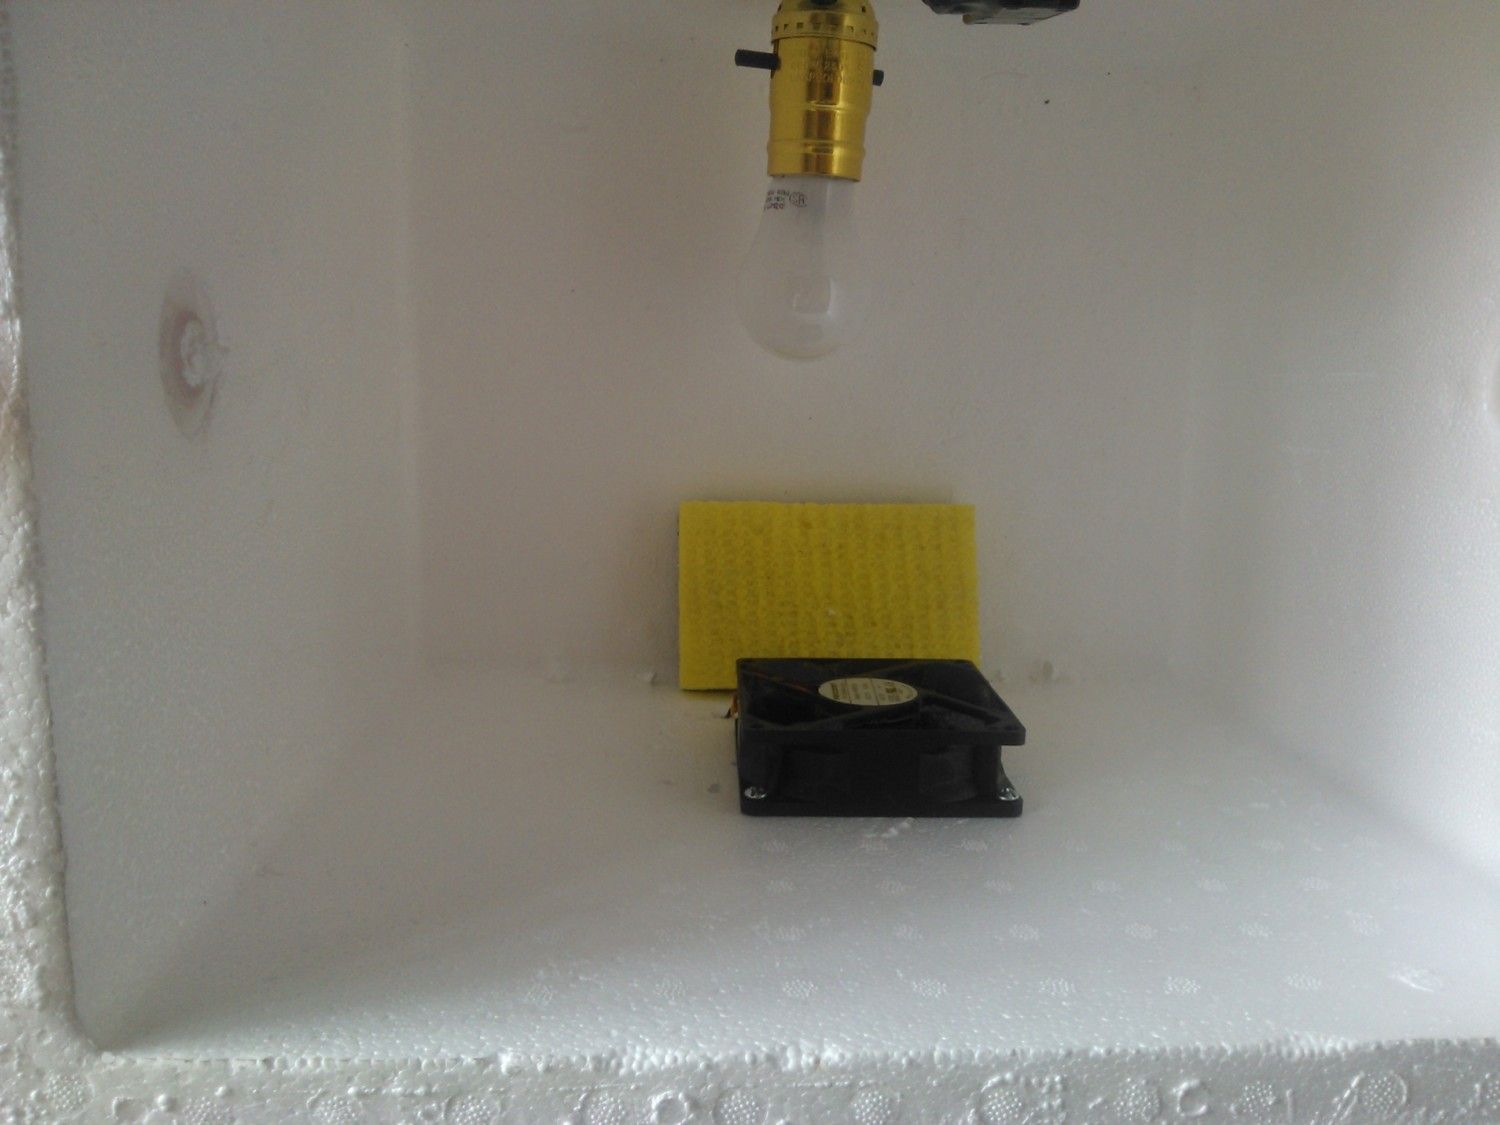
5. Use "thermal buffers."
These are dense items within the chamber that store the heat and so help to prevent wild swings in the air temperature. Things I have used are smooth river stones, pieces of tile, and Zip-Lok bags or soft drink bottles filled with water. So never overcrowd your incubator chamber and ensure you leave enough room for these items. Remember, it is easier to maintain control over a large air mass than a small one. The message here is clear: Make you incubator big enough and use thermal buffering.
6. Dont get "candling happy."
The first week is the most critical time for the embryo - it is extremely fragile during this phase. What you should do is minimize the handling of the egg during this period, and indeed, during the entire incubation cycle.
The trouble comes in because incubation is boring - for weeks, nothing seems to be happening. At the same time, we expect to see something for all our efforts. So, we simply MUST poke our noses in, if for no other reason than to be "doing something" with our hands. Resist that urge.
After all, you cannot undo the miracle that you have set in motion, so leave it alone to work it's magic.
I candle at these times:
a) When the eggs are set. I look for cracks, thin spots in the shell or other blatant defects. No point in setting eggs that are bad from the outset.
b) At day 7. The early stage embryo is little more than a lacework of veins, but it stabilizes after about a week, and there is usually something to see.
c) At day 14. Here I'm looking for obvious signs of decay - NOT to see embryos or take out "clear" eggs. i.e., infertile eggs that have no chick inside. If there is no sign of diseased eggs or bacterial invasion, I leave all the eggs in. This includes clears... they do no harm and they add a buffering effect.
Suffice it to say that the candler is my least used piece of incubating equipment.
7. Turning eggs is simple
Much ado is made of automatic turners these days, and they are, well, interesting. You will also hear a lot about marking eggs with an "X" and "O," one each per side, the idea being to make sure you turn them evenly. And you can dispense with all of that.
Two-three times per day simply lift the lid enough to reach your hand inside and gently roll them around. That's right, just stir them around well, with the flat of your hand. I wash my hands first and slip on a clean cotton glove for this, so as to avoid getting bacteria on them. I learned this from a man who has raised more poultry than you and I could ever count.
8. Keep your incubator quiet.
The bottom of an unused closet, cupboard or basement is ideal. Then keep it there. The wrong place for it is on a wide open counter top, subject to variations in room conditions and prying eyes or fingers. Worse yet is anywhere near a window, or where direct drafts from vents can blow on it.
What you want is to leave it alone, as much as possible, once it has stabilized.
I know that is counter intuitive, since we want to SEE what is happening. But the embryos are better off without the attention, and fluctuating room conditions hinder the appliance's ability to maintain even conditions. We depend on these machines we create to automatically do what a hen does.
It behooves us to let them do their job. Good luck and good hatching.