I should probably apologize for how short and how vague the last lesson was. It was done pretty quick, since I didn’t have much time to upload the pictures and write. In this lesson I’ll be more specific.
Okay, on with the lesson.
Last week, you drew a circle. I hope you drew it anyway, not everyone has turned in their assignments. The circle was basically showing you how to shade things to make it look three dimensional. It’s very important to understand that when you draw portraits. This week, we’ll go on to the next step; shading properly.
I never got a chance to do that last week, and again, I apologize. So, get out your tortillion and pencil and we’ll get started!
When shading, you have to be very careful. Too much pencil will make the picture look unnecessarily dark, and not enough pencil will make it far too light. You need to find that perfect medium in between. Also, you need to control your hand to that your lines aren’t too hard and/or too dark. Use your fingers to move the pencil in up and down movements when making lines, not your entire wrist. The more muscles used the less control you have.
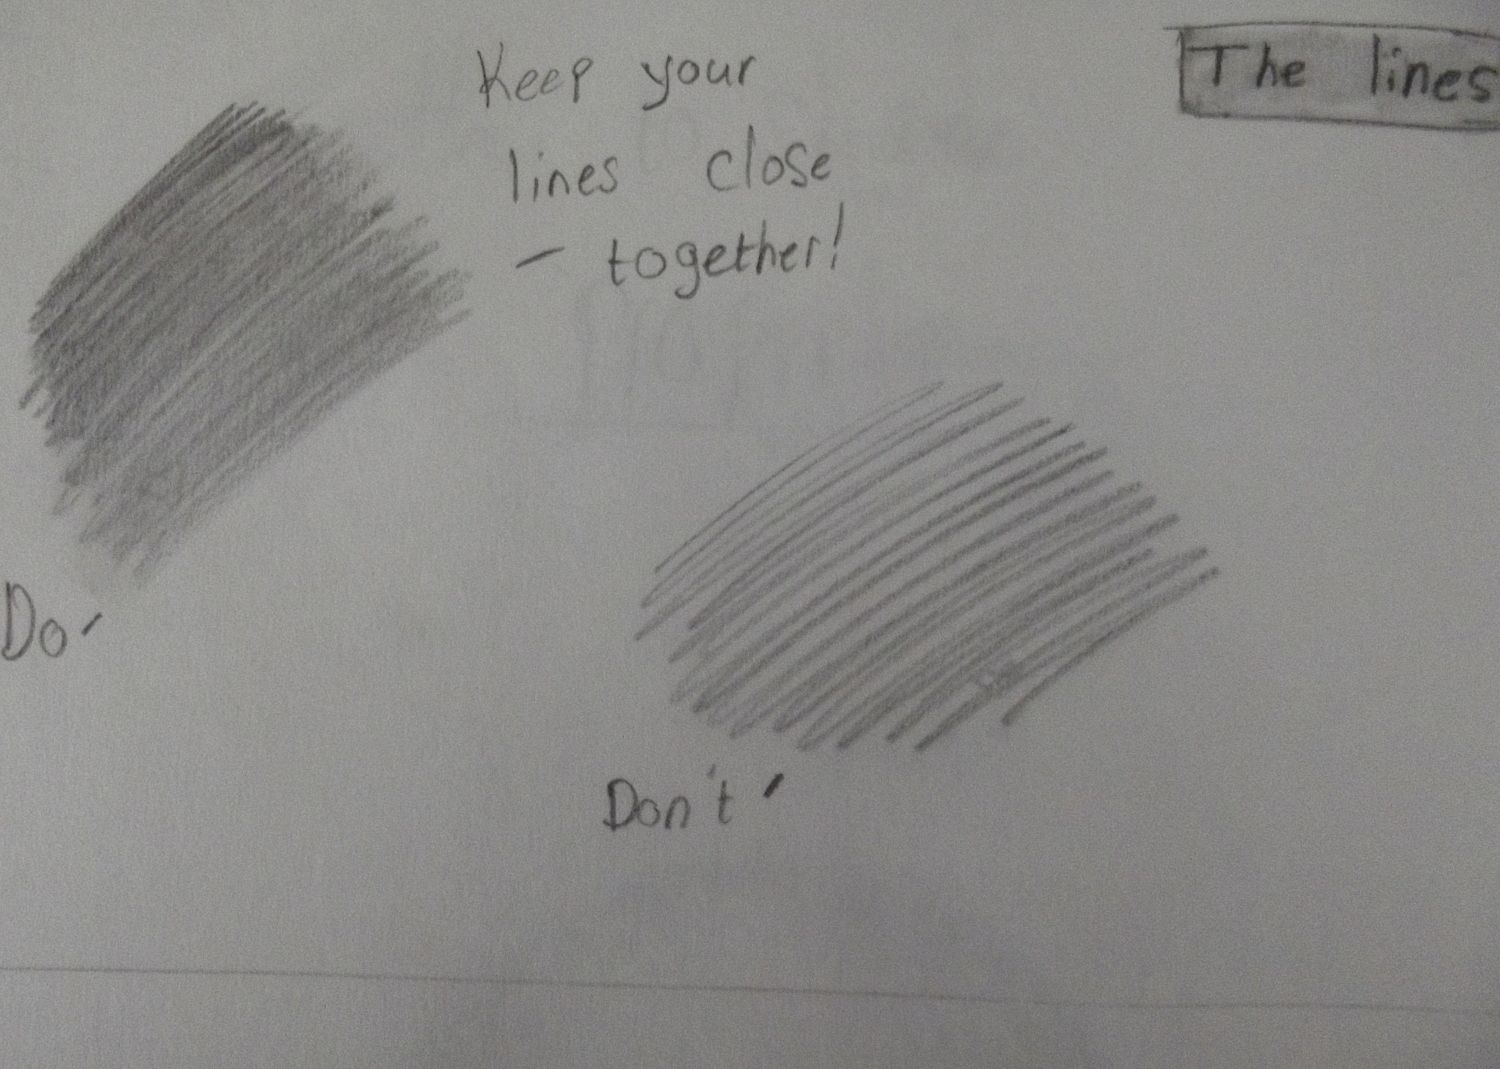
When shading, don’t use crazy lines that go in every direction! Make sure that they are close together and going up and down (or side to side, some people do it that way). The lines are much more easy to blend out that way. Here is an example:
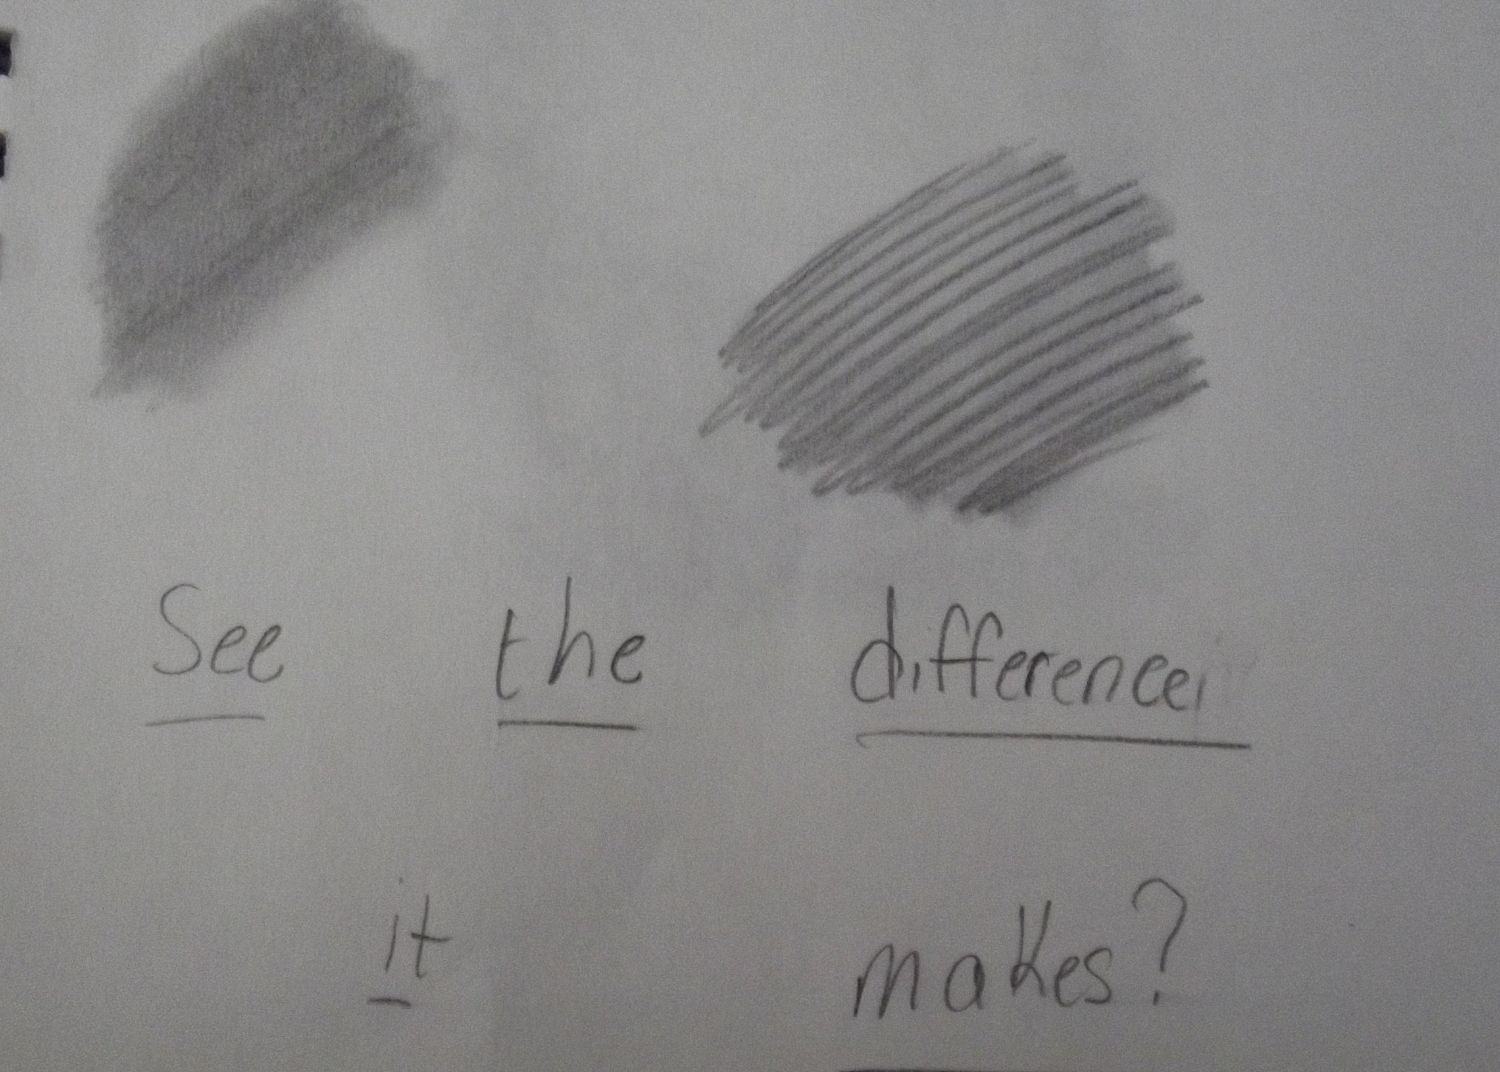
The difference is pretty awesome, right?
Another thing to remember is to not draw your lines like you’re trying to murder your paper. Nice, soft, delicate lines are best. Go ahead and try those things out next time you get the chance.
Do you remember the little bit of light at the bottom of the ball I drew last week? The reflected light is what it is called. It’s the little bit of light near the edge of something such as faces or that ball. It’s another thing to remember for when we get to drawing later human faces later on. To make the reflected light, just take your kneaded eraser and very carefully, erase a little bit of the pencil around the edge. Fill it in with your tortillion if you erased too much.
This week, you don't have to do much. But I'd like you to try these tips as much as possible over the week, and when next Friday comes I'd like to see your before and after pictures.


")

