Coop and Run Project - 5 Years in the Making

royrector

Songster
10 Years
Apr 11, 2013
20
36
102
Central Texas
It all began 5 years ago in March of 2013, when I begin replacing a row of red tip photinia bushes marking the northern property line of my place. The two previous summer droughts had killed off almost all of the trees, so I decided to pull them up and build a privacy fence in their place. While I was planning the fence, I started researching back yard chickens, and decided now is the time -- I can construct the fence as part of the chicken run and build a coop.

______________________________

June 2013

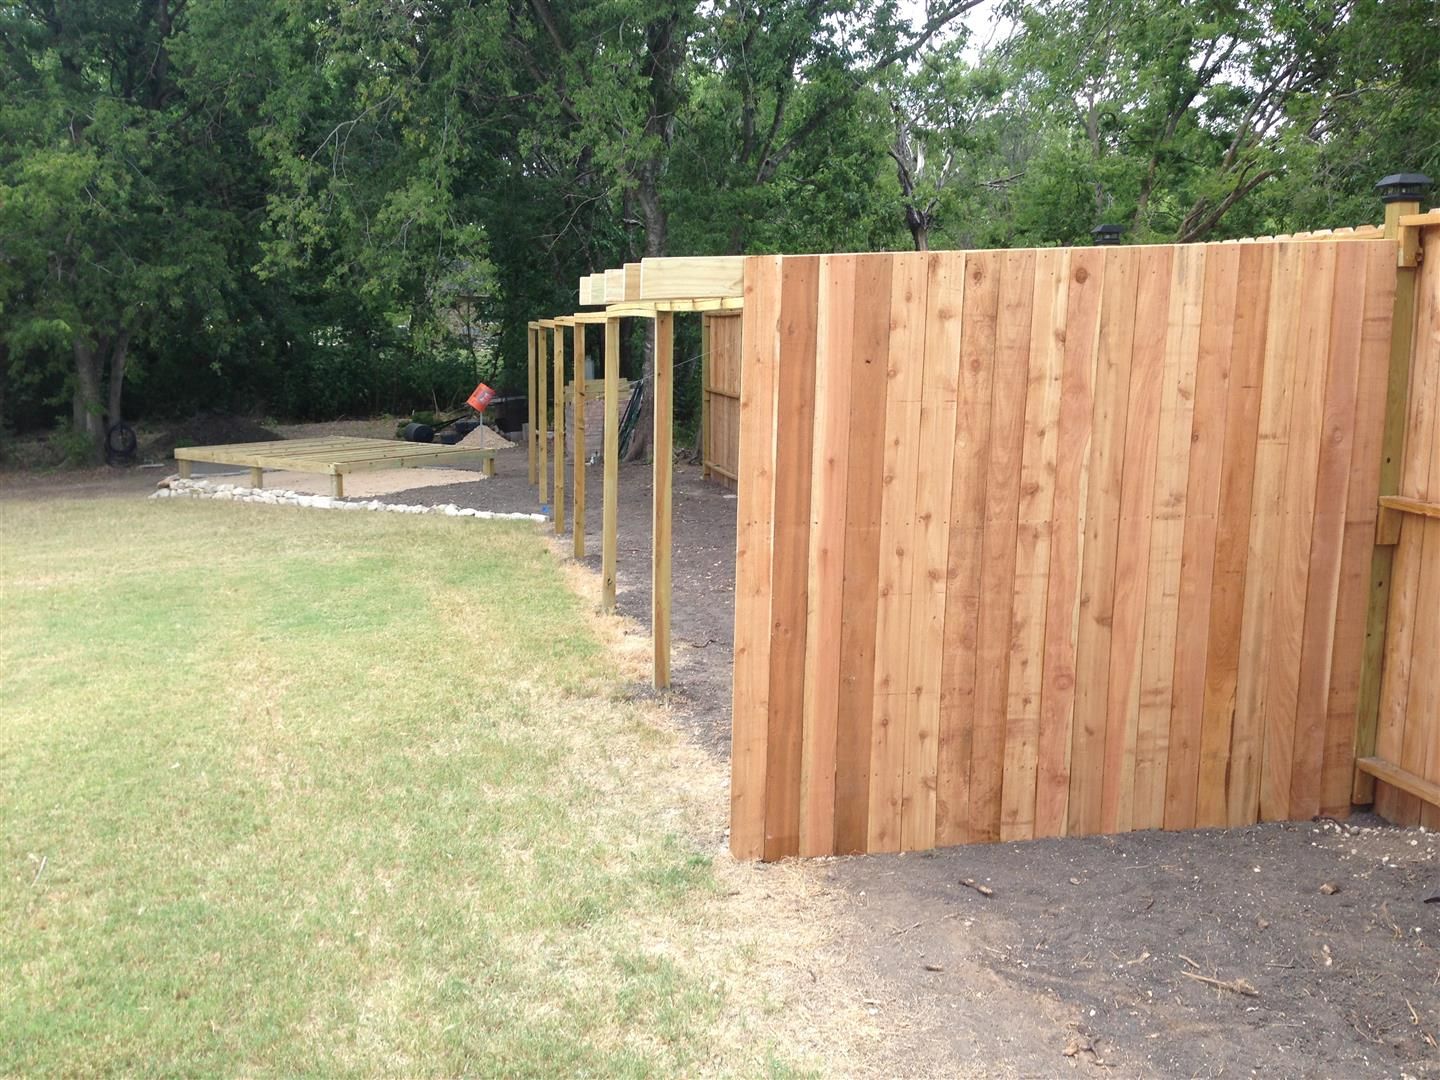
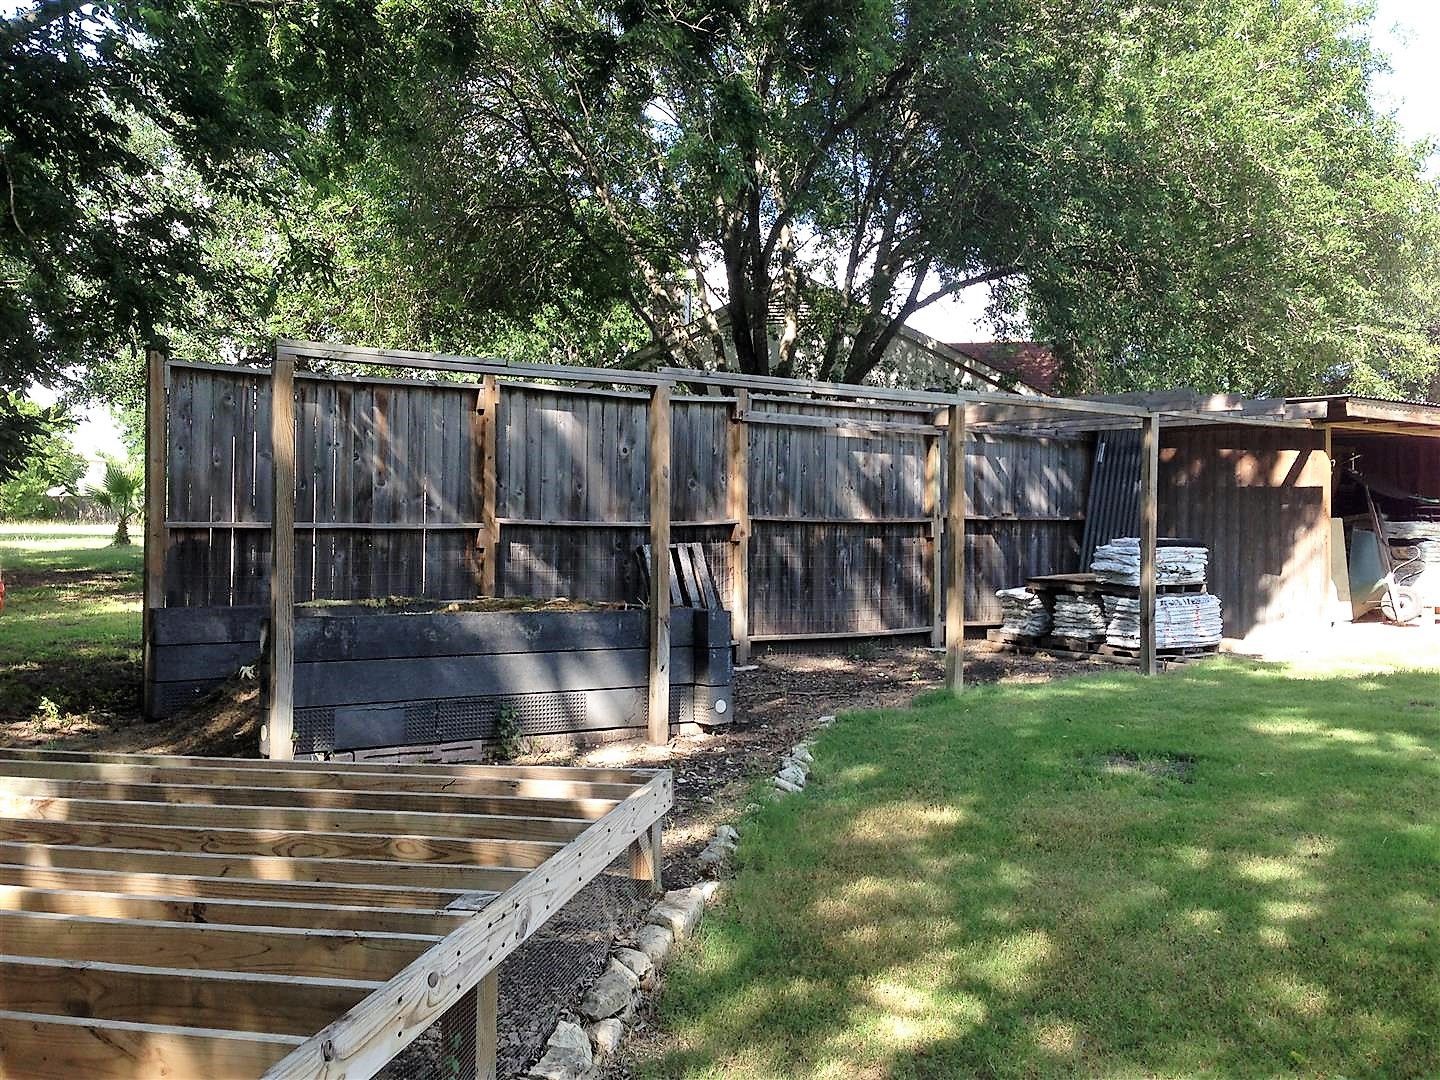
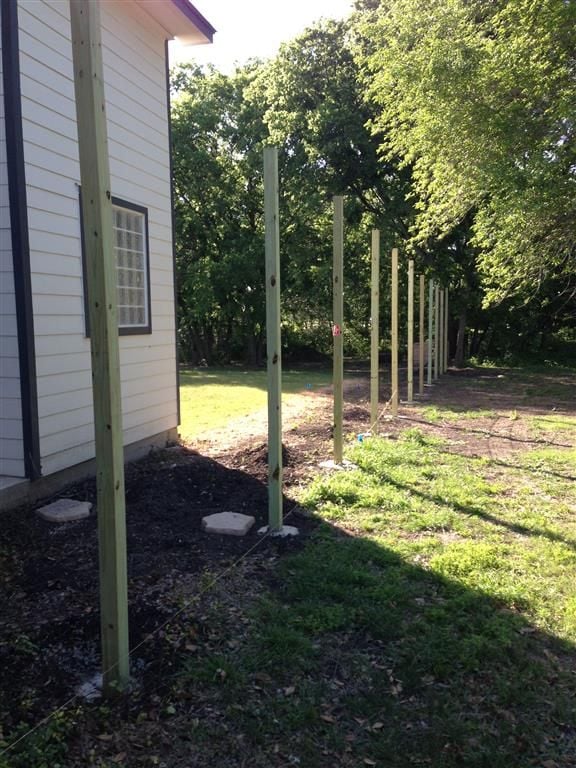
I got the picket fence built on the property line. I put up an 8 foot high fence, so it can double as the northern boundary of the chicken run. I started by installing 4x4 post -- setting them in concrete 40 inches deep and 8 feet apart:


001.jpg


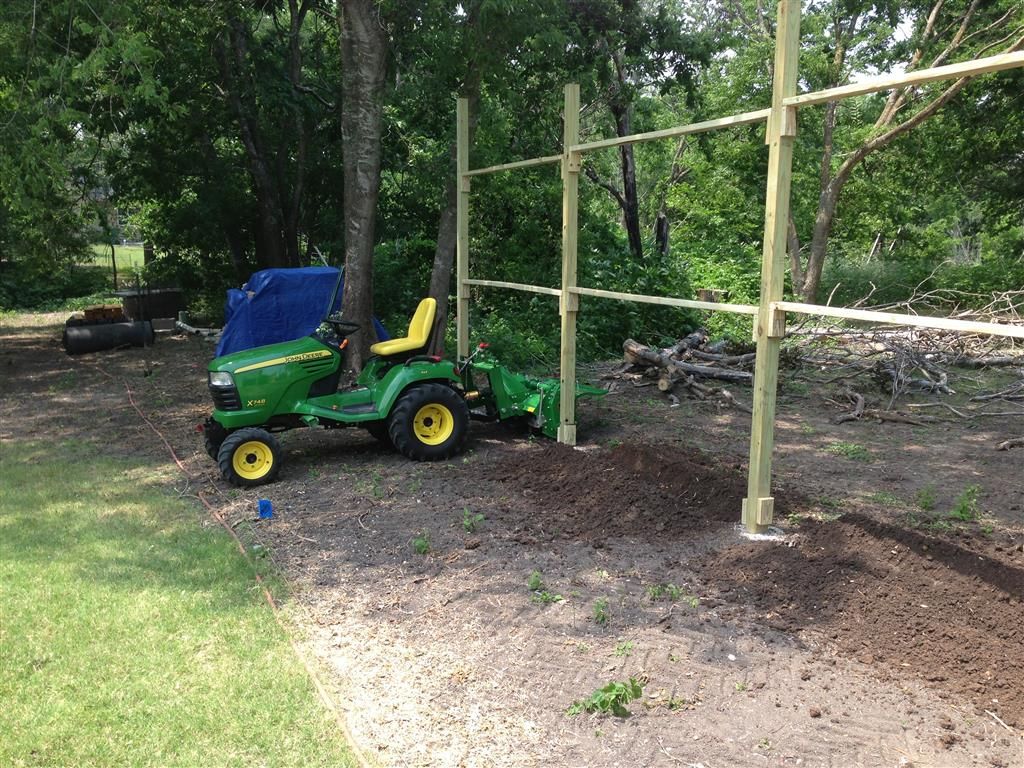
Once I got the top two cross members in, I used my X748 John Deere garden tractor and my tiller to dig-out in-between the post so I can bury welded wire. That should keep critters from digging under the fence and getting my chickens.


002.jpg


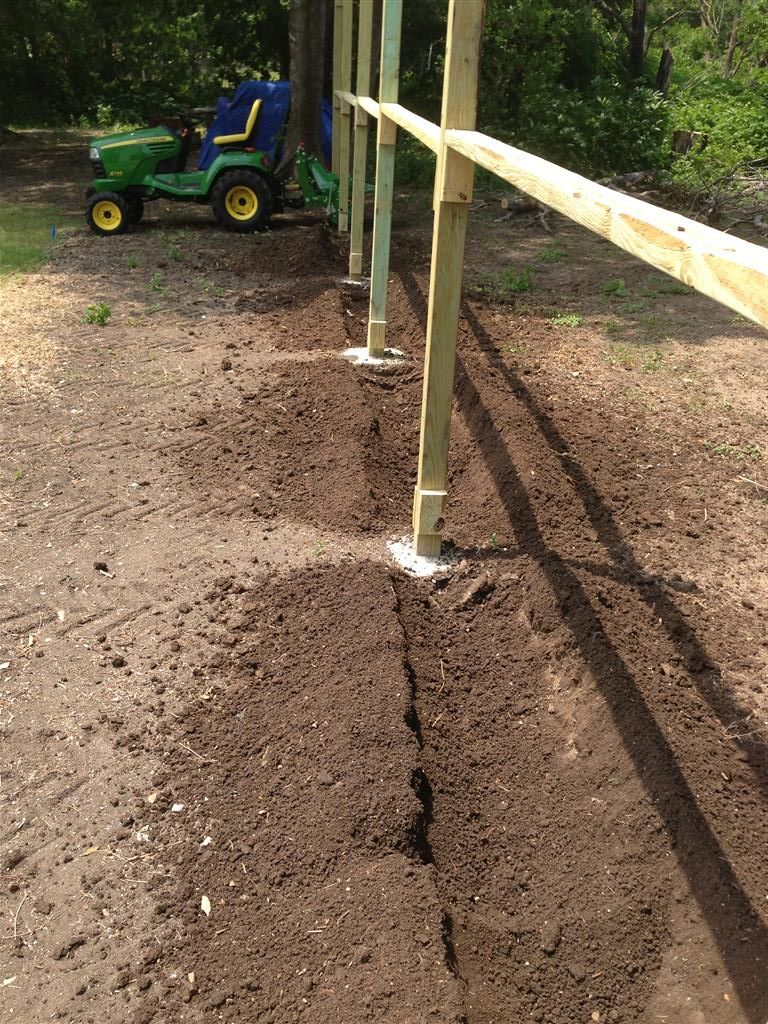
The tiller worked pretty good. Just had to take a shovel and clean out the loose dirt:


003.jpg


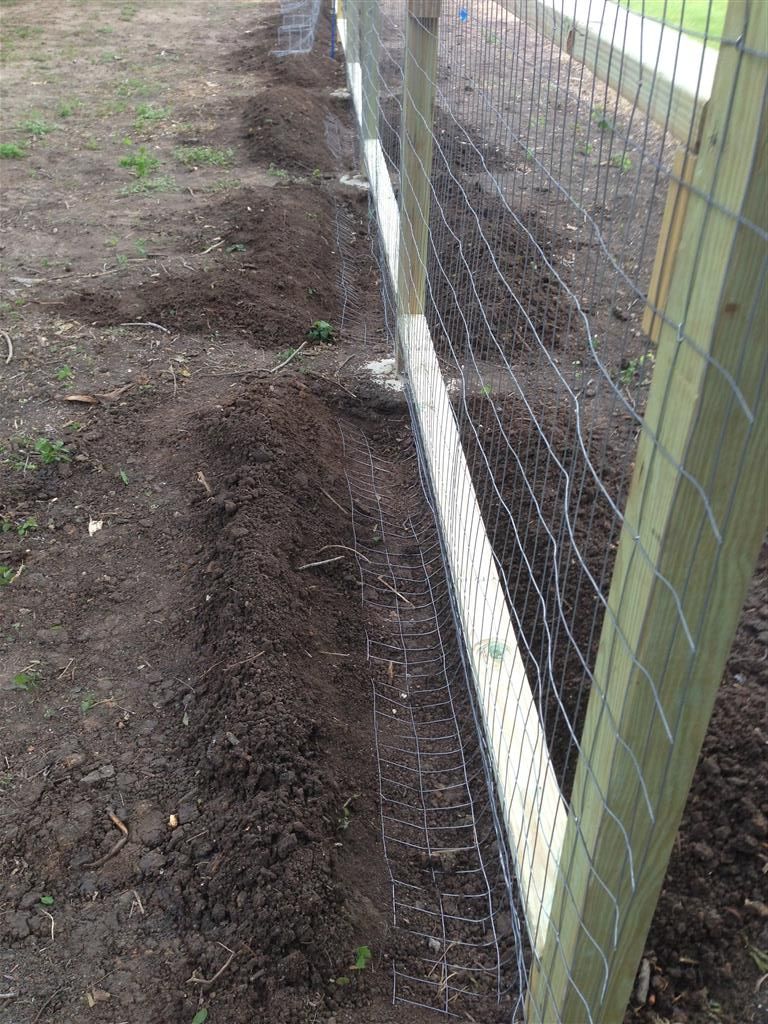
I installed the wire, and curved it to the outside so if a critter digs down next to the fence, they will hit the wire:


004.jpg


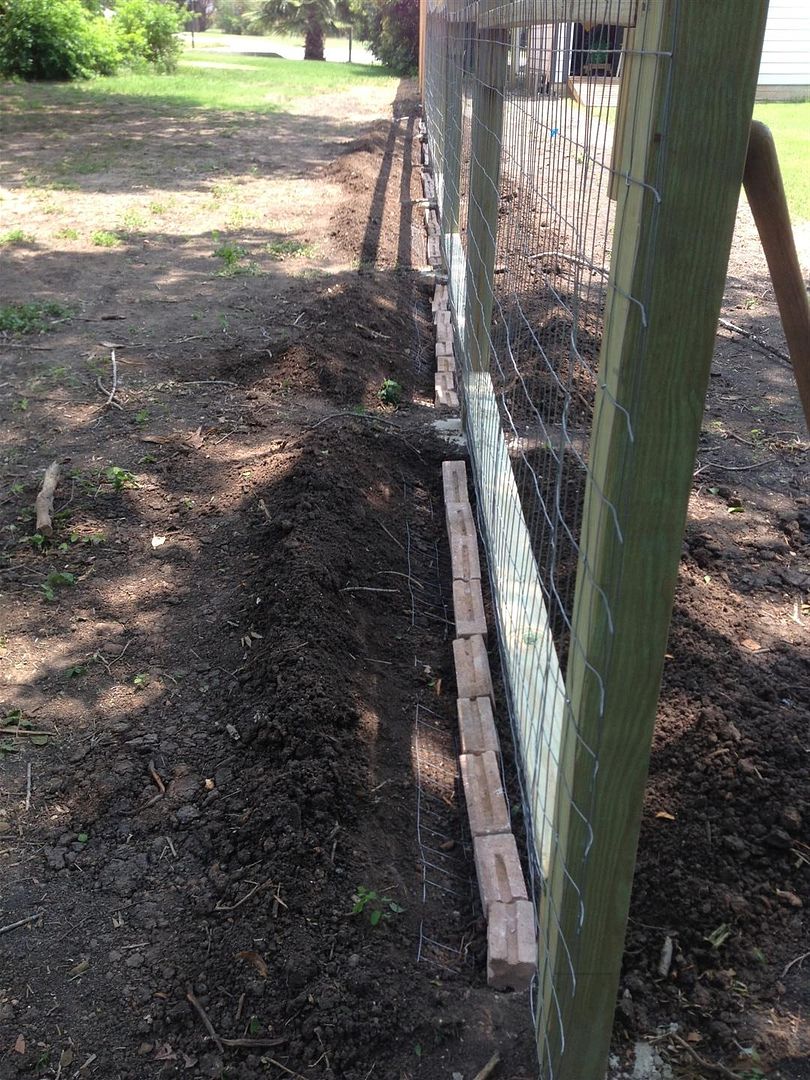
Then I added a row of buried bricks, just to make it harder to dig under:


005.jpg


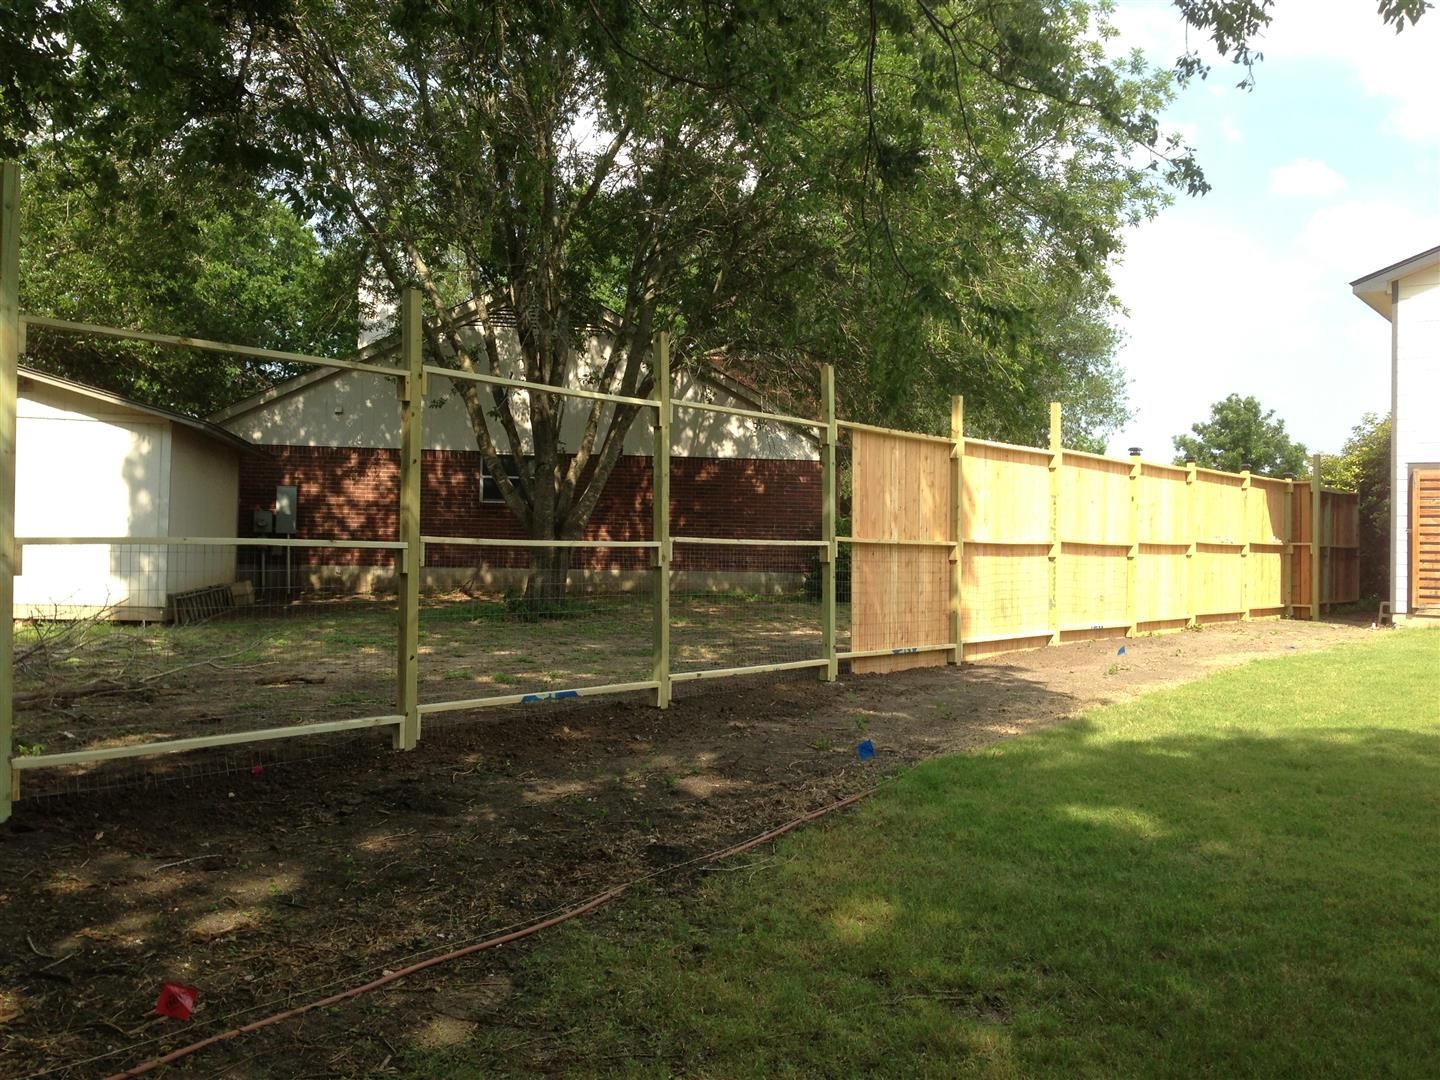
The wire was installed in the last 6 sections, which was originally planned to be the chicken run:


006.jpg


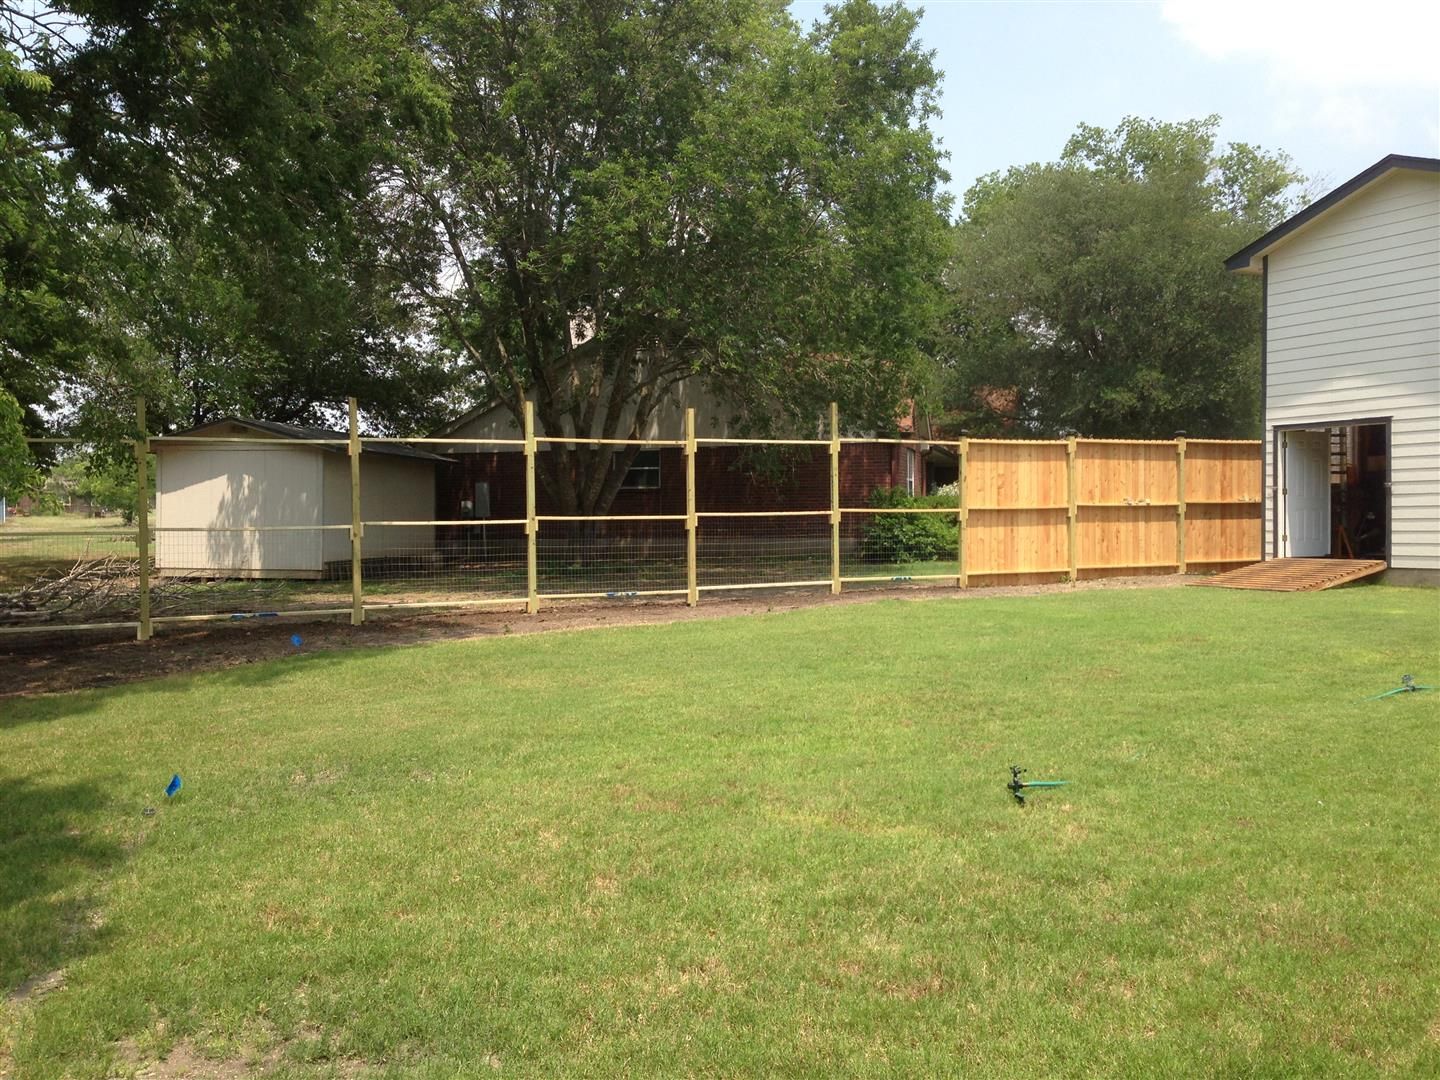
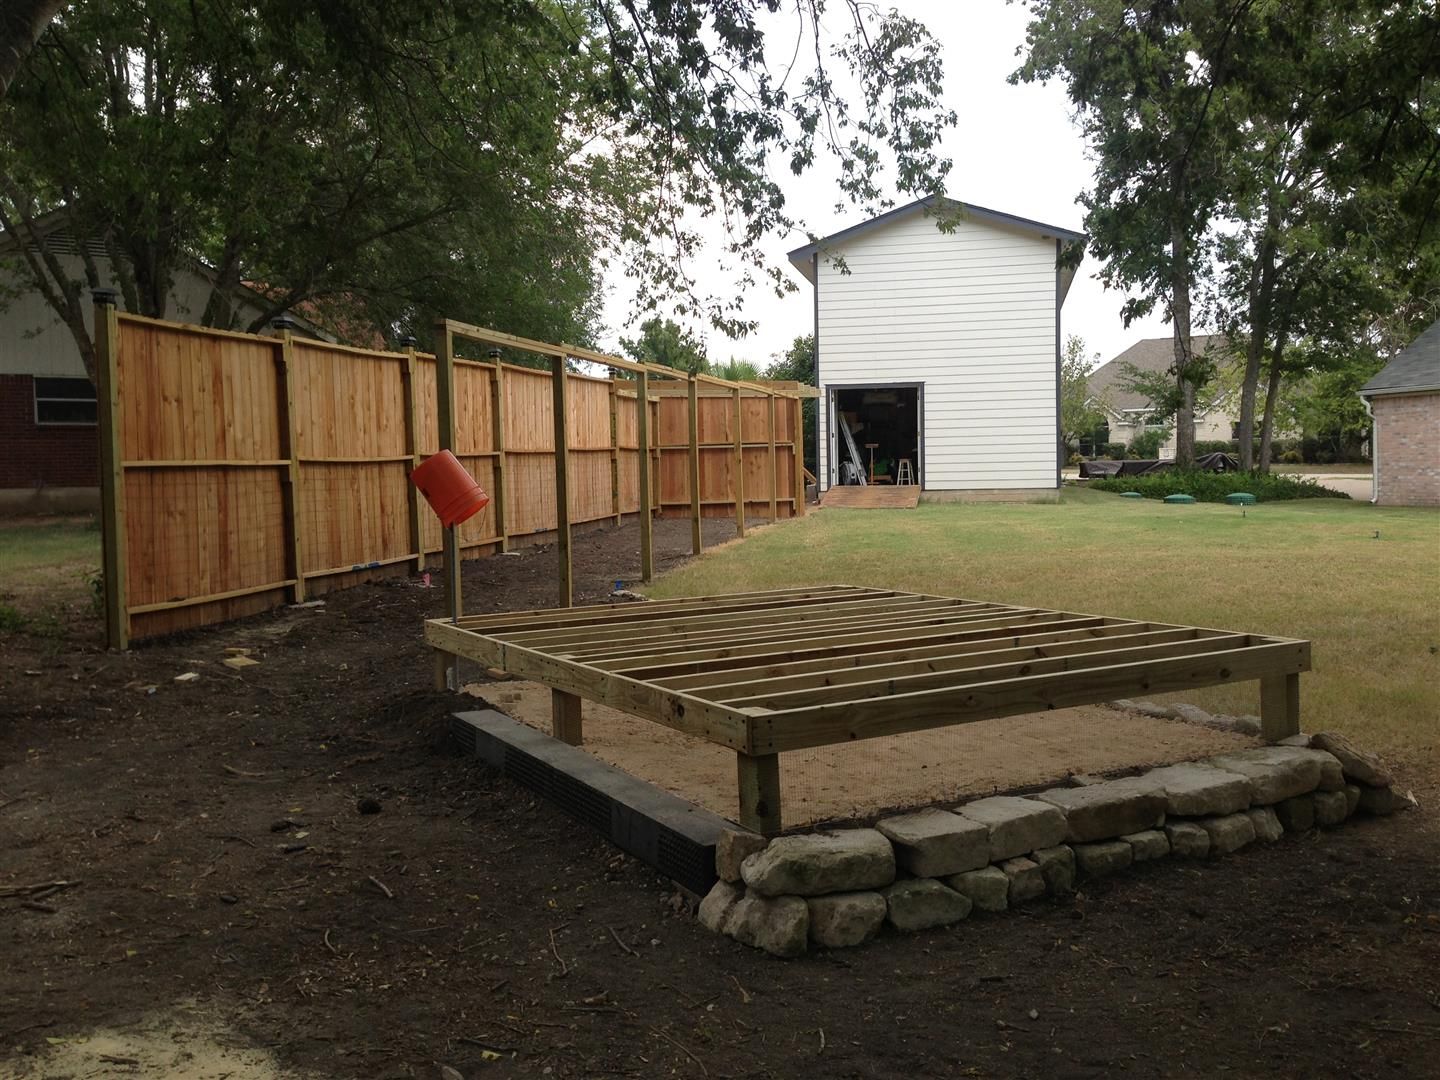
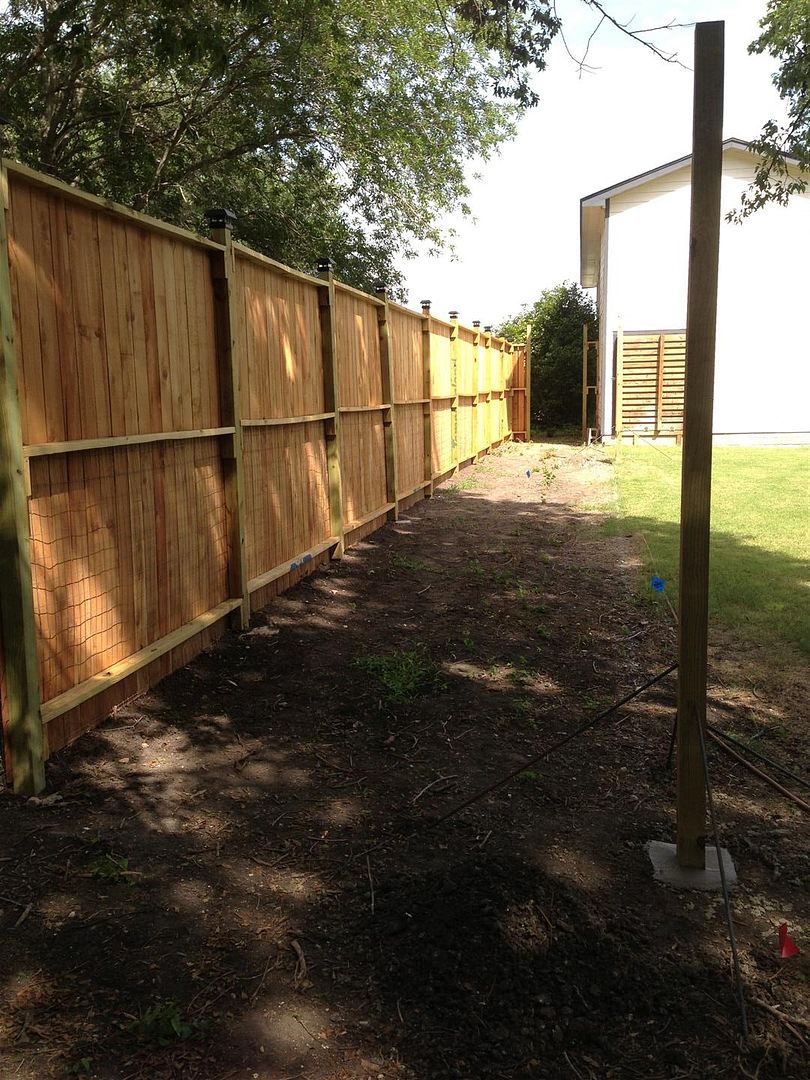
With the wire installed, I continued installing the pickets, to finish the privacy element of the fence:


007.jpg


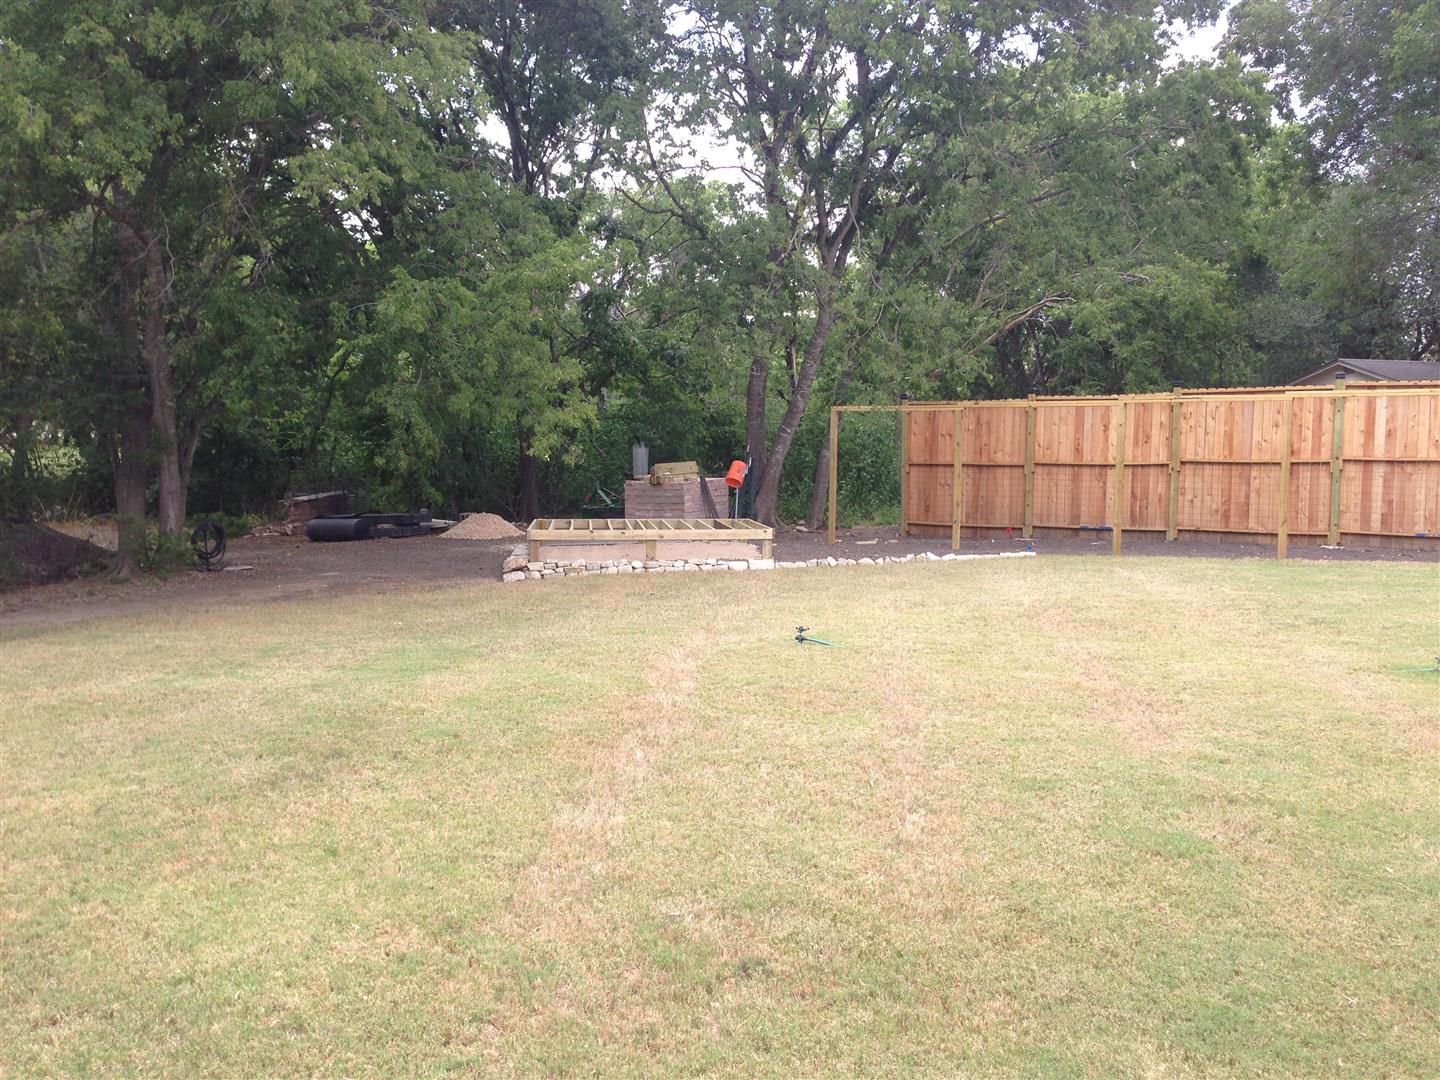
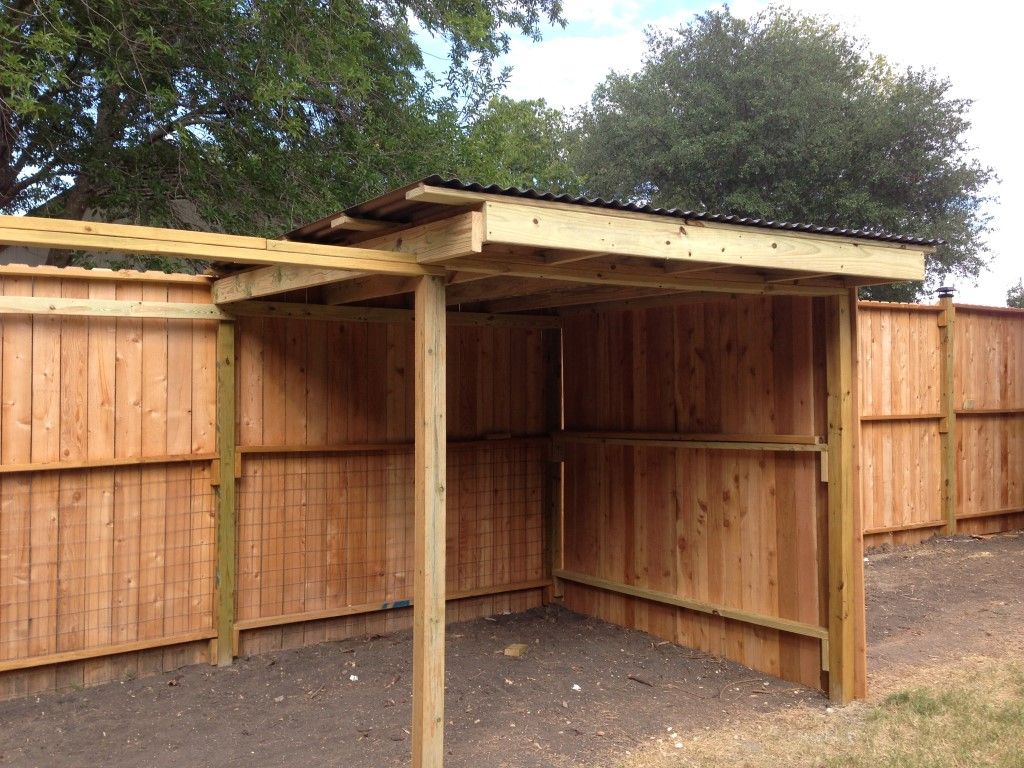
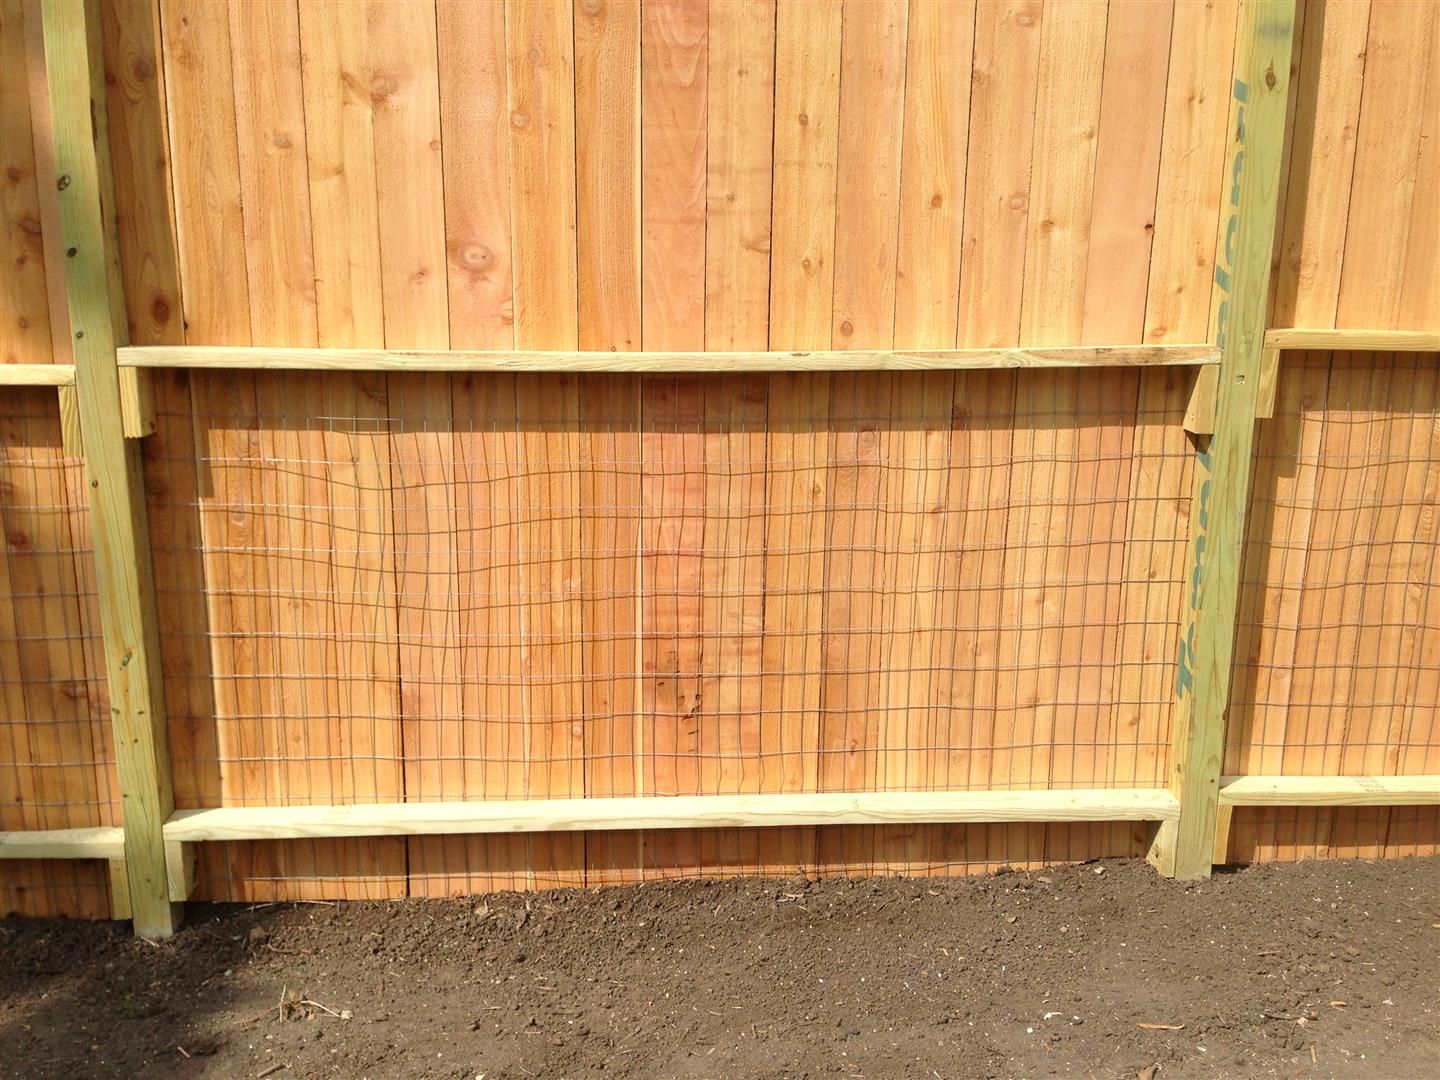
So the chicken run has on its north border an 8 foot high picket fence with 4 feet of welded wire on the inside:


008.jpg


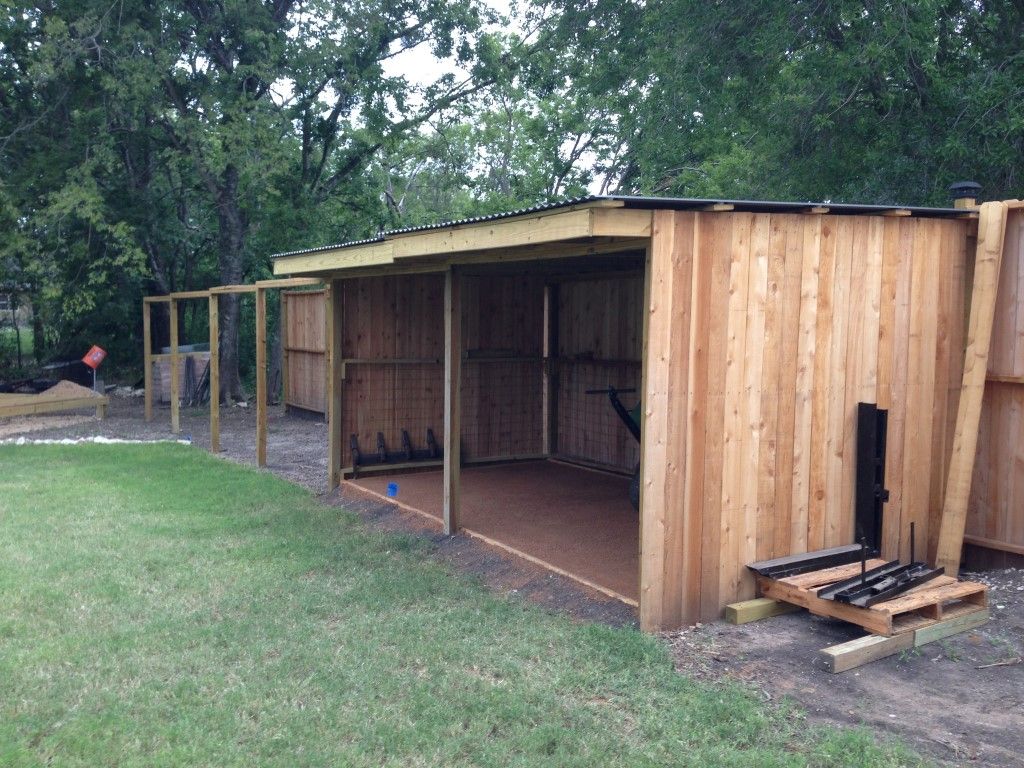
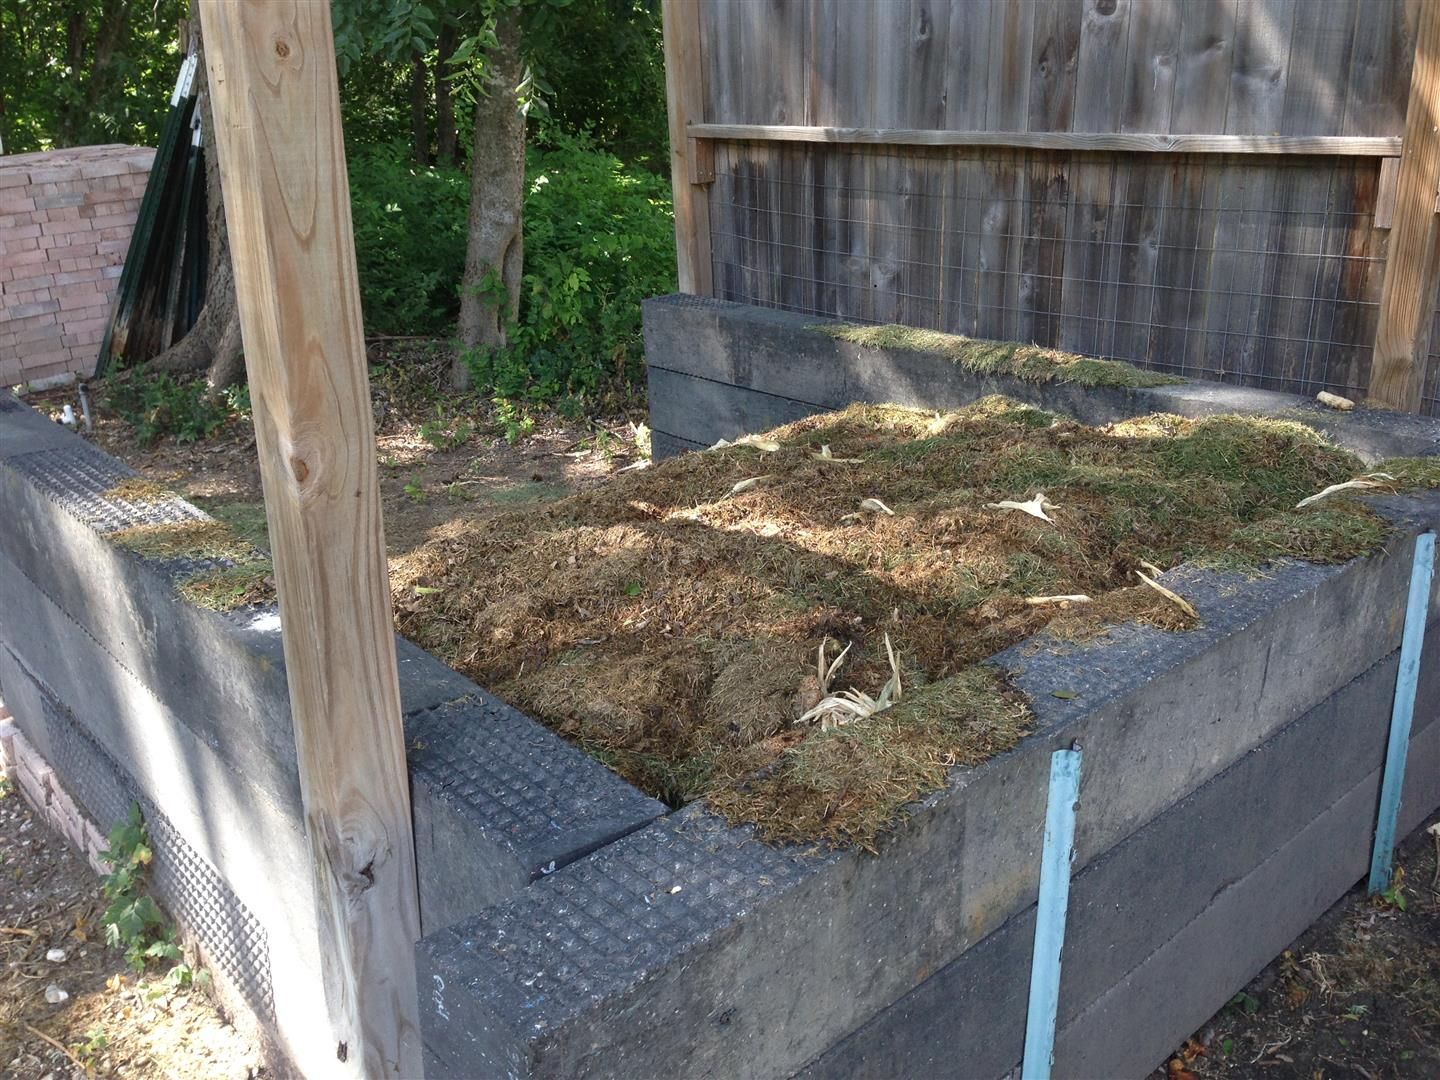
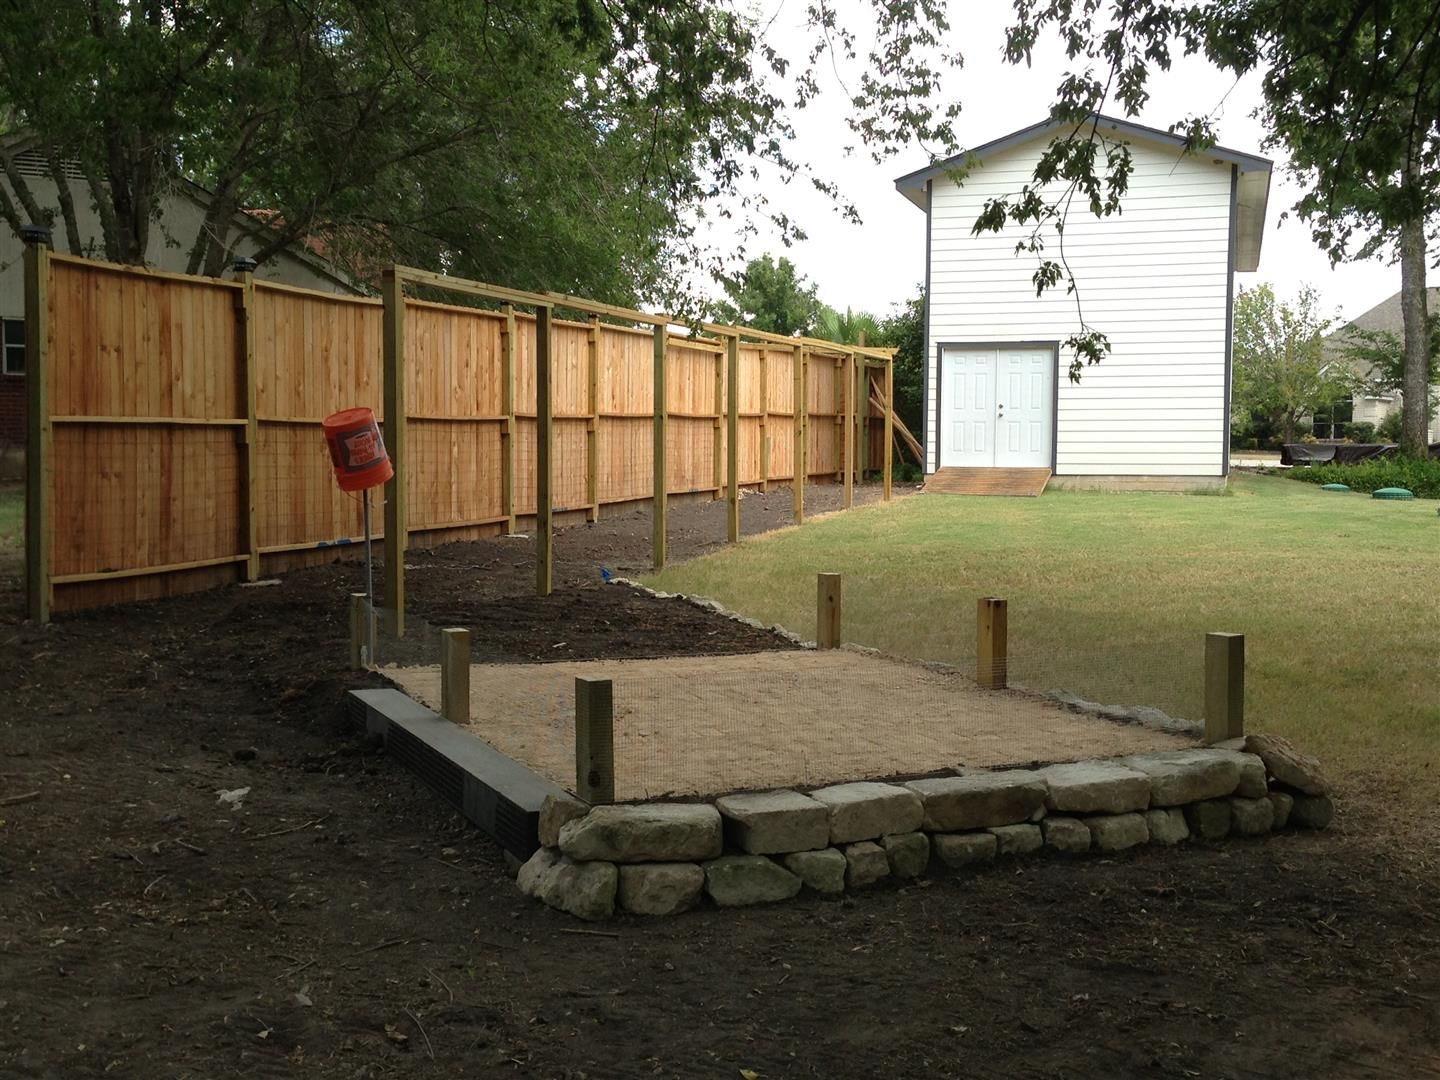
I installed the end posts of the chicken run's south side. This will be a welded wire fence to keep the girls safe, and allow us to watch them from the back porch. Originally, I planned on a run that is 8 foot wide by 48 foot long (384 square feet):


009.jpg


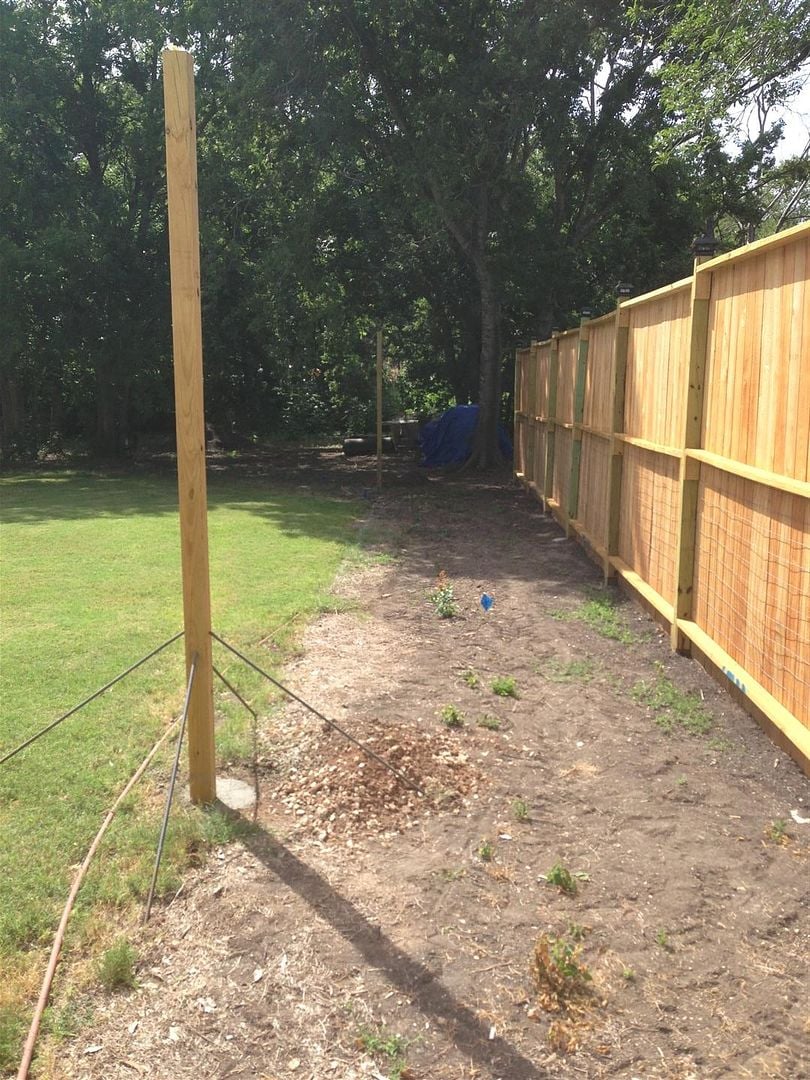
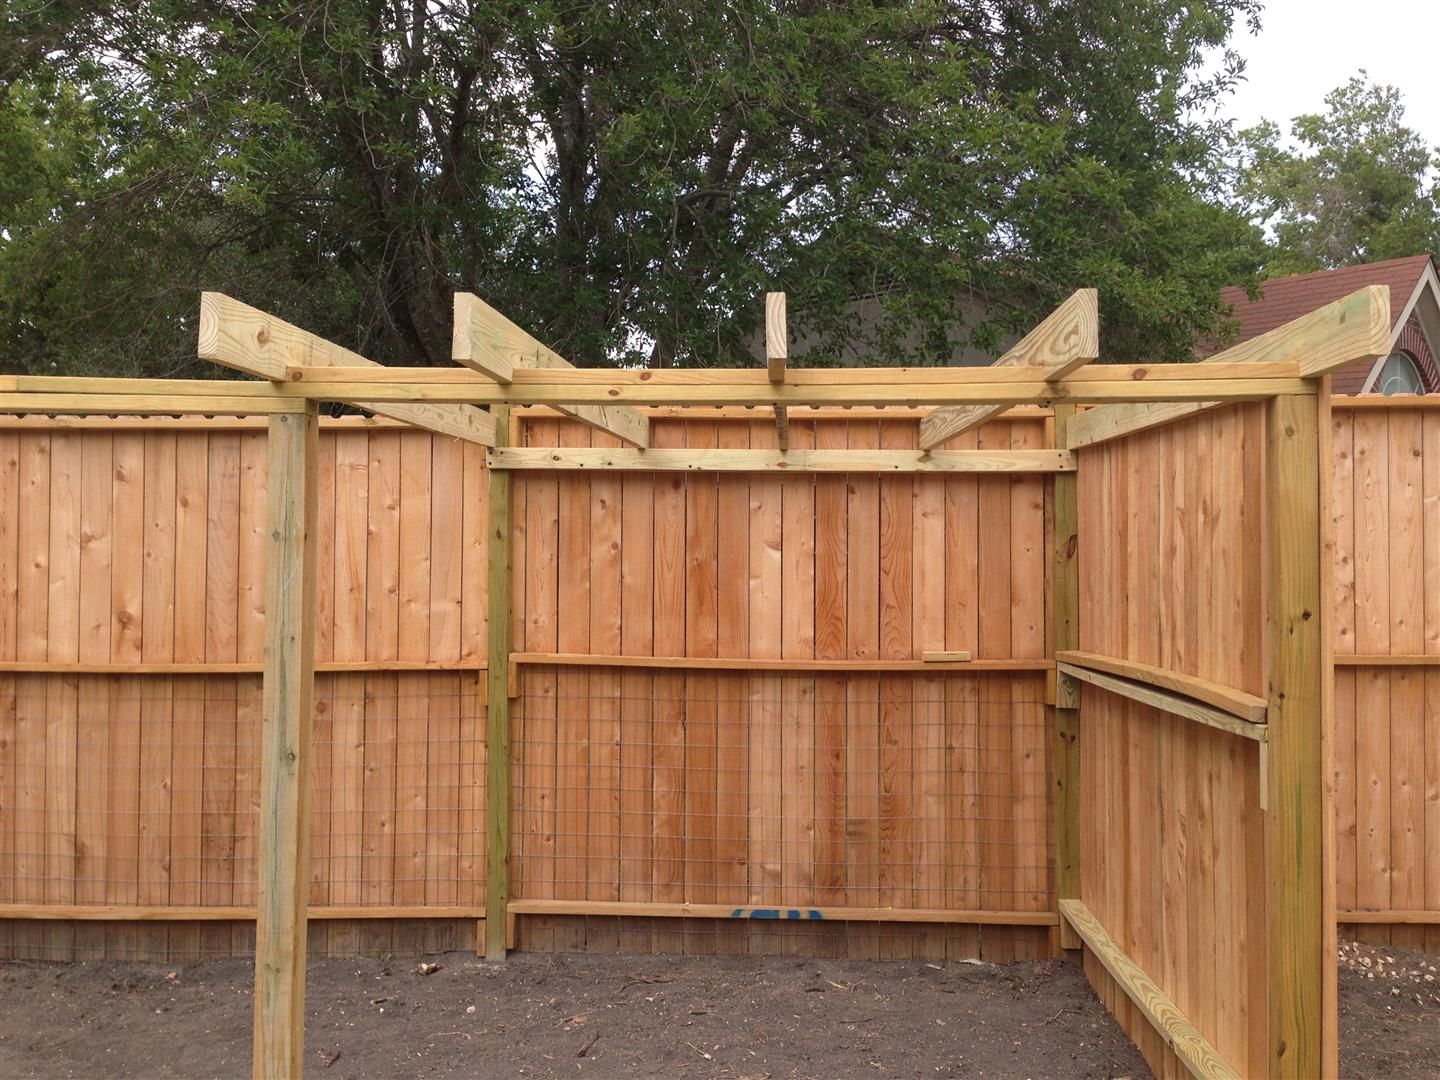
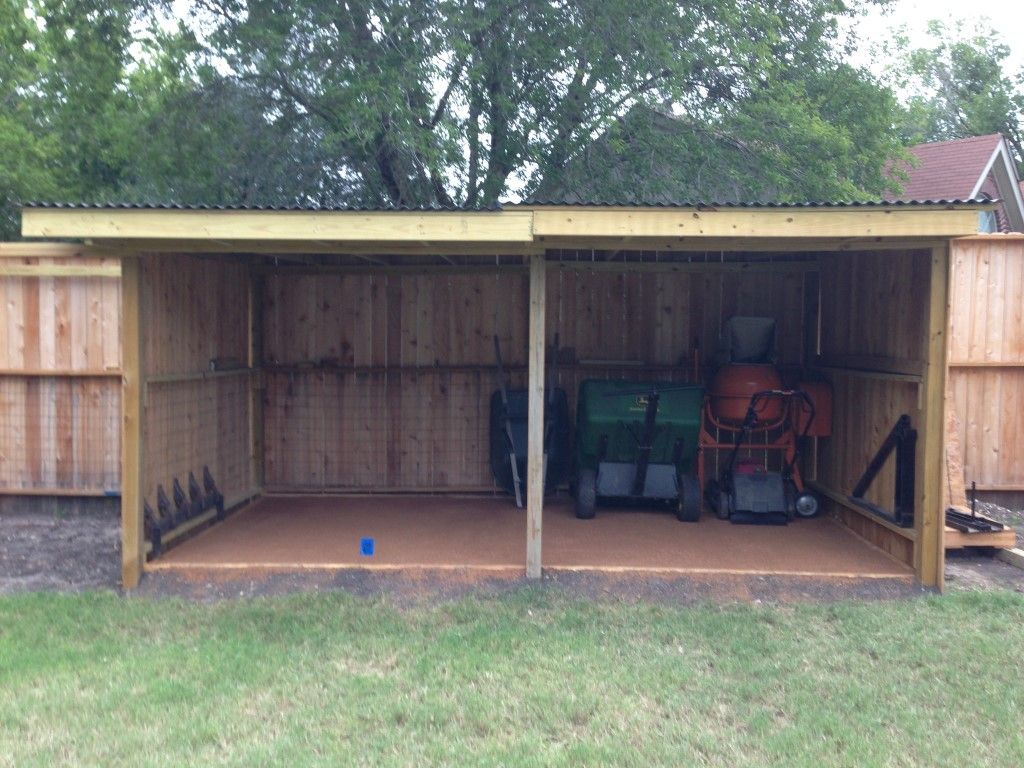
I will build the coop on that end in the shade. This picture was taken at 4:30 PM, so as the day heats up the coop will have plenty of shade. Here is the "coop’s view" of where the run will be:


010.jpg


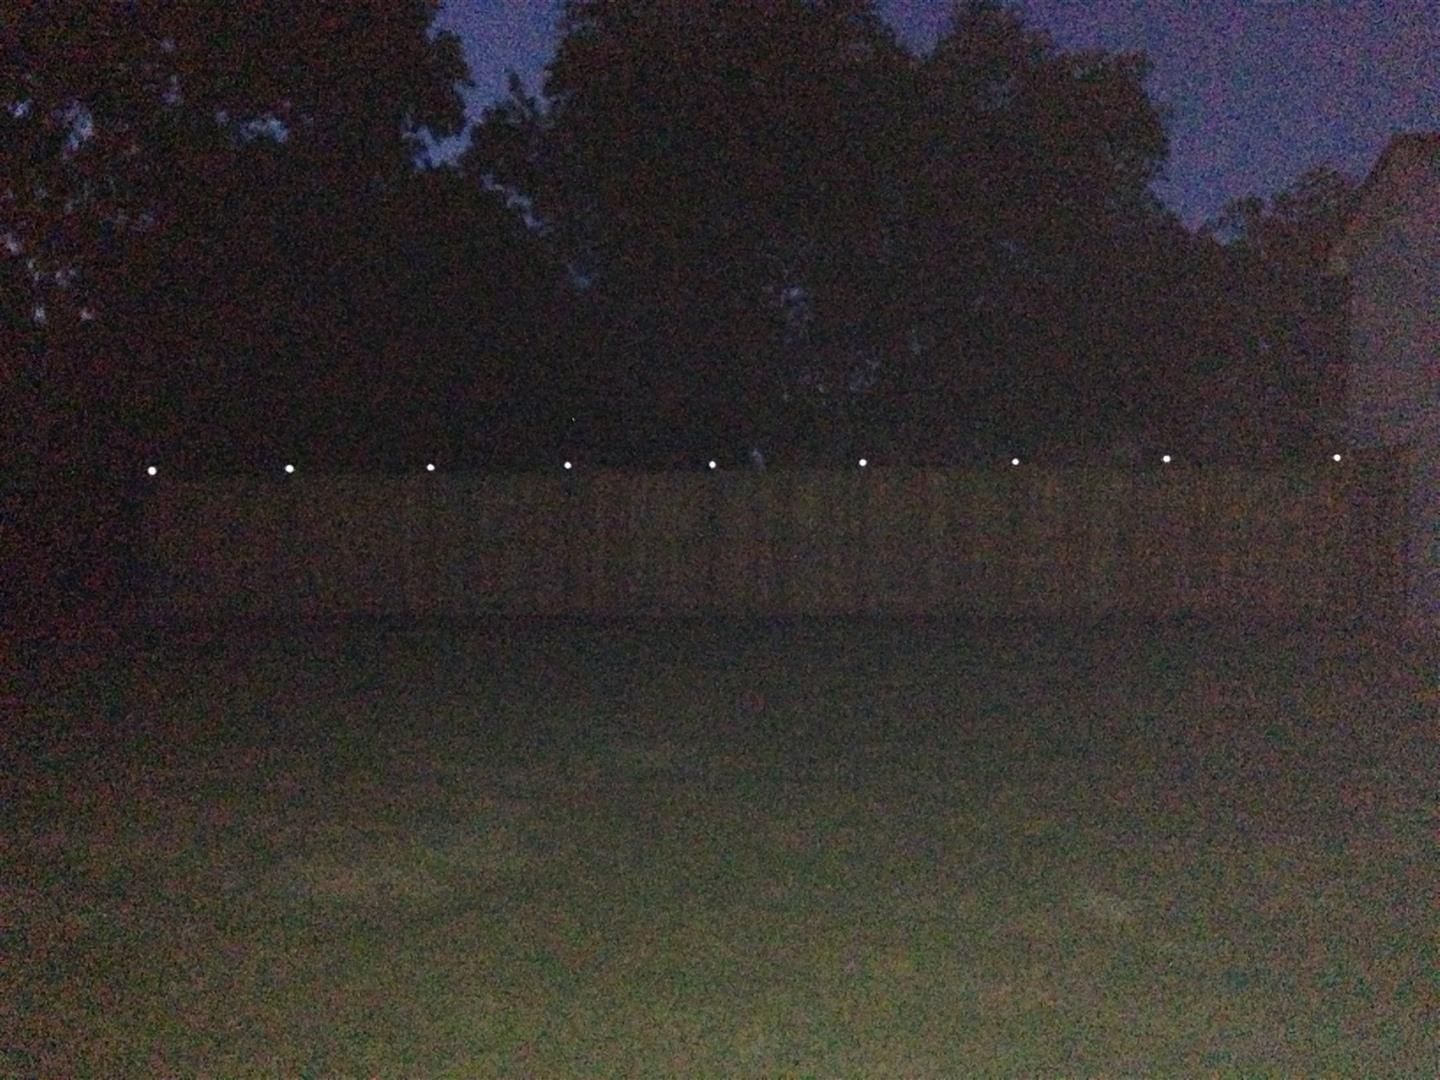
I installed some solar power accent lights on each post. Kind of gives it a nice affect after dark:

011.jpg


012.jpg


______________________________

August 2013

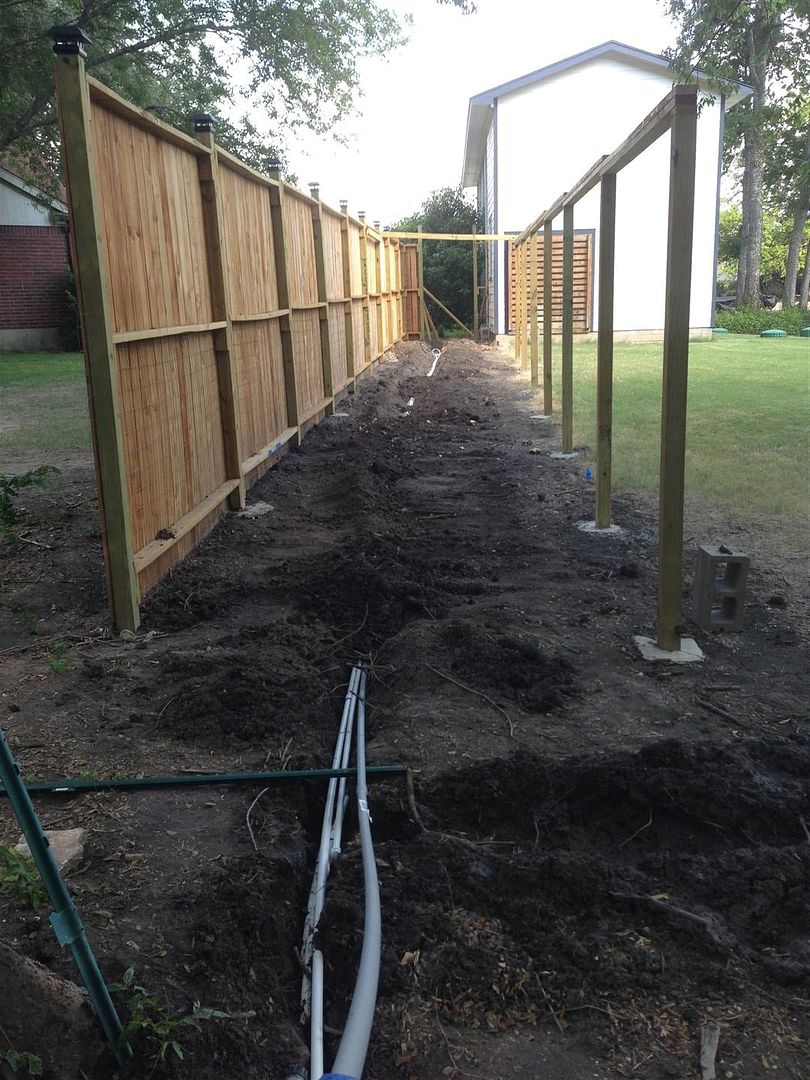
I’m made progress on the project. After finishing the privacy fence construction, I started working on setting the post for the chicken run:


014.jpg


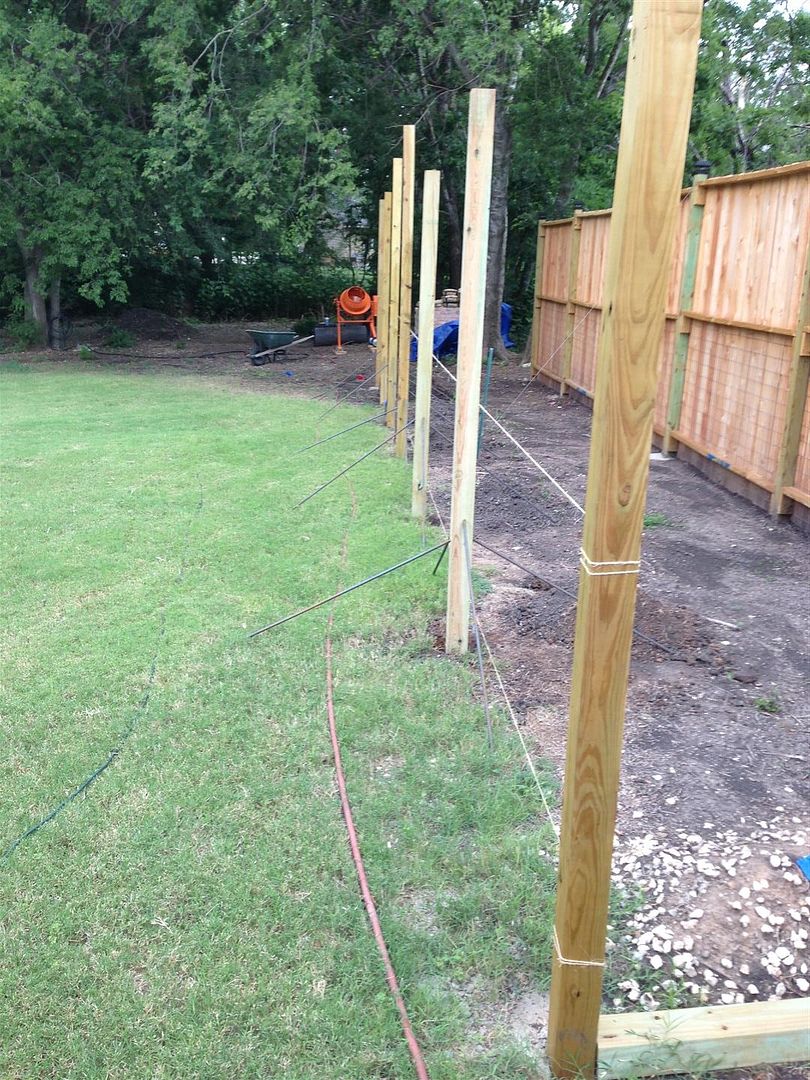
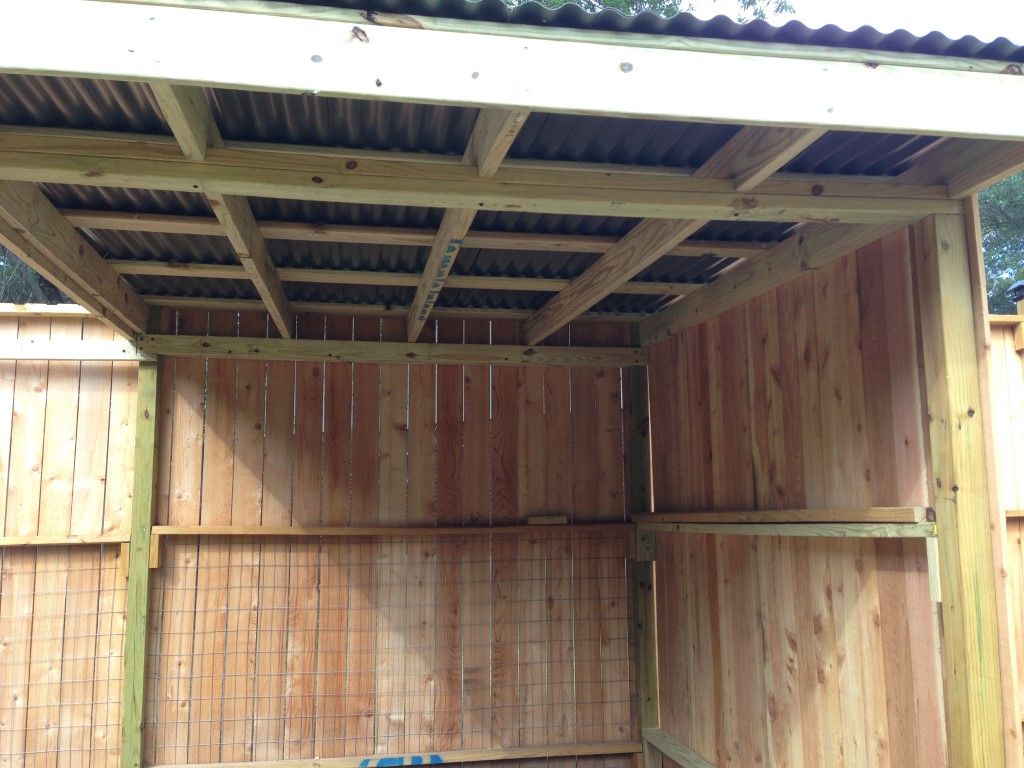
Next came burying the lines. I am running water, electricity, Cat 5 (internet) cable and compressed air to the coop:


015.jpg


Yep, my girls will have their very own internet café. And I figure 140 PSI compressed air will be handy for blowing out the coop at cleaning time.


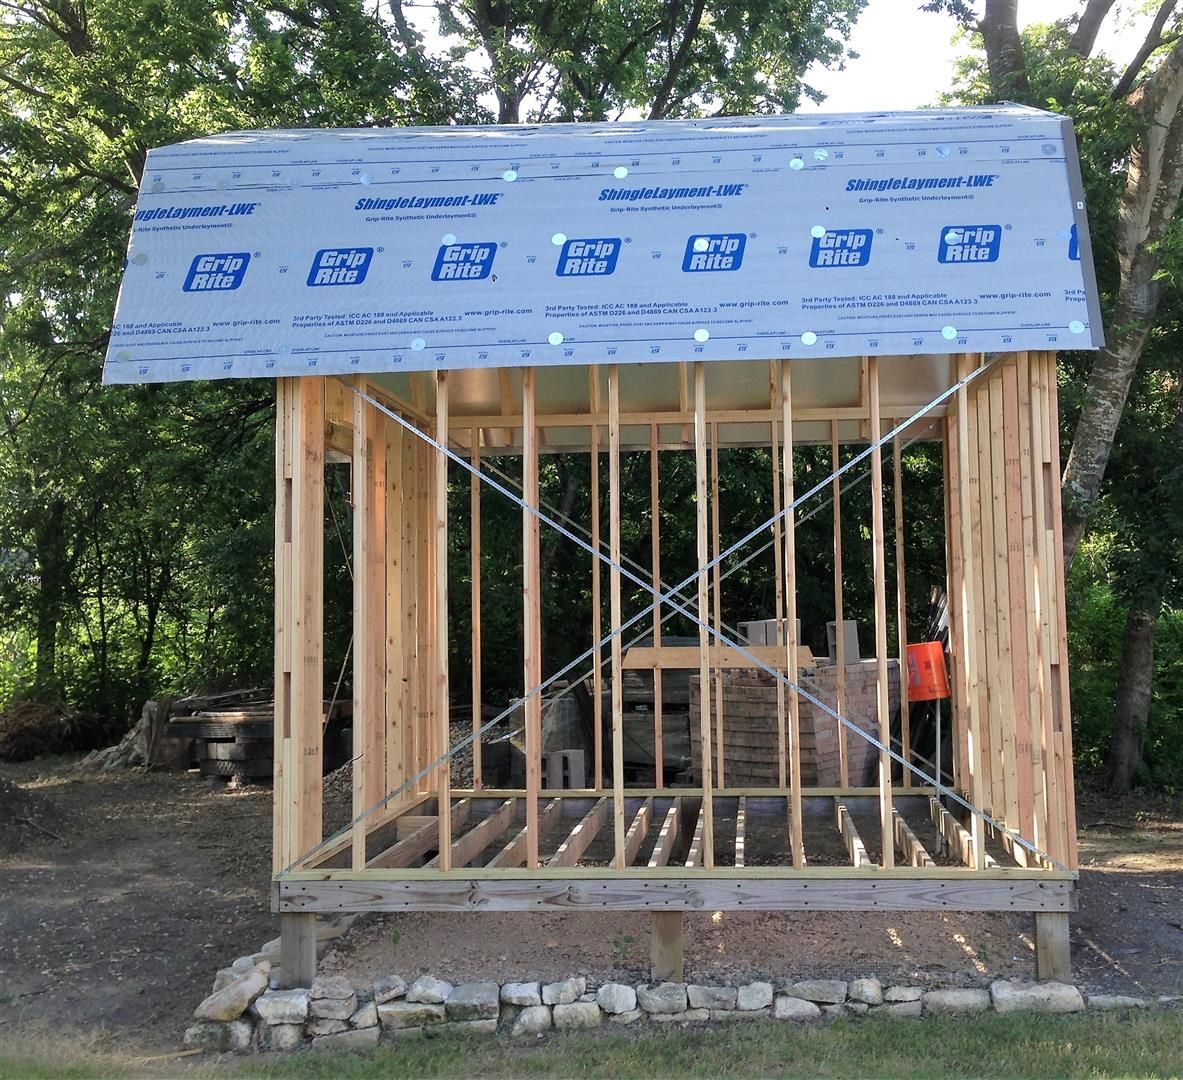
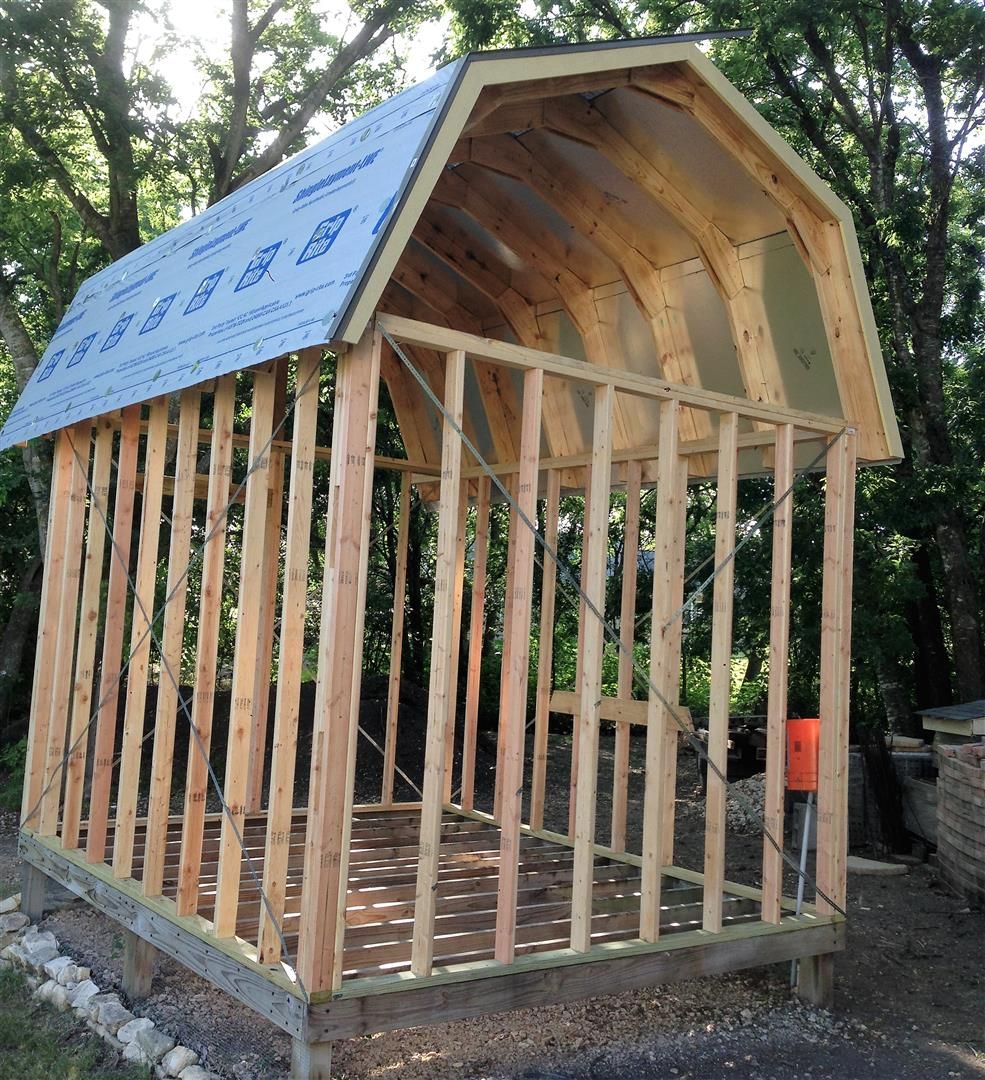
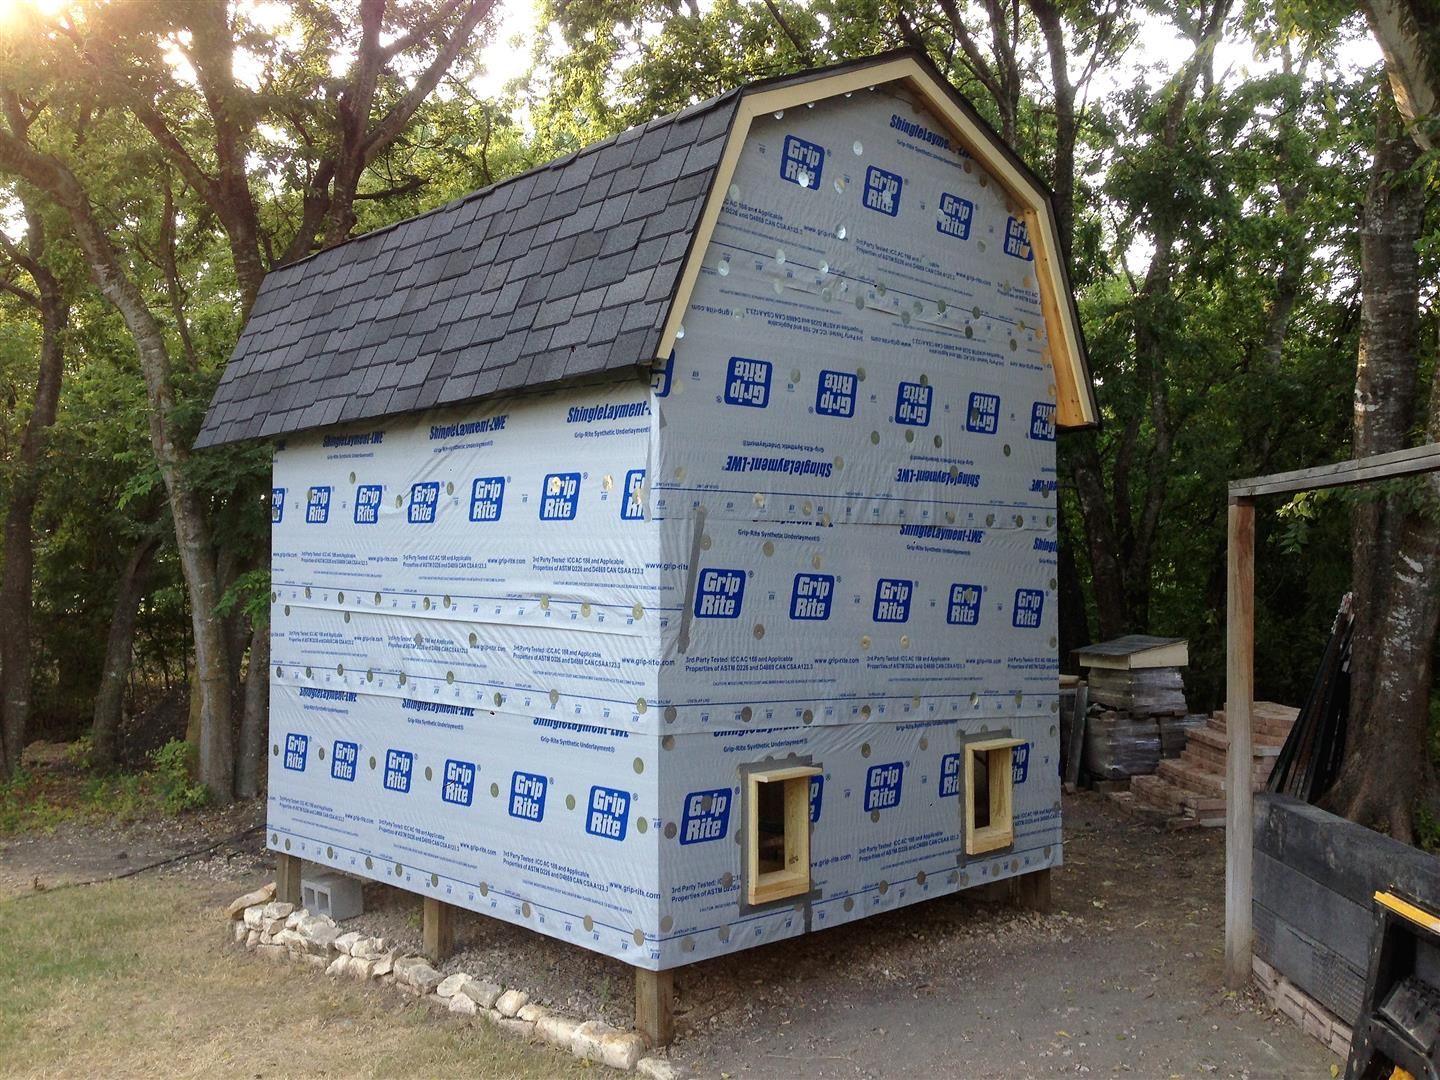
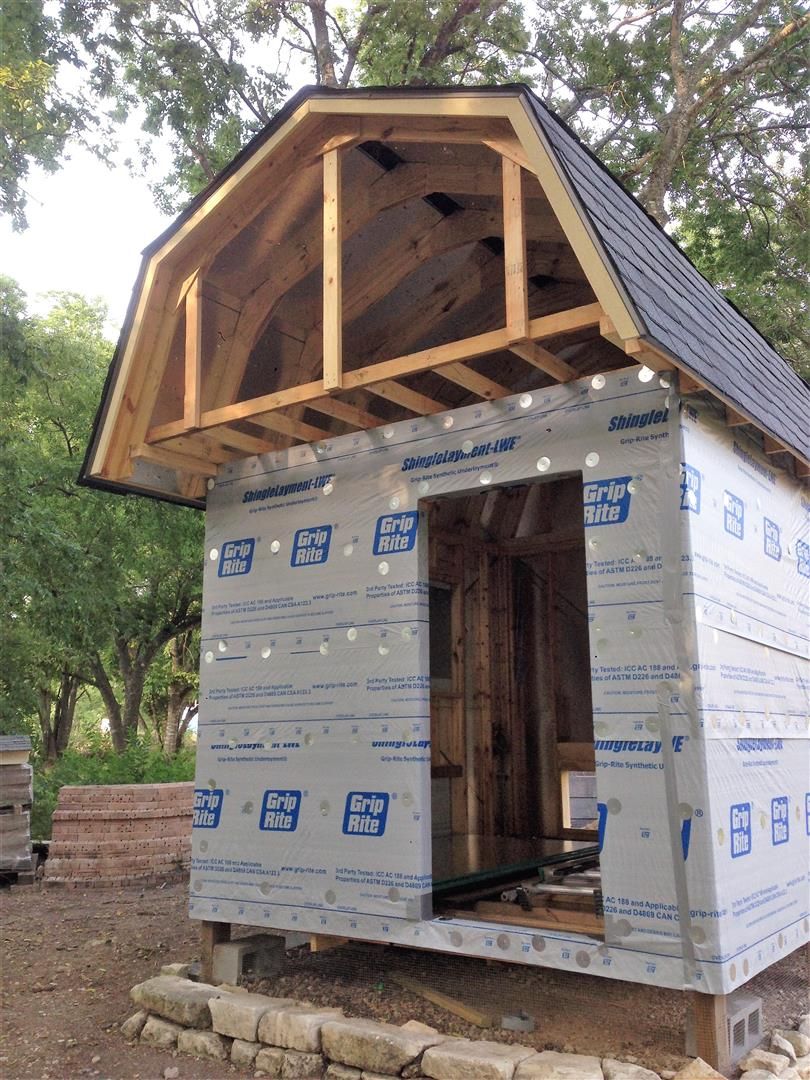
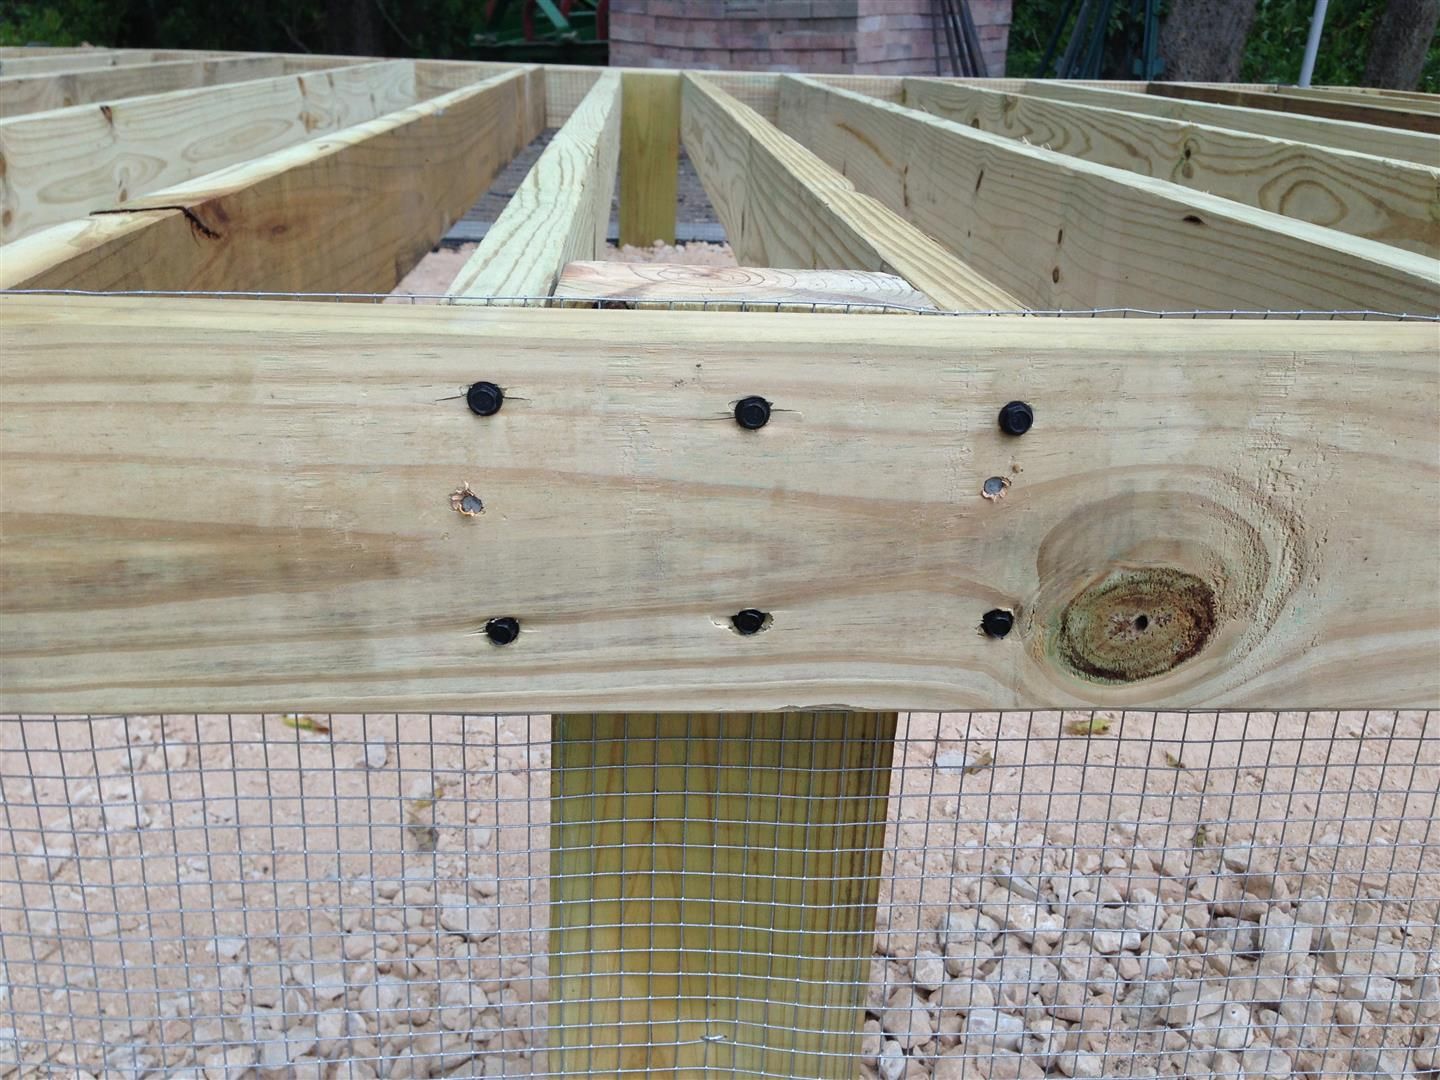
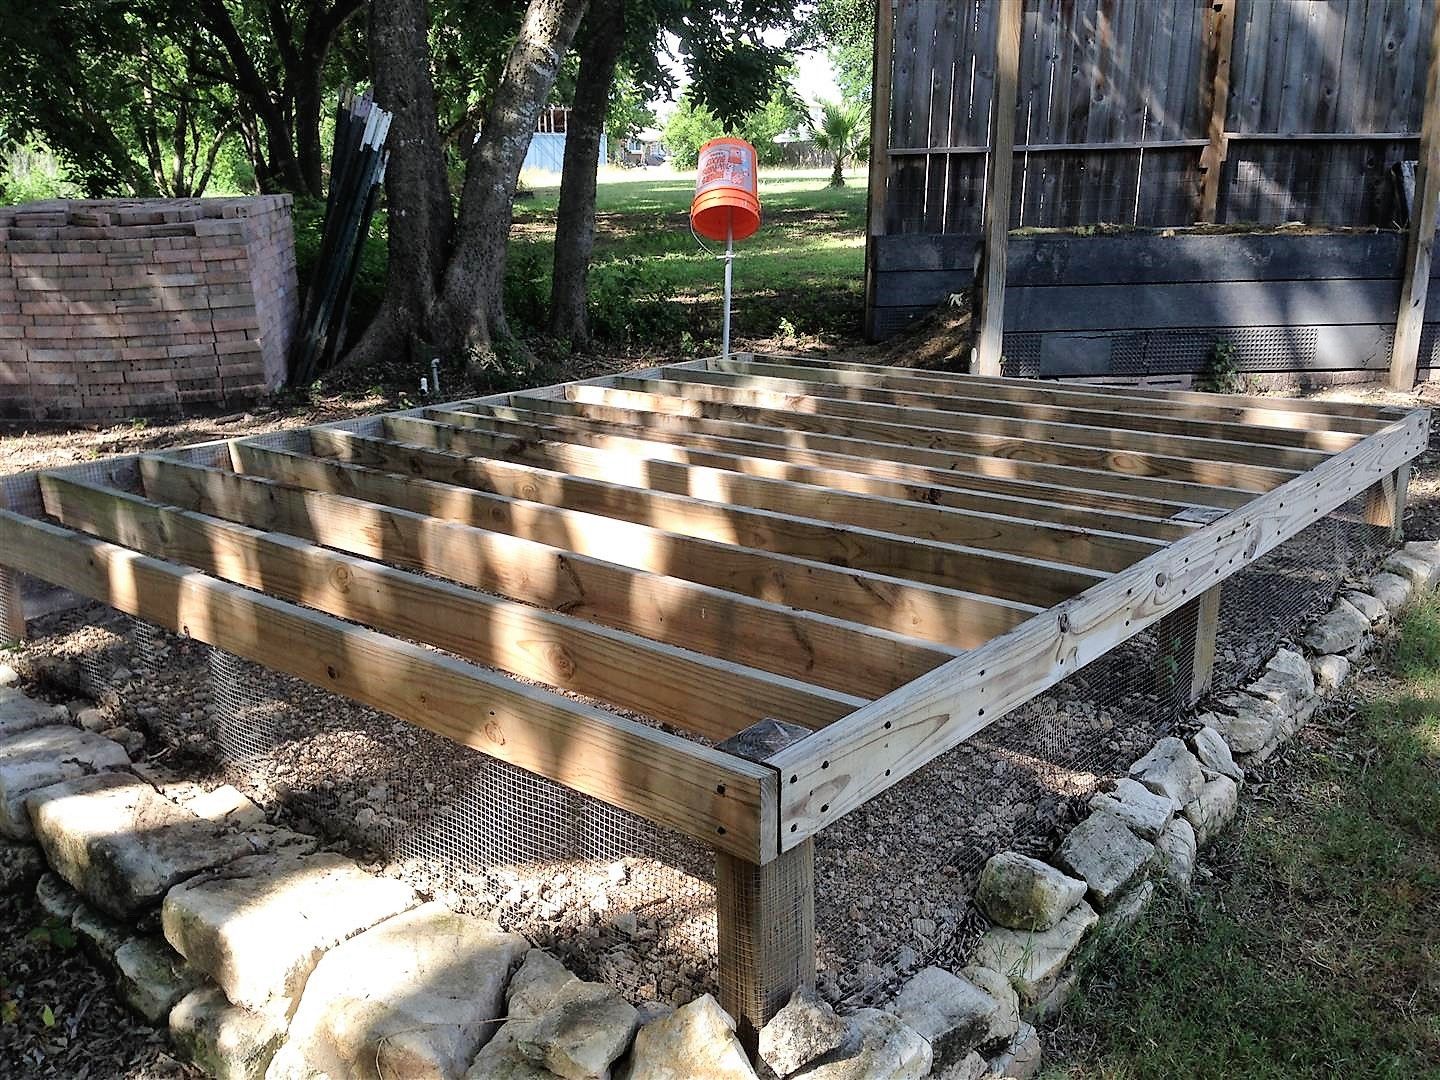
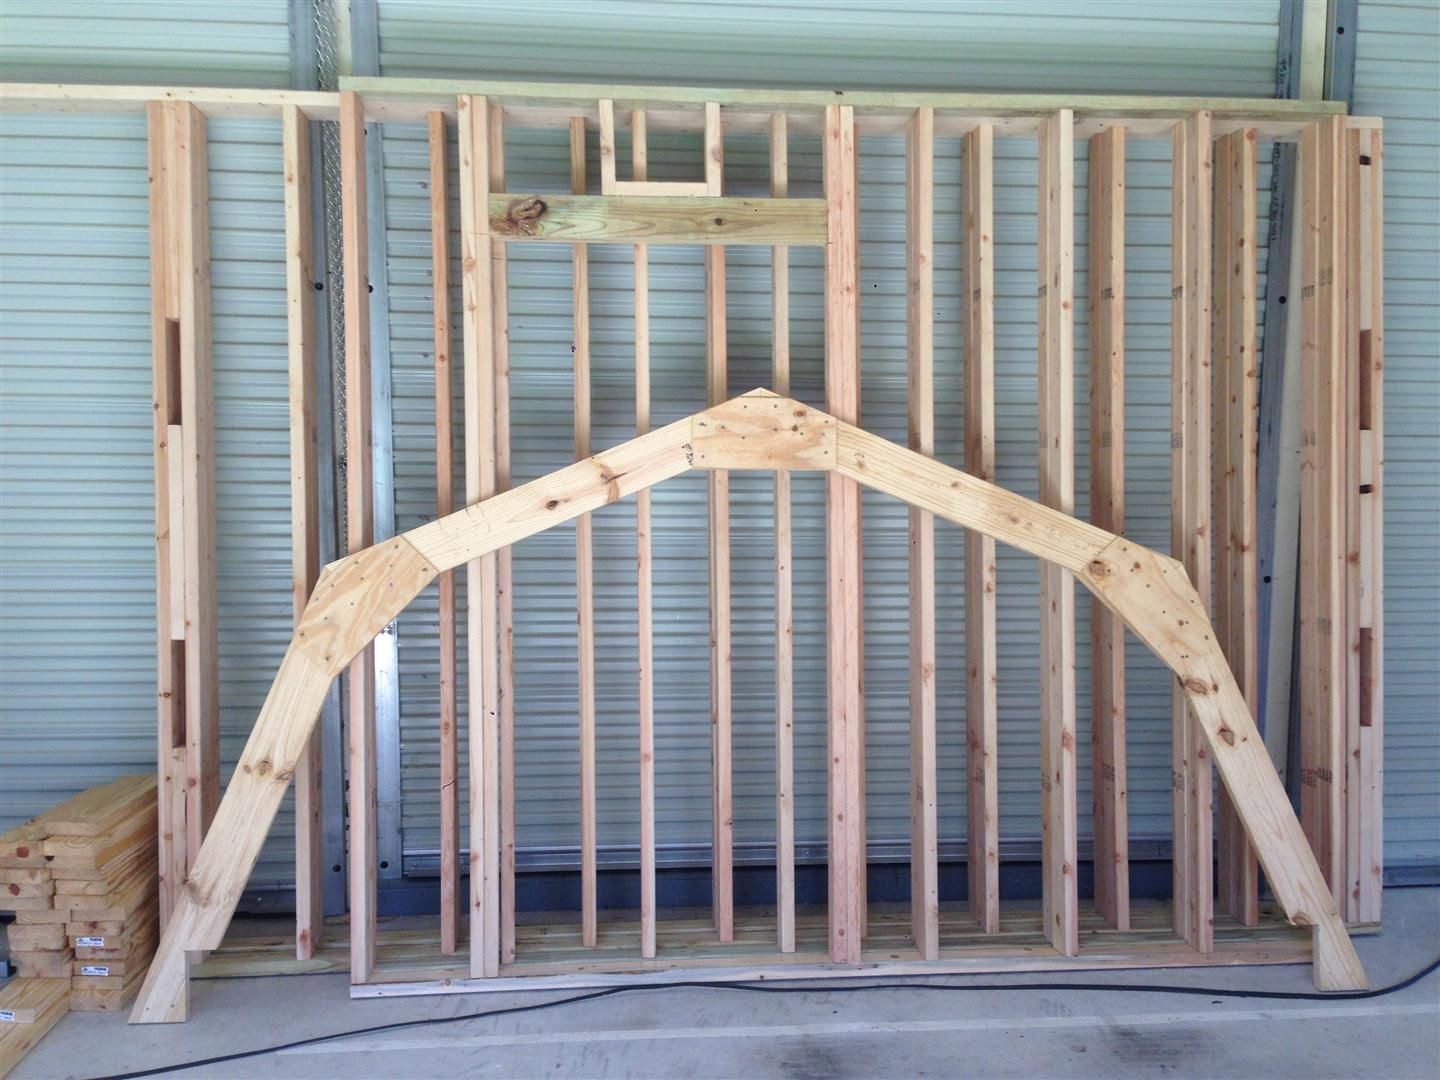
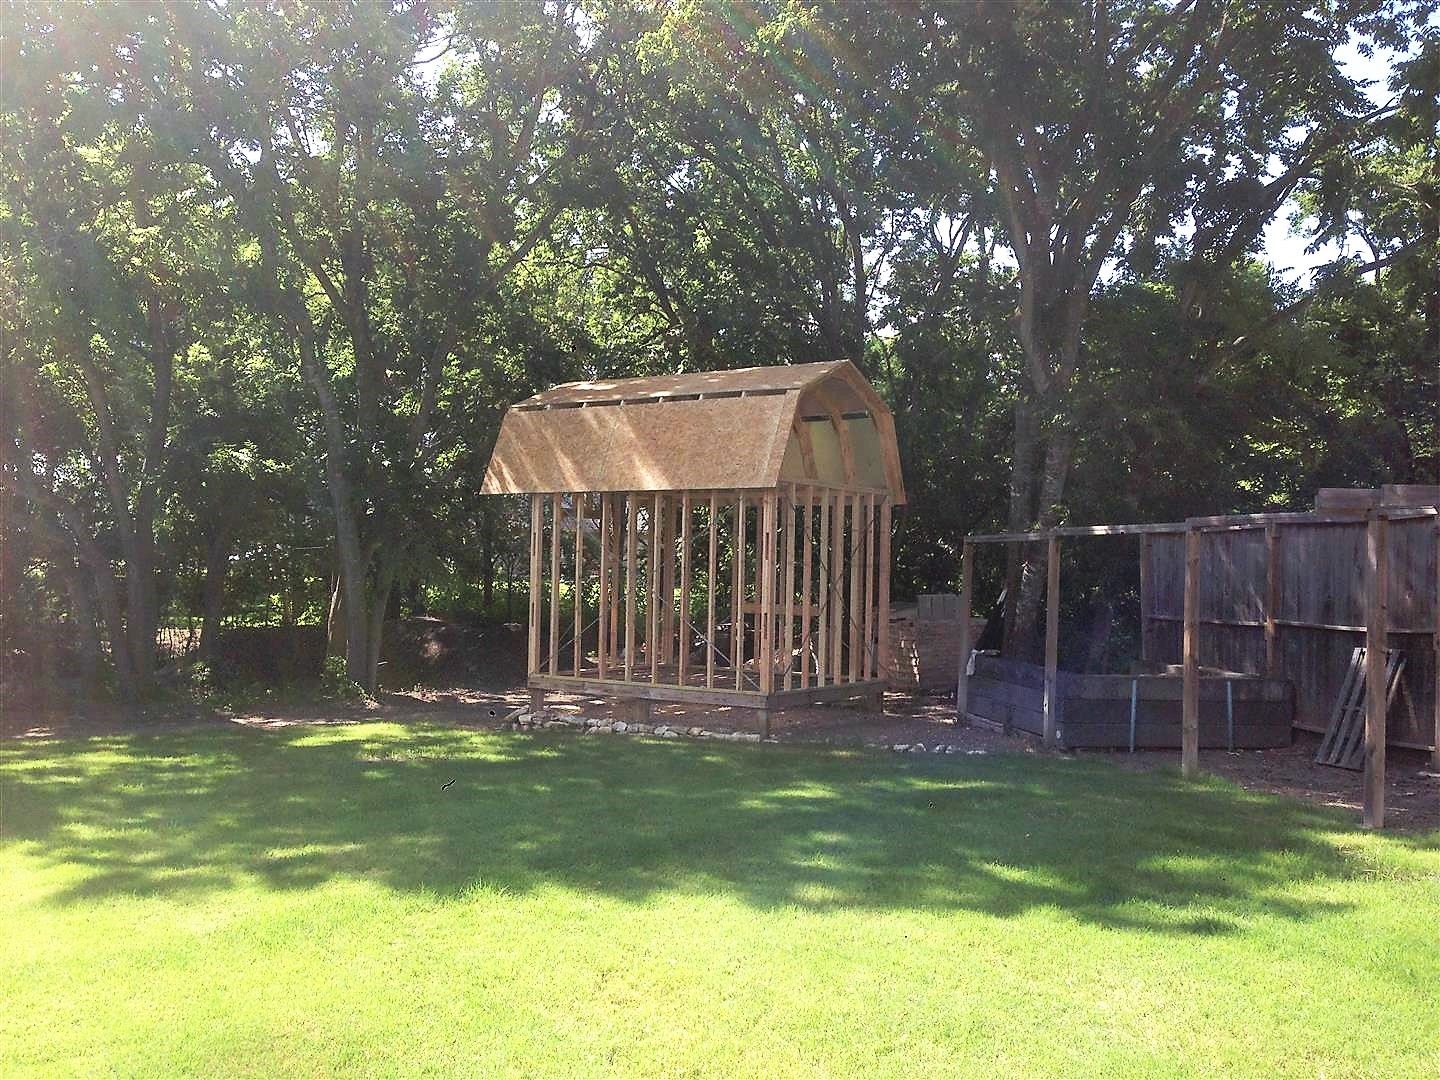
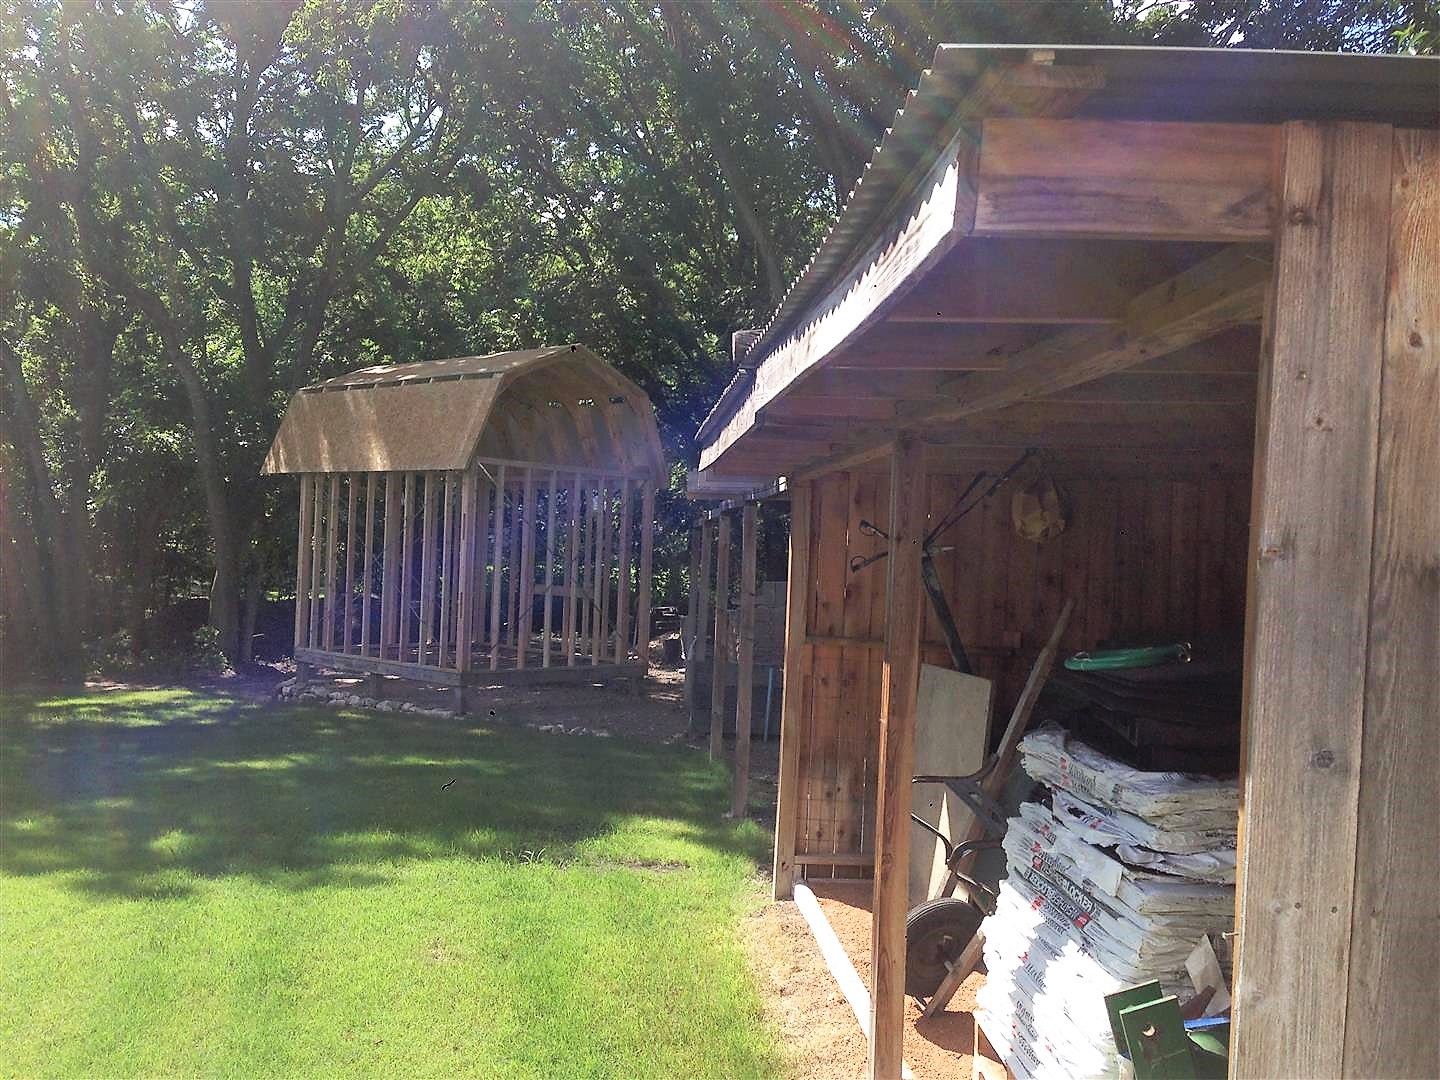
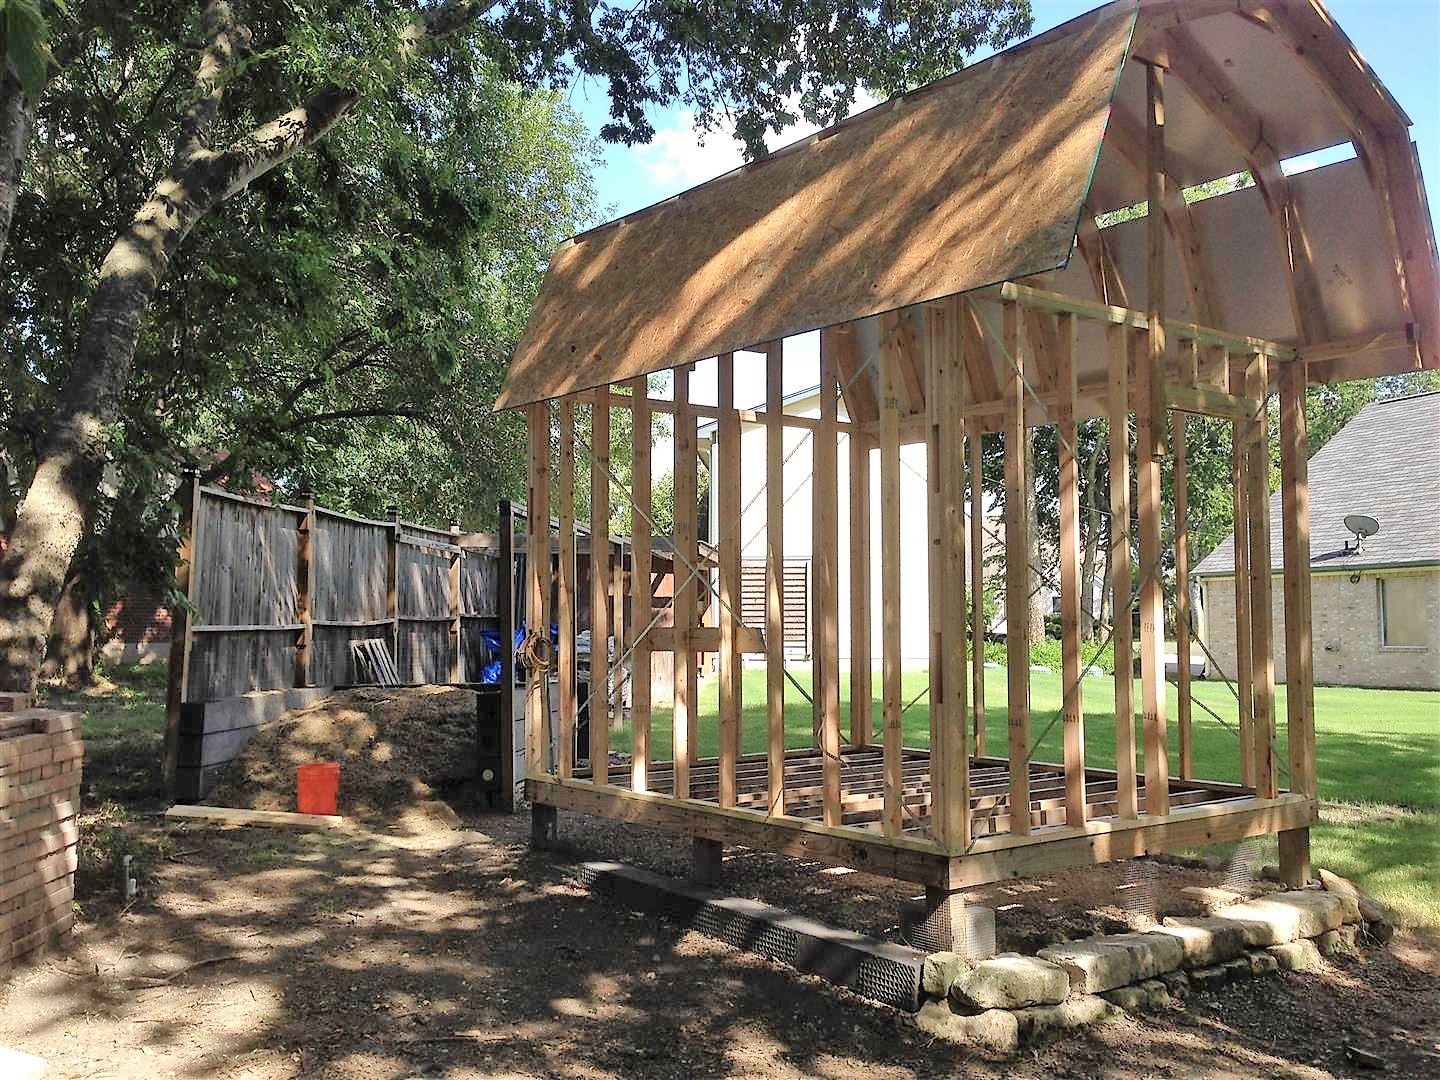
I then set the post for the coop. I used 4x6’s and buried them 40 inches in concrete:


016.jpg


The string you see in this picture (around the post) mark where I will add fill to raise and level the ground. Since this is the lower part of the yard (and in the flood plain) I figured I better raise the coop up off of the ground and fill in underneath to redirect the rain run-off.

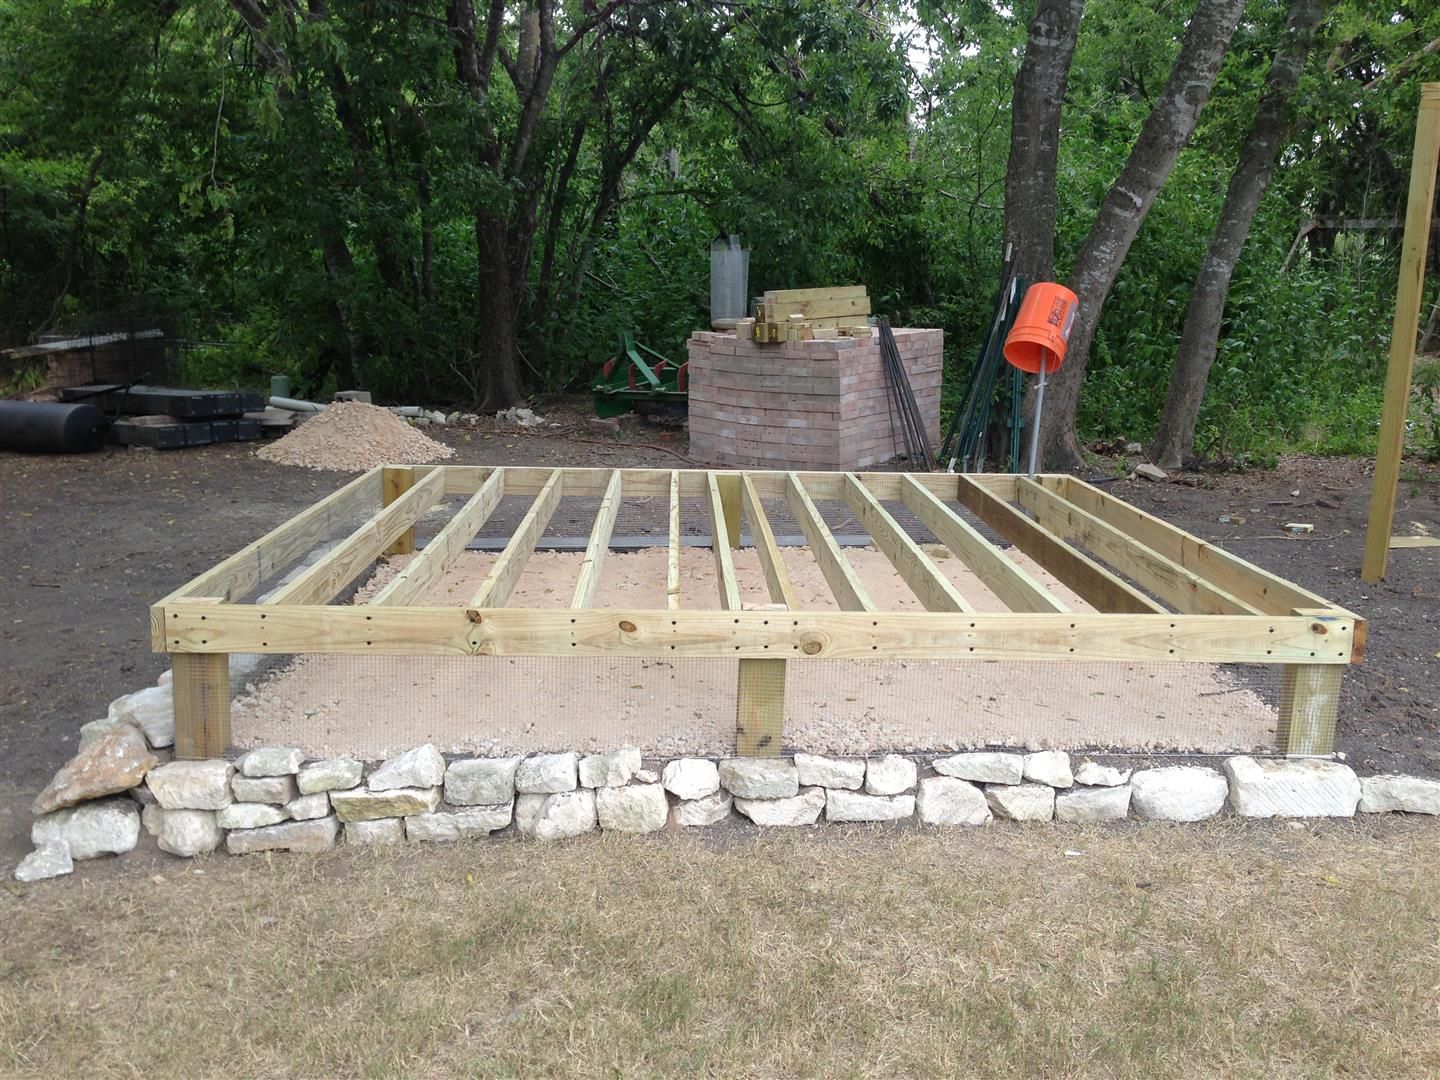
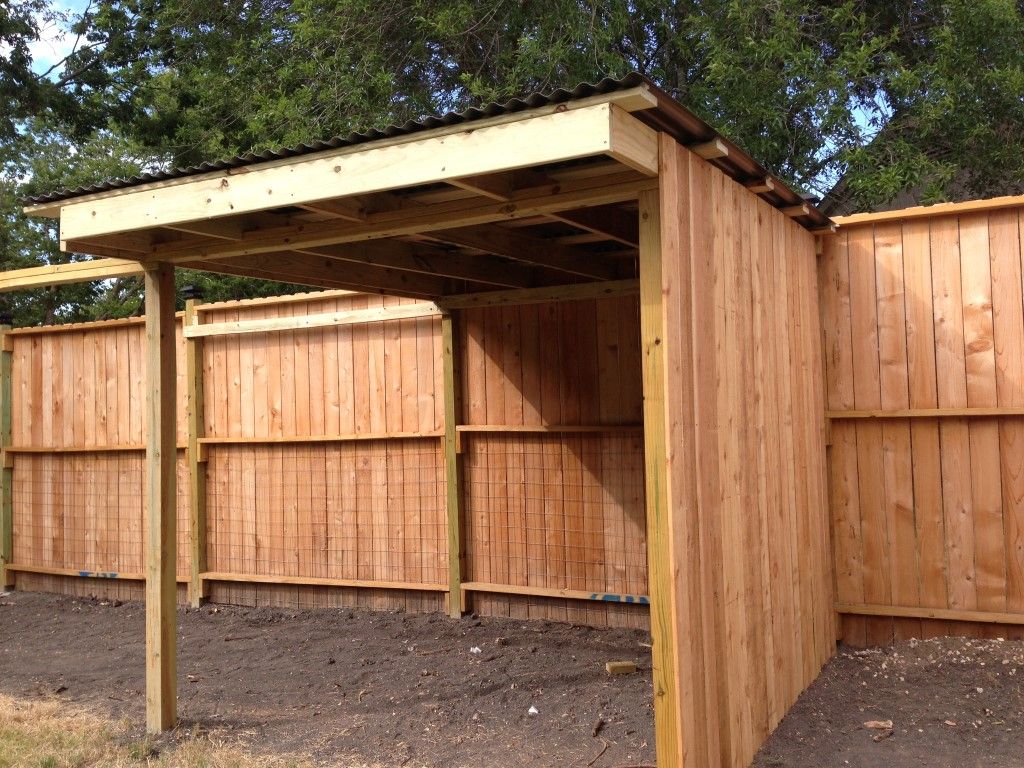
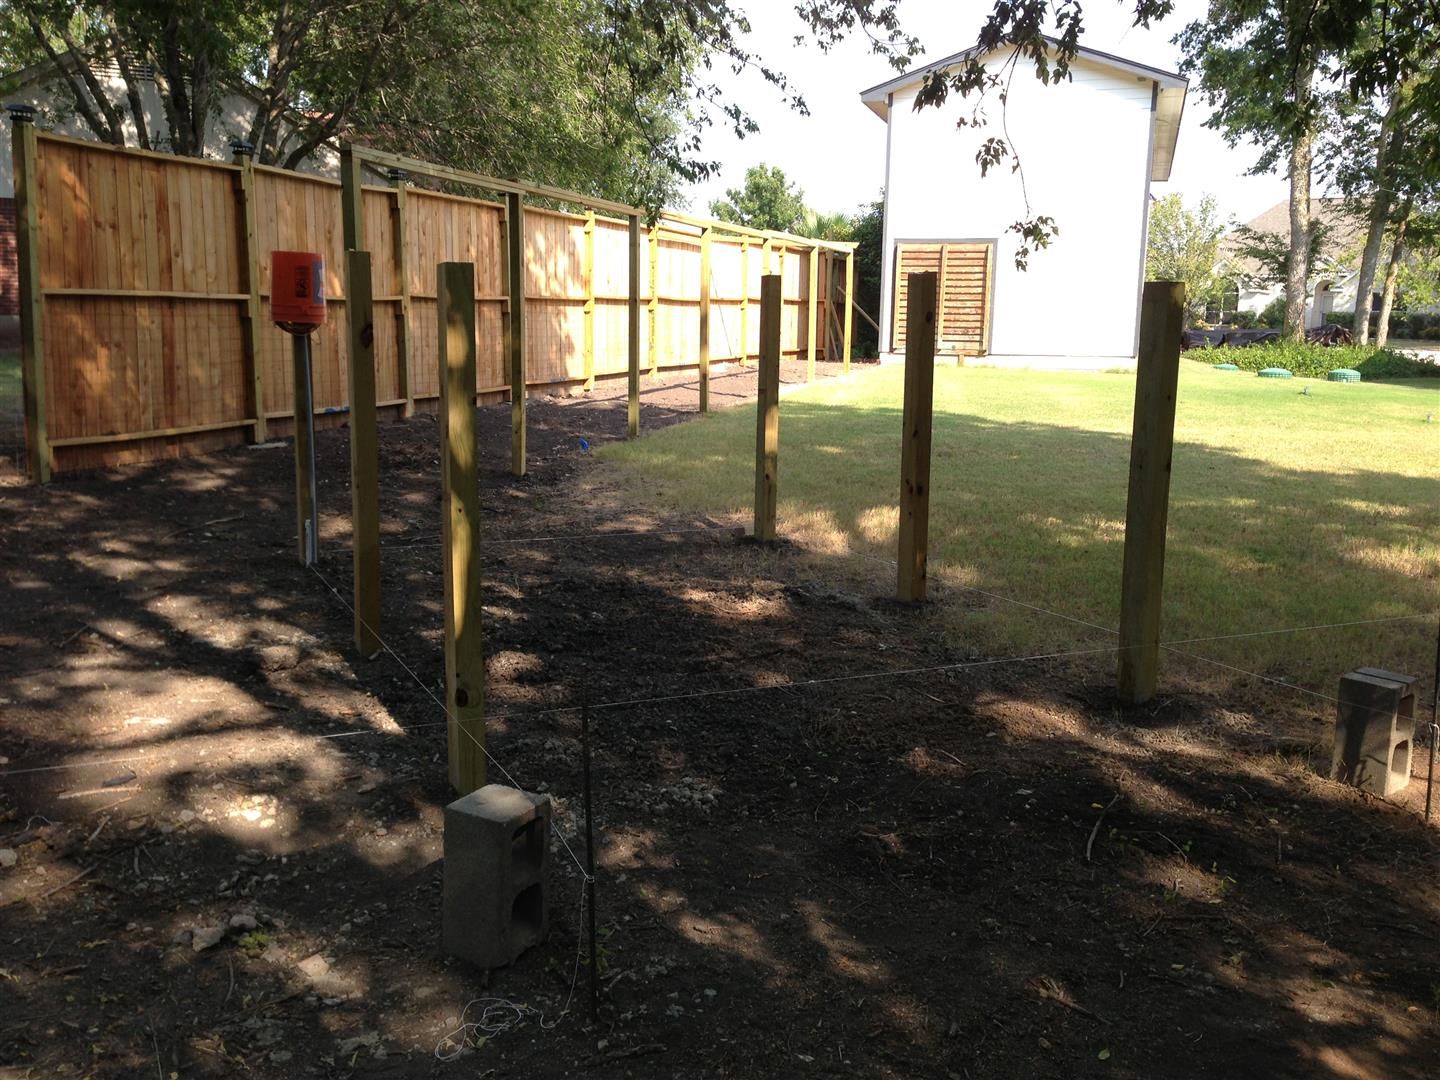
I cut the post to 18 inches above the fill line, and will use the underside of the coop for more additional run area:


017.jpg


I installed the hardware cloth before adding the fill, and used road base for the fill so it would pack in real tight under the coop, and if a critter gets past the hardware cloth, trying to dig though road base will be its worst nightmare:


017.jpg
 
Here are a few things I have wished I had on my past coop/run areas. Some I added myself or built into a coop later, some are just dreams. These may not apply to you, but I offer them as food for thought. In no particular order.

  • Rain gutters draining roof runoff to rain barrel
  • Poop board under roosts
  • Skylight
  • Extra pop doors for additional runs
  • More (adjustable) ventilation
  • Feed and equipment storage, wall hooks, frequently used tools, pegboard wall, shelving, frequently used fasteners, knife & stone, lighter
  • Isolation ward and brooder with small run
  • Water faucet
  • Electrical outlet (GFI)
  • Automatic pop door
  • Better indoor/night time lighting with timer option
  • Counter or work surface
  • Farm journal at coop (with extra WORKING pens)
  • Scale and measuring devices
  • Double gated entrance to run to avoid escapes
  • Deeper roof overhangs
  • Raised pad or covered porch at entry
  • Bootscraper
  • Handy emergency predator defense
  • Fire extinguisher and first aid kit
  • Hot plate with pot or crockpot for heating mash and water
  • Folding chair or stool
  • A supply of work towels and rags, paper towels, trash can w/lid and liner, trash bags, flashlight, magnifying glass, extra eyeglasses, notepad, umbrella, fly swatters, clock radio, soap/hand sanitizer, twine/rope, sun hat, bug repellent, sunscreen, disposable gloves, extra bins/buckets/baskets/totes, knee pads, ponytail ties, silicon caulk, super glue, duct tape, wire, extra padlocks, chain, carabiners, zip bags, zip ties, Mylar emergency blanket, bottled water, utility knife, scissors, instant coffee, pool noodles, extra work gloves, extra decommissioned cell phone (can still call 911) on charger, cowbell (signaling device), sweatshirt/sweater/jacket/poncho
  • Removable liners for floor, nests, poop board
  • Cooler or mini fridge
  • Access door to under coop floor area/foundation
  • Compost bins in run with removable slatted fronts and backs and access to contents from outside the run
  • Growing beds along outside perimeter of run
  • Anchor bolts into cross beams for hanging items in coop and run
  • Coop bedding cleanout doors
  • Built in ventilation fans
  • Insulation in walls, floor, ceiling, pipes
  • Shade and rain tarp or coverings
I've probably shown just how often I've trekked out to my far flung outbuildings only to discover I'd forgotten to bring some crucial bit along. :he:barnie Much of this can be planned for before building, some comes later, some will not apply to your situation. I was on a fairly large property with lots of variety to the weather. You've likely thought of all these things, but you asked. :D

We didn't have cell phones back when. Now everyone has at least one old one laying around. They all can dial 911, though it might not connect to your local dispatch. They can also take photos to be uploaded to your computer via hardline, and store notes or documents, pdf files, books. Still handy to have around!

Your project is looking great! I'm continuing to follow your excellent progress. :thumbsup
 
July 4, 2017

Celebrated Independence Day by getting a little more work done on the coop. Got the roof covered so if it rains I’ll be good:

038.jpg


And started working on installing the Hardy Plank roof eave trim and the drip edge:

039.jpg


But at about 5:00 pm I ran completely out of gas -- I am pooped. Two days of hanging out with Manual Labor wore me out (did I mention I am almost 61?). But the good news is I have an awesome farmer’s tan!

But tomorrow it will be time to get back to reality – got my little retirement job to focus on for the next three days. It will be the weekend before I can get back to my little back yard chick coop project.
 
This weekend I was able to get all walls up and covered, the roof is shingled and the chicken door entrances built in:
052.jpg


I have been incorporating advice from others about things that need to be added to the coop during construction. The 2nd chicken door was one of those suggestions. Thanks!

From the inside you can see the chicken doors, and where the windows will be:

053.jpg


Still have the gable on the “people” side to finish, and I plan on added two 24” x 18” vents to the gables on each end:

054.jpg


Lots more work to do, but it is slowly coming together.
 
Coop and Run Project, 5 Years in the Making Part 2

Next came the floor supports. I placed them on 12 inch centers because I plan on using sand as the coop floor covering and I want to make sure it can handle the weight:


018.jpg


I put it together with 4 inch TruLock framing bolts, so hopefully it will outlive me:


019.jpg


Here is the view from the creek:


020.jpg


And a view from the back porch:


021.jpg


I set the angle of the coop so we will be able to see the birds through the coop windows from the back porch.

I'm also working on the on the upper end of the run:


022.jpg


023.jpg


I'll use PVC roofing sheet to cover the run so the chickens can have shade and a mud free run with it rains.

______________________________

October 2013

I installed the PVC roofing on the first section of the run:


024.jpg


025.jpg


026.jpg


And then I decided that would make a great shed. So I completed the next section and added a crushed granite floor:


027.jpg


028.jpg


So the chickens will have 16 less feet of run. But if you don't tell them, they will never know. ;-)

______________________________

June 2017

Well, it has been 5 years since I started the chicken coop project. Life got in the way and I haven’t worked on it at all, until now. I plan on getting it finished this year, in time for 2018 spring chicks. The project has weathered a bit over the last four years, but I built it with treated lumber and added Thompson water seal so I’m good:


029.jpg


030.jpg


The white bundle in the background are the shingles for the coop. the black enclosure is a compost pit I built from composite railroad ties:


031.jpg


It will be inside the run. I’m thinking the chickens will love scratching around in it, and with all that poop’in and scratch’in, they will be little worker bees making compost for the garden. ;-)

I went to Home Depot and bought the lumber for framing up the coop. My RV is in the shop, so I took advantage of the empty RV shelter to frame up the walls and created the roof trusses:


032.jpg


033.jpg


034.jpg


In a couple of week, I have my son come over and we’ll have a good old fashioned “barn raising” and install the wall and trusses -- getting it dried in and ready to install the shingles.

______________________________
July 3, 2017

Today we got the coop framed up. It is a 10x20 Gambrel Roof structure that is much bigger in real life than it is on paper. I thinking it isn’t gonna be no coop. Apparently from what I read it will be a - - - - Chicken Mansion:

View from the back yard:

Framing1.jpg


View from the shed at the end of the run:

Framing2.jpg


View from behind the coop looking down the run area.

Faming3.jpg


Still lots of work to do, but I have a good start in getting it finished this summer. If you are interested the framing process, I had a GoPro camera running and taking a photo every 60 seconds. I made a quick little time-lapse video. It is a minute and a half long and pretty much shows the day from start to finish. Here is a link to the video:

 
That'll be a chicken mansion for sure! Something you may want to consider is not making the area under the coop part of the run especially since it's that low. It'll be tough crawling under there when a chicken decides that's where she wants to lay her eggs or is sick/injured, doesn't want to come out, and is in the far back corner.
 
That'll be a chicken mansion for sure! Something you may want to consider is not making the area under the coop part of the run especially since it's that low. It'll be tough crawling under there when a chicken decides that's where she wants to lay her eggs or is sick/injured, doesn't want to come out, and is in the far back corner.

Yea, I have been thinking about exactly what you have said here, since I started working on the project again. I am going to fence it off so they can't get under the coop. I am to old be crawling around under buildings. ;-)
 
Saw the chunks of Austin stone and had to scroll up to confirm my suspicions: yup, Central Texas. Well done! Glad you are fencing off that crawl space. Folks our age got no business getting up under there. :old

Can't wait to see the finished product. Just be sure you have a way to get your wheel barrow or mini trailer up to the compost pile. I had to redo mine with a "dump hatch" at the trailer deck height so I could push out trailer contents into the bin as needed. Saved a ton of shoveling.

Please be safe in all this heat. You got plenty of time. :thumbsup
 
Sweet, I love a great build thread!

Not too late to think about adding open eaves under the bottom edges of the upper planes of that gambrel roof for better ventilation.....or maybe you are planning a long cupola?

So the chickens will have 16 less feet of run. But if you don't tell them, they will never know. ;-)
:lau
 
Sweet, I love a great build thread!

Not too late to think about adding open eaves under the bottom edges of the upper planes of that gambrel roof for better ventilation.....or maybe you are planning a long cupola?

:lau

That is exactly why I built the gambrel trusses to overhang the walls like that. I plan on leaving the eaves open covered on the bottom edge with hardware coth, and adding a roof ridge vent when I install the shingles. I figure that will give me a convection effect to draw air in through the eaves and heat and moisture out through the roof ridge vent. ;-)
 

New posts New threads Active threads

Back
Top Bottom