- Apr 24, 2014
- 7
- 2
- 42
Hi all.
I am new here and have used numerous forums to research info. Thank you.
Anyway, I have now built my incubator, still to be tested, and thought of showing some pics and detail. The electronics circuitry is on it's way.
Size 650x530x282mm. Sorry guys but you will have to follow metric for a while
Wood 16mm Chipboard covered with melamine
Heat source 2x 60 watt globes. Possibly upgrade to an element at some stage.
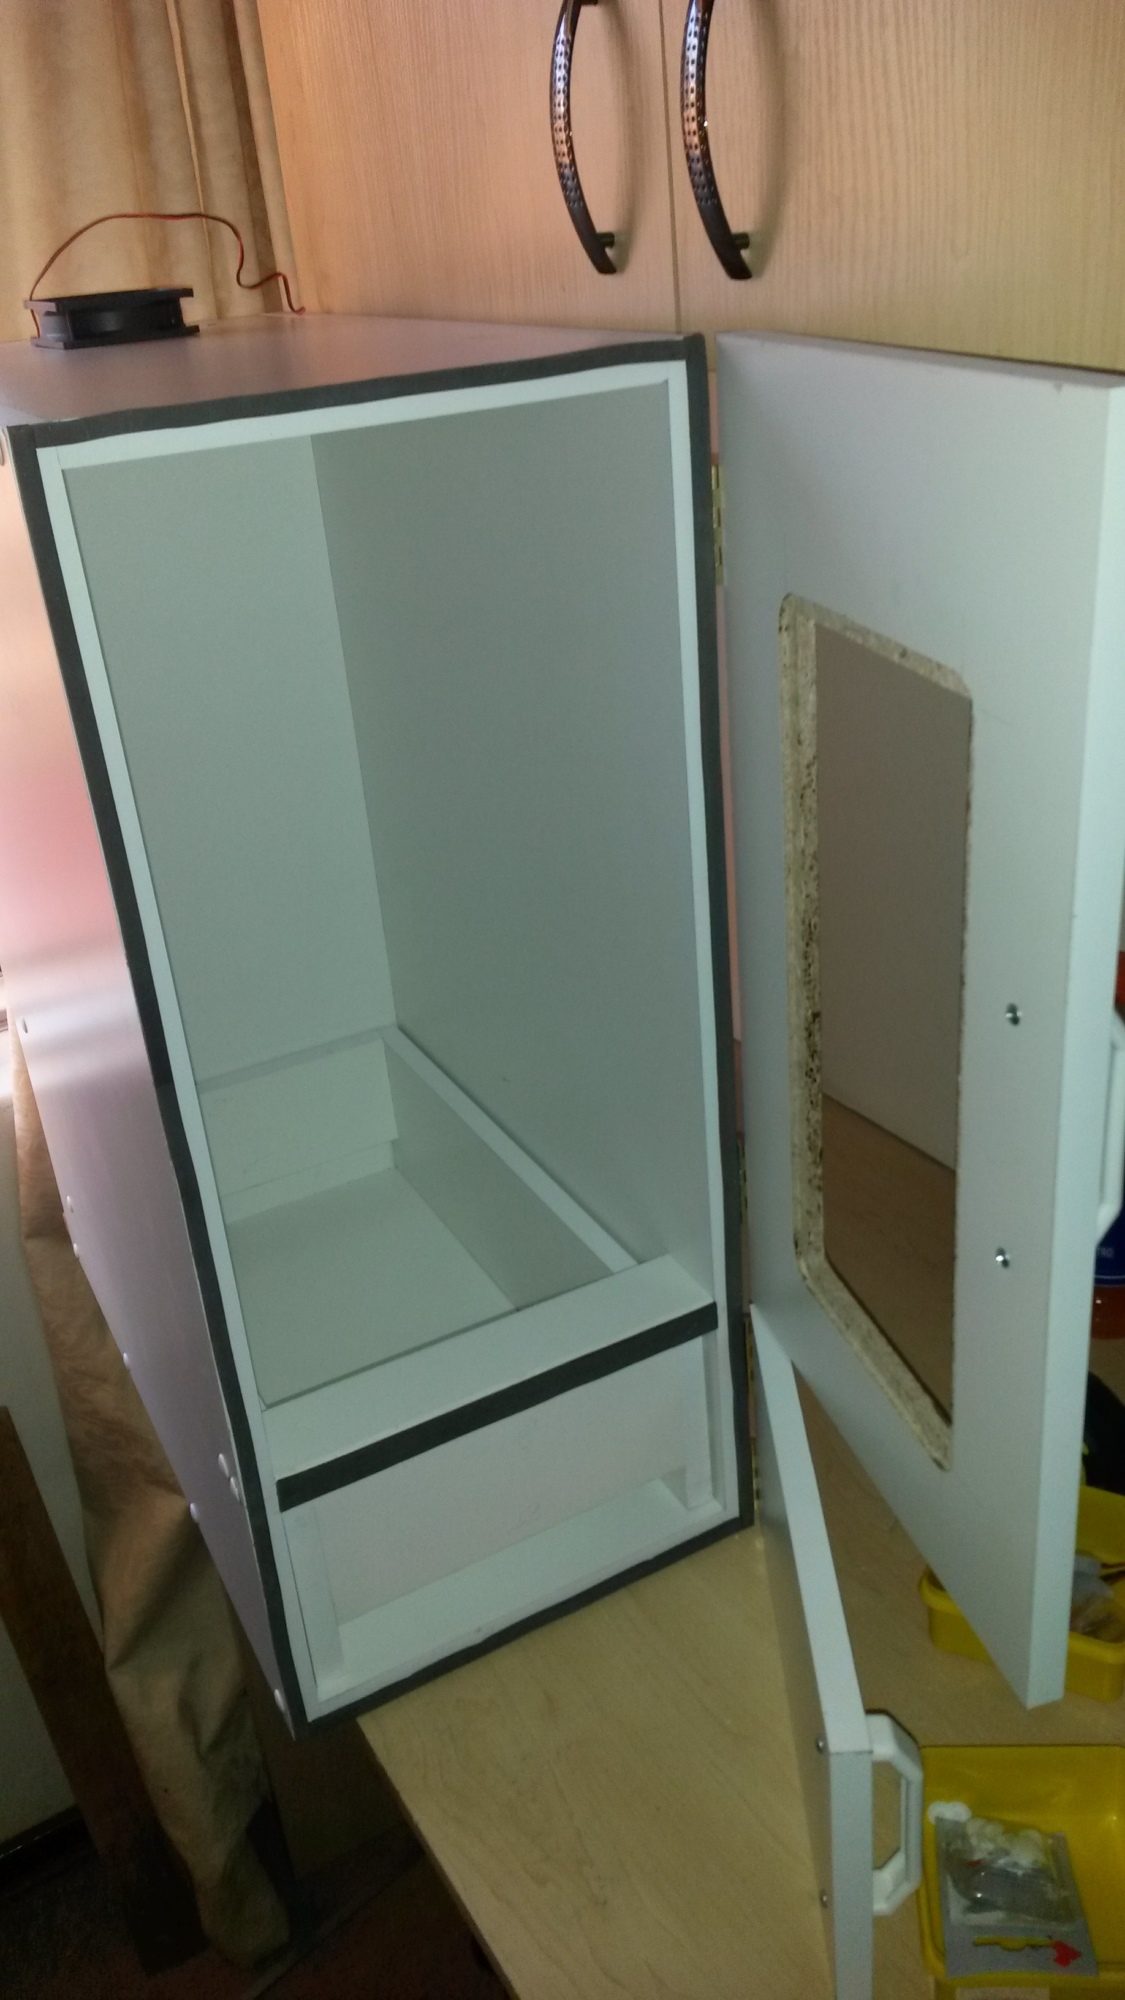
The basic box with drawer to be used as the hatcher area.
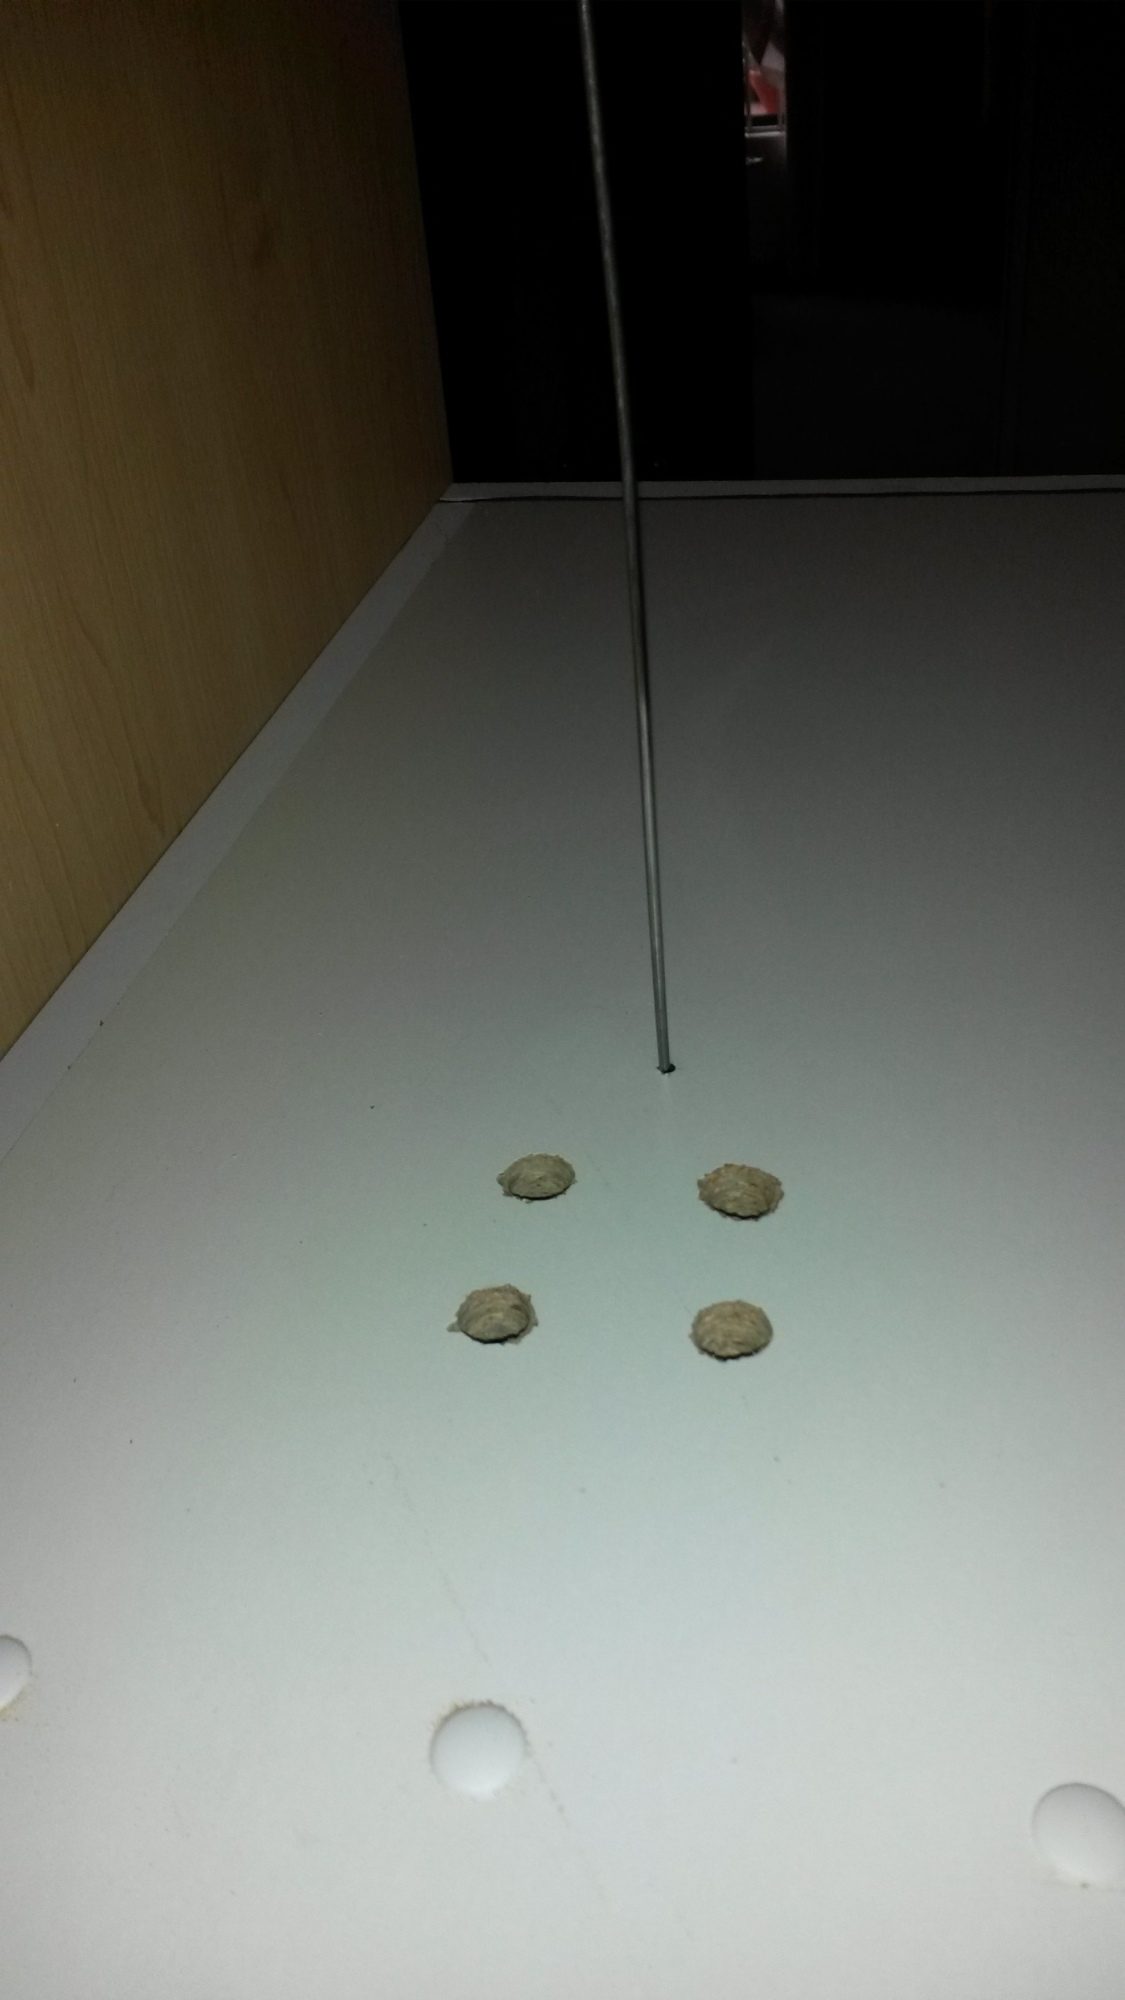
Top of box showing holes through which fresh air will be drawn
by a 12v computer fan situated on the inside. Also shown is
my high tech turning device. Seen later on the inside.

Side showing holes for ventilation
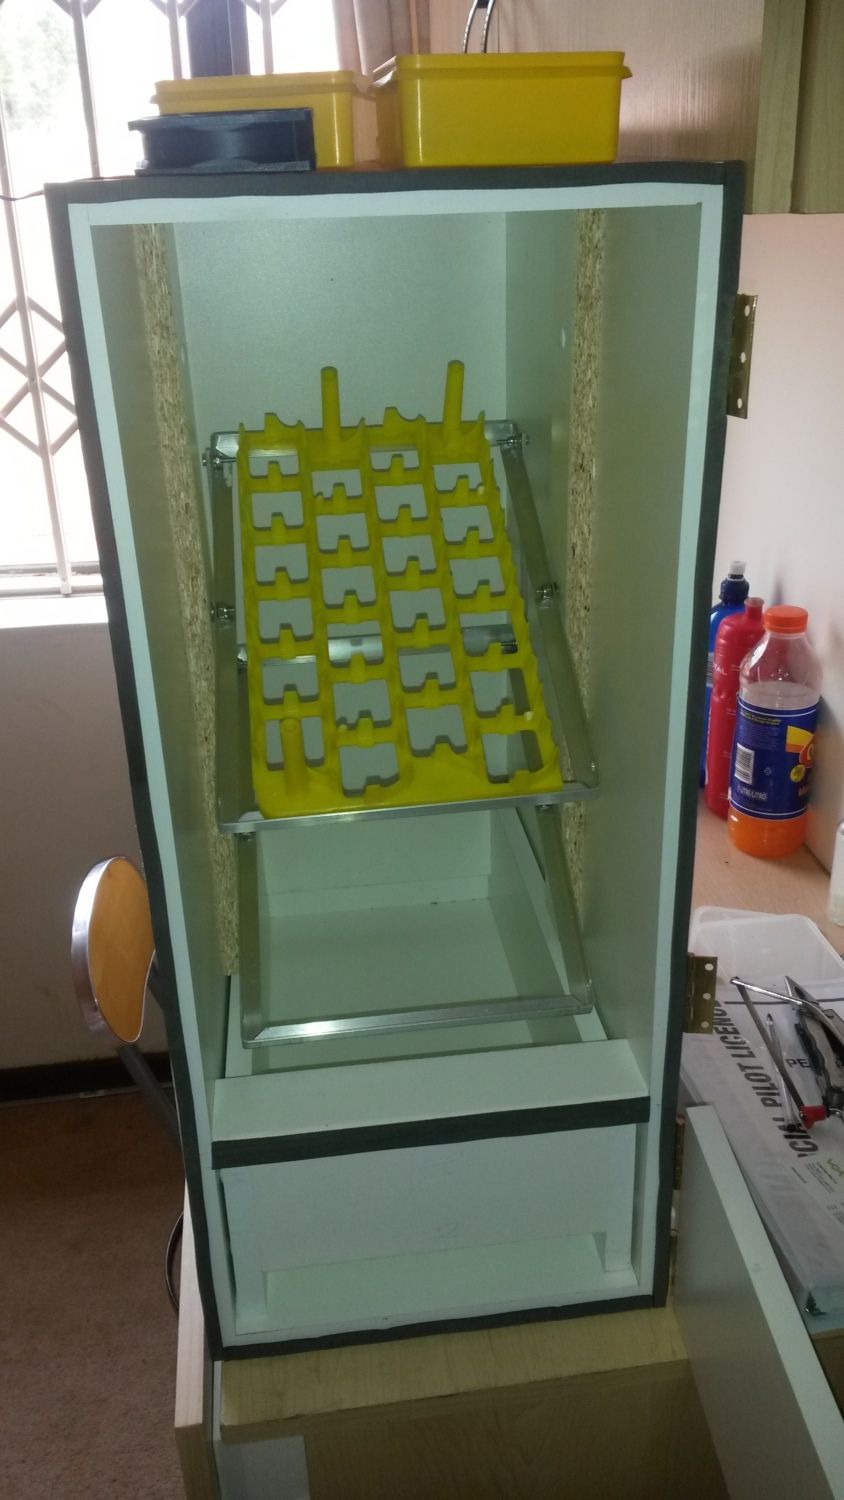
Inside with egg tray in position. The unit takes 2 of these
carrying a max of 60 chicken eggs. This particular tray has been
Cut to fit a previous device.
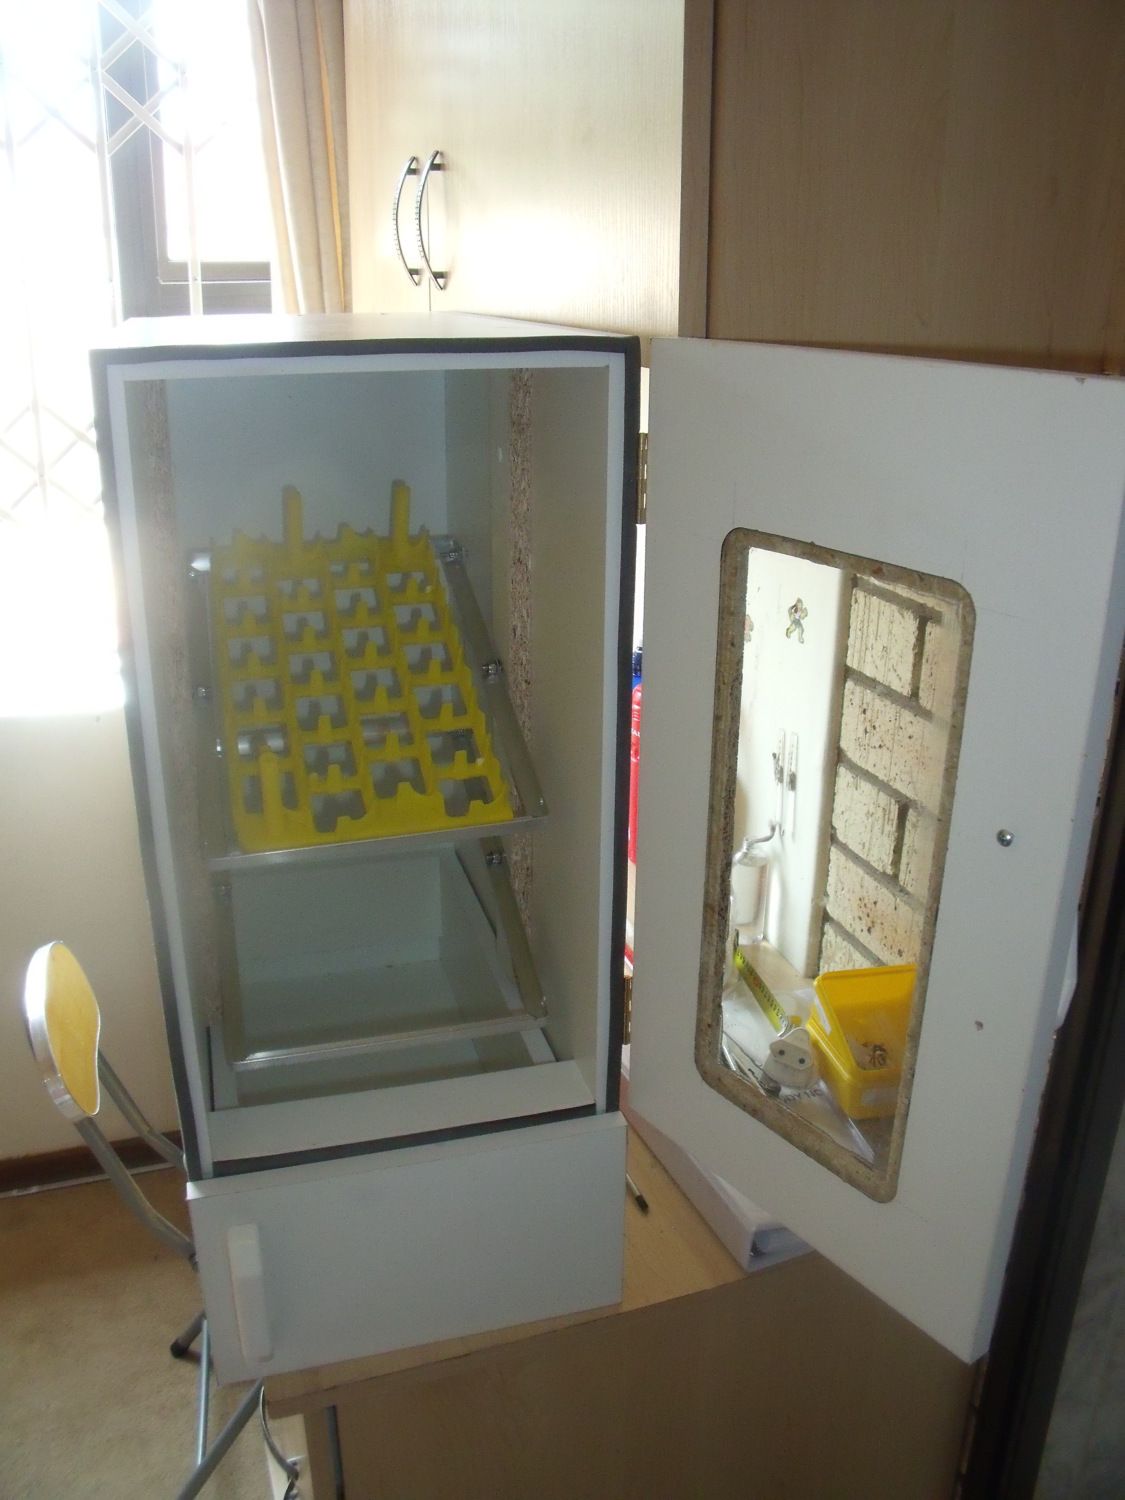
This time with door fitted
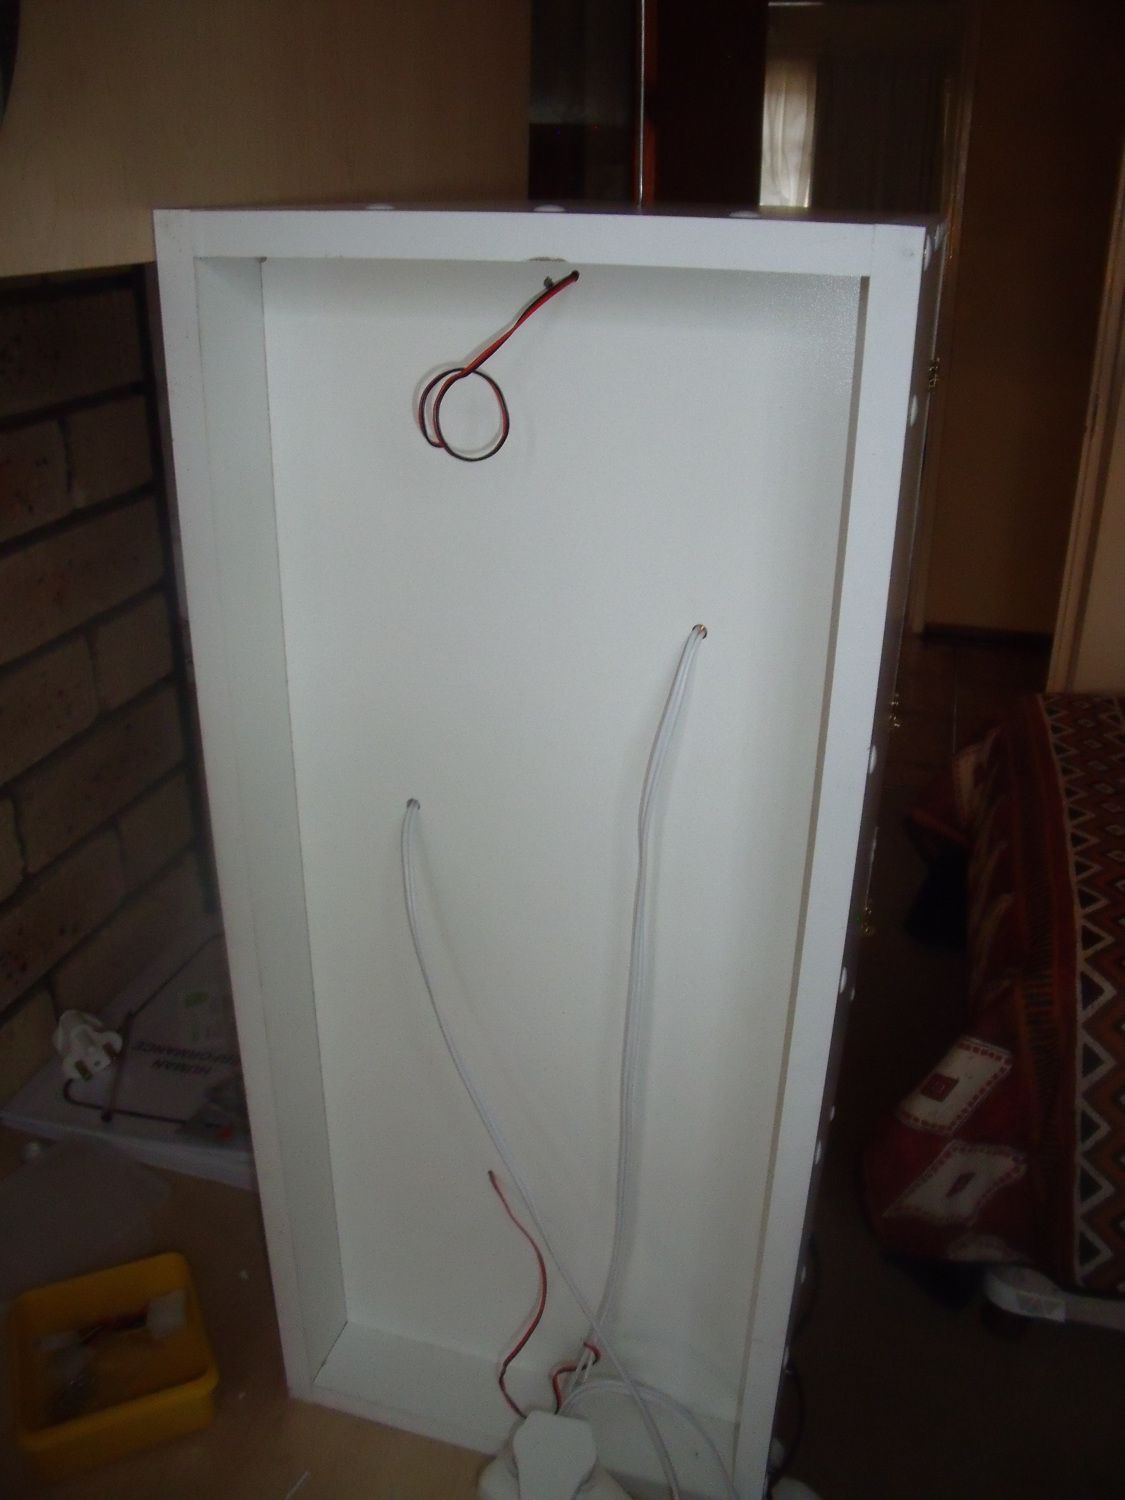
The rear awaiting the circuit board. This will have a thermostat
mounted which will, in turn, switch on the heating and fans.

Inside with lights, heaters, on. Also the 2 fans are in place for
circulating the air. Top centre and lower back centre.
The wire in the middle is my turner. Pull up and push down.
Simple and effective.
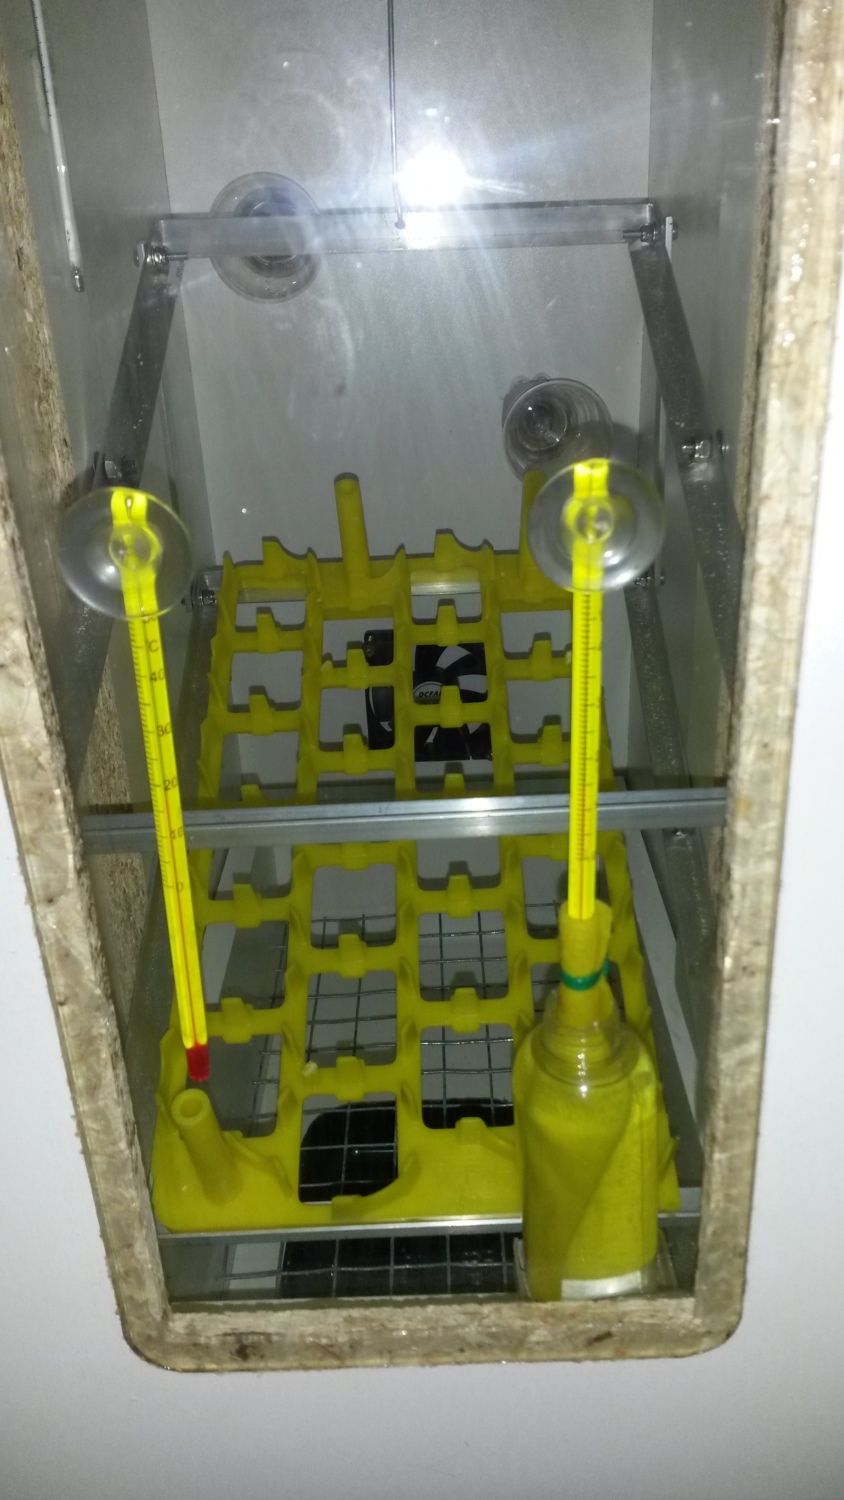
Showing the wet bulb and normal thermometers. Also the
water tray below the hatching rack. The rack will be covered
with a suitable product to prevent the chicks form injuring
feet and whatever.
Basic equipment but I believe successful.
That is pretty much it. Took about a week to build in between
my regular job and cost the equivalent of about $ 80. Circuit
board is free this time, so add any electronics you wish.
Any questions I will do my best to answer.
I am new here and have used numerous forums to research info. Thank you.
Anyway, I have now built my incubator, still to be tested, and thought of showing some pics and detail. The electronics circuitry is on it's way.
Size 650x530x282mm. Sorry guys but you will have to follow metric for a while
Wood 16mm Chipboard covered with melamine
Heat source 2x 60 watt globes. Possibly upgrade to an element at some stage.
The basic box with drawer to be used as the hatcher area.
Top of box showing holes through which fresh air will be drawn
by a 12v computer fan situated on the inside. Also shown is
my high tech turning device. Seen later on the inside.
Side showing holes for ventilation
Inside with egg tray in position. The unit takes 2 of these
carrying a max of 60 chicken eggs. This particular tray has been
Cut to fit a previous device.
This time with door fitted
The rear awaiting the circuit board. This will have a thermostat
mounted which will, in turn, switch on the heating and fans.
Inside with lights, heaters, on. Also the 2 fans are in place for
circulating the air. Top centre and lower back centre.
The wire in the middle is my turner. Pull up and push down.
Simple and effective.
Showing the wet bulb and normal thermometers. Also the
water tray below the hatching rack. The rack will be covered
with a suitable product to prevent the chicks form injuring
feet and whatever.
Basic equipment but I believe successful.
That is pretty much it. Took about a week to build in between
my regular job and cost the equivalent of about $ 80. Circuit
board is free this time, so add any electronics you wish.
Any questions I will do my best to answer.
Last edited:

