Well, here's the pictures of the building and moving in phase.
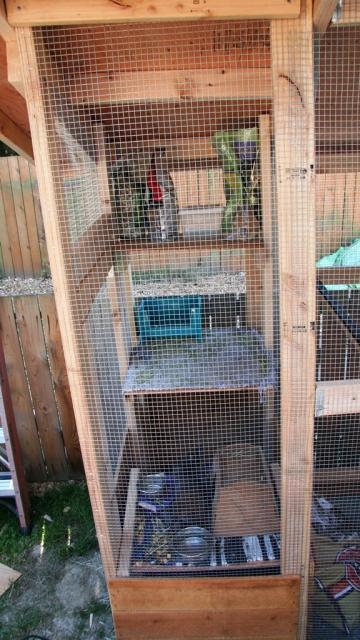
The dimensions are 4'x13'x7'h>6'h. I made 4'x2' for a rabbit hutch and the rest for the ladies.
Let me first say I am in no way a carpenter, but I find projects like this one very rewarding and fun to do with my kids.
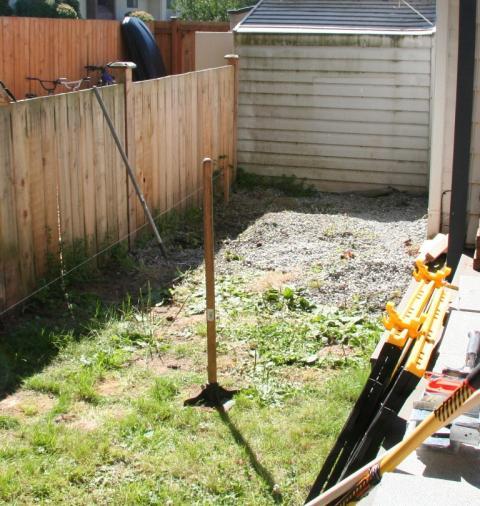
Here we started with a location that provided enough space for 4'x13'.
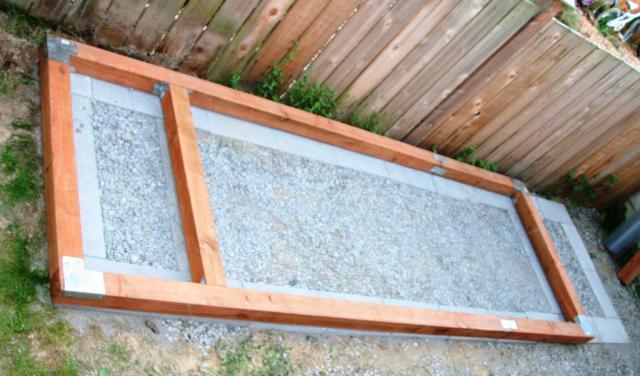
We have the brick foundation with gravel in the middle. on top we put the 4x4 treated lumber framing down. attached to the 4x4 underneath is the 1" square wire cloth so no animals could dig under.
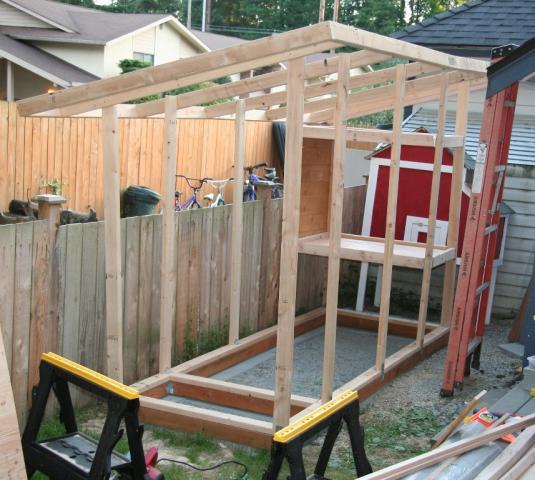
I have the basic framing done at this point.
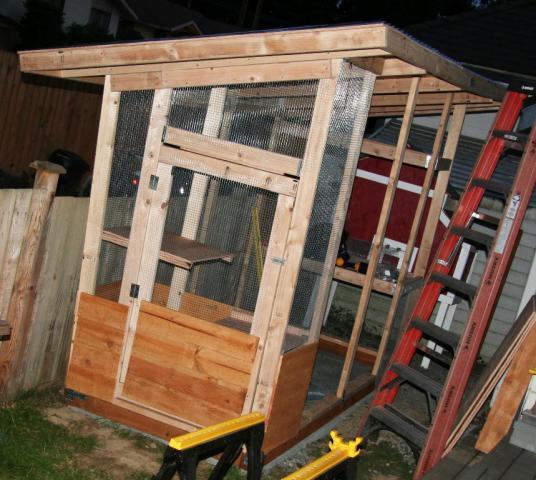
This one I had finished most of the rabbit hutch portion.
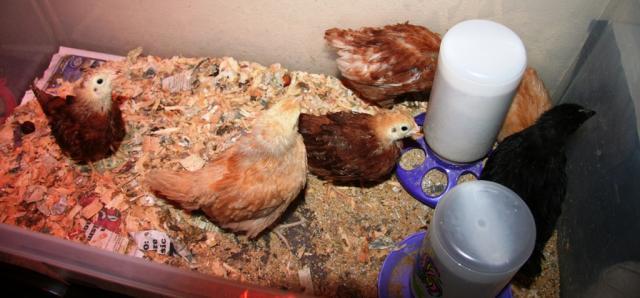
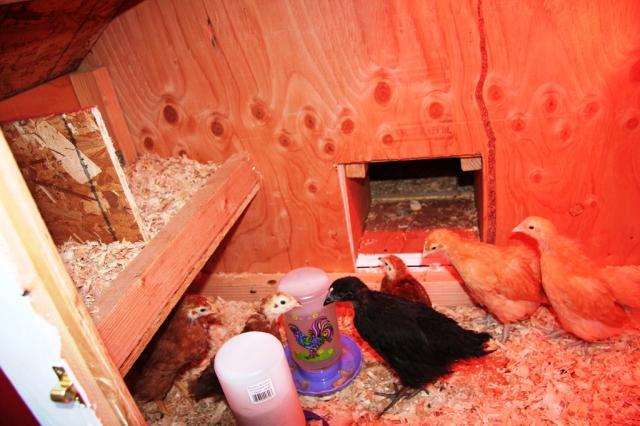
As you can see the 6 ladies are growing fast and require the project to be done sooner rather than later.
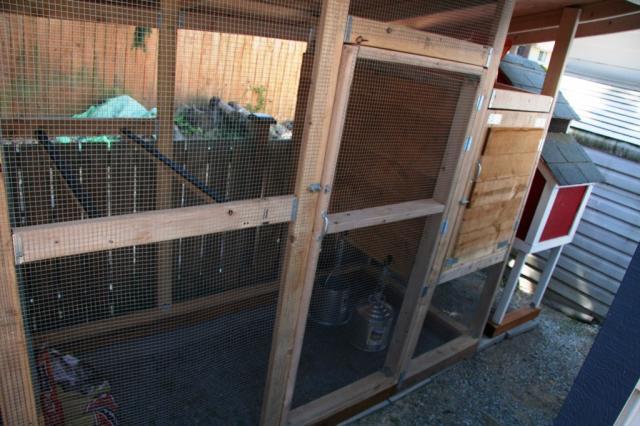
Almost done!
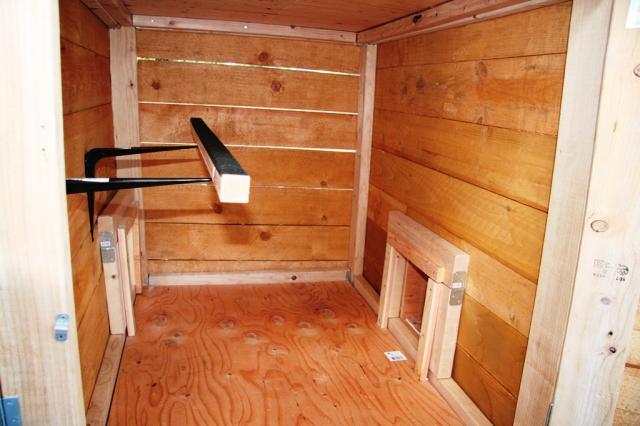
First housing area for some weather protection with an internal roost. This is the area the chicks first enter from outside and I put in a door on the side for full access.
I used a red coop that a friend gave me. I originally planned for the red coop with a small run off it, but quickly my plans changed to something more grande.
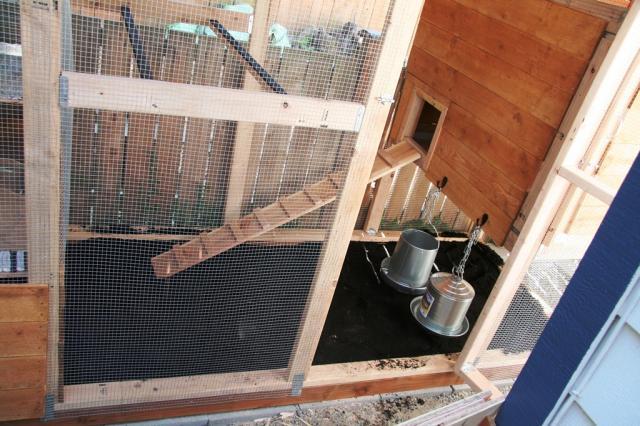
This is the tunnel I built to go between the original red coop and the first housing structure.
Completed rabbit hutch with Jazzie enjoying the new digs.
I put down topsoil for the ground. The ramp goes into the first housing. I have since put on a door to the housing with latches so I can keep them enclosed when necessary.
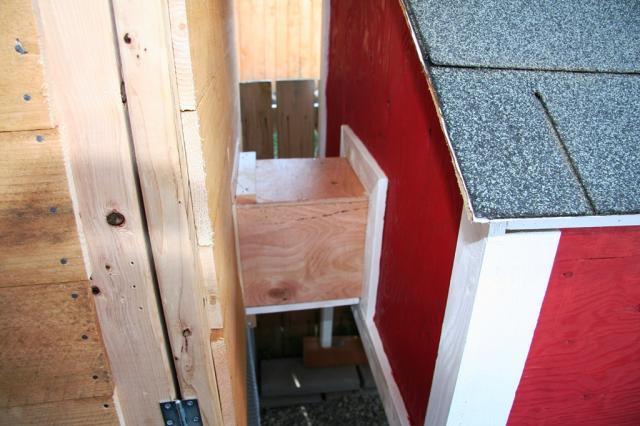
Here's the ladies in their new home. This is the back portion (red coop) where the nesting box is located.
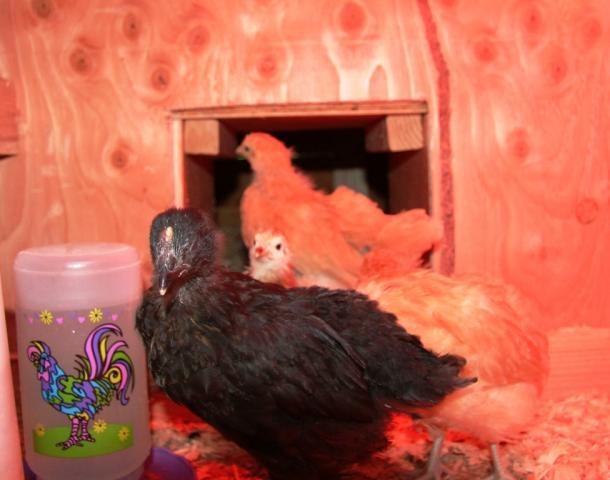
Hello!
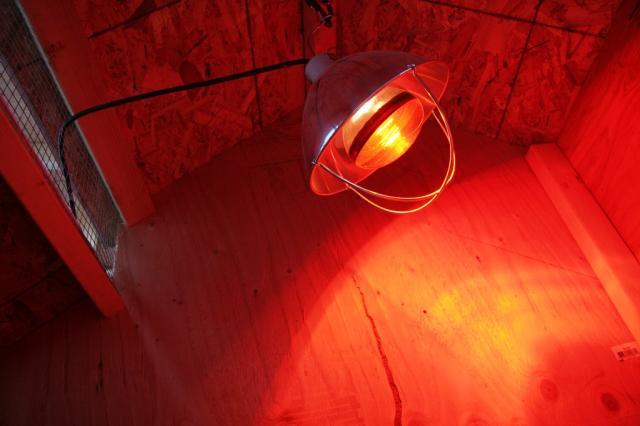
In the back coop area with nesting boxes I also installed a heat lamp for warmth during the winter.
Now Jazzie will be able to deliver The Ladies' eggs come Easter!


 Helpful hints for building coops
 Poultry shows... info for a newbie!


 BYC's 52-Week Photography Challenge — Week 12: Details! — Mar 23–29, 2026

