Well I've finally done it. Started my serama pens. I set myself the challenge of building funtional, frugal, and hopefully totally free pens and I intended to follow through. Yesterday was my first opportunity to do so. I cleaned the barn and went through everything, throwing out what we could live without, an left an empty half of the barn for my pens. I thought I'd log my progress and thoughts and mistakes here.
Day 1-
Money Spent: A little on gas when I went to pick up the pallets (like a mile away at the grain store) but other than that $0.00
Hours Spent on Project: 7
Materials:
-2 Pallets (4' X 3' 4'')
- A 2X4 board
-Two peices of 12 ft. strapping
-Chicken wire scraps and part of a whole roll I found while cleaning the barn
-Misc. nails, screws and hinges from the jar on the workbench
Tools:
-Hammer
-Screwdriver
-Saw
-A couple bricks and cement blocks to hold/prop up stuff
-Power Drill
Steps:
-Started pen #1 by putting up the 2X4 as a support.
-Thought about doing step by step photos, decided I was too lazy.
-Started to put the first pallet side wall, discovered my barn was built by crazy people who don't know how to make rafters perpendicular to the floor, muttered profanity under my breath for a few minutes, then tore it all down.
-Wedged another board under the 2X4 and nailed it in.
-Nails fell out....found longer nails...tore it down and tried screws...
-Put up side wall again.
-Discovered that building doesn't take a whole lot of brain power. Mind wandered...
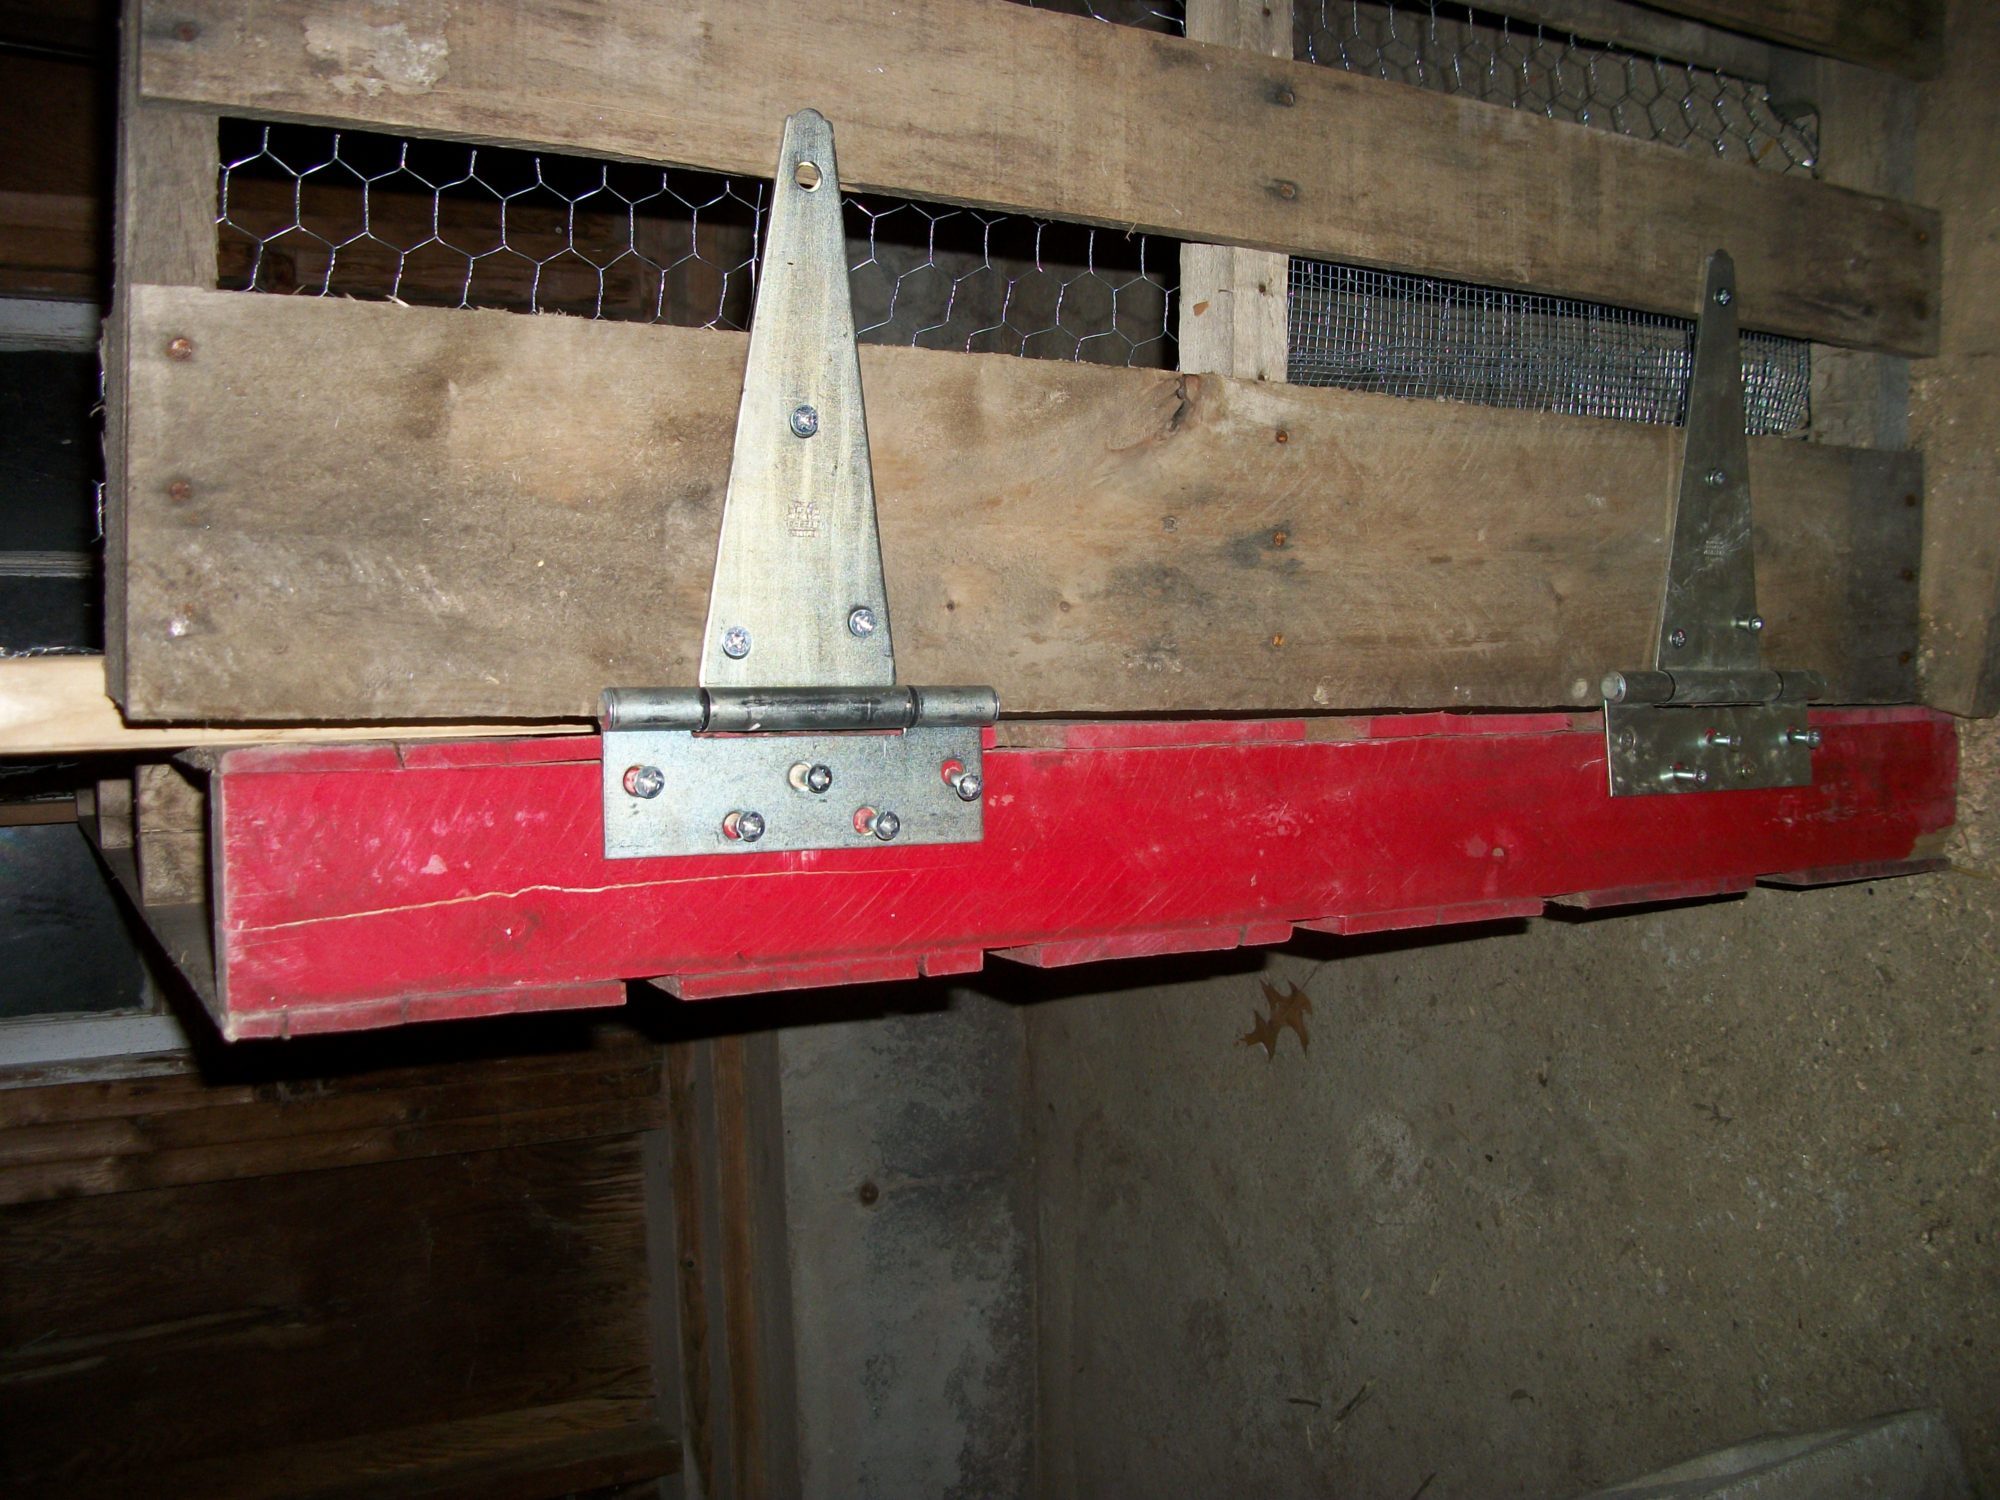
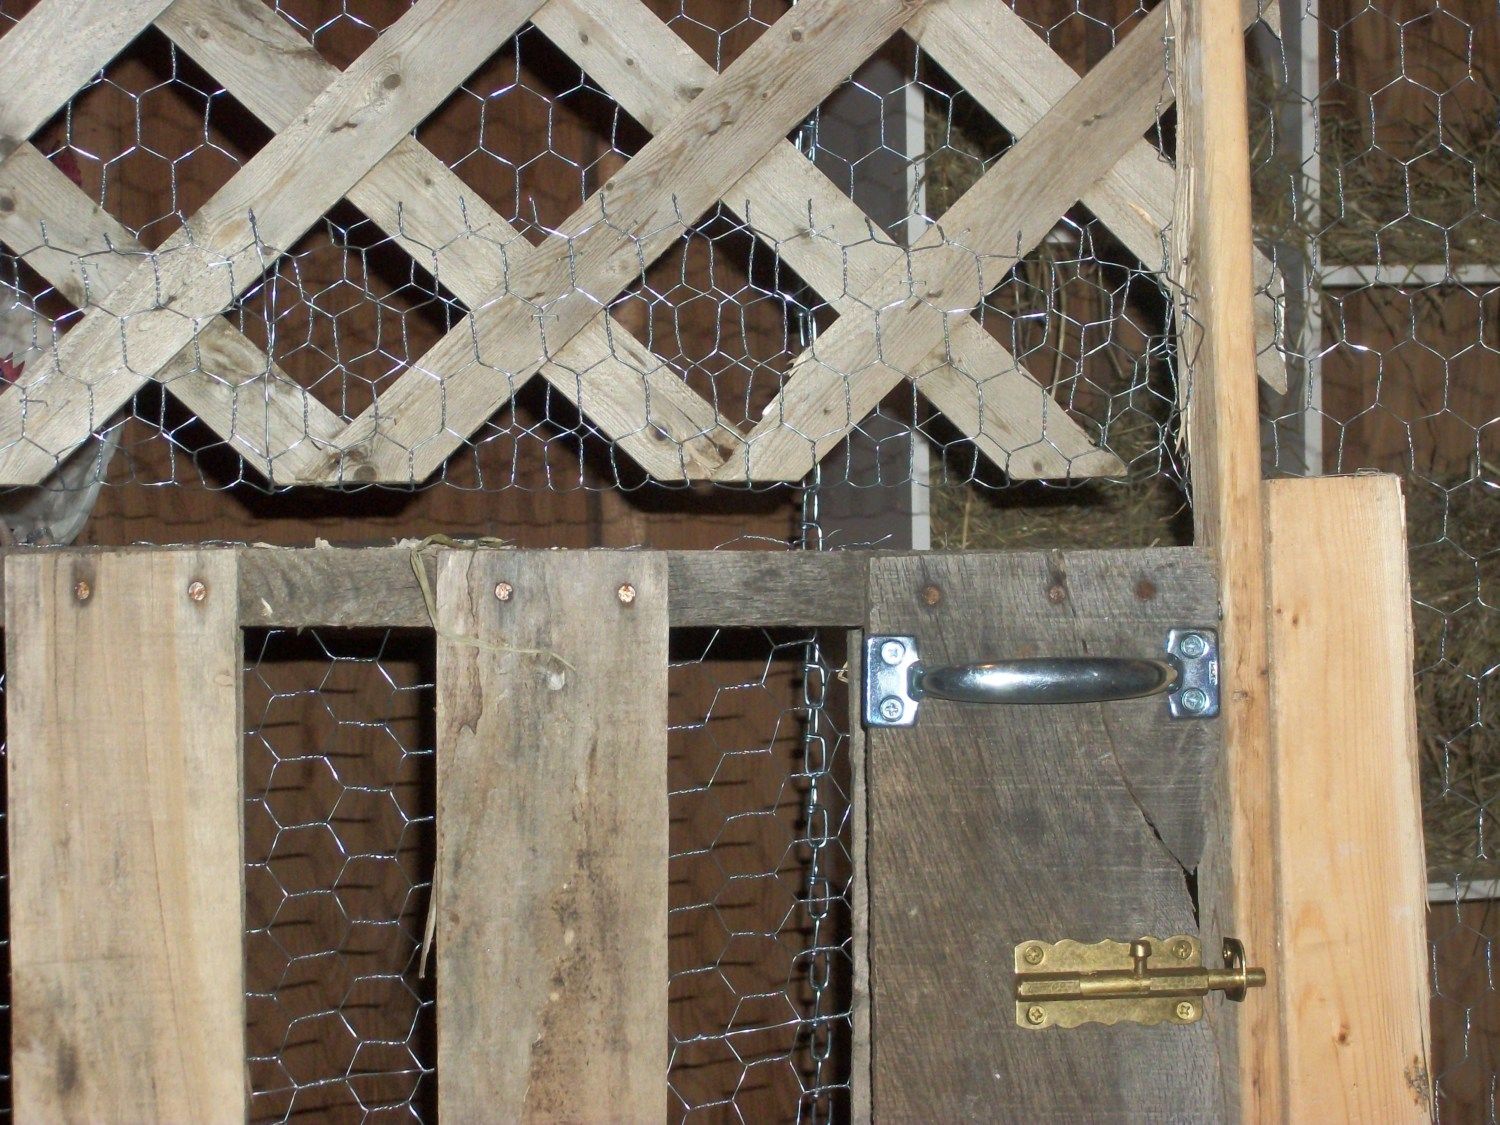
- Put hinges on doors. Of course, the electric screwdriver stripped the inside of all the screws so I can't get them further in or out. No idea what I'm gonna do about that.
-Put a couple more supports
-Stapled chicken wire...ran out of staples... decided I was done for the day.
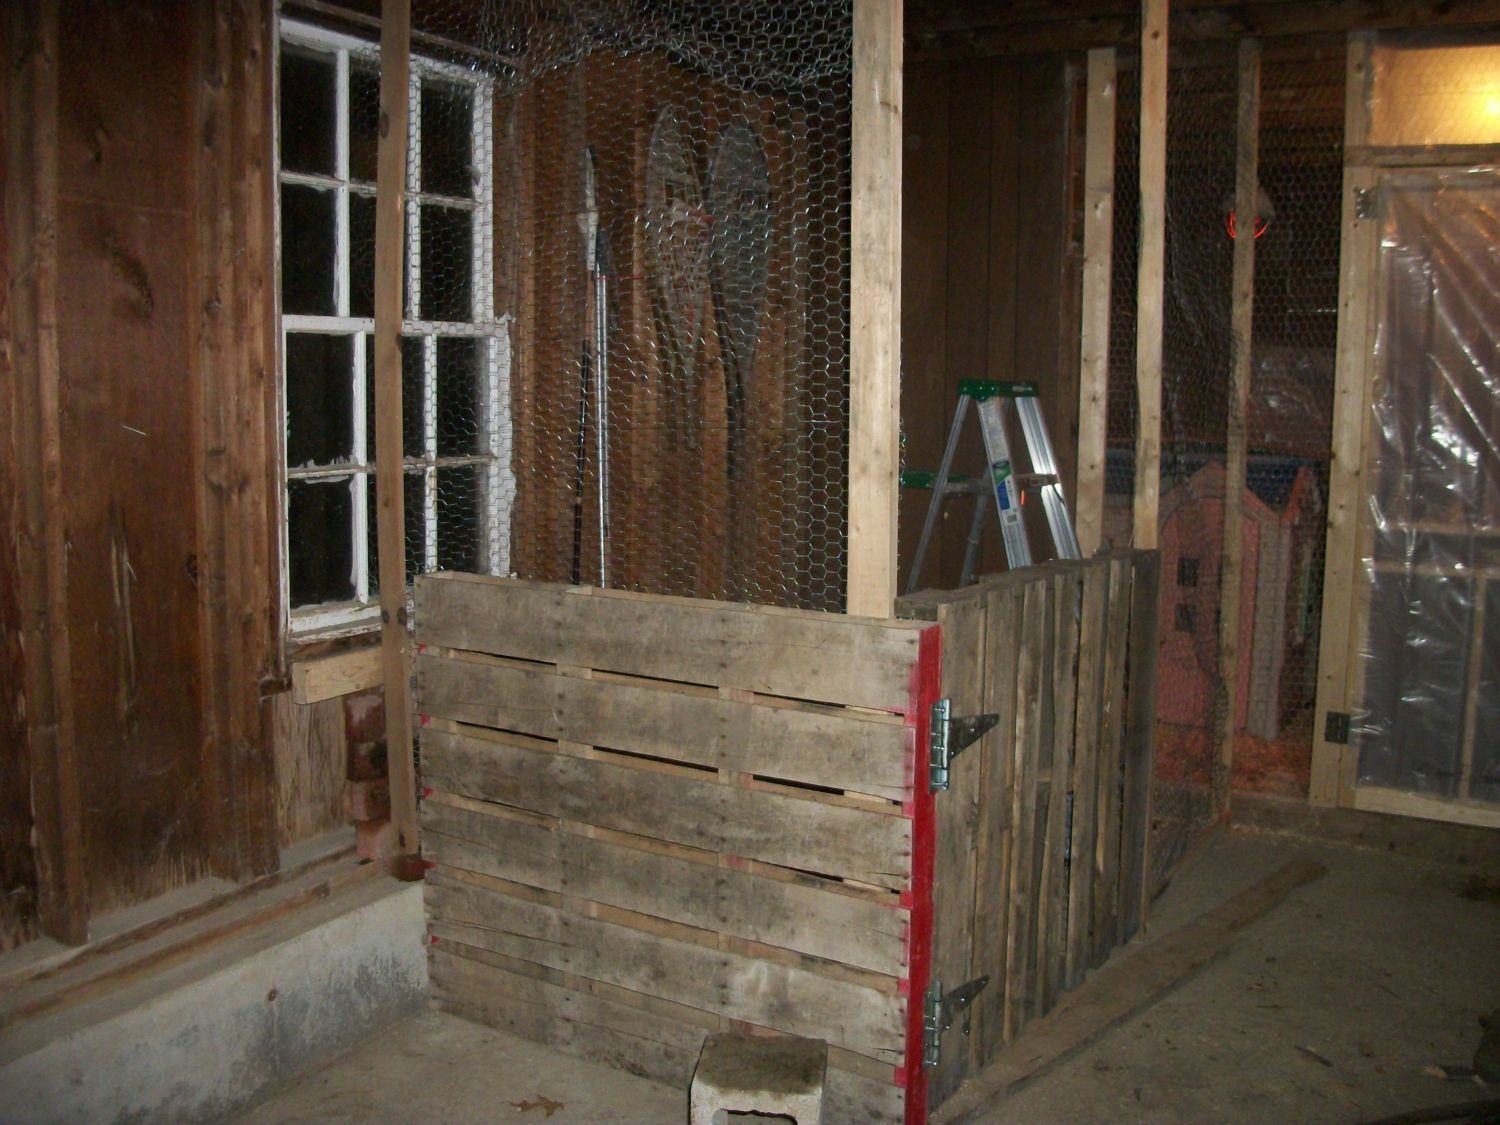
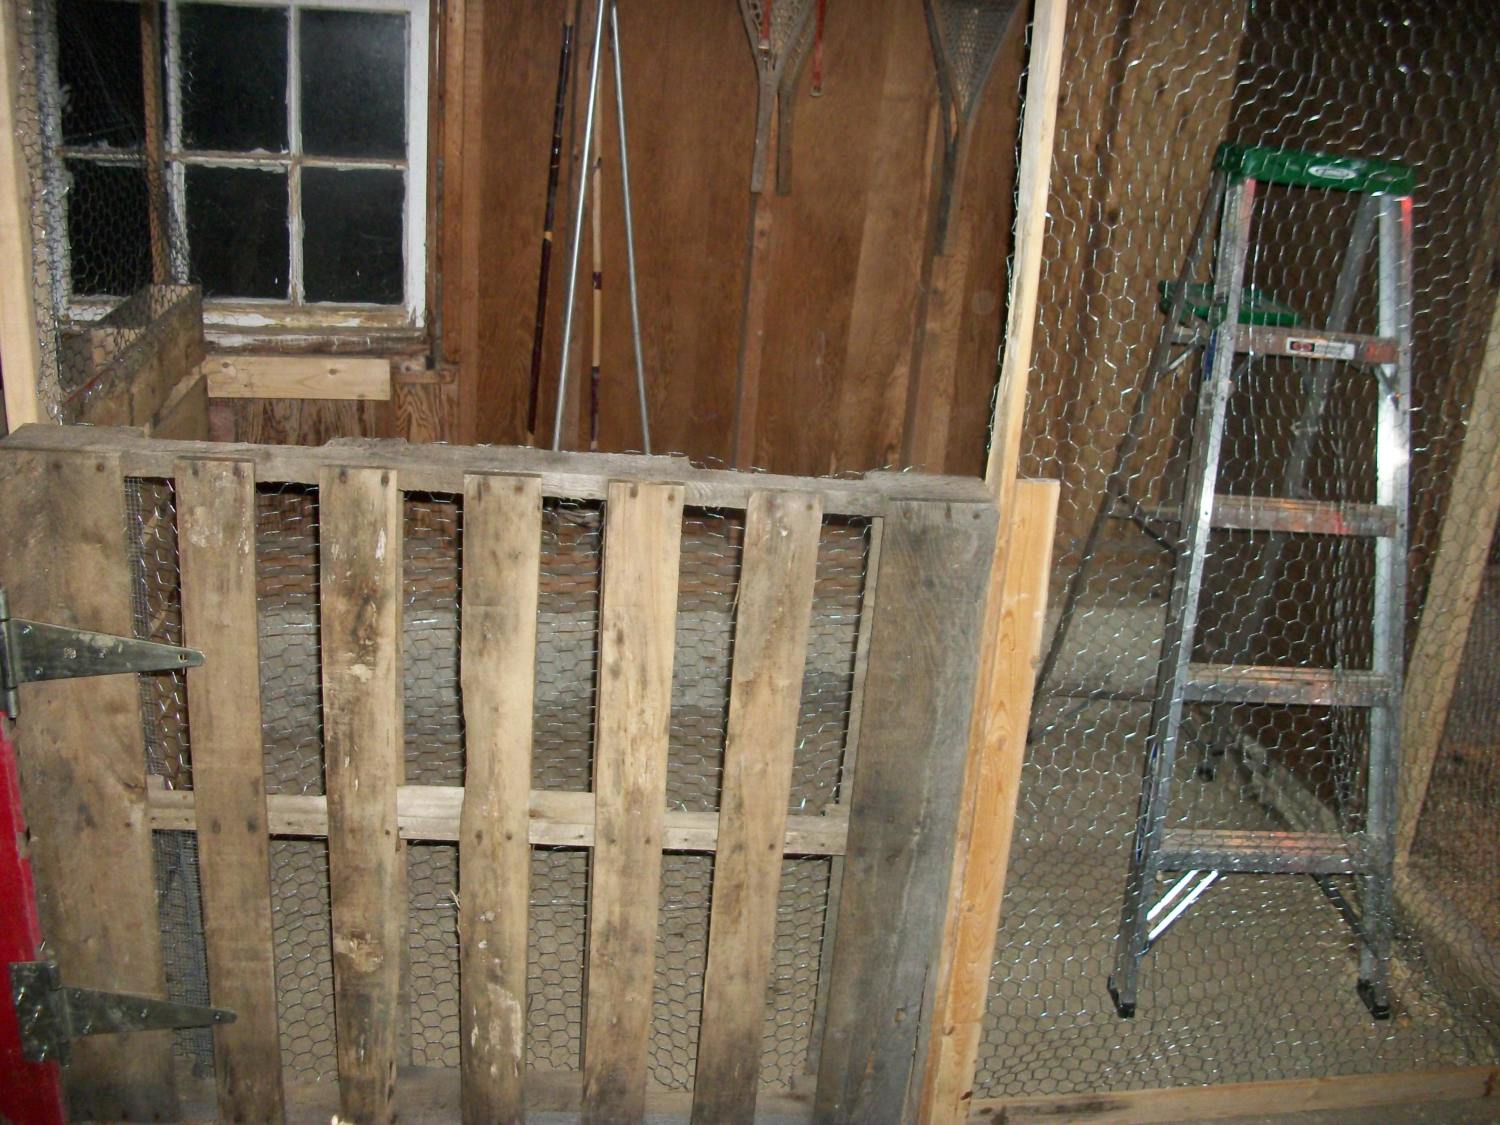
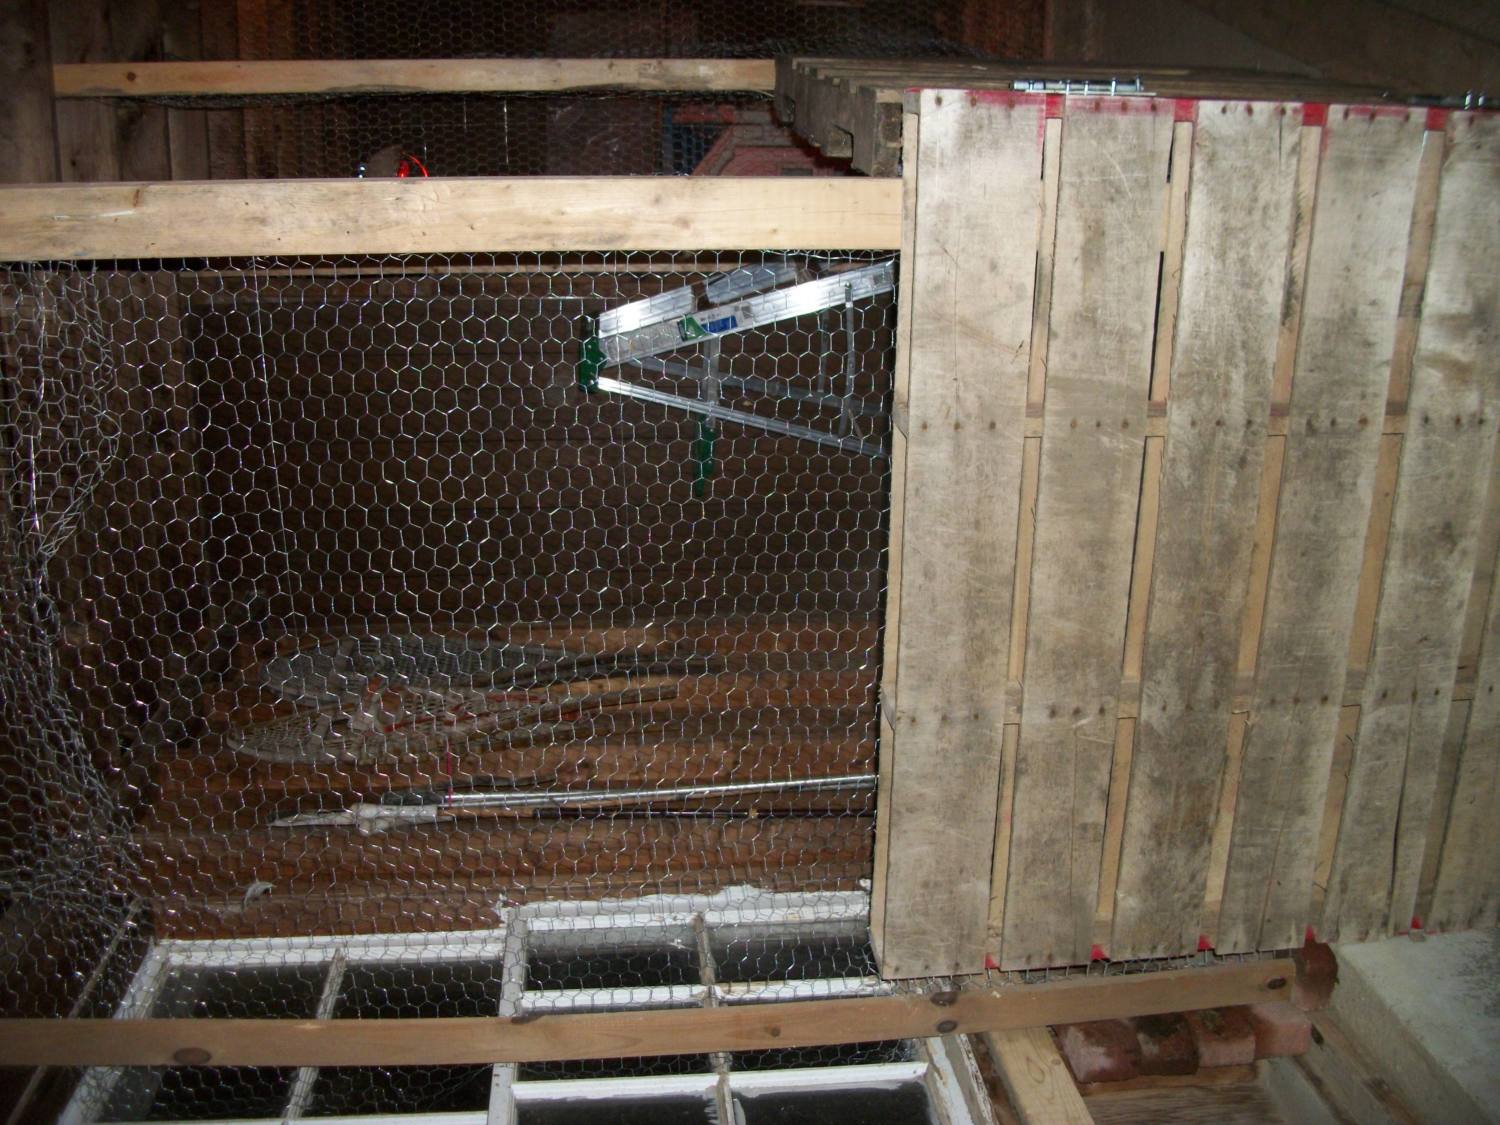
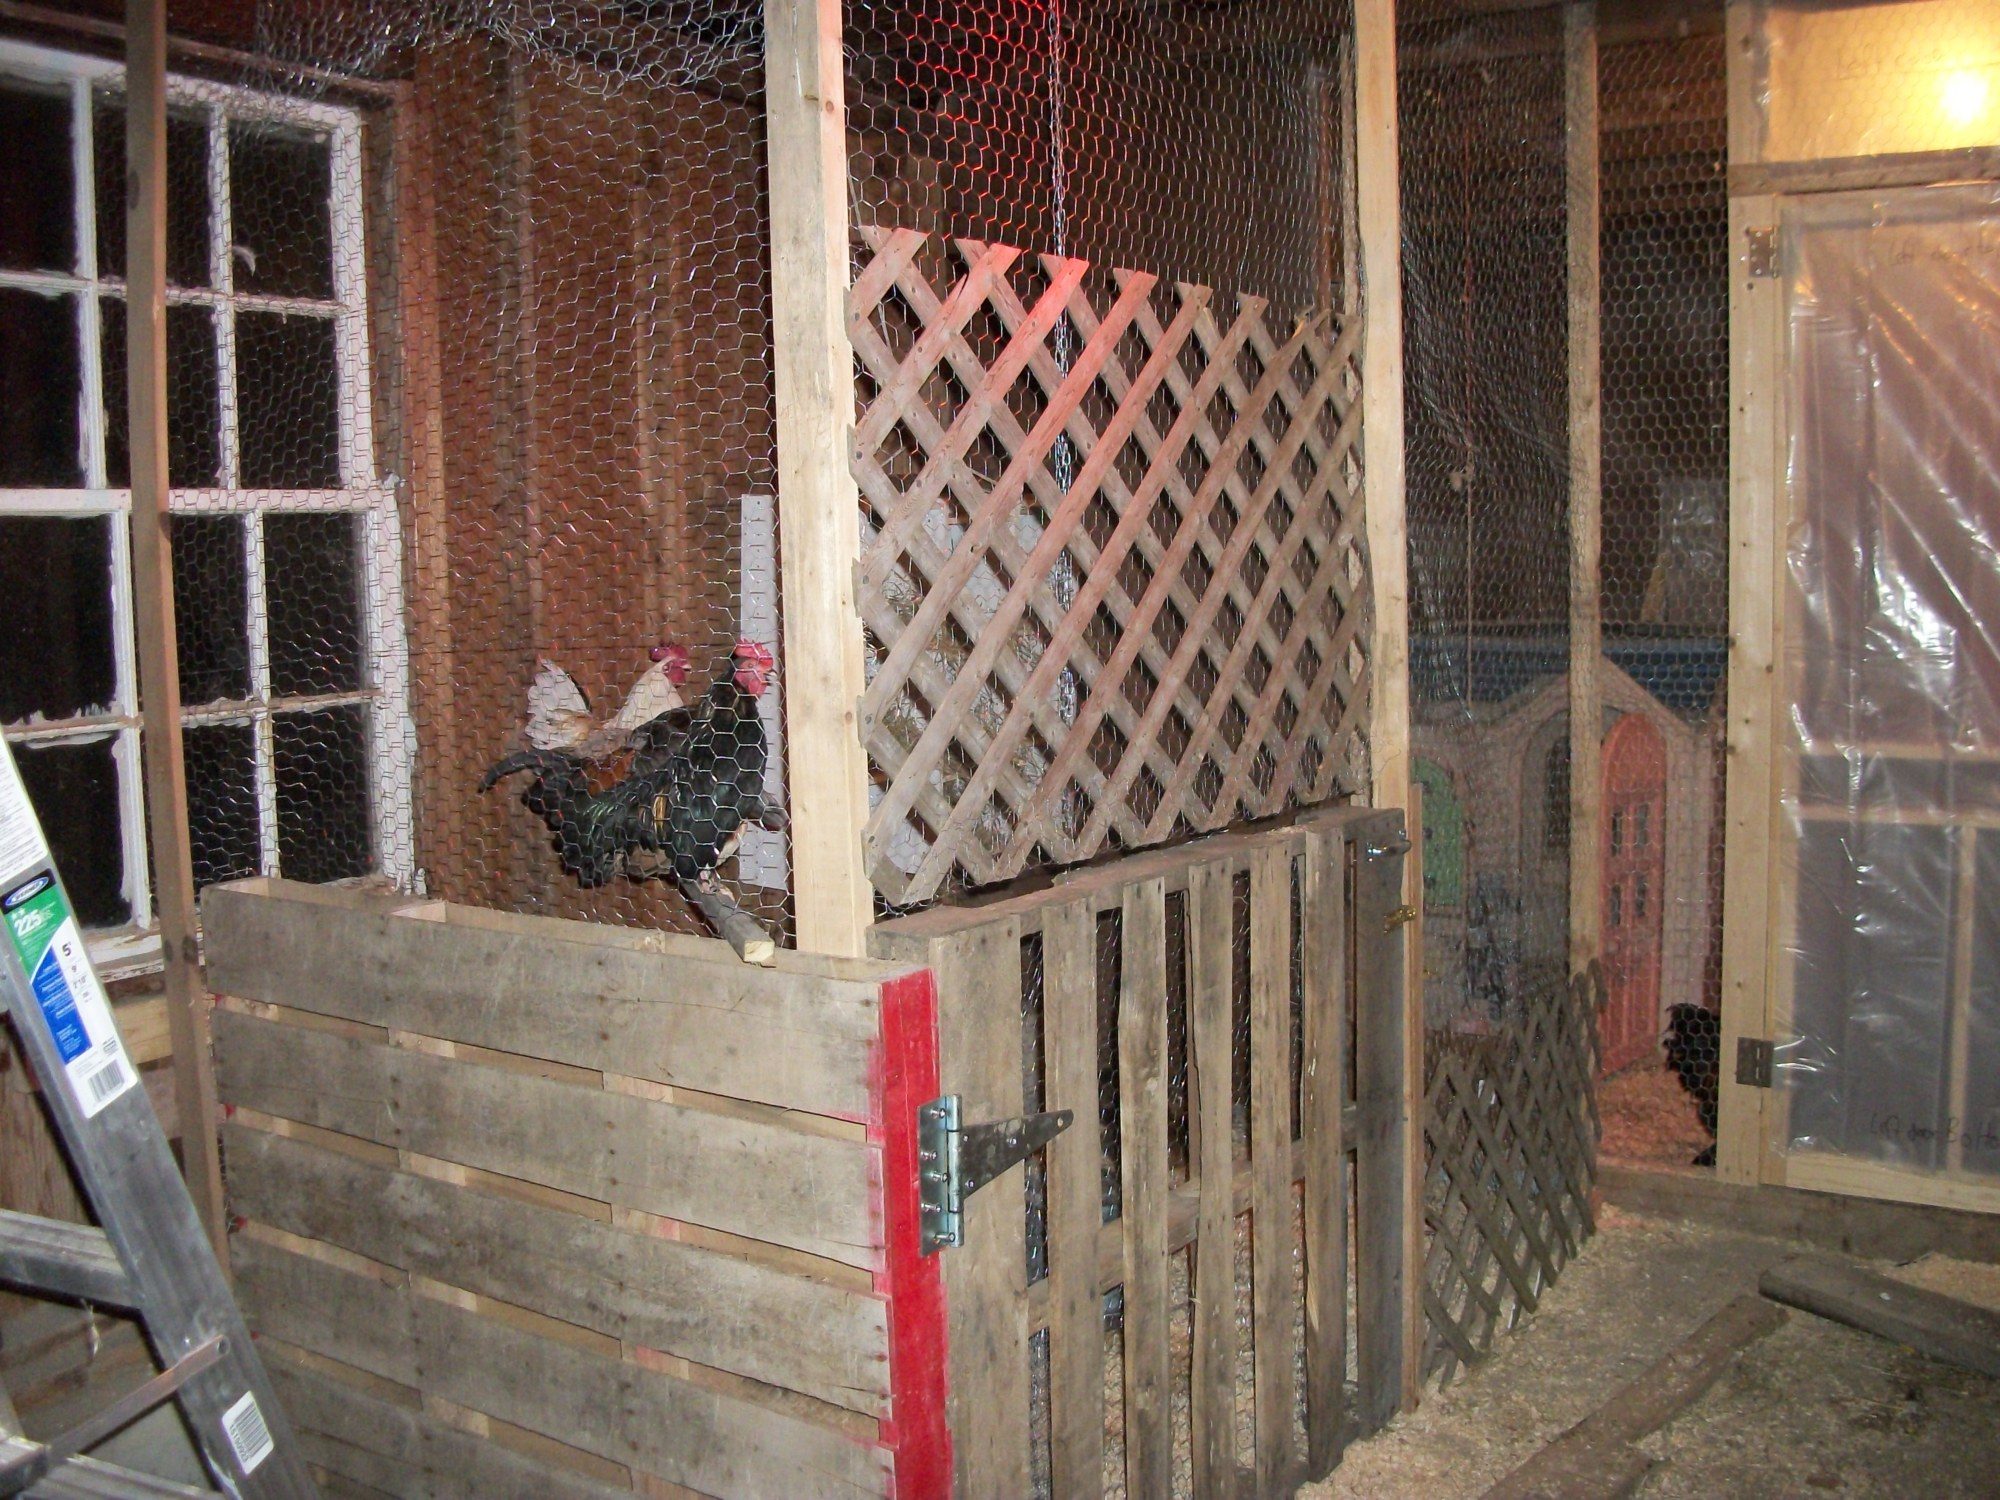
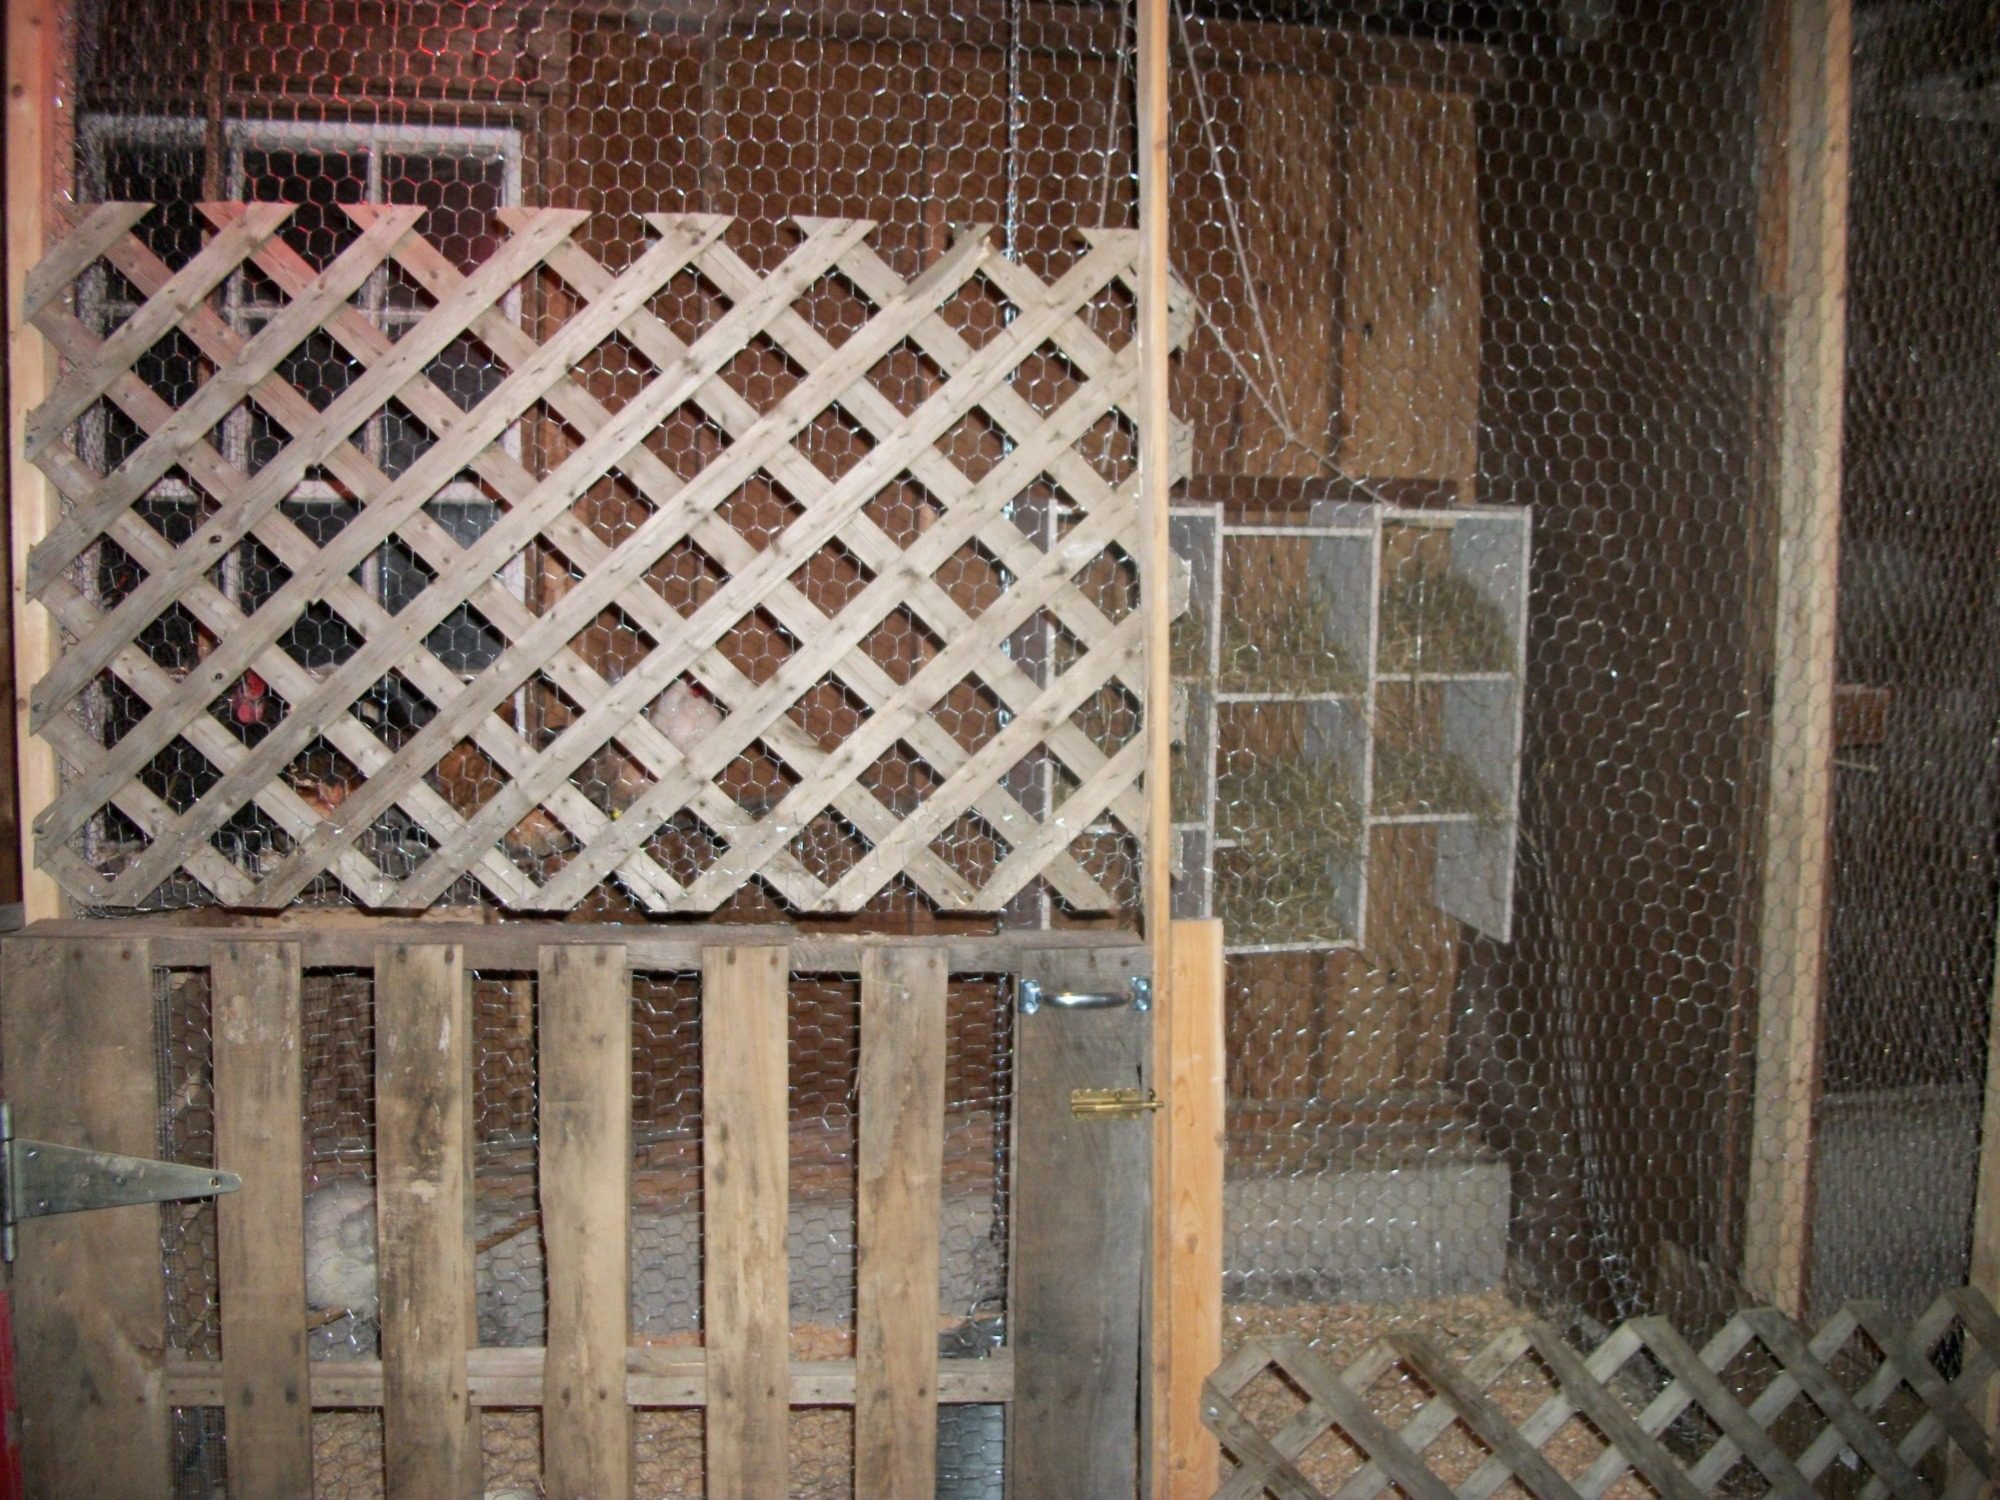
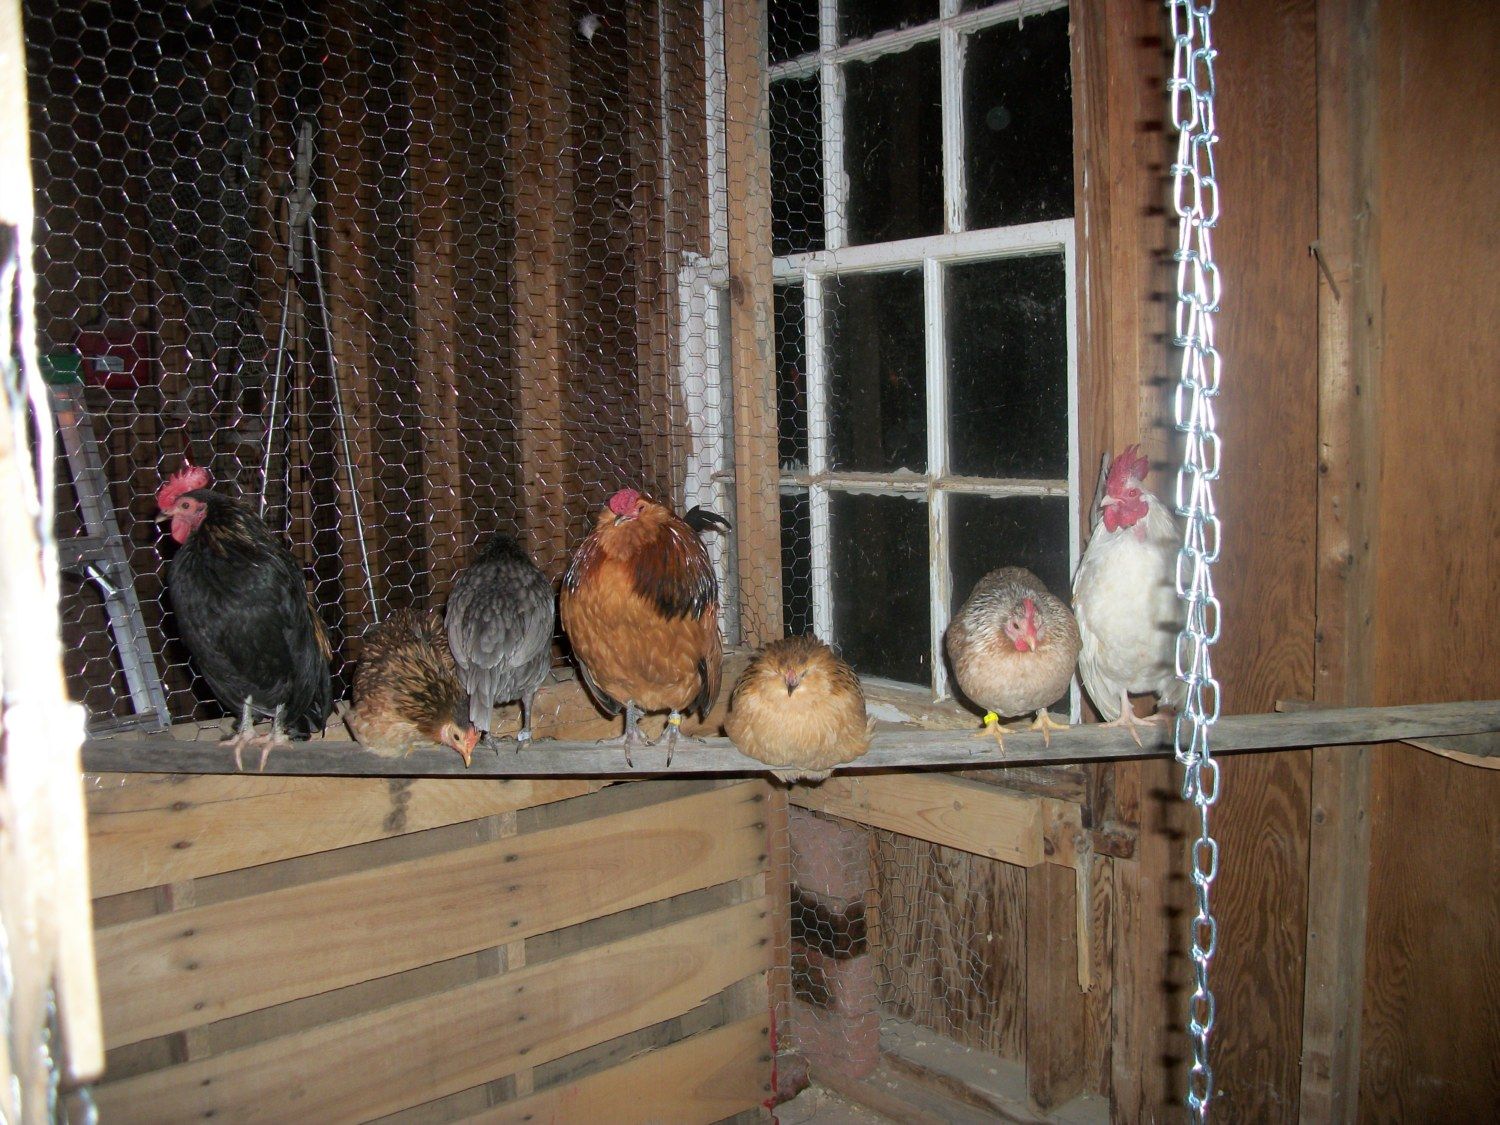
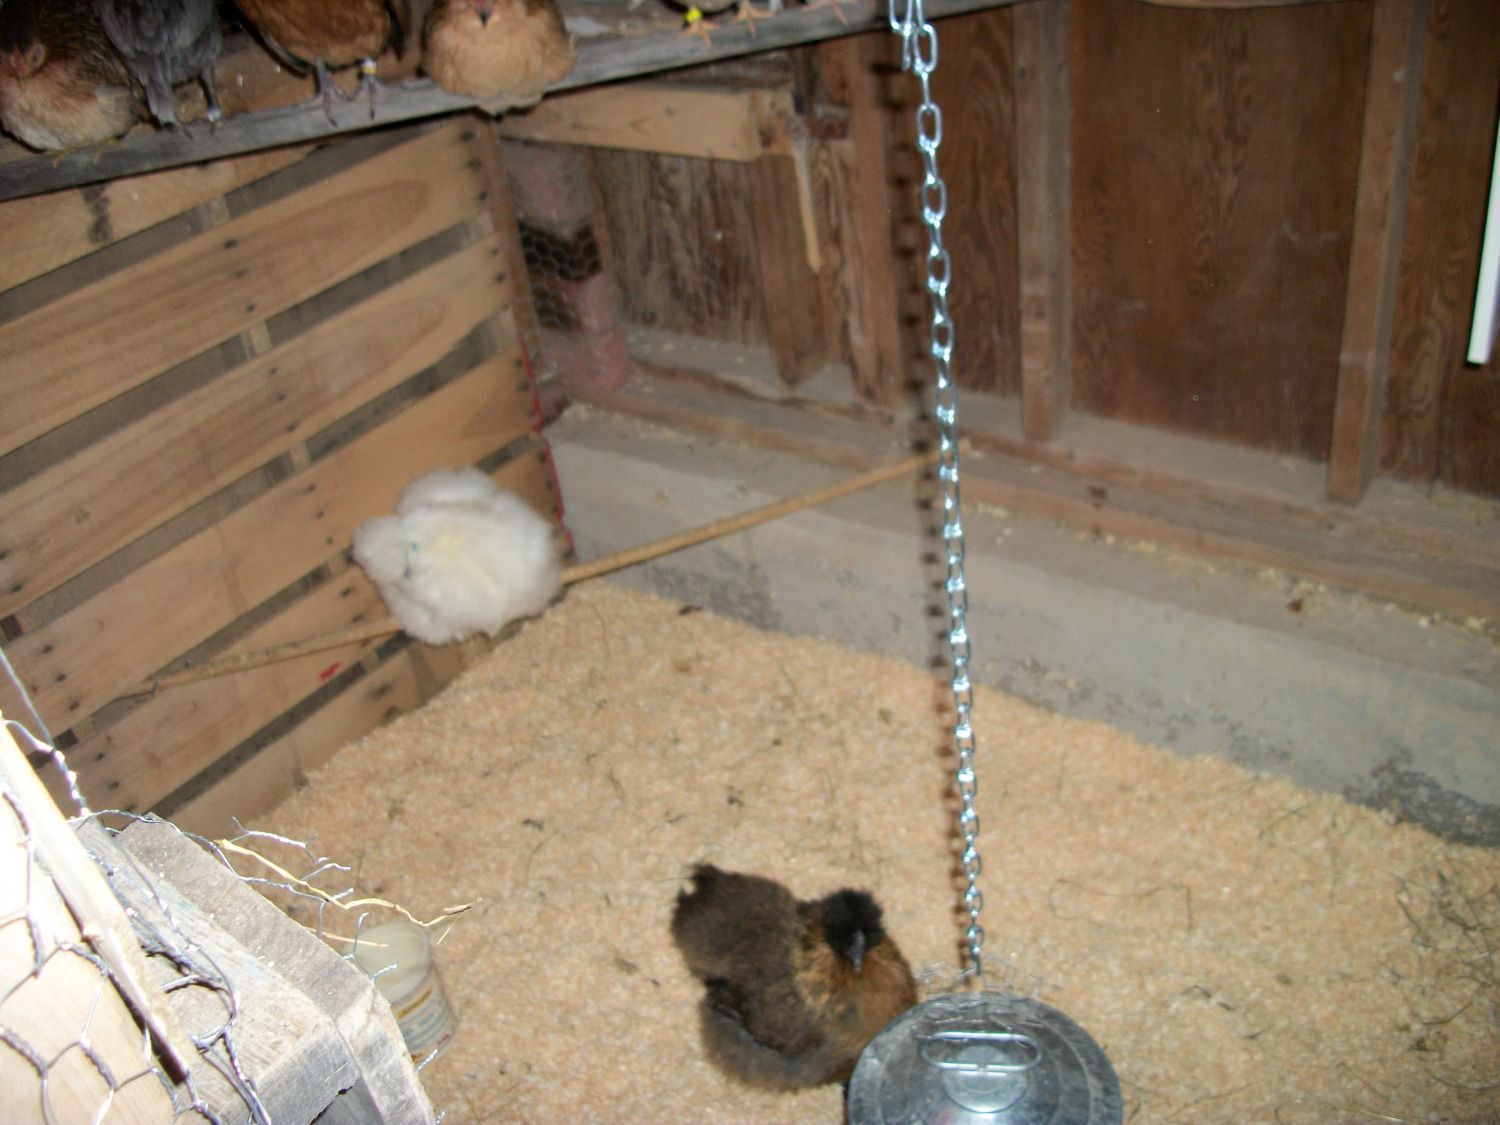
-Photographed pen:

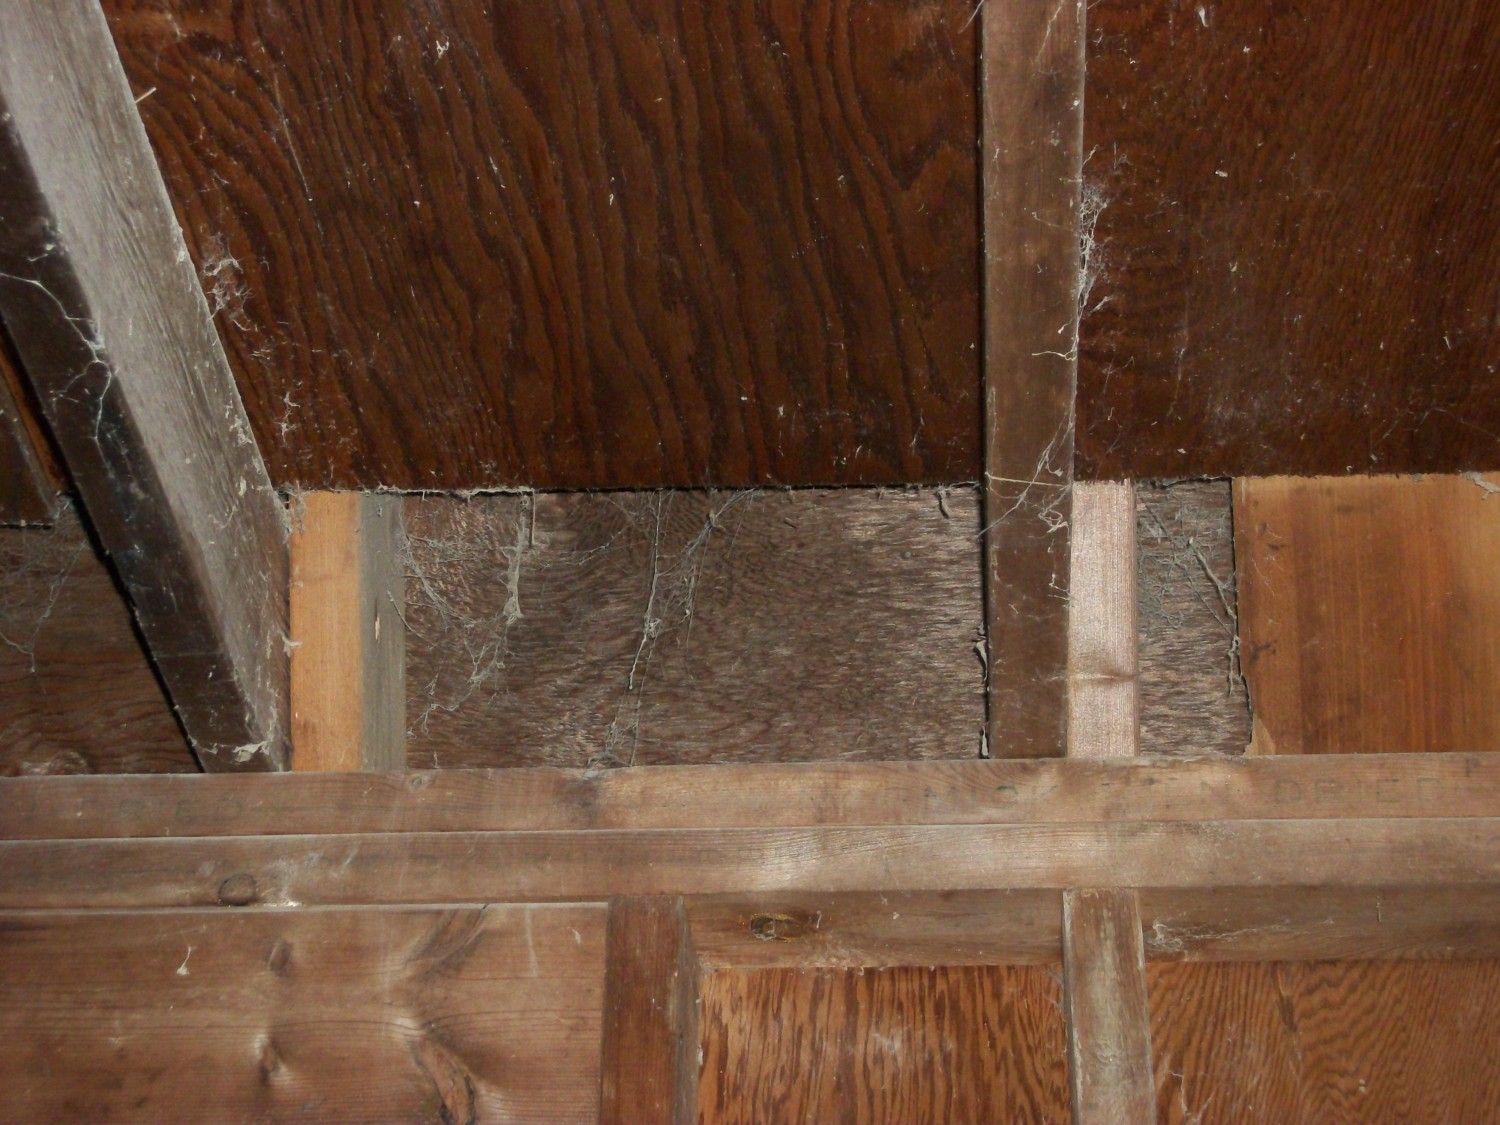
Still gotta fill in these gaps to the loft with hardware cloth...
This is the 4X8' grow out pen. I may also use it as an extra broody pen if my usual one is being used. It will likely have a couple resident silkies so I won't be tempted to fill it if it's empty for too long lol. I'll also have three or four smaller pens as well to house serama pairs or trios and my one D'anvers pair.
Day 1-
Money Spent: A little on gas when I went to pick up the pallets (like a mile away at the grain store) but other than that $0.00
Hours Spent on Project: 7
Materials:
-2 Pallets (4' X 3' 4'')
- A 2X4 board
-Two peices of 12 ft. strapping
-Chicken wire scraps and part of a whole roll I found while cleaning the barn
-Misc. nails, screws and hinges from the jar on the workbench
Tools:
-Hammer
-Screwdriver
-Saw
-A couple bricks and cement blocks to hold/prop up stuff
-Power Drill
Steps:
-Started pen #1 by putting up the 2X4 as a support.
-Thought about doing step by step photos, decided I was too lazy.
-Started to put the first pallet side wall, discovered my barn was built by crazy people who don't know how to make rafters perpendicular to the floor, muttered profanity under my breath for a few minutes, then tore it all down.
-Wedged another board under the 2X4 and nailed it in.
-Nails fell out....found longer nails...tore it down and tried screws...
-Put up side wall again.
-Discovered that building doesn't take a whole lot of brain power. Mind wandered...
- Put hinges on doors. Of course, the electric screwdriver stripped the inside of all the screws so I can't get them further in or out. No idea what I'm gonna do about that.
-Put a couple more supports
-Stapled chicken wire...ran out of staples... decided I was done for the day.
-Photographed pen:
Still gotta fill in these gaps to the loft with hardware cloth...
This is the 4X8' grow out pen. I may also use it as an extra broody pen if my usual one is being used. It will likely have a couple resident silkies so I won't be tempted to fill it if it's empty for too long lol. I'll also have three or four smaller pens as well to house serama pairs or trios and my one D'anvers pair.
Last edited:

")


")

