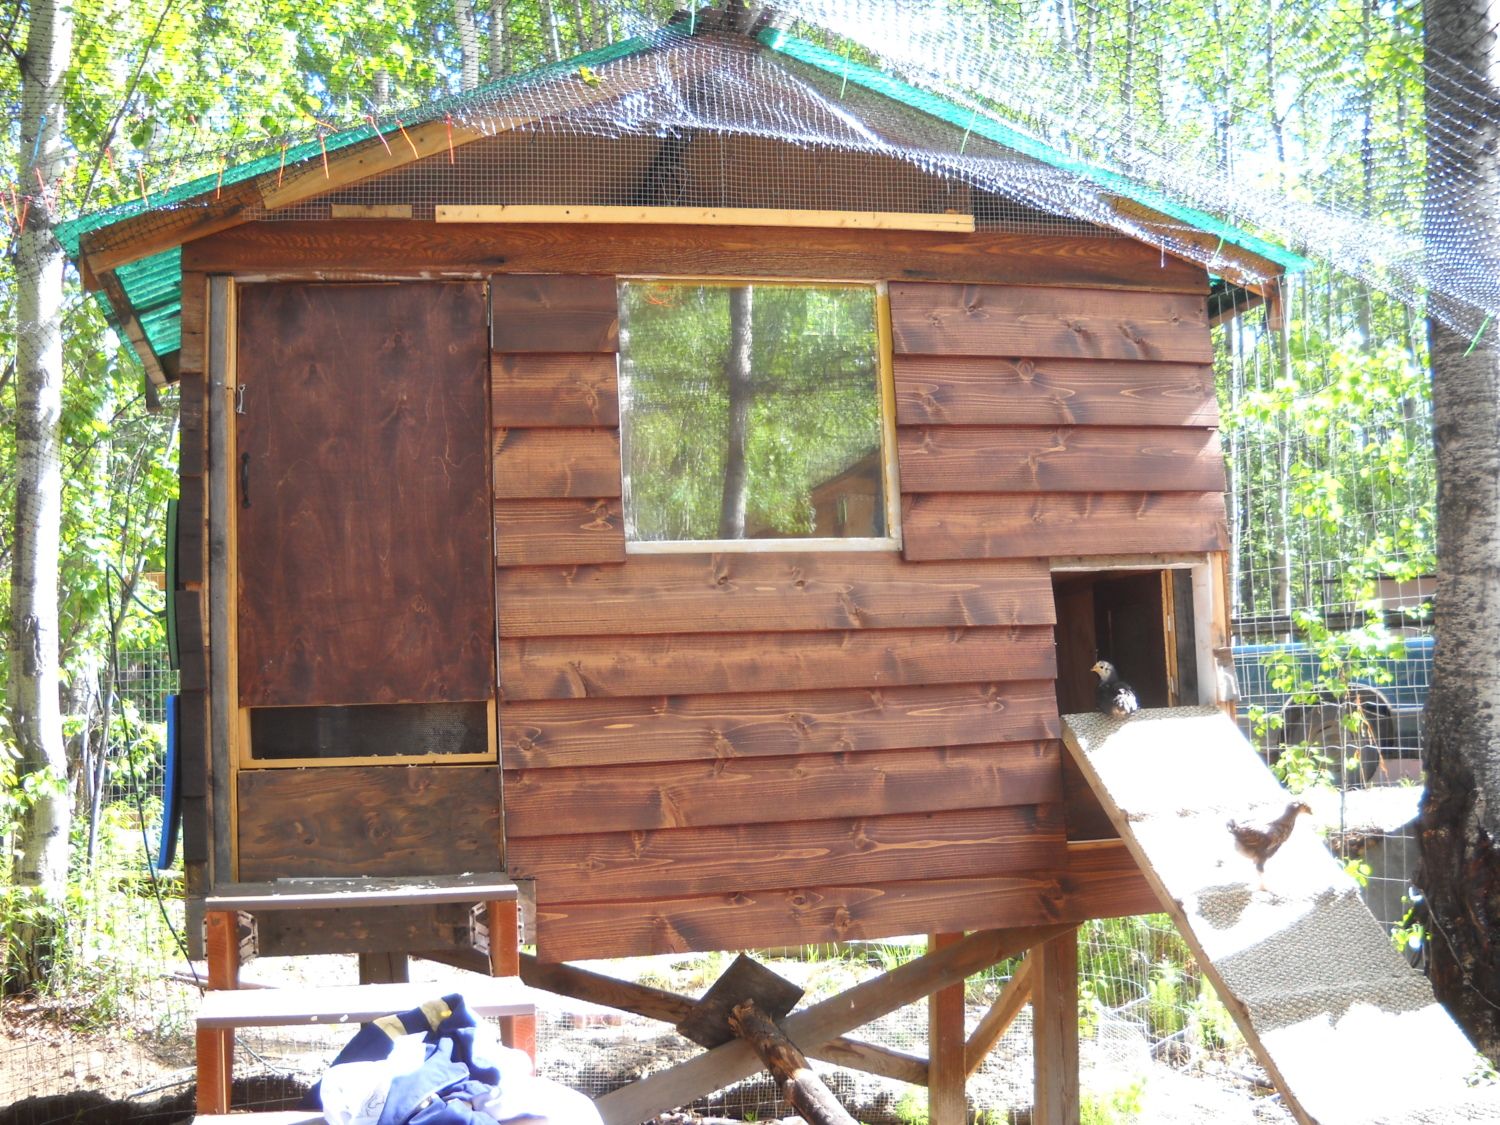
This used to be my children's playhouse. I rebuilt the steps, changed the slide to a chicken ramp. The window is quadruple pane glass, The eves are hardware cloth, and I have 2 inch foam inserts so that I can fine tune the ventilation vs. temperature in the winter time. This is the view from inside the run.
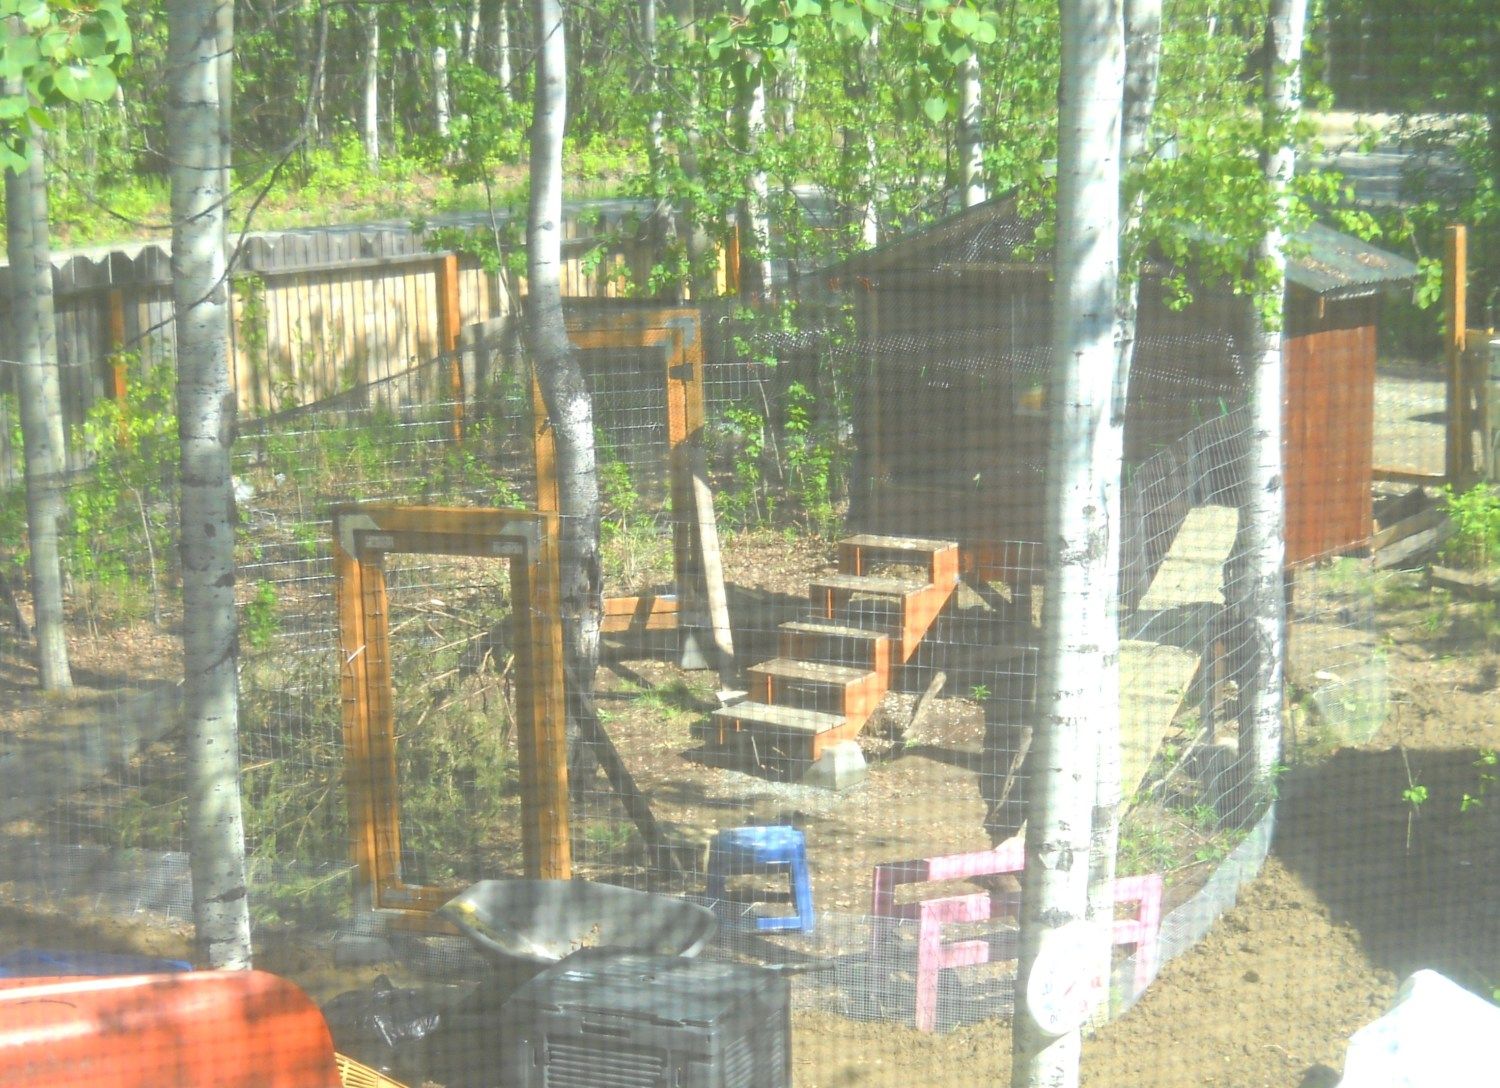
The fenced coop inside a fenced yard! This is the view from my office. The fencing is 2x4 welded wire, there is a hardware cloth skirt around the bottom. The fence as you can see goes from coop to tree to tree to tree to tree and eventually back to coop. I have two gates in and out of the coop. Last year's Christmas tree is in there for extra shelter, (the tree thaws out in May and stays fresh and green for about a month. I'll haul it out each fall and replace it with a newer one after Christmas!) I have poultry netting over the top of the run. They can also hang out under the coop when the weather is gnarly.
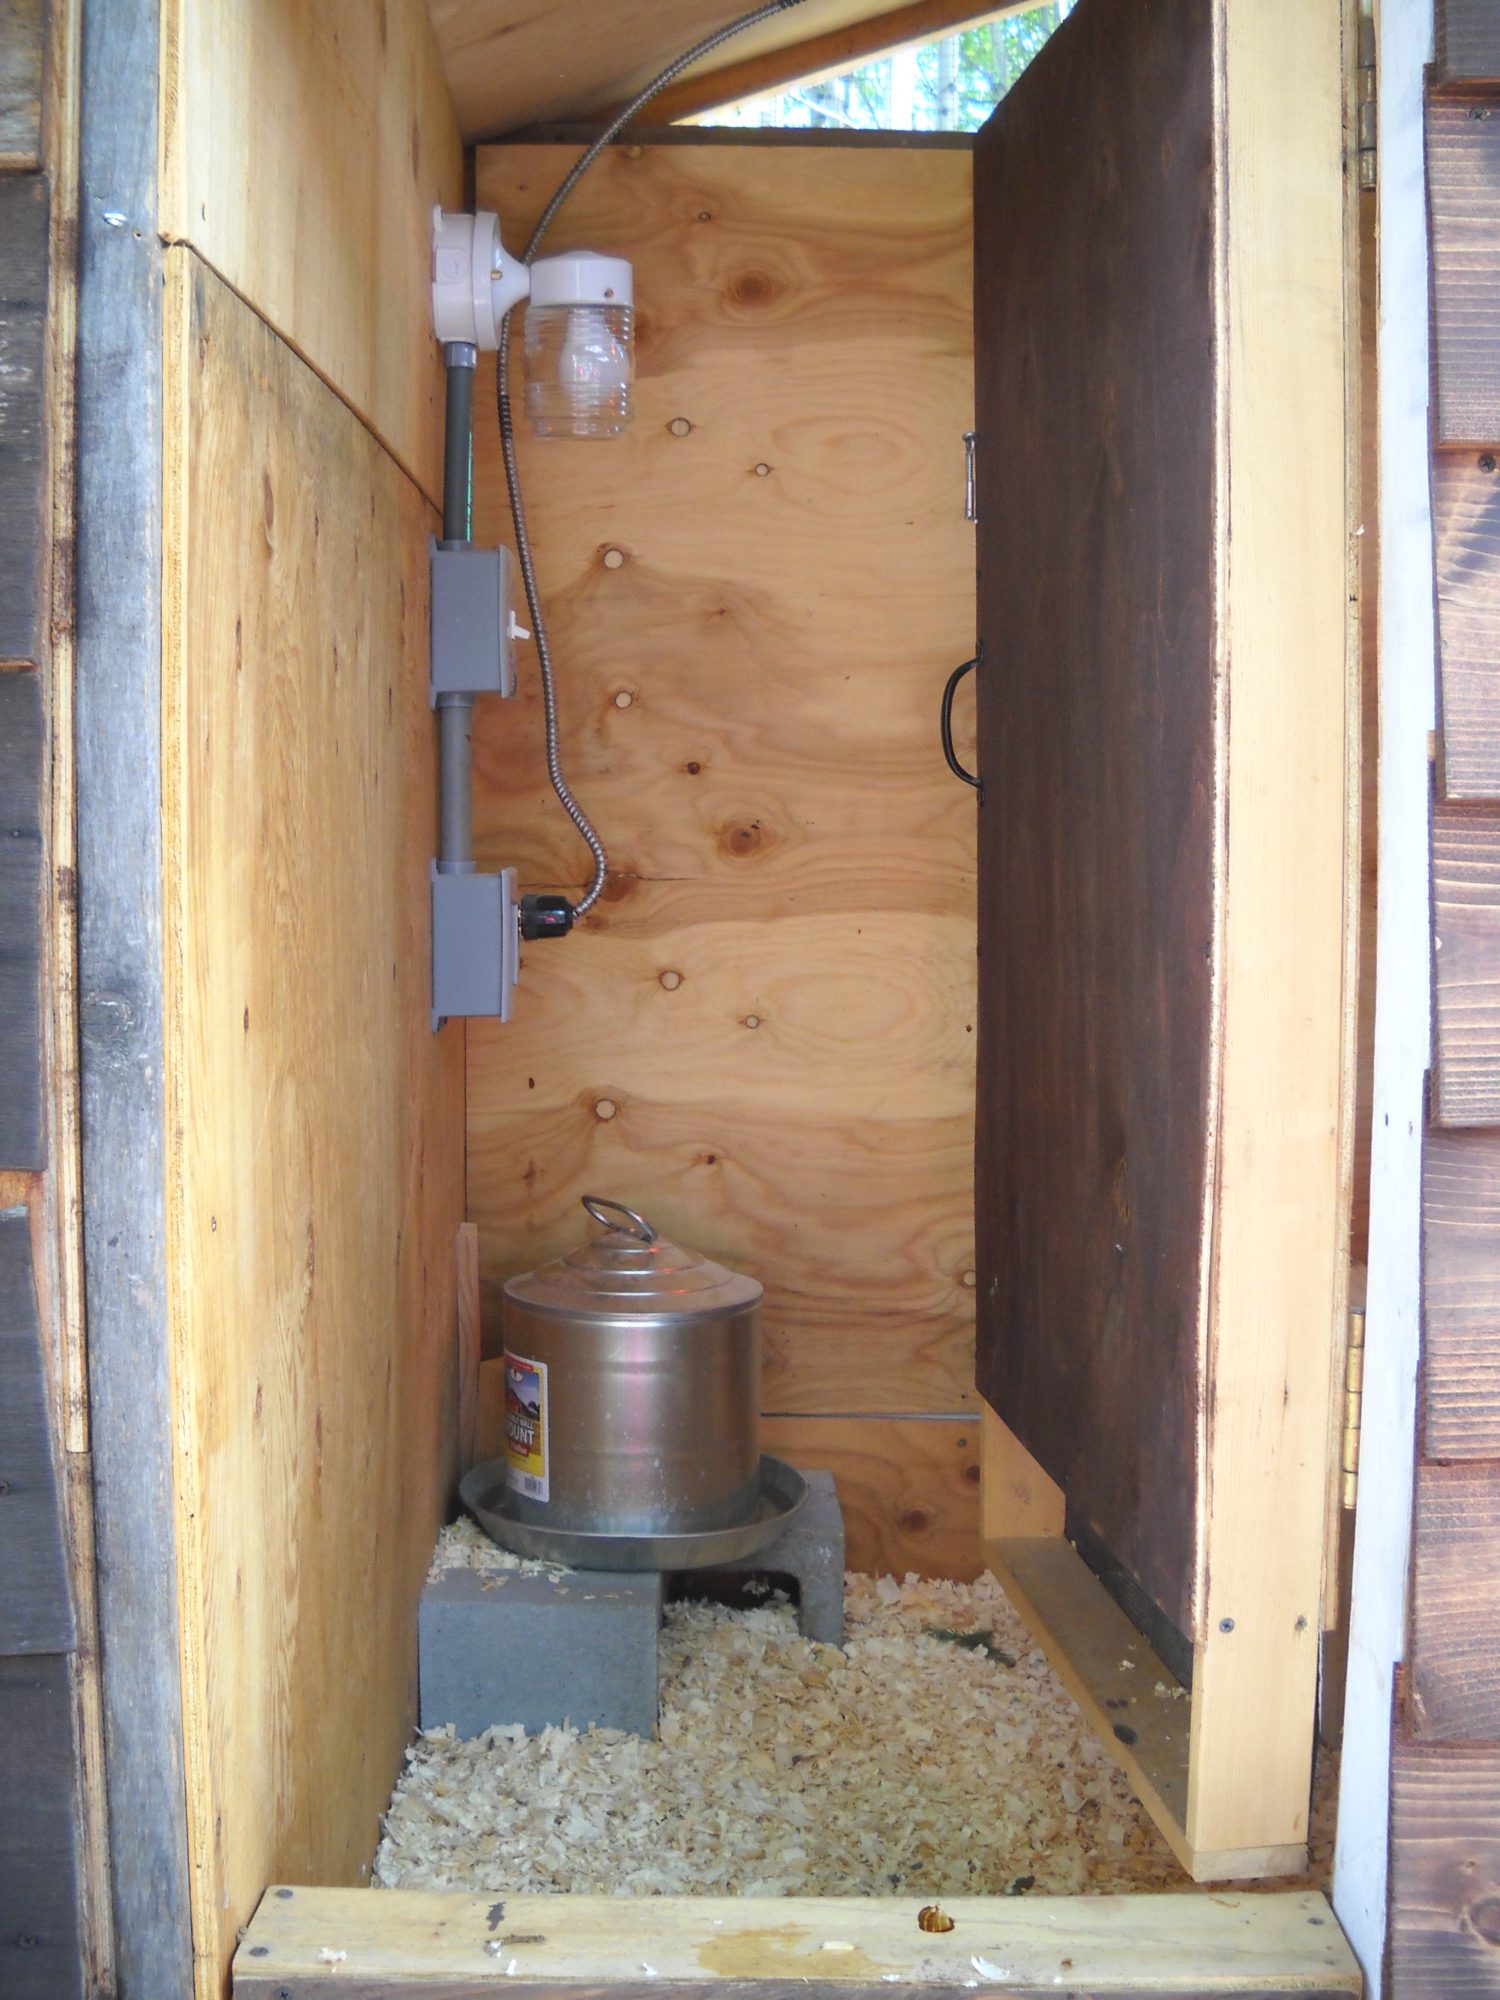
The wide angle shot makes straight wood look curved! I have an heated waterer that will replace this standard summertime one in the winter, and I have a heat lamp up top if I need it in the winter. The coop is fully insulated with 2 inch foam between plywood sheets. The floor under the shavings is wood with a removable sheet of vinyl. The door sills below the door and the chicken door are both removable for easier clean out in the spring.
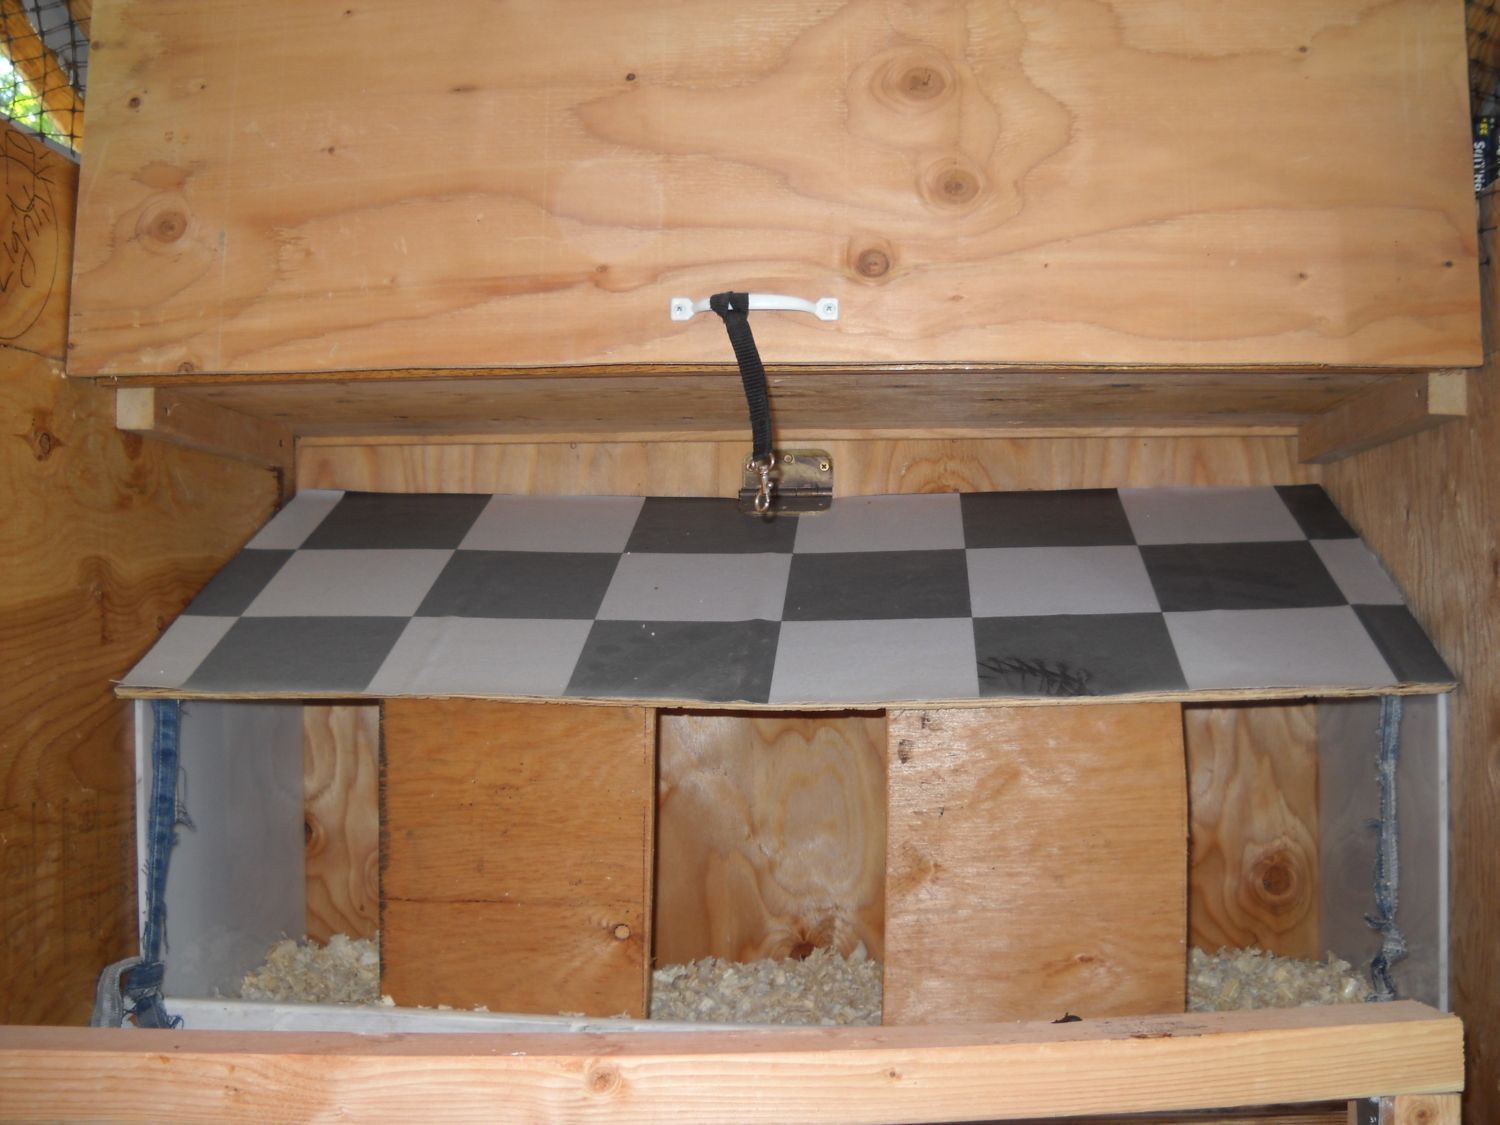
My nest boxes, they rest on a shelf above the feeding area on the opposite side of the coop as the man hatch. The pop door is below the nest boxes to the right (not seen in this picture) The sides and partitions and floor of the nest boxes can be removed, and the lid hinges up to more easily access eggs and do cleaning. The denim straps hook to some cup hooks above on the wall to hold it open. The cupboard above holds various supplies, extra grit, light bulbs, hooks, and stuff. The black strap with the snap hook holds the cupboard door open. The back side of the nest boxes is actually outside of the run, so eventually I'm thinking of cutting in a hatch to access eggs, but I'd have to cut through the two layers of plywood and 2 inches of foam, so I'm not very enthusiastic about doing it now...
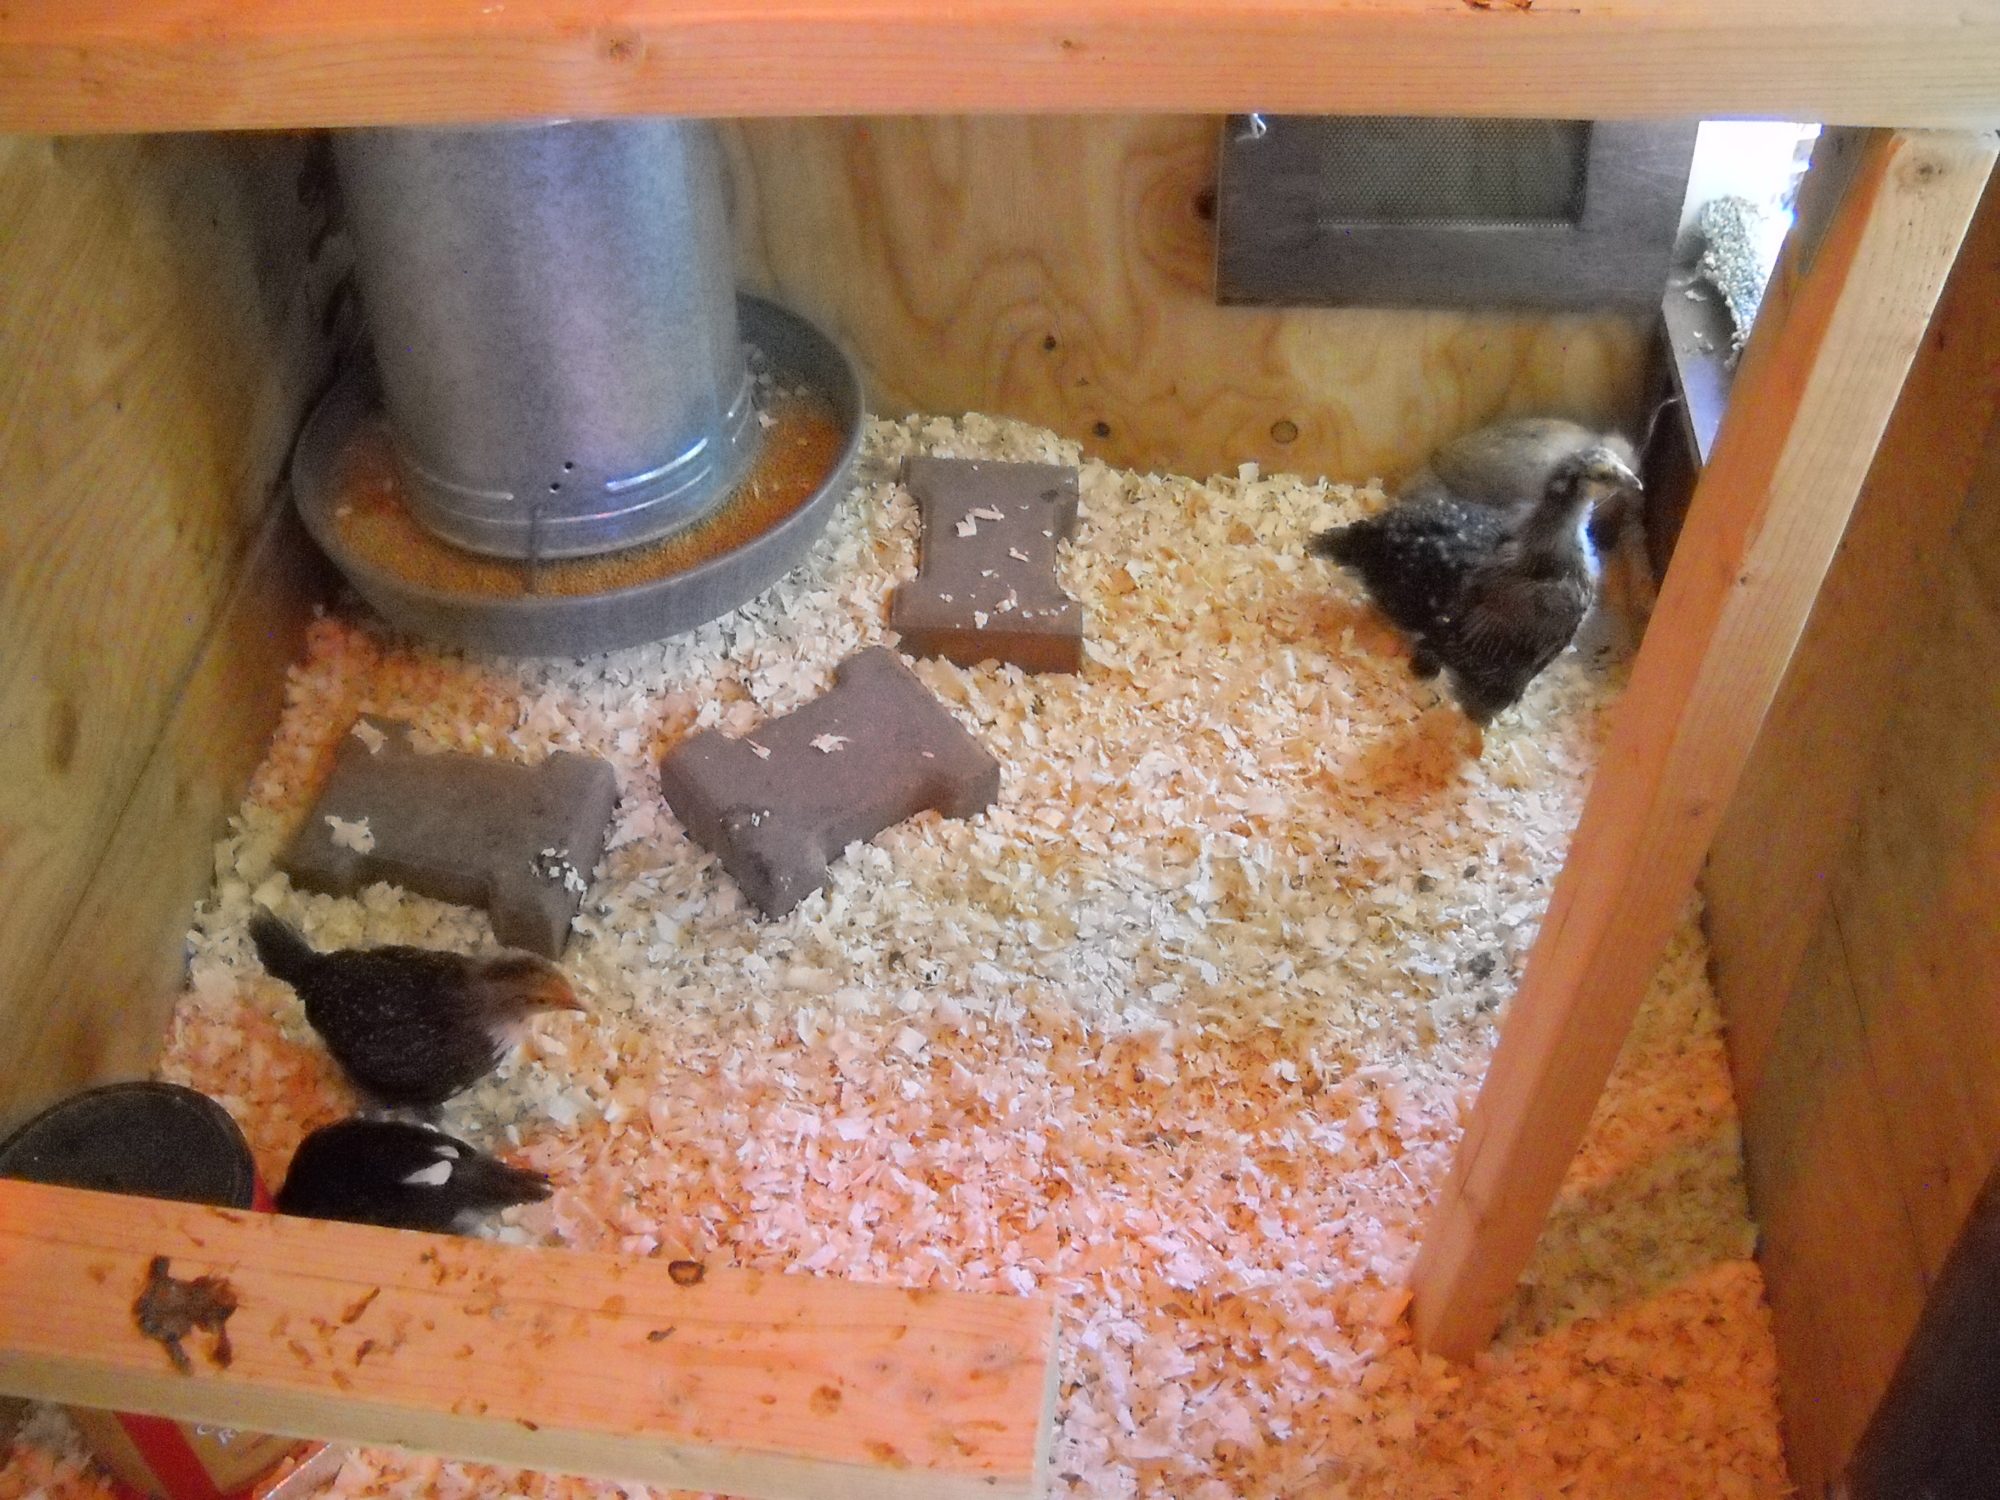
Here you can see the feed station under the nest boxes, and the chicken door, with a screen insert so that air can flow through. The bricks were necessary when I put the birds in, so that they could reach the big bird feeder! The roosts are just hinged sticks of two by three, they hinge up against the wall and get strapped in that position when I have to clean the coop. I have an 18 inch long and high roost, a 24 inch long and high roost, and the yard high and long roost. The different lengths allow the man hatch door to open all the way against the wall it's hinged to.
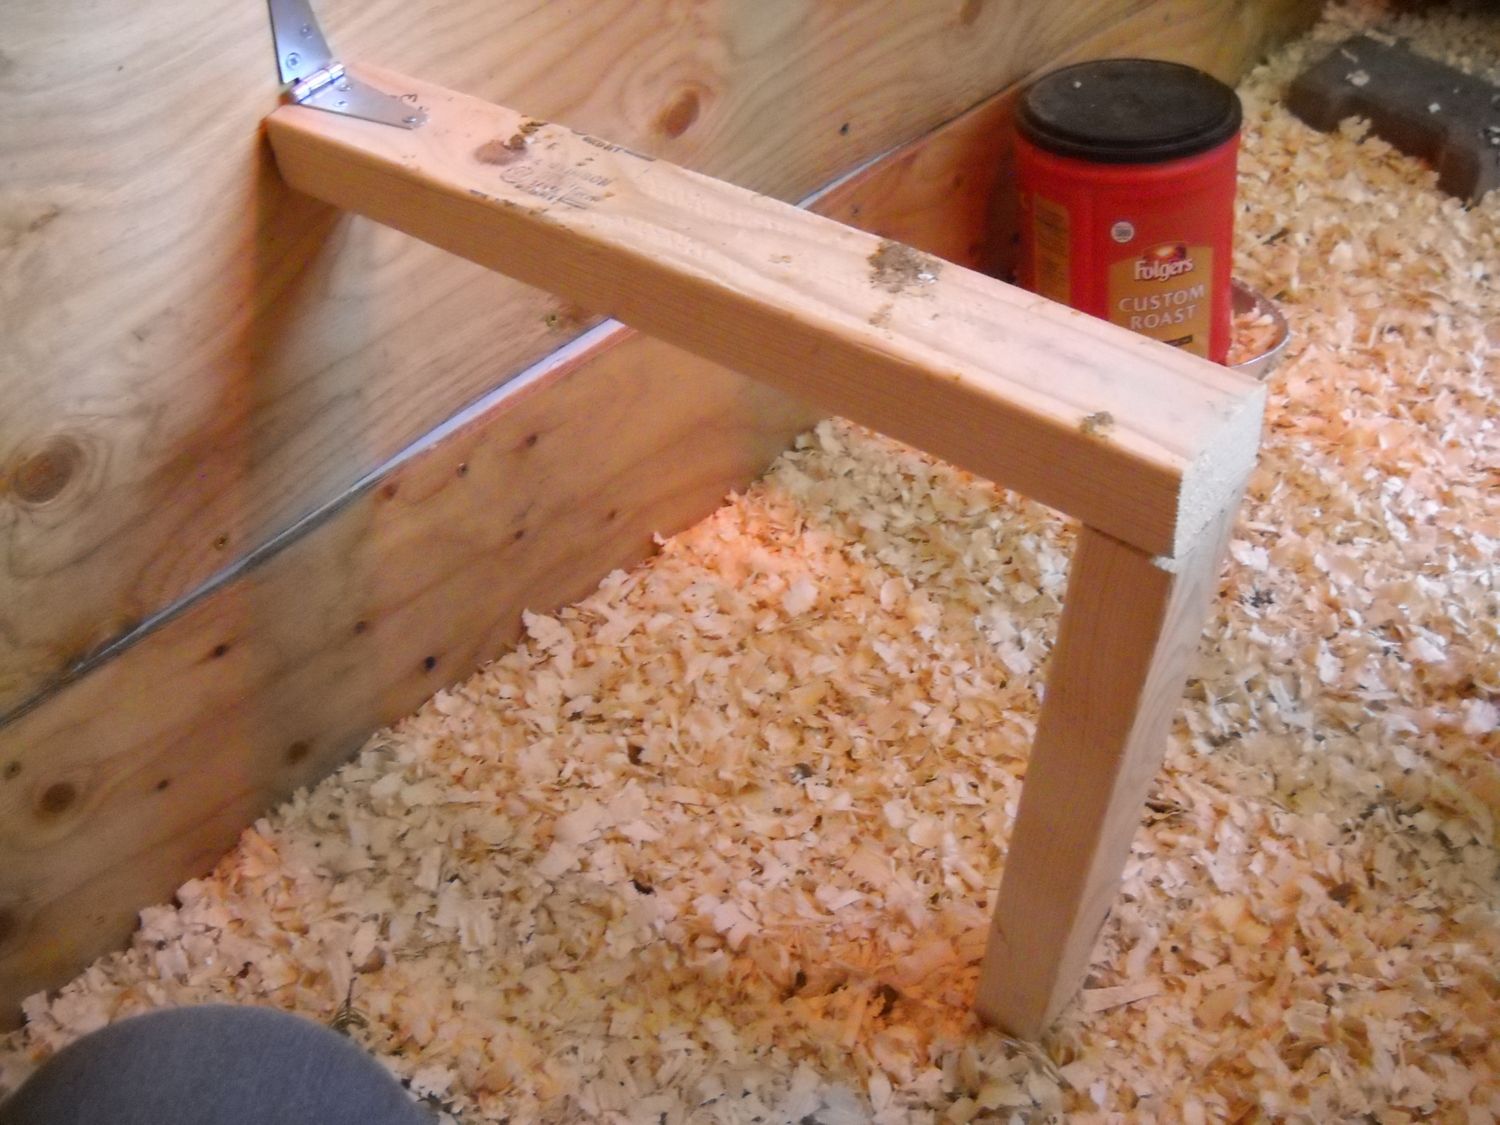
The chicks don't seem to mind that the roosts are a little rickety. It's like the wild birds that land on flimsy waving tree branches. They seem to think this is normal!
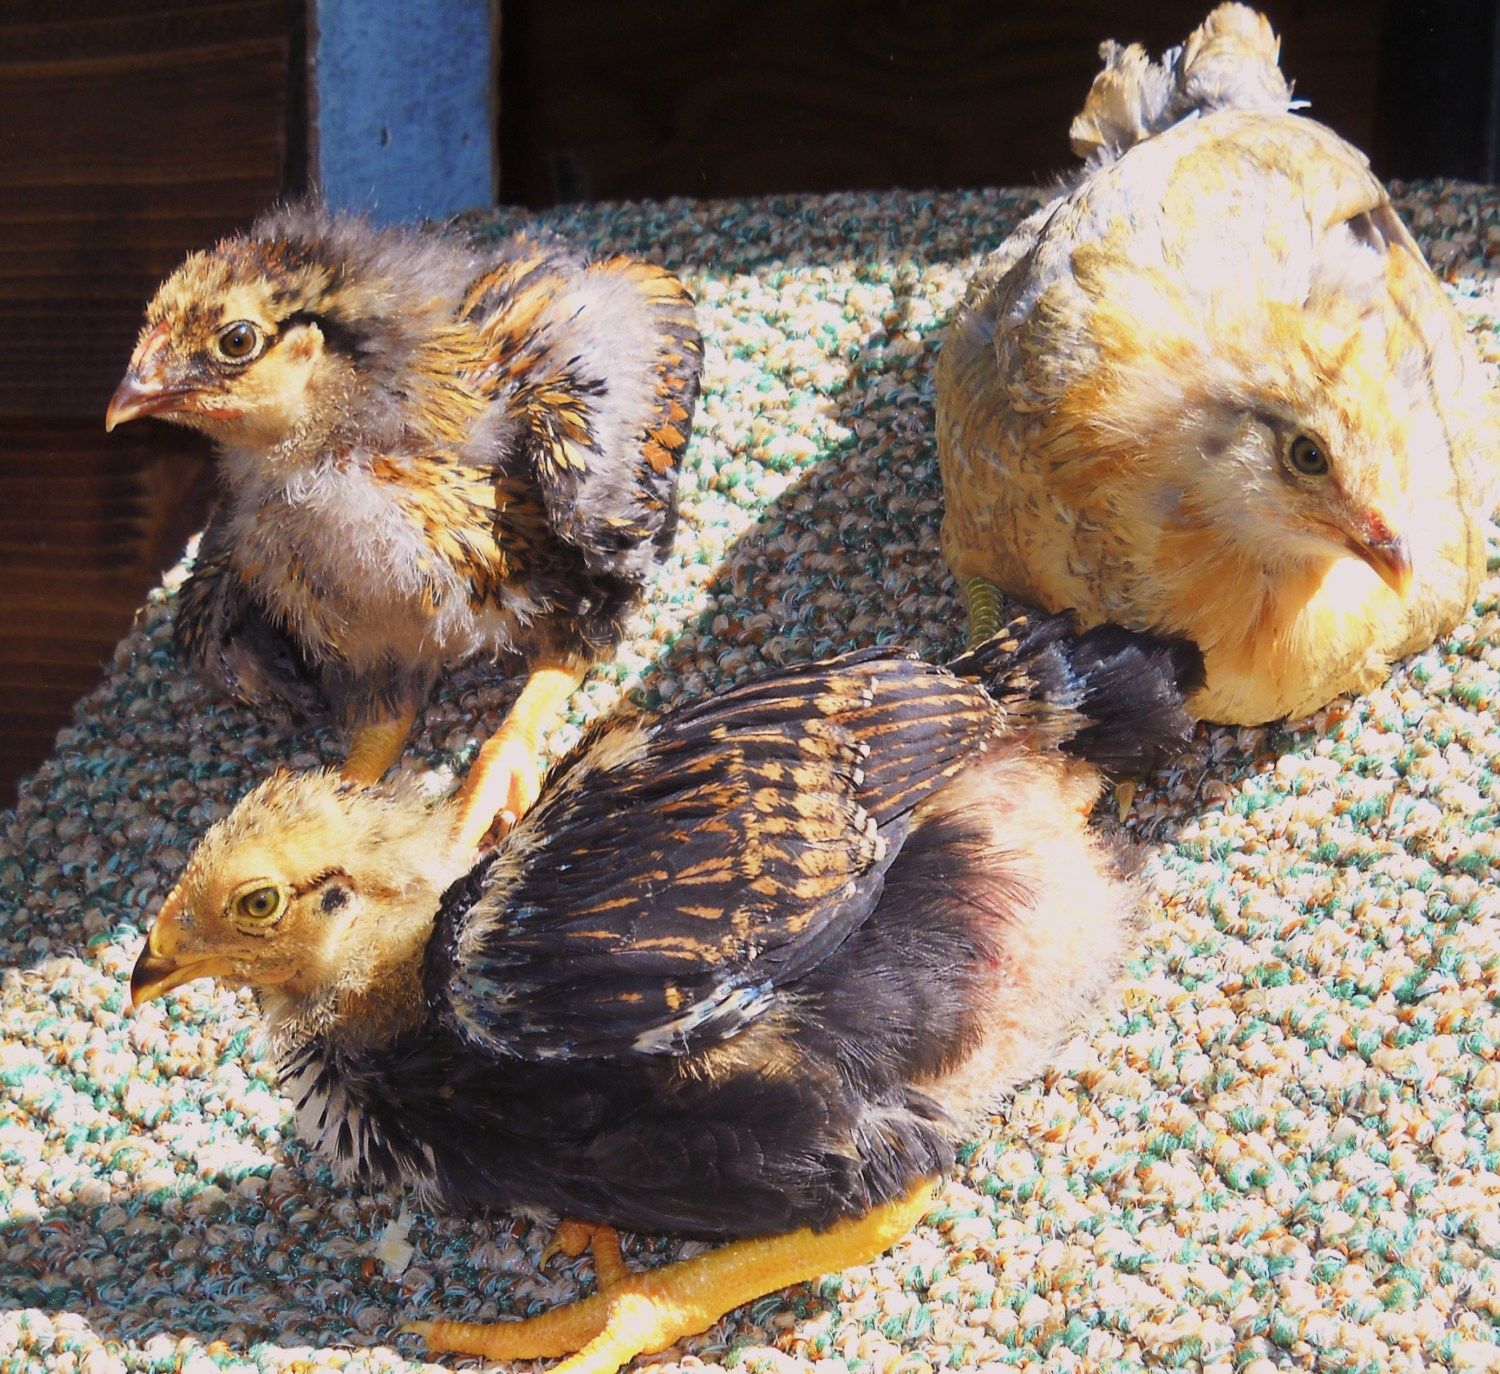
And of course, the residents! Top left, Wyatt, the GL Wyandotte pullet
Bottom, Sir Roo, Duke of Cornwall, Dark Cornish cockerel.
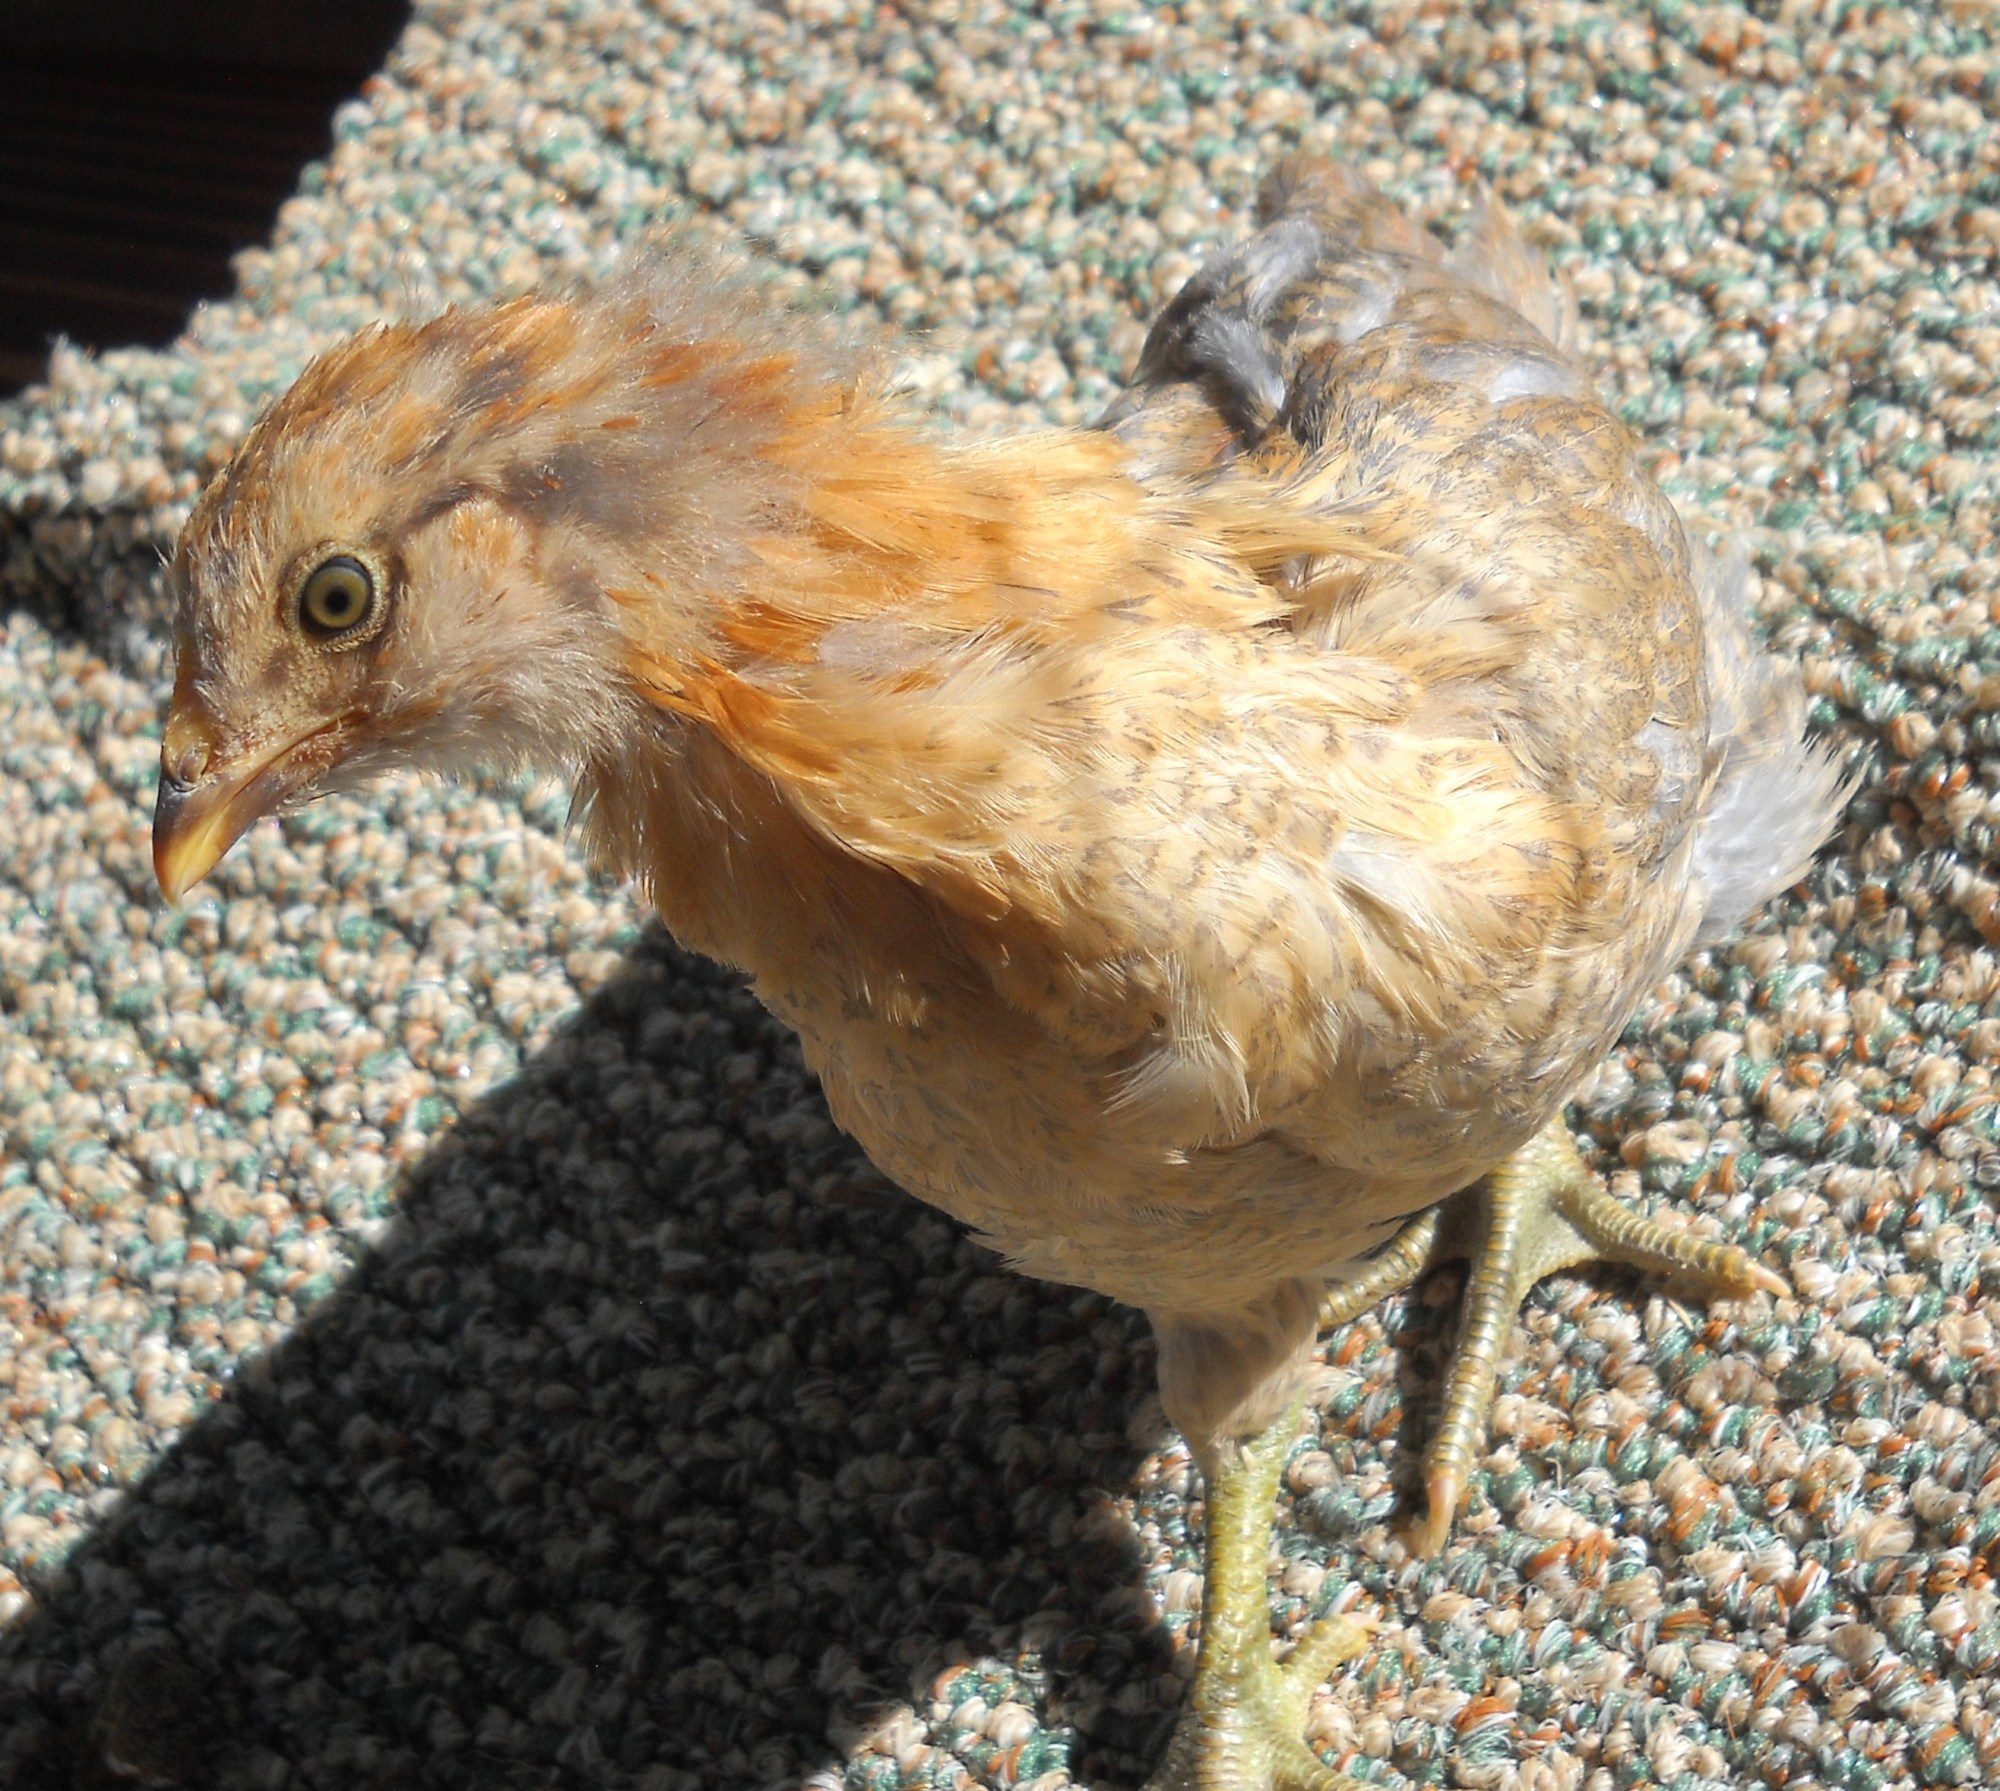
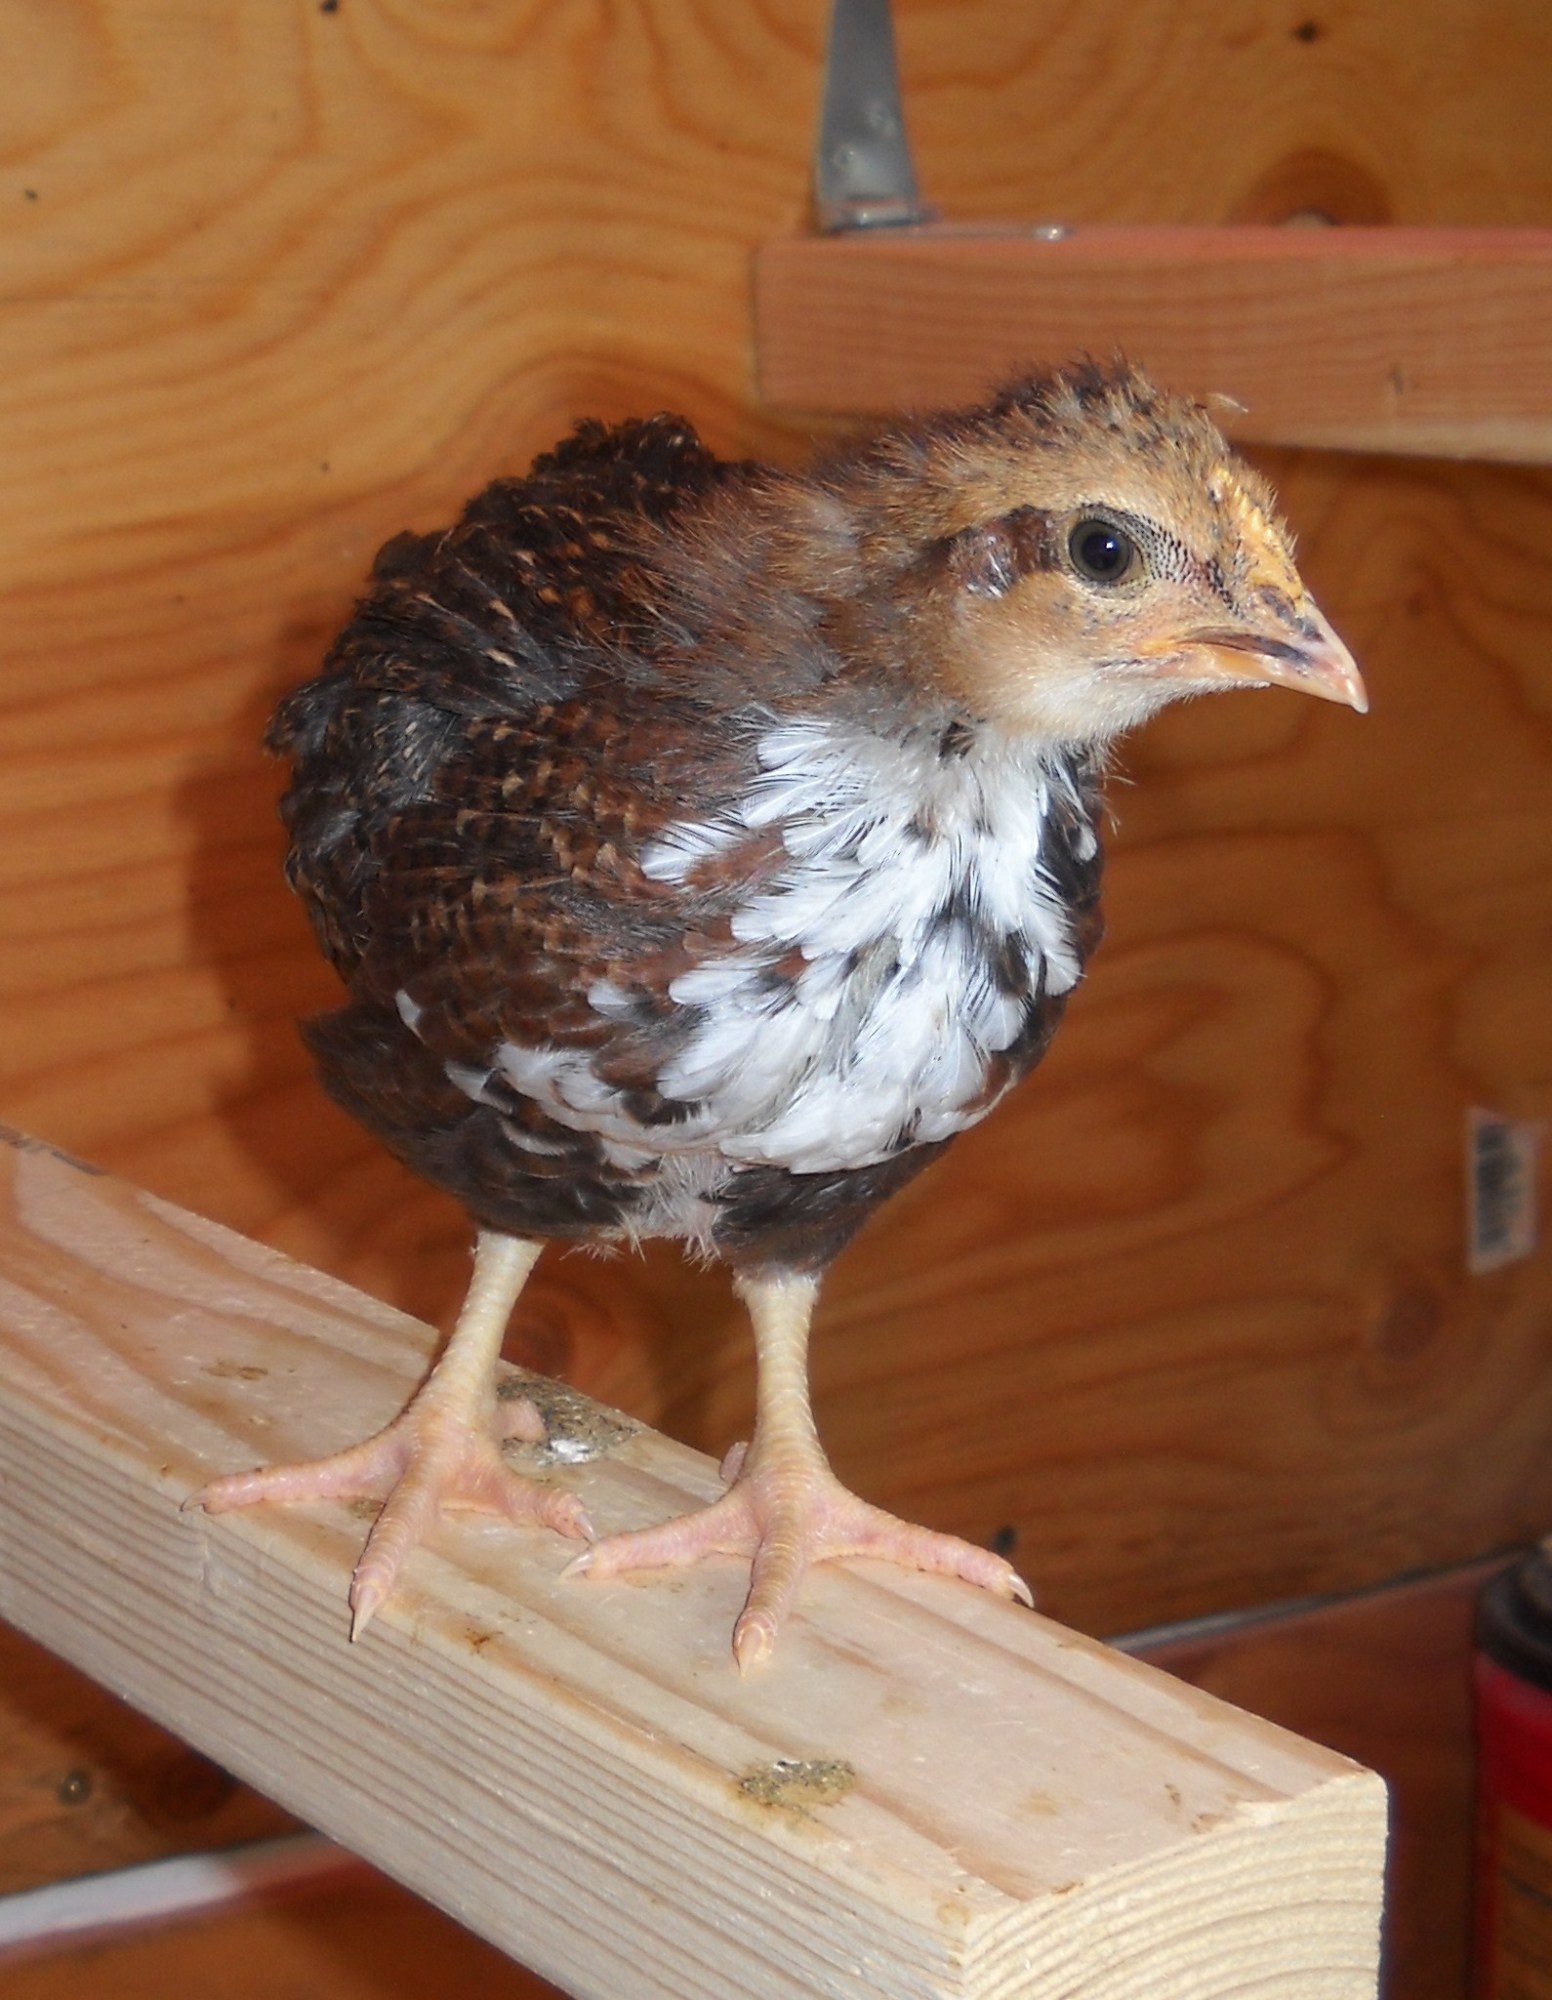
Upper right, Chickbert the Easter Egger. What color is she? Is this wheaten? Or random Easter Egger?
Here's a better picture of her feathers....
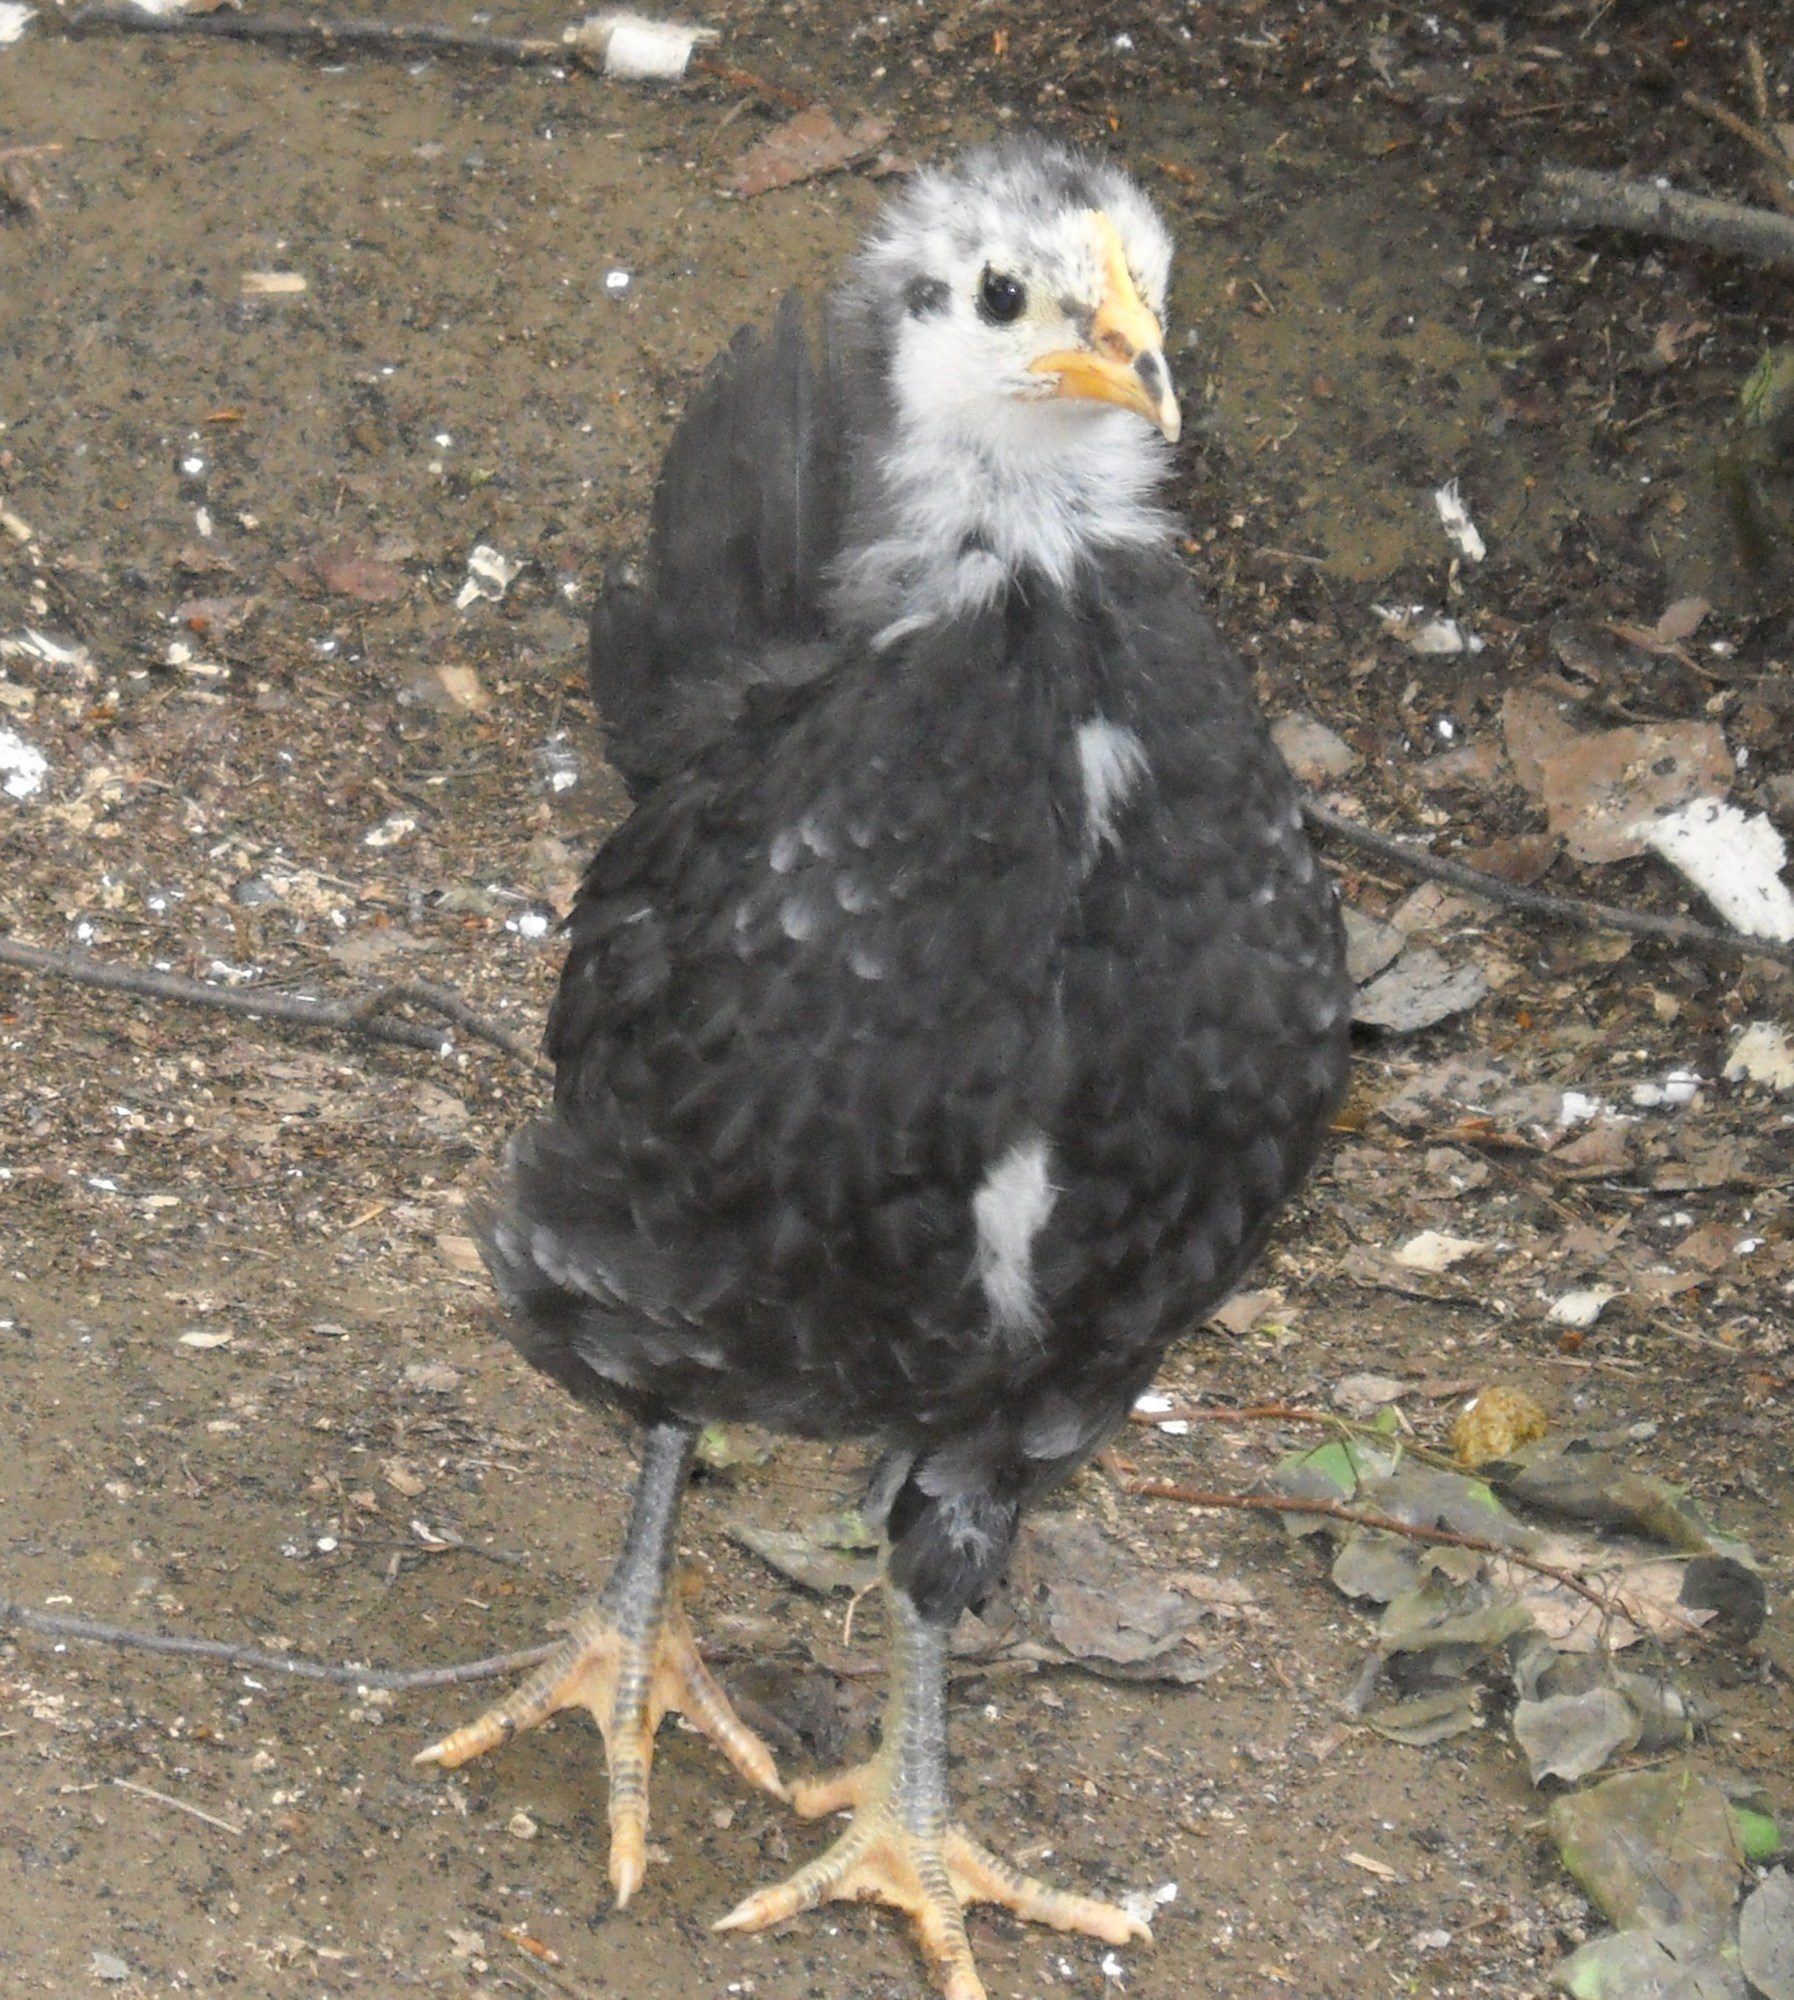
Then there's Fat Albert, aka Bertie, my Australorp pullet....
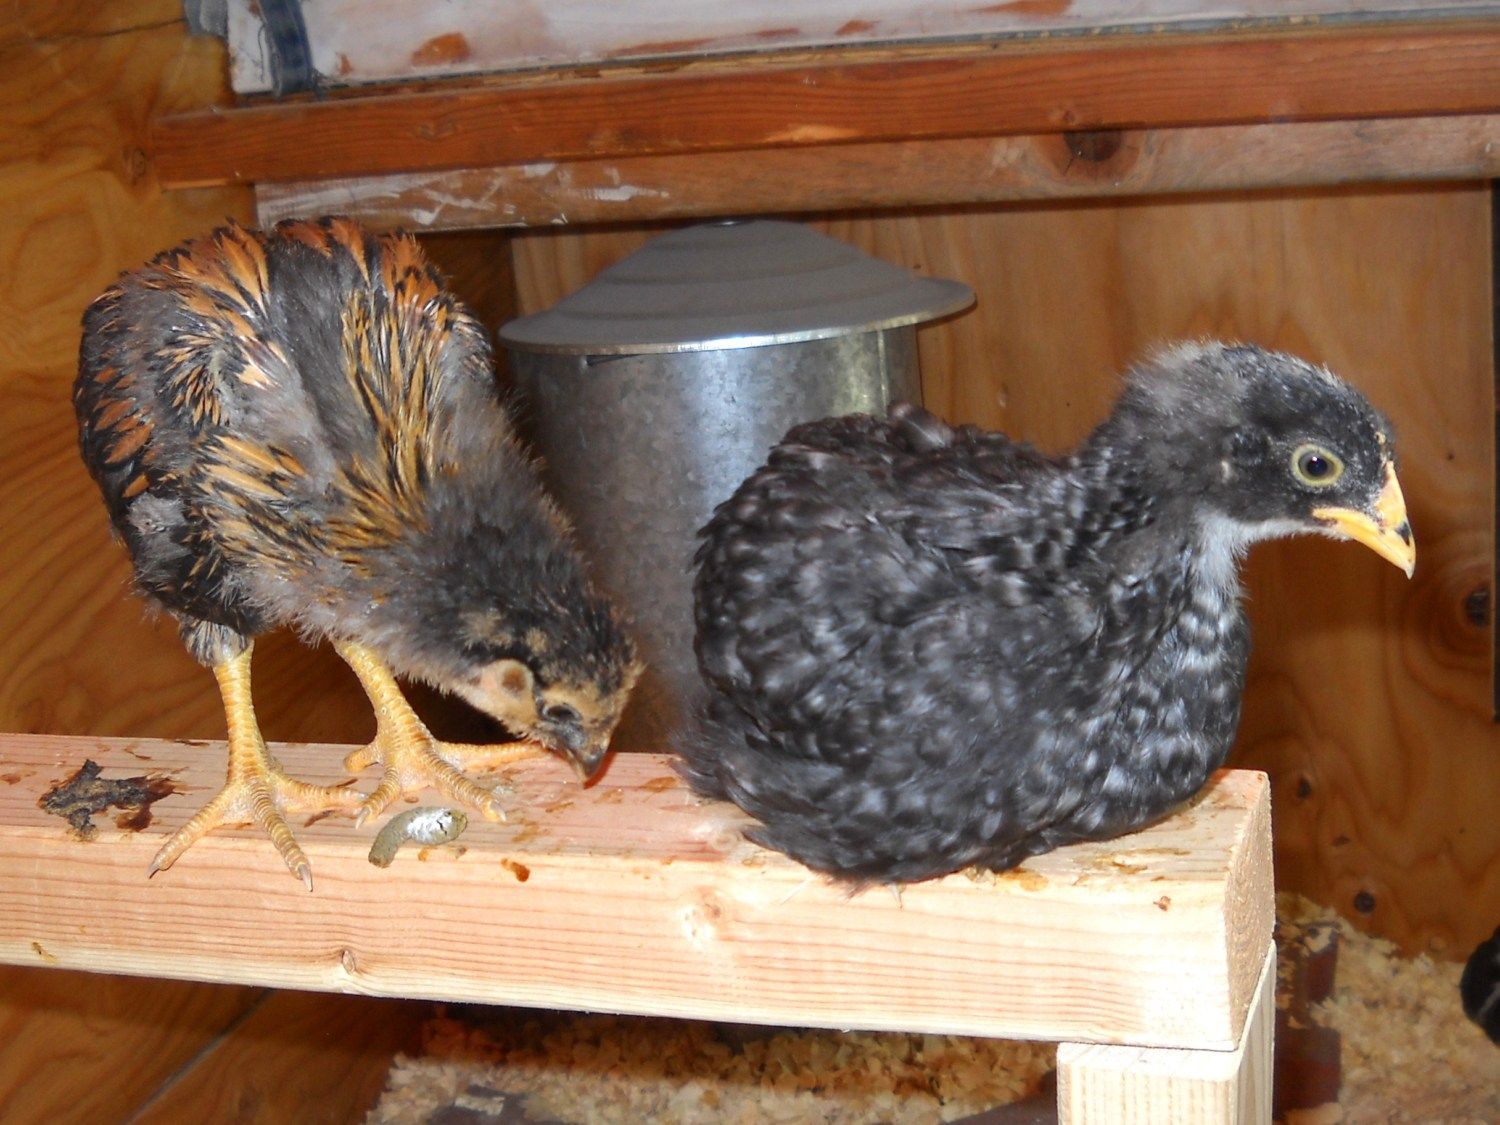
And then here's Wyatt again, with Gangsta, my Cuckoo Marans pullet, aka Cuckoo Bird.
And last but not least, my favorite, Inspector Sussex of the Yard, my Speckled Sussex pullet. She's the bravest and friendliest of them all, a very smart bird for a four week old chick. Their hatch date was May 6th.
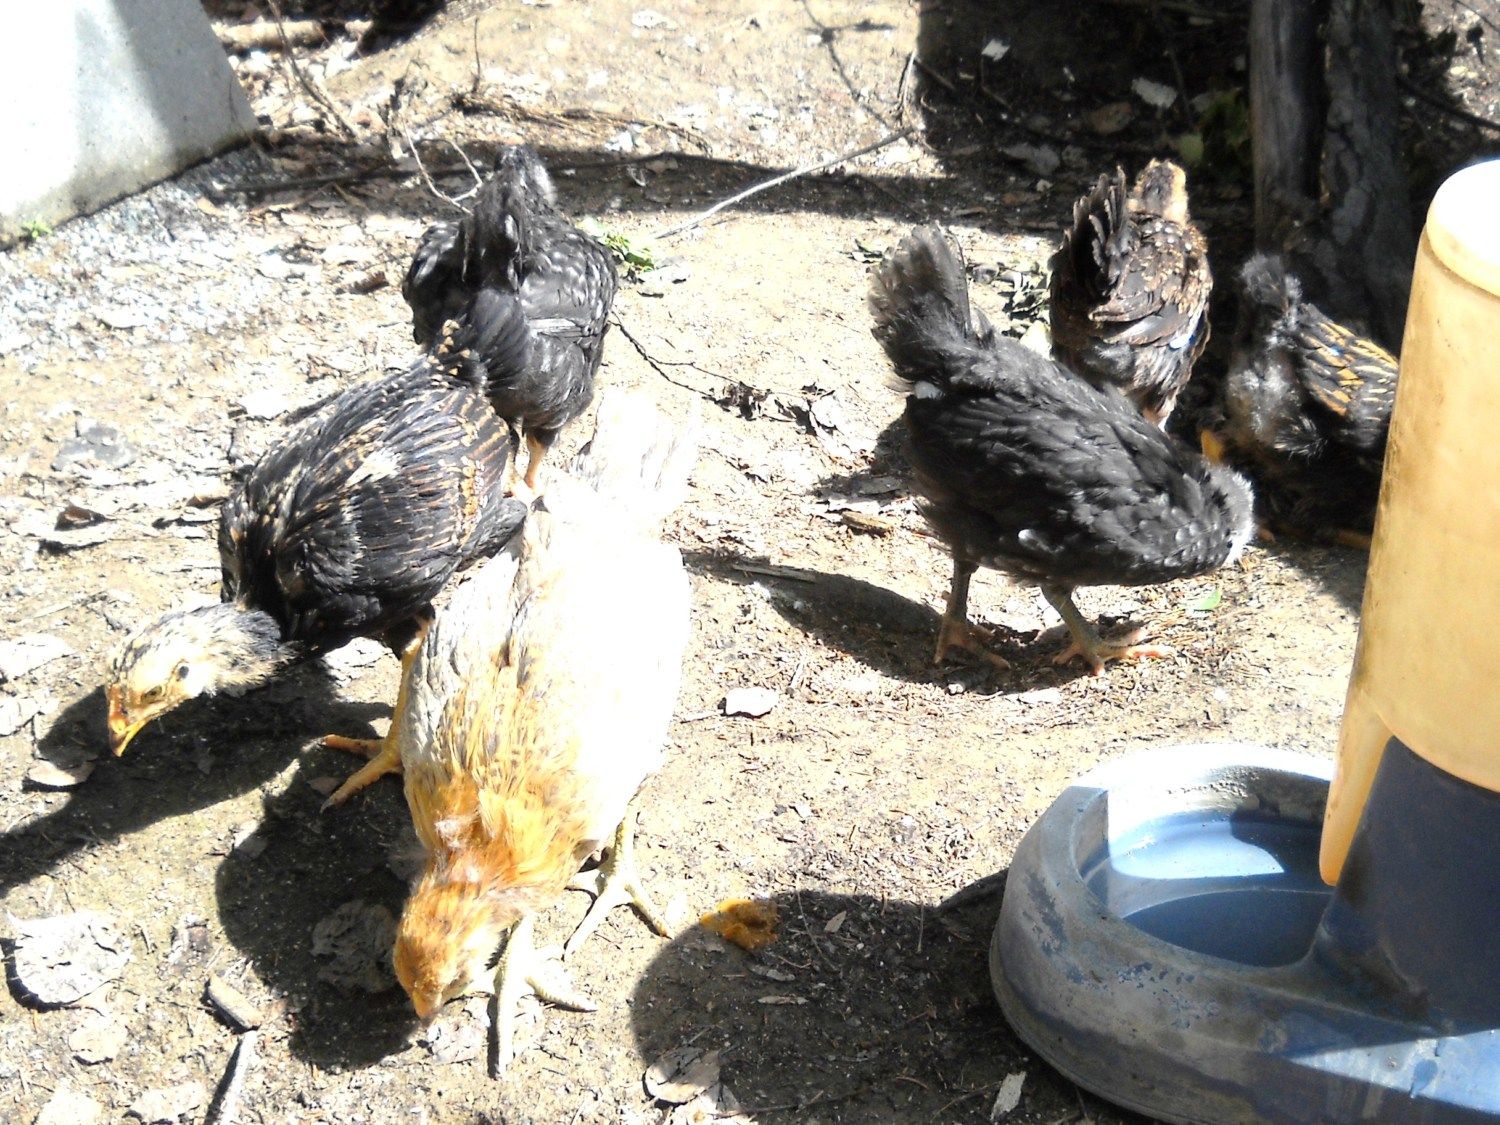
Six busy chicks, learning about dirt! Thanks for looking at my pics.
It's been a year's worth of work and planning, but it's been worth it. Now I can enjoy, and brag that I am a chicken owner!
")


