Benen
In the Brooder
- Sep 7, 2016
- 14
- 1
- 14
Hi all!
I thought I'd share my incubator project with you. I have made on previously in a cupboard and learned a lot to help me design the new one.
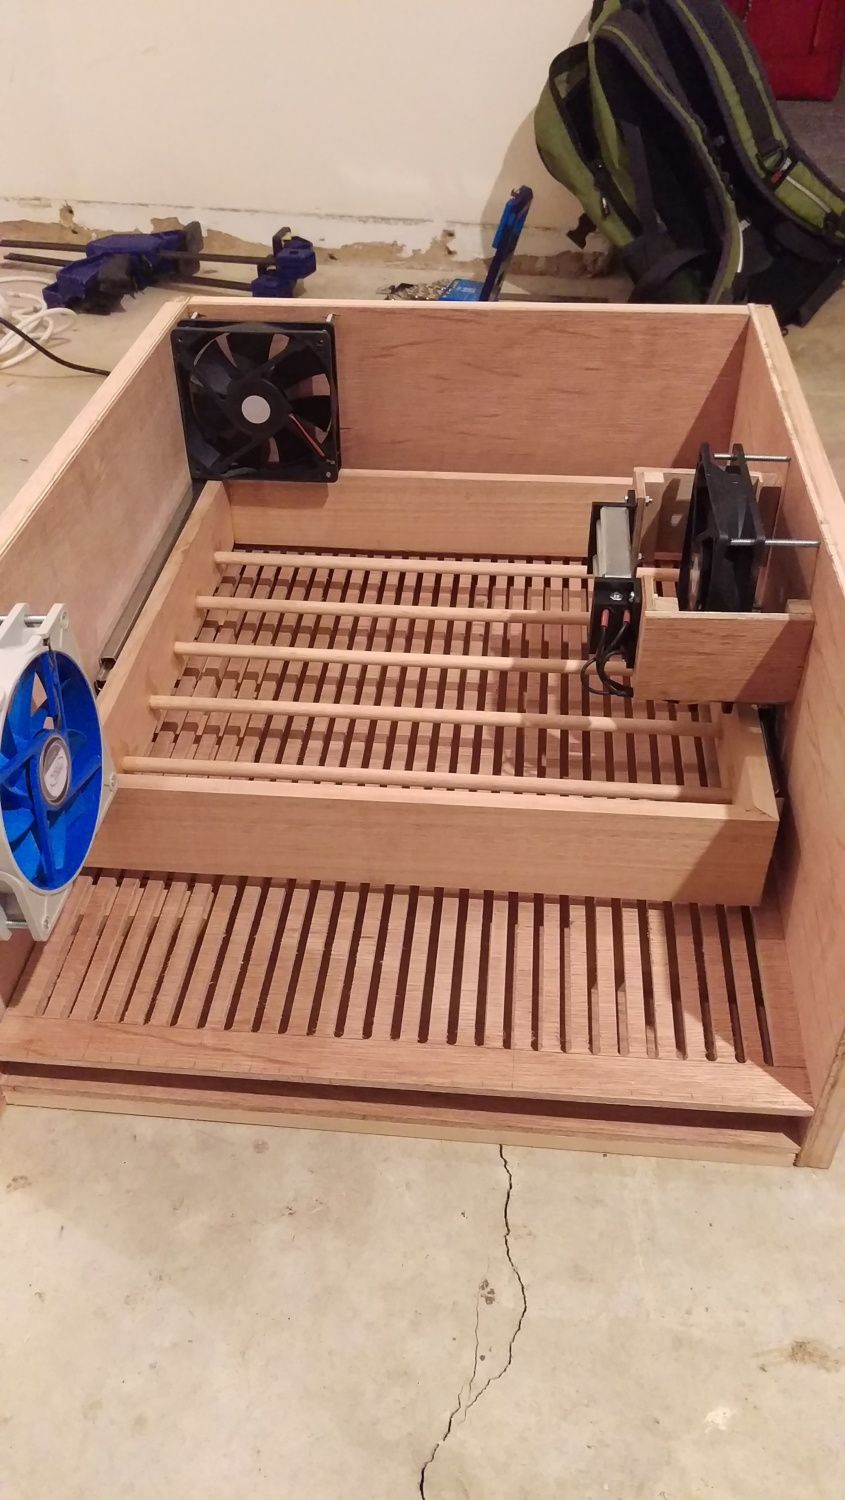
It contains 3 computer fans for circulation, insulated walls with all wires hidden, double glazed perspex viewing window, temperature control and automatic egg turning.
It is my first woodwork project so I have taken my time and only made one minor mistake so far!
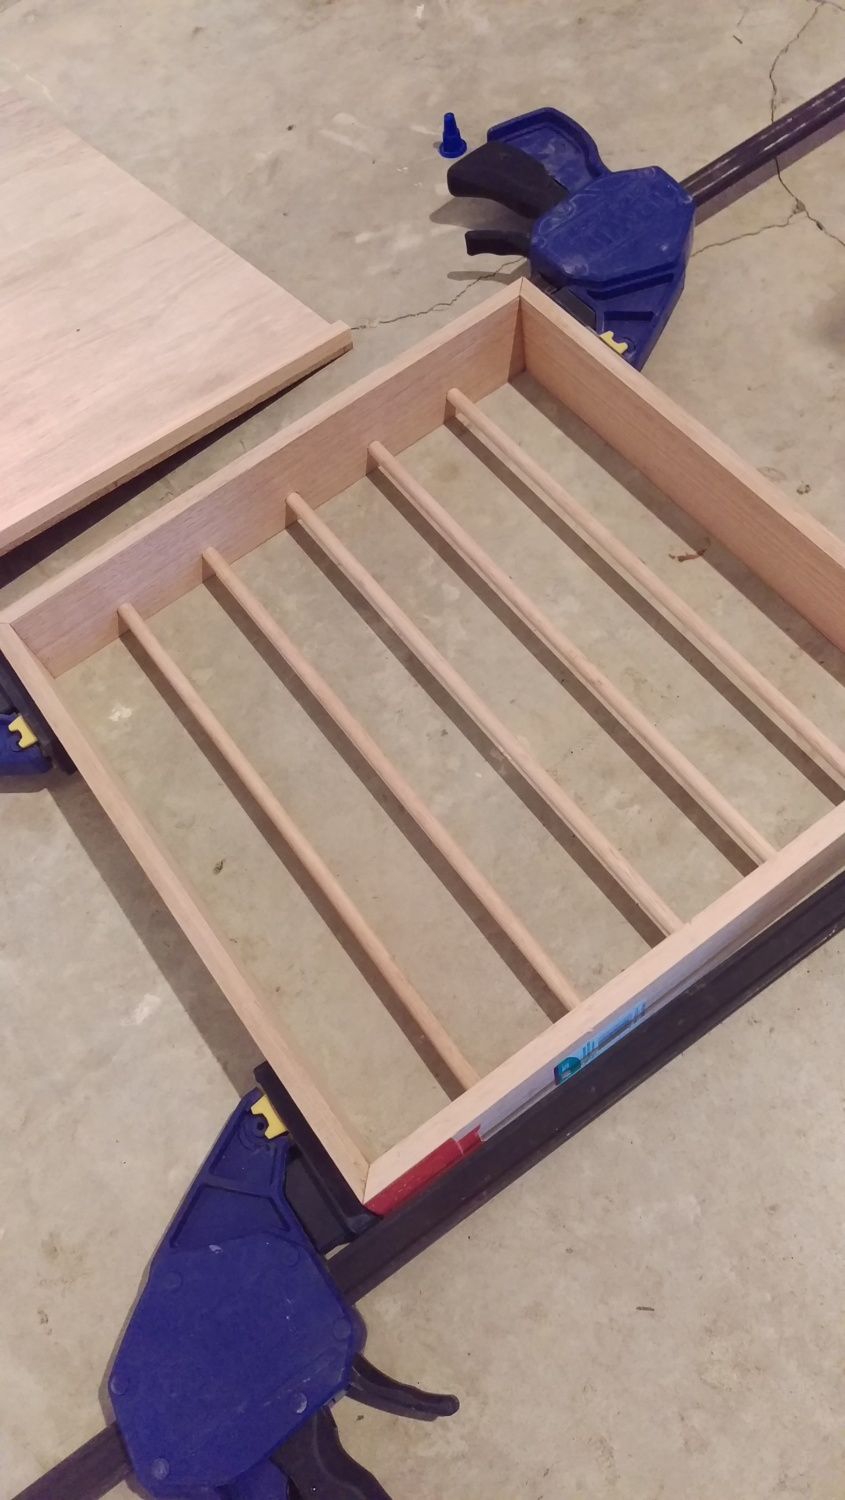
This is the tray that fits 36 eggs
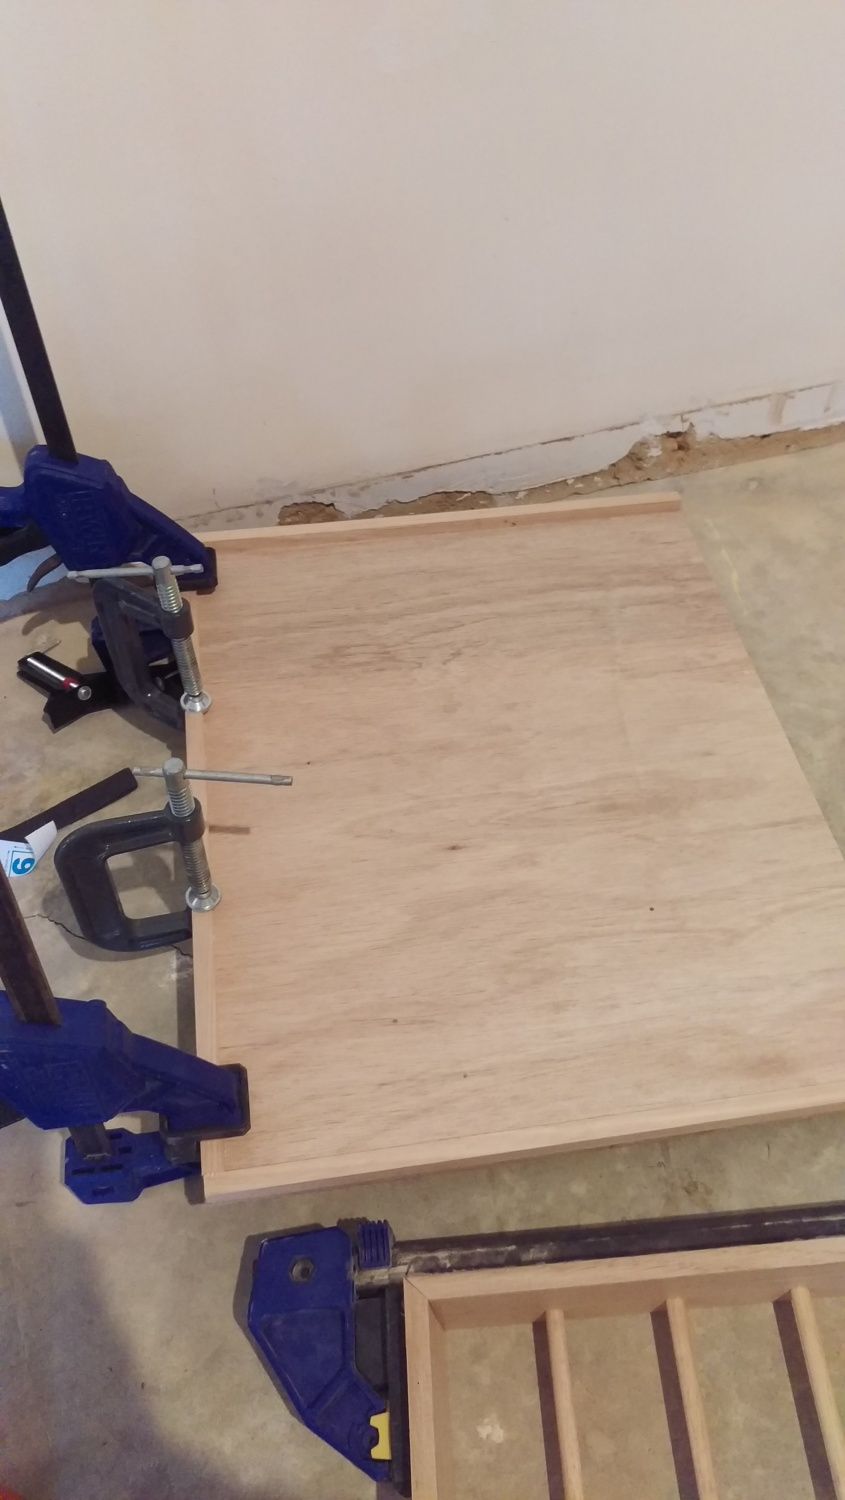
This is how I constructed each wall. 6mm marine ply separated by 12mm spacer border to leave room for insulation and wiring.
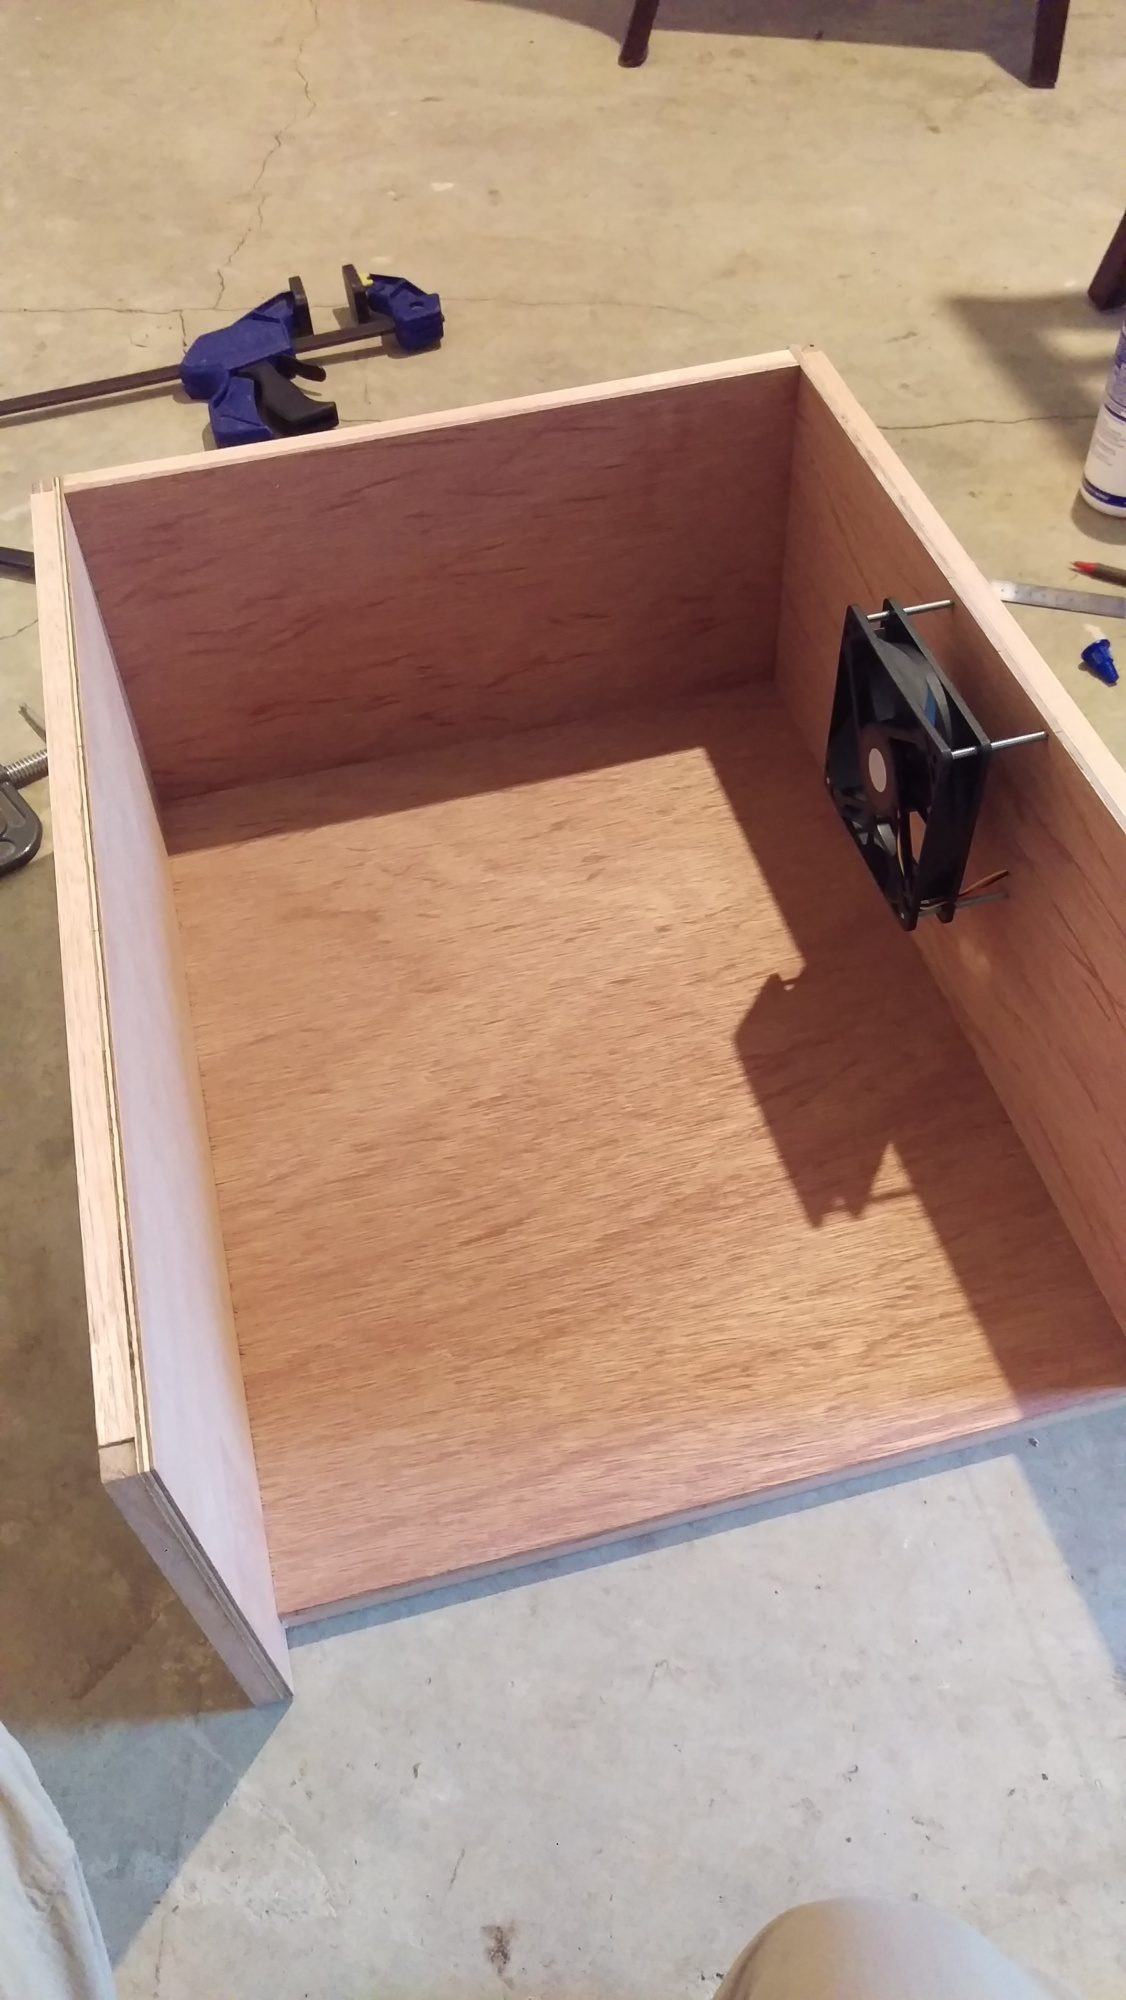
Clamping some of the sides together and 2 fans installed.
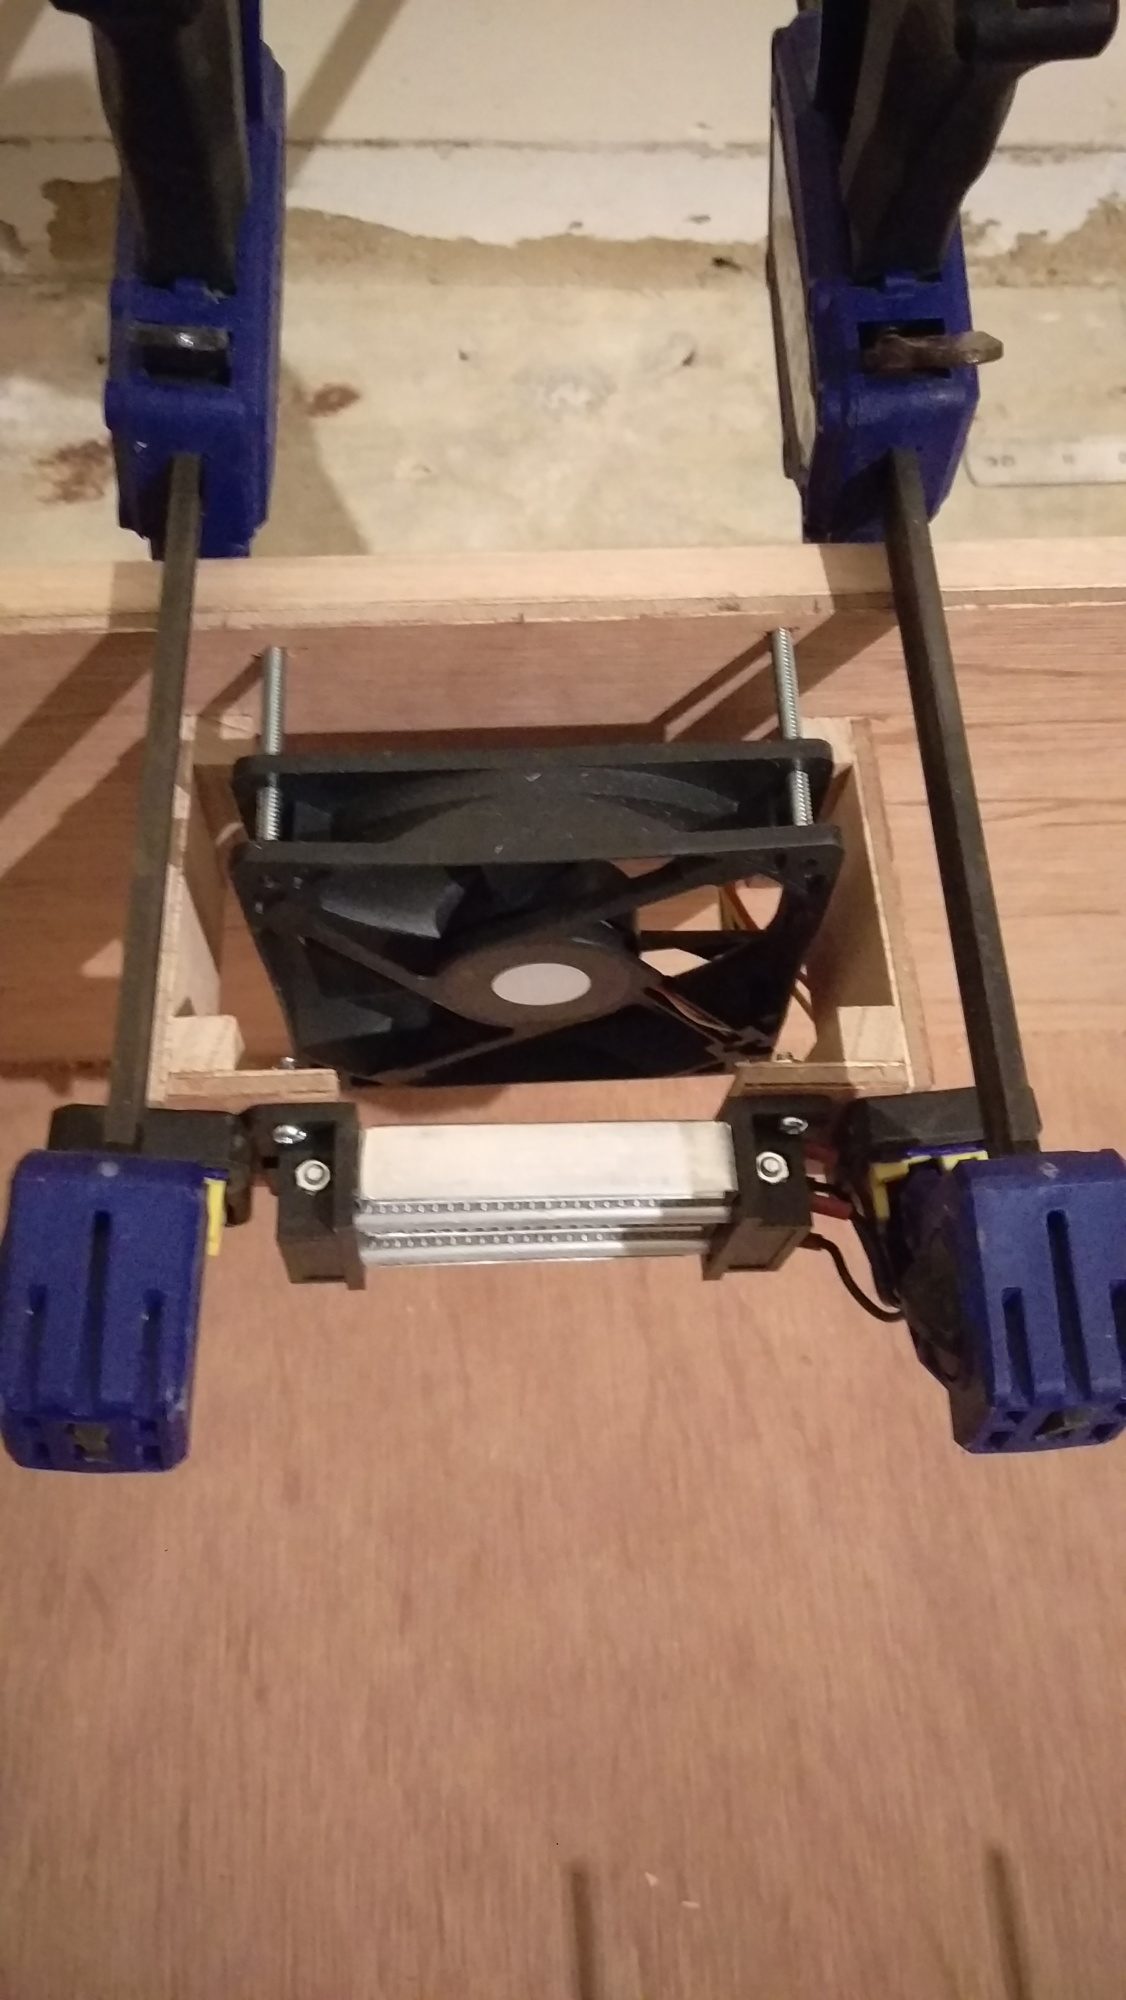
Fan blowing through heater.
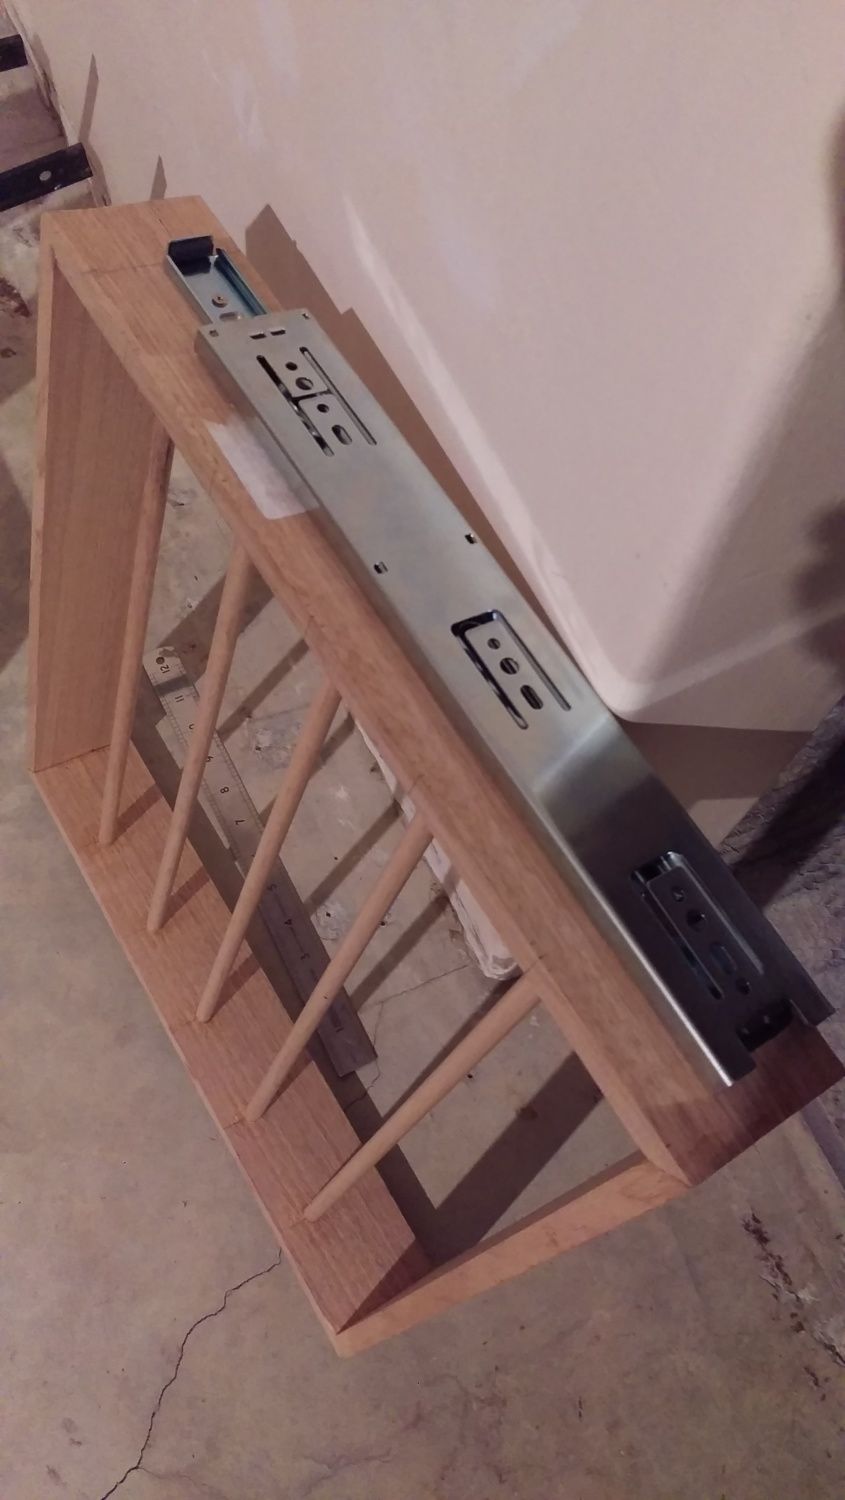
Drawer slide on egg turning tray
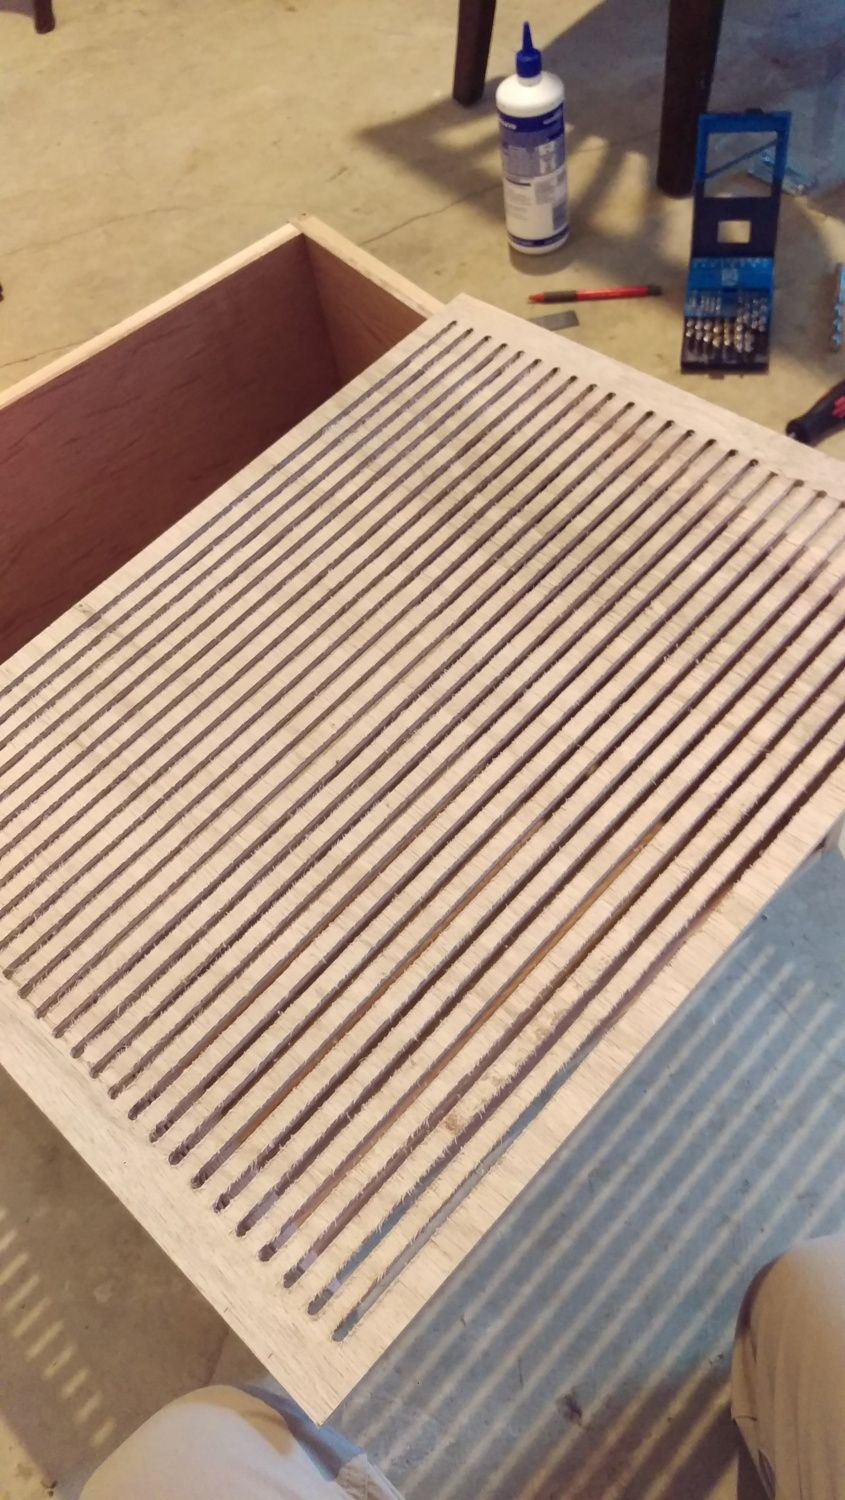
False floor with grooves to allow air flow below eggs
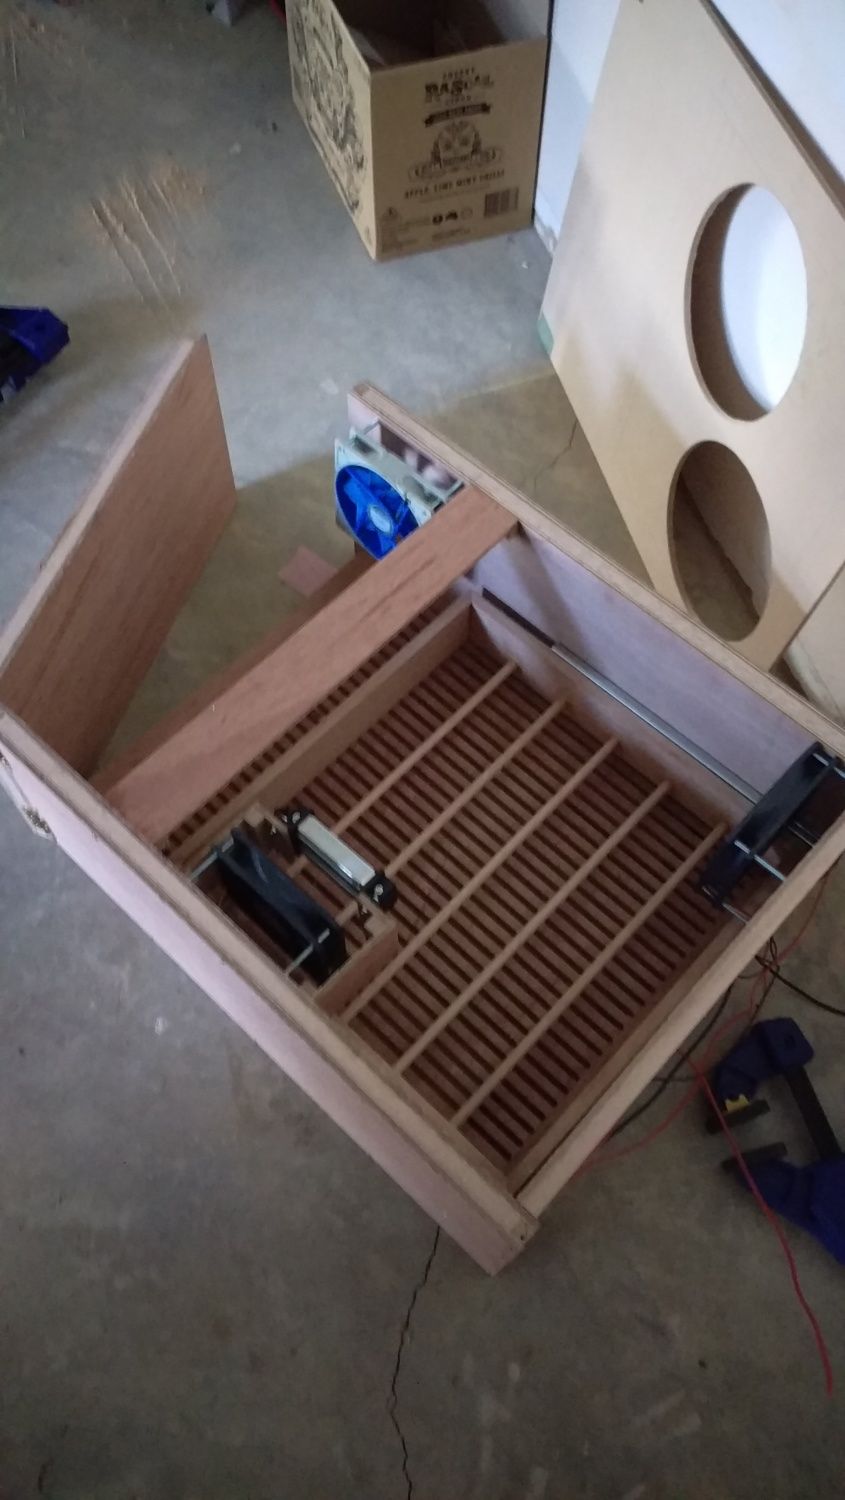
Side door to allow removal of internal parts.
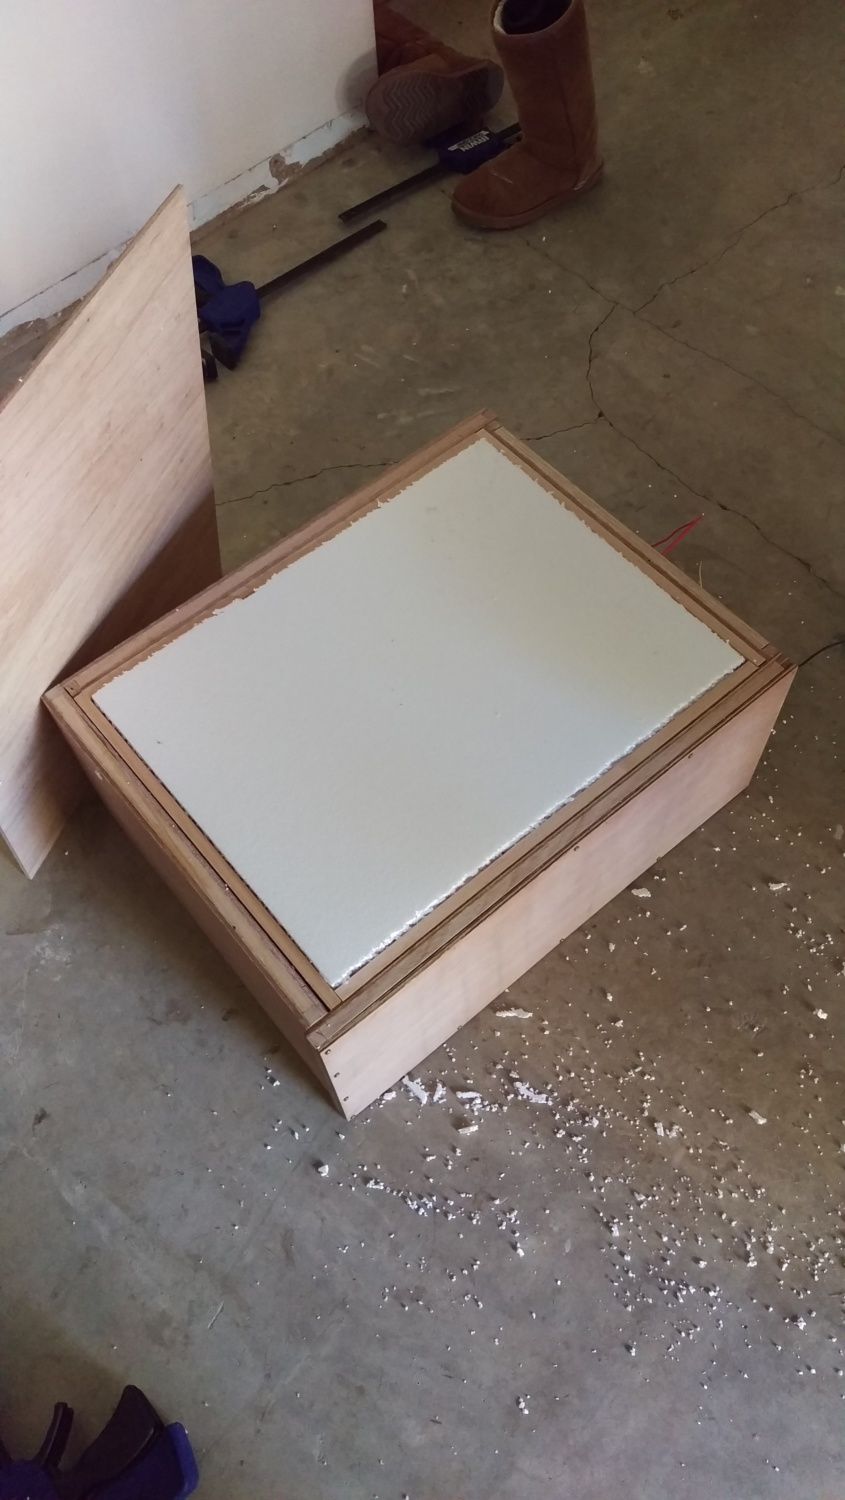
12mm polystyrene in each side
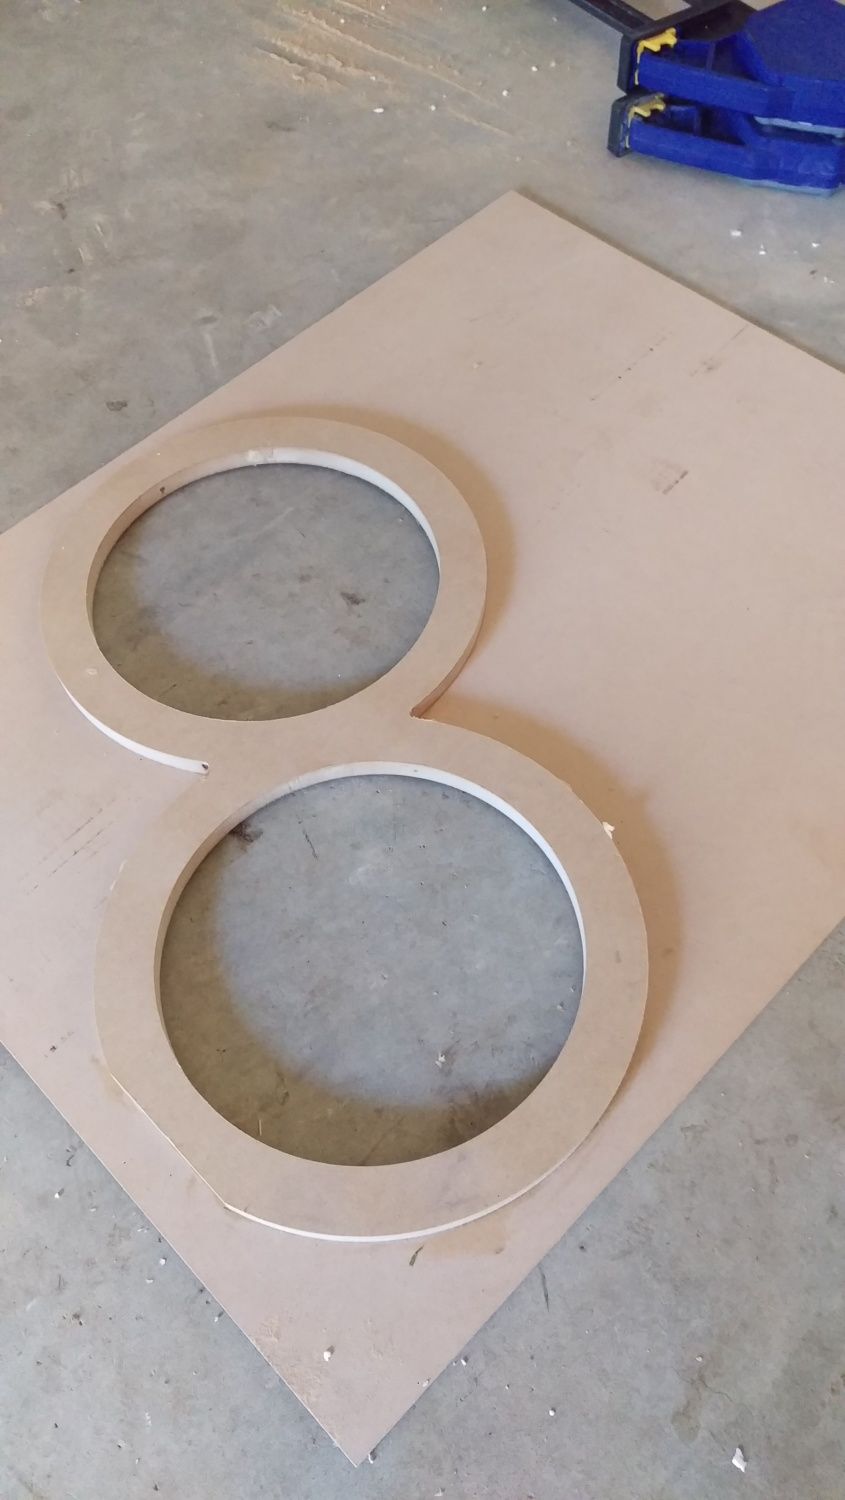
Holes and spacer for the lid
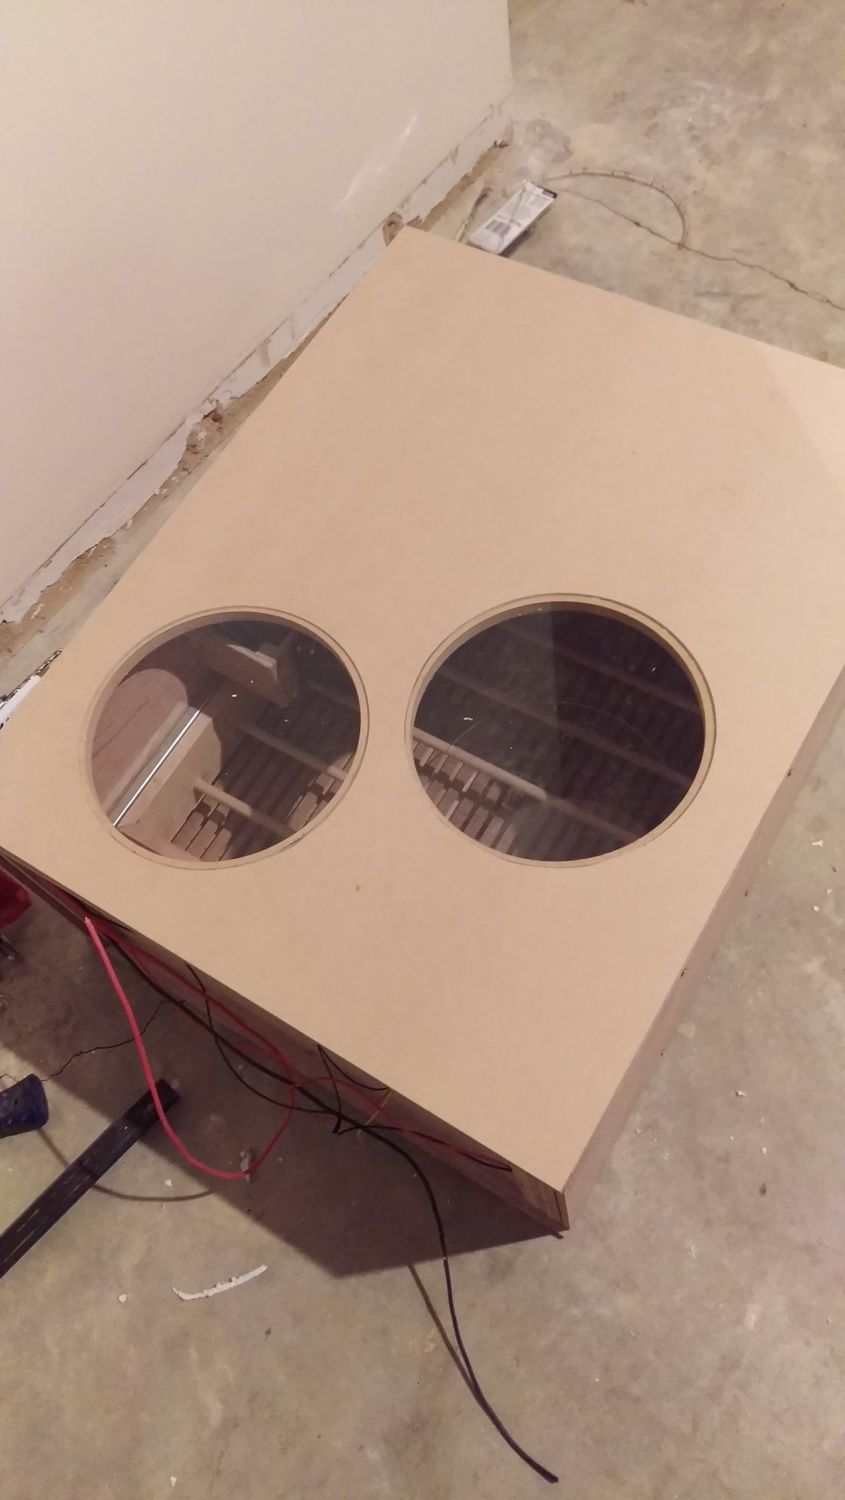
Lid almost complete!
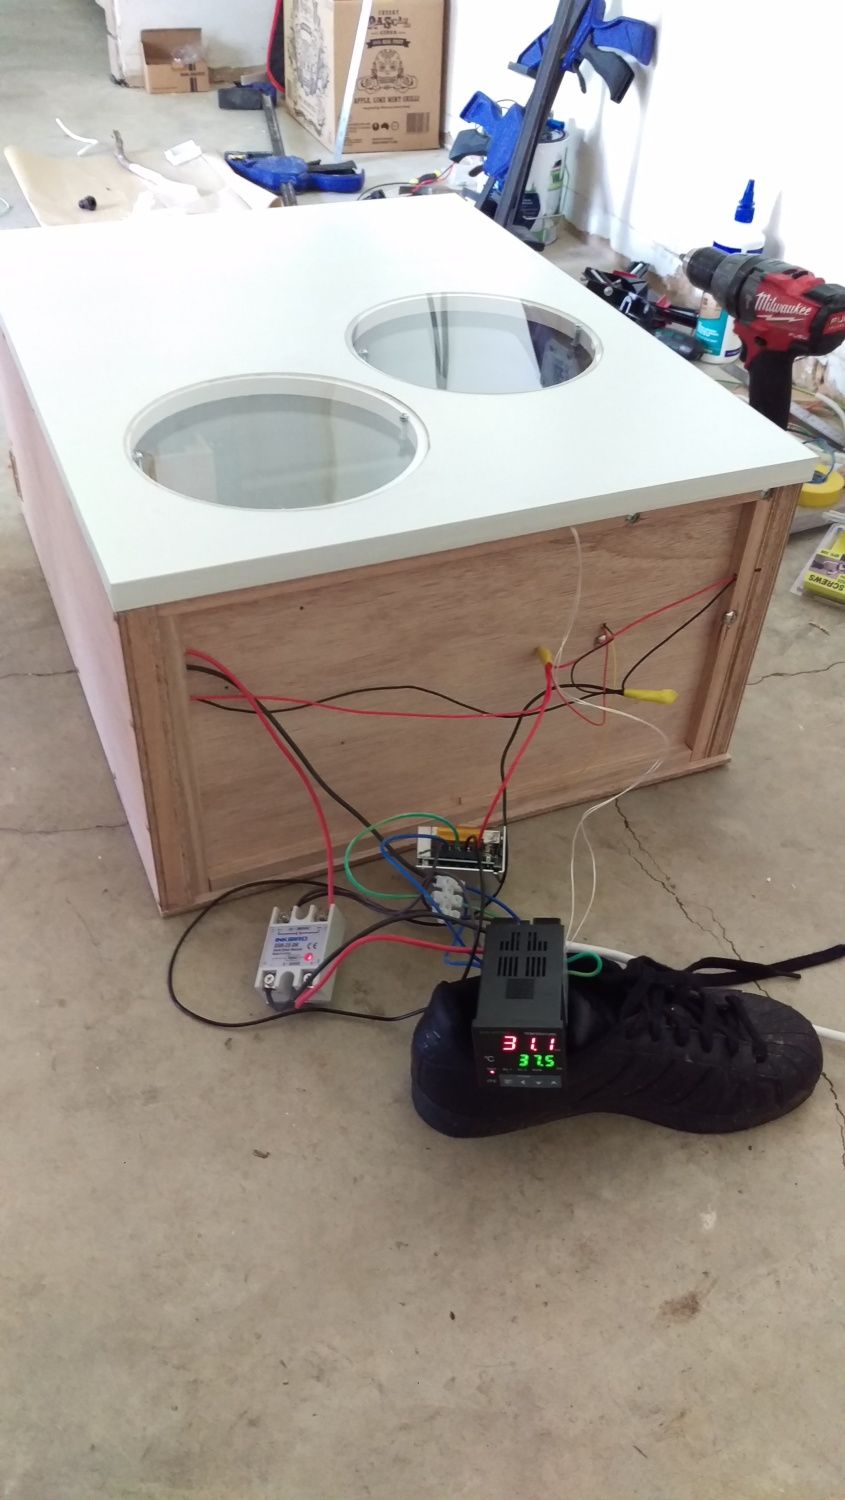
A quick test of the electronics and function of the parts. Not as complex as it might look to some at a first glance.
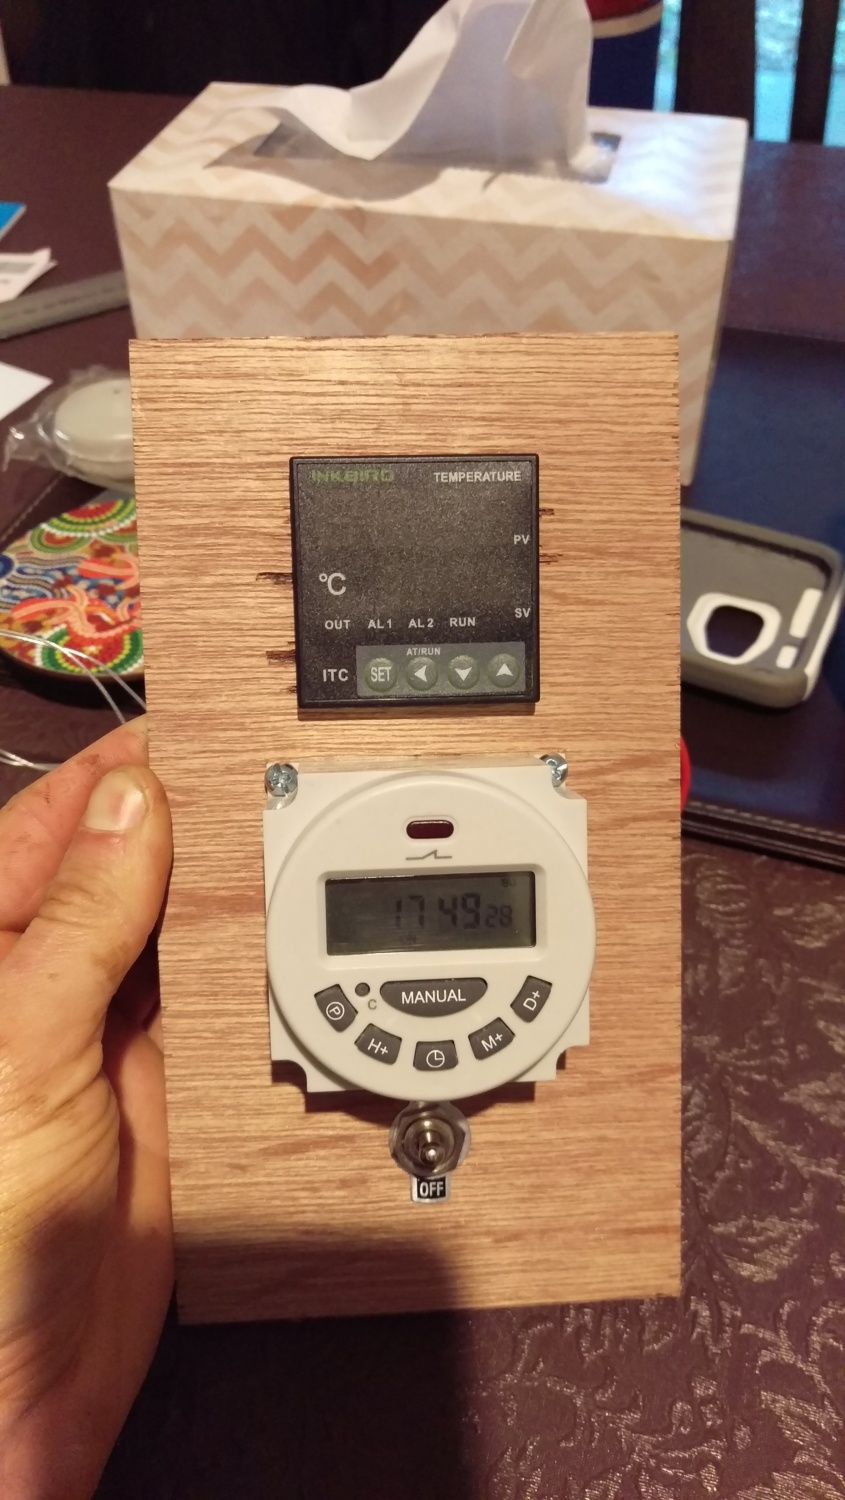
Temperature controller, egg turner timer and light switch mounted onto control panel.
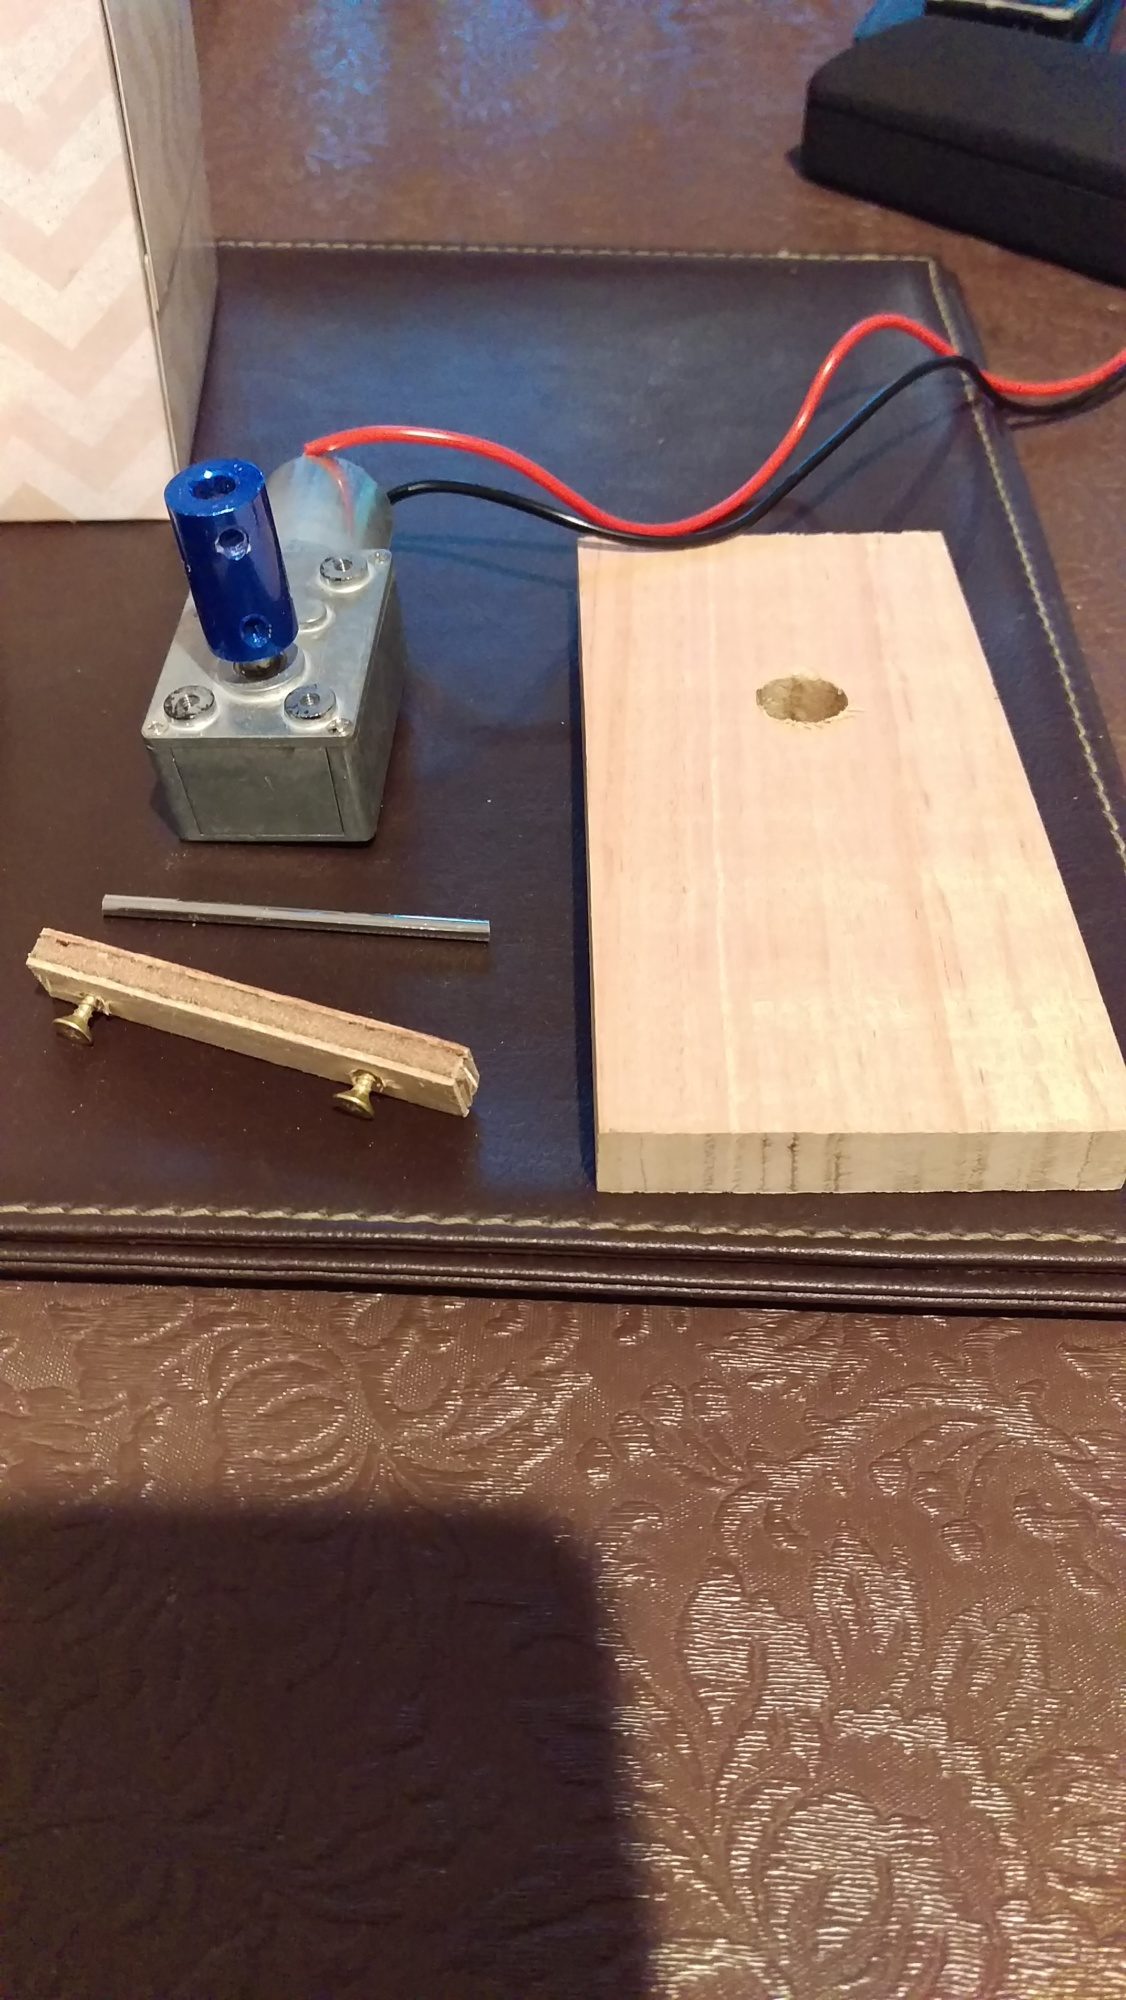
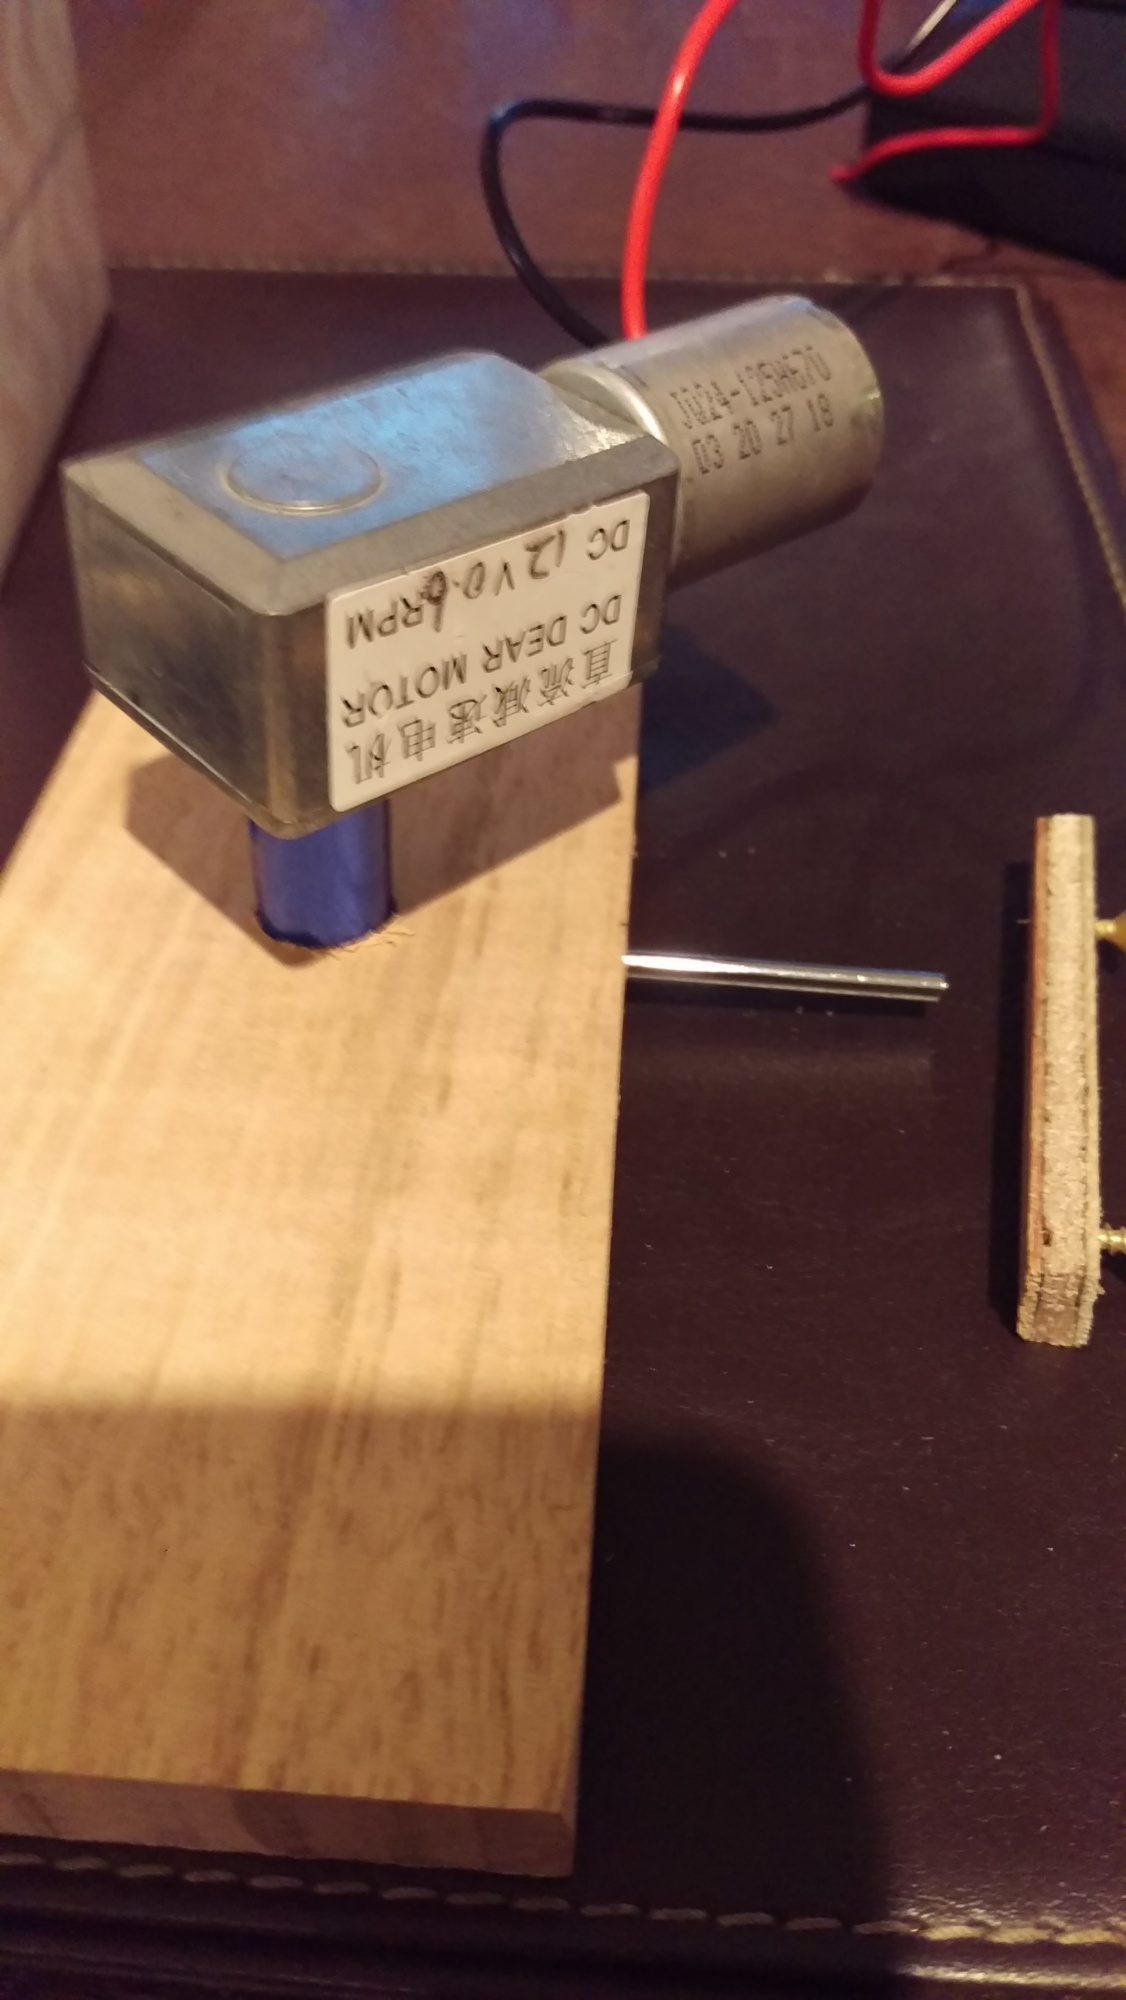
Motor assembly for egg turner.
Not a lot left to do. I need to mount the motor to the turner tray, I need to finish the control panel box and connect it to the side of the incubator and I need to do a small amount of work on the false floor to get it to the correct height inside.
I hope you enjoyed looking!
I thought I'd share my incubator project with you. I have made on previously in a cupboard and learned a lot to help me design the new one.
It contains 3 computer fans for circulation, insulated walls with all wires hidden, double glazed perspex viewing window, temperature control and automatic egg turning.
It is my first woodwork project so I have taken my time and only made one minor mistake so far!
This is the tray that fits 36 eggs
This is how I constructed each wall. 6mm marine ply separated by 12mm spacer border to leave room for insulation and wiring.
Clamping some of the sides together and 2 fans installed.
Fan blowing through heater.
Drawer slide on egg turning tray
False floor with grooves to allow air flow below eggs
Side door to allow removal of internal parts.
12mm polystyrene in each side
Holes and spacer for the lid
Lid almost complete!
A quick test of the electronics and function of the parts. Not as complex as it might look to some at a first glance.
Temperature controller, egg turner timer and light switch mounted onto control panel.
Motor assembly for egg turner.
Not a lot left to do. I need to mount the motor to the turner tray, I need to finish the control panel box and connect it to the side of the incubator and I need to do a small amount of work on the false floor to get it to the correct height inside.
I hope you enjoyed looking!


