This is my second homemade incubator. The first one was made from an ice chest, and while it worked great, it didn't have a lot going for it in the aesthetics department. So I decided that I wanted to build a "pretty" as well as practical incubator on my second time around. Here is the result:
Quote:
I'll be happy to post the instructions. I won't have time until later though as I MUST get off here and get some work done. I will try to get this done sometime today.
that is an awesome incubator .... looks like the type the wifey would love
how was your success rate?
i am curious if i can make some money on the side building incubators and selling them at the weekly poultry auction .... a little something to support my chicken habit
Quote:
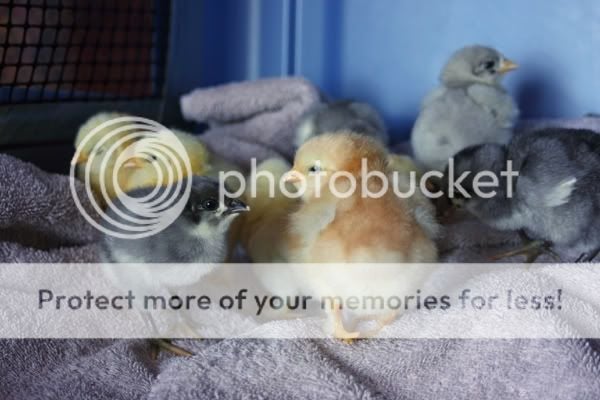
Well, at lockdown I had 10 Orpington eggs (shipped) and 5 Faverolles eggs (my own). Six of the Orps pipped, 1 of which died in the shell, so 5 Orps hatched. All 5 of my Faverolles eggs hatched. So 100% of my own and 50% of the shipped which is about average for shipped eggs I think.
I guess whether you can make any money building these would depend on what people would pay for one. I spent about $115 total on the incubator, including the thermostat, thermometer and hygrometer (which was half of the total cost). I definitely prefer this one over one of the styrofoam incubators for roughly the same amount of money.
Very nice bator would love to see directions to build one.
Seeing yours gave me an Idea, I wonder how a waterbed heater would work as a heat source for a bator? The bummer is I just threw one away a few months ago.
Quote:
Okay, hopefully these instructions make enough sense to help you - I am no carpenter I can assure you!
For starters, I got lucky and found the wooden box at the local Peddlers Mall. It was already painted/decorated. Its actually an old drawer and what I really like about it is that all of the joints are dovetailed which makes it quite sturdy, but its very lightweight (the thickness of the wood is about 1/2"). The interior measurements of the box are 25 1/4" x 14 1/4". If you want an automatic turner to fit your incubator you would probably need a slightly wider box. I didn't care about that as I enjoy turning the eggs by hand. The depth of the box is 6".
I put a wooden divider in to separate the "heating unit" from the hatching area. This divider is only 5 1/2" tall and I installed it level with the top rim of the box. This left a 1/2" gap between the bottom of the divider and the bottom of the box for air return. I cut out a hole in the wooden divider to fit an 8mm computer fan which blows the heated air across the eggs. I bought the fan from our local Radio Shack for $10 and I love it because it already runs at the perfect speed and is so quiet I can hardly hear it running.
Before I painted the interior of the box, I drilled holes - 2 large ones at the back of the heating unit for the fan to pull air into the box with, 5 about the size of a pencil on the opposite end of the box across the bottom (one of these I used to insert the thermostat and thermometer cords), 2 for the tubing I use to add water for humidity adjustment. You can put the holes for the tubing where ever works for you depending on what kind of water trays you use. Make sure the holes are just big enough for your tubing to cut down on heat loss. I also drilled the holes for the power cords for the fan and lights.
After drilling all the holes, I painted the interior of the box with 4 coats of exterior latex paint and then caulked all the seams. Then I put several coats of polyurethane on the exterior of the box.
The lid is made 1/2" oak plywood. I made it about 1/2" larger than the box so that there would be a lip around the edge to make it easy to open. Now this is the part that is hard for me to describe but hopefully the picture will help make it clear.I put strips of wood on the inside of the lid that made a frame which fit just inside the box with the lid closed. This helps keep the warm, humidified air inside the box. I suggest that you cut out a hole for a window BEFORE you add these wooden strips (I didn't and made things more difficult than they needed to be I think.) This was the trickiest part for me as I am NOT a carpenter. Make the wooden strips wide enough that they also will fit around and extend slightly inside of the hole that you cut for the window. It took me a couple of tries to get the fit right as you want it nice and snug when you close the lid. As you can see in the picture, you need to leave a gap for the divider or the lid won't close (I know this for a fact,
DUH me!). I measured the hole I cut for the window and then had the plexiglass cut to fit at the store. I used some clear, adhesive caulk to install the window and caulked the plexiglass both inside and out.
For the heating unit portion of the box, I put in two porcelain light fixtures, each with their own separate power cord. I use a 25 watt bulb in one which stays on all the time and a 40 watt bulb in the other which I plug in to the thermostat (the thermostat is a ReptiTemp 500).
I used 2 utensil trays to hold water and set them up off the floor of the incubator slightly so that air could flow under them (not sure if this was actually necessary
but didn't think it would hurt). I made a screen of 1/4" hardware cloth that I laid right down on the top of the water trays. At lockdown I just covered this with the rubberized shelf liner.
I also covered the hole for the fan with 1/4" hardware cloth to prevent nosy chicks from sticking their beaks, legs, etc. into the fan. I ran aquarium tubing through holes drilled in the back of the box to each of the water trays and put sponges in the trays. I had no trouble raising the humidity to 70% during lockdown. The only thing else I did was to lay a quilt over the top of the incubator to keep the temp swing minimal. With the quilt on the top, the swing was less than one degree.
I'm sure I left something out so if you have questions just ask and I will attempt to answer them.