If you are supposed to be on vacation and all it does is rain, and your trying to quit dipping snuff, and suffering withdrawals terribly bad. ( been dipping for 40+years), What you supposed to do. I needed a new hatcher so here it is.
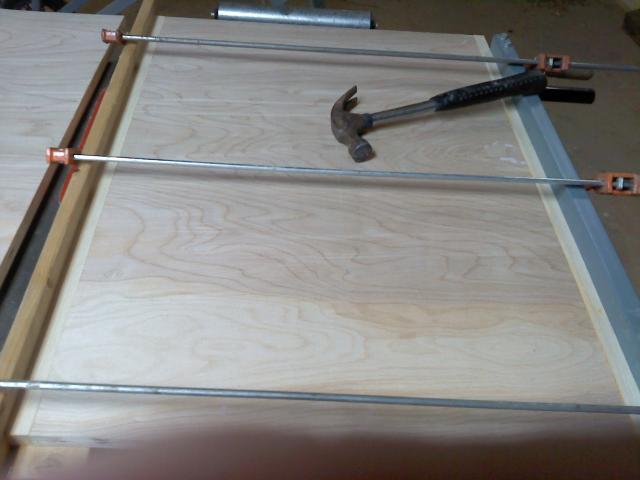
3/4inch Birch plywood being cut to size.

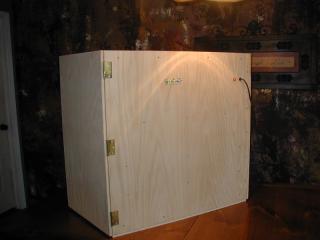
Assembled to make the outside walls of the cabinet
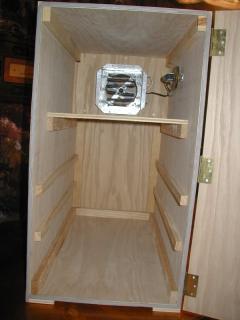
False back wall added, notice the hole in the top for the fan and heat strip, top shelf for water pan, and slides for the egg trays.
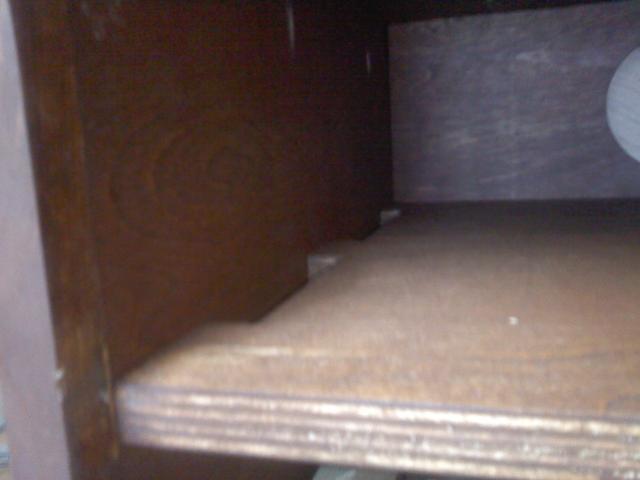
Top shelf has slots along the sides to allow air flow to tray area.
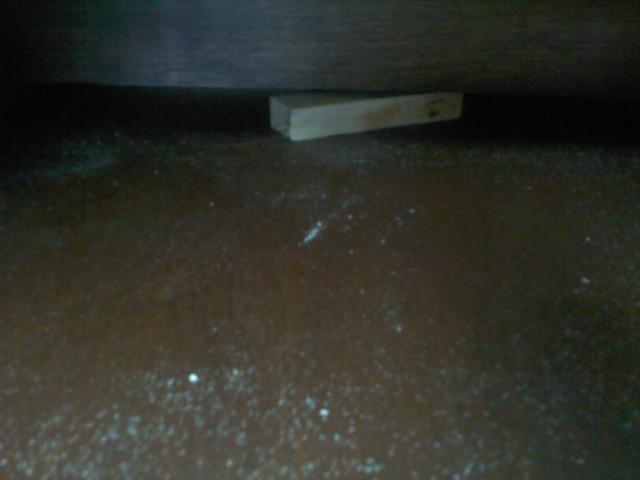
False back wall has slot at bottom to allow return for air back to the fan and heat strip.
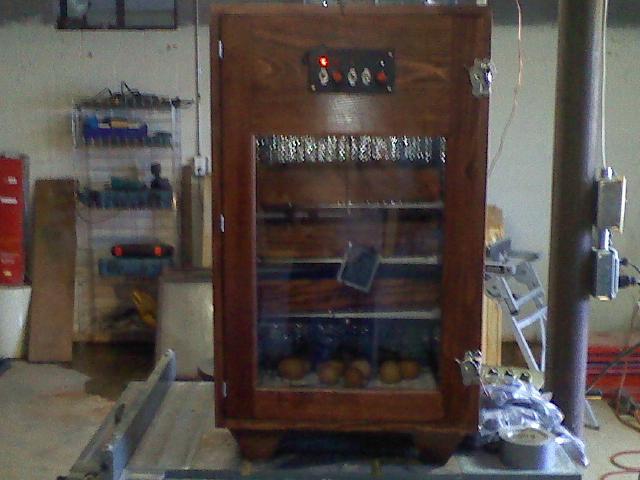
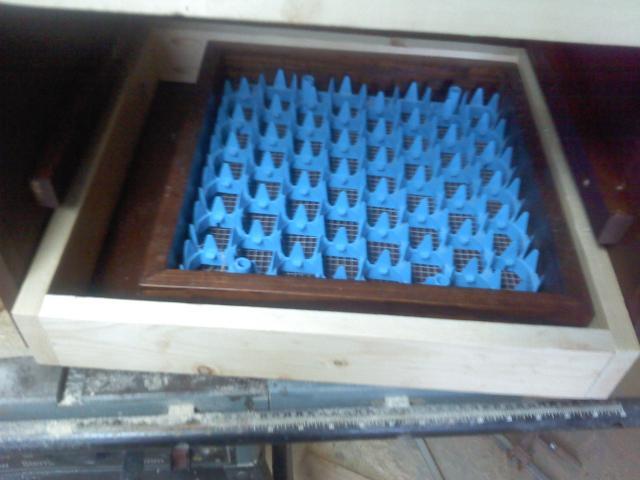
Egg trays added,
Notice these trays are going to be qite a bit bigger than a tray for incubating the first 18 days.
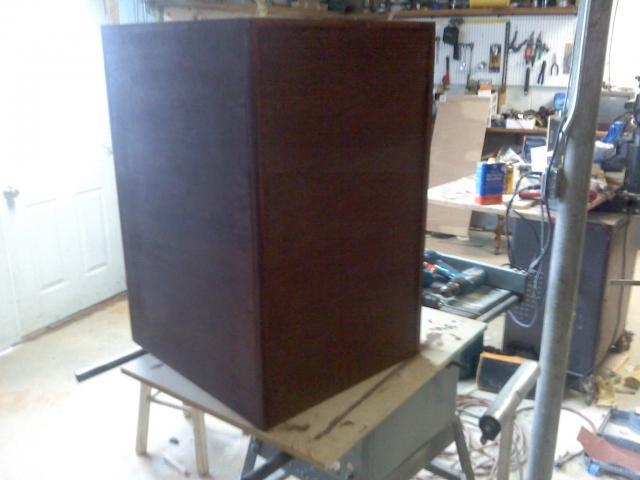
Exterior back and side after a little stain.
If you can buy or borrow one of these, http://www.kregtool.com/Master-System-Prodview.html, You can have your wood supplier make all the cuts on your plywood and put a cabinet like this one together in about an hour after your get home with the wood. I put mine together testing the fit, then took it apart to do the staining. It takes the stain 8hrs to dry so I left it overnight and reassembled it this morning in about 15 minutes. I still have to make the door but I am going to scrounge around and see what size peice of glass I can comeup with first. No use buying a special size, when I can built to fit a freebie peice of glass.
I have a heat coil and wafer thermostat ordered from Cutler Supply I am waiting on to finish this hatcher, should be here today. I already have a electronic thermostat and fan, I will probably add today. I have the parts for the humidity tray, including float valve and water bottle already. If I had the door made, I could probably put this one in operation with about another hours worth of work.
3/4inch Birch plywood being cut to size.
Assembled to make the outside walls of the cabinet

False back wall added, notice the hole in the top for the fan and heat strip, top shelf for water pan, and slides for the egg trays.
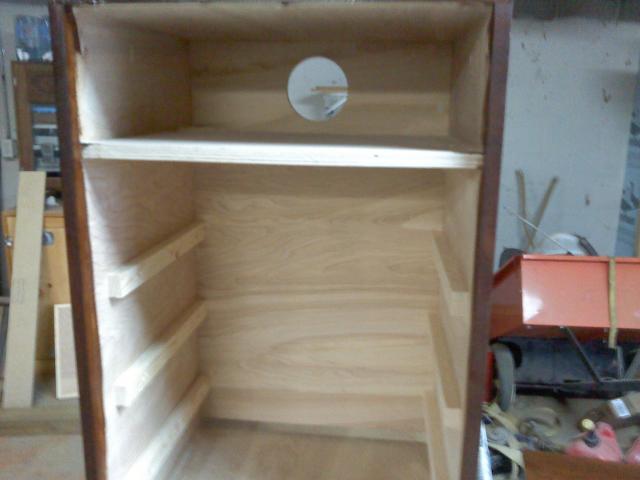
Top shelf has slots along the sides to allow air flow to tray area.
False back wall has slot at bottom to allow return for air back to the fan and heat strip.
Egg trays added,

Notice these trays are going to be qite a bit bigger than a tray for incubating the first 18 days.
Exterior back and side after a little stain.
If you can buy or borrow one of these, http://www.kregtool.com/Master-System-Prodview.html, You can have your wood supplier make all the cuts on your plywood and put a cabinet like this one together in about an hour after your get home with the wood. I put mine together testing the fit, then took it apart to do the staining. It takes the stain 8hrs to dry so I left it overnight and reassembled it this morning in about 15 minutes. I still have to make the door but I am going to scrounge around and see what size peice of glass I can comeup with first. No use buying a special size, when I can built to fit a freebie peice of glass.
I have a heat coil and wafer thermostat ordered from Cutler Supply I am waiting on to finish this hatcher, should be here today. I already have a electronic thermostat and fan, I will probably add today. I have the parts for the humidity tray, including float valve and water bottle already. If I had the door made, I could probably put this one in operation with about another hours worth of work.