Jen's Hen Pen

Bryan, it’s truck power between homes but people power to and from the truck.

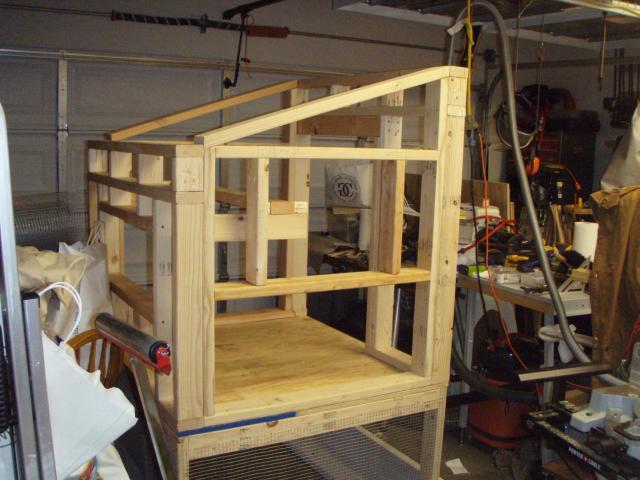
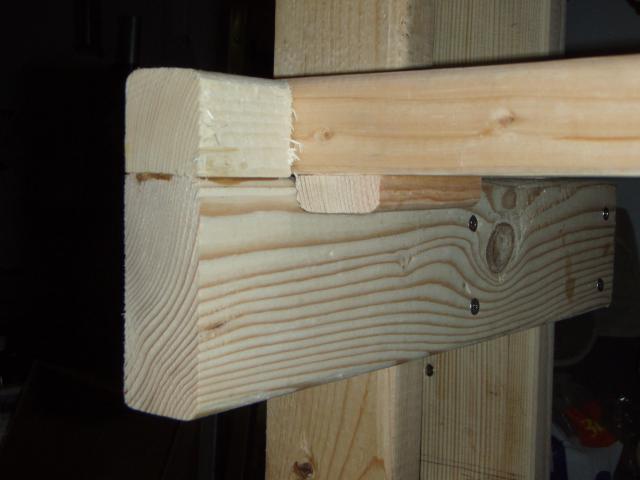
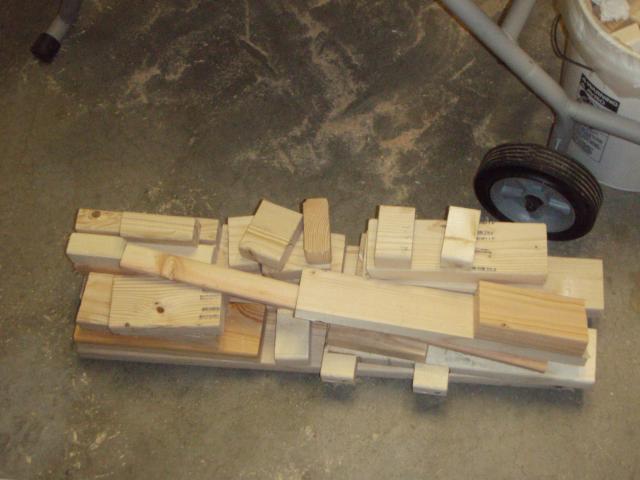
Dirty farmer, no great skill. I'm following the construction instructions in the book "Building Chicken Coops for Dummies". The instructions are so simple that even I can figure it out. I'm not following any of their specific plans, just a combination of several. I do have a growing pile of short 2 X 4's. I've scrapped (literally) some of the work I've done after trying some things out. I don't have a good grasp of the abstract and have to cut and paste, only using 2 X 4's instead of a computer. I wish I could figure Sketch up.
 
great job chuckens!

i am in the bay area as well and my husband is about 1 day away from finishing the coop and run...roof is up, just need to put in roosts, paint, door handles/locks etc.

so nice of you to do this for your daughter....hope she pays you back in delicious eggs.
 
Marin Mama, how long have you all been working on it? I'm sure this will take me the better part of June and into July. Chicks should be laying about Aug 20, but The Bride and I are heading to Alaska before that, so I have to get it done.

I'm sure I'll be getting lotsa eggs. : )
 
Last edited:
Quote:
Well he had a deadline of the end of may but the family came down suck so he lost a few days...he can only work on it on the weekends and so far has put in about 70 hours...he is building it by himself while I take care of the kids and chicks...
 
Sun 6/5: Finished framing the back wall and all but the top board on the right wall. It took a while to figure out how I wanted to do the pop door, but I think I have a plan.

Mon 6/6: Got all the framing done on the coop (I think) except for the roof joists, which I’ll work on after the siding is up. On the left wall, the roost will extend over the window, but then, they will have a room with a view.
93790_left_wall_framed.jpg


I attached a stop block on the underside of each end of the roost to prevent it from sliding into the hardware cloth that will be attached over the window after the siding is put on and the holes cut out.
93790_roost_stop_block.jpg


On the bottom portion of the roost support, I will attach heavy duty drawer slides and mount the poop board to that, so it can slide to the front door for cleaning.

On the right wall, the rectangle on the right will be where the sliding pop door will be. The support at the top third is for the roost. Once the siding is up, I’ll attach a storage cupboard to the left of the pop door.
93790_right_wall_framed.jpg


This shows the roost and pop door frame, where the door will slide up and down.
93790_roost_and_pop_door_track.jpg


I think (I hope I hope I hope) I am ready to put the siding on the left wall and start on the nest boxes.

This is my scrap pile from the framing. I thought, with all the trial and error that I went through, that I wasted a lot more. A lot of that will be used for the window frames. This is probably about 16 linier feet.
93790_scrap_pile.jpg
 
Dad! This looks amazing! Oh I am so excited
smile.png
Thank you thank you thank you!

I figured I should create a login just in case I needed to ask questions...

And yes, you will be getting many, many eggs... once they start laying
wink.png
 
Oh my gosh how cute... you guys are so special.
big_smile.png


I would cover the bottom of it with linoleum... yours looks sort of similar to mine that we built in October. We put linoleum on the floor and it has made cleaning so easy. I use a dust pan and scoop out the shavings, I dust it out and then put fresh shavings in. Takes me 5 minutes.

Can't wait to see the finished product!
 

New posts New threads Active threads

Back
Top Bottom