- Thread starter
- #31
Jen, why don't you and Jacob come by any time after 8 am. Thats when I turn on the heavy equipment.
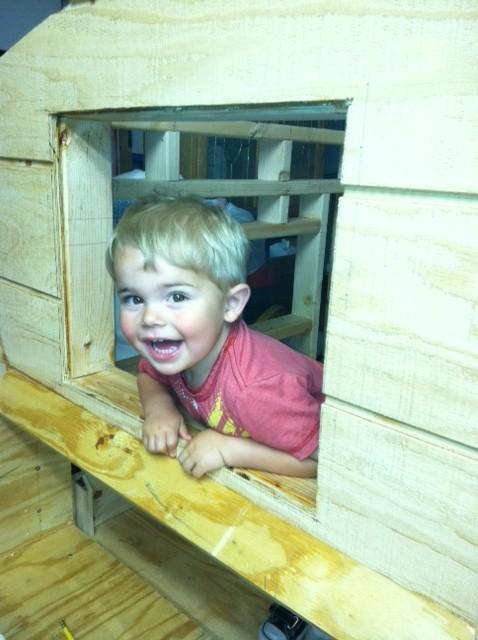
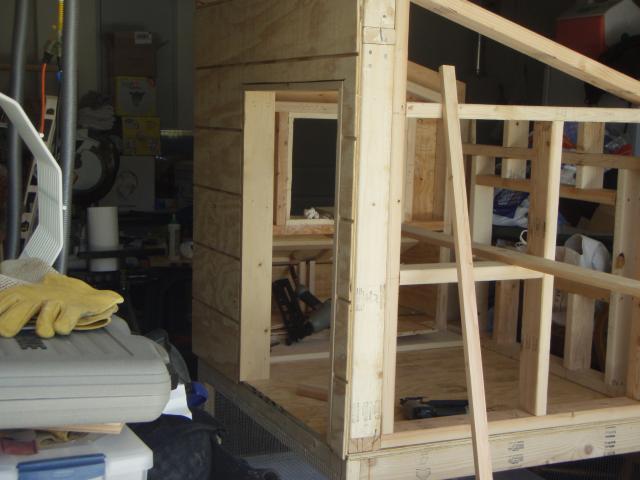
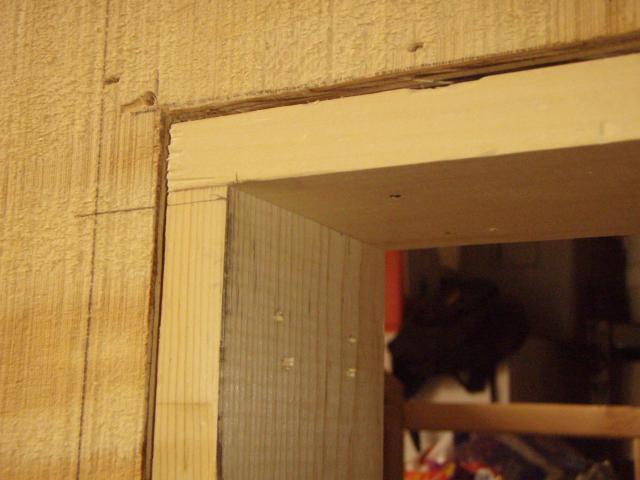
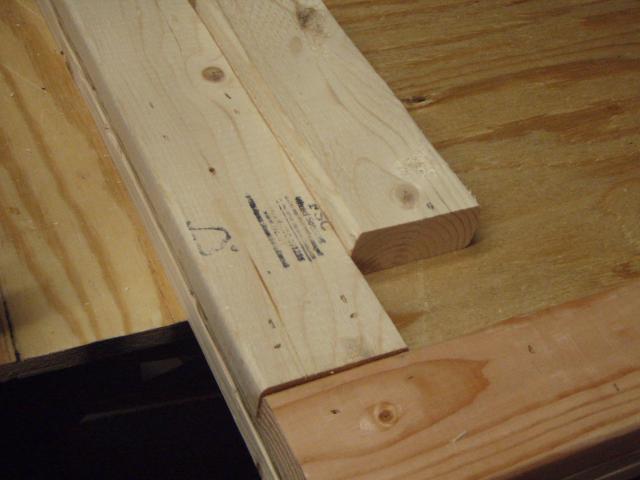
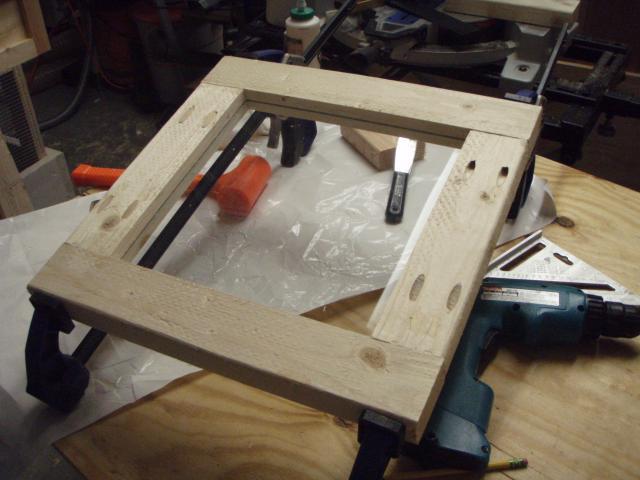
Tue 6/7: Trimmed, glued and nailed up the siding on the left wall. Cut out the holes for the window and nesting boxes. Cut and assembled the shell for the nest boxes.
WED 6/8: Why wont my chickens lay eggs?

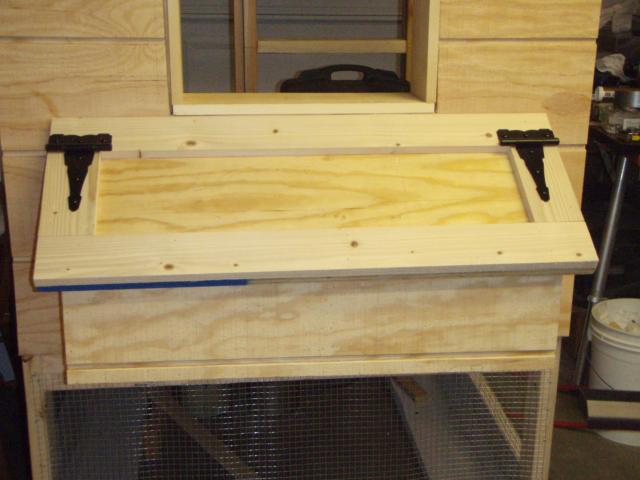
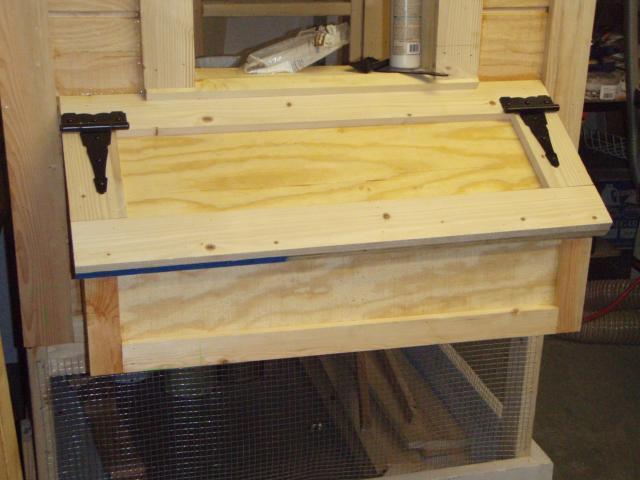
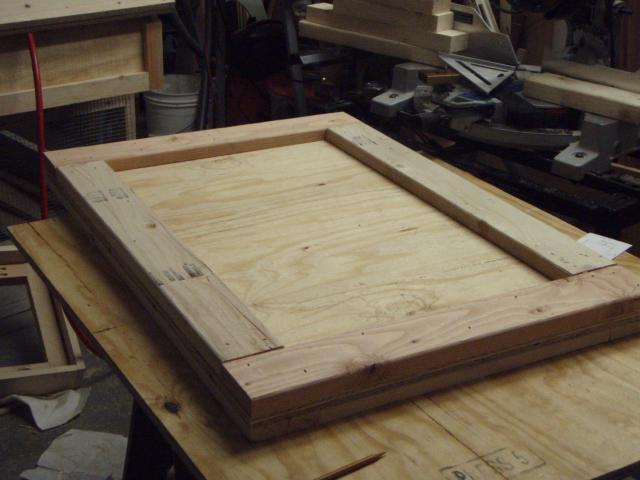
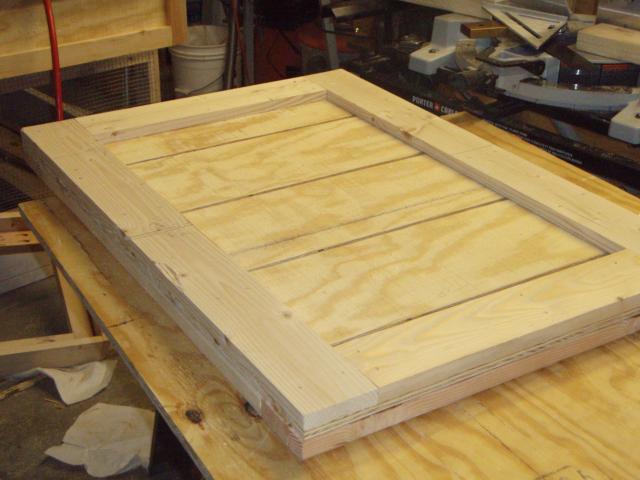
I completed the nest boxes except for the lid. Each box is 14 high at the front, 7 ½ high at the back and 16 wide. There is a 5 board at the front to contain the nesting material. There is a 9 opening for the chickens to climb through to get into the nests. I calked all the seams in and around the nest box to prevent drafts and crawley things from getting in. I didnt complete the lid to the box because I bought the wrong hinges. Ill exchange them tomorrow. I eventually will put down linoleum on the nest box floor to make for easy cleaning.
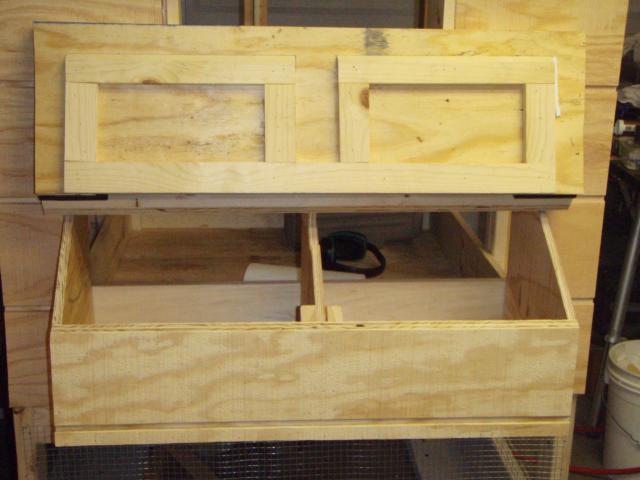
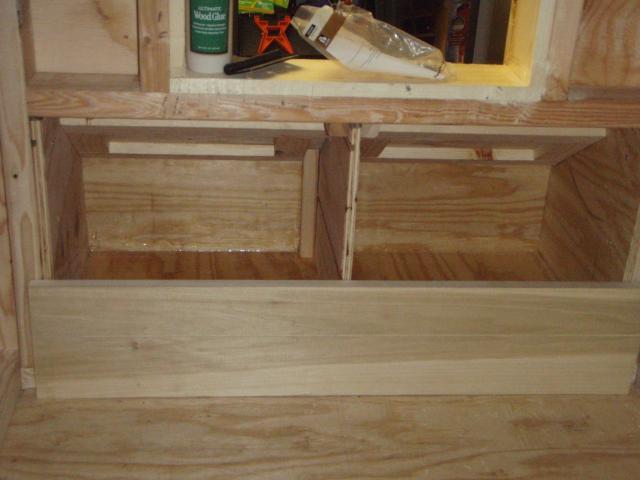
The partition and front board are removable for cleaning.
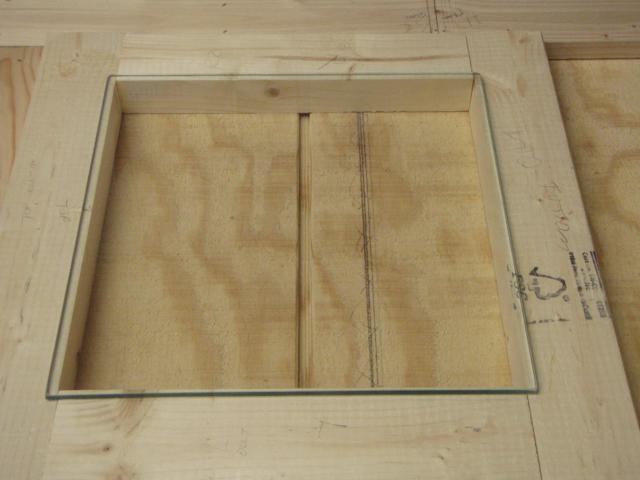
The daughter wanted sand in the coop, so sand she gets. After searching the forum and making enquiries, most of the people that have a coop with a wood floor are using sand at a depth of from 3 to 4. I installed removable containment boards, 5 ½ high on three sides, and 7 ½ high in front of the nest boxes. These will also keep the sand away from the people door and from the base of the sliding pop door.
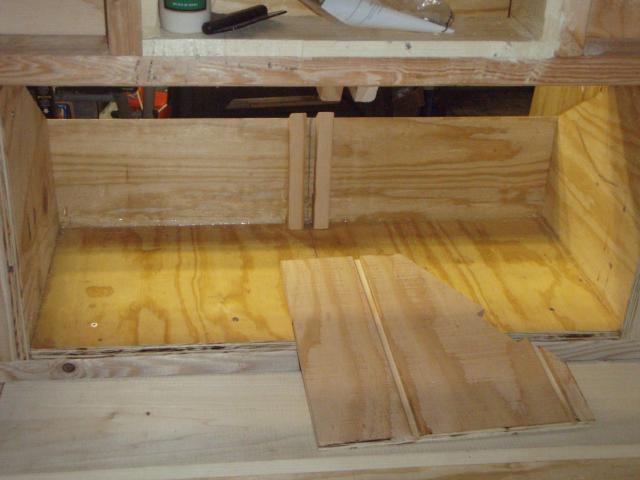
I scored a line on the boards, 4 up from the floor to aid in leveling the sand after cleaning and raking. Its difficult to see in the picture.
Tue 6/7: Trimmed, glued and nailed up the siding on the left wall. Cut out the holes for the window and nesting boxes. Cut and assembled the shell for the nest boxes.
WED 6/8: Why wont my chickens lay eggs?
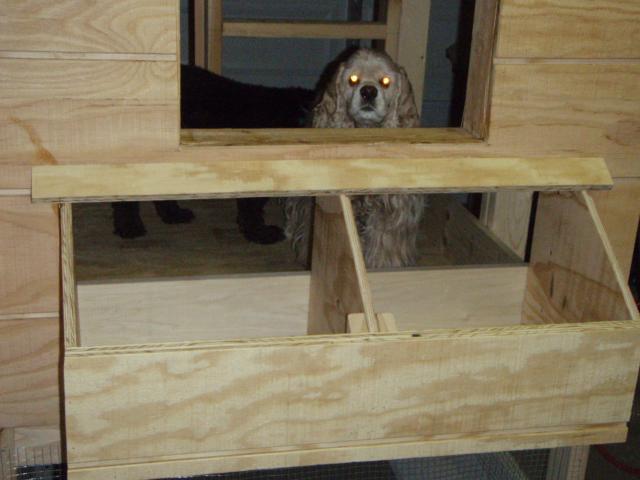
I completed the nest boxes except for the lid. Each box is 14 high at the front, 7 ½ high at the back and 16 wide. There is a 5 board at the front to contain the nesting material. There is a 9 opening for the chickens to climb through to get into the nests. I calked all the seams in and around the nest box to prevent drafts and crawley things from getting in. I didnt complete the lid to the box because I bought the wrong hinges. Ill exchange them tomorrow. I eventually will put down linoleum on the nest box floor to make for easy cleaning.
The partition and front board are removable for cleaning.
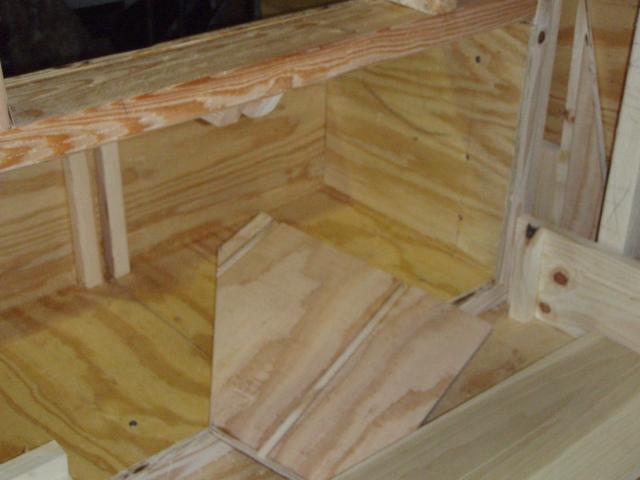
The daughter wanted sand in the coop, so sand she gets. After searching the forum and making enquiries, most of the people that have a coop with a wood floor are using sand at a depth of from 3 to 4. I installed removable containment boards, 5 ½ high on three sides, and 7 ½ high in front of the nest boxes. These will also keep the sand away from the people door and from the base of the sliding pop door.
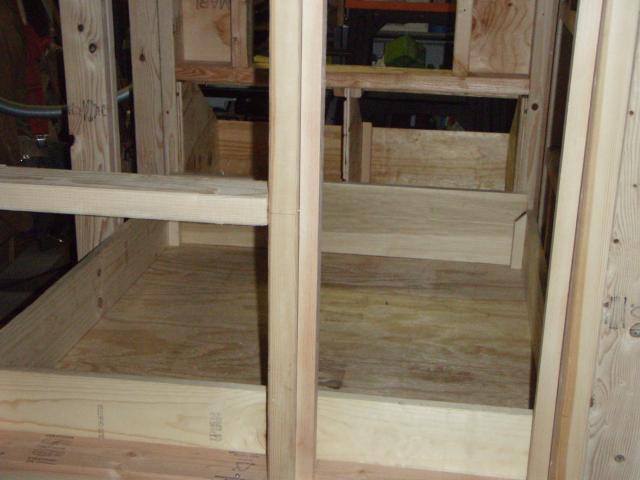
I scored a line on the boards, 4 up from the floor to aid in leveling the sand after cleaning and raking. Its difficult to see in the picture.