Found this one on another thread. Problem will be finding the 35MM canister in the digital age.
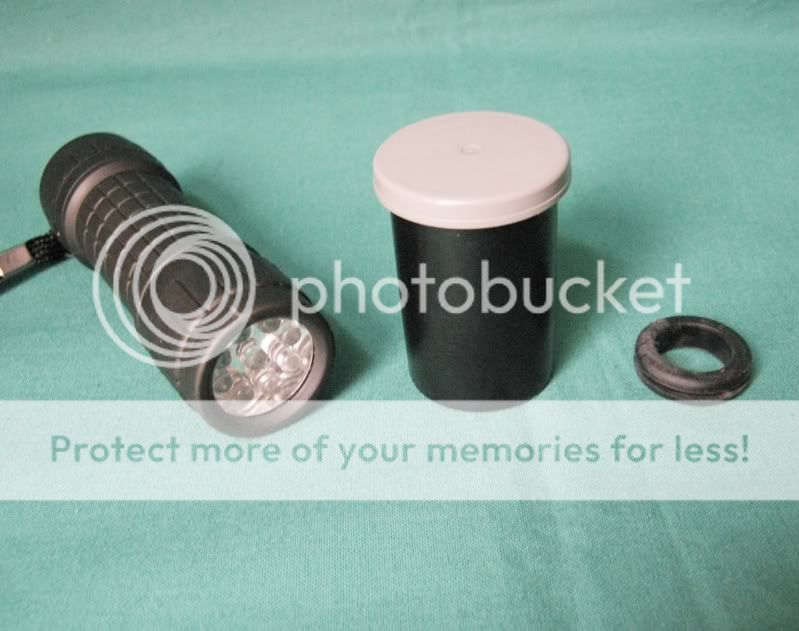
DIY Egg Candler I wanted to share with you, a simple but effective egg candler that I have just made. The total build cost is about £3 ($6), and it is very easy to make. You will only need 3 components as shown below.
1. A small 9 x LED torch (approx 95mm long x 30mm diameter) available from lots of local outlets at a cost of around £3 ($6). It requires 3 x AAA batteries, which were supplied.
2. An old empty 35mm film canister (black), if you dont have one they will give you them for free at film processing shops.
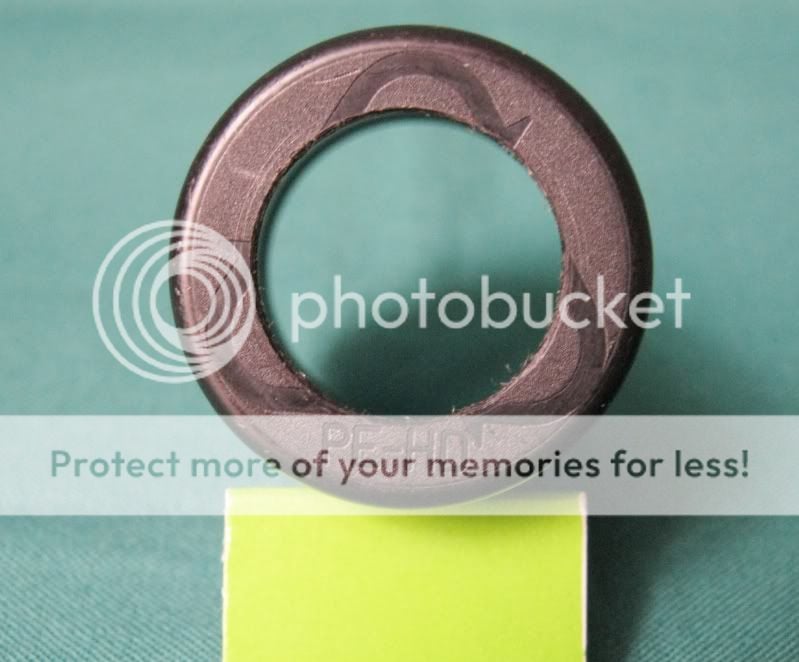
3. A 20mm open rubber grommet (not essential), from most diy or electrical outlets costing next to nothing.
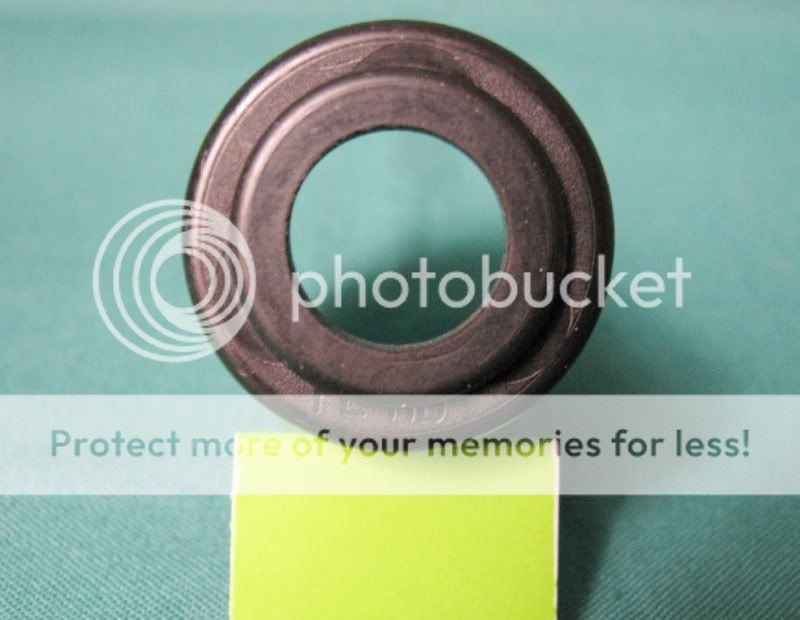
Discard the lid from the film canister, you dont need that part. Try to find a canister that is a snug fit onto the end of the torch, or use some electrical tape to hold it on. Drill or cut a 20mm hole into the base of the canister as shown below.
Push the rubber grommet into the hole, its a tight fit and does not need fixing. This part is not essential, see below.
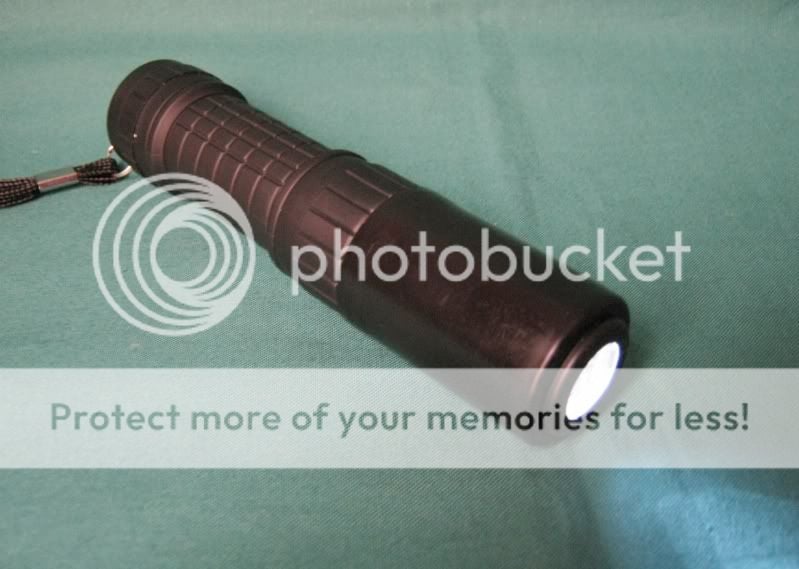
Now just fit the canister onto the end of the torch as shown below, and you are done.
On lighter shelled eggs, it really illuminates the egg very well. It is even quite good at illuminating darker and thicker shelled eggs.
Regards Bob ReplyQuote Multi https://www.backyardchickens.com/t/559288/diy-egg-candler#


 On a whim I saw a craigslist ad near where hubby was going to pick up some supplies the other day and purchased some local eggs. I am hoping to have a lot more success with those. I bought 24 eggs and hubby came home with 40! The seller of the eggs said she included extras for my boys since they were only going to be wasted that day anyway since there were no other buyers. Wasn't that nice!?! We are so excited. So...on 5/23 I set the following:
