- Jul 16, 2011
- 80
- 41
- 112
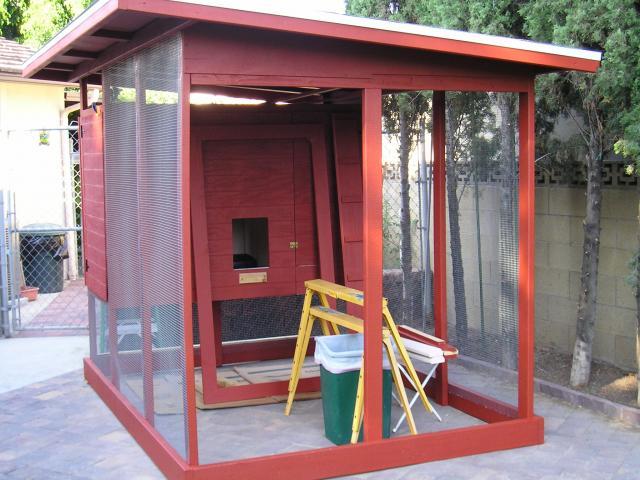
I had some basic requirements, to fit on the pad available, I could stand up, access from the front side to the coop, access to the coop from inside the run.
I decided on a 9' X 6'. This gave me six 36" run panels (Novice error, the 9' should have been 9' 5" and all ten panels would have been on 36" centers), one on the end would be used for the run entrance door. Roof height from 7' front to 6 1/2' rear. With only rain to worry about I figured the 6" drop would be enough.
The bottom frame is 2" X 6" pressure treated as are the 2" X 4" studs.
This is the first of many loads and the first days of construction.


Day two, finished the studs and some of the rafters.
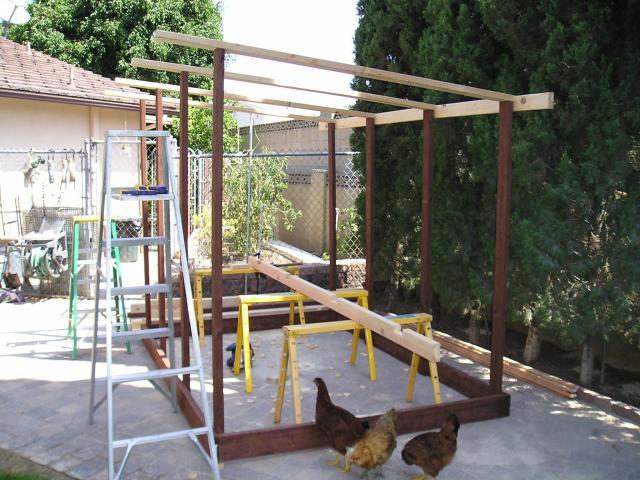

The pressure of constant supervision through the whole project.
Day three and four, front and rear face plates.


Used false rafters to support the 4' sheets of 3/8" plywood roof panels.
Day five and six, plywood sub roof.


Day seven and eight.
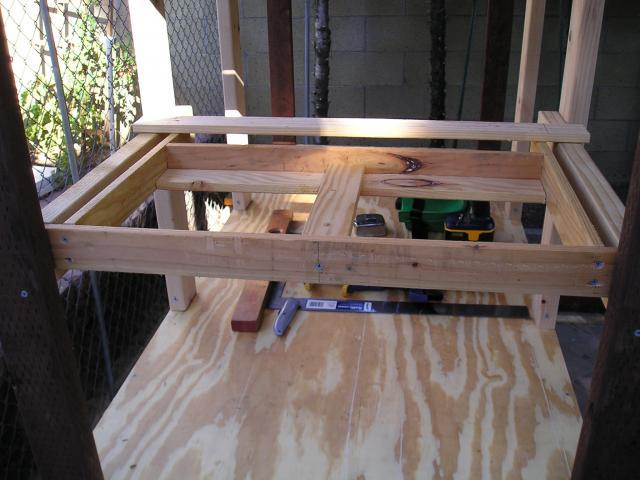
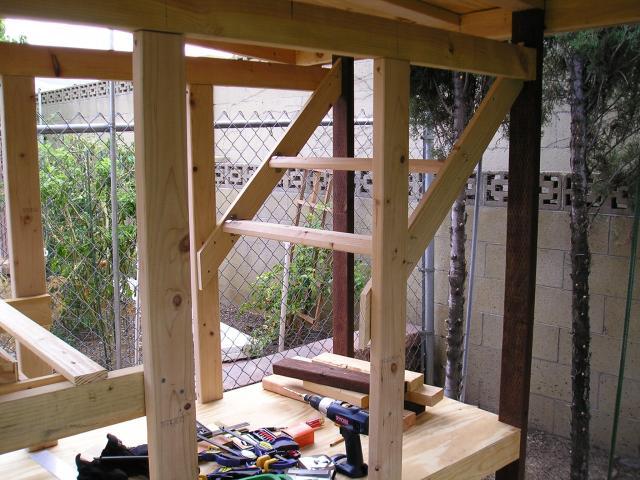
Base for the coop area.


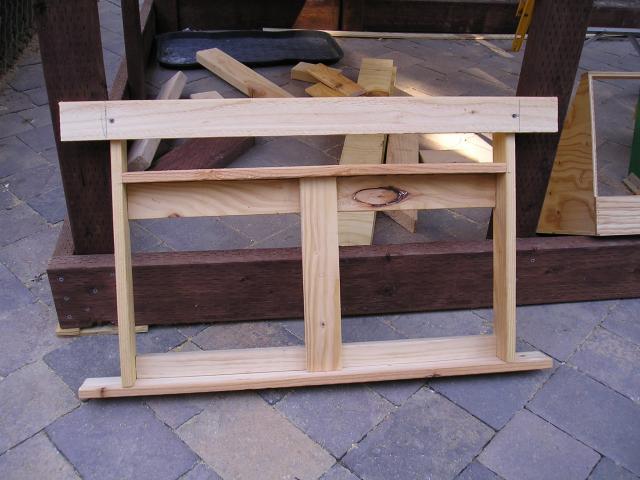
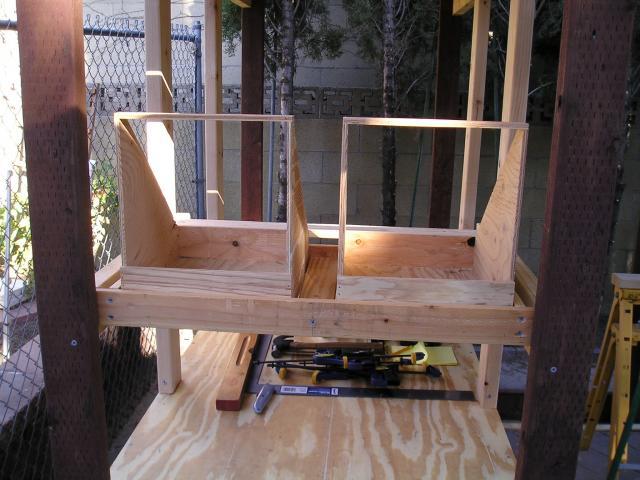
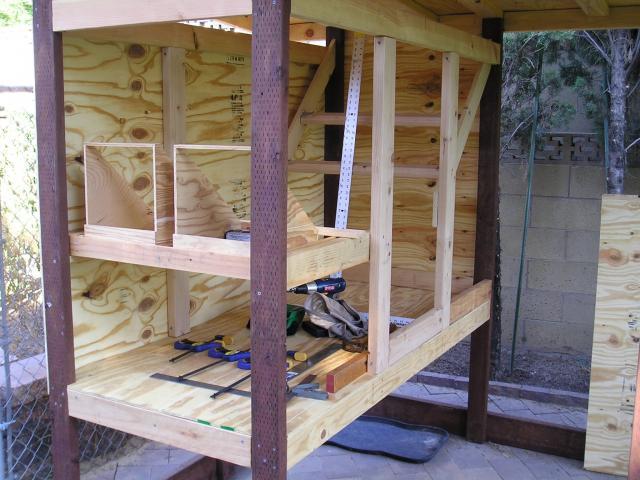
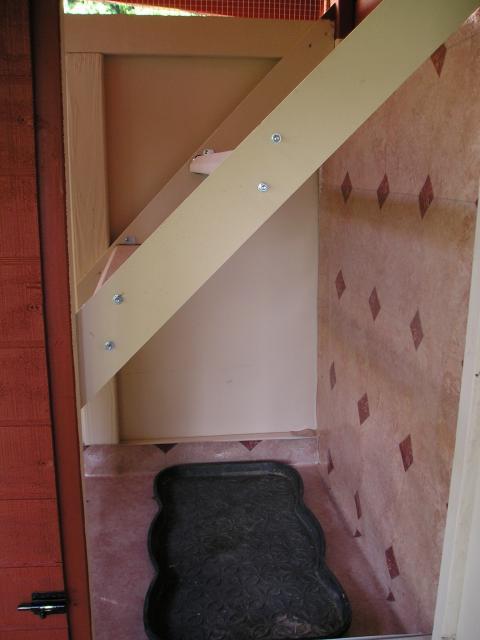
Day nine, the frame for two nest boxes. This frame mounts behind the access door on the front of the coop and had to be easily removable for coop cleaning.

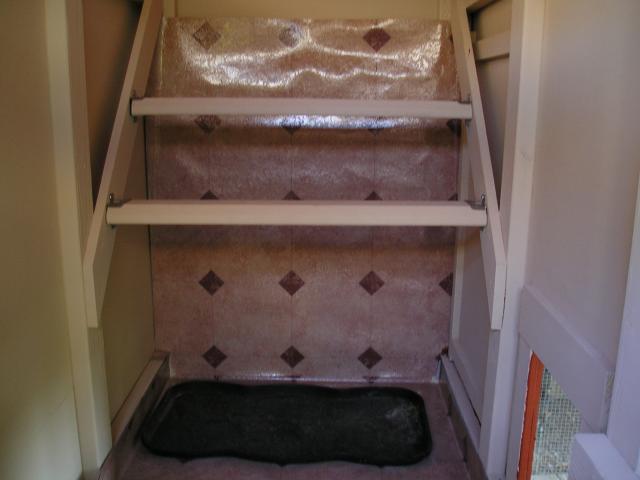
Day ten, two Roost at the rear of the coop, access from the door in the run area.
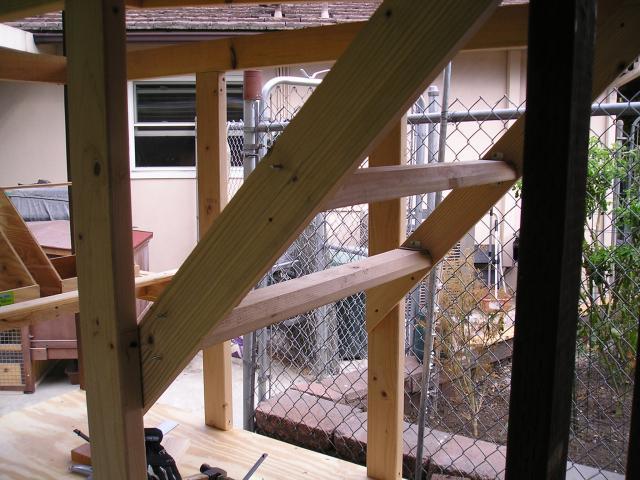
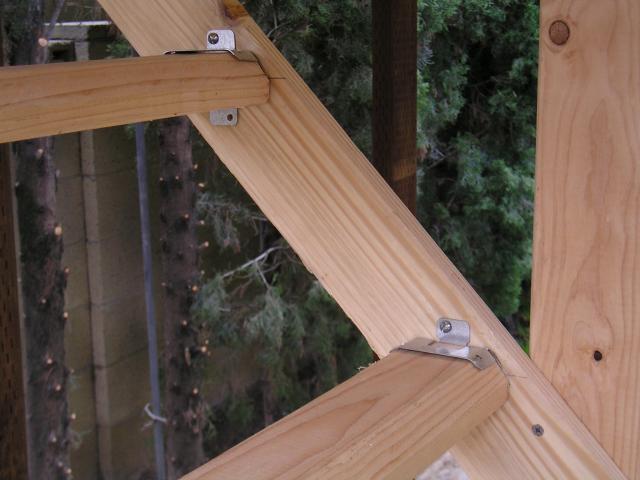
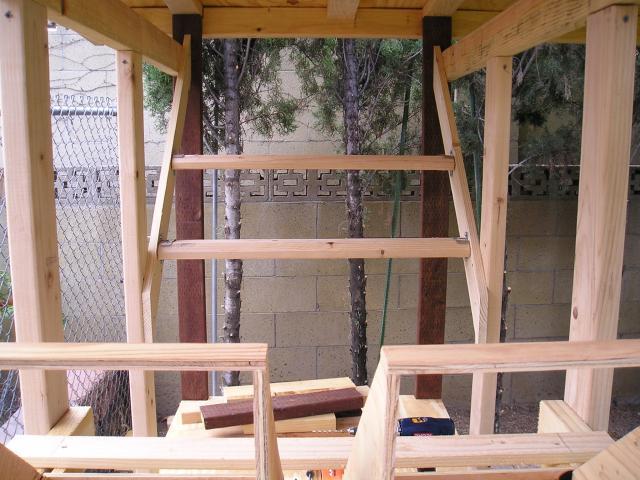
Later increased the distance between the two roosts.
Day eleven & twelve.
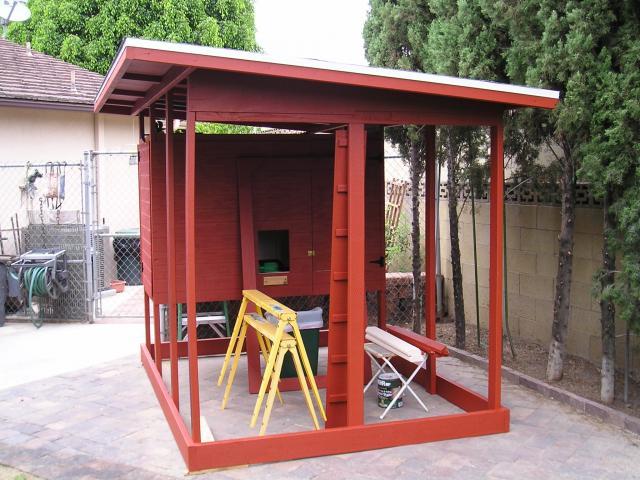
Closed in the coop area, built coop doors & run entrance door frame.

Day thirteen and fourteen.
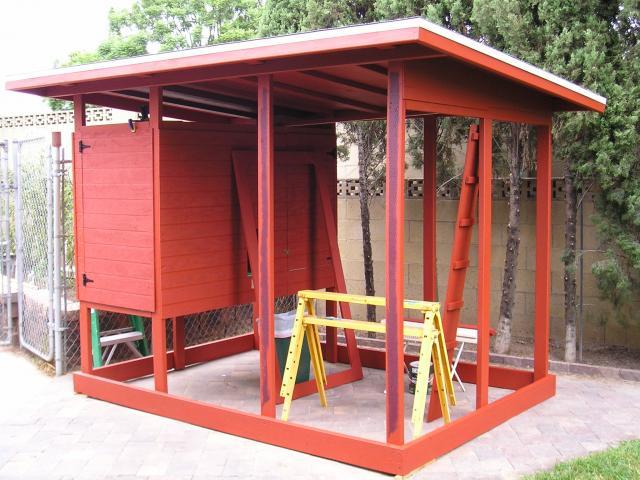
Painted exterior, coop interior, ramp and door frame. Well actually Roberto painted (I hate to paint).
Day fifteen and sixteen.
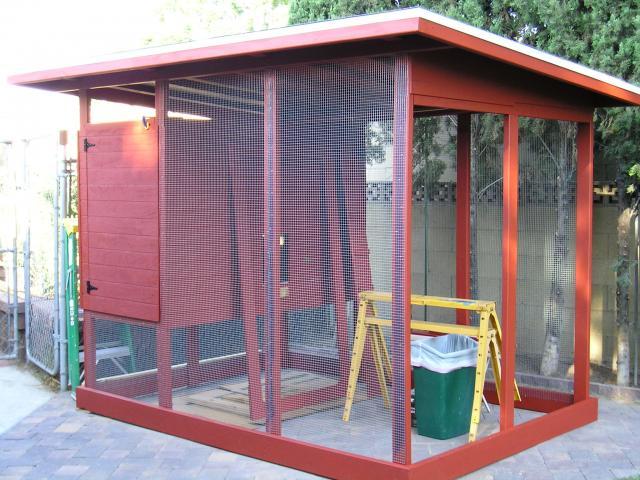
Putting up the HC. The reason for the 36" centers was to eliminate trimming the HC except around the bottom and top header board. Used a $18.00 electric staple gun from Harbor Freight and 3/8" staples. The best $18.00 I ever spent!!
Day seventeen - eighteen.
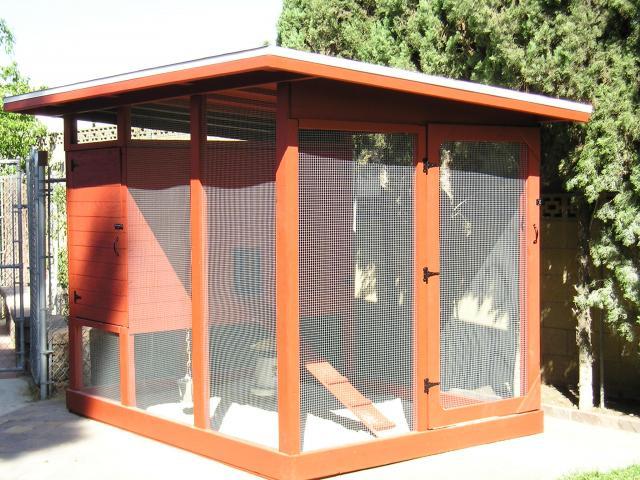
Finished inside of the coop, vinyl on the floor and up the wall behind the roost area, hung the run door, installed the ramp and etc.

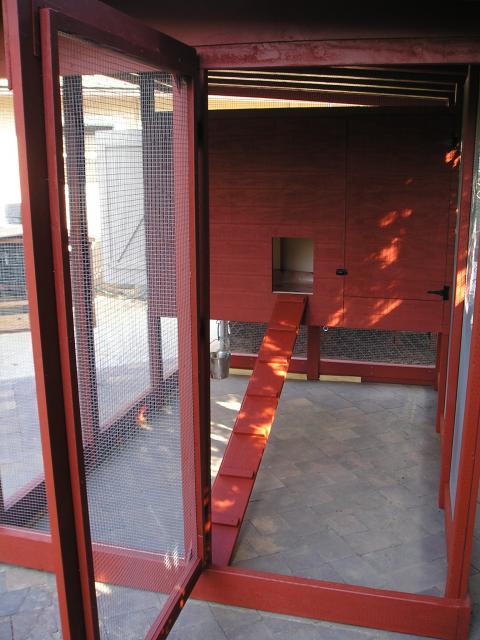
Finally, move-in day.
Hung the feeder and water bucket, nine sacks of play sand and some shavings for the coop floor and nest boxes.

The ladies moved in without any hesitation. They had closely supervised the project from day one so I guess they were right at home.
I decided on a 9' X 6'. This gave me six 36" run panels (Novice error, the 9' should have been 9' 5" and all ten panels would have been on 36" centers), one on the end would be used for the run entrance door. Roof height from 7' front to 6 1/2' rear. With only rain to worry about I figured the 6" drop would be enough.
The bottom frame is 2" X 6" pressure treated as are the 2" X 4" studs.
This is the first of many loads and the first days of construction.
Day two, finished the studs and some of the rafters.
The pressure of constant supervision through the whole project.
Day three and four, front and rear face plates.
Used false rafters to support the 4' sheets of 3/8" plywood roof panels.
Day five and six, plywood sub roof.
Day seven and eight.
Base for the coop area.
Day nine, the frame for two nest boxes. This frame mounts behind the access door on the front of the coop and had to be easily removable for coop cleaning.
Day ten, two Roost at the rear of the coop, access from the door in the run area.
Later increased the distance between the two roosts.
Day eleven & twelve.
Closed in the coop area, built coop doors & run entrance door frame.
Day thirteen and fourteen.
Painted exterior, coop interior, ramp and door frame. Well actually Roberto painted (I hate to paint).
Day fifteen and sixteen.
Putting up the HC. The reason for the 36" centers was to eliminate trimming the HC except around the bottom and top header board. Used a $18.00 electric staple gun from Harbor Freight and 3/8" staples. The best $18.00 I ever spent!!
Day seventeen - eighteen.
Finished inside of the coop, vinyl on the floor and up the wall behind the roost area, hung the run door, installed the ramp and etc.
Finally, move-in day.
Hung the feeder and water bucket, nine sacks of play sand and some shavings for the coop floor and nest boxes.
The ladies moved in without any hesitation. They had closely supervised the project from day one so I guess they were right at home.
Last edited:


