Made an Incubator Tonight

I think yours is about the same size of mine. Mine was made from a Coleman cooler. I also added two pieces of pipe (think its the kind you put wire inside) that I can close off to raise the humidity or leave open for lower humidity. I leave them open until the end and my humidity keeps pretty steady. I used rubber tips (used for the ends of walking canes) to close the pipes.

20124_sany0541.jpg
 
Last edited:
Dont want anyone to lose sleep, so I got it done quickstyle.

bator.jpg


I aint worried about the water supply tube right now, my house has a relative humidity of 48%, so not much water will be needed.
 
Its been a full 48hrs since I plugged the bator in, and my high/low has not gone below 99 or above 100!

Im putting the eggs from the hovabator in tonight, when I get off work.
 
That looks like the exact same cooler I'm using to build my incubator with. I'm also using a pc fan and water heater thermostat. I put a wood dowel through it to use for turning the eggs. I think I'll be able to fit about 12-18 eggs.
When I started cutting the top for the viewing window I was disappointed that the lid didn't have insulation like the sides, so I'm stuffing the space with packing peanuts (the styrofoam kind,
lol.png
) to help it hold the heat.
 
Quote:
I ended up using wet paper towels to fill in the top.
Being wet, you can stuff them in tight, and they dry to that shape.

I really dont think it makes a difference tho, as long as you seal the window good.
I liken it to an insulated window, just trap the air.


Ill tell ya . . .
If you got the same cooler as me, configure it just like mine.
It is SO stable it aint funny.
I have the vent holes I made blocked off, but I plan to add a few pin-holes for some air-exchange.

I also used a wooden dowel for the turner.
I can fit 25 eggs as of now, I dont think Ill have need for more hatching room.
I use an egg flat that I trimmed, the whole thing would hold 30 eggs


I wish I knew how to tell what the specs are on the fan, there is no writing and there was a room full of old computer parts . . .
 
I think I could have made mine to hold more eggs but I don't think I'll need to hatch more than a dozen at a time. I'd have to build more coops, runs ..........
roll.png

The paper towel idea is pretty good, I've been stumped about how to keep the packing peanuts in there (duct tape?) think I might try the towels instead.
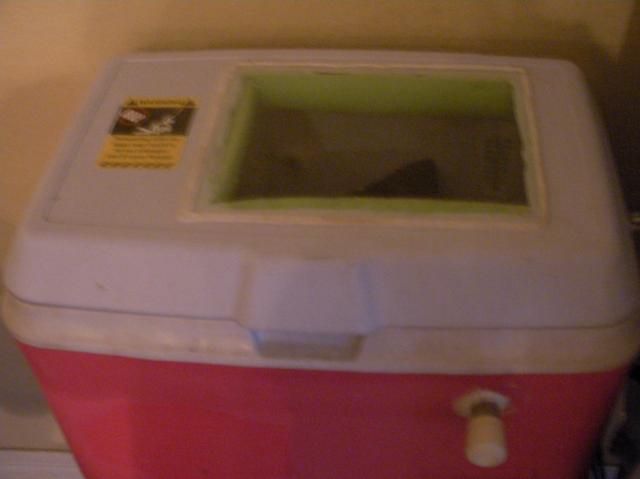
I think the drain plug hole (with the wiring running thru it) will work as a vent on that side, and I drilled a 1/2" hole near the top on the other end, should be good air exchange.
I am installing the fan on the inside of the lid blowing down on the light bulb, across the bottom water tray and up to the egg area.
The pc fan I have does still have the sticker on the back saying it's 12 volt, so I searched through all my adapters and found one the same voltage. It's an old fan, and I was worried about it burning out in mid hatch, so I ordered a new one from Office Depot for $3, they delivered it the next day UPS free shipping. Couldn't beat that deal!
I haven't gotten it all put together yet, but I do have all the parts and where I plan to put them with the holes needed already all drilled. Just gotta start screwing parts in tomorrow.

clap.gif
 
Last edited:
I was going to mount the fan housing to the lid, but decided against it so as to get the stat as close to the bulb as possible.

Imo, it is better to have the circulation fan blowing horizontally.
Makes for better "eveness" thruought . . .

Good luck!
 
You may be right about the fan. I couldn't get it to fit sideways blowing towards the bulb because I kept it in the metal housing which is pretty bulky. I might end up taking it out of the housing and putting it on the wall of the cooler.
I have almost two weeks to keep fiddling with it because I would like (
fl.gif
) to set eggs in it on April 1st. I brood my chicks outside and it will be warm enough by then to just need one light on them.
 

New posts New threads Active threads

Back
Top Bottom