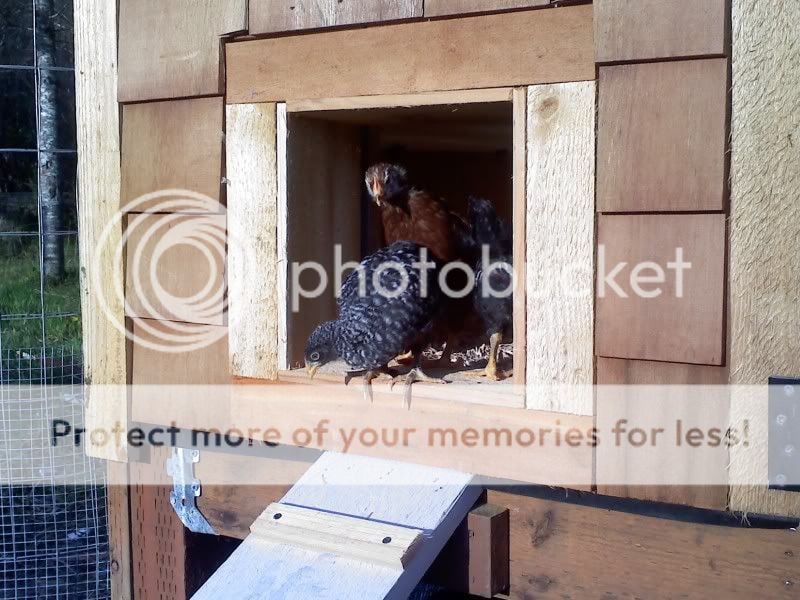
New coop for me.

The best way to square the posts to each other is to keep the bottom bolts tight but not completely tightened in the beginning. The four boards making up the perimeter need to be exact. 41" and 89" in my case. (41+7 = 48, and 89+7 = 96) Start by squaring those up first, plus plumb and level, adjust the pier blocks as needed to make the post plumb and level, then tighten the carriage bolts. Check with a tape for distance top and bottom. Also, when I built the interior framing for the walls, I built the whole wall framing, they were square as well, tilted them up and then attached them in place.

A carpenter's square is a useful tool. If you notice, you will see a 6' level in most of my pics, and I use that often. I also have a 4ft, 2 ft, and 8" level. Also use your tape measure.

Notice the gap on the door to the run on the right and top? Square. Sharp pencil, square saw, never trust the factory end cuts to be square. Notice how there are three posts, and they are attached at the top? A triangle is stable, just as a tripod is.
 
Last edited:
O....M.....G.....! You are TOTALLY speaking a foreign language to me...

1. Where did you get the blocks with the post holder? Lowe's only has concrete blocks with about a 3 inch deep hole on top for the 4x4 post to sit in...

2. Your numbers....41+7=48...?? and 89+7=96... what are these from?

3. In my case of my coop demensions of 8'x12', how do I square those poles to each other? They don't make carpenter squares that big...

4. I'll be building on uneven ground, so post height will be tricky as well...

sorry if I sound like a clutz, but really, I'm an educated man... :)
 
Last edited:
I'm not a carpenter but what I would do is attach two boards to one post and use the carpenter square to make sure that corner is square, then attach to another post and use a big level to make sure it is level, repeat for the other corners. Eventually all corners should be squared and level. I would also make sure the posts were plum using the level vertically.

Someone with more building experience please shoot this apart, as this is what I am planning to do when I start my own coop. I'd love to hear if this would not work, why and what I should do in stead.
 
Quote:
48"x96" = the dimensions of a 4'x8' footeprint stated in inches, a piece of plywood. 7= 2x3.5", or the width of the 4"x4" posts.

For your 8x12 coop you should plan on 9 blocks and three 4"x6" beams as your base for a sturdy structure. Use the beams to determine your level. Set the beams on edge (so the top of the bean is 5.5" above the block), on the pier blocks you have and them place the longest level you have, 4' or 6' on top. That should suffice. They don't need to have the posts I have, but look at other hardware stores other than Lowes.

Try to level out the ground somewhat, and remember that you can burry the pier blocks into the ground to compensate for minor elevaton changes. Just make sure to not have the wood, even pressure treated ground contact timbers, touch the ground. Use crushed rock to bring up the level of lower sides and set the pier blocks on these. Are you talking a 1' elevation change along an 8' side, or are you talking a 3' elevation change? If is the latter, dig it out and do it right, otherwise you will really be fighting the project all the way.

Get the beams level first, all three beams level themselves and level to each other. I would not suggest elevating your 8'x12' strucure like mine. Once those beams are level, remeber a trick from geometry, a 3'x4'x5' triange always produces a 90 degree angle. extend that out to 6x8x10. Use math to square one corner, then the next, ad so on. You can also use the three sheets of plywood that the floor will be made of to square your structure. Each one is a 4'x8' rectangle.

I'm not a carpenter, I'm a banker, but I also like to work with wood.

Buck up soldier, use the math you learned.
 
Got a lot done today, even after taking time out for Ryan's soccer game.

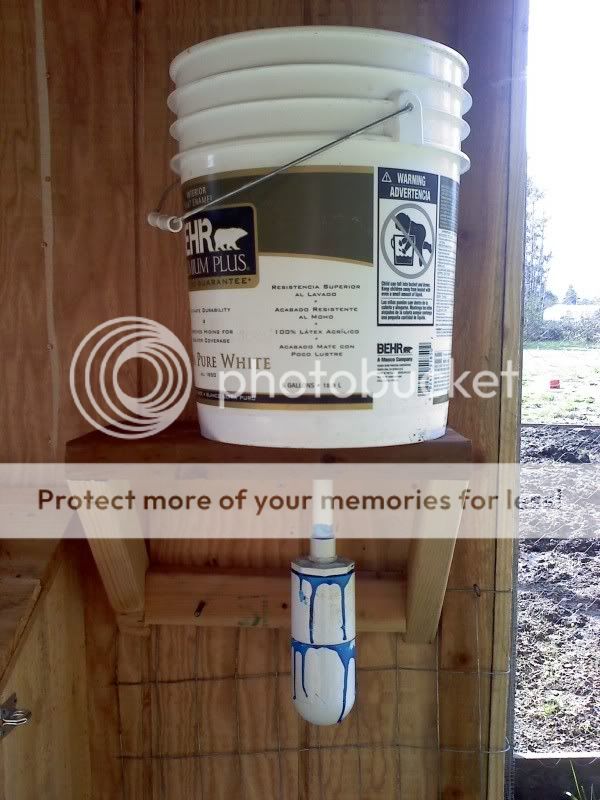
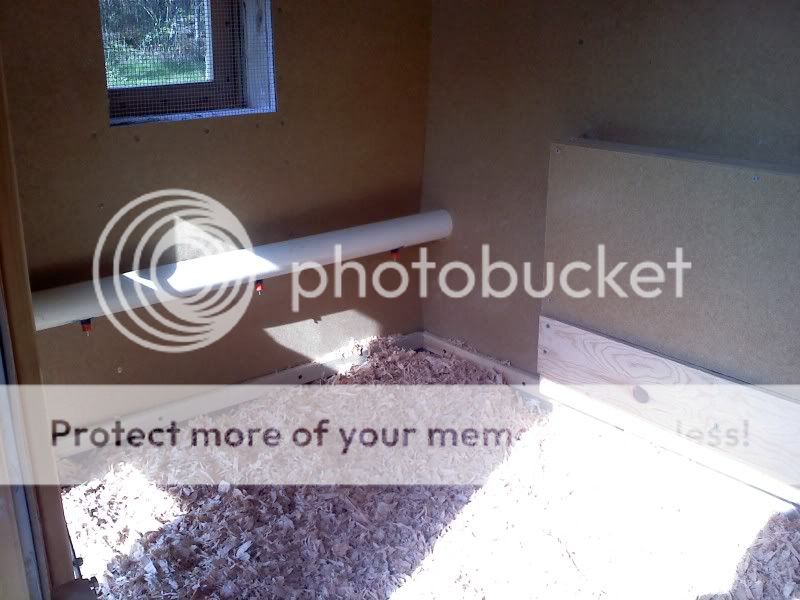
Made an industrial type watering system for the coop. 6 nipples cost me $12, and shipping was $11. Should have bought more. Also added linoluem flooring. It was free, but I tore that corner putting it in. One building skill I suck at.
0410001001.jpg


There is a 5 gallon bucket that is the storage tank. I'll hook up a gutter to supply it with water later, and rig an overflow. I know, got sloppy with the glue. It'll hold.
0410001540.jpg


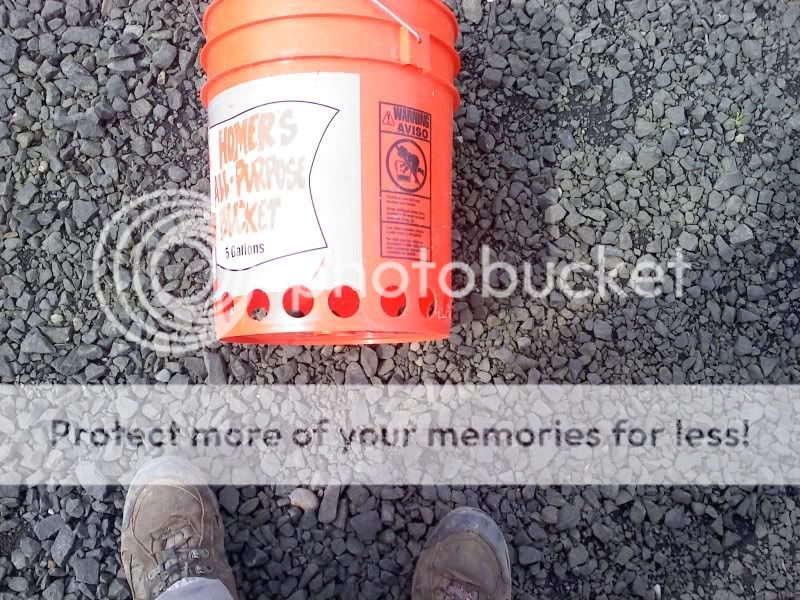
Made a feeder out of a home depot bucket. Total cost was $3.24 for the bucket and $4.89 for the planter base. Had the sheet aluminum, so I made a cone, drilled some holes, and attached the planter base to the bucket. Add some feed and it works!
0410001122.jpg

0410001127.jpg

0410001133.jpg

0410001136.jpg


Now it is time for MTV chicken cribs since food and water were covered. Added some comfy pine shavings, so to the left is the watering station.....
0410001636.jpg


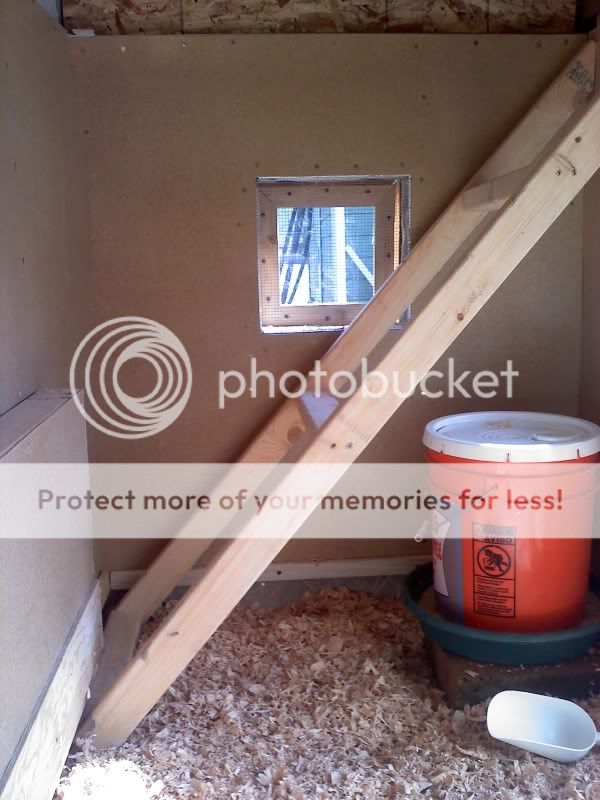
...and to the right is the ladder to the loft and the feeder.
0410001636a.jpg

I covered up the nest box until I get that finished, and they are still about 15 weeks away from laying. Might as well keep it clean.

Taking a trip up the ladder leads you to the the executive roost/loft....
0410001637.jpg

There is a removable linoleum sheet to catch the poop under the roost. Nice view of the property from there as well.

Moved the chicks in and then opened the auto door. That Barred Rock is the top hen, so she ventured out first. She's a real sweety, and likes to hang out on my lap.
0410001828.jpg


After the lead hen said all was good to go, the rest followed suit and had a great time in the run.
0410001826.jpg


I add the cover netting, permanent wiring, and electric fence tomorrow.
 
The coop looks great - currently trying to talk DH into building us a 12 x 24 shed.
fl.gif
I love the cone in your bucket feeder, going to go out and try to find something like that my feeder seems to get stuck and the feed won't come out. Thanks!
 
Quote:
Have the DH get a scrap of thin galvanized metal from an HVAC company. Usually you can get it for free. Take a piece of wire and wrap it around the bottom circumference of the bucket and cut it two inches longer. Make a circle with the wire on the piece of sheet metal, but make the gap between the two ends about 3", tape it on the metal with a few pieces of tape, trace the pattern, marking where the two ends of the wire are. They should not be touching. This will create a circle larger than the bottom of your bucket. With tin snips, cut out a 1/6th piece of pie out, that piece between the marks for the two ends. Bring the two marks from where the wire ends were, and overlap by a few inches. Use a few sheet metal screws to hold it together, tape the seam, then check for fit and trim as needed. 15 minute project.

I used a 1" hole saw for the holes around the bottom.
 

New posts New threads Active threads

Back
Top Bottom