- Apr 23, 2012
- 7
- 0
- 10
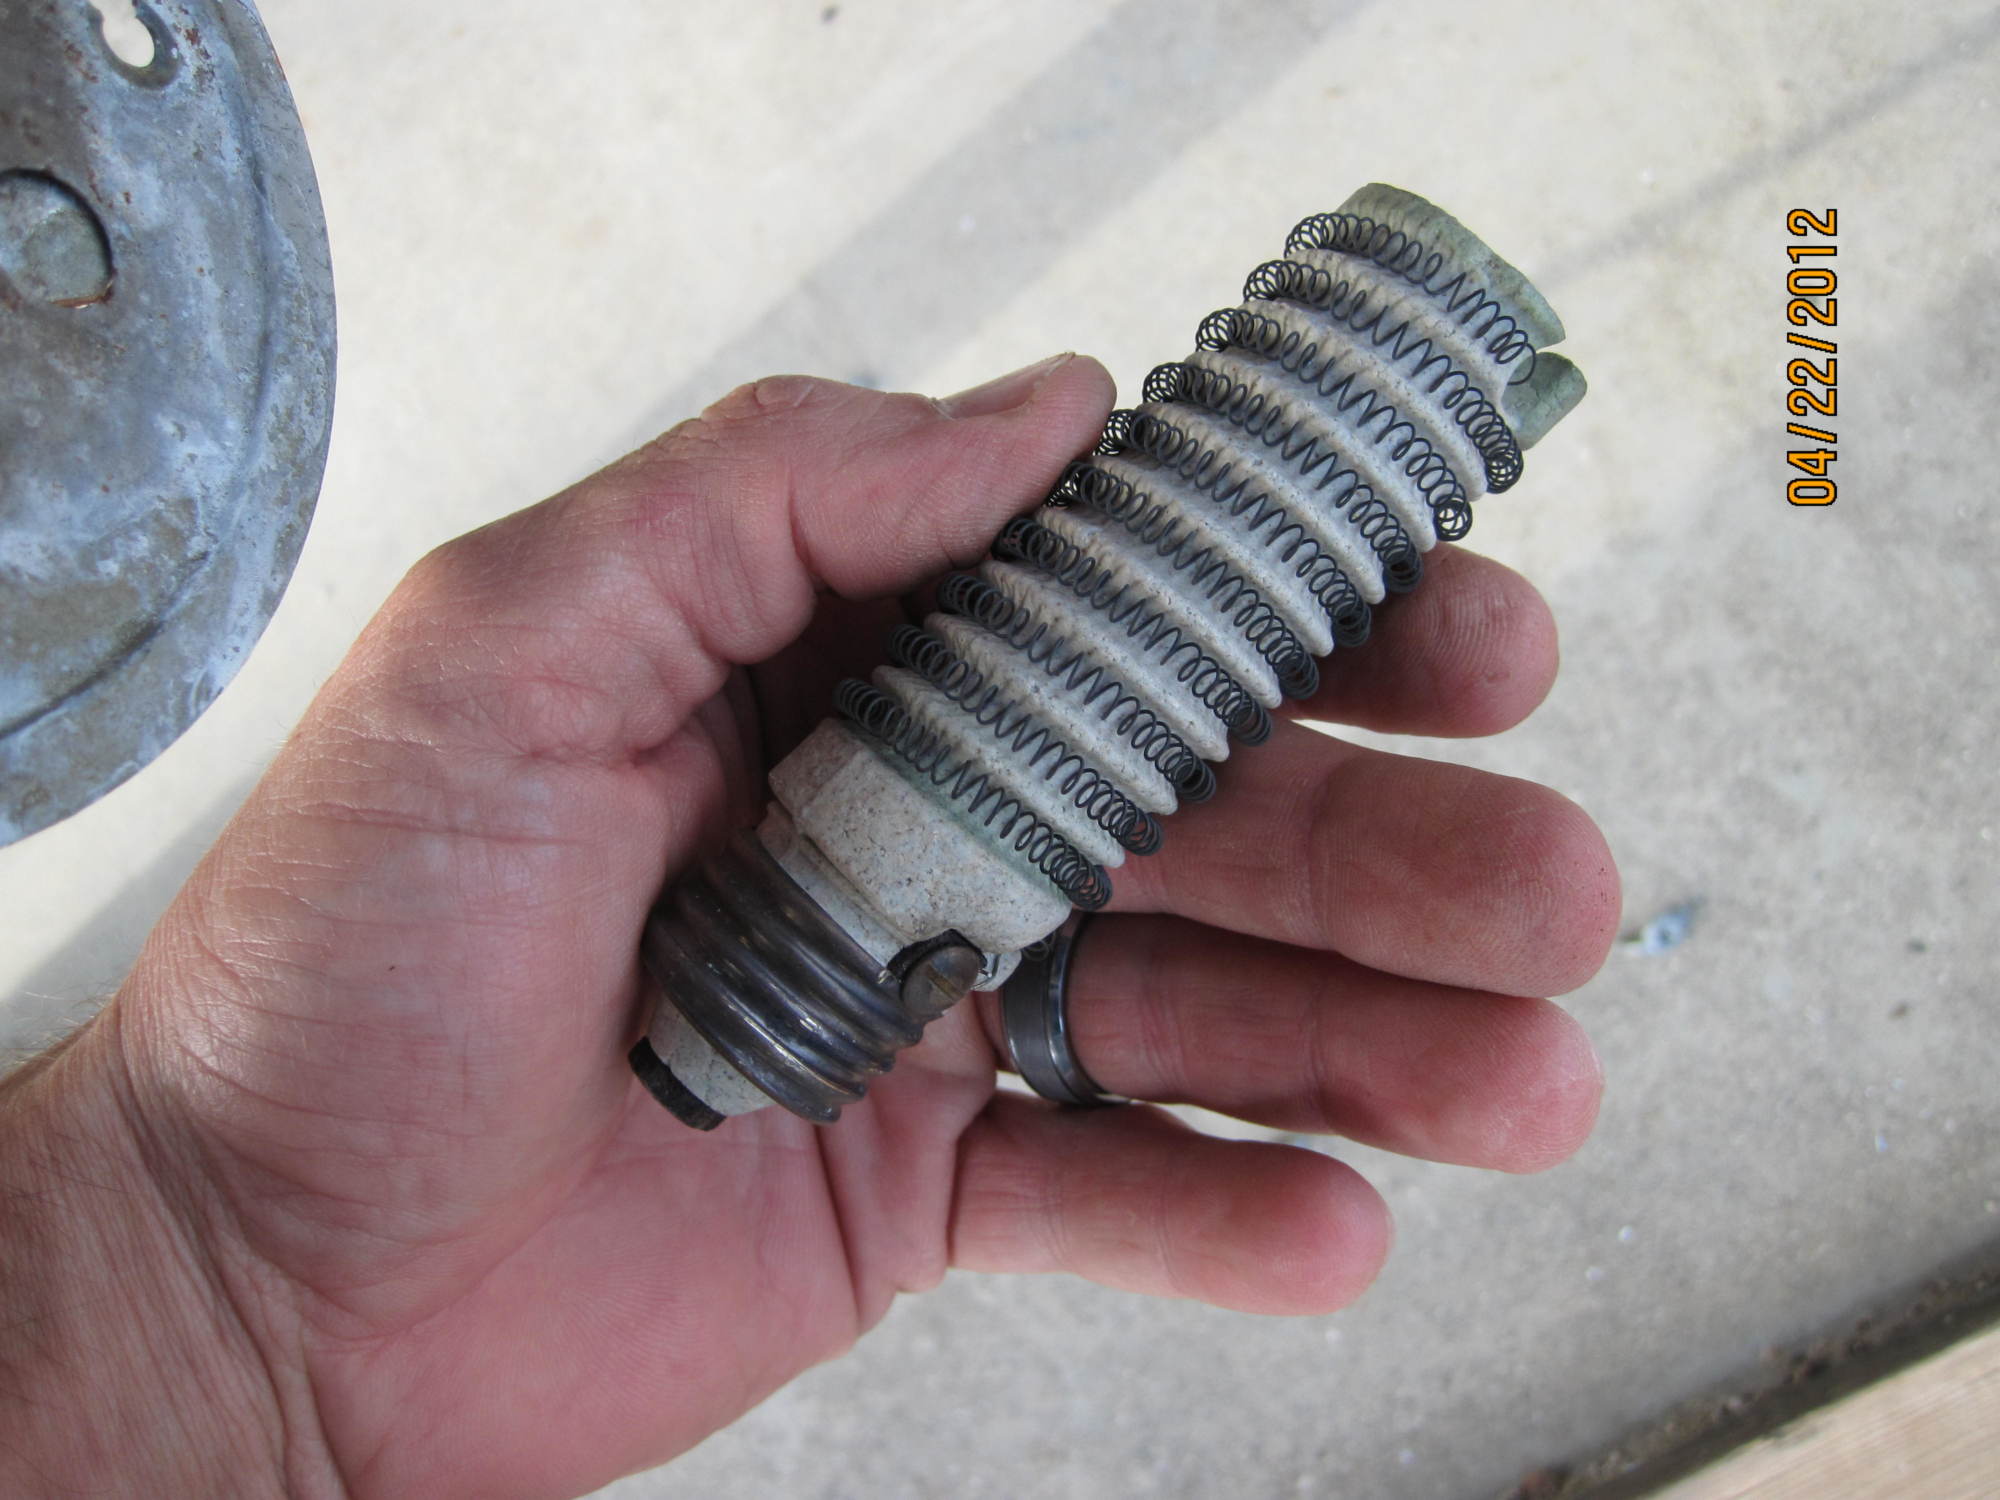
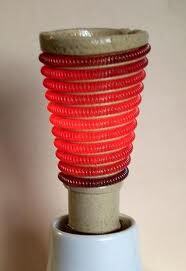
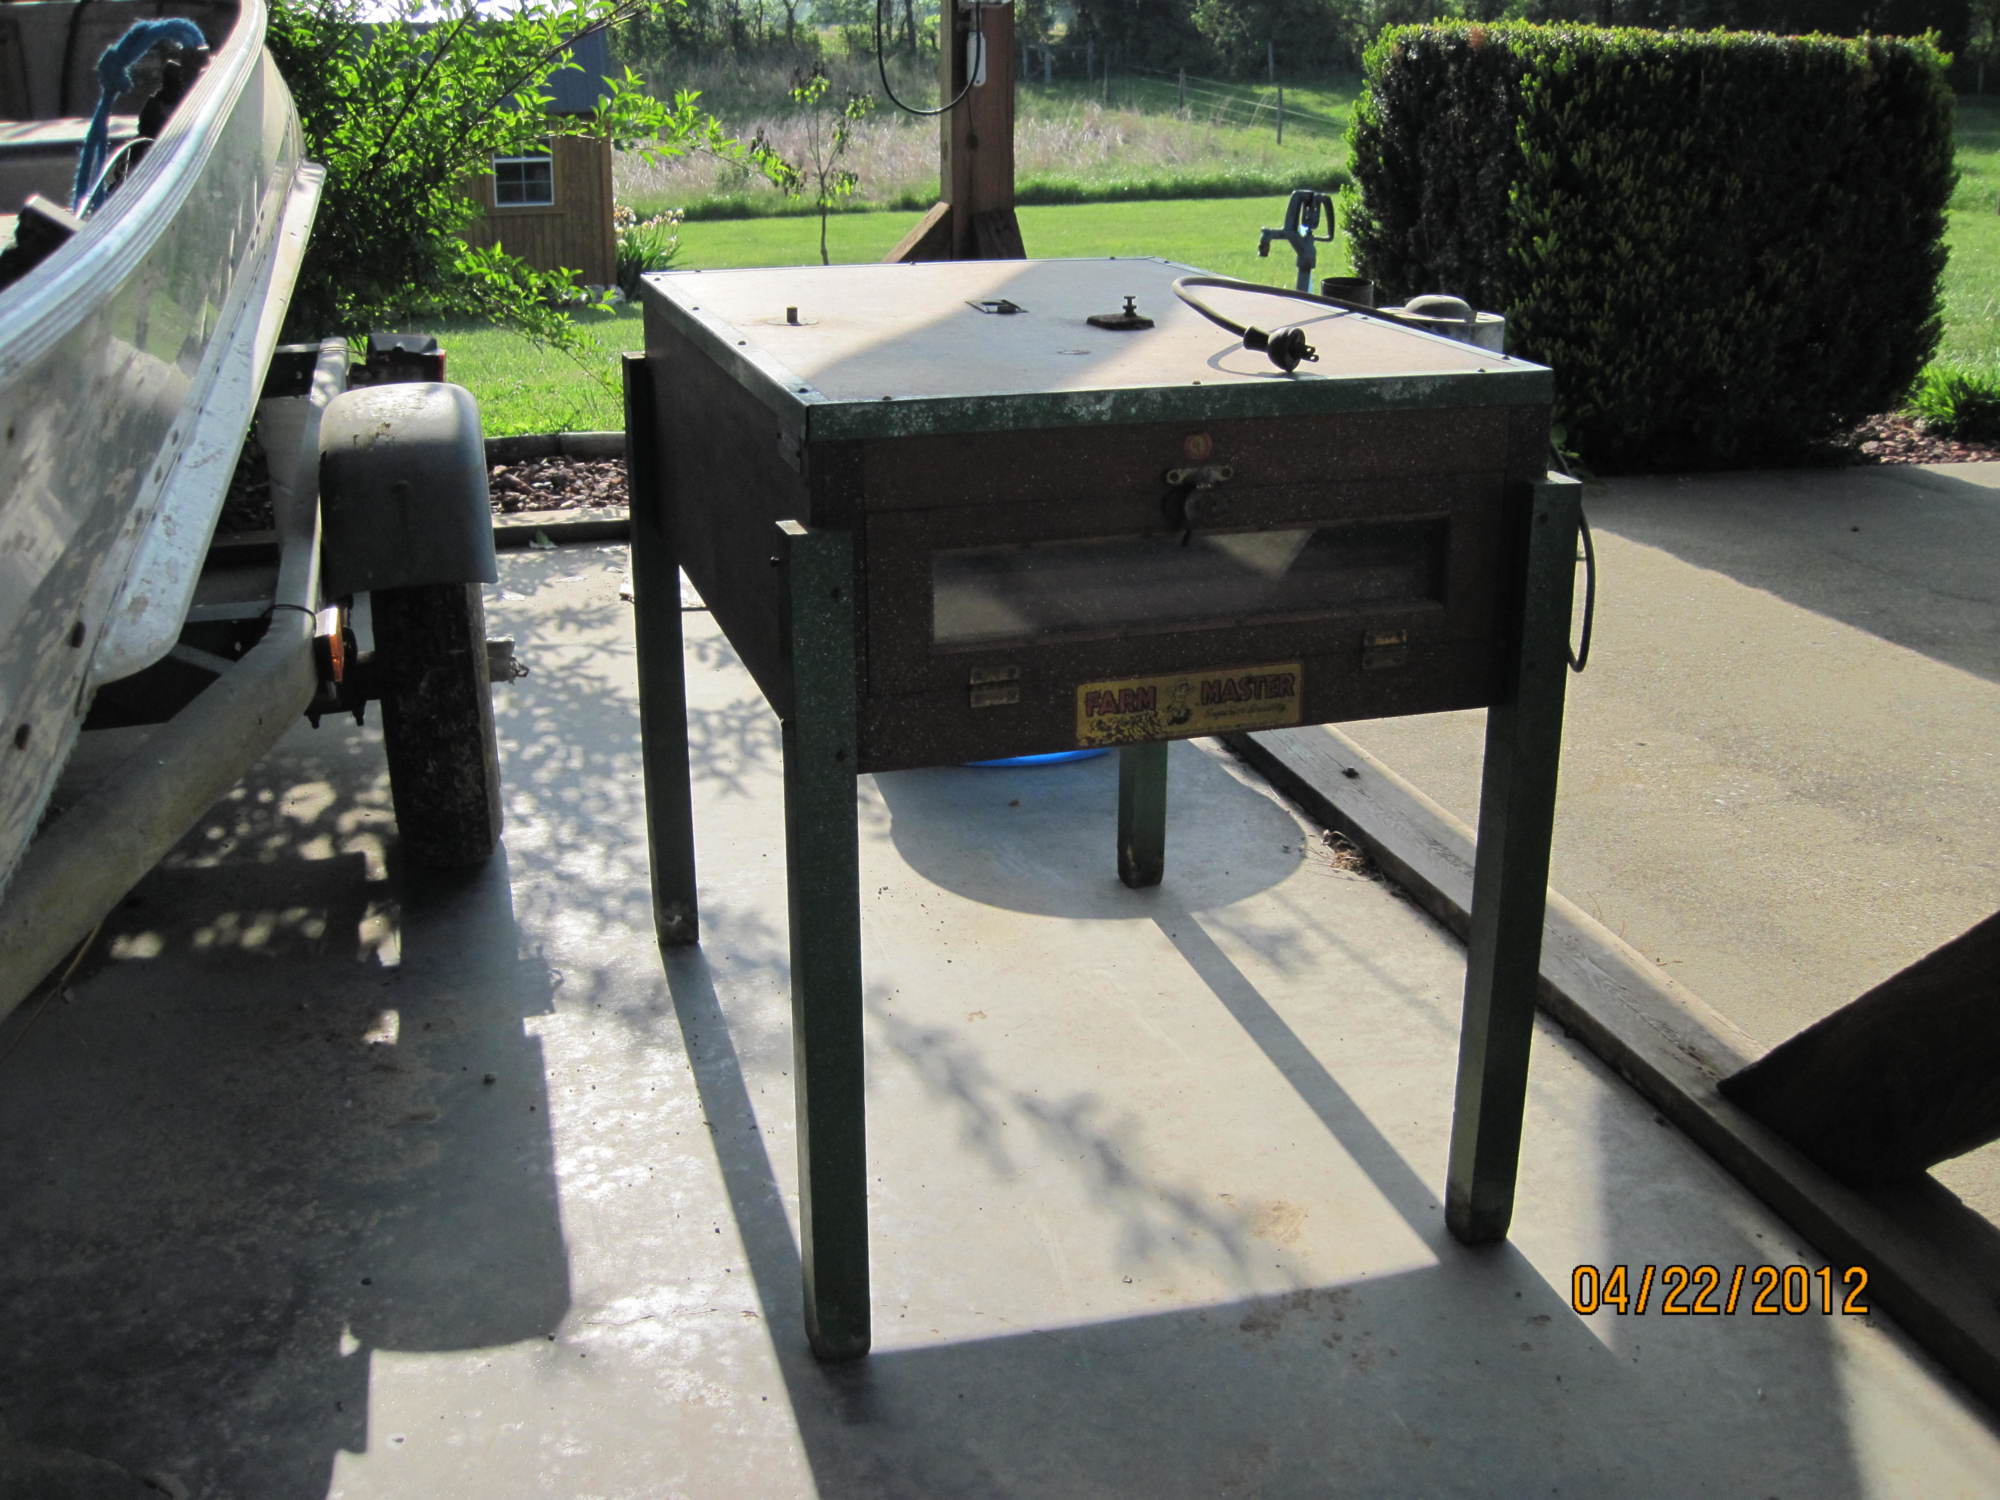
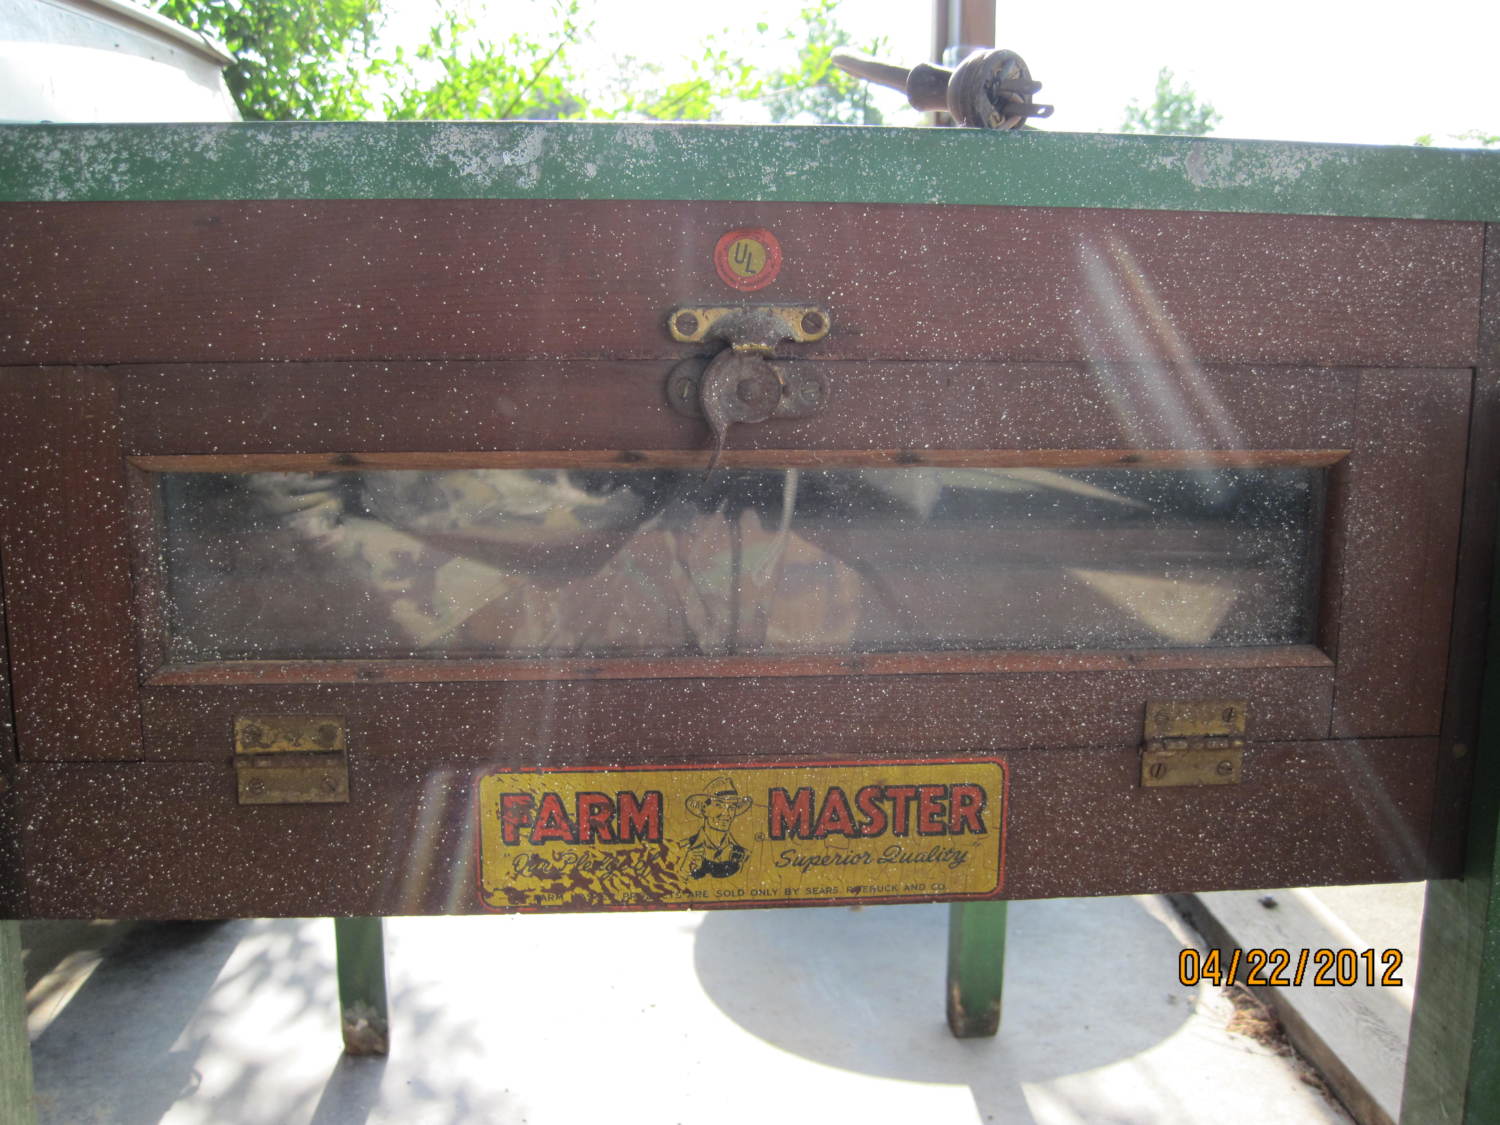
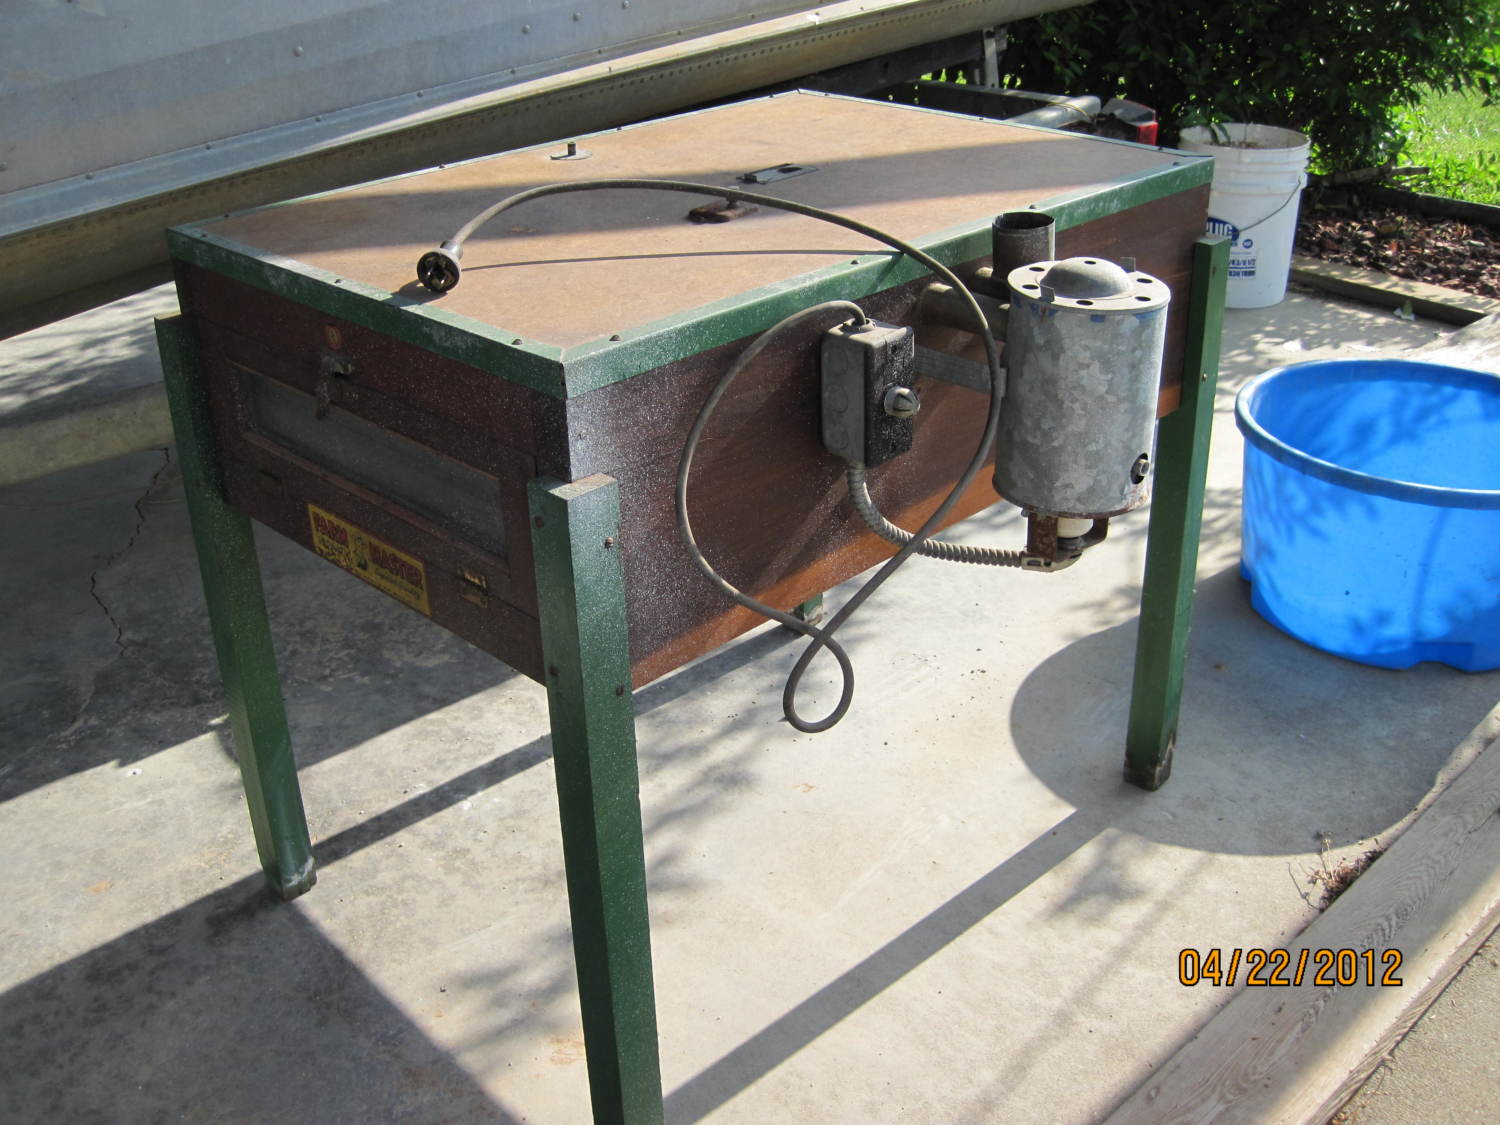
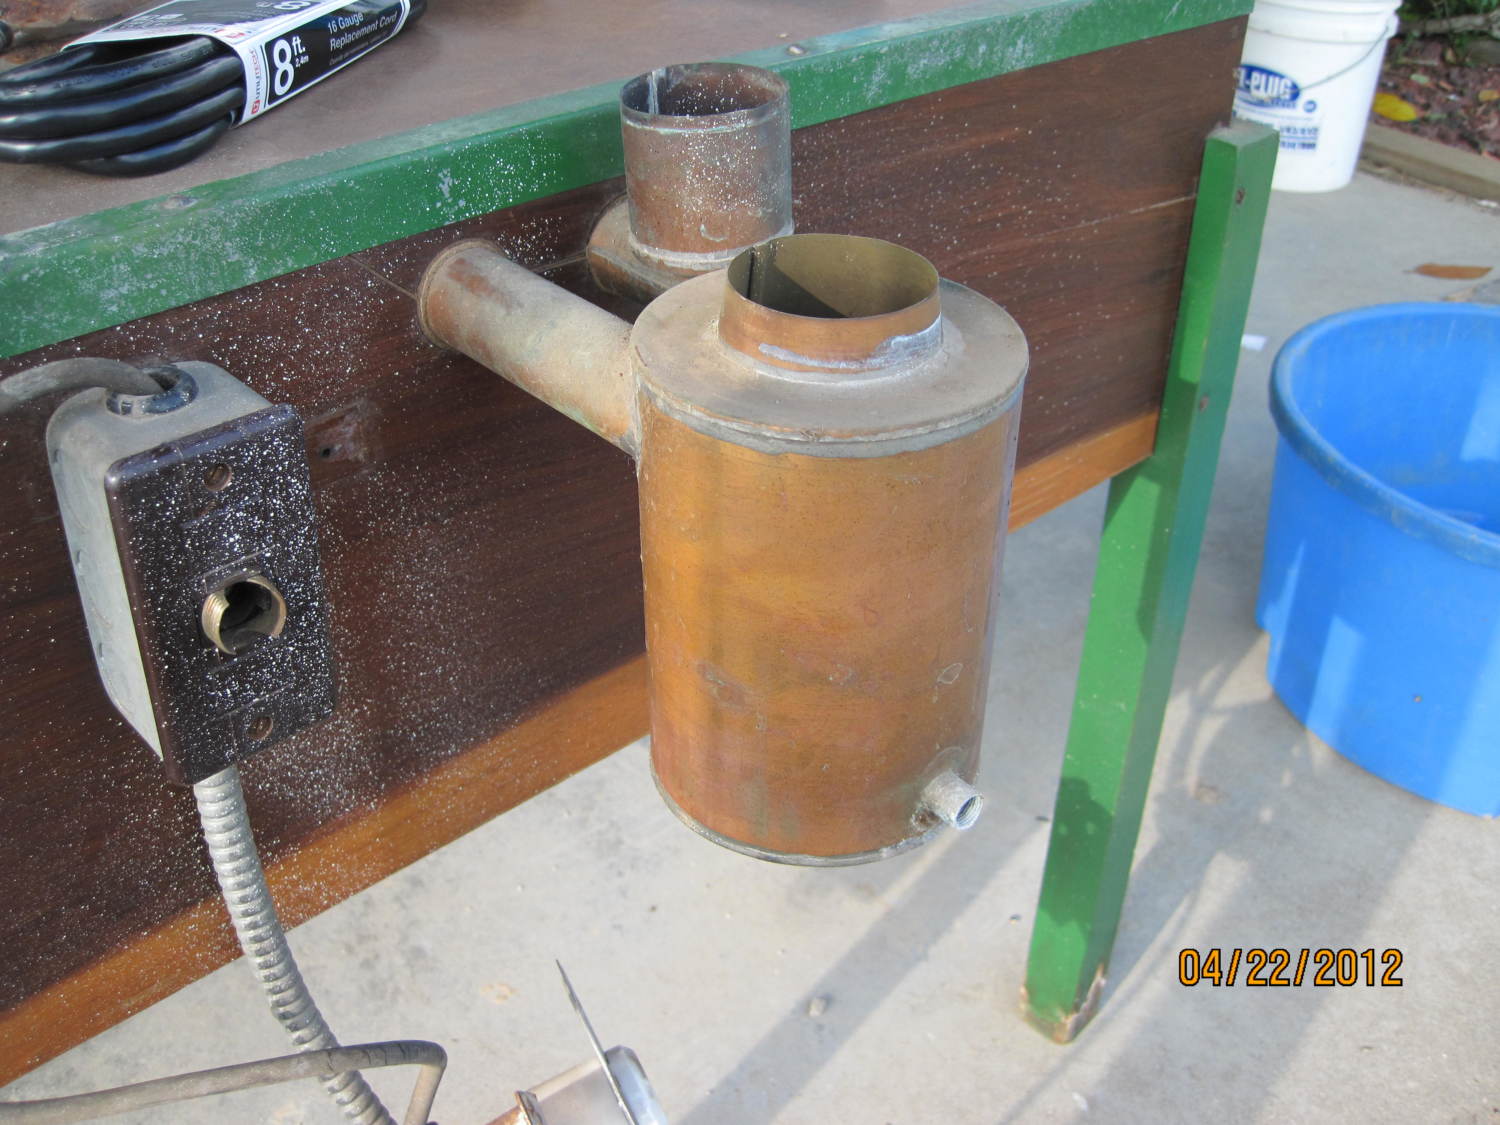
I just recently purchased a ~1950's FarmMaster incubator that, other than the wiring, is in extremely good shape. I am having trouble finding a replacement heating element. The current heating element is an approximate 4-inch long, screw base, porcelain insulator with the resistance wire coiled spirally along the insulator. Does anybody know where I could find one of these? Any help is greatly appreciated.