Hi everyone! I should start by saying that I am an absolute newbie of a chicken owner, but have been enjoying reading and learning from everyone's threads since this past March when we joined BYC. We decided this year that we wanted to raise chickens, so I set out this summer to build a coop under our back deck. We have a raised deck with a 6ft clearance underneath, so this seemed like a logical place to put a coop.
I read a few books and looked at a few plans, but decided to buy a coop from a local farmer who builds them by request. I don't have a ton of free time (like everyone these days), so I settled on constructing the run myself and accepting the short cut of buying a coop from this farmer.
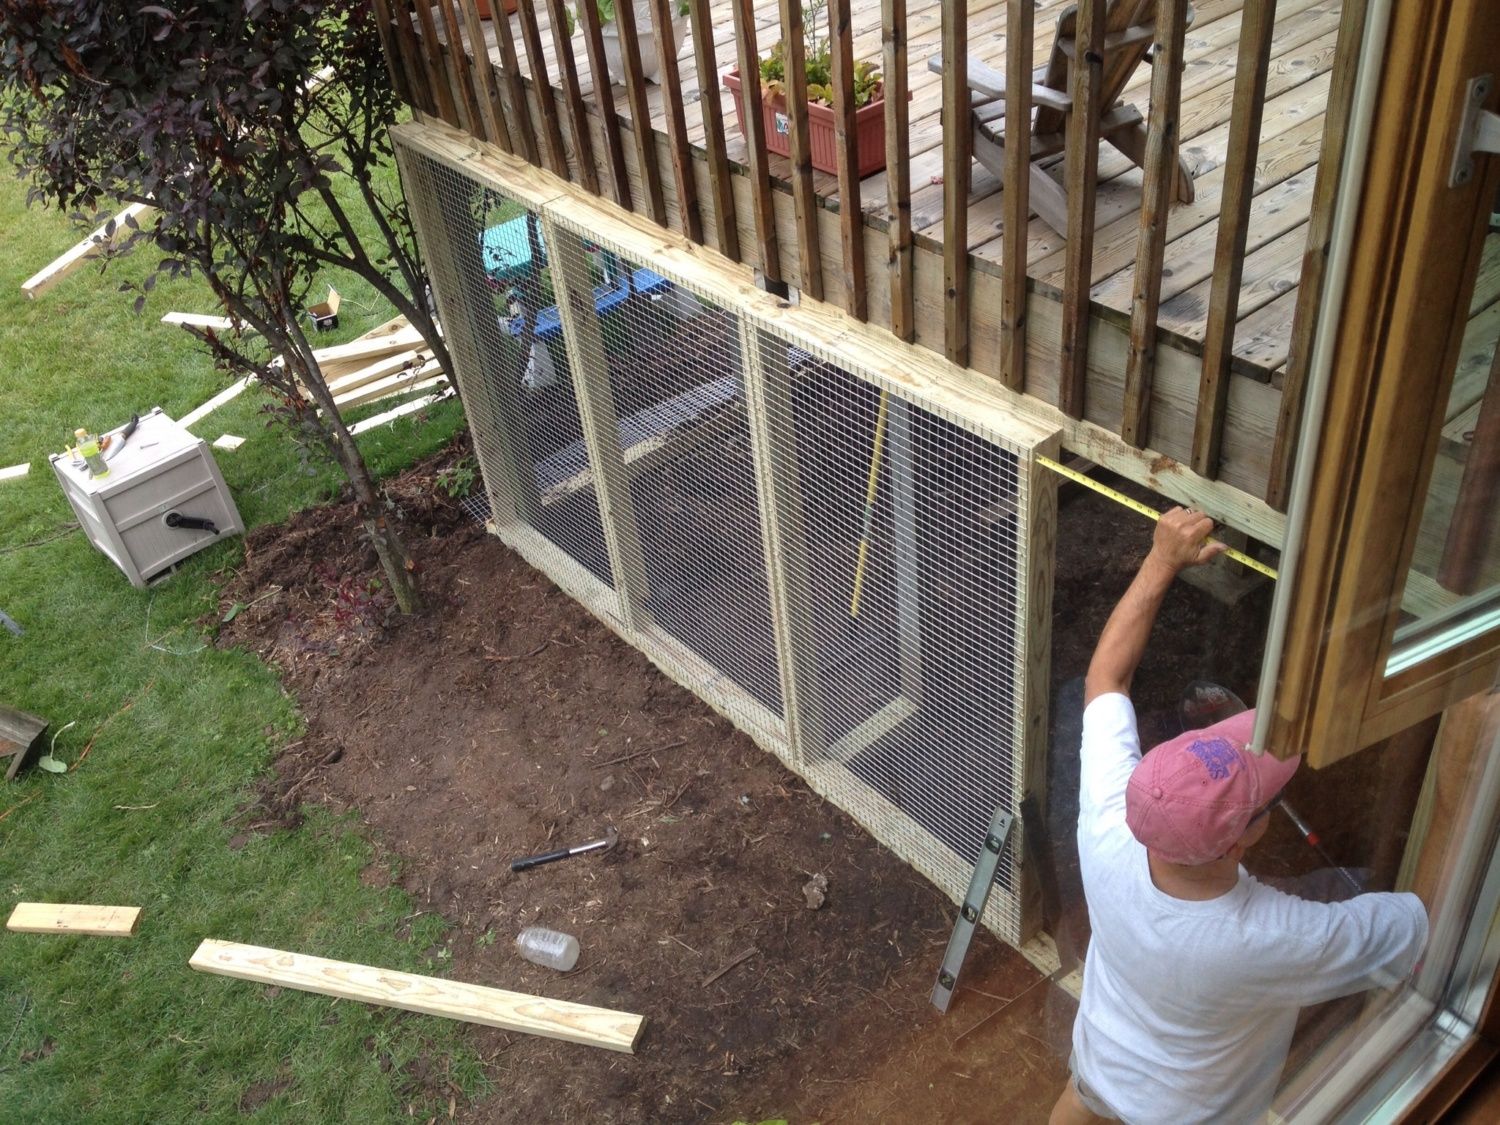
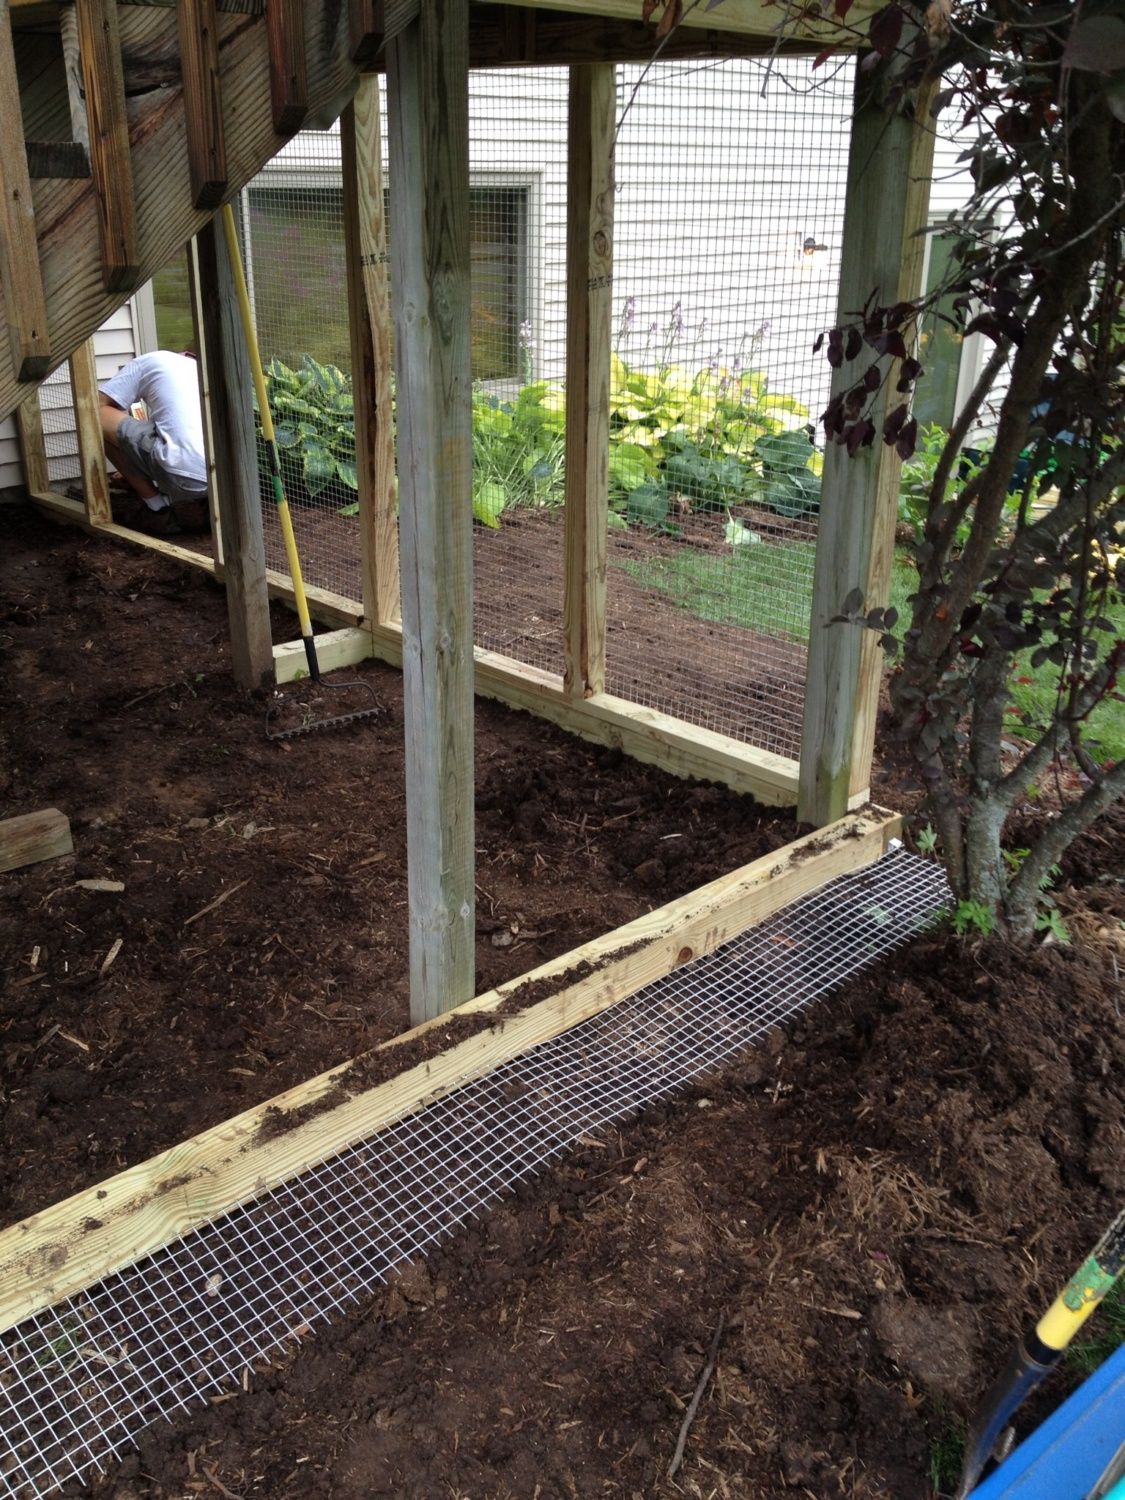
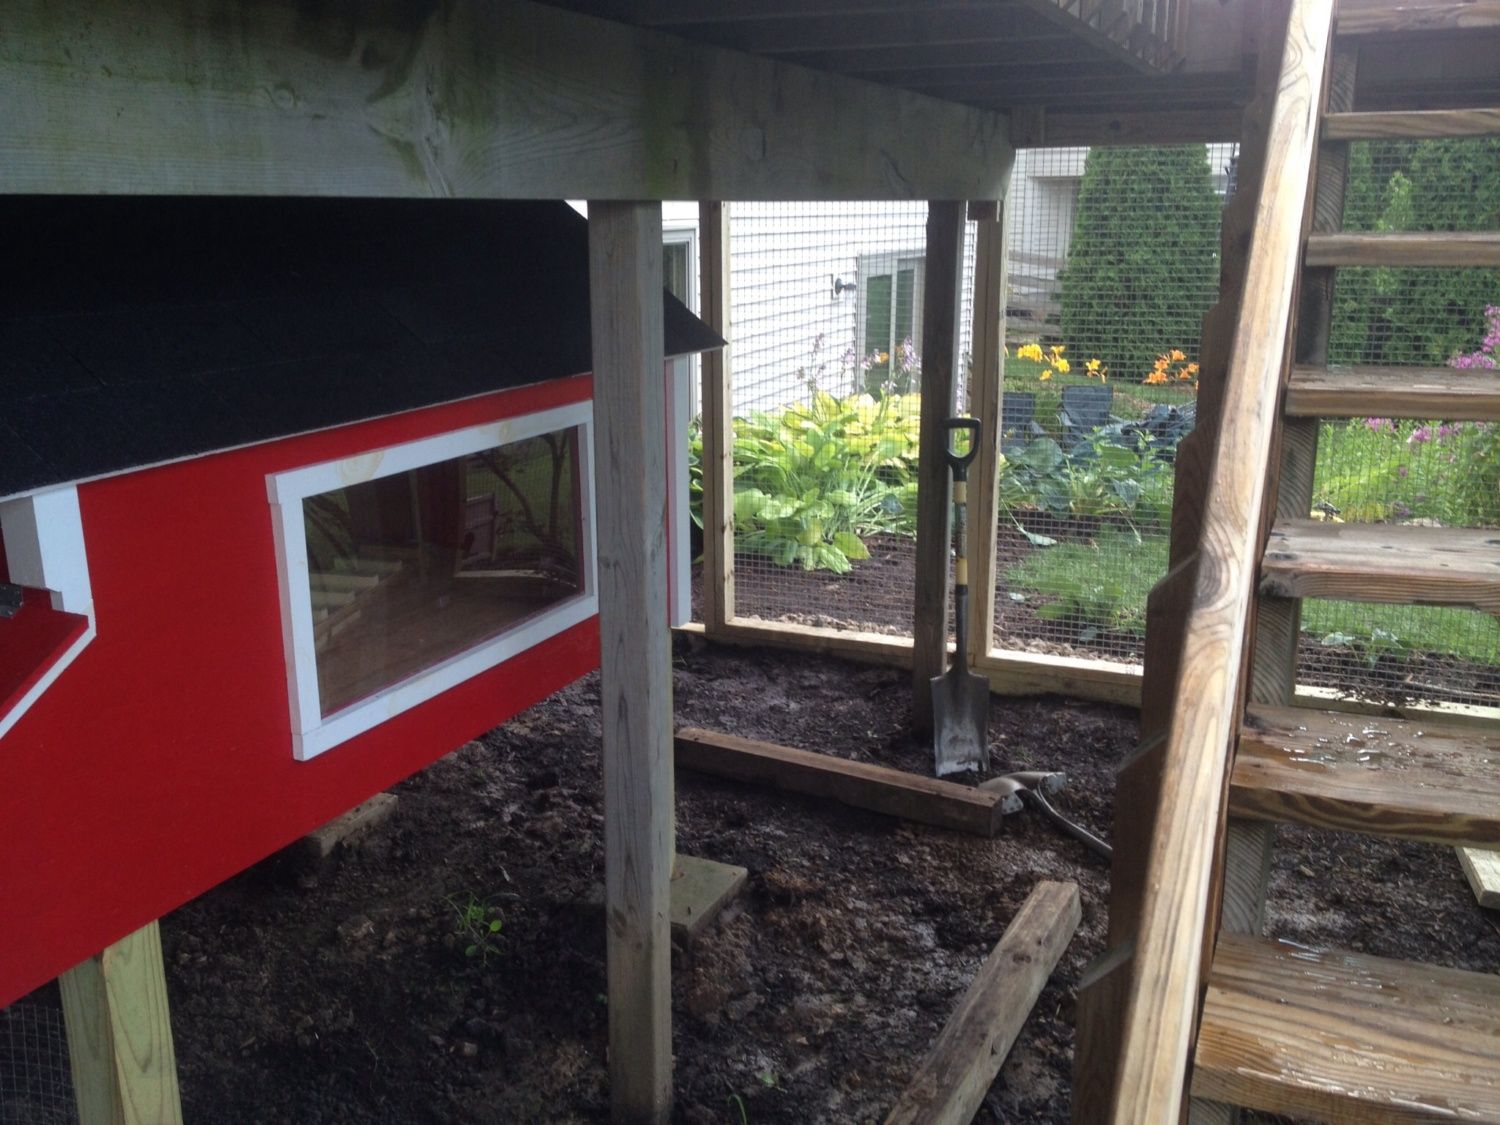
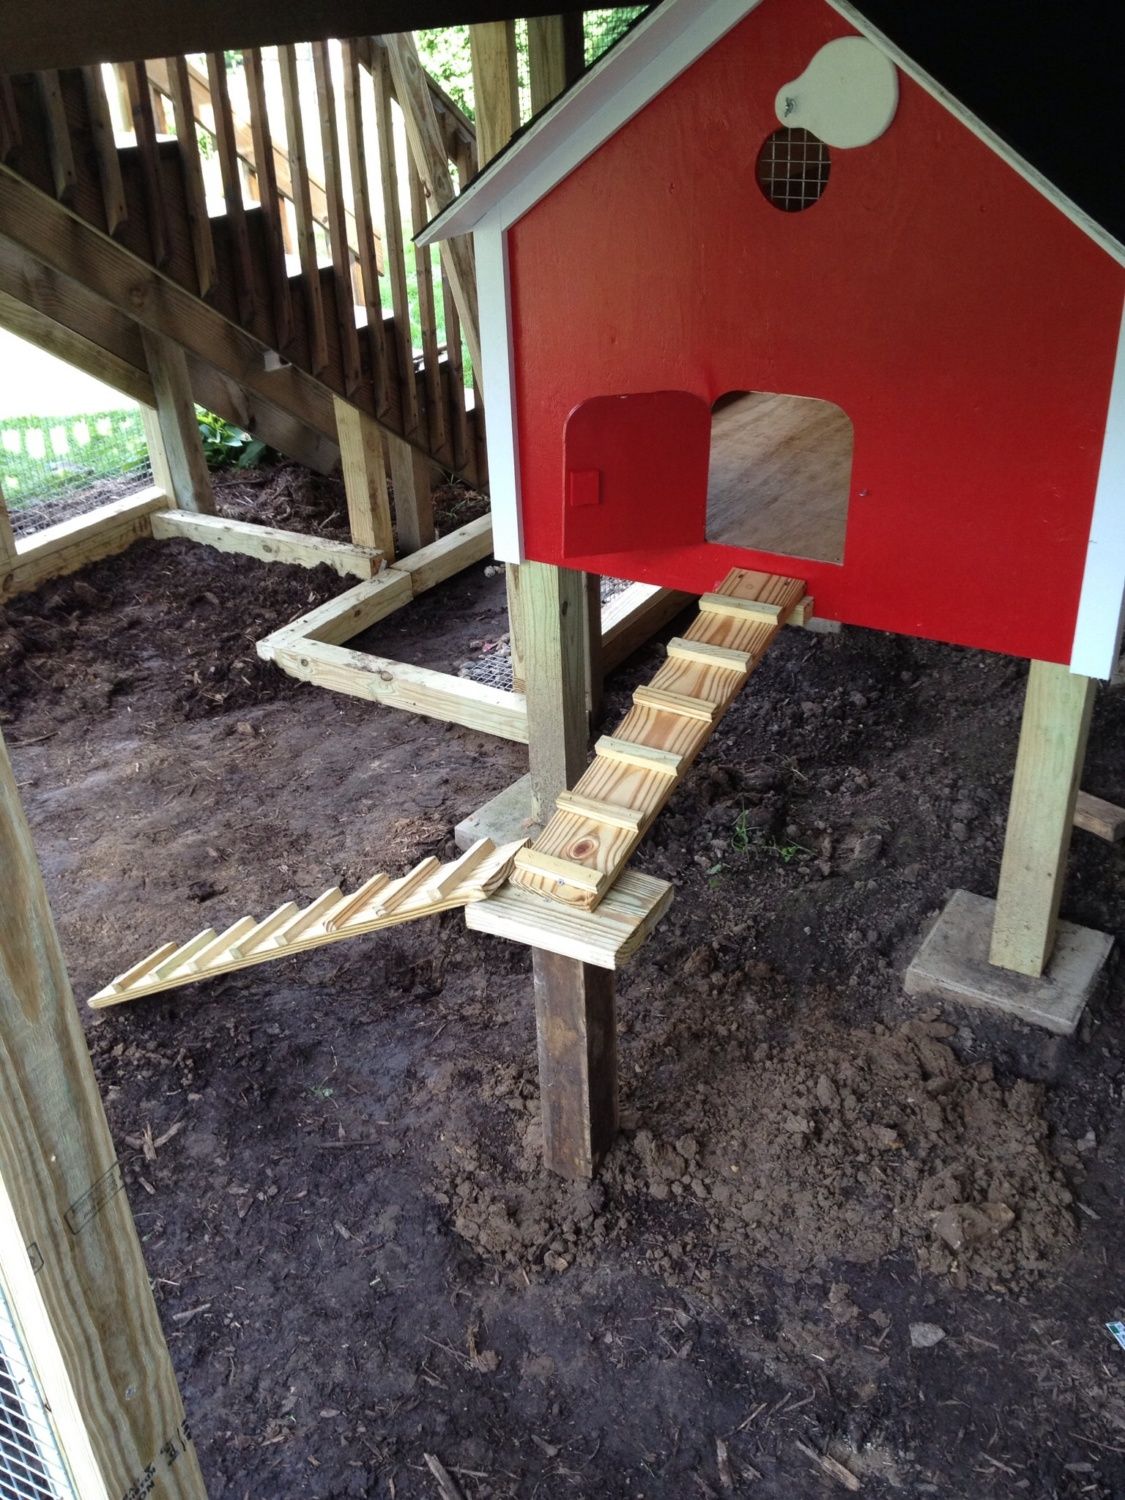
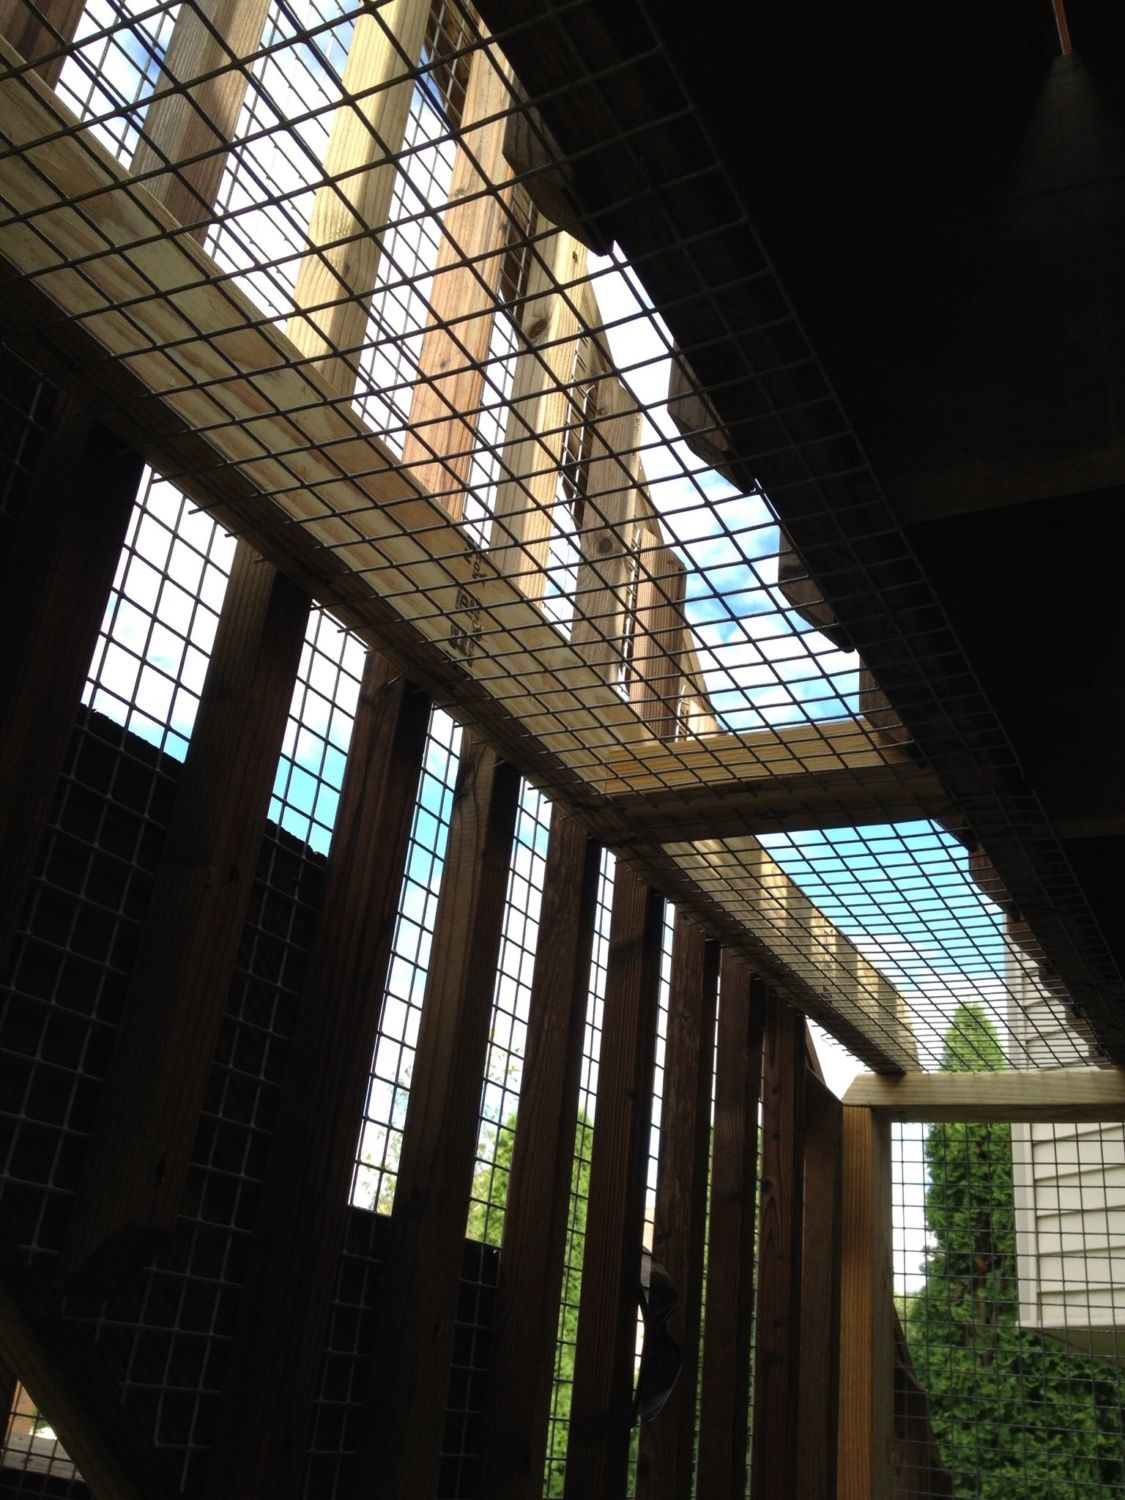
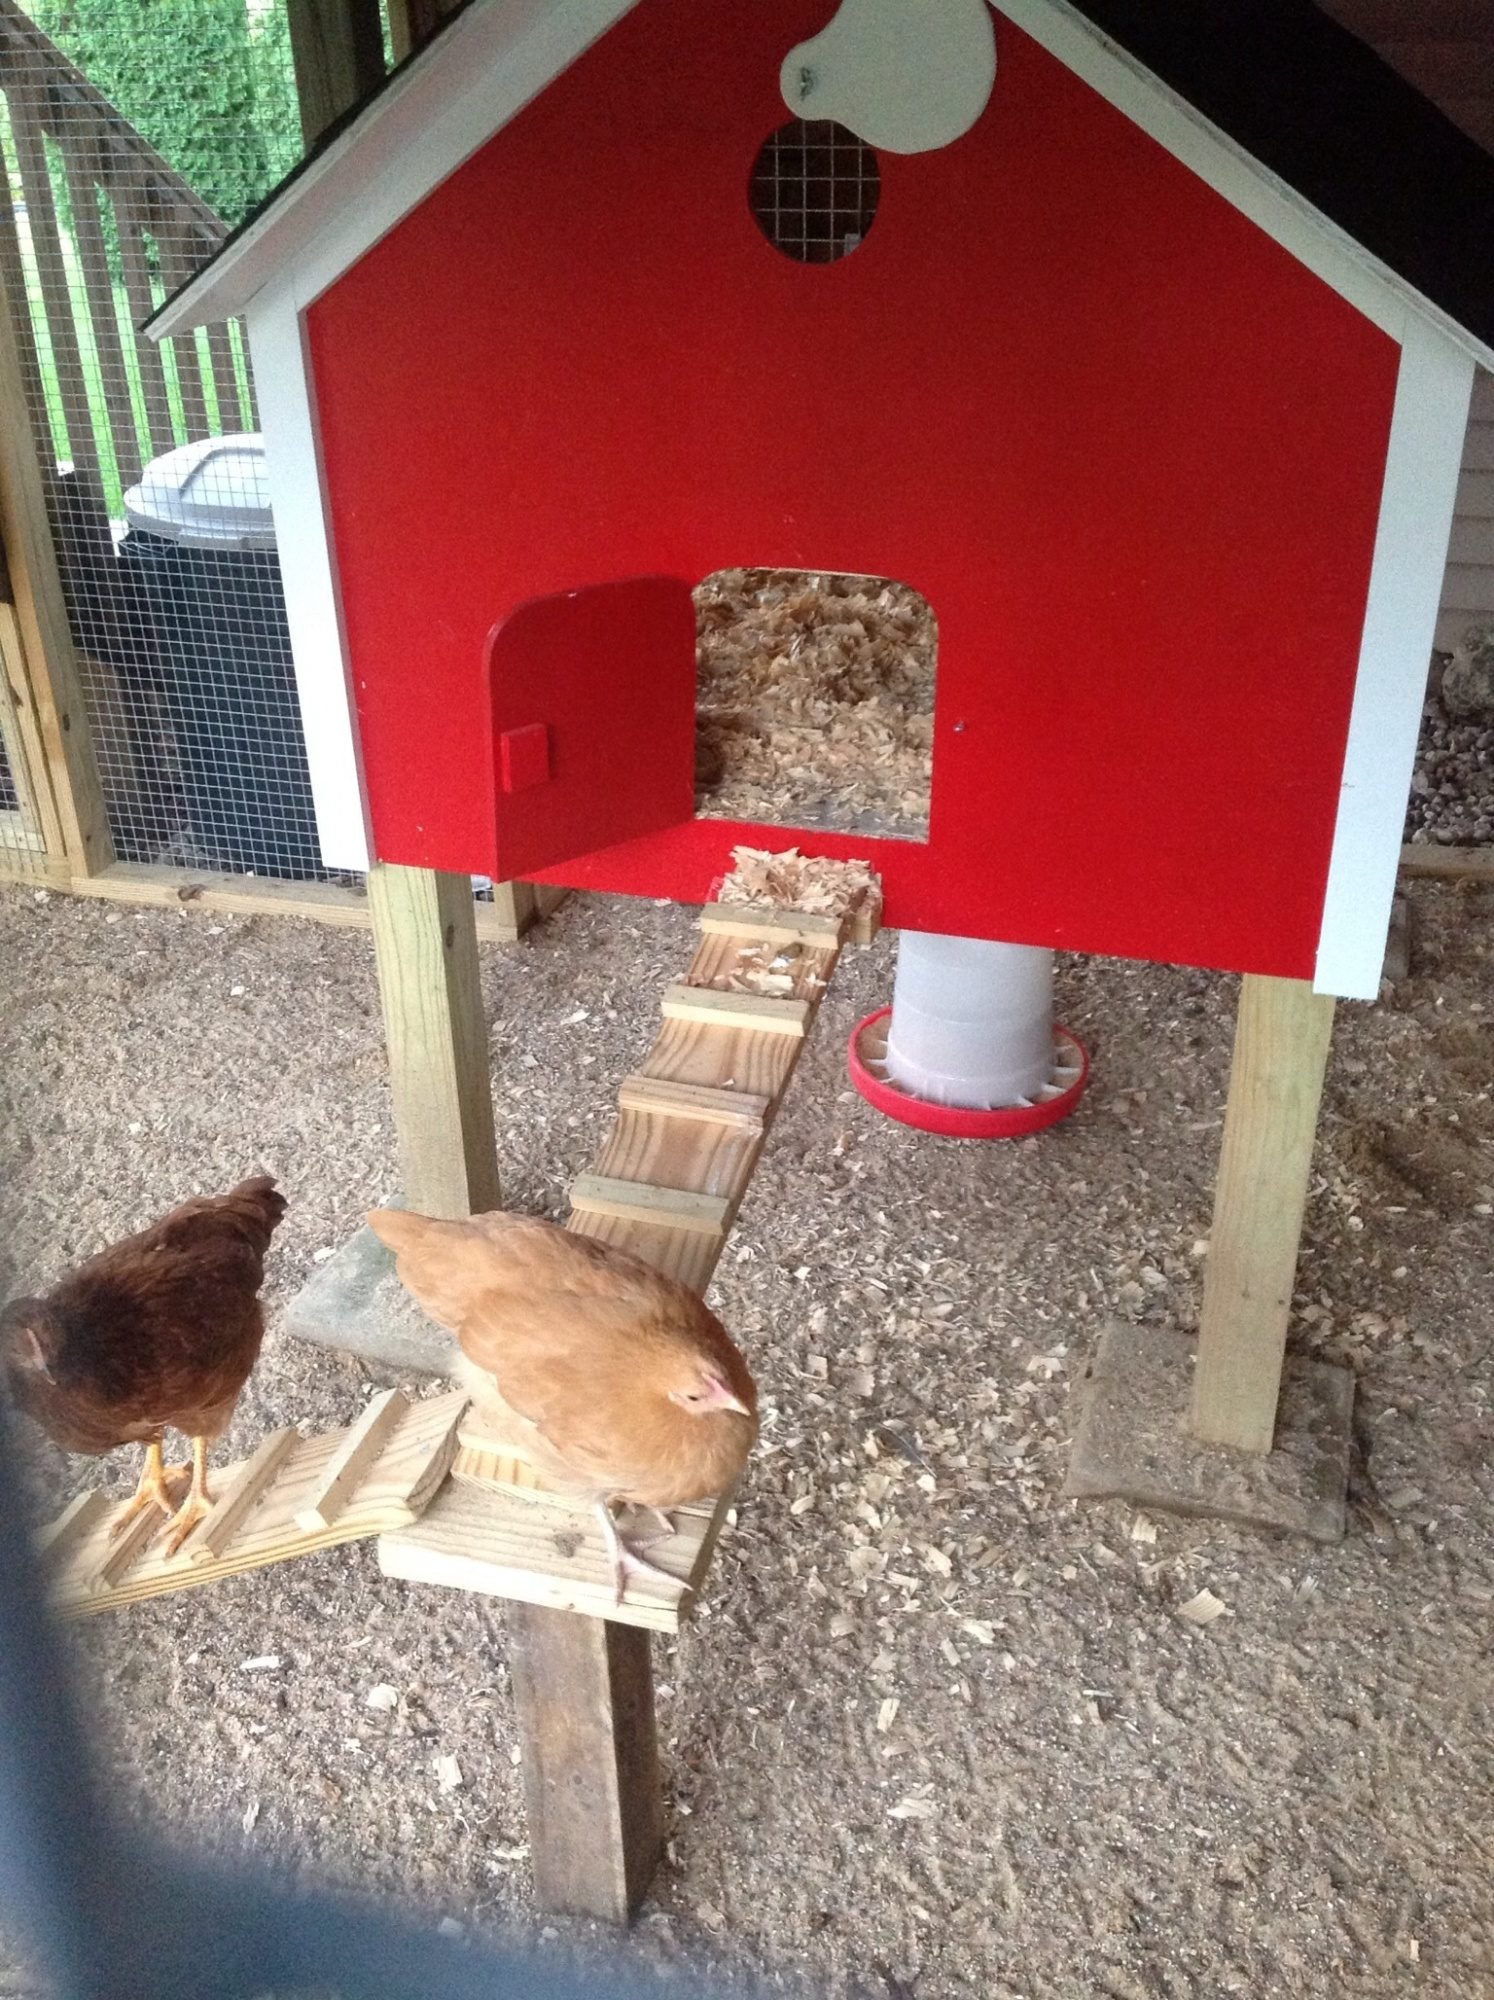
The coop is a raised coop (approximately 3ft off the ground) and is a solid construction...the coop footprint is 4ft X 6ft. I built the run to follow the outside edge of my deck and essentially enclosed the entire lower portion of the deck. I used treated lumber for the framing and 1'' X 1'' wire (galvanized after welding) wire - the wire was expensive but the last thing I wanted was some low-life racoon or coyote eating one of my girls. I also buried the wire approximately 18 inches around the perimeter and then covered that area with dirt and 1'' washed stone. I haven't had any entry attempts yet, but predators are a concern since I live near some thick wooded areas and farm fields. I used a sand base in the run to allow for easy cleaning. The run is approximately 10ft X 12ft.
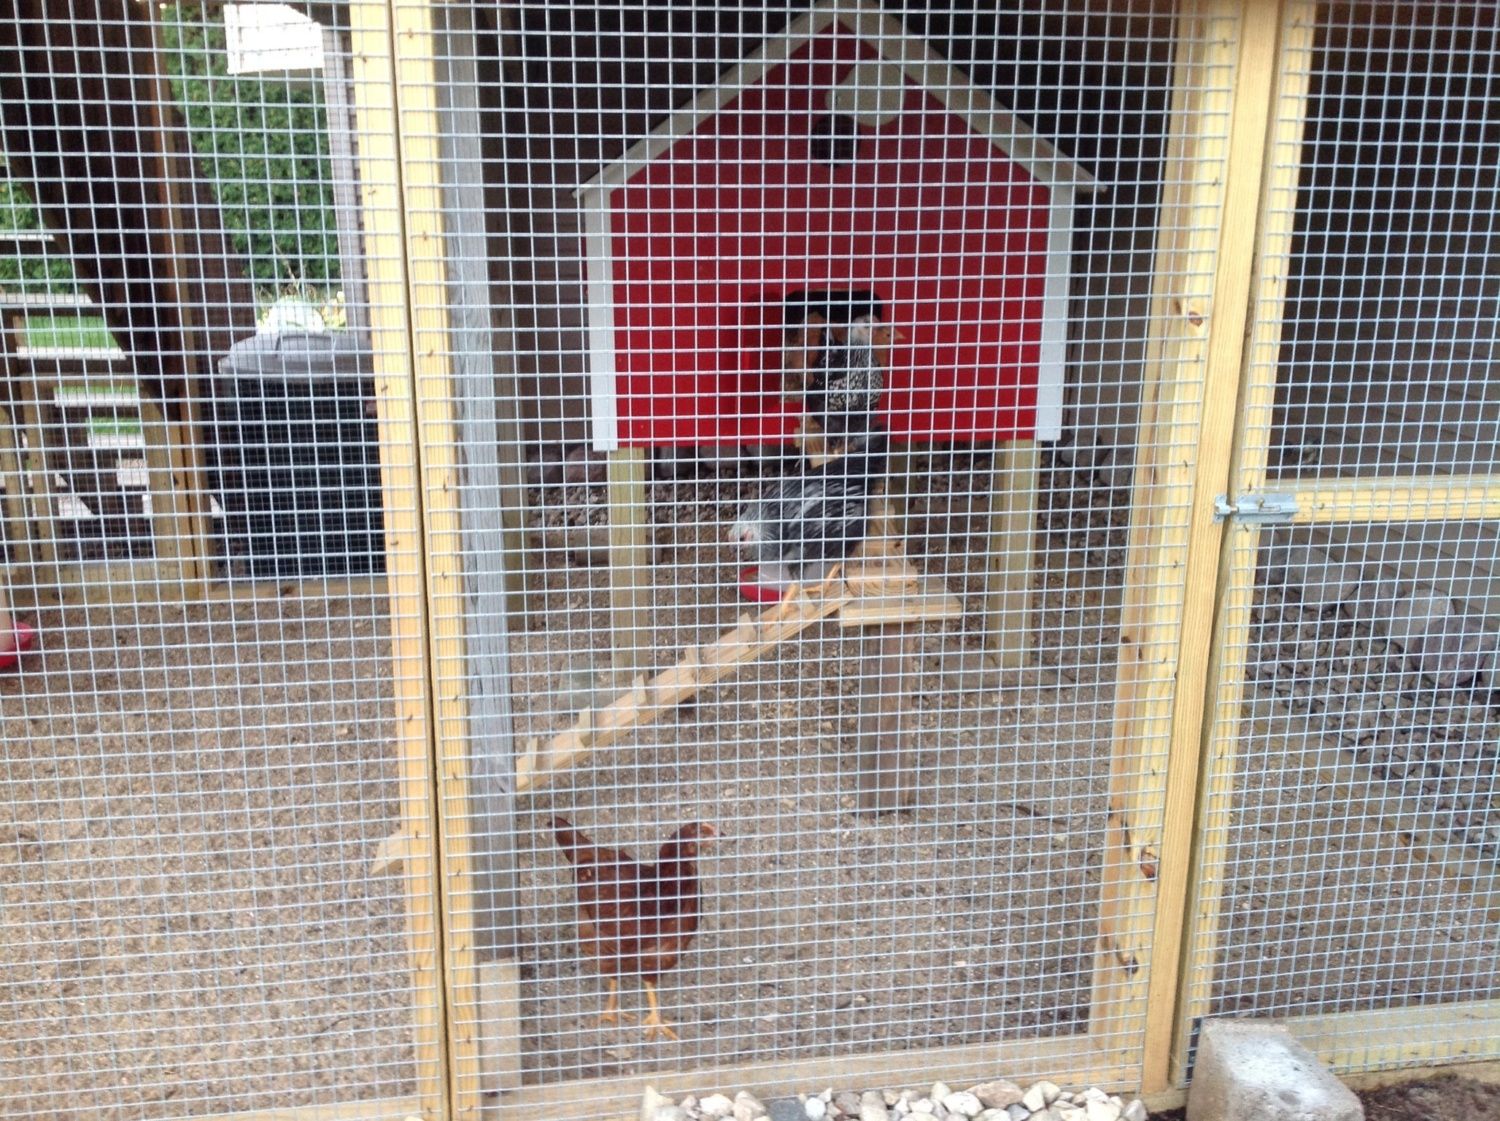
Anyway, please take a look at the progress photos and let me know what you think! So far, our 5 layers are pretty happy...1 Rhode Island Red, 2 Buff Orpingtons and 2 Silver Laced Wyandottes. The birds are only 12 weeks old, so no eggs yet...
Thanks for looking!
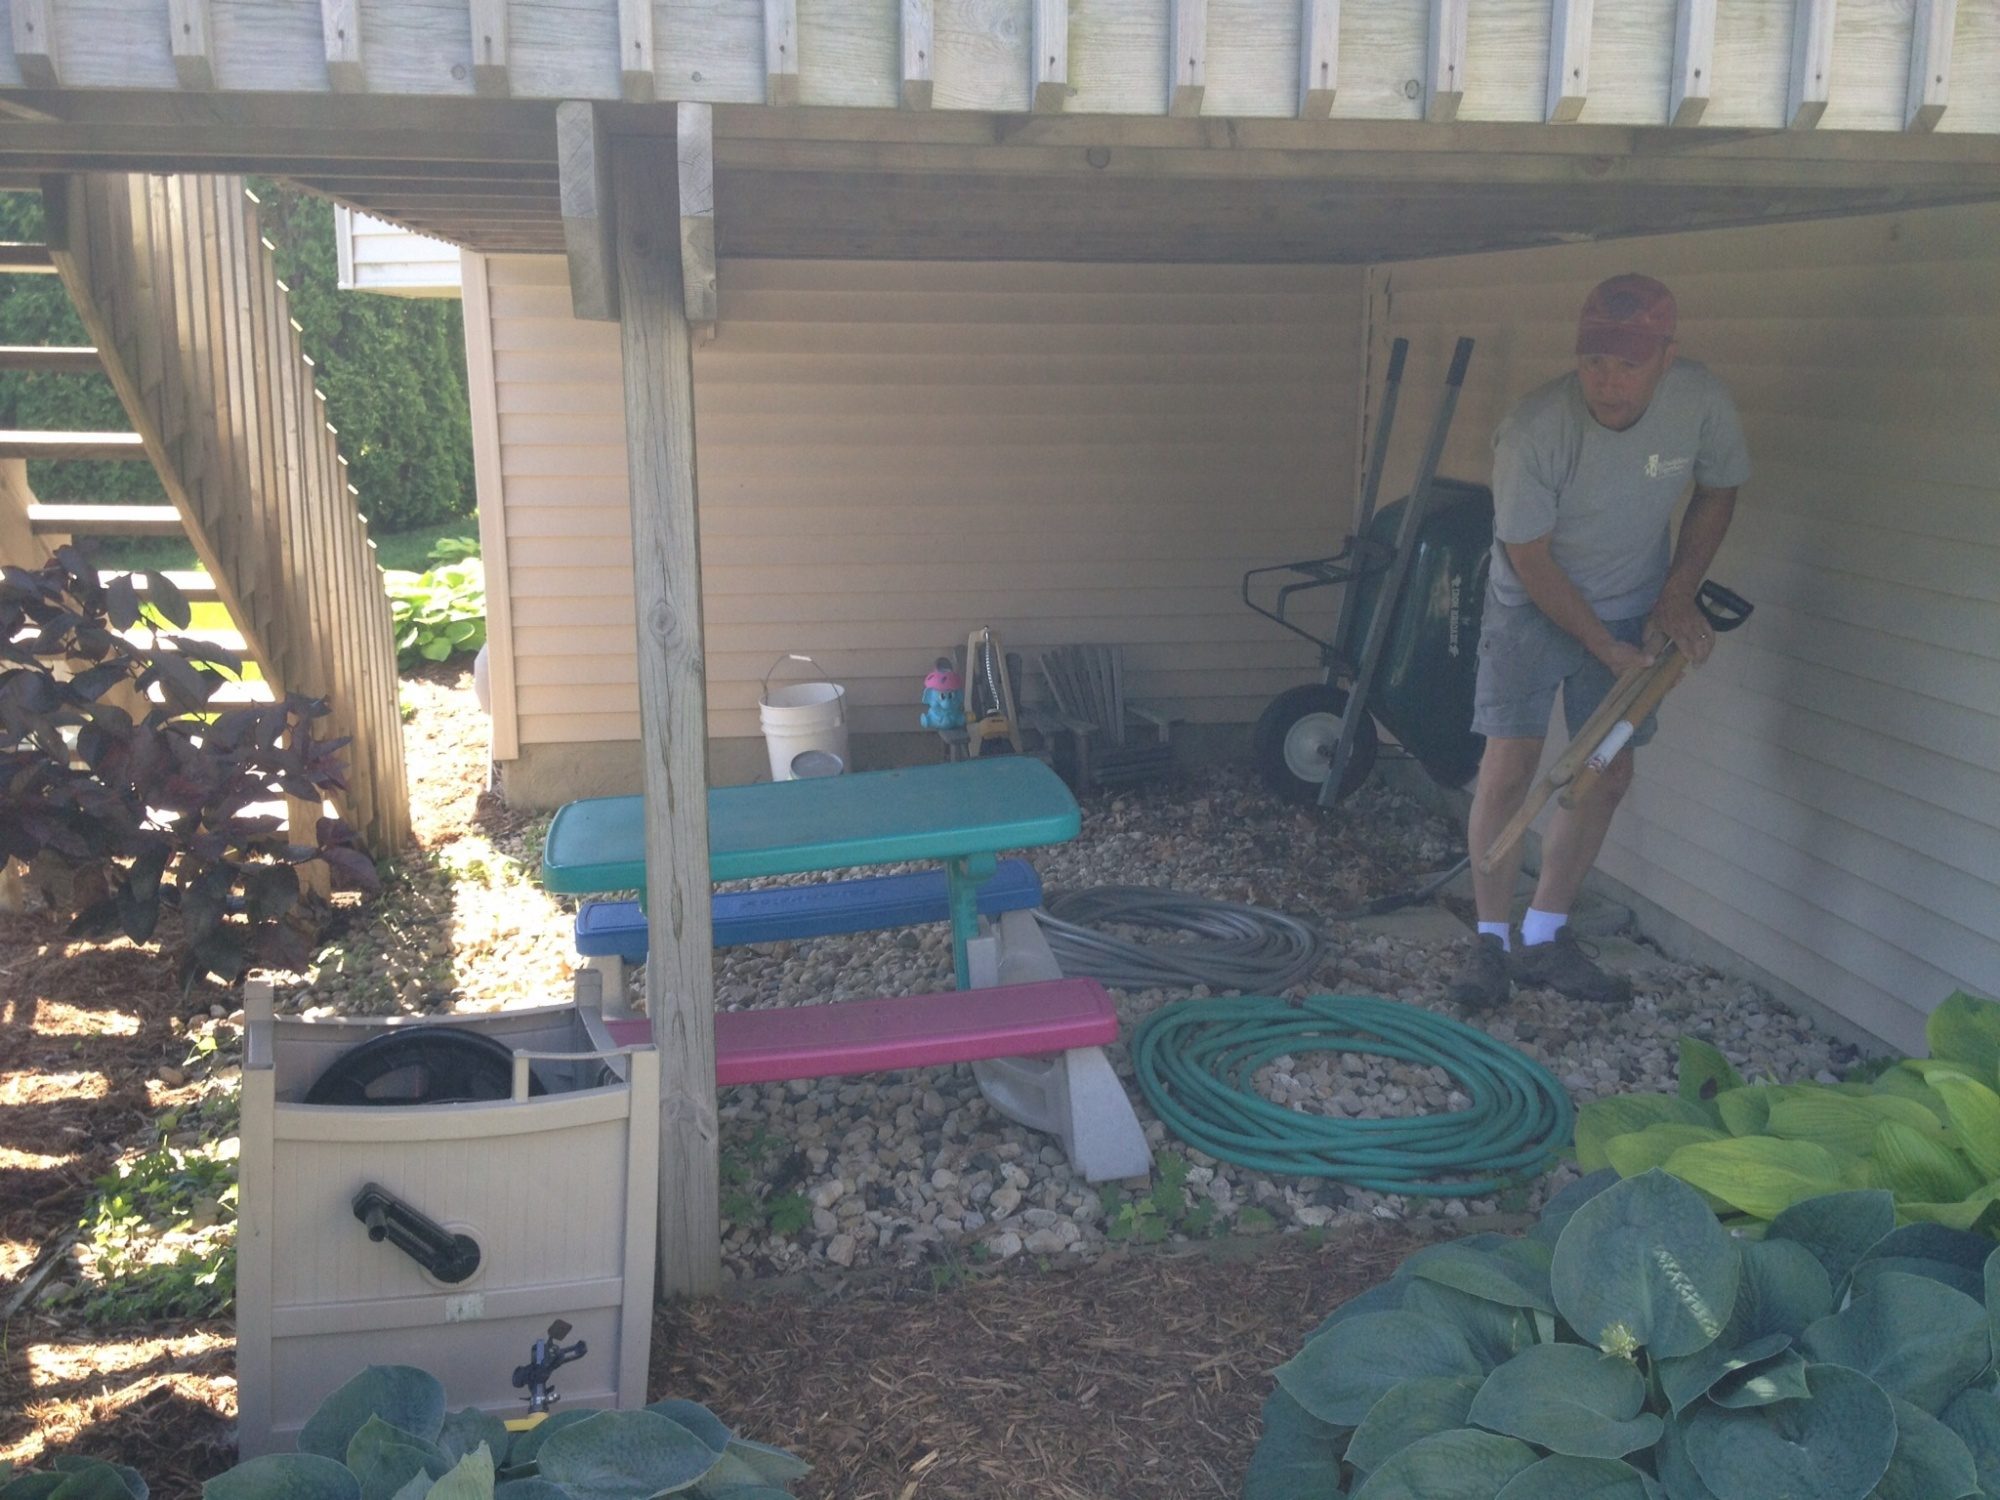
Just starting....moving all that washed stone was a terrible job...
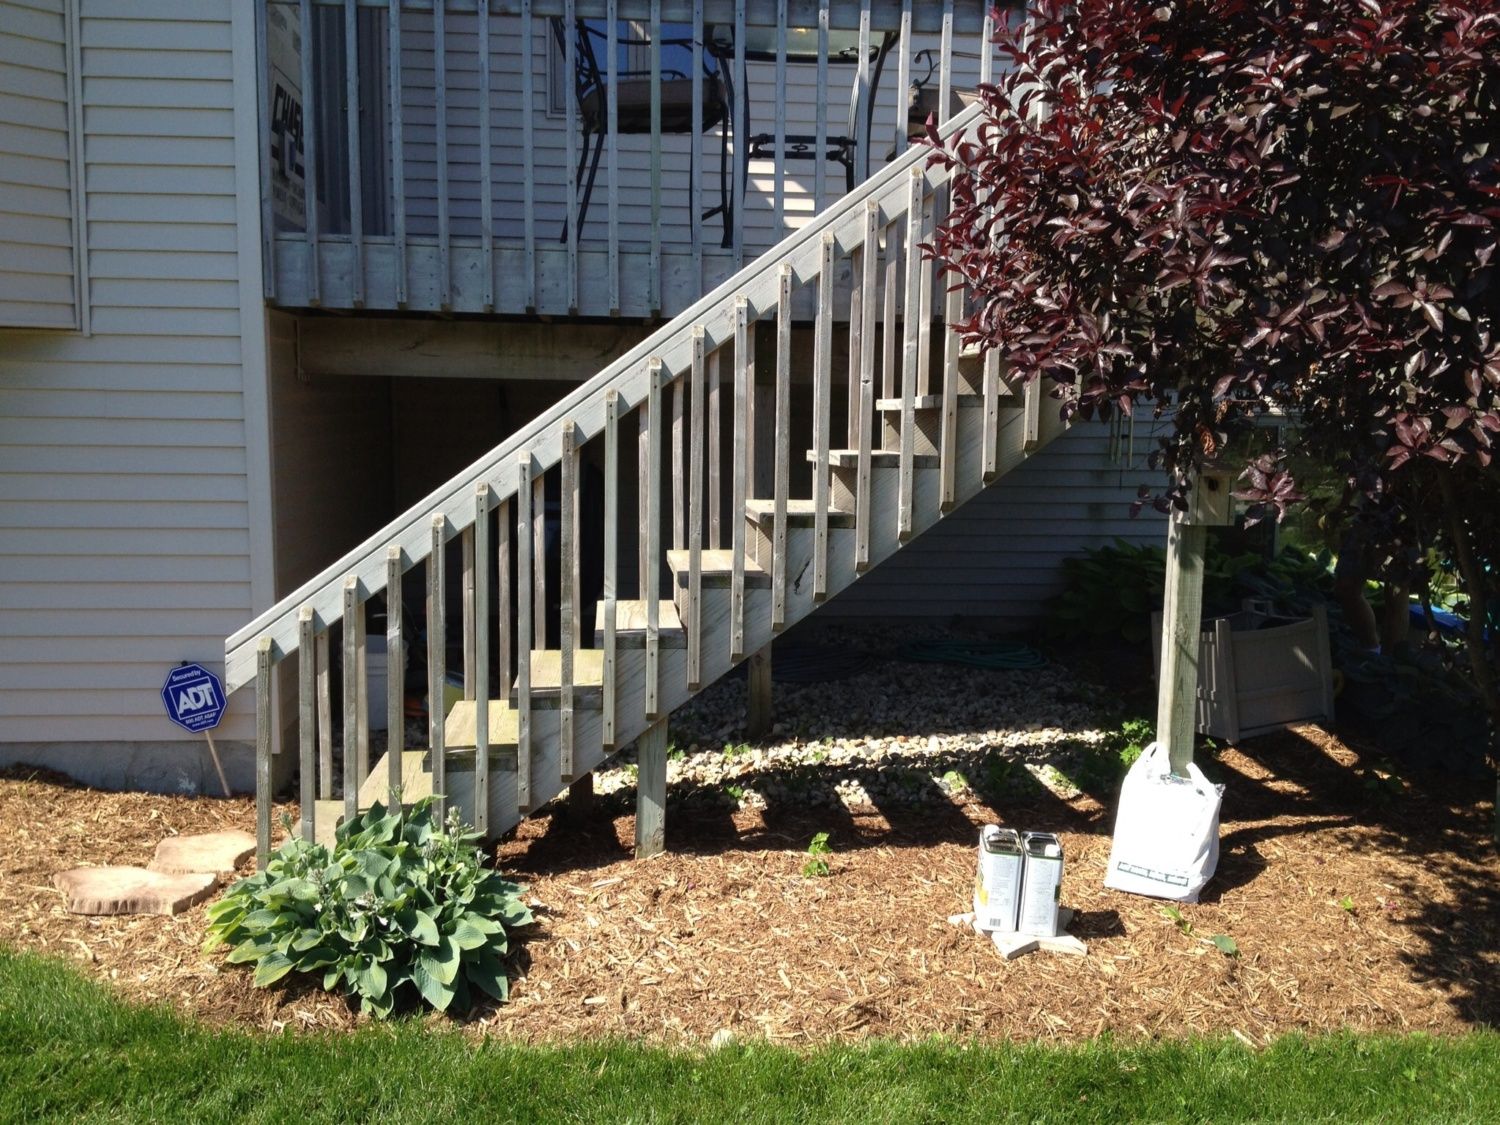
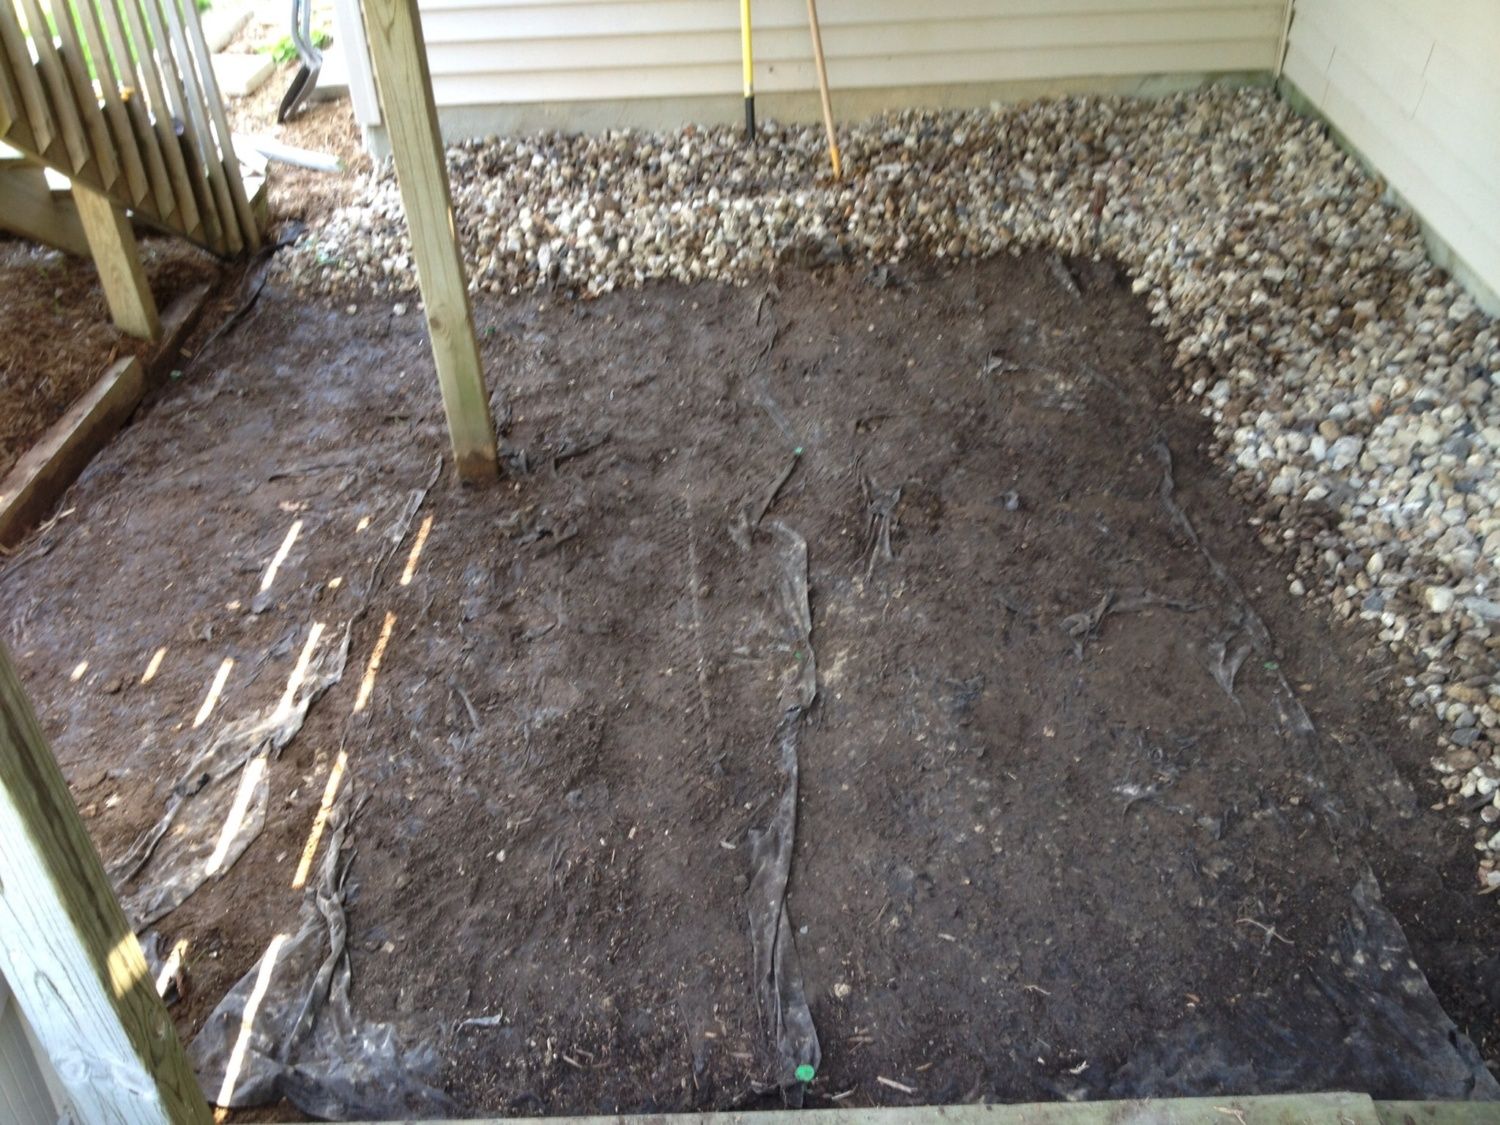
Stone cleared out...ready for the coop delivery!
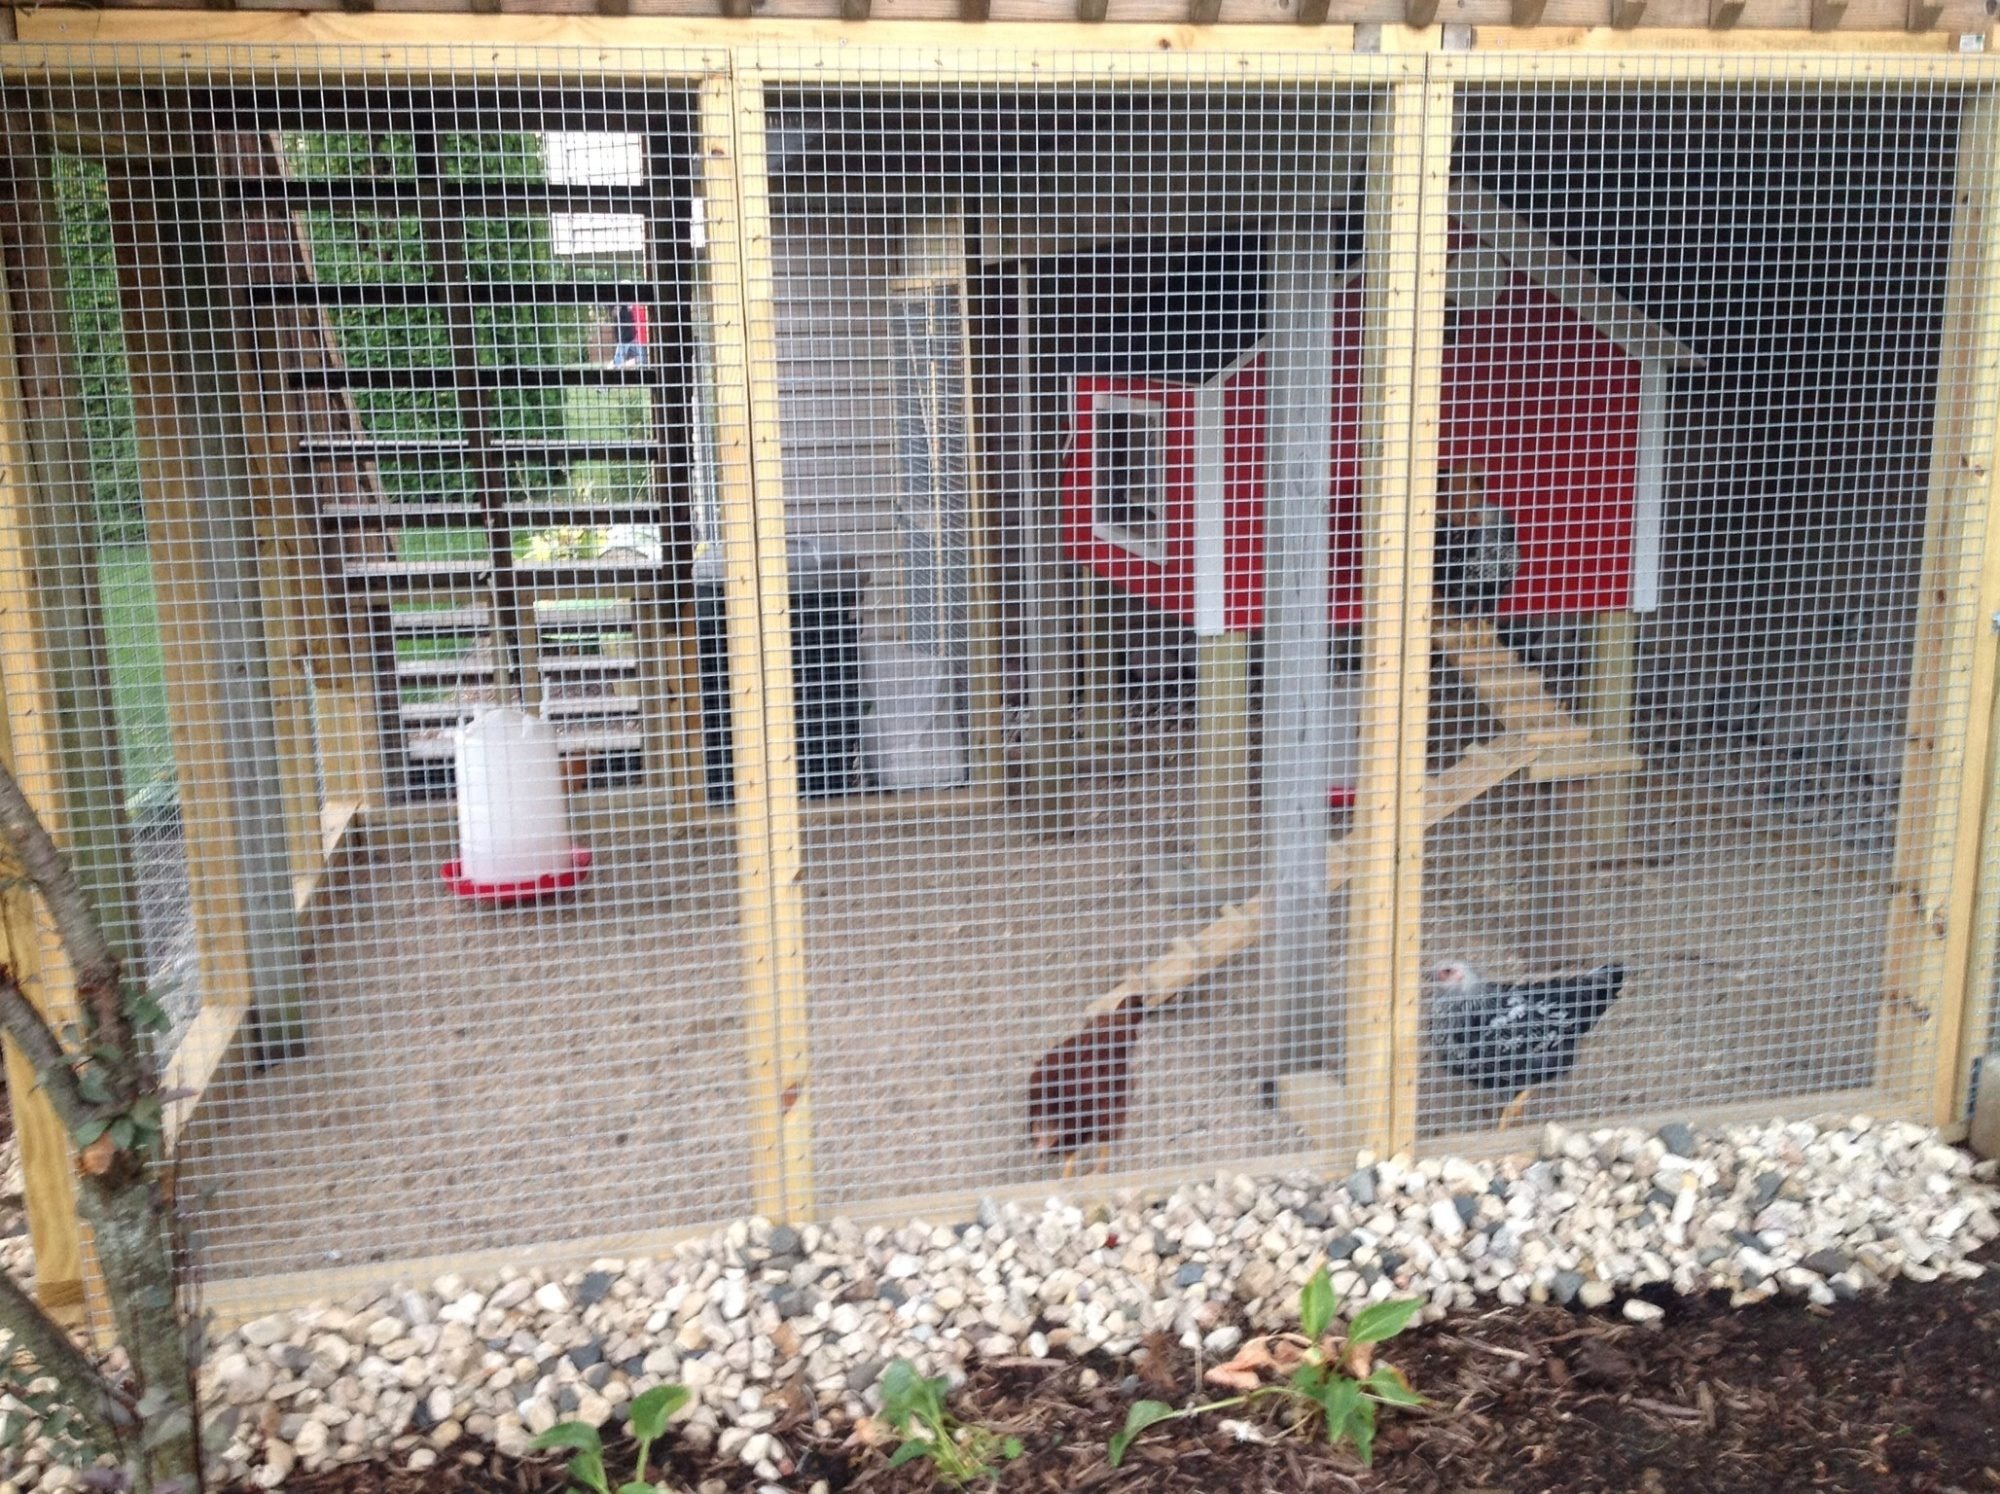
3ft X 6ft panels on the one side to allow for expansion of the run if we decide to increase our flock or just give them more room to run...


Finished look! There is a door on each side of the run...one for cleaning and one near the steps for easy egg access during cold weather...
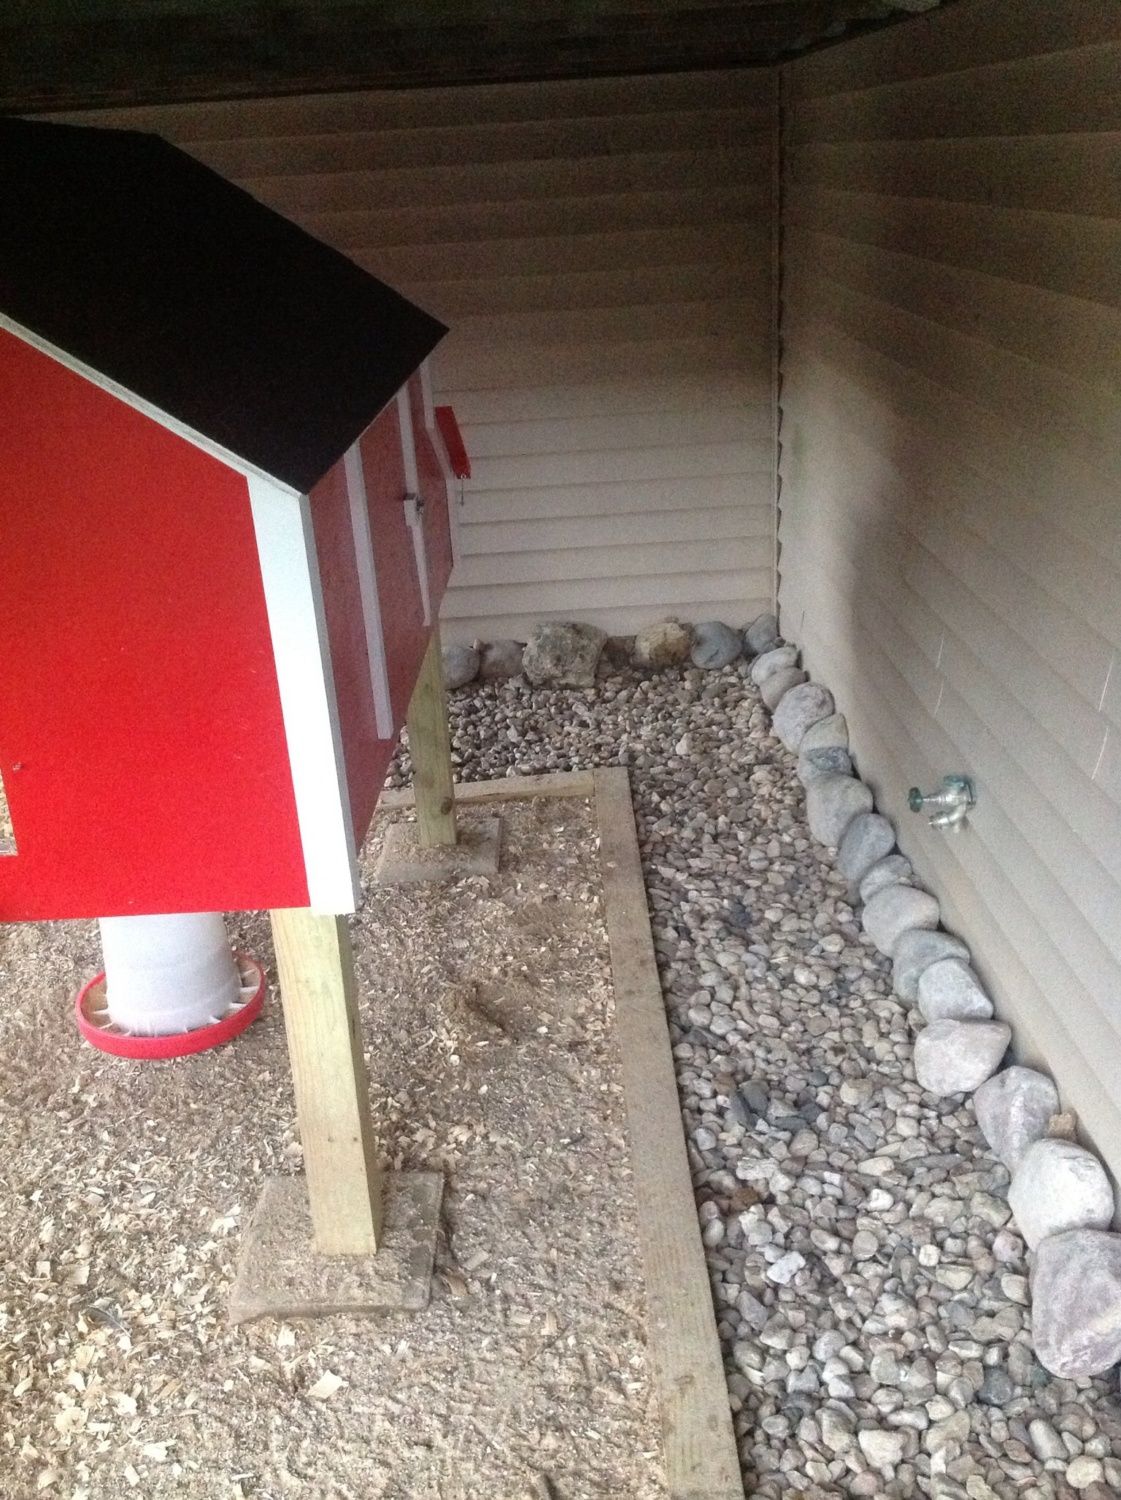
The larger rocks were added after the birds starting eating some of the exposed styrofoam insulation on the house...
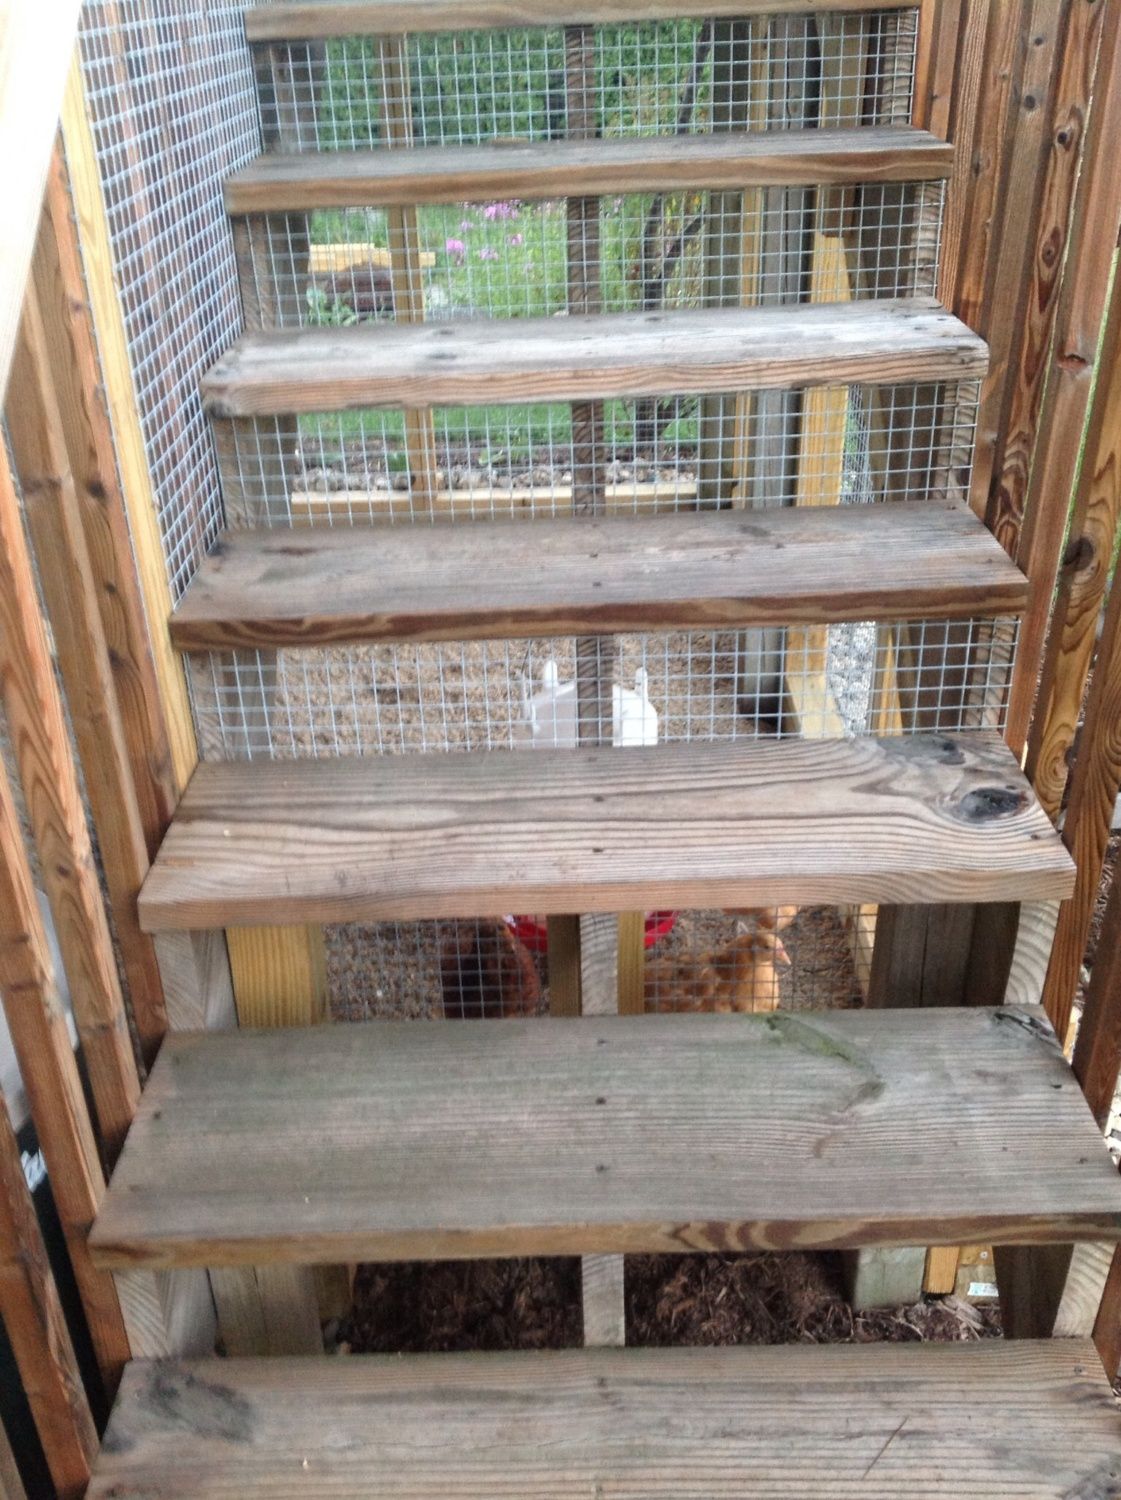
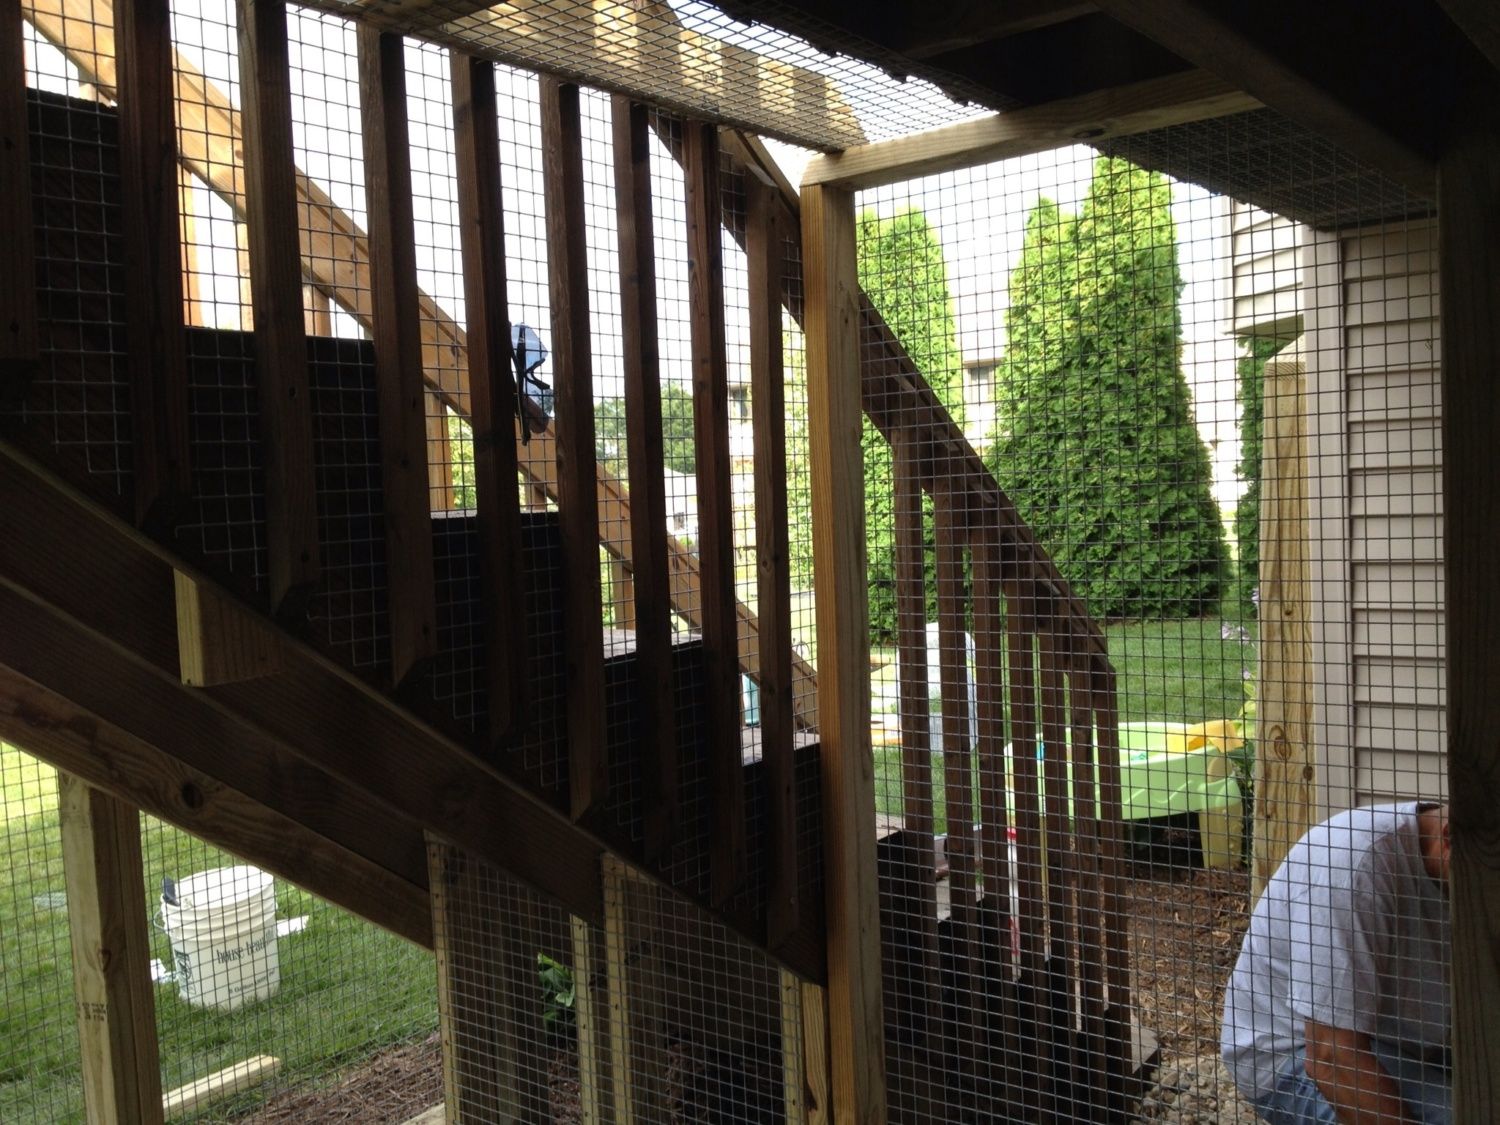
Each step was removed and wire was affixed behind...
I read a few books and looked at a few plans, but decided to buy a coop from a local farmer who builds them by request. I don't have a ton of free time (like everyone these days), so I settled on constructing the run myself and accepting the short cut of buying a coop from this farmer.
The coop is a raised coop (approximately 3ft off the ground) and is a solid construction...the coop footprint is 4ft X 6ft. I built the run to follow the outside edge of my deck and essentially enclosed the entire lower portion of the deck. I used treated lumber for the framing and 1'' X 1'' wire (galvanized after welding) wire - the wire was expensive but the last thing I wanted was some low-life racoon or coyote eating one of my girls. I also buried the wire approximately 18 inches around the perimeter and then covered that area with dirt and 1'' washed stone. I haven't had any entry attempts yet, but predators are a concern since I live near some thick wooded areas and farm fields. I used a sand base in the run to allow for easy cleaning. The run is approximately 10ft X 12ft.
Anyway, please take a look at the progress photos and let me know what you think! So far, our 5 layers are pretty happy...1 Rhode Island Red, 2 Buff Orpingtons and 2 Silver Laced Wyandottes. The birds are only 12 weeks old, so no eggs yet...
Thanks for looking!
Just starting....moving all that washed stone was a terrible job...
Stone cleared out...ready for the coop delivery!
3ft X 6ft panels on the one side to allow for expansion of the run if we decide to increase our flock or just give them more room to run...
Finished look! There is a door on each side of the run...one for cleaning and one near the steps for easy egg access during cold weather...
The larger rocks were added after the birds starting eating some of the exposed styrofoam insulation on the house...
Each step was removed and wire was affixed behind...


")