Sdwd

Kathy, you are a treasure!!! But the prof forgot one thing. Chickens are golf balls.
gig.gif
 
Quote:
I don't see a mess, creative people are never neat.

Kathy I'll bring the Starbucks. Which makes me think, I want to visit my GD in AL and then stop in Houston to see my DD and SIL who are having their first and then I back to Syracuse, so I guess I could make it AL, TX and then MO and then back to Syracuse.
gig.gif
 
Last edited:
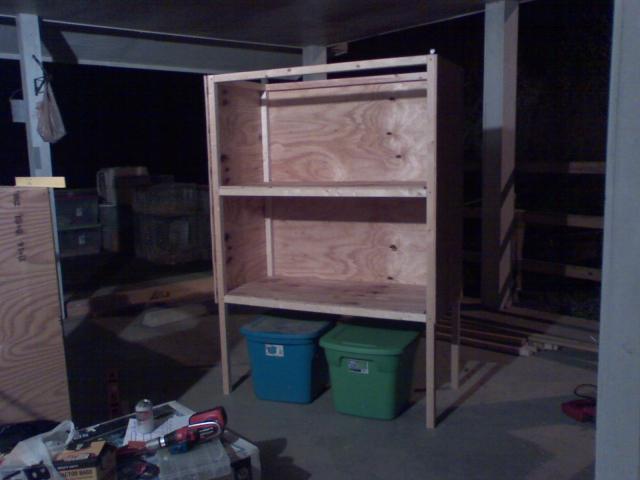
Alright kids, I spent an hour or so tonight starting a brooder unit so I can give you guys step by step pix, dimensions, etc.

Then I ran out of plywood. Darn it. LOL.

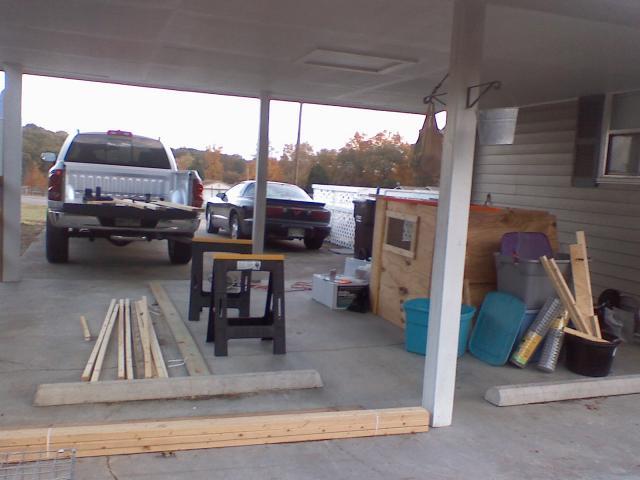
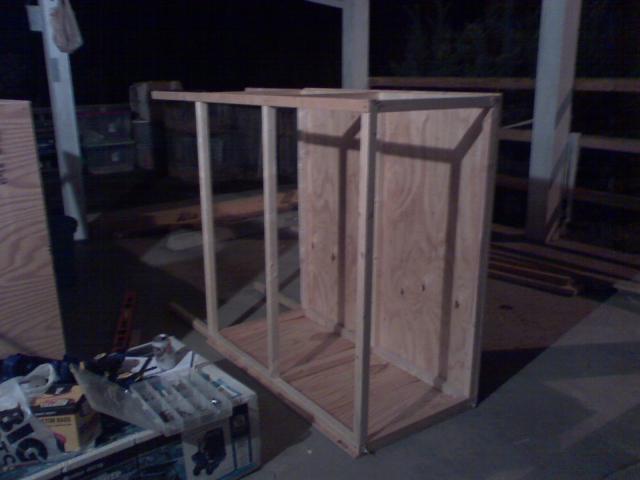
Here is how far I got. As you can see, I have a reason for making them 'tall'. Those are those neato $4 plastic tubs you can get almost anywhere.....that hold about 70 lbs of chicken feed EACH. Or shavings. Or wood pellets. Or, in this case, all of my tools, LOL.

24277_1025002037.jpg


I will work on getting the step by step pix together and the notes. But just FYI, it is 69" tall.....each brooder is 2x4'.
 
Quote:
Nawwwww, I just got ya fooled .....
hugs.gif


Quote:
Pffft .... YOU are the treasure, lady!
16.gif
I agree, the chickens are gold balls!
lol.png


Quote:
Heat? BUT, it's beautiful out today! I am currently without a vehicle. My poor ol' minivan broke down at Walmart last night .... I dunno, something about an alternator belt or somethin' .... The family keeps tellin' me to get a new vehicle, but I just can't do it. I love my ol' van.

Quote:
I'm glad you enjoyed it! I did, too. Sometimes I forget and need reminded.
Love the pictures! keep 'em coming! Congrats on the new egg, too!

Quote:
You did all that in only an hour or so????
ep.gif
OK, I'm ready for the step by step instructions!

Quote:
I'll be here! You better stop by if you are ever in the area!
hugs.gif

And, ya know what ..... I have never had Starbucks. I live on coffee .... just plain ol' black coffee most of the day. My coffee pot is on almost all the time. Sometimes I switch to Coke Zero for something cold.
 
Quote:
Nawwwww, I just got ya fooled .....
hugs.gif


Quote:
Pffft .... YOU are the treasure, lady! http://www.pic4ever.com/images/16.gif I agree, the chickens are gold balls!
lol.png


Quote:
Heat? BUT, it's beautiful out today! I am currently without a vehicle. My poor ol' minivan broke down at Walmart last night .... I dunno, something about an alternator belt or somethin' .... The family keeps tellin' me to get a new vehicle, but I just can't do it. I love my ol' van.

Quote:
I'm glad you enjoyed it! I did, too. Sometimes I forget and need reminded.
Love the pictures! keep 'em coming! Congrats on the new egg, too!

Quote:
You did all that in only an hour or so????
ep.gif
OK, I'm ready for the step by step instructions!

Quote:
I'll be here! You better stop by if you are ever in the area!
hugs.gif

And, ya know what ..... I have never had Starbucks. I live on coffee .... just plain ol' black coffee most of the day. My coffee pot is on almost all the time. Sometimes I switch to Coke Zero for something cold.

Ahhhh... we need a multiquote button
big_smile.png


Yeah Id forgotten!!!

Thanks! I wish I knew who layed it LOL!

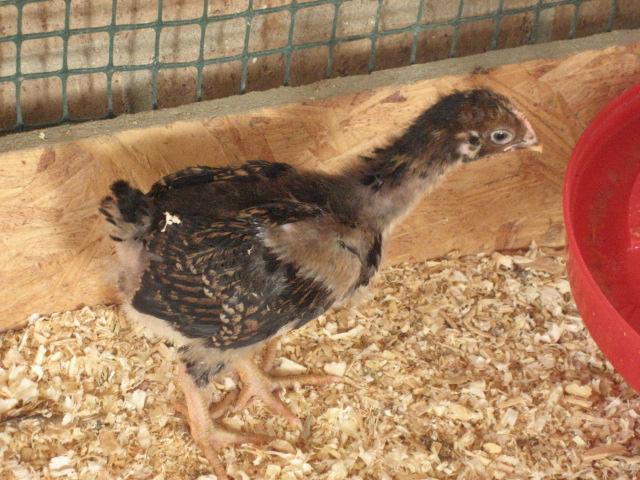
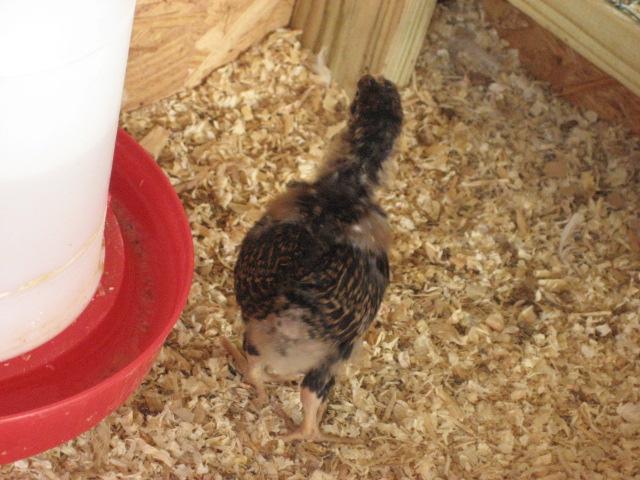
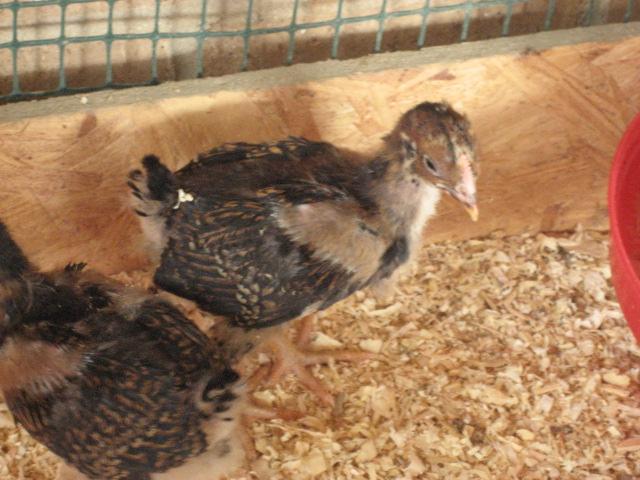
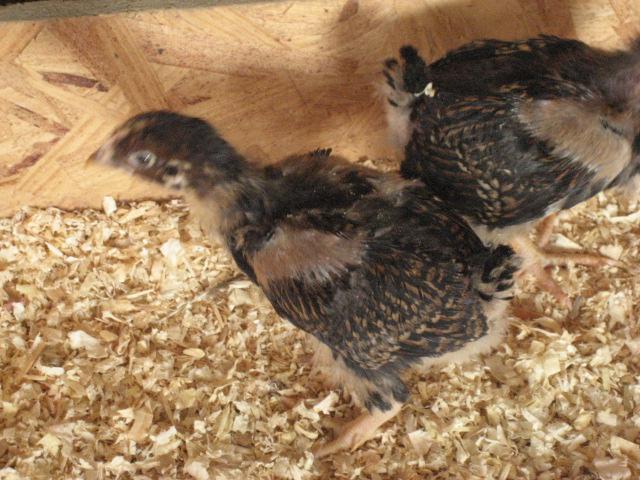
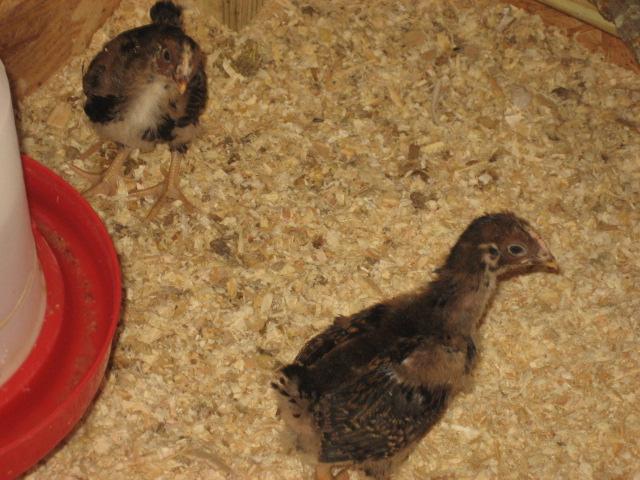
Pictures? hmmmm... here's some of the bantam barnevelder chicks I got from Stacy, tnchickenut. They are approx 3wks old!
I can't tell if they're feathering slow or what.. since theres no other chicks in with them
hu.gif

62442_picture_3831767.jpg

62442_picture_3831768.jpg

62442_picture_3831769.jpg

62442_picture_3831770.jpg

62442_picture_3831772.jpg
 
Okay kids.

First off, I used 8 foot long 2"x2"s. This requires 9 of them, which is exactly 1 bundle
wink.png

It also requires 2 sheets of plywood. I use the thin stuff......1/4" I think? I let Home Depot cut it in half for me, which makes two 4x4 squares. If you want, you can also have them do additional cuts (might cost extra).
For this project you need 1 piece of 4'x4' plywood and 5 pieces of 2'x4' plywood.

To make one identical to mine, you need to cut the 2"x2" as follows:

4 pieces @ 69" long
6 pieces @ 45" long
9 pieces @ 21" long

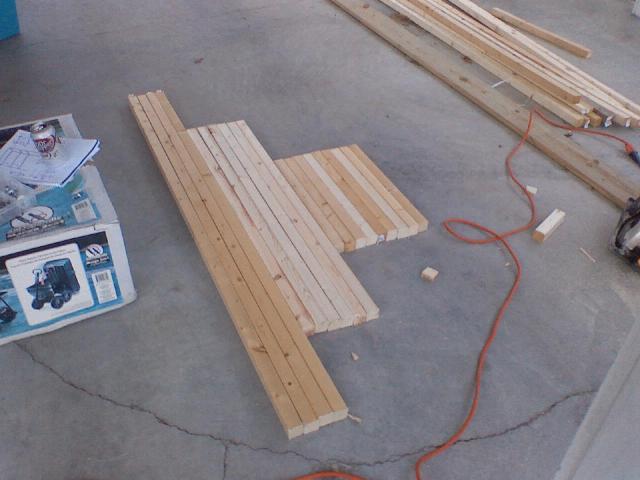
First, get your junk all out and ready to go. Look at your other projects in progress and sigh. Then move on.

24277_1025001843.jpg


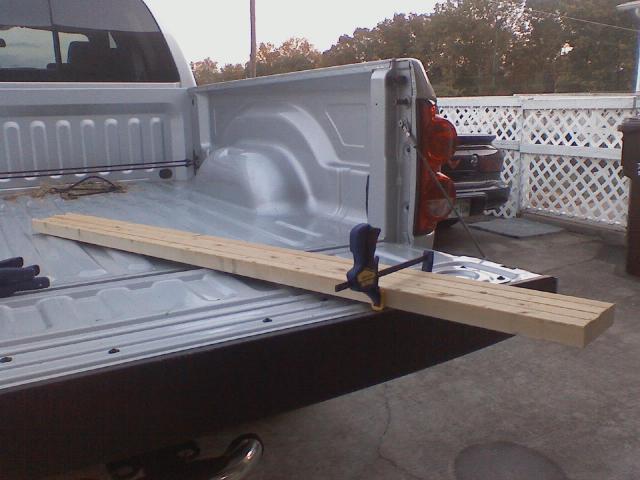
Cut all of your wood in advance. This makes everything so much quicker. I like to clamp the same length boards together so I know they are exactly the same size.....clamp together and then just make 1 long cut across them all intead of 4 individual cuts.

24277_downsized_1025001851.jpg


Oh look, all done cutting and ready to assemble.

24277_downsized_1025001852.jpg


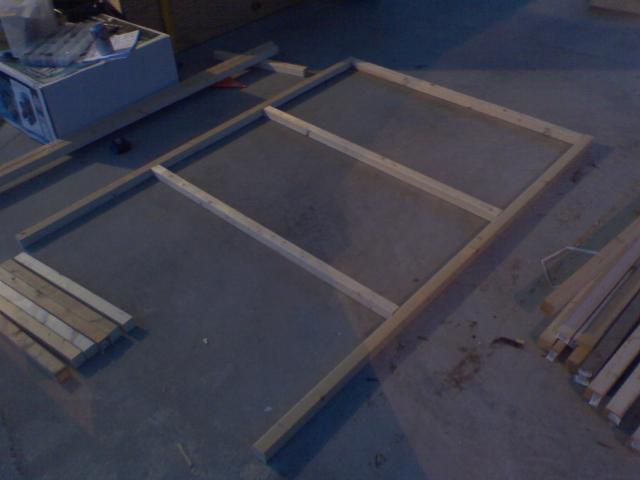
First, lay out 2 of the 69" long pieces. These are the legs. Lay out 3 of the 45" long pieces, one at the top, one at 24" and one at 48".

24277_1025001904.jpg


Screw them all together. I use 2.5" exterior screws for all 2"x2" to 2"x2" joints.

Once you have one panel screwed together, lay the pieces for an identical panel directly on top and screw that panel together. This ensures each panel is identical so your levels will be pretty flat.

Now you have two. The front and the back.

24277_1025001917.jpg


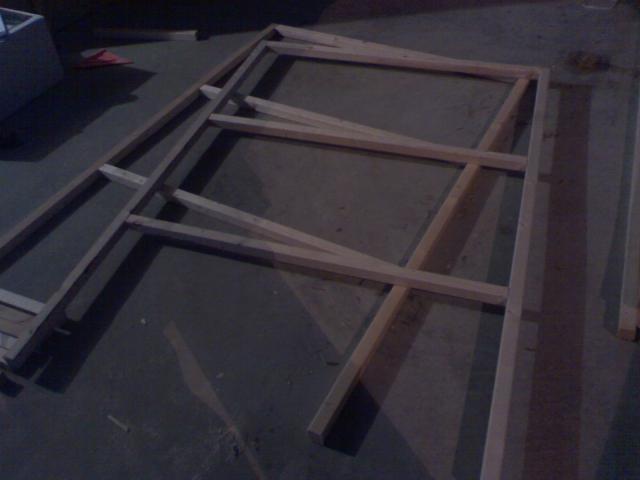
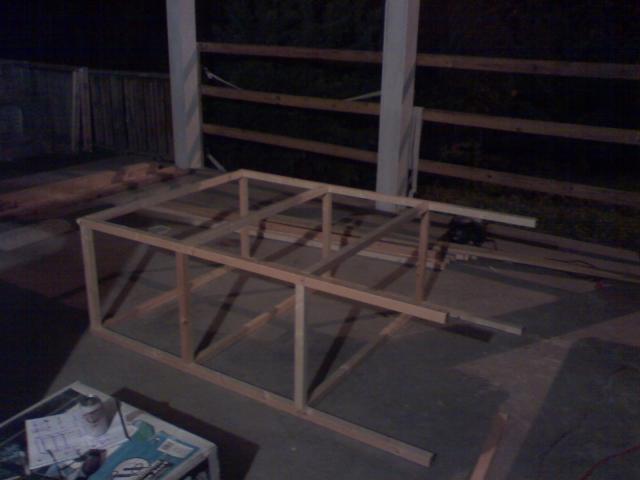
Then take 6 of the 21" pieces and screw them as shown below.


24277_1025001925.jpg


Then flip that over so the short little 21" 'legs' stick straight up. Lay the other panel on top of this. And then screw it down.

24277_1025001931.jpg


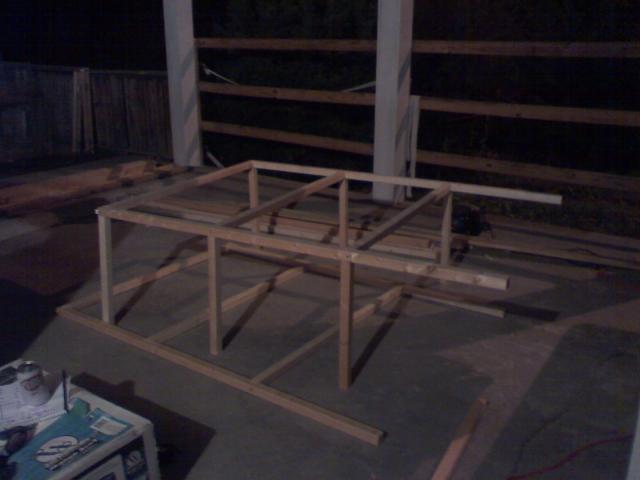
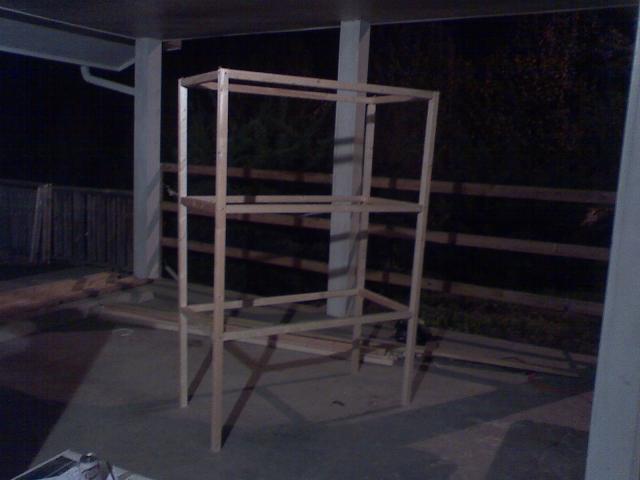
Your frame is now complete. Stand it up and admire. It will be wobbly....don't worry, once all the plywood is on it strengthens it.


24277_1025001932.jpg


While you're admiring, decide which side is prettier.......that will be the front of your brooder.

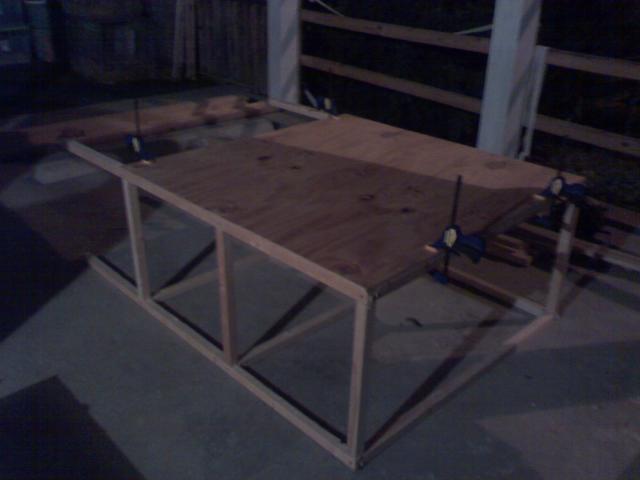
Then lay it back down...pretty front side DOWN. Take the 4'x4' piece of plywood and lay it on top. This will be the back of the brooder.

24277_1025001936.jpg


Clamps are helpful to hold it in place. Screw it down.


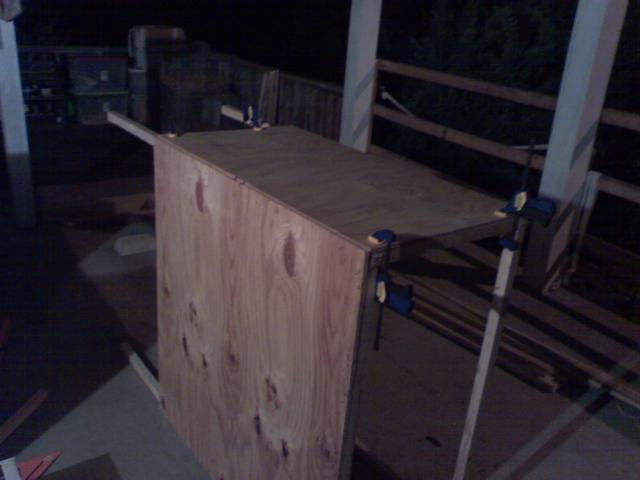
Then turn the unit onto its side. Place a 2'x4' piece of plywood on top, clamp into place. Then screw it down.

24277_1025001952.jpg


Then flip the unit to the opposite side. and do the same.


24277_1025001957.jpg


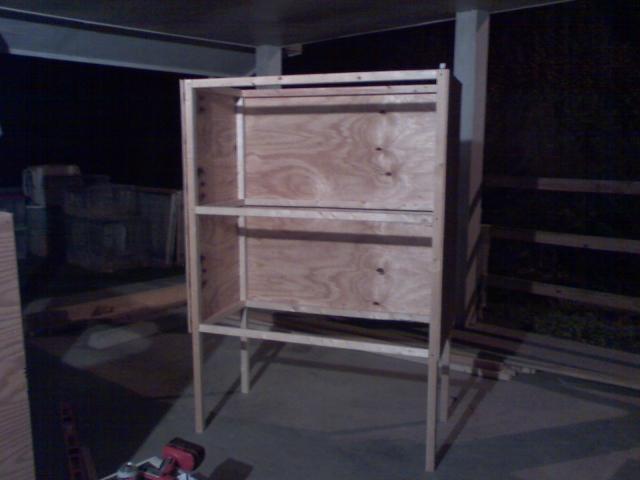
Go ahead and stand your unit up. Admire your hard work.

24277_1025002005.jpg


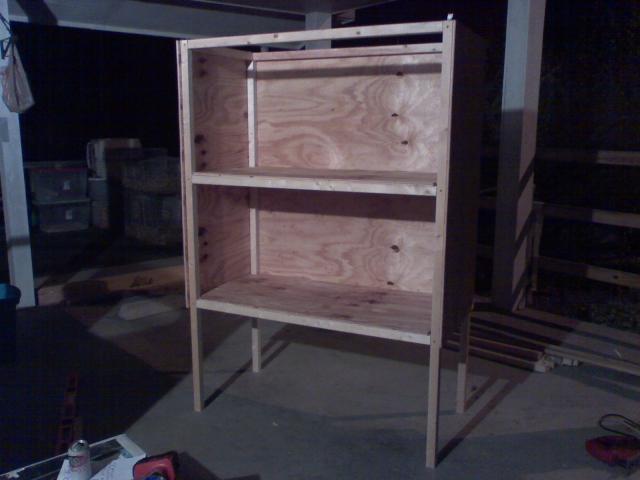
Now you just need to put the floors in. Take two of the remaining 3 pieces of 2'x4' plywood and cut a 1.5"x1.5" notch into each corner. This is to allow the plywood to fit around the 2"x2" LEG at each corner.

Once the shelves are notched, slide them in and screw them down.


24277_1025002036.jpg


Then take the remaining single piece of 2x4 plywood, put it on top, clamp into place and then screw down.

I ran out of plywood so don't have the top on yet.....therefore NO PICTURE.

The front is kind of personal preference......i plan on using 1'x4' pieces of plywood VERTICALLY on each end. This will leave a 2 foot "door in the middle of both levels. I will build a door for each, using 1"x4" boards and 1/2" hardware cloth, with a slidebolt for closure.


ETA: I had 3 extra 21" pieces here because i forgot to put the "crossbrace" in the middle of each level. This can be added at any time. I will add it tomorrow.

Also, I use 1.25" or 1 5/8" screws to screw the plywood down to the 2"x2"s.
 
Last edited:

New posts New threads Active threads

Back
Top Bottom