Here is the sanding technique for marans eggs though it might be applicable to all shipped eggs if I understand Renee's wording.
5. DARK COLORED EGGS-- from ChooksChicks - I only sand until I'm just through the color, and then I mist the eggs with betadine-water, mixed to the color of iced tea. This covers the contamination that could occur now that I've removed the bloom.
The idea is to promote evaporation to allow the chick to grow smaller than it would if it contained all of the moisture it started with. I have had too many chicks large enough that they couldn't pip or hatch properly- fully formed chicks that didn't make it at hatch. Once I started using this method (got it from an Emu farmer!) I have had significantly better success with shipped eggs. It doesn't seem to really be necessary with local eggs (my own) and I'm not certain why. When hatching in a really nice incubator, like a Sportsman or an rcom, it also doesn't appear to be necessary, but with most affordable models, it's a helpful method.
I do increase humidity at the end of my hatch, as per my Incubation Cheater, the same for Marans as for other eggs. My feeling is that if you have evaporated the proper amount during the first 18 days, you can't drown them with humidity at the end. Humidity merely prevents evaporation, it doesn't make eggs 'take-on' water.
This works well for me, but like most on BYC, I don't consider myself and egg-spert... I just like to share my egg-speriences to help anyone else who might be able to learn from them!
MORE - Regarding sanding the Marans (or Penedescenca, or Wellies, etc.) eggs, I use an emery board or 400+ grain sandpaper. I use a circular motion and make sure I'm moving the hand with the sander, not the egg.
I then put the eggs on a paper towel and mist them with a 30% povidone iodine to 70% water blend
I then wait for it to dry, turn, repeat, dry, turn, repeat. You can't be too careful about making sure the whole thing gets lightly misted, but don't
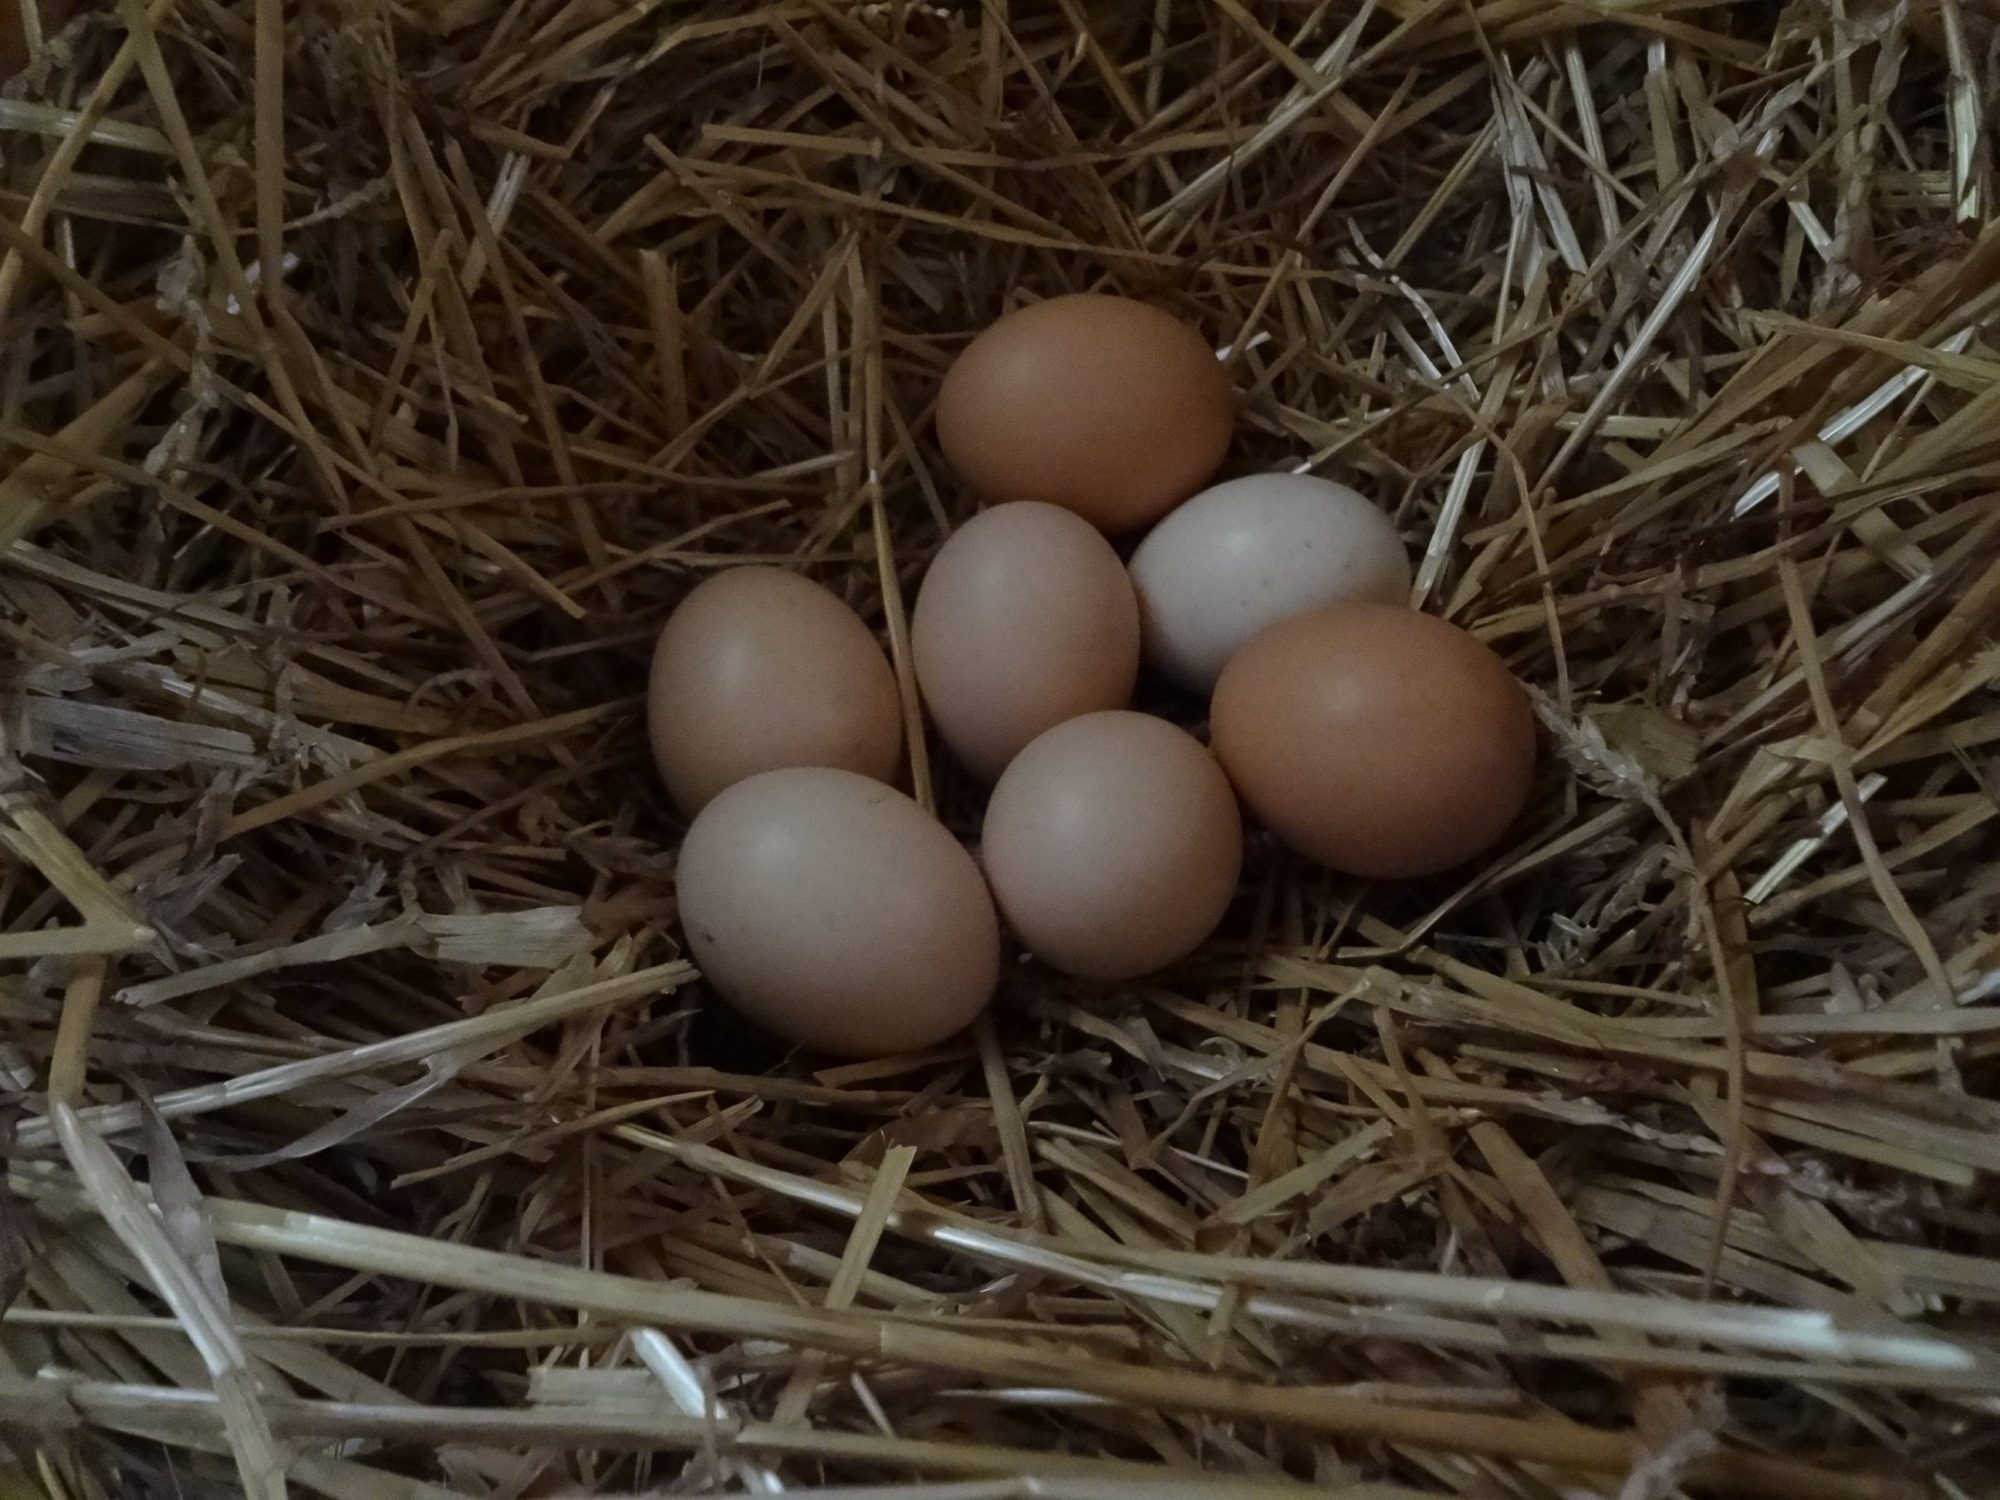
My little hen was given 7 eggs to sit on April 26 & last night I looked there were 8! Ha ha, my EE hen decided to squeeze into the nesting box and leave an extra egg for her friend. Lucky for me her egg is blue & I only gave my little hen brown eggs---so it was easy to take out the new egg.
I guess I need to put her in a place where the other hens can't get into her box. Should I keep her away from her flock? I kind of assumed once the chicks come that I need to move her anyway. I am kind of new at this. Here is a pic of my eggs:
Only about a week to go and I have not candled these eggs, I guess I better try so I can get any duds out but I am afraid to find out they are all bad---very disappointing if that happens. Plus I never can really see anything with a flashlight. Any advice?
The cheap little LED flash lights work pretty well for the most part, though I have really dark egg layers so I keep a good one in my coop for candling. At this point you should at least be able to see a good air cell and the egg should seem full. My broodies stay in the main coop and I sort the eggs under them every day to pull out the fresh ones. I always mark my broody eggs with the day they are due to hatch so I can easily tell the fresh ones. You have to do this every day or you end up with developing eggs at different stages. Once they hatch I move them to a separate cage. Obviously if you can move her to a private location for brooding that would be best, but my girls usually object.
Ahhh I'm so jealous! Mine are due to hatch today but ive not heard a thing or seen anything! This is crazy! Is everyone on day 21 or a little more? Less? Should I worry!?
I moved four eggs out of the hatcher last night and split them between two broodies. One of the girls was very mean and nasty when checking for eggs under her. The other one would lock her legs around my arm when I would check under her!
The cheap little LED flash lights work pretty well for the most part, though I have really dark egg layers so I keep a good one in my coop for candling. At this point you should at least be able to see a good air cell and the egg should seem full. My broodies stay in the main coop and I sort the eggs under them every day to pull out the fresh ones. I always mark my broody eggs with the day they are due to hatch so I can easily tell the fresh ones. You have to do this every day or you end up with developing eggs at different stages. Once they hatch I move them to a separate cage. Obviously if you can move her to a private location for brooding that would be best, but my girls usually object.
Thanks! I borrowed my son's good LED last night and looked at 2 eggs. Both had an air sack that was 1/4-1/3 of the egg and the rest was dark. So that seems like a good sign.
I was given these eggs so I was not sure how this would go.
Now I'm really excited. Should be next week.
I will work on a place to move her but I have some broilers in the other half of the coop right now. I really am overrun with chickens!
Noncentzter--I see you have buckey, how meaty are they compared to other breeds like EE since you have those and I have hatchery EE, hatchere RIR and not-hatchery BCM.
I have put my hands on these birds and they are thin, not what I consider meaty at all. Of course I'm used to eating grocery store cornish cross types.


")