CW wants a demo of my technique with freezer paper
First the website from Leepsy
http://dquilts.blogspot.com/2007/04/how-i-freezer-paper-piece.html
Then
Quote:
What I do is very simple and is less wasteful of fabric.
Often times I see a pattern in a magazine that I really like, but it is for a 9 inch block instead of 12, and all the directions for cutting the pieces is for that 9 inch block.
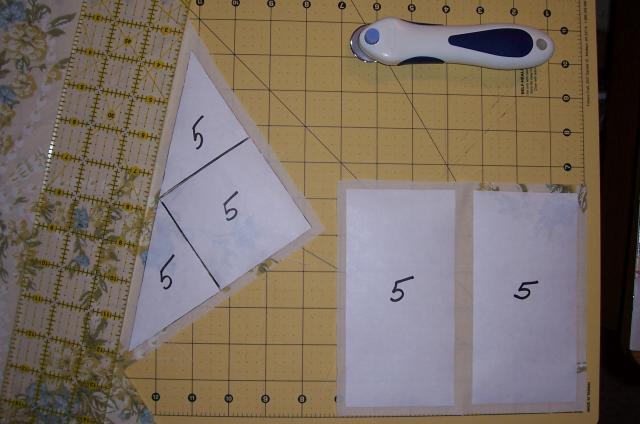
So I draw off the pattern onto a 12 inch piece of freezer paper (you can cut it easily with a rotary cutter on you matt. This is cake plate from the Fall colors swap. I number the pieces for the colors I will use
Then I cut up the pieces and gather together the same color pieces. I then position these onto white fabric. (For this example I'm using a colored fabric so the white paper shows up.) I position them with the seams between and use a ruler to line them up. I iron these to the fabric. What I'm looking for is the most condensed arrangement that yields the pieces with the added seams
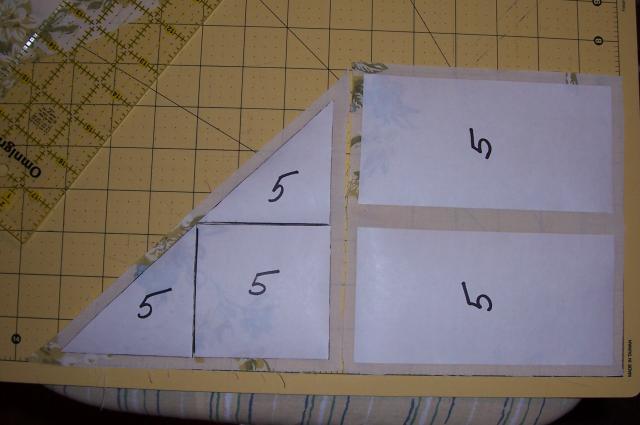
Here I was able to combine three pieces from the corner into one larger triangle.
Next I arrange all the same color pieces together on the matt board and make notes of the sizes of the fabric pieces on the original pattern. Now I know how wide to cut my strips for cutting out the component pieces. Here a 7 inch strip will yield the triangle corner and the two rectangles.
There were four triangles and a 3 inch square for color 1. By playing with the triangle pieces, I could cut a 5 5/8 inch square to cut on the diagonal twice.
The three inch square with seams would be cut from a 3.5 inch strip. The color 2 I decided to make from a rectangle since I wanted to use two different swatches for those pieces. The two together for each swatch could also be cut from a 3.5 inch strip at 4.5 inch.
The hour I might spend in the drafting process is worth it. I use old cotton pillow cases or an old sheet for the drafting process so I'm not cutting up my good quilting fabric. I can stitch these pieces together to make a practice blick and tweek the pieces before I ever cut into my good fabrics. I make notes on the original pattern and can use it to sight measure my block as I work with it.
I hope this helps.


 What to do for Impacted Crop?


 Is frostbite avoidable without electric heating? Should I add heat to my coop?
