Killing, Plucking, Eviscerating and Cutting Up Your Chicken
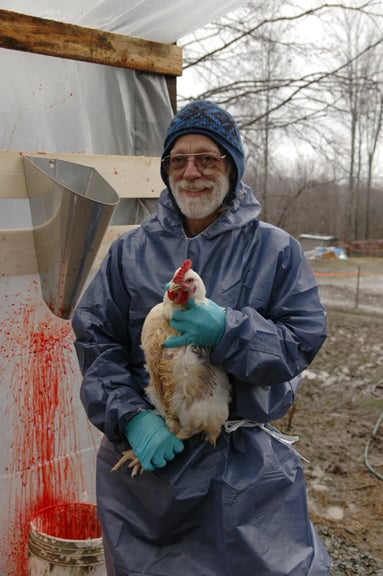
First, catch yourself a chicken!
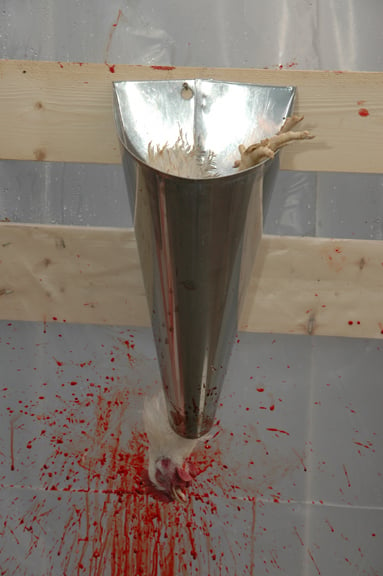
Next, put your chicken in your killing cone head first.
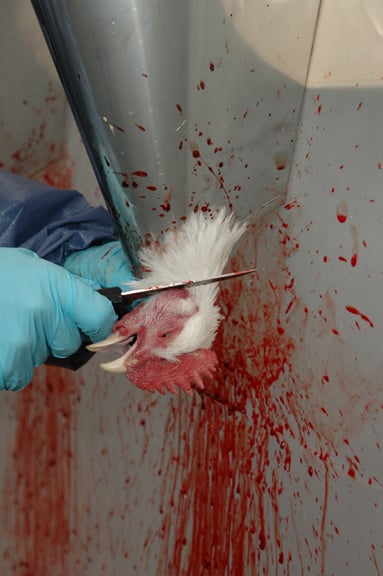
Pull the head out through the end of the cone.
And then cut the artery just below the jaw line.
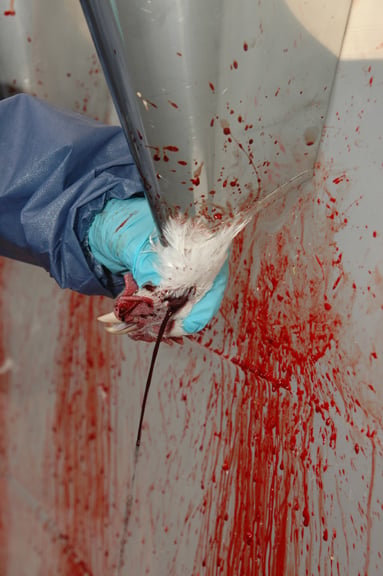
And let your bird bleed out until...
it has expired.
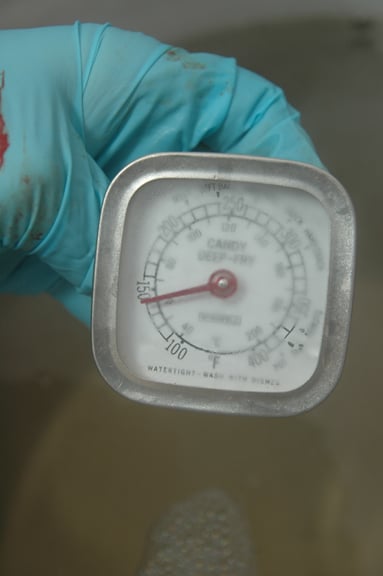
Have your scalding tank between 140° F. and 150° F.
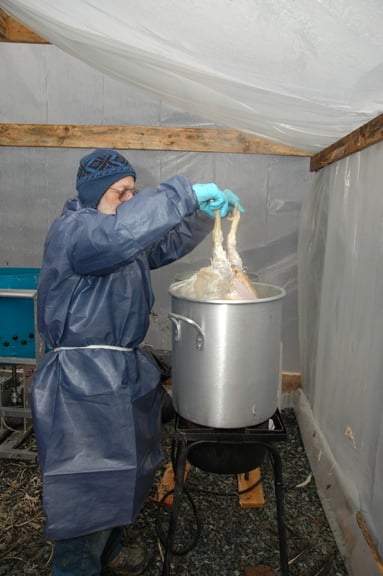
Dunk your bird, swishing it around to agitate the water.
Between the agitating and the dish detergent I put in the water,
the water penetrates to the feather follicle allowing for easier feather removal.
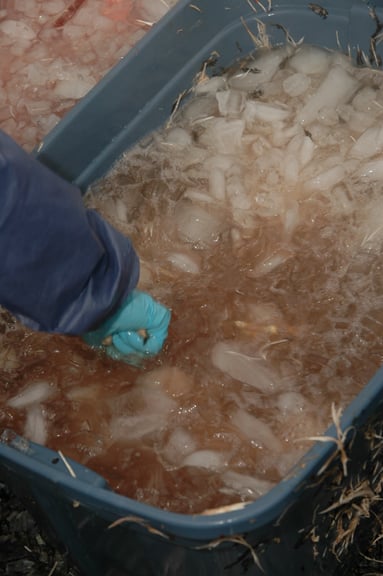
A quick dunk in cold water to prevent the skin from tearing when plucked.
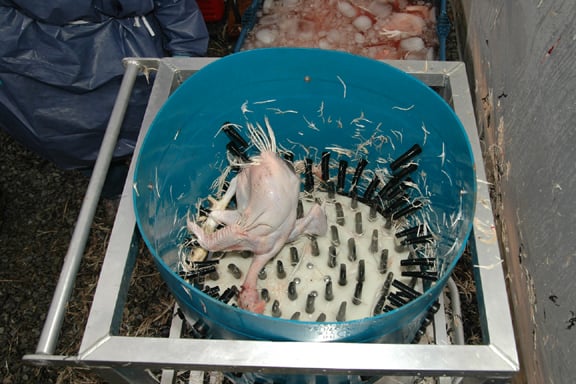
For $50 a weekend, I rented this plucker.
However I've done hundreds of birds by hand (and thousands with a plucker!).
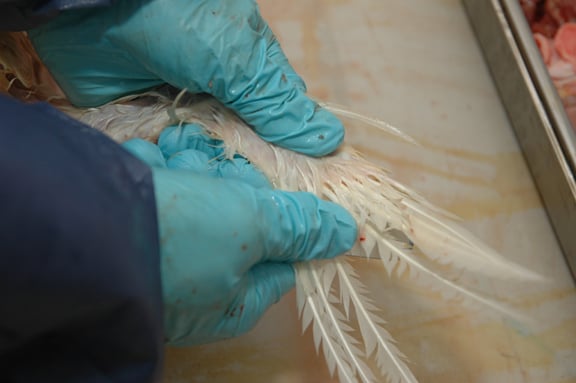
A handful of tail feathers.
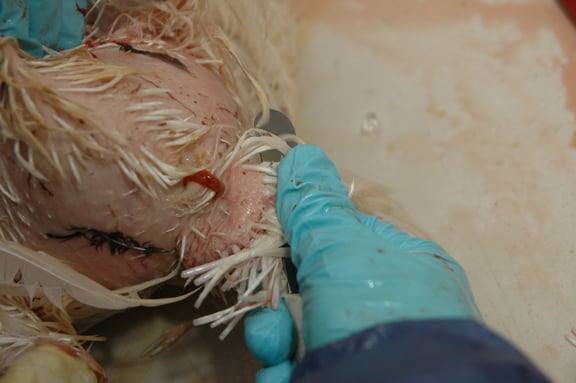
Using the pinning knife to pluck the last few feathers.
A table knife works just as well.
Next, I cut the head off with a pair of shears.
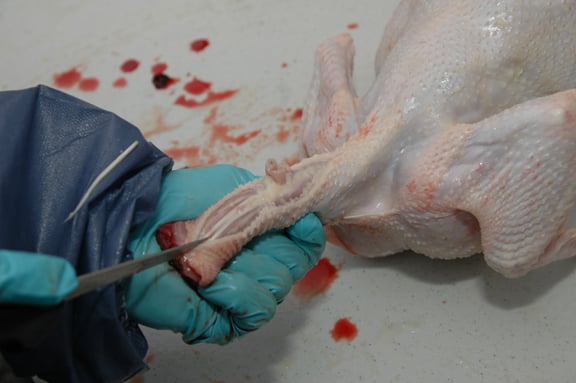
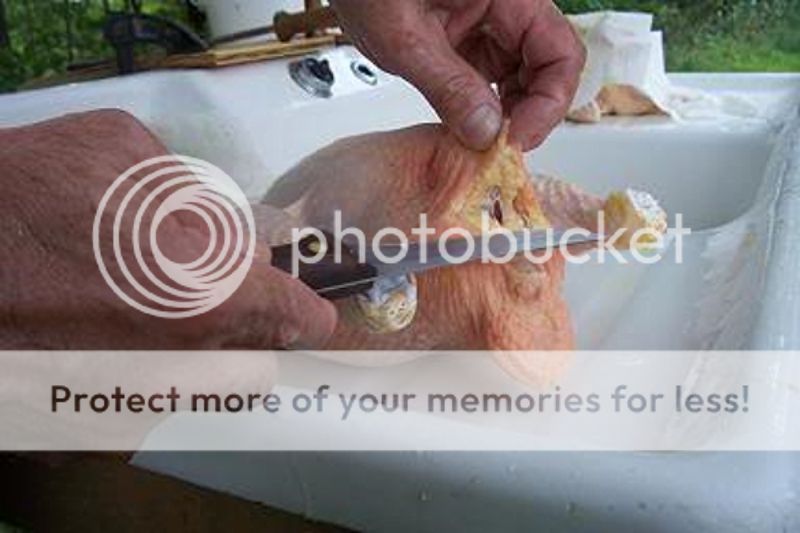
Now, grasp the neck and pull the skin down tightly.
Slit the skin on top of the neck from the backbone to the end of the neck.
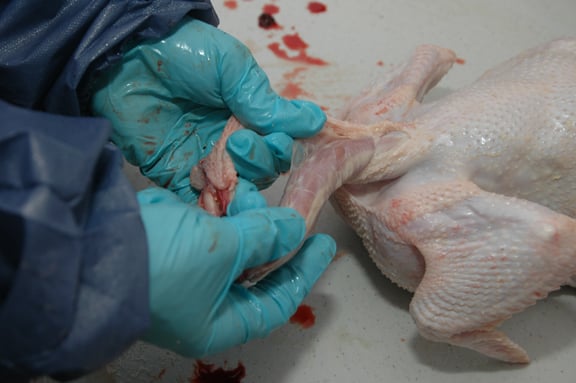
Separate the neck from the windpipe and crop with your fingers.
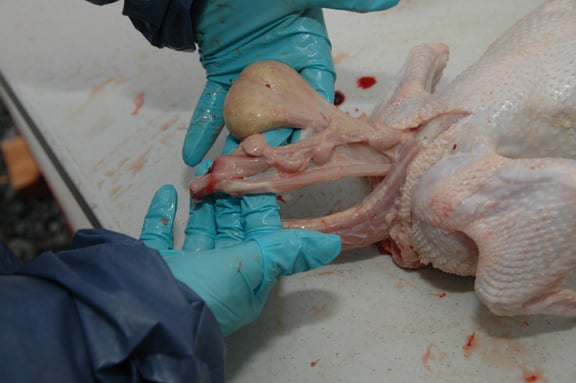
Pull the crop and windpipe completely away from bird.
And then cut and discard.
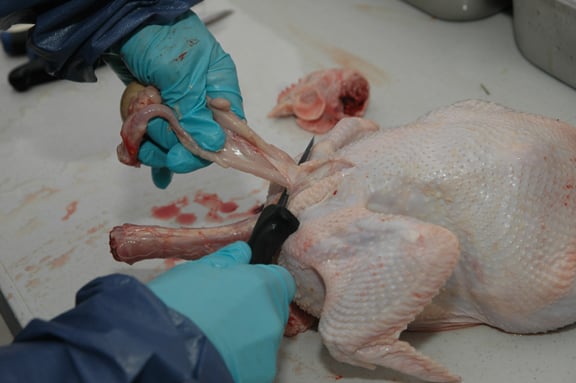
Now, cut the neck off at backbone.
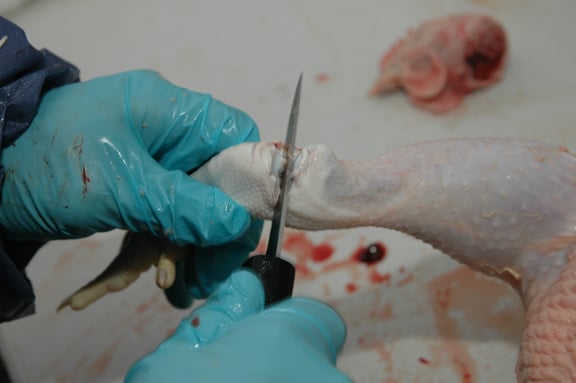
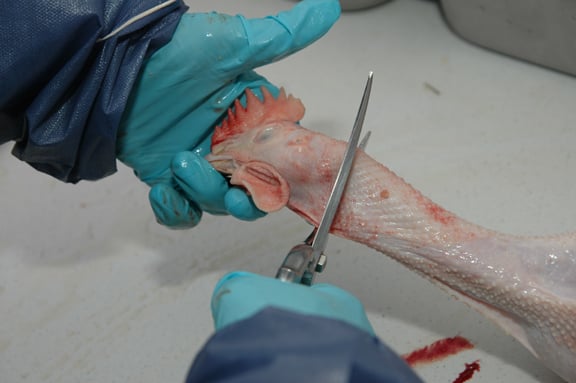
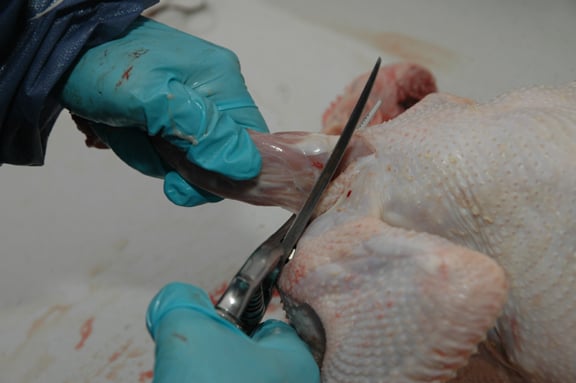
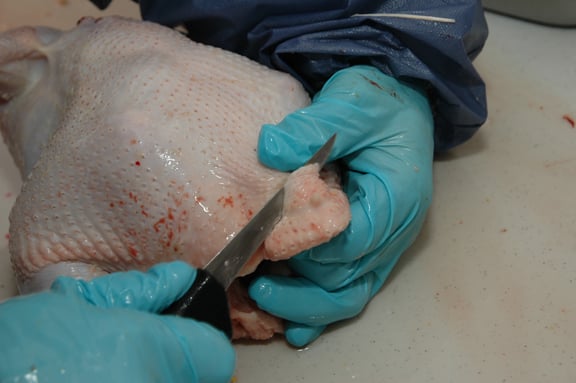
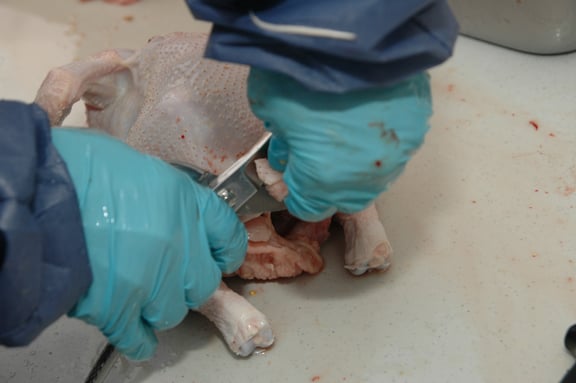
Next, cut the feet off at the leg joint.
You are just pressing your knife through cartilage, not cutting bone.
If you're cutting bone, your knife is not positioned correctly.

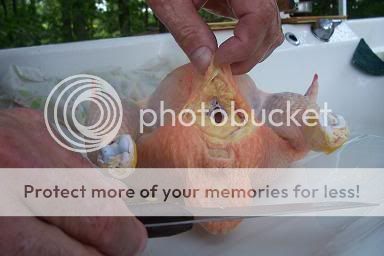
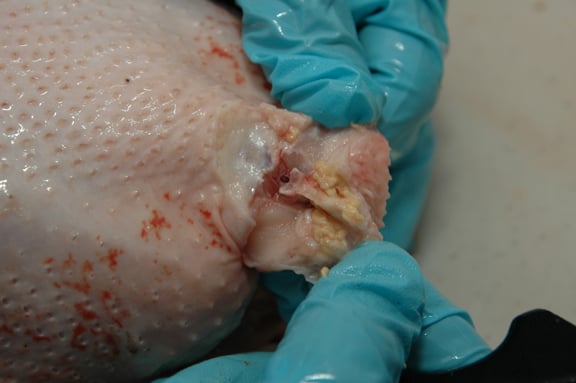
Now, carefully slit the body cavity and remove the vent.
Start from the side and cut horizontally encircling the vent and reconnecting with your cut line.
or
Start from the breast and cut vertically encircling the vent and reconnecting with your cut line.
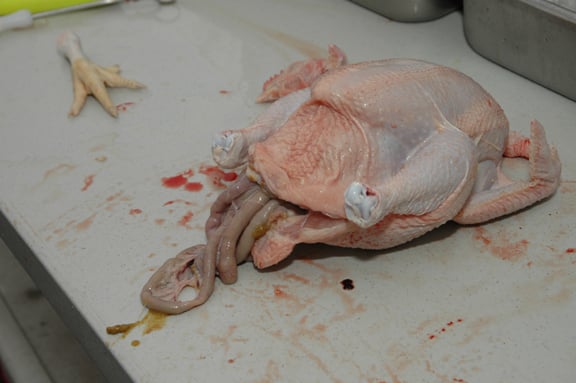
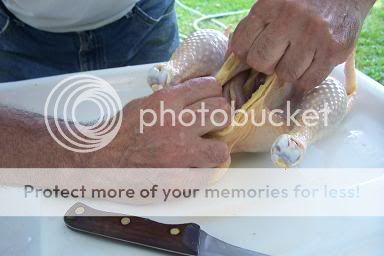
Remove all the innards.
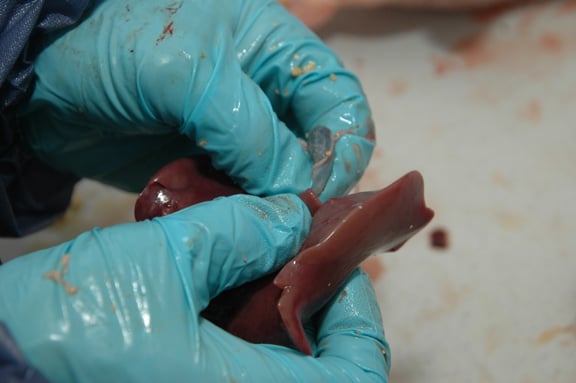
Take the liver and pull off the bile duct.
Do not break it or your bird will be stained green.
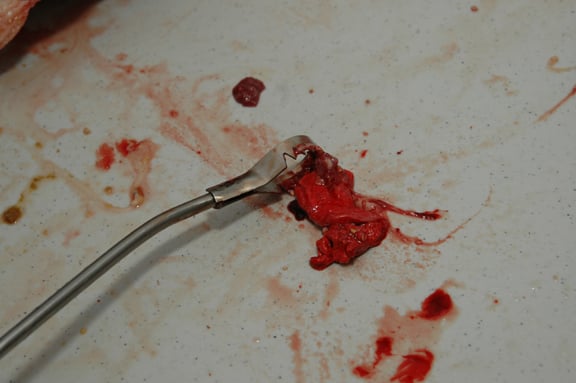
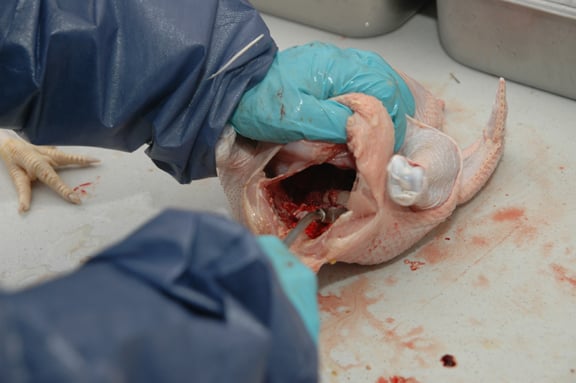
Be sure to remove all the lungs.
This tool, the lung scraper, really helps and is worth the effort to make one or purchase one.
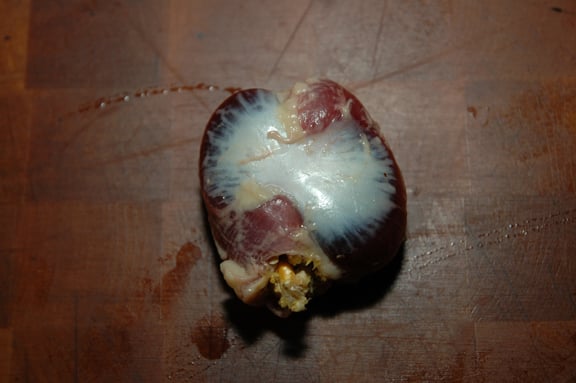
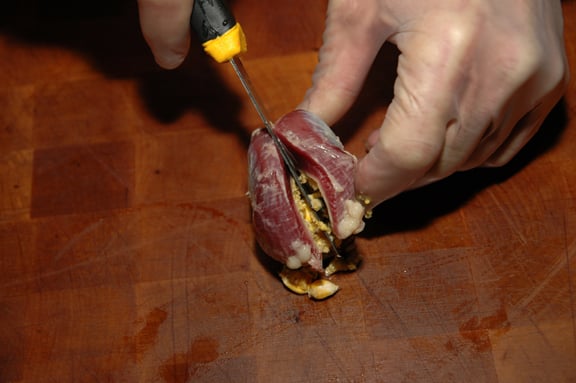
Now take your gizzard and butterfly it open.
The gizzard is a muscle the birds use to grind up their food.
The chickens eat small stones that stay in the gizzard to act as grinding stones.
Notice the different stages of grinding the corn is in.
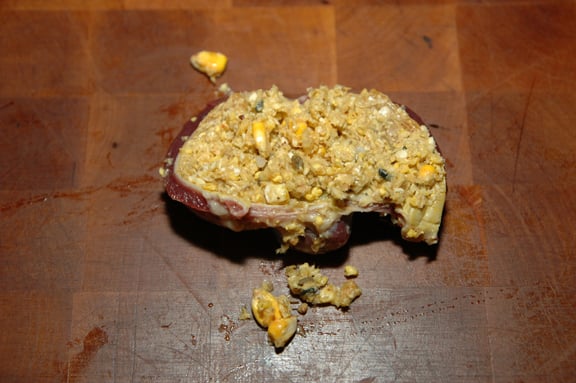
These are the stones I found in this gizzard.

Now peel your gizzard.
Just get underneath it and it will peel off quite nicely.
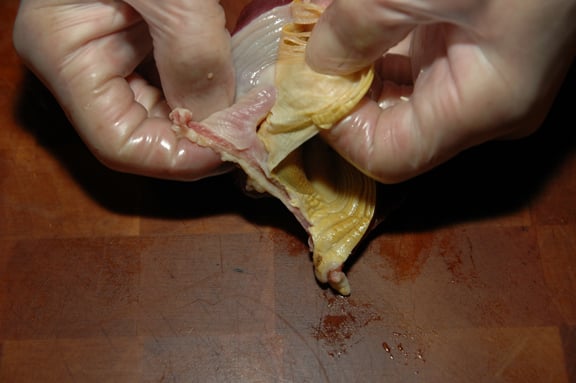
Clean, peeled and ready to use.
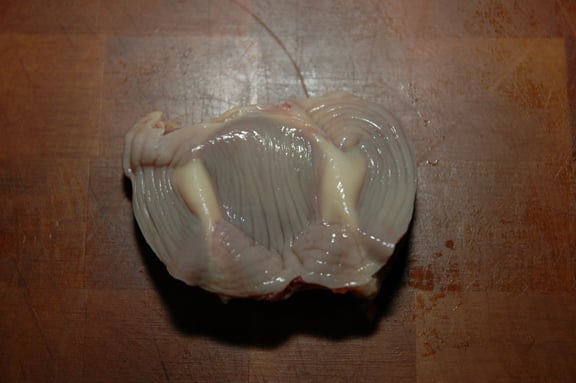
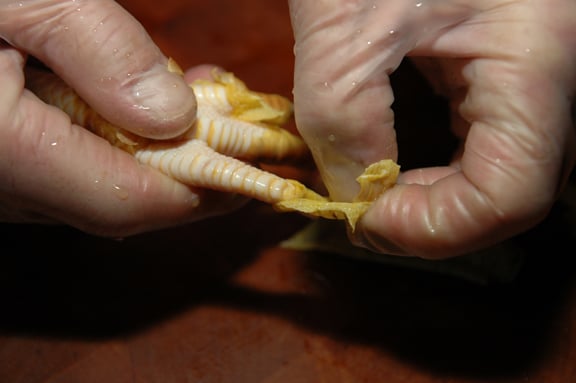
Now, take the socks off your chickens feet.
If they're not just slipping right off, re-scald them and then you can easily remove their socks.
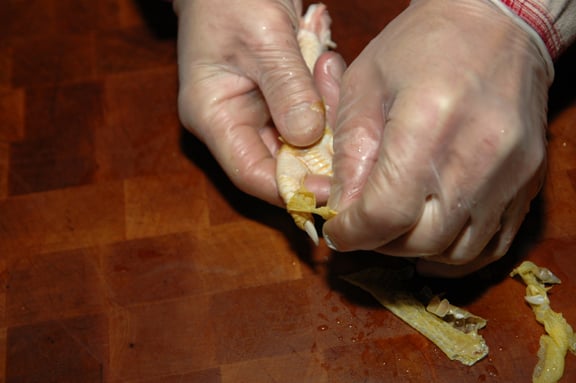
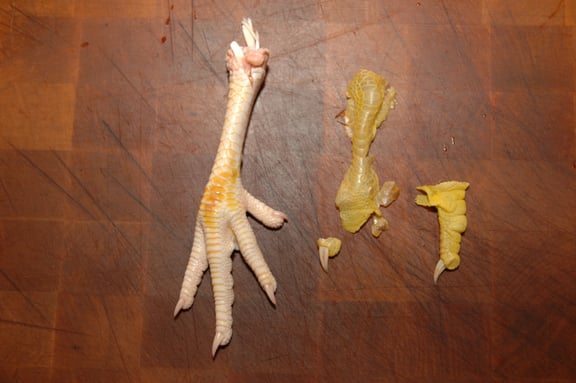
Sliding right off.
All clean and ready to use.
Here's all the extra pieces and a step by step pictorial to use them and make the best Chicken Stock you'll ever taste!
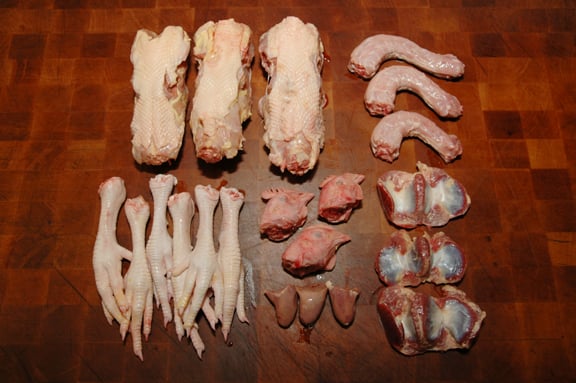
Backbones, Necks
Feet, Heads, Gizzards
Hearts.
Scraping the birds body cavity for any leftovers...
Remove the glands by slitting the tail open and cutting them away.
See the yellow glands, they make the bird taste bad.
Or you can just cut the tail off like I do.

This bird is ready for a final trimming and cleaning before I cut it up.
Cutting Up Your Chicken
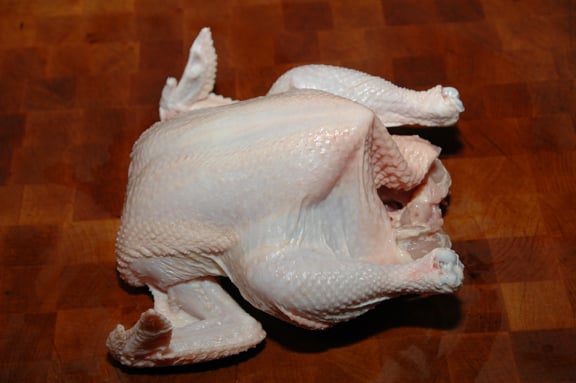
My bird is cleaned and ready.
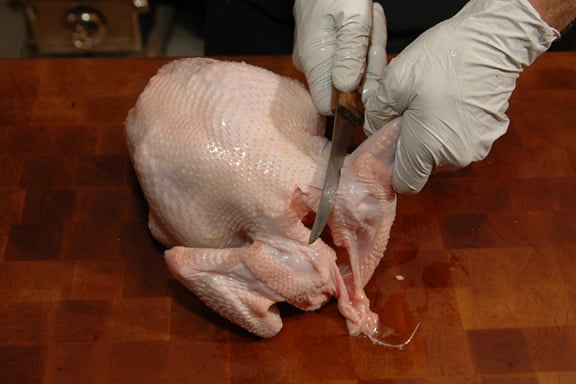
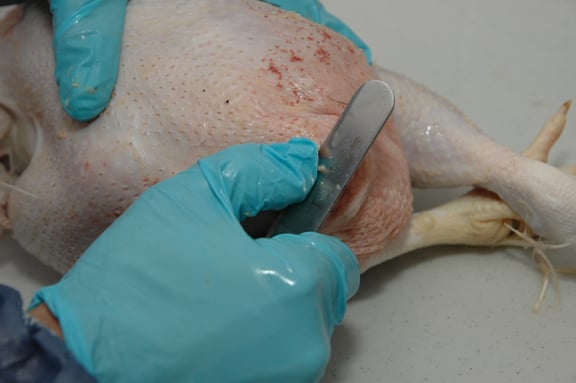
First, remove your wings.
Bend wing out and push knife into shoulder cartilage.
If you're cutting into bone your knife is in the wrong position.
Keep applying pressure with your hand as the knife slides through the shoulder joint.

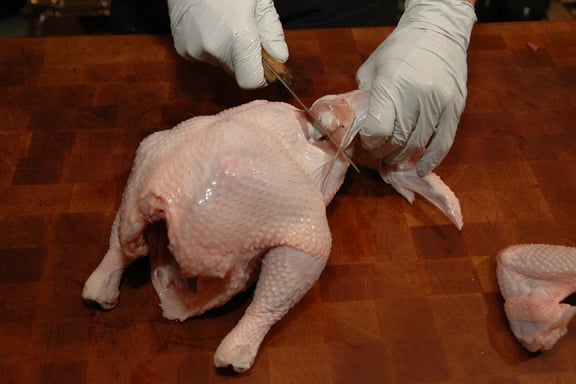
Now, press your leg down toward the table and gently slice the skin.
Keep applying downward pressure, pushing your knife through the hip joint.
Then cut along the hip and remove leg. Repeat with other leg.
Again, if you're cutting into bone your knife is in the wrong position.

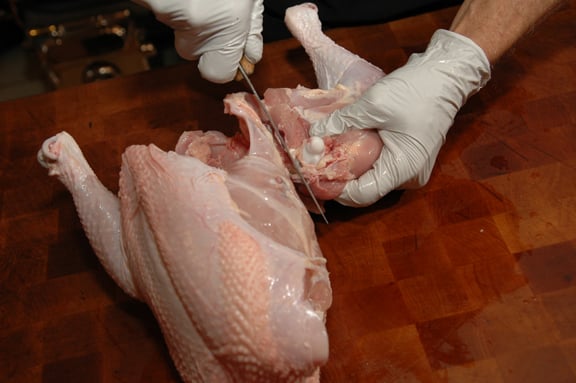
Next, cut through shoulder area and remove backbone from breast.
Not much bone here.

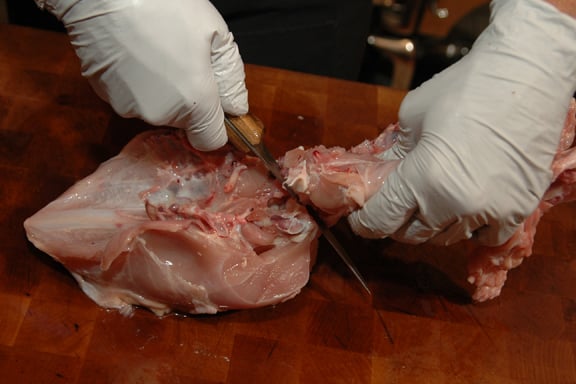
To separate thigh from leg press knife through knee joint.
Once again, if you're cutting into bone your knife is in the wrong position.
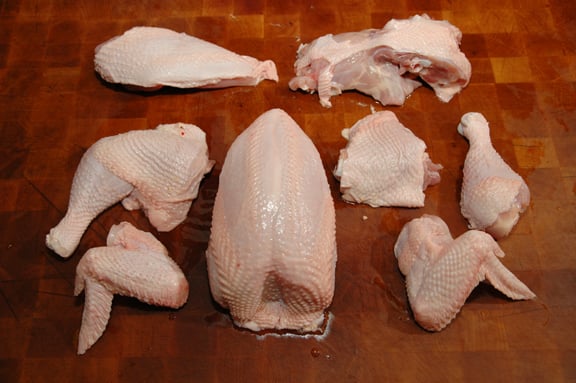
Half Breast Back
Leg & Thigh Whole Breast Leg & Thigh separated
Wings
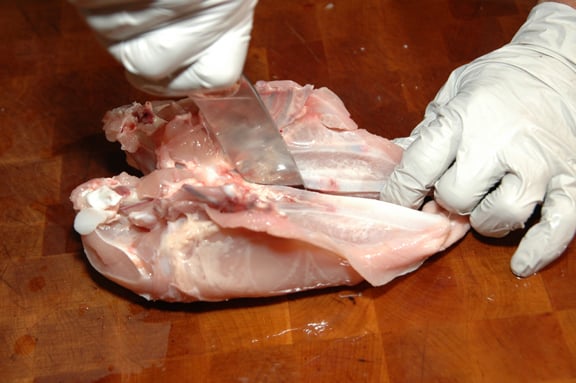
To split the breast insert knife and press through bone and cartilage.
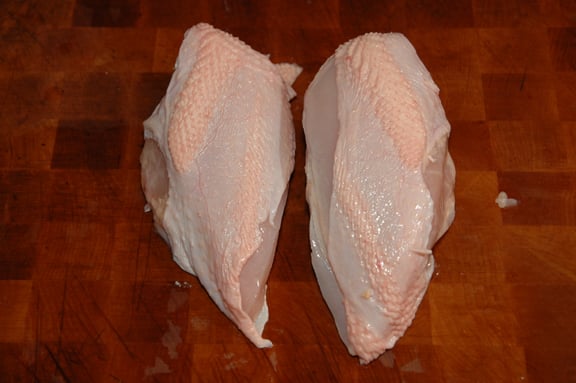
Fresh organic chicken breasts.
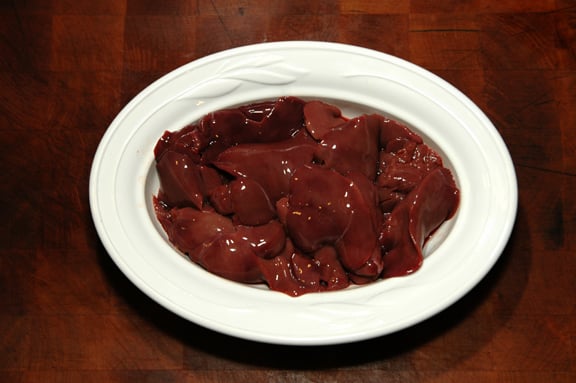
And the best chicken livers you've ever had!

First, catch yourself a chicken!
Next, put your chicken in your killing cone head first.
Pull the head out through the end of the cone.
And then cut the artery just below the jaw line.
And let your bird bleed out until...
it has expired.
Have your scalding tank between 140° F. and 150° F.
Dunk your bird, swishing it around to agitate the water.
Between the agitating and the dish detergent I put in the water,
the water penetrates to the feather follicle allowing for easier feather removal.
A quick dunk in cold water to prevent the skin from tearing when plucked.
For $50 a weekend, I rented this plucker.
However I've done hundreds of birds by hand (and thousands with a plucker!).
A handful of tail feathers.
Using the pinning knife to pluck the last few feathers.
A table knife works just as well.
Next, I cut the head off with a pair of shears.
Now, grasp the neck and pull the skin down tightly.
Slit the skin on top of the neck from the backbone to the end of the neck.
Separate the neck from the windpipe and crop with your fingers.
Pull the crop and windpipe completely away from bird.
And then cut and discard.
Now, cut the neck off at backbone.
Next, cut the feet off at the leg joint.
You are just pressing your knife through cartilage, not cutting bone.
If you're cutting bone, your knife is not positioned correctly.
Now, carefully slit the body cavity and remove the vent.
Start from the side and cut horizontally encircling the vent and reconnecting with your cut line.
or
Start from the breast and cut vertically encircling the vent and reconnecting with your cut line.
Remove all the innards.
Take the liver and pull off the bile duct.
Do not break it or your bird will be stained green.
Be sure to remove all the lungs.
This tool, the lung scraper, really helps and is worth the effort to make one or purchase one.
Now take your gizzard and butterfly it open.
The gizzard is a muscle the birds use to grind up their food.
The chickens eat small stones that stay in the gizzard to act as grinding stones.
Notice the different stages of grinding the corn is in.
These are the stones I found in this gizzard.
Now peel your gizzard.
Just get underneath it and it will peel off quite nicely.
Clean, peeled and ready to use.
Now, take the socks off your chickens feet.
If they're not just slipping right off, re-scald them and then you can easily remove their socks.
Sliding right off.
All clean and ready to use.
Here's all the extra pieces and a step by step pictorial to use them and make the best Chicken Stock you'll ever taste!
Backbones, Necks
Feet, Heads, Gizzards
Hearts.
Scraping the birds body cavity for any leftovers...
Remove the glands by slitting the tail open and cutting them away.
See the yellow glands, they make the bird taste bad.
Or you can just cut the tail off like I do.
This bird is ready for a final trimming and cleaning before I cut it up.
Cutting Up Your Chicken
My bird is cleaned and ready.
First, remove your wings.
Bend wing out and push knife into shoulder cartilage.
If you're cutting into bone your knife is in the wrong position.
Keep applying pressure with your hand as the knife slides through the shoulder joint.
Now, press your leg down toward the table and gently slice the skin.
Keep applying downward pressure, pushing your knife through the hip joint.
Then cut along the hip and remove leg. Repeat with other leg.
Again, if you're cutting into bone your knife is in the wrong position.
Next, cut through shoulder area and remove backbone from breast.
Not much bone here.
To separate thigh from leg press knife through knee joint.
Once again, if you're cutting into bone your knife is in the wrong position.
Half Breast Back
Leg & Thigh Whole Breast Leg & Thigh separated
Wings
To split the breast insert knife and press through bone and cartilage.
Fresh organic chicken breasts.
And the best chicken livers you've ever had!
Last edited:

")