$20.00 Brooder Box

|
| From Brooder Box |
I have wanted to buy baby chicks for at least three or 4 years and never bit the bullet to do it. That has recently changed!!! Because I knew I would be wanting baby chicks sooner than later, I began building my brooder box approximately a month ago.
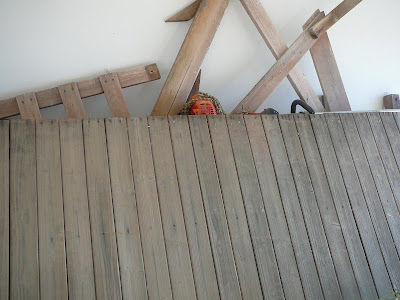
Wood was free from a playhouse set I got free off of Craigslist. I learned quick that here in the Antelope Valley...a strong enough wind gust can pick up a 200# playhouse and smash it 20 feet away if it is not anchored down. (Playhouse / swingset had not been fully assembled yet)..all the wooden components have sat in my garage for a year after that waiting for the perfect project to come along

Finished Dimensions: 56" L x 28" wide x 21" high (not including legs)
Materials
|
| From Brooder Box |
(9) pieces cut to 56"
(10) pieces cut to 28" (includes one for side "ledge)
(8) pieces cut to fit...for lids
Other Pieces
Not Sure on Sizes for lumber here.
2x4's cut to fit for legs
Misc Scraps
(2) Wheels = $3.00 / pair
(4) 3" Hinges = ~$3.00
Poultry Netting = $6.98 / roll ( have some left over)
Hardware Cloth = $8.34 / roll (used it all
)(1) Handle = $0.00
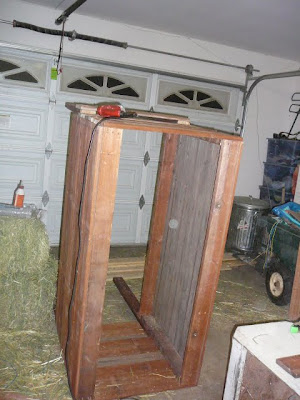
Assembly
Assembly was pretty straight forward. I made the sides first. The only thing I had to do was cut the short pieces of the 2x4's. Just a basic frame for both pieces to which I screwed in the 1x's. I designed the brooder box so that I would haveto make only a minimal amount of cuts.

|
| From Brooder Box |
|
| From Brooder Box |
For the lids, I knew I wanted two because of the length. I catually had to fight my husband on that one but of course I won
|
| From Brooder Box |
(I could have done the lids myself but dear hubby was already helping so might as well take advantage
) 
|
| From Brooder Box |

|
| From Brooder Box |
Learned a lot here:
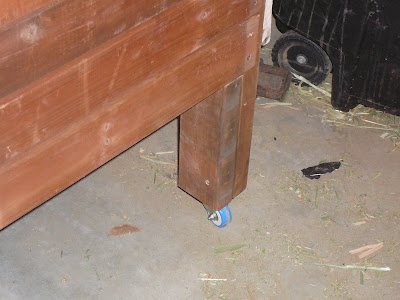
1. Should have screwed the legs to the inside...but I guess it's OK because I gained an area for a ledge.
2. The legs were too long...the point is to be able to stand and reach over into the brooder.
3. The sides were too high. I wound up having to take off three boards and cut down the 2x4's. If I had thought of these things in the beginning it would have gone a lot smoother.
4. I overlapped too much hardware cloth on the starting side so by the time i had stapled it all the way down I didn't have enough hardware cloth to wrap up the other side. I fixed it with wood but this was not necessary.
Finishing
Haven't done anything yet but I plan to just sand then seal it which will hopefully even out the color a bit. I am not too worried since this is all reclaimed wood and IS just for baby chicks to sleep and poop in.
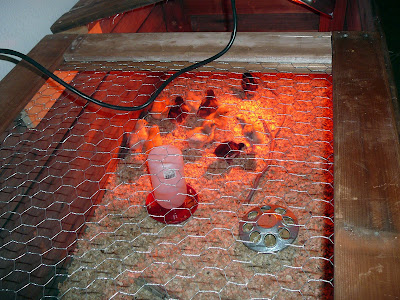
I want to figure out a better way to attach the lamp but am super paranoid about having any part of the heat lamp touch wood because this box is in my attatched garage which also sometimes doubles as hay storage..anytime there is threat of rain (hay shed is next project
)
|
| From Brooder Box |
I had to finish this thing today, Easter Sunday, because we went out yesterday and bought ourselves 9 chicks and 2 turkey poults to start off with!! We'll see how it goes with these guys and then I'll decide if I REALLY want to order 25 - 50 chicks. Guess that also depends how soon I get the hen house built and how many of these little buggers grow up to be boys