Your shed can become a Hen House too!

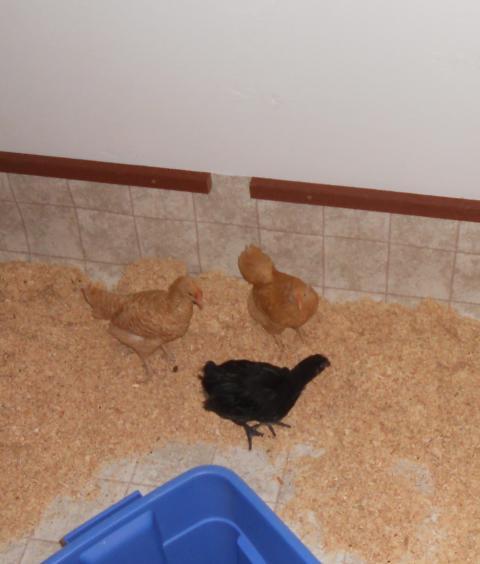
So we have the chicks, now we need a place for them to live!
I started the hunt for free coop supplies on craigslist.org in April of 2011
and found some free "hole-y" plywood as well as hauling home a playhouse for my daughter
and telephone poles for our garden.
Not enough for a coop though, so then our trips to Home Depot and Lowes began...
Mother's Day weekend 2011 - our shed transformation begins, thank you husband!
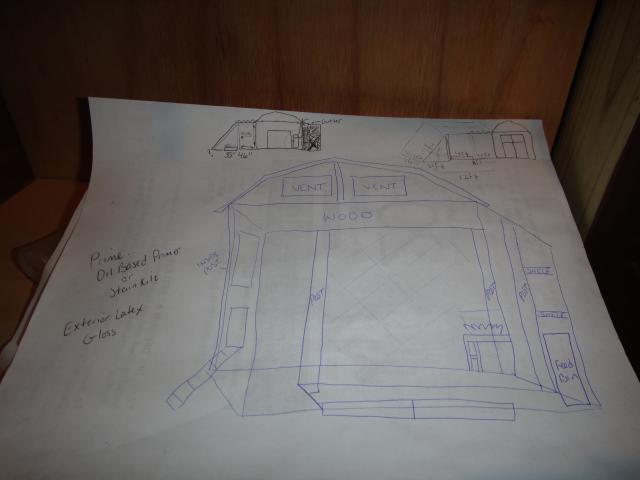
We're starting with an old unused 8x10 metal shed in the back of our property and some plans.
I have 2 sheds (one metal, one resin) on different sides of our property, so we still have plenty of storage -
this will be great!
Run plan sketched on scrap wood:
The coop area will be 5x10 allowing 3ft in front for storage/feed/bedding.
Haha, as he was building it he verbally went from 3 hens to 4 hens to 7 hens; all being "his girls"
... how's that for chicken math?!
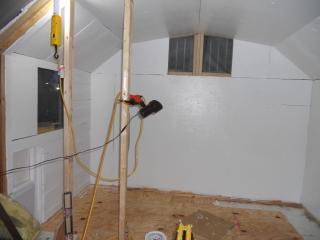
Memorial Day weekend = ventilation progress!
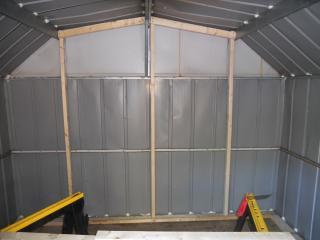
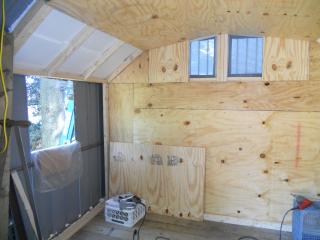
The roof & walls were framed out with studs to attach plywood to.
We used styrofoam sheets in the walls and ceiling to keep condensation from the metal away from the hens.
We cut the windows with a jigsaw and the top rear openings are covered with metal gable ends similar to this:
The 2 front walls will have a dutch door in the middle for entry into the coop area.
June 8th
ceiling covered and another wall done
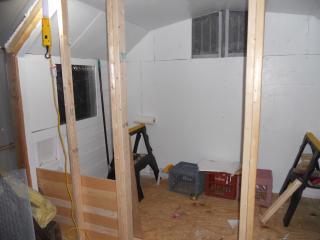
June 12th
side wall and the floor going in, and beginning studs for front wall.
The window openings are covered with hardware cloth, attached with the same screws that are holding the plywood.
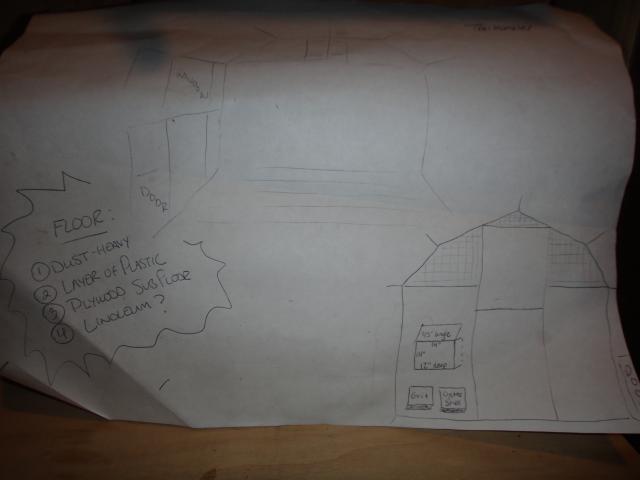
in the photo above you can see that I also spread a layer of DE between the subfloor,
using an additional layer of plastic sheeting on top of it for a moisture barrier, all underneath the plywood.
June 16th
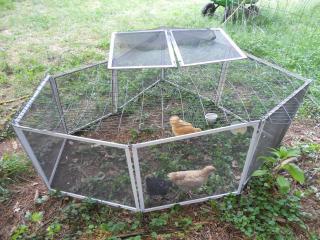
New temporary run while we paint! Made from window screens tied together at each corner.
Idea from BYC member, thank you!
June 18th
Walls and windows completely done 2 coats of glossy latex exterior paint. Added screen over the hardware cloth in all the windows (unscrewed & rescrewed alot!) Btw, this whole project is screwed -we can actually dismantle if we relocate.
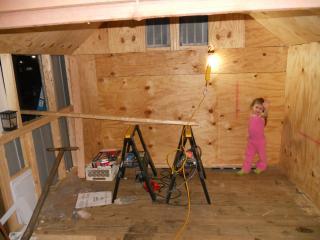
Plywood floor is completely down and front walls are going up!
June 19th & 20th
Father's Day ~ made some progress, but watch out for Mr. Moody!
Monday was a better day, and got a good amount done too.
Walls were made from leftover wood - takes more screws this way but better than buying plywood.
I put screen over all window/door openings to attempt to provide a mosquito-free zone for them to sleep in.
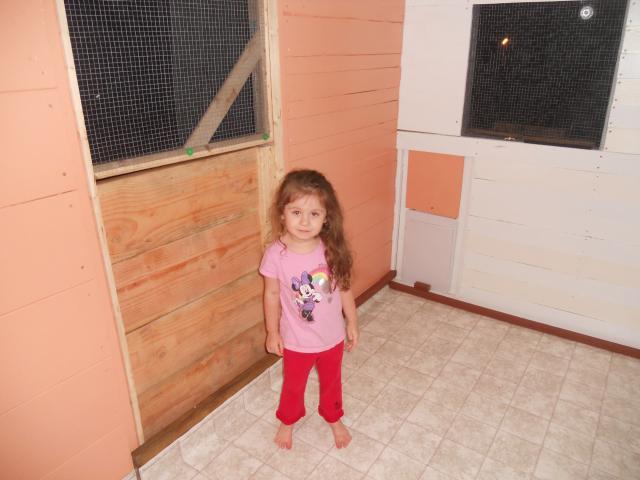
Saturday 25th ~ Sunday 26th
Through a week of rainy weather, we finished paint, linoleum, and the dutch door.
We added a "kick plate" at the bottom of the door to prevent litter from spilling out into the storage area.
Also thick weatherstripping around the door to keep flys away.
We walked around in bare feet and layed on the new floor before "chickifying" it.
The green plastic washers you see in the top of the dutch door have since been covered with large fender washers, they were temporary.
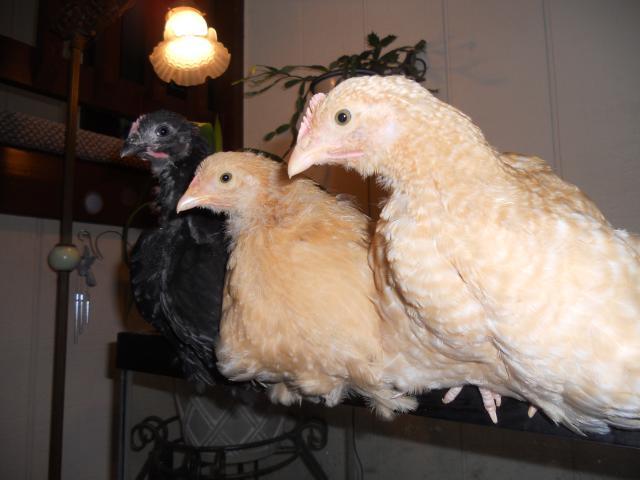
No more edge sitting on the tank in our sunroom...
The bird's first night in the coop, it is secured and we put 'em in for good!

So we have the chicks, now we need a place for them to live!
I started the hunt for free coop supplies on craigslist.org in April of 2011
and found some free "hole-y" plywood as well as hauling home a playhouse for my daughter
and telephone poles for our garden.
Not enough for a coop though, so then our trips to Home Depot and Lowes began...
Mother's Day weekend 2011 - our shed transformation begins, thank you husband!
We're starting with an old unused 8x10 metal shed in the back of our property and some plans.
I have 2 sheds (one metal, one resin) on different sides of our property, so we still have plenty of storage -
this will be great!
Run plan sketched on scrap wood:
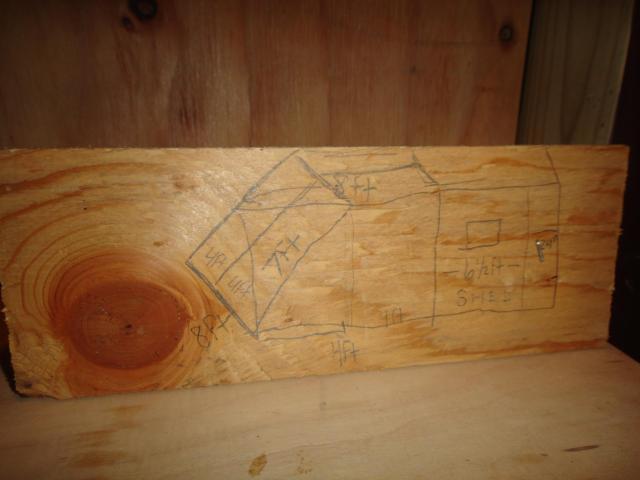
The coop area will be 5x10 allowing 3ft in front for storage/feed/bedding.
Haha, as he was building it he verbally went from 3 hens to 4 hens to 7 hens; all being "his girls"
... how's that for chicken math?!

Memorial Day weekend = ventilation progress!
The roof & walls were framed out with studs to attach plywood to.
We used styrofoam sheets in the walls and ceiling to keep condensation from the metal away from the hens.
We cut the windows with a jigsaw and the top rear openings are covered with metal gable ends similar to this:

The 2 front walls will have a dutch door in the middle for entry into the coop area.
June 8th
ceiling covered and another wall done

June 12th
side wall and the floor going in, and beginning studs for front wall.
The window openings are covered with hardware cloth, attached with the same screws that are holding the plywood.
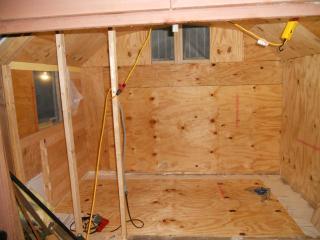
in the photo above you can see that I also spread a layer of DE between the subfloor,
using an additional layer of plastic sheeting on top of it for a moisture barrier, all underneath the plywood.

June 16th
New temporary run while we paint! Made from window screens tied together at each corner.
Idea from BYC member, thank you!
June 18th
Walls and windows completely done 2 coats of glossy latex exterior paint. Added screen over the hardware cloth in all the windows (unscrewed & rescrewed alot!) Btw, this whole project is screwed -we can actually dismantle if we relocate.

Plywood floor is completely down and front walls are going up!
June 19th & 20th
Father's Day ~ made some progress, but watch out for Mr. Moody!
Monday was a better day, and got a good amount done too.
Walls were made from leftover wood - takes more screws this way but better than buying plywood.
I put screen over all window/door openings to attempt to provide a mosquito-free zone for them to sleep in.

Saturday 25th ~ Sunday 26th
Through a week of rainy weather, we finished paint, linoleum, and the dutch door.
We added a "kick plate" at the bottom of the door to prevent litter from spilling out into the storage area.
Also thick weatherstripping around the door to keep flys away.
We walked around in bare feet and layed on the new floor before "chickifying" it.
The green plastic washers you see in the top of the dutch door have since been covered with large fender washers, they were temporary.
No more edge sitting on the tank in our sunroom...
The bird's first night in the coop, it is secured and we put 'em in for good!
Let us all rest now. More photos to come... Then the run!
June 30th
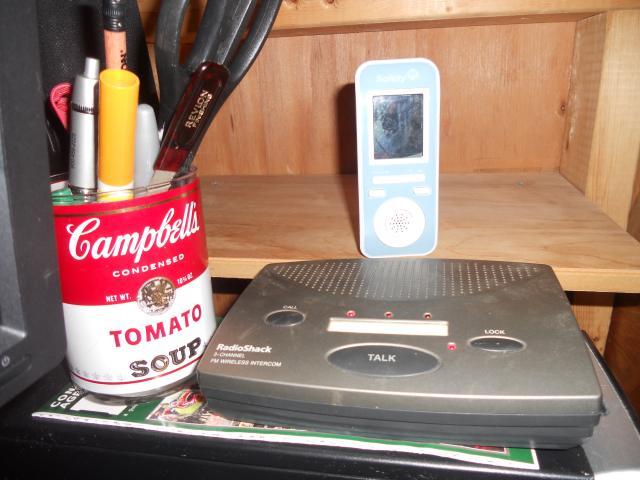
Baby monitor with night vision and intercom system hooked up
")
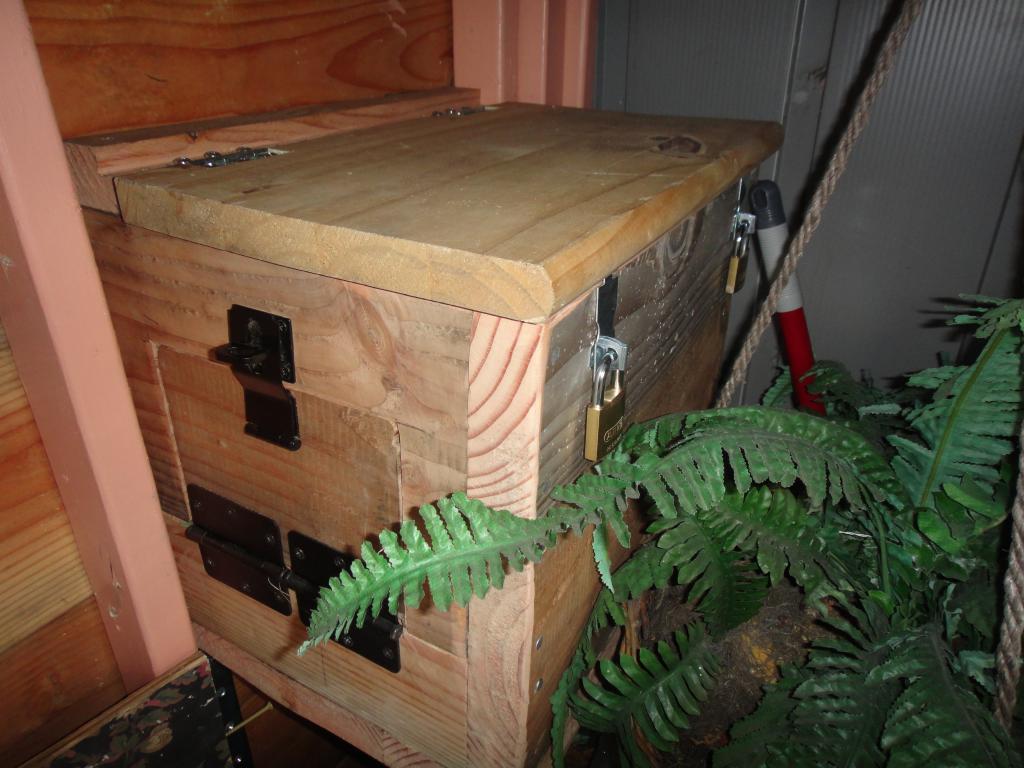
It's aimed at the door not the birds, perfect view of locks and porch area where feed is stored in a galvanized can.
July 7th
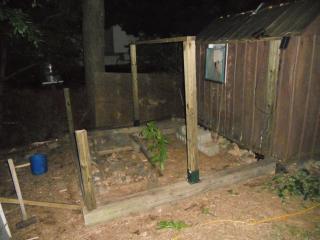
Lord help us, we're starting on the run
the chicks are gonna luv it when it's done!
We are using 3 huge 8ft beams that have been stacked behind our garage for umpteen years.
That is a box fan in the window for additional air movement on hot days.
We'll use a cut pvc pipe to move runoff from the roof.
I planted & watered the salad bar and the seeds sprouted the next day!
That's a mulberry bush growing in the middle - we didn't plant it, it just sprouted ... meant to be
July 15th
Hardware cloth attachment! Used all screws and fender washers. See my shiny new galvanized feed can? I put an upside down milk crate on the bottom of the can and then lower the entire feed bag in. I mix DE into the feed to keep it dry and insect-free.
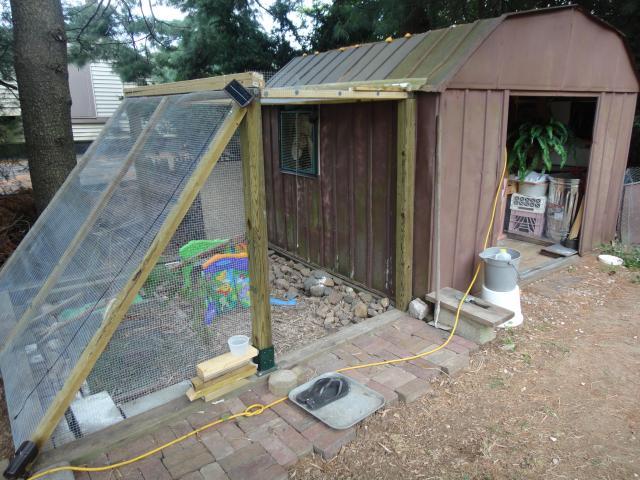
We added solar lighting to reduce electricity costs. Two sheets of wavy plastic are being attached for weather protection over the window.
I created a 2-layer brick path all across the front, including a 2ft skirt of hardware cloth around the entire shed & entire run.
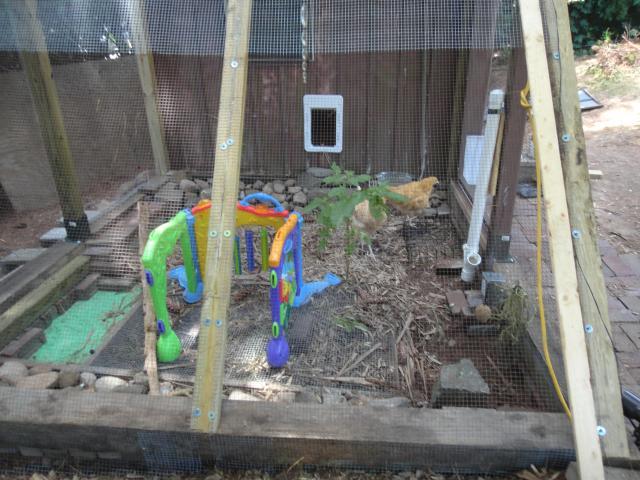
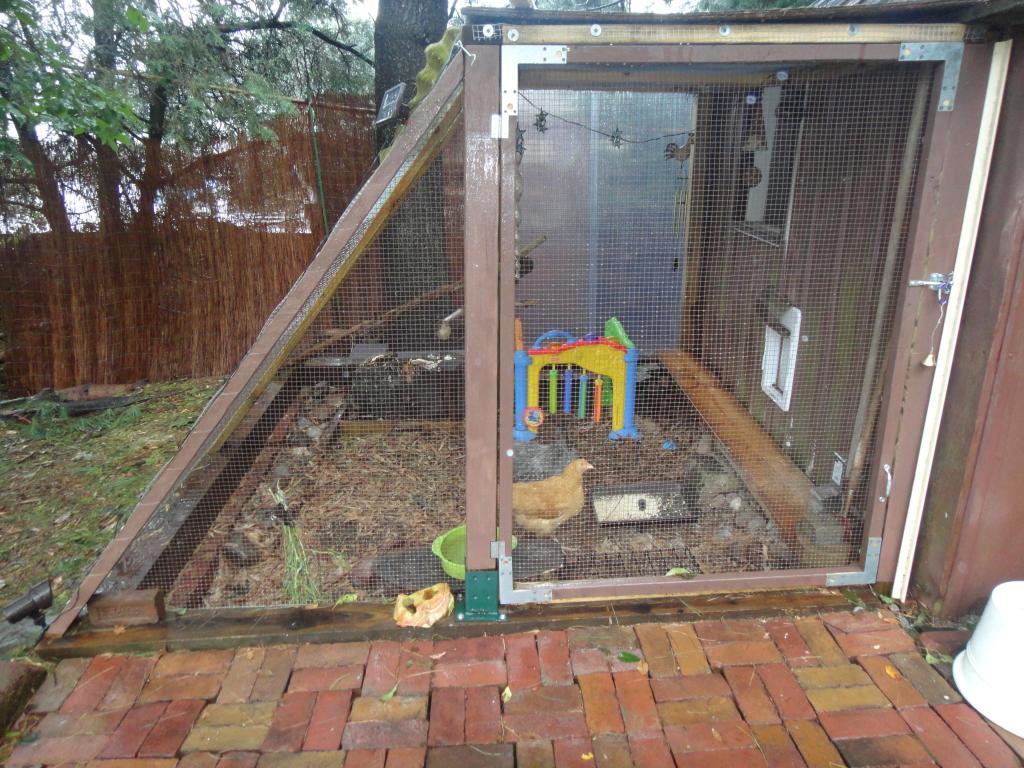
Side view:
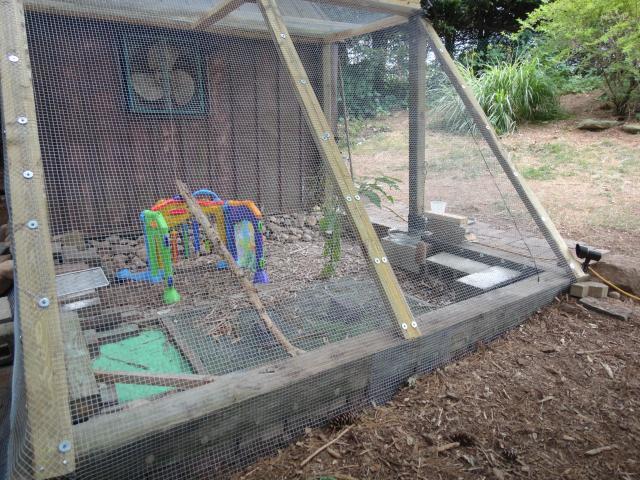
Children's toy to perch on *free* and a sand box (green crayola sand). I hang treats from the wire.
There are bricks and cement blocks and rocks for them to climb on & hunt around for bugs.
The hardware cloth is backfilled in many areas with stone and then covered with mulch.
I am currently testing dried bamboo leaves as a free source of litter in the run. I also sprinkle DE around.
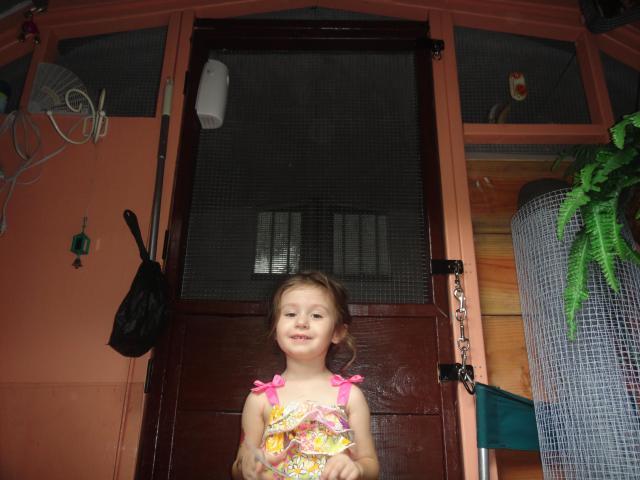
Inside view of porch:
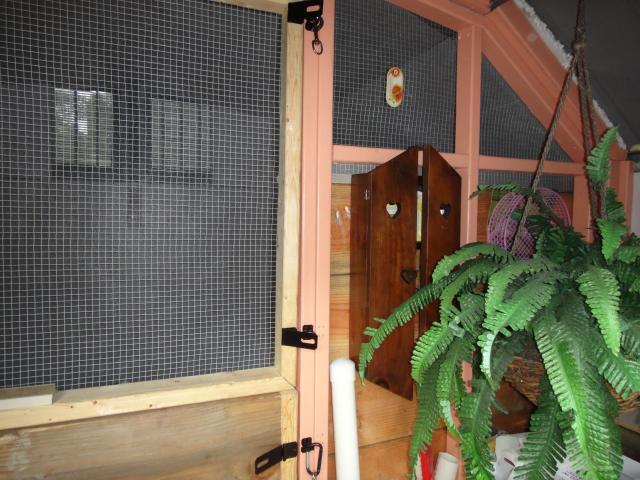
Hardware cloth was strategically screwed so it could not be seen from the front view, inside and outside in the run.
I have a thermometer with a humidity gauge hanging in the coop.
Three locks on the door, they're not coming in.
July 17th
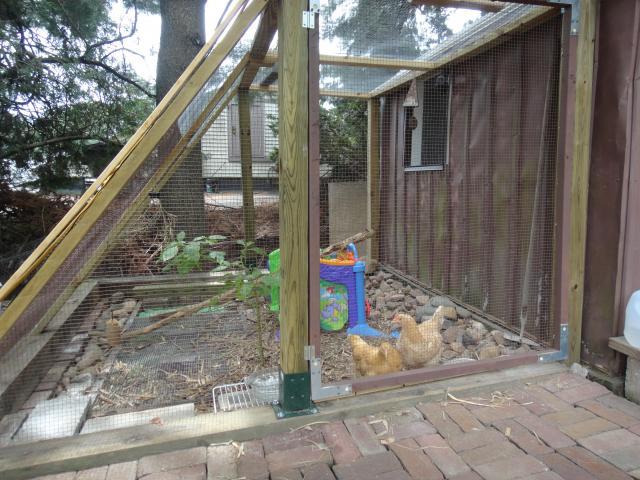
The run is now done, except for a run door & cutting the pop door.
We rigged chicken wire for a run door so they stay in the run during the hot afternoons. They eagerly strut out of the dutch door to freerange. While some chooks don't even have a run, we're in no hurry for the doors of our run to be finished -prods DH-

July 25th
Update! I have decided to paint the hardware cloth after reading about others doing this.
July 26th
Painted the hardware cloth with flat brown exterior paint that we had leftover from another project = free! I recommend to use paint sparingly with a sponge paintbrush and a light touch. Two coats, front & back (inside & outside). The dark paint really makes the wire blend well into it's background, and is much better for taking photos too.
DH also started the run door! My job to paint it.
July 27th
Happily hung our painted door and attached the hardware cloth with screws & washers from the inside so the washers can't be seen from the outside view. This is important for us, even though I read it is better to fasten on the outside because predators are going -in- ...but honestly before I came to BYC to expand my knowledge on chickens, I kept (actually still do) a rabbit in a hutch with flimsy chicken wire for over 5yrs. So I'm confident in the strength of our run due to our environment and use of materials. We used gaskets behind some washers and went to 4" instead of 6" spacing in obvious areas. We're going to paint the front trim brown with exterior latex paint, priming it first with exterior trim primer.
Update: paint & door hardware done, scroll way down
")
Last on the list .... pop door! For now the girls go right into their run in the morning.
They follow the splashing sound of fresh water inside the run for a drink.
August 2nd
Pop door is done! YAY! When I woke up this morning, they were both out in the run - total success.
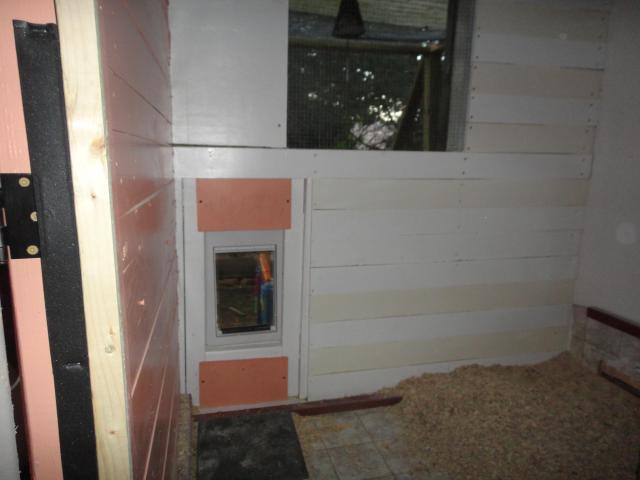
August 3rd
Steps to pop door are done inside and outside! I used a few flat sided and heavy rocks. This photo also shows the feeder I put together, I drilled additional drainage at the end of the pipe in case of rain entering it and I also added small stones to fill the bottom end so the food wouldn't just sit & age at the very bottom of the pipe from being too deep. All fresh feed for my feathered friends! Before winter there will be some type of weather protection, probably going to mount clear plexiglass panels where the feeder meets the wall because it does not like inclement weather.
Our run is ever changing ...
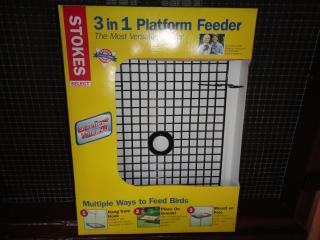
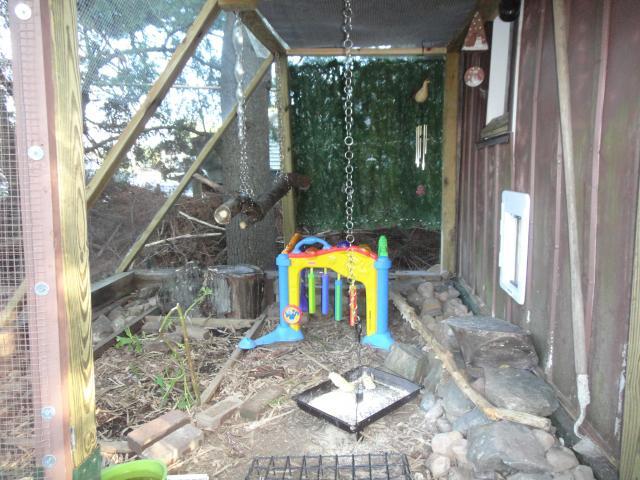
Painted the run man door and added the hardware! I took off the pvc feeder and will be using it inside the coop only for storms, so it can stay completely dry. I am so happy with the new suspended feeder tray! I hung it by a chain from the ceiling with an eyebolt into the plywood roof; it also has a ground post coming into the center from the bottom; I did both so it will not move. The birds tried standing on the edge and it cannot tip. It has a perforated bottom for air flow. The part in the box I'm not going to use, though if you have birds that fling their food it would be useful. This is available at TSC and Lowe's in the birdfeeder section. Great to put treats on too. I also can hang millet from the wire with a binder clip.
I hung a little bell on the door latch so I can hear if my daughter is trying to open or close it.
So happy with the run, the area has great drainage and is in the shade of mature pines all day.
We added a big double stump where the green sand was and the mulberry is being devoured =P
Suspended a log from the ceiling with chain, S hooks, and eyebolts.
I added a new wood step by the pop door and the bamboo leaves w/ pine cones are working out very well.
The run is very dry because because I hoe it often & we added a pressure treated sheet of 4'x8' plywood on the roof... omg that piece is SO heavy!
Experimented with blocking a view ~ used twist-ties and outdoor garland, it blocks the morning sun and it will be changed immediately =P
See the *all-weather* rooster wind chime in the right rear corner? On clearance at Lowe's YAY!
August 25th
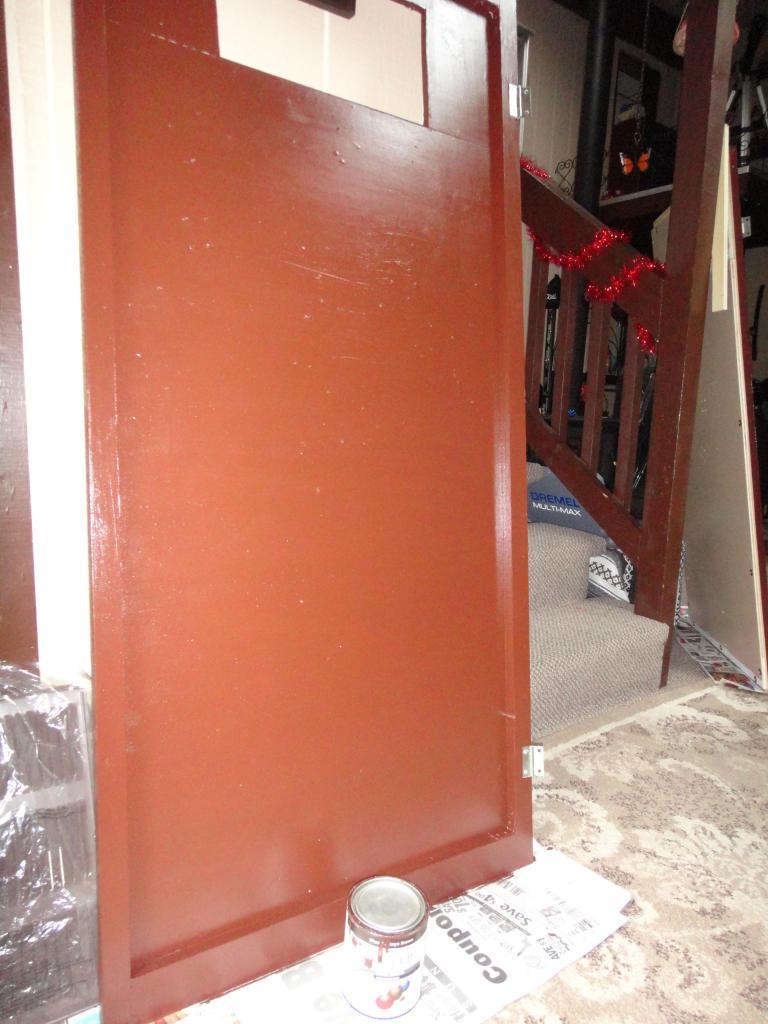
Purchased the almost-clear wavy panels for the back, yay let the sun shine in!
Finished painting the interior shed/coop door, both sides with an exterior primer then a new glossy brown exterior paint.
September 1st
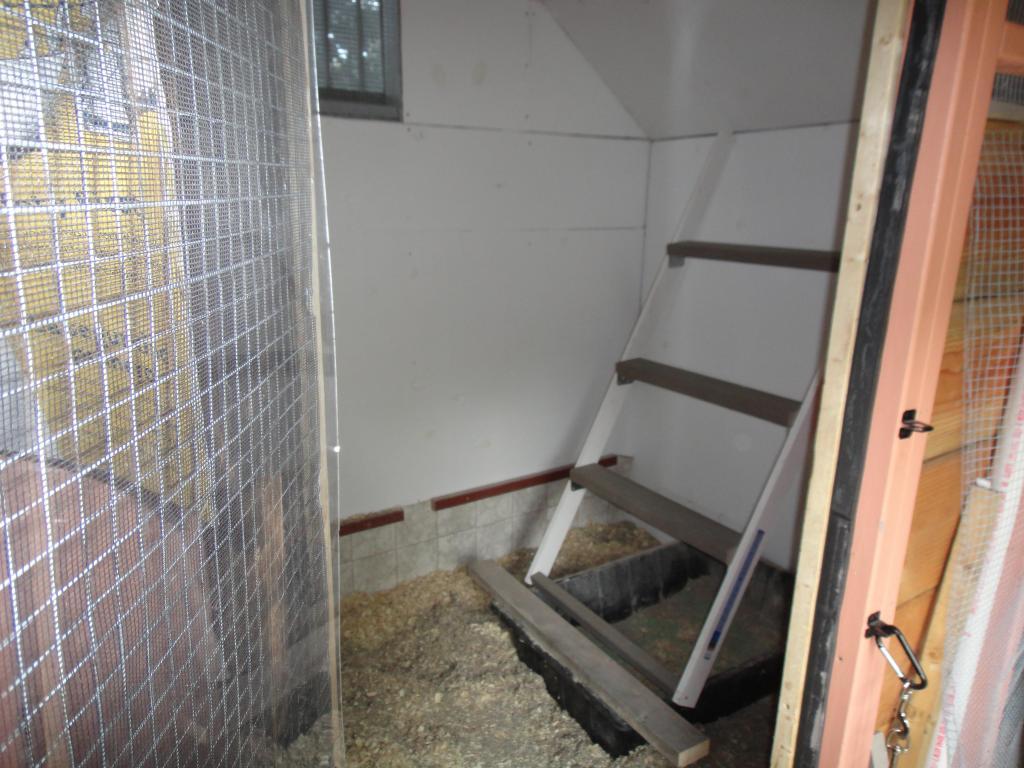
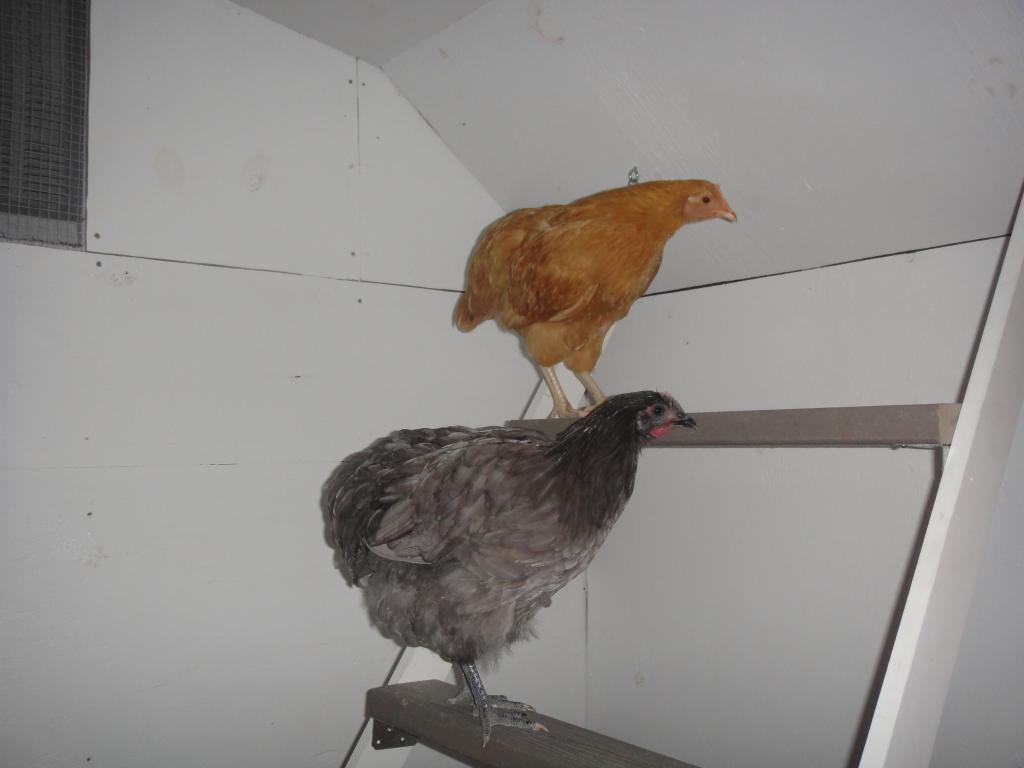
Finally created a real roosting-perch-ladder-thing for sleeping!
The poop catch bin was purchased at Lowe's in the garden center area. It will be maintained with sand & DE. The 2x4 is gone now. In the 1st photo below, the ladder was not attached with hardware yet so I had it resting on the black bin. When we hung it *2nd pic* I turned the bin sideways so it's wider.
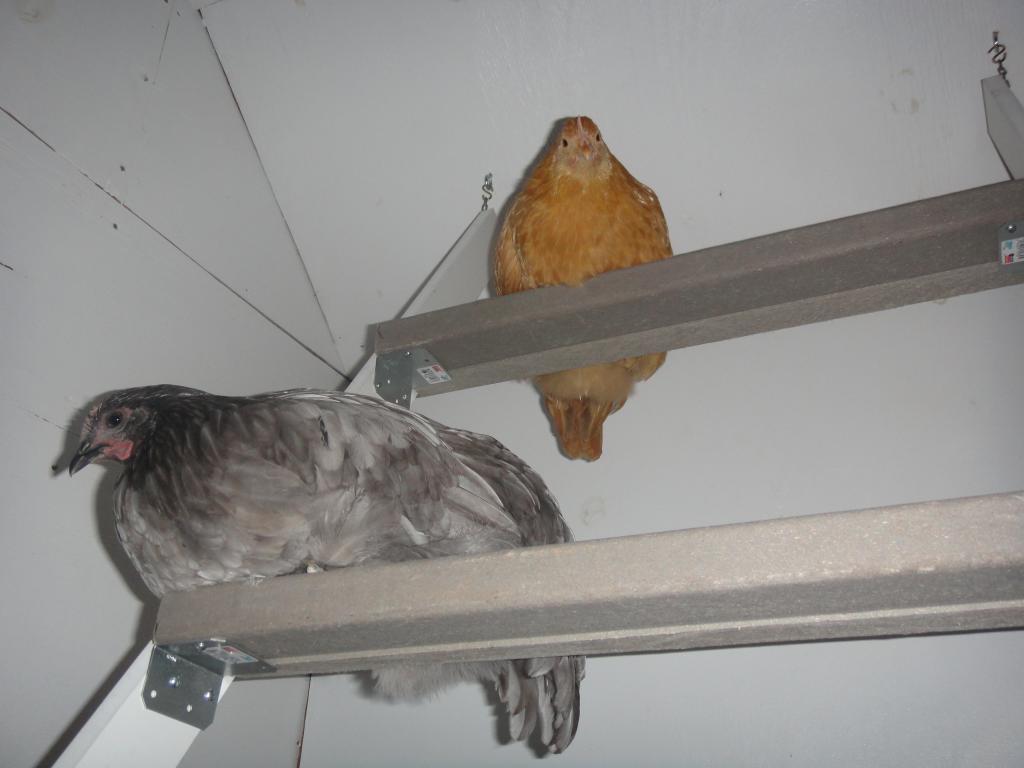
See the S Hooks added below? Super easy to take the whole thing out to scrub it if needed
Thank you DH! The rungs are 18" apart - no pooping on each other at all. The top rung (very important!) is also 18" from the wall so they cannot poop onto the wall - cannot reach. The 18" also gives enough space for their tails (also very important!) so there is no feather fraying. If you own smaller pet birds (parakeets/parrots) this is important for their cage too, move those perches away from those metal cage bars so their tail feathers don't constantly rub on the cage (also horizontal cage wire is better than vertical because tails slide through instead of fraying against.Side note: I also like the S Hook attachment because it gives the ladder "a bit of movement" - just the slightest wiggle like a tree branch
(if you use a long chain there would be alot of wobbling but we only used a few mini links so it's tight).
I read a great topic on BYC about getting your birds to flap their wings and use their lungs. I wish I could get mine to use their swing in their run! Anyway, after many observations I've seen that my birds will almost every time skip a random rung while flying up... with the greatest of ease
Labor Day 2011
I like to do an outside project each labor day, so this year we puttered around the hen house!
We purchased these nice willow screens from craigslist for a good deal ~ got six 8ft long 6ft high lengths. My DH is building a nest box for the inside, and I took the big rocks out and added a pop door step that is the length of the run, hopefully they will like it and use it as a little porch.
September
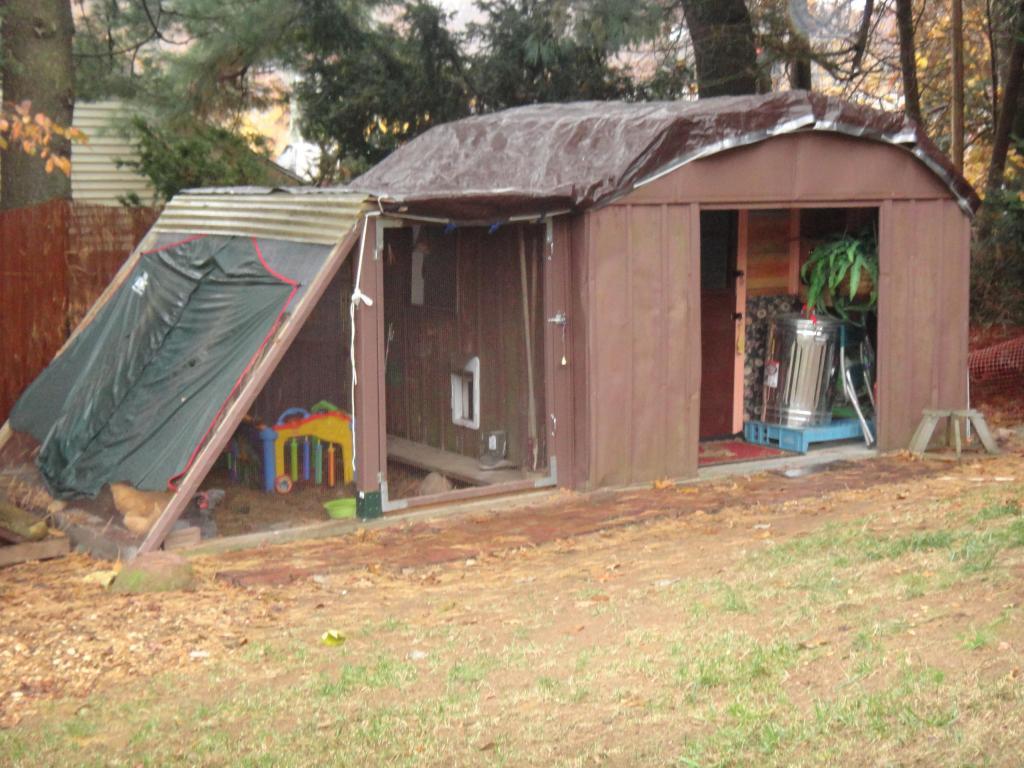
We have a tent stored in a box in the garage that got attacked by some mice, and they made some holes. I decided to repurpose it!
We needed a tarp for the coop roof, the bottom tent floor fits exactly where needed and has sewn-in hook holders.
I can zip the door down when it rains and the run stays drier in wet weather.
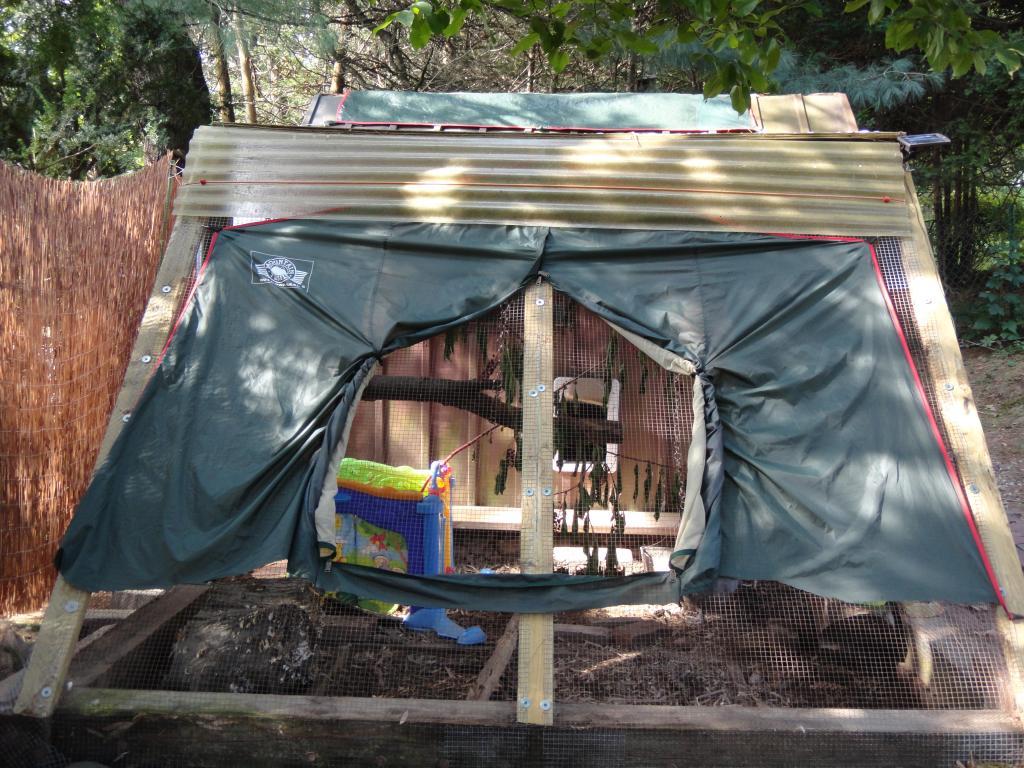
In the photo below you can also see the length of metal we added for a gutter - it slid right thru & works like a charm.

October
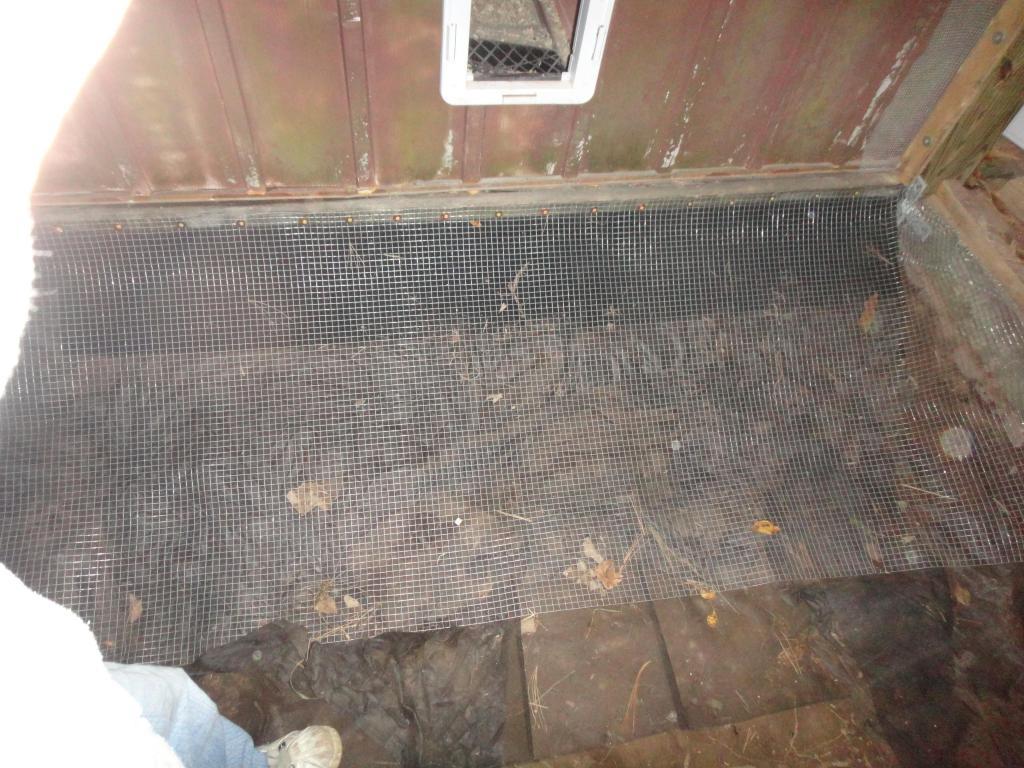
I noticed the feed was disappearing very fast - we have alot of wildlife in our yard.
NOW the run is REALLY as secure as Fort Knox!
We also added stone for improved drainage (it didn't need it, but I had ALOT of stone and while it was open we did it)
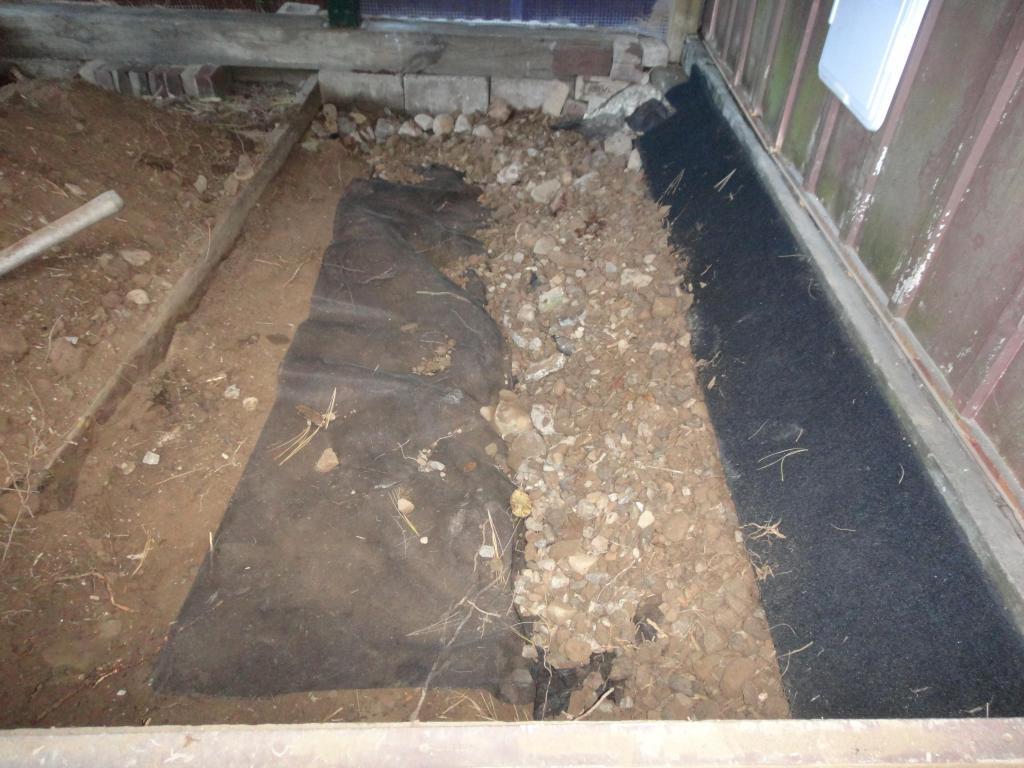
Ingredients:
Repurposed screening and landscape fabric. Repurposed ridge vent material.
Large stones topped with screened gravel and many bricks on left edge. 50lb bag of sand.
Another 25ft roll of hardware cloth and 100% secure!
November 13th
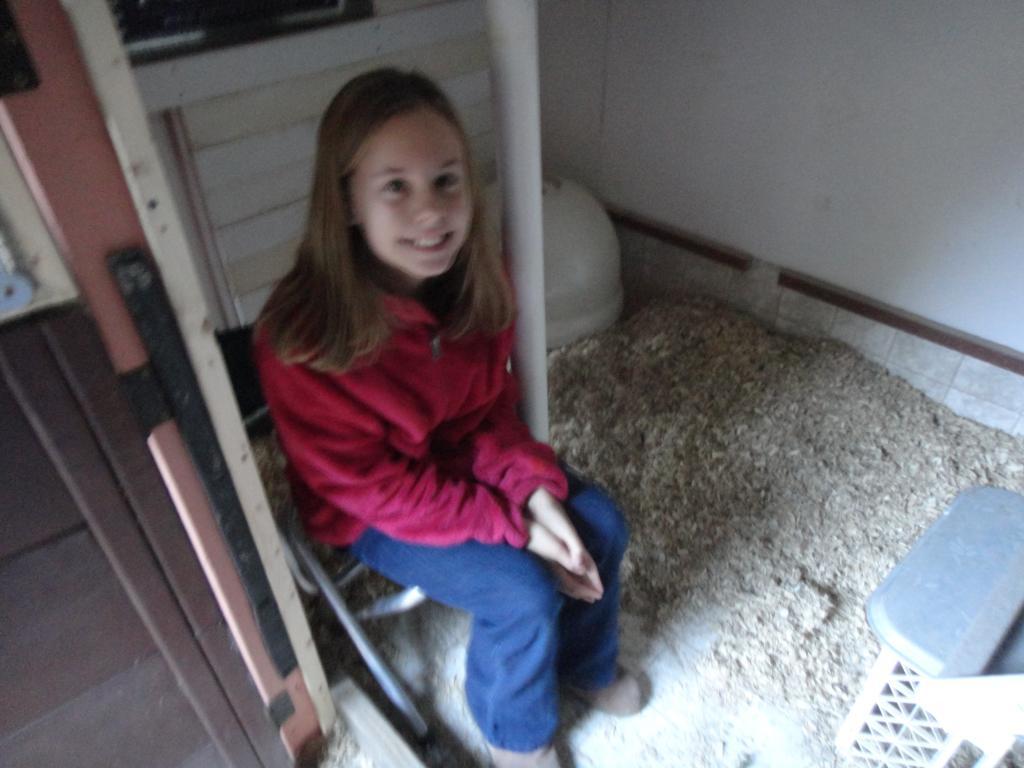
My niece stayed with us and we put her to work - I found out that she is a farm girl in disguise!
She found a little chair, pulled it into the hen house & sat with our pullets for hours, trampled around in the coop and the run with no fear - and helped install our nest box
Tired of fighting with the leak over the window, we went thru our tarp collection and just happened to have one that fits the whole thing.
I purchased 100ft of nylon rope and threaded it thru all the grommets and DH screwed anchoring latches for the rope to the foundation.
You won't see those blue clips after I screw them up. (ha) ... I'm changing the light blue plastic tray under the can too, as soon as it stops raining.
Nov 27th
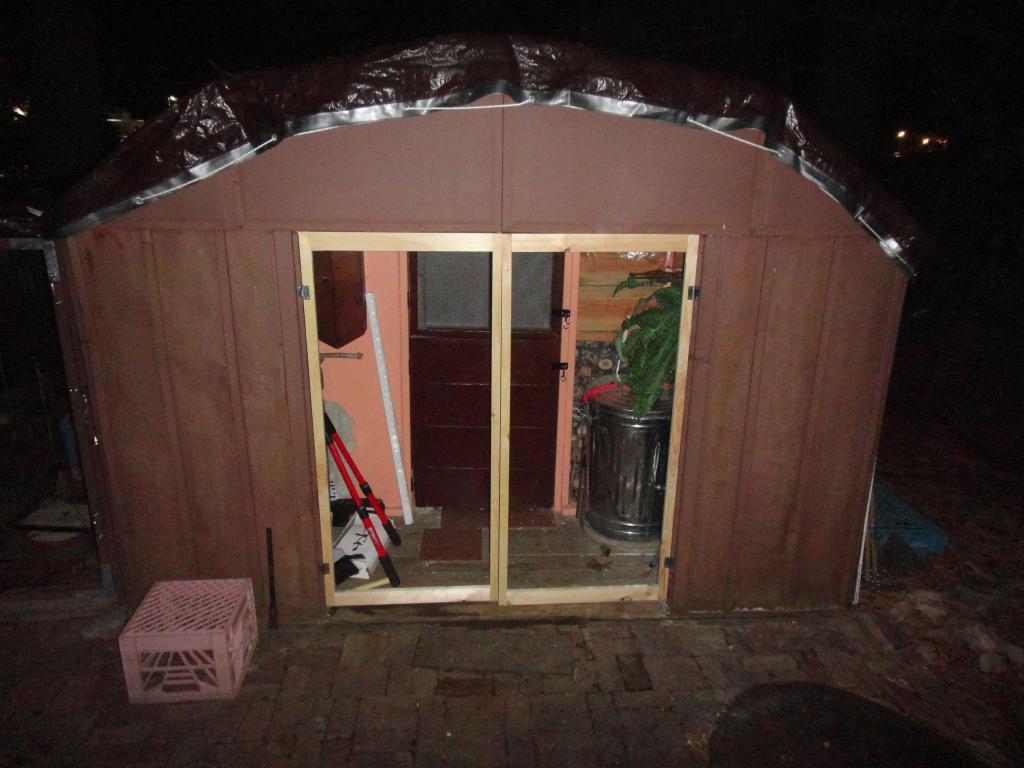
Finally getting those doors together and on - wet weather is coming!
Ya' like the round rolling metal trolley thing under the feed storage can? I do! ^^ It was previously for a large houseplant.
December 21st
Yes the doors are still being worked on in December - thankfully it's been mild. =P
But look at the progress ~ hurrah!
(did these in our sunroom because it's been dry, but it's still chilly!)
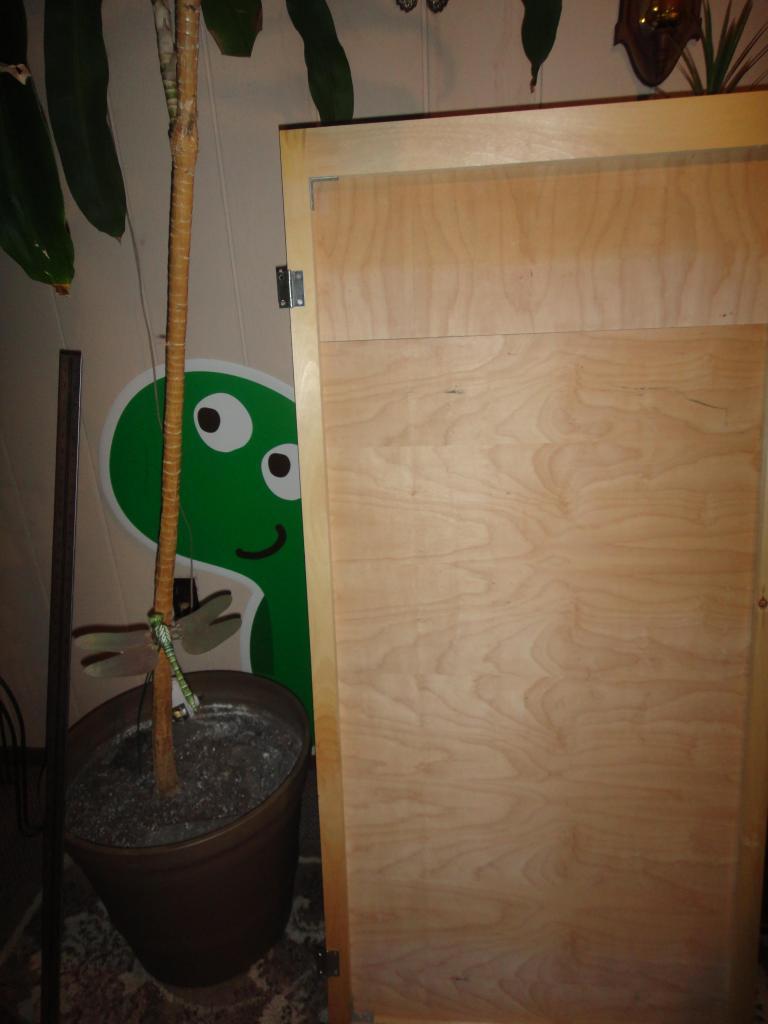
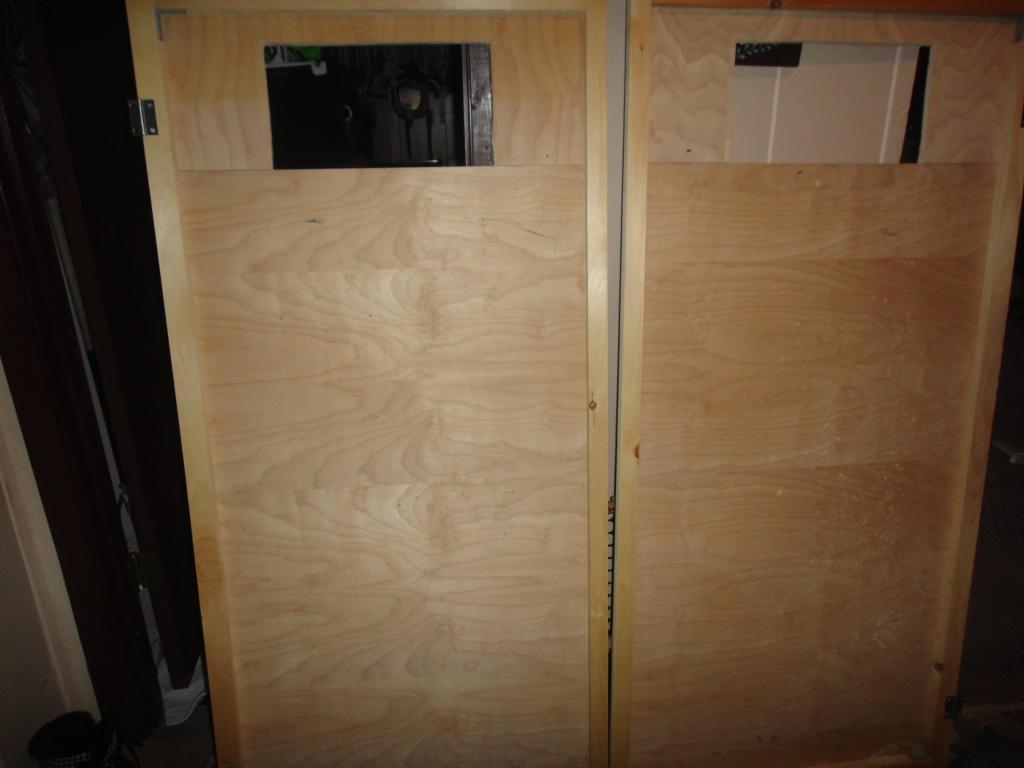
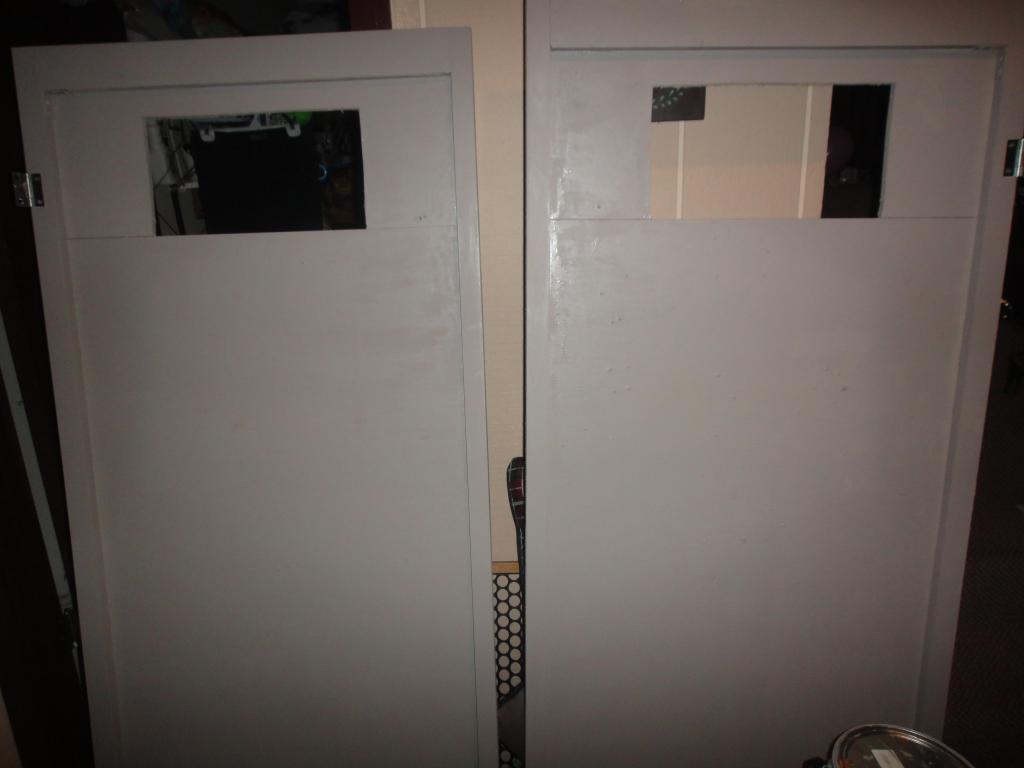
So glad to finally use up the scrap plywood sheet and so excited to mount them to the shed!
We also decorated the Hen House ... wrapping paper is filling the voids in the doors (lol the paper inspired us to fill them with wood = get them done!)
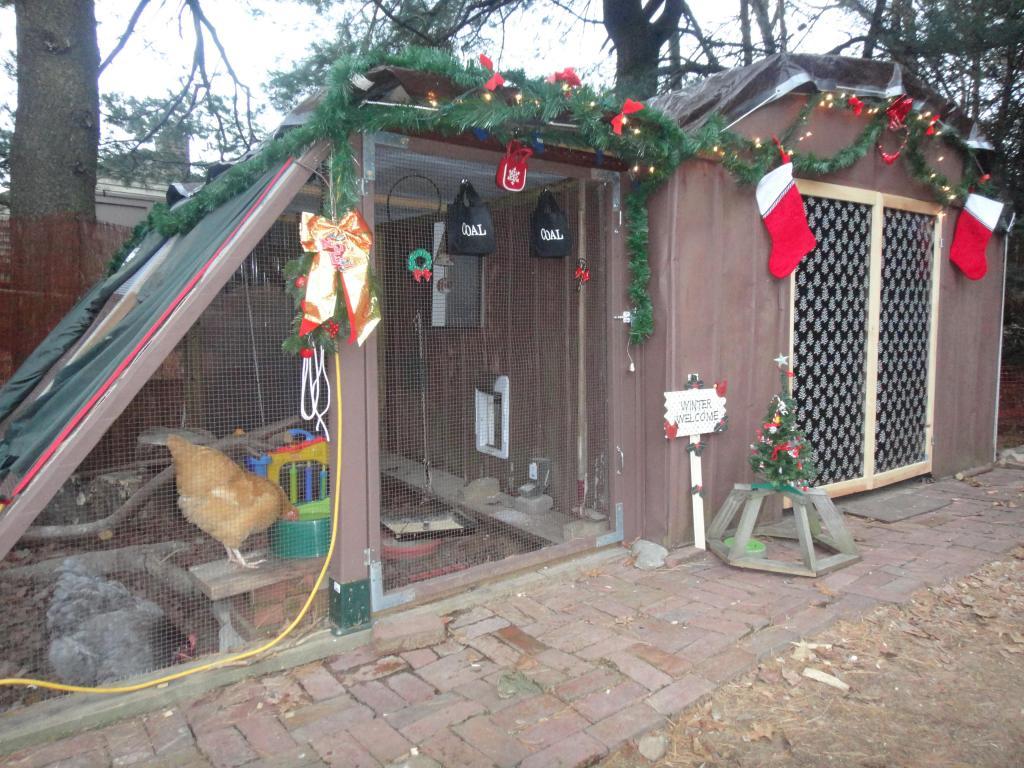
December 31st
Last day of the year - we only had one snowfall and one dusting of snow so far, but our worst is January thru March.
Am so happy to say, the doors are installed! A great way to finish this year! ^^
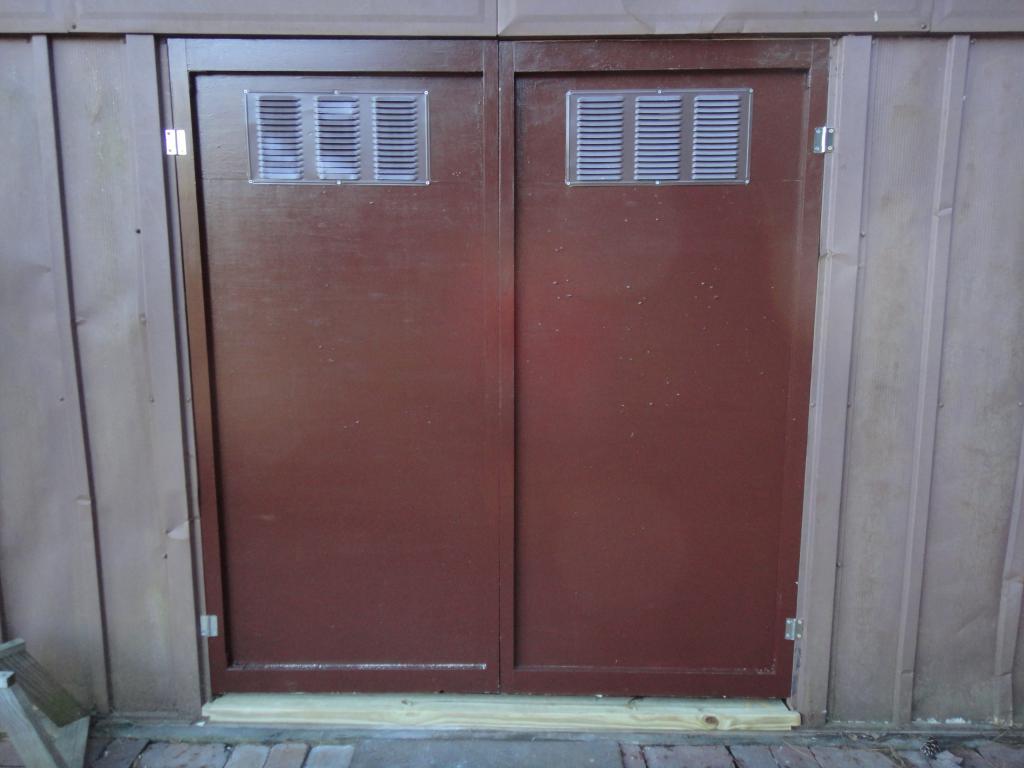
Yes, there is awesome framing holding that door from the inside - thank you husband!
We love our Hen House!
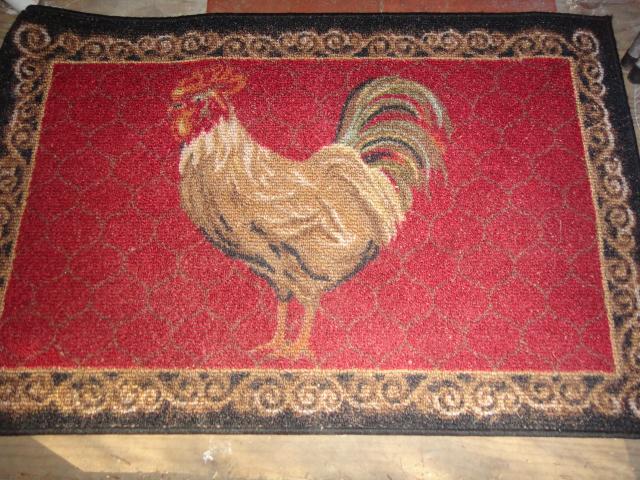
I also ♥ this mat for inside the shed porch area (another clearance item at Lowe's when I found the rooster wind chime ~YAY!!)
What would I do differently next time?
I would start the coop before we got the chicks! Hehe
but having them is better motivation to get things done
Otherwise, nothing - I luv our little hen house and it serves the purpose.
They seem very happy.... and we are too!
JANUARY 2015 UPDATE!
I would start the coop before we got the chicks! Hehe
but having them is better motivation to get things done
Otherwise, nothing - I luv our little hen house and it serves the purpose.
They seem very happy.... and we are too!
JANUARY 2015 UPDATE!
No more tarp, the roof has been finished since Summer 2014- it has a bamboo frame and so far it's perfect.
Purchased a weatherproof clear tarp with grommets on 4sides for the angle -love it. (mytarp.com!)
Purchased a weatherproof clear tarp with grommets on 4sides for the angle -love it. (mytarp.com!)
