AUTOMATIC WATERING SYSTEM NO HOSE ATTACHED!
This page is under construction
This page is under construction
Hello my fellow chicken lovers I hope you find this page useful and full of the information you are seeking. I am going to start a new link on backyard chicken forum so we can discuss ideas on how to improve my sytem and help you build yours. Also I am working on a few diffrent methods of watering. A few ideas I have gotten from others and then expanded on. The reason I got into this was simply that my wife got tired of carring water to my flock everyday, sometimes twice during the summer in 90+ heat. After doing some research on diffrent watering sytems I setlled on the one below. There are pros and cons to every system but hopefully you can glean the information you need from this page to help your chicken and your self live a better life.

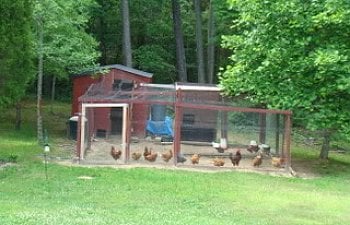
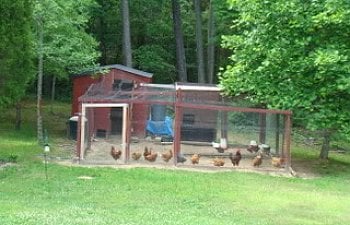
My coops in 2007 water system in center of buildings.
1.) The chicken pens.
2.) Parts List: (1) rubbermaid commercial trash can with lid 45 gallon. Purchased at Home Depot $ 15.00
(1) old garden hose FREE to me
(1) 1/2 inch spigot $3.00
(1) Faucet rosett washer nut. Home Depot plumbing department used for sinks/toliets $2.00
(2) Rubber maid washers cut from piece of rubber fit to size FREE to me
(1) Float to allow the water to enter then once full shuts off the water flow.
Tractor supply company $20.00 VERY HEAVY DUTY USAGE WILL LAST
(1) Bucket to fit the float to hold the water $5.00 Tractor Supply
(1) silicone (weather proof) to seal it all up $3.00
THE BUILD:
Very easy to build. Drill a hole in the trash can towards the bottom to barely fit the spigot to. The tighter the fit the better. Place the rubber gasket you can buy or make plus some silicone on to the spigot. Slide the spigot through the hole place another gaske nut and silicone to the inside and tighten it up. LET DRY for 24 HOURS. I also sugest a silicon free try at it.
Put it where you want it add some water check for leaks. Add the hose to the spigot and the other end to the float. Allow the water to run in and you are set. Now for the chickens to drink you may want to put some bricks around it to secure it in place. Also make it so when the chicken is on the brick they are taller than the bucket lip or they may perch on it. Also I did not secure the float to the bucket. Reason for this it will make cleaning the parts much easyier for me.
Also since this picture was taken I have put a y on the spigot set up an additional waterer off the same reservoir of water. Currently I have 30 birds drinking off one reservoir and it takes two weeks to empty. I also add a cap of bleach each refill to keep the water fresh. At the same time I clean the watering system.
I hope this has been a help to you.
Also here is a link to a forum page for you to post comments, design questions, and see how other people fix their watering problems.
https://www.backyardchickens.com/forum/viewtopic.php?pid=599435#p599435
THANKS FOR LOOKING
MIKE

