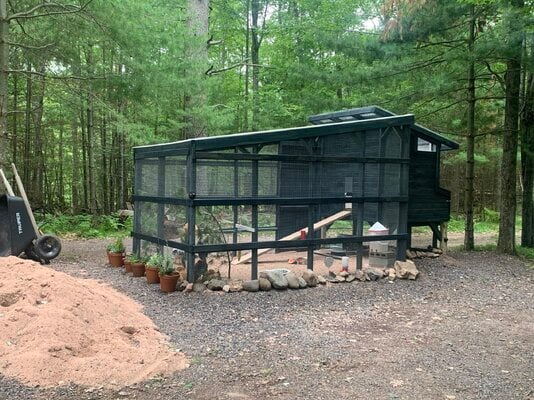
Finally, here are photos of the Armada los Pollos. We purchased the coop/run plan from Third Coast Craftsman, and modified it a bit,
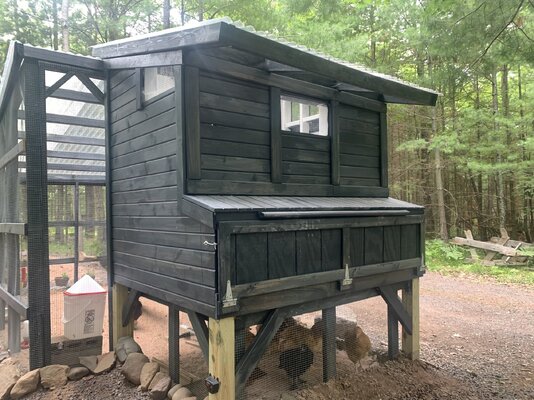
We liked the coop and run design, but weren’t too crazy about the coop doors looking like a barn. Also decided against the two coop windows over the nesting boxes/storage area. We were able to save money on lumber by using wood/tongue and groove pieces we had from building the house over 20 years ago. Total lumber was around $400 for the base posts, and 2x4’s.
The coop door swings to the left, and is easy to clear out. Painted the interior with a semi gloss white paint from Menards. Exterior pieces are stained in Armada Blue - our goal was to show the striations in the lumber. The poop board is easy to sweep out, using a small rake I found at Wally World.
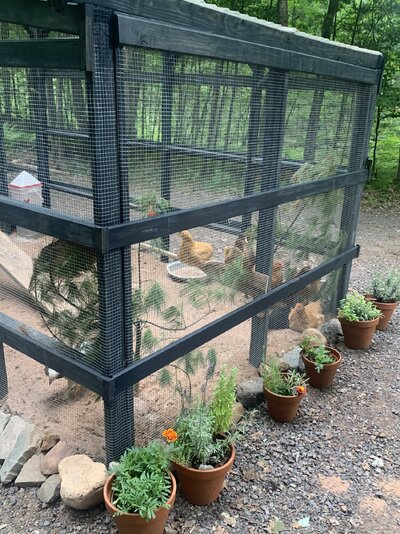
Living in NW Wisconsin. our weather varies from incredibly snowy and cold in the winter, to hot and humid in the summer months. Add in the late May mosquito hatch, followed by the July Mayfly/Flies in general hatch, and it’s a bit of a challenge to insure the girls are going to be comfortable. The coop itself faces south, and has three ventilation windows. The run faces north, and is protected on all sides by forest, plus has cross breezes to keep them happy. In place of corrugated metal panels for the coop and run roofs, we opted for fiberglass corrugated roofing throughout. This allows for muted sunlight during the summer, and as much sunlight as possible during the winter months.
The coop door is from Run-Chicken, model T50. Easy install, and the dawn-to-dusk opening/closing schedule was a breeze to set. It also has an app for both Apple and Google phones. Can’t recommend this door enough!
Hardware cloth throughout, plus we ran it 2’ around the entire coop/run, covered with gravel. The run is sand, and I clean and rake it, plus barn lime it every other day. Bruce added their favorite wooden canoe paddle as a roost, along with a higher roost, that some of the girls are just now using.
As for storage and the nesting boxes, we closed off two of the boxes, and I store cleaning tools in one, and treats on the other. The nesting boxes themselves are closed off for a bit, until the girls are ready to start laying eggs
All in all, this was a three-week build, done by Bruce for the most part. He came up with the roofing/stain ideas, and they’re perfect for this project. I love our coop and run, and can’t thank him enough for his hard work.

Now we’re waiting for the girls to deliver!