The Eggonomic Coop
This is the process of our very first coop and run.
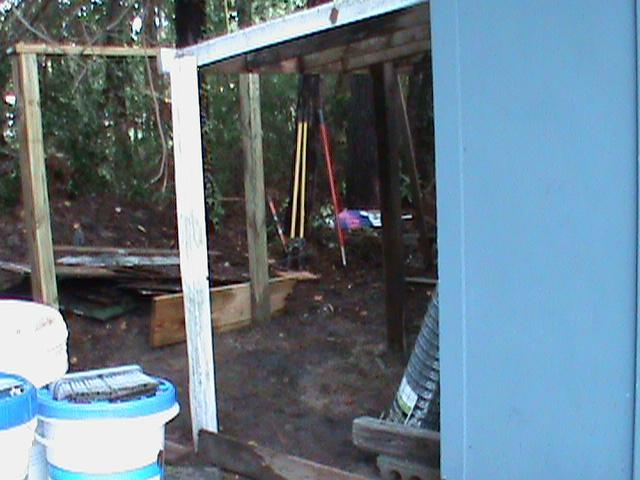
So it begins:
 all that lean-to came down due to the fact is was all rotten.
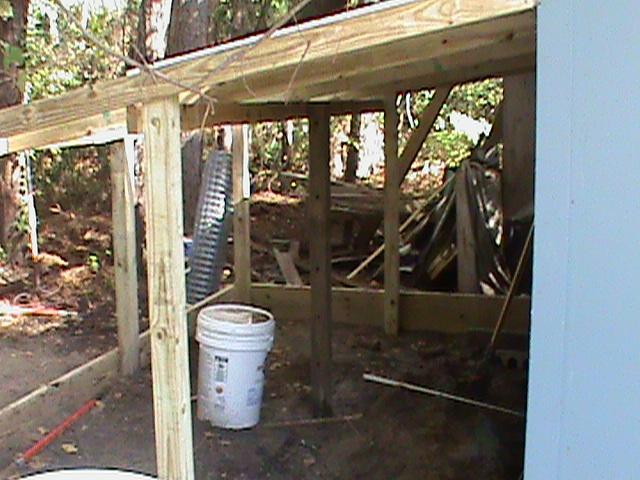
After I dug the perimeter, we set the 2 x 12's and the rest of the supports:
Next, my husband started to assemble the coop:
We hired out cheap labor:
Got it all caged in:
under the shed will be caged off as well
Made a feeder:
And put the nesting boxes to the left, roost to the right, and bedding all around:
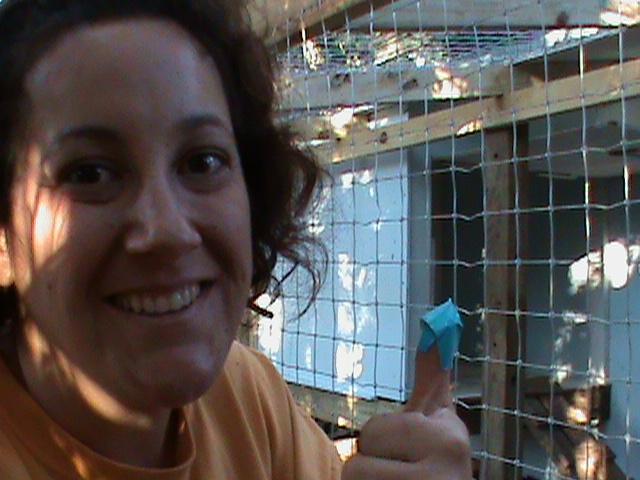
Only suffering minor bodily damage:
It has been about 7 weeks since we got our girls, and we have realized we needed to re-work our nesting situation. The girls took to perching on the lips of the milk crates. That in turn, ended up putting poop into the nesting crates. What we have done, follows:
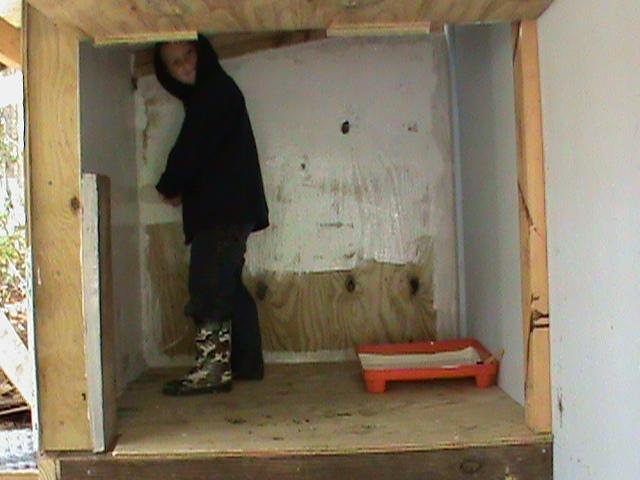
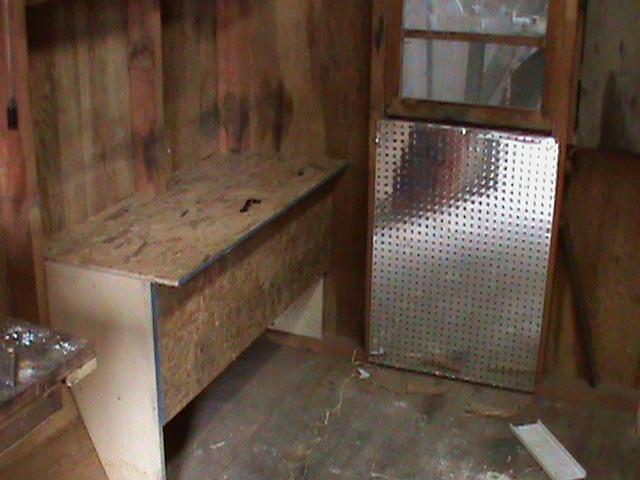
We decided to create nesting boxes outside the actual coop area. We cut through the adjoining shed wall, and rotated the existing roost to the back wall. We also created another roost.
On the inside of the shed, this is the community nesting box. I now have dry warm access to eggs, and there is no need to weatherproof the box.
Here is the box opened
The girls seemed to handle all the comotion well, and I hope they enjoy their added space in the coop. Now to decide if we want to get 2 more. This is a compairison of the girls from the day we got them to today,
Brand new to us
AND Today
So it begins:
After I dug the perimeter, we set the 2 x 12's and the rest of the supports:
Next, my husband started to assemble the coop:
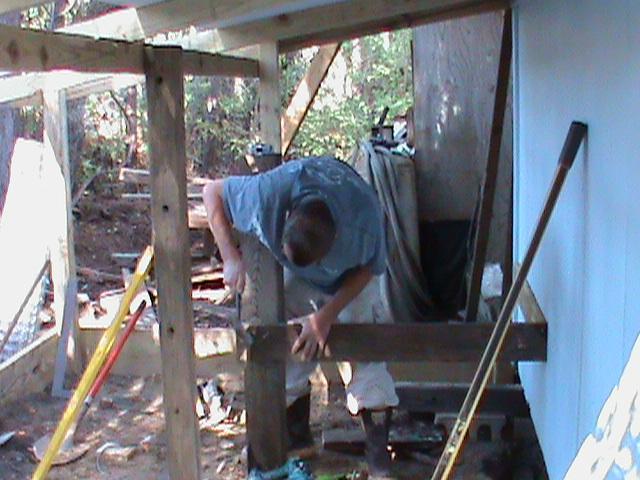
We hired out cheap labor:
Got it all caged in:


Made a feeder:

And put the nesting boxes to the left, roost to the right, and bedding all around:

Only suffering minor bodily damage:
It has been about 7 weeks since we got our girls, and we have realized we needed to re-work our nesting situation. The girls took to perching on the lips of the milk crates. That in turn, ended up putting poop into the nesting crates. What we have done, follows:
We decided to create nesting boxes outside the actual coop area. We cut through the adjoining shed wall, and rotated the existing roost to the back wall. We also created another roost.

On the inside of the shed, this is the community nesting box. I now have dry warm access to eggs, and there is no need to weatherproof the box.
Here is the box opened

The girls seemed to handle all the comotion well, and I hope they enjoy their added space in the coop. Now to decide if we want to get 2 more. This is a compairison of the girls from the day we got them to today,
Brand new to us
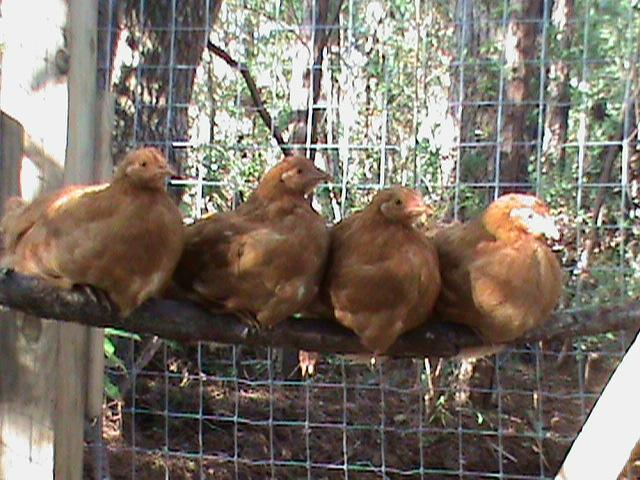
AND Today
