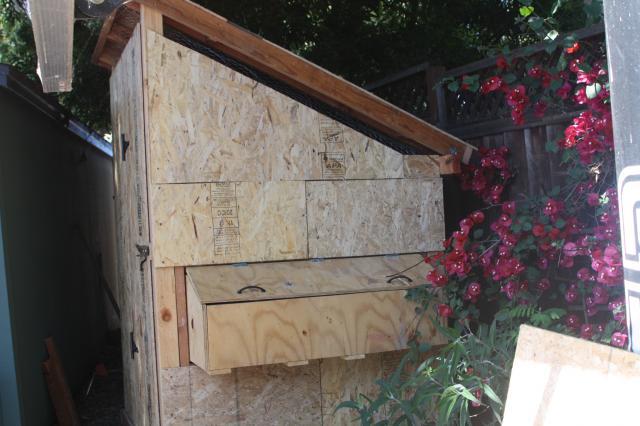
Here is where the coop is going to go. Sorry for the image on the side, as soon as I figure out how to rotate it I will, but for now just turn your head to the right or your laptop to the left.

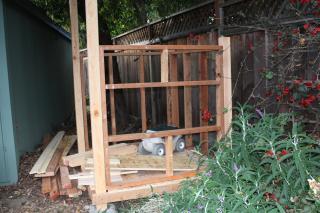
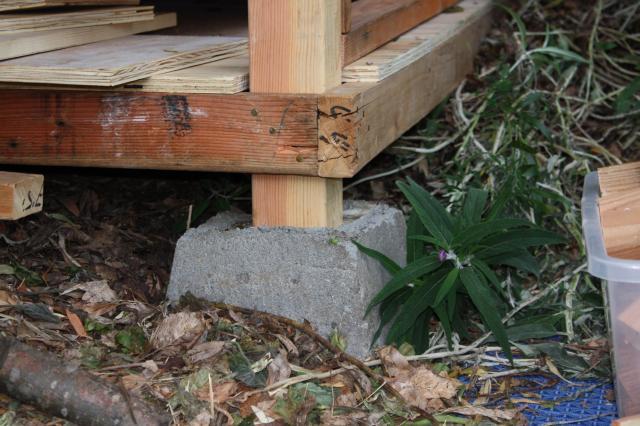
I got the starting plans free from buildeazy.com. My original plan was to put the coop on skids, but I could not figure out a good quick way to attach them so I decided to use 4x4 posts in the corners that extended through the floor as a way to make it level and attach the wall framing later. That's where I started adapting the plans for the coop.

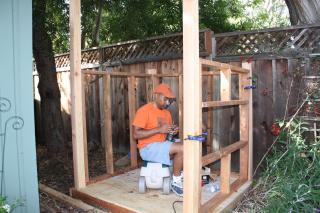
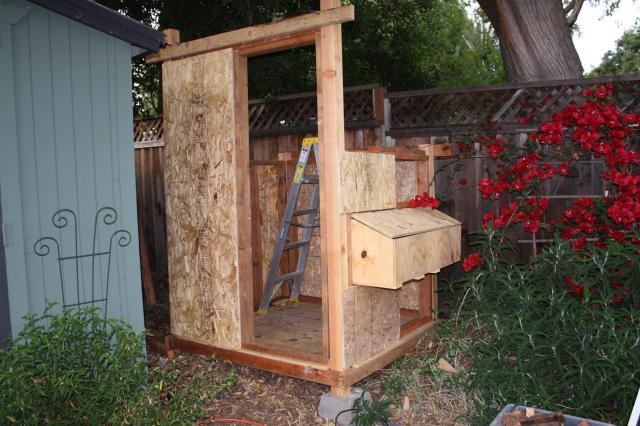
Here you can see three of walls up. The side facing out will have the nest boxes in the middle extending out with a lid to retrieve eggs. The side opposite that will have the pop door and a window above the frame to see into the run from inside the coop. The back wall is just a regular frame and the top of it will be lower that the top of the front of the coop where the door will go. I plan to slant the roof for water run off from left to right as seen in this picture.


Most of this material was used recycled goods from a reclaimed building supply center.


Here I have the 3 of the walls up and a picture of the nest boxes with the lid on. i will probably cut it later so it makes 2 doors, one for eggs and one for the 4th box used for storage only.


These ladies are getting rather big and restless for their new home. The love being in their pen and love it even more when the can range in the back yard.


Did someone get 2 new baby chicks to add to the flock?

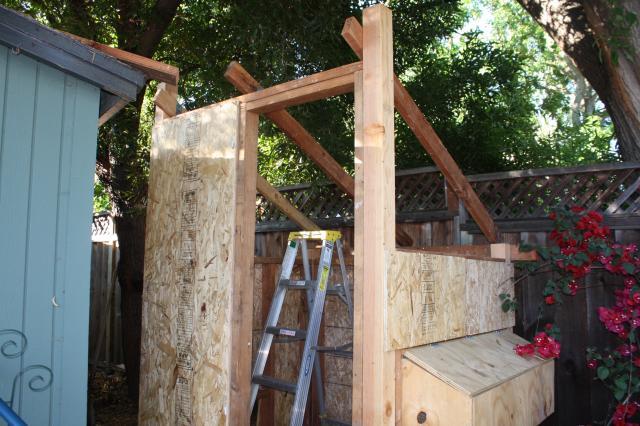
Here's a couple with all the walls up and the roof beams on. I got these fasteners that cost less than $1 that do the job holding 2x4's together. Got away from cutting the bird's mouth for the trusses.


Roof, doors and sides are up. Next we attached the run to the house and will used hardwire with staples to enclose the run. The pop door is on here and will need a pulley and latches to open and close. Then a new lock for the run door, coop door and next boxes will be attached. I'll put a roost inside then all the little finishing touches can be made.


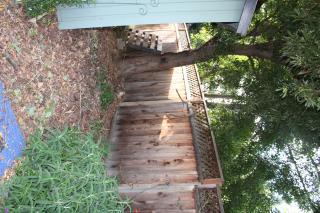
I got the starting plans free from buildeazy.com. My original plan was to put the coop on skids, but I could not figure out a good quick way to attach them so I decided to use 4x4 posts in the corners that extended through the floor as a way to make it level and attach the wall framing later. That's where I started adapting the plans for the coop.
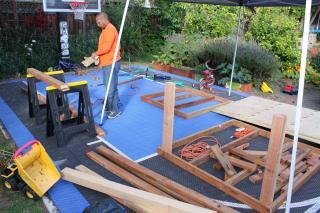
Here you can see three of walls up. The side facing out will have the nest boxes in the middle extending out with a lid to retrieve eggs. The side opposite that will have the pop door and a window above the frame to see into the run from inside the coop. The back wall is just a regular frame and the top of it will be lower that the top of the front of the coop where the door will go. I plan to slant the roof for water run off from left to right as seen in this picture.
Most of this material was used recycled goods from a reclaimed building supply center.
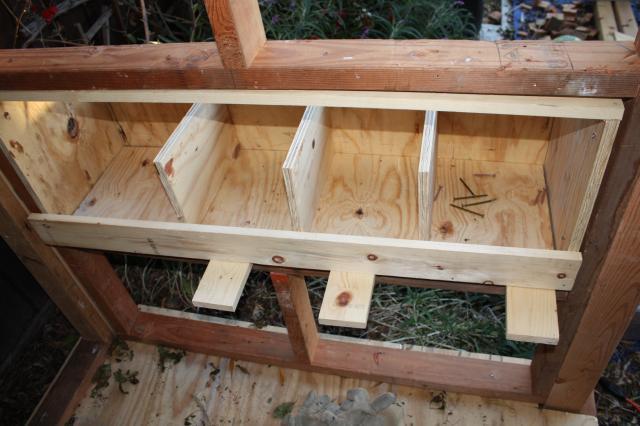
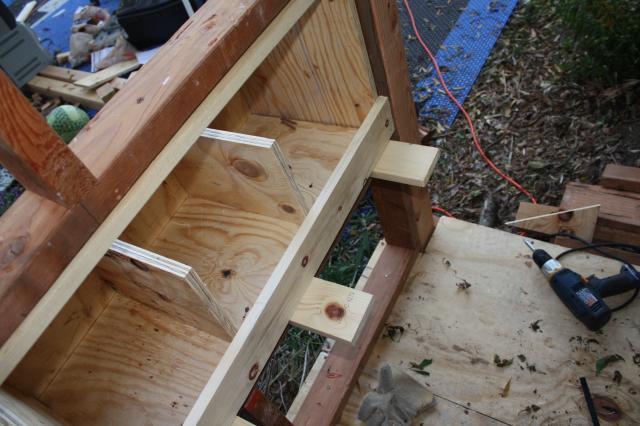
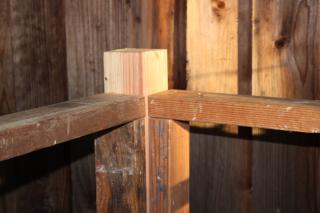
Here I have the 3 of the walls up and a picture of the nest boxes with the lid on. i will probably cut it later so it makes 2 doors, one for eggs and one for the 4th box used for storage only.

These ladies are getting rather big and restless for their new home. The love being in their pen and love it even more when the can range in the back yard.
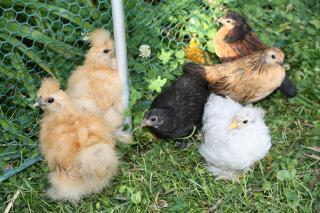
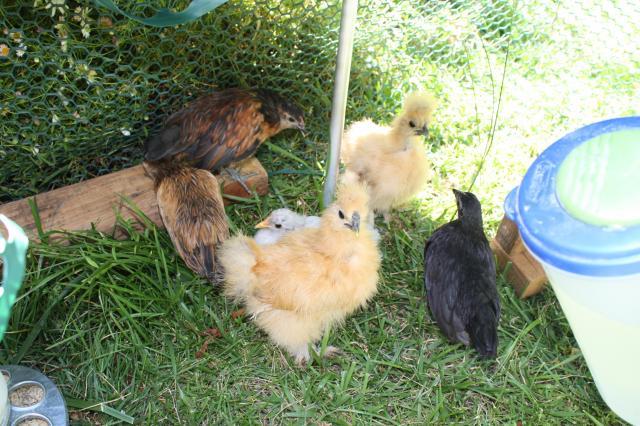

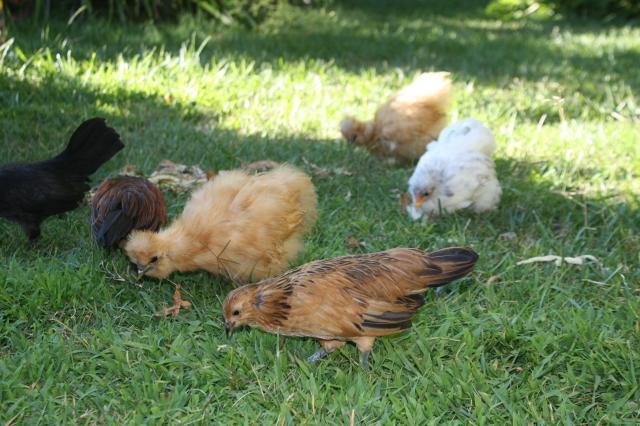
Did someone get 2 new baby chicks to add to the flock?
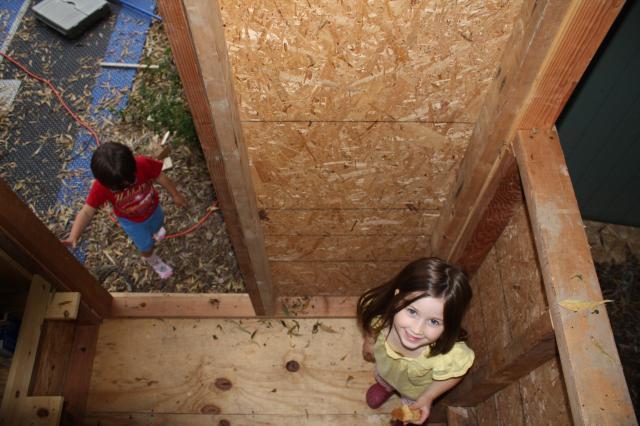
Here's a couple with all the walls up and the roof beams on. I got these fasteners that cost less than $1 that do the job holding 2x4's together. Got away from cutting the bird's mouth for the trusses.
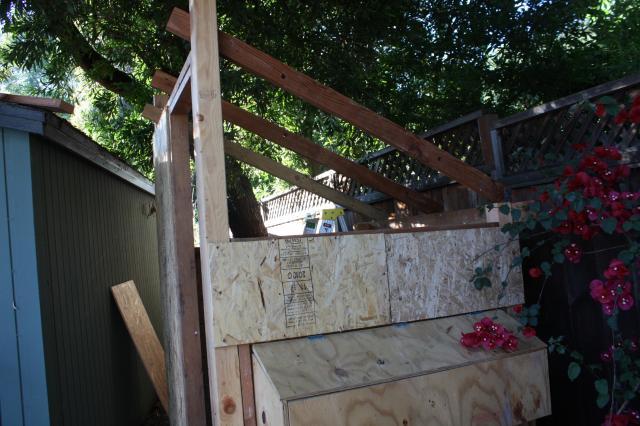
Roof, doors and sides are up. Next we attached the run to the house and will used hardwire with staples to enclose the run. The pop door is on here and will need a pulley and latches to open and close. Then a new lock for the run door, coop door and next boxes will be attached. I'll put a roost inside then all the little finishing touches can be made.
