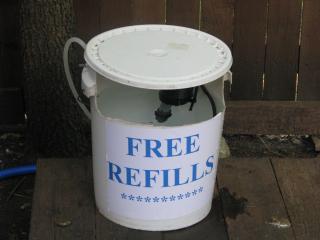
Automatic Waterer/ Toilet Valve
I started out using the design of FutureChickenMan of BYC
I started out using the design of FutureChickenMan of BYC

Supplies
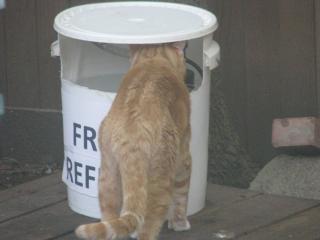
5 gallon Bucket with Lid Free
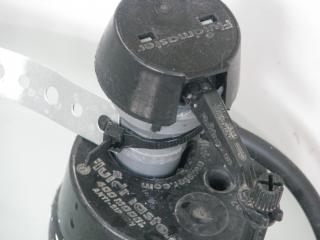
Fluid Master Toilet Valve $7.99
Plastic Tubing around 3 feet or so $2.00
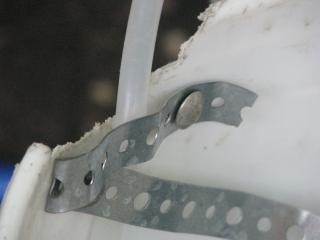
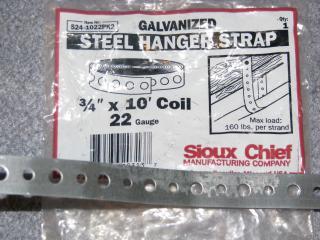
8 inches of steel hanger strap - From my Honey Do drawer
PVC pipe $7.50 2 pieces of 10 feet each
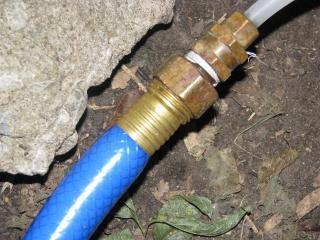
Knowledge of my friendly Ace Hardware Man for fittings to attach plastic tubing to toilet valve and fittings to attach the other end of tubing to the garden hose
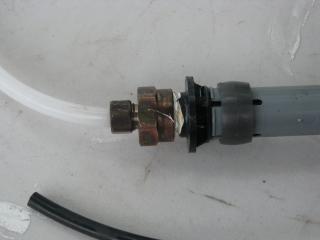
Leave just enough to attach the tubing (you want valve to sit low in the bucket)
Attach one end of the plastic tubing to the valve making sure it does not leak.
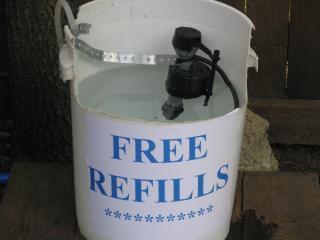
Attach valve to bucket keeping it level I used zip ties to attach the strap to the toilet valve and drilled a hole in the bucket the attach the strap to the bucket
Turn on water slowly and allow bucket to fill. You do not have to turn it on very much at all.
There is a screw adjustment on toilet valve to raise or lower the water level.
When you reach your desired level, mark the bucket so you can make the cuts.
I found it was very easy to cut using my trusty little jig saw. Cut as straight as possible.
Once the bucket is cut you may start the final assembly.
Feed the tubing over the edge. Cut a small section out. (i did not have to cut it out. I am using a bucket that previously stored BOSS until the squirrels chew through it.)
Remove lid, scrub with brush, empty, and let it refill I even add ACV
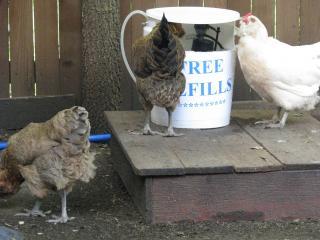
I do not have an algae problem since it is in the shade otherwise I might have gotten a dark colored bucket
NO MORE LUGGING HEAVY WATER BUCKETS
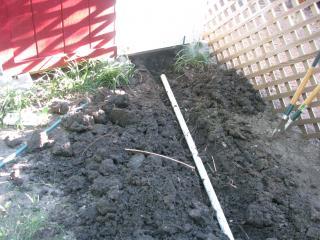
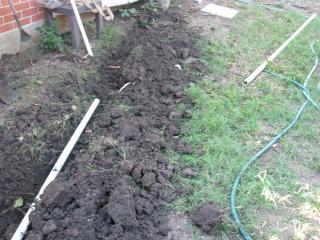
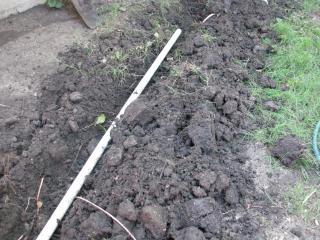
What I would do different: Orginally the water hose just layed on the ground
The water hose goes from the run, under the coop then out to the house total of 30 feet. The waterer in the run stays in the shade. From the coop to the house I put the hose in a 1 ¾ inch PVC pipe and buried it a few inches underground to keep the water cooler.