[FONT=arial,helvetica,sans-serif]My husband first created his design using Google Sketchup. We wanted something with a 'classic' chicken coop look, and something that fit in well with our home, shop, and shed, which are all right next to each other. I also wanted it to be very easy to clean.
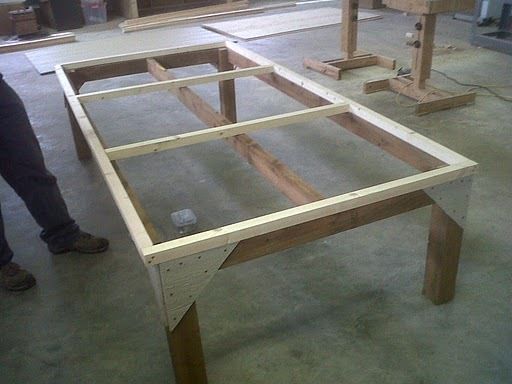
First step was to build the stand. [/FONT]This will support the 4x8 frame and gabled roof of our chicken coop, which will stand about 6' high when finished.

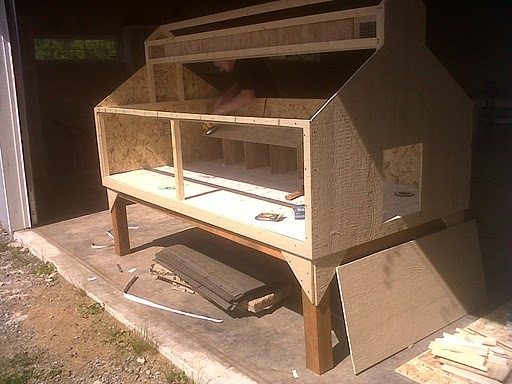
We finished the frame, made of 2x2's mainly, and then attached the front and back walls. Also, there are sliding 1/4" pieces of plywood cut near the apex which my husband came up with for us to adjust air flow. This is screened in by some chicken wire.
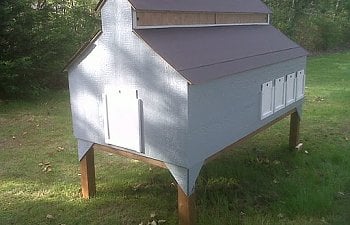
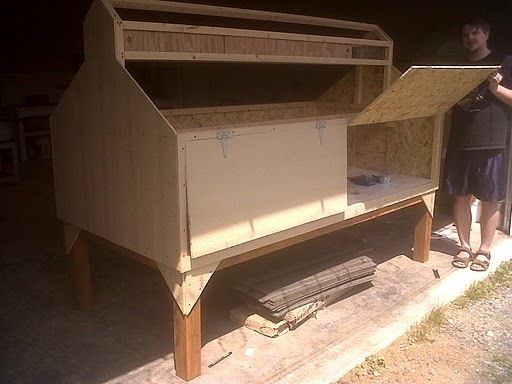
Here, we attached swinging doors rather than a solid wall so that we can easily clean out the coop and access the chickens if we need to.
Here's a picture of the finished inside, with the nest boxes (4) and a roost which is just a 2x4. There is about 3' of walking space for the chickens underneath the roost as well. Also, you can see that we covered the floor of the coop in vinyl, since it's not terribly expensive and will help protect the wood. Of course, the pine shavings will do that, too.
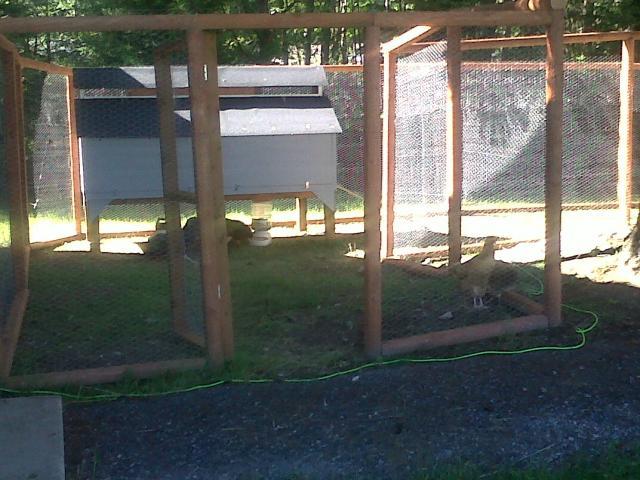
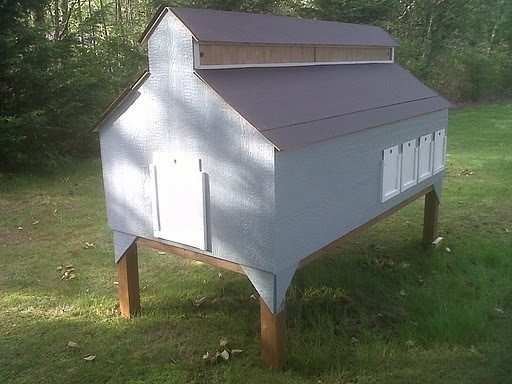
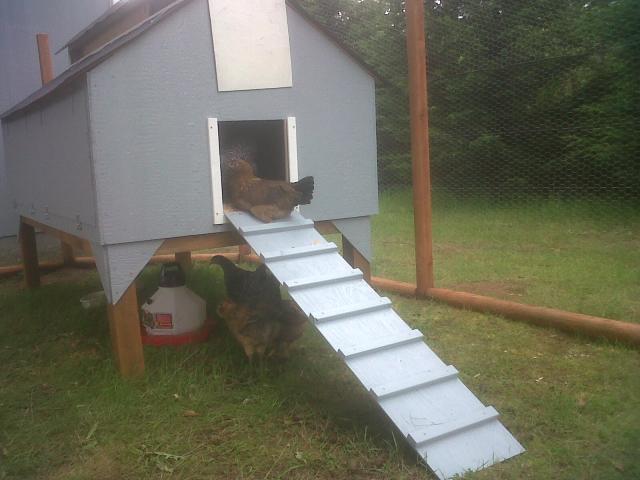
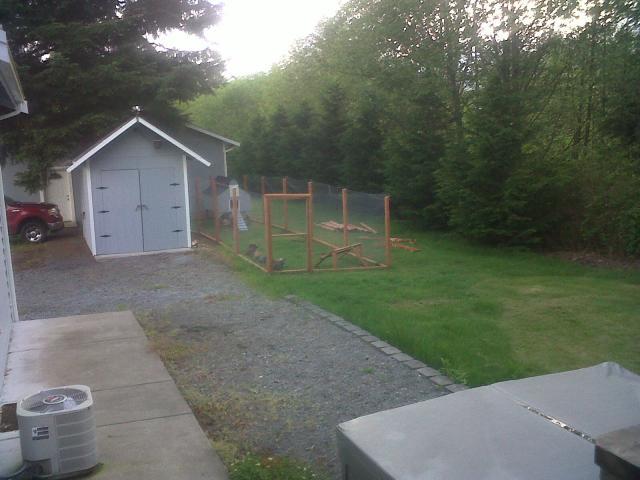
Here's the nearly completed chicken coop, which we moved to near its final location. Still need to finish the roof, and build the chicken yard. The blue and white matches the colors of our home and shop very nicely.
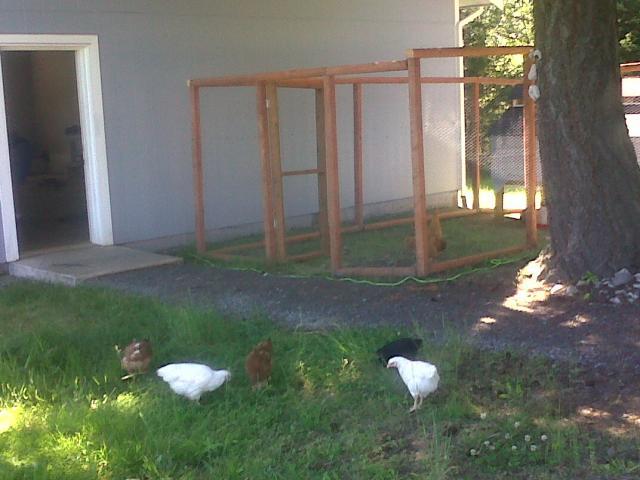
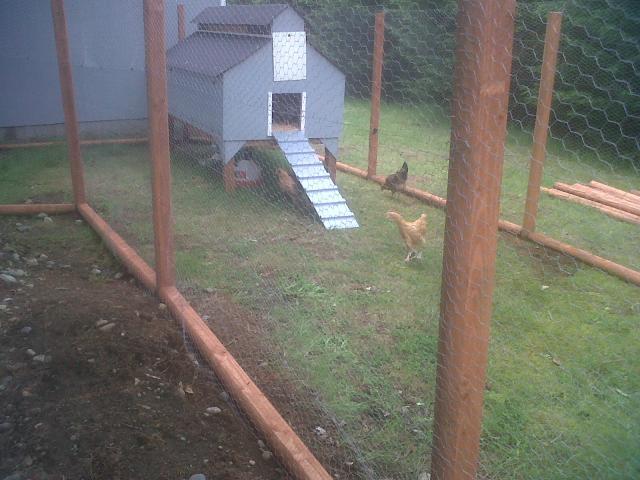
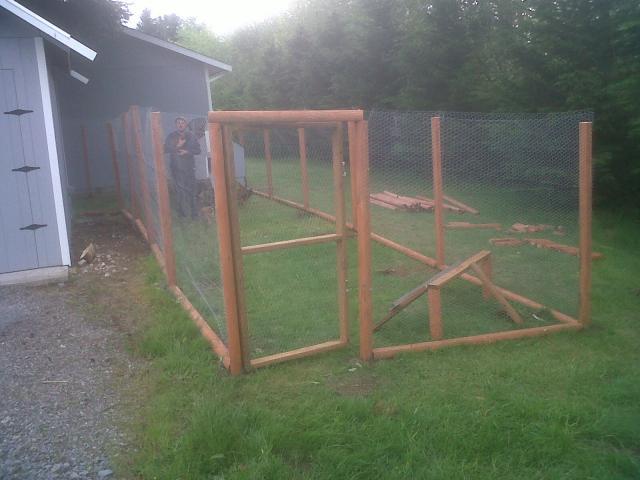
The chicken yard: This turned out to be an L-shape, the long side being ~40x10' and the shorter side 10x10 for a total of about 500sq ft. We put up 8' high treated cherry landscaping timber fence posts, about every 8' apart. We then stapled a piece of 4' hex fencing (I think this is also sometimes called poultry fencing) to the posts. The next thing was to staple a 2' section of fencing right above the 4', for a total of 6' high fencing. We tied the two sections together using cable ties every so often. We still need to add the timbers along the top of the fence and then staple the top fencing to that, and also need to staple the fencing to the bottom timbers.
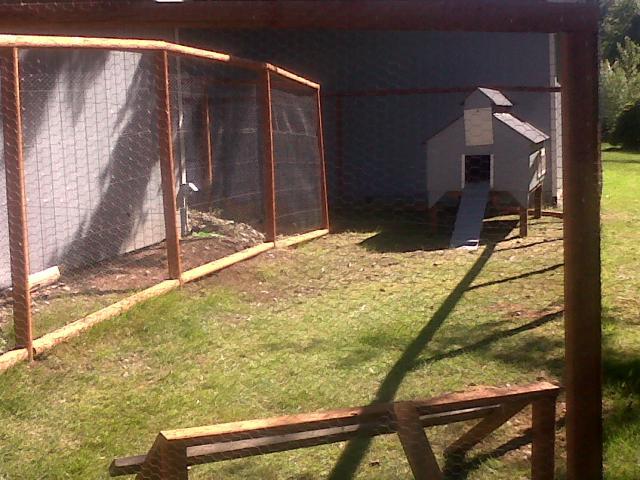
The almost finished chicken area:
Finally finished everything this weekend. Here are some pictures.
First step was to build the stand. [/FONT]This will support the 4x8 frame and gabled roof of our chicken coop, which will stand about 6' high when finished.
We finished the frame, made of 2x2's mainly, and then attached the front and back walls. Also, there are sliding 1/4" pieces of plywood cut near the apex which my husband came up with for us to adjust air flow. This is screened in by some chicken wire.
Here, we attached swinging doors rather than a solid wall so that we can easily clean out the coop and access the chickens if we need to.
Here's a picture of the finished inside, with the nest boxes (4) and a roost which is just a 2x4. There is about 3' of walking space for the chickens underneath the roost as well. Also, you can see that we covered the floor of the coop in vinyl, since it's not terribly expensive and will help protect the wood. Of course, the pine shavings will do that, too.

Here's the nearly completed chicken coop, which we moved to near its final location. Still need to finish the roof, and build the chicken yard. The blue and white matches the colors of our home and shop very nicely.
The chicken yard: This turned out to be an L-shape, the long side being ~40x10' and the shorter side 10x10 for a total of about 500sq ft. We put up 8' high treated cherry landscaping timber fence posts, about every 8' apart. We then stapled a piece of 4' hex fencing (I think this is also sometimes called poultry fencing) to the posts. The next thing was to staple a 2' section of fencing right above the 4', for a total of 6' high fencing. We tied the two sections together using cable ties every so often. We still need to add the timbers along the top of the fence and then staple the top fencing to that, and also need to staple the fencing to the bottom timbers.
The almost finished chicken area:

Finally finished everything this weekend. Here are some pictures.