M To The Maxx's Farm
My Coop and Run Info Page
This is my finished coop that I worked on with my dad. It has been complete for some time now. Sorry, no constuction pics but I have a lot of good pics of what it looks like. Before we get to pics here are the materials needed to make this coop:
Material List

This is my 4'x4' coop with attached run and nestbox. My dad and I made this coop completely by hand. It was well worth it.
Lets start off with the nestboxes.
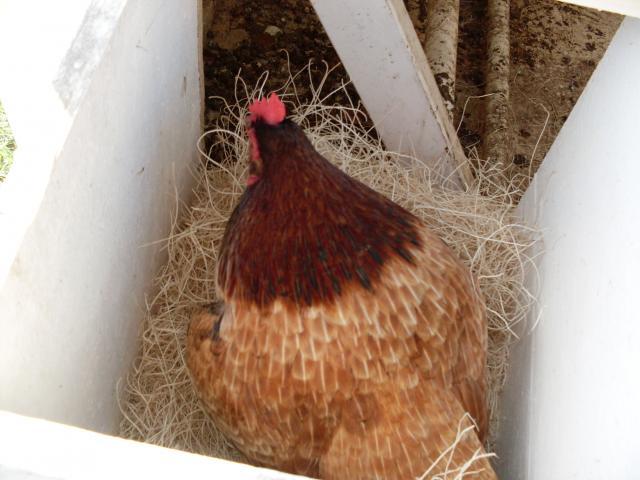
It is a 3 hole nestbox with nest hay in them.
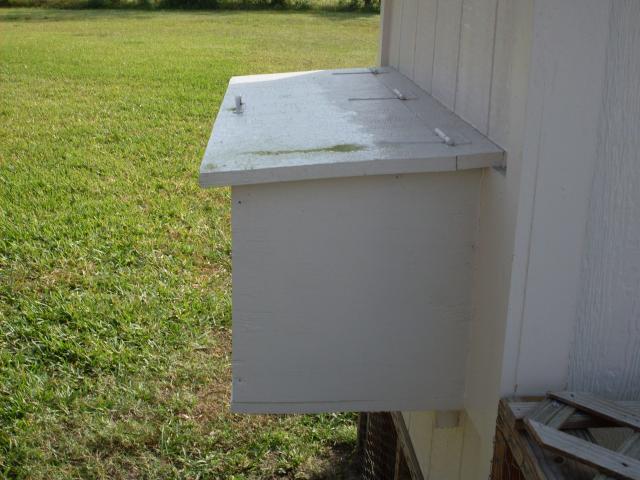
These are some outside pics of the nestboxes. The nestbox has 3 hinges on top of the door to help lift up the top of it. There is also a handle that we put on it and a latch the we can hook on at night to keep the pedators from getting in. The nestbox is 12" from top to bottom, 12" from the 1st pic left to right and from the 2nd pic it is 36" across.
I think Dixie aproves.
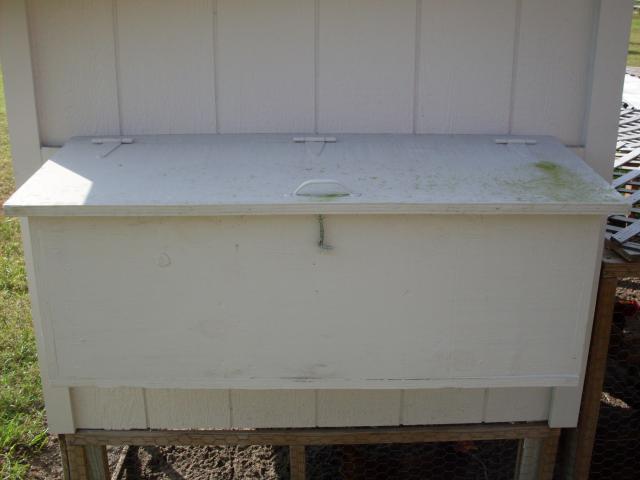
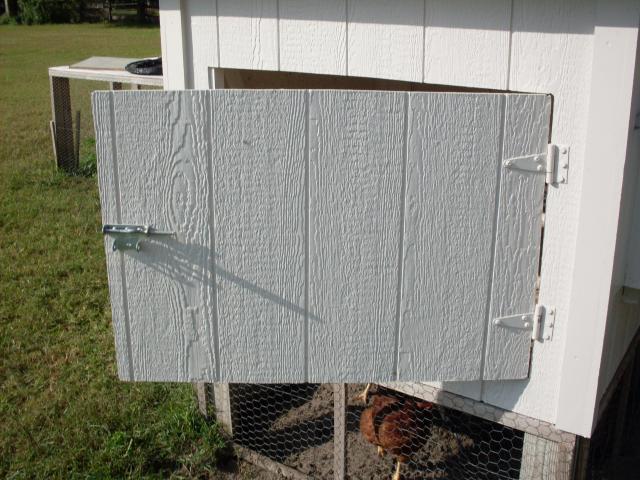
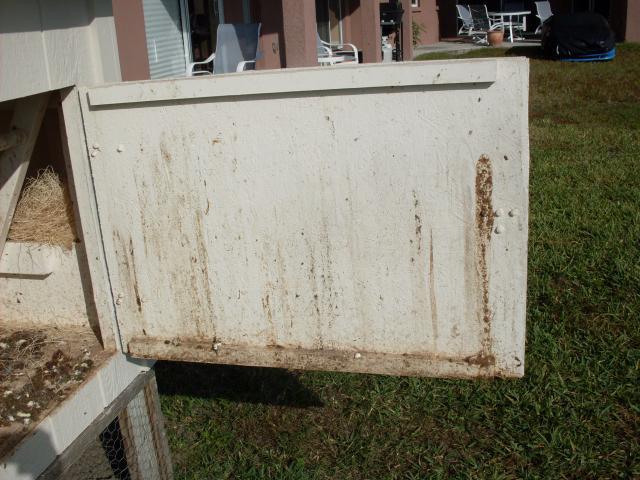
Here is the door at the back of the coop where I clean out their droppings.
It has a easy hatch to lock and unlock and open and close. It has 2 hinges on the side as you can see. The door is 38" across and 26 1/2" from the top of the door to the bottom of the door.
We also put one board on the top inside of door and the under inside of the door to provide extra strength for the door so it won't be very wobbly.
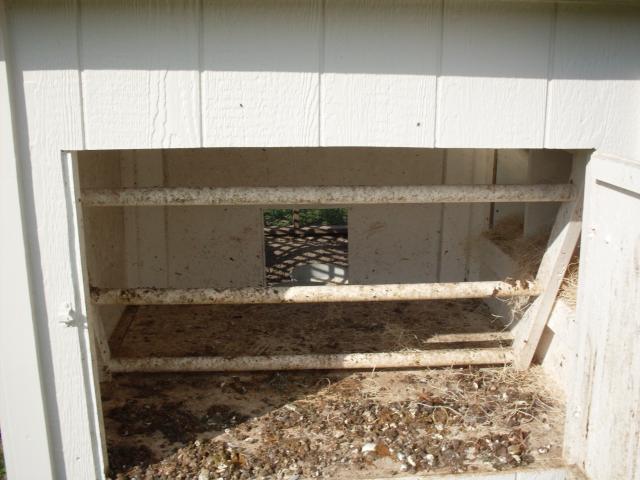
Now to the roost:
Here is the roost (sorry about the poop there). The roost is made up of 3 roosting rods that can be easily found at Home Depot or Lowes. Also 1 2'x4' on each side of the roosts to old them in place.
Here is the door the chickens come out of in the morning. It is a 12" by 12" door that is easily open by a hinge that we lock up at night.
They have to get down from the door to the ground somehow. Well we have a ladder from the door to the run that is 36" long.
Here is how they get the air flowing in their coop. The small metal sheets run across the top of the coop that let the air flow through into the coop. We have three of these running across the top of the coop.
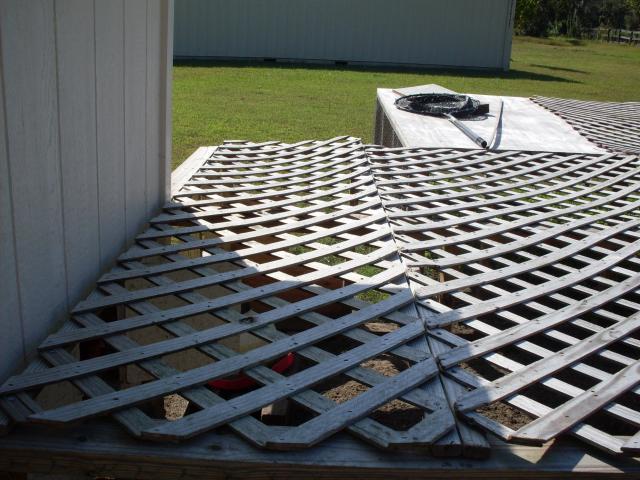
Here is the top of the roof and and what we use to cover it.
Here is the top of the coop where the roof is. There is a skylight but you can not see it in this photo. We used plastic roof panels to cover the top of the coop from rain and other things.
Now lets get onto the run. Our run is just panels put together. We made 1 2'x8' and a few 2'x4's and made 3 panels. Here is a pic of the run.
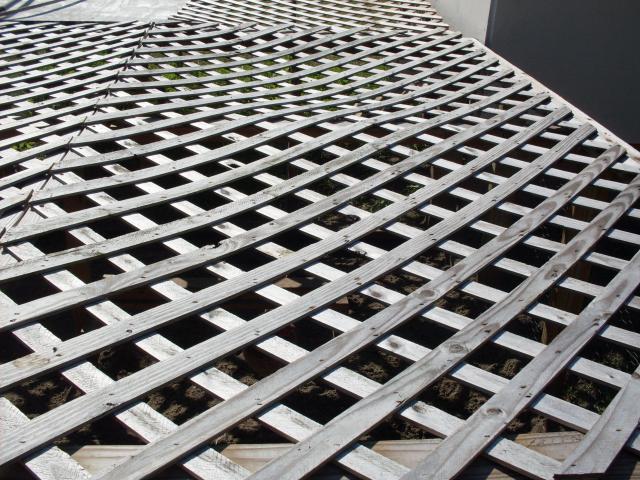
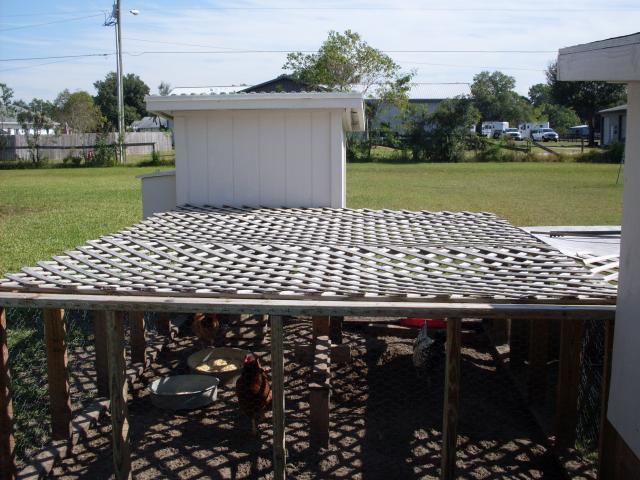
The top of our run is made up of lattice wood. We have 3 panels of the lattice wood. 2 of the panels are 8'x8' and the other panel is 4'x8'. My dad designed the run himself. The run is a 10'x8' run. My dad did a great job designing the run. Here is the lattice wood on top on the run.
Now part of the run is very important. When we built the coop we built it 17" off the ground on stilts in a way. and so the hens and roos wion't get out of the run we had to make and attach these to the run under the coop.
These panels are one of a kind. Of course my dad made and designed them himself. He did a great job. All 3 of the panels are 4'x17".
Last but not least we have the door on the side of the run.
When I open the door I can get access to change their water easily and change their food. There are 2 hinges that allow me to open the door. Of course my dad designed this himself too.
Here is the lock that can be easily undone and this keep the door closed.
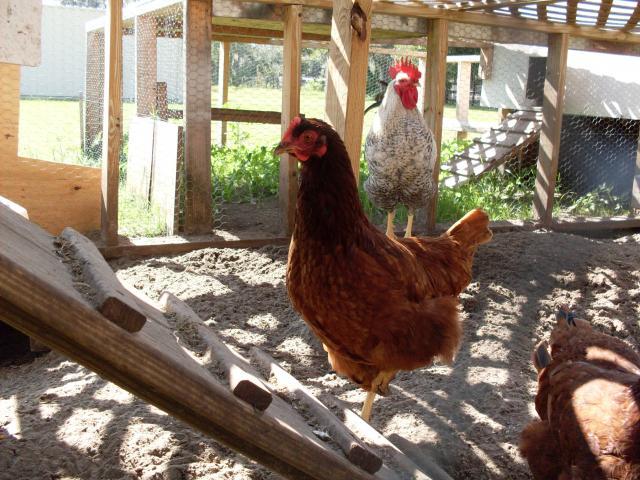
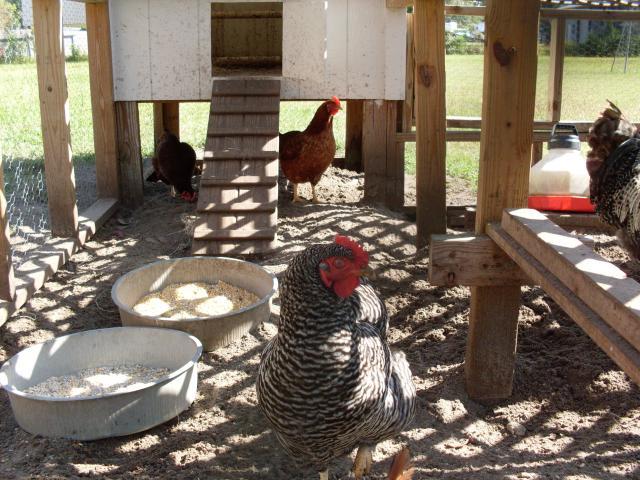
Overall we did great making this coop. My dad made great designs putting it all together and I helped him through out the process. Since we went over all things on the coop lets get a couple pics of it all together. Here are the pics.
I think the girls and Bucky like the coop and run too.
If you want to get the plans for this coop or learn more about go to this link. The plans are free and you can print the plans off of your computer.
http://poultry.purinamills.com/NUTRITIONMANAGEMENT/HenHouseHutchDesign/default.aspx
Thanks for looking!!!
My Coop and Run Info Page
This is my finished coop that I worked on with my dad. It has been complete for some time now. Sorry, no constuction pics but I have a lot of good pics of what it looks like. Before we get to pics here are the materials needed to make this coop:
Material List
Floor Assembly
- (4) 2" x 4" - 42"
- (2) 2" x 4" - 45"
- (1) 3/4" plywood- 45" x 45"
- (6) 2" x 4" - 61"
- (2) 2" x 4" - 64"
- (1) 4' x 8' - 1/2" plywood, cut per plan
Sheathing - (2) 4' x 8' 34 -1/2" sheets cut as indicated - (1) 48" x 48"
- (2) 48" x 48" tapered to 42"
- (1) 48" x 8"
- (1) 48" x 34"
- front 36" x 12"
- top 38" x 14"
- sides (2) 12" x 14" tapered
- bottom 11-1/4" x 34-1/2"
- dividers (2) 11-1/4" x 13-1/4" tapered
- (1) 2" x 4" cleat - 36"
- (4) 2" x 4" treated - 66"
- (4) 2" x 4" treated - 66"
- (2) 2" x 4" - 38"
- (4) 2" x 4" - 41"
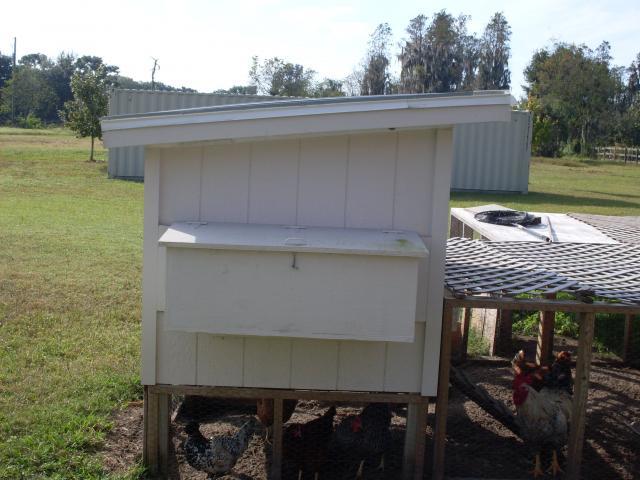
This is my 4'x4' coop with attached run and nestbox. My dad and I made this coop completely by hand. It was well worth it.
Lets start off with the nestboxes.
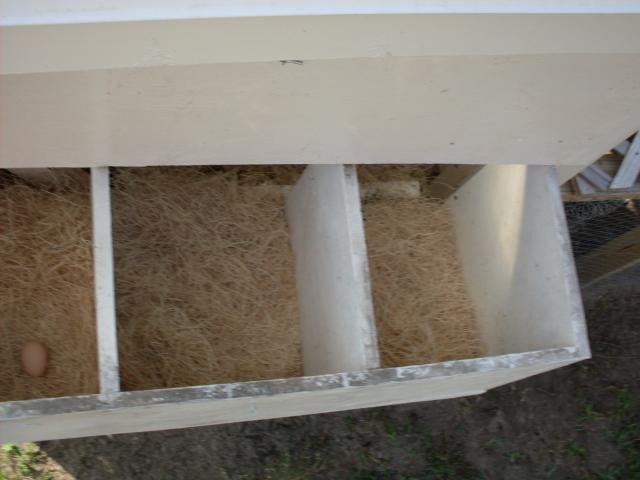
It is a 3 hole nestbox with nest hay in them.
These are some outside pics of the nestboxes. The nestbox has 3 hinges on top of the door to help lift up the top of it. There is also a handle that we put on it and a latch the we can hook on at night to keep the pedators from getting in. The nestbox is 12" from top to bottom, 12" from the 1st pic left to right and from the 2nd pic it is 36" across.
I think Dixie aproves.
Here is the door at the back of the coop where I clean out their droppings.
It has a easy hatch to lock and unlock and open and close. It has 2 hinges on the side as you can see. The door is 38" across and 26 1/2" from the top of the door to the bottom of the door.
We also put one board on the top inside of door and the under inside of the door to provide extra strength for the door so it won't be very wobbly.
Now to the roost:
Here is the roost (sorry about the poop there). The roost is made up of 3 roosting rods that can be easily found at Home Depot or Lowes. Also 1 2'x4' on each side of the roosts to old them in place.
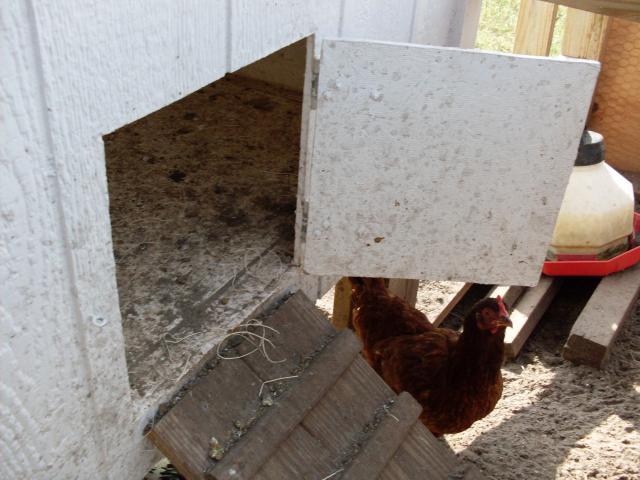
Here is the door the chickens come out of in the morning. It is a 12" by 12" door that is easily open by a hinge that we lock up at night.
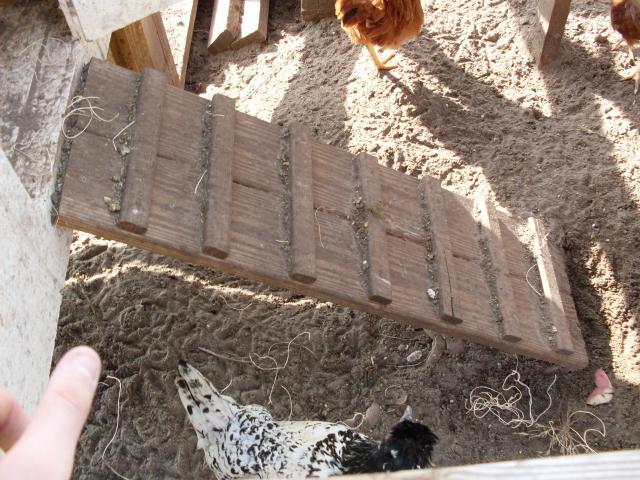
They have to get down from the door to the ground somehow. Well we have a ladder from the door to the run that is 36" long.
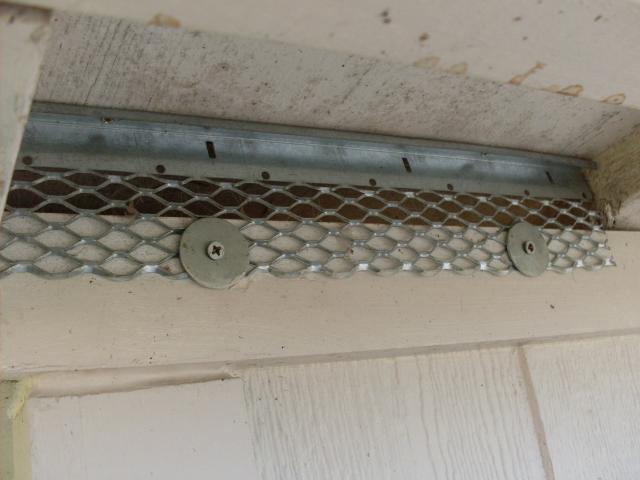
Here is how they get the air flowing in their coop. The small metal sheets run across the top of the coop that let the air flow through into the coop. We have three of these running across the top of the coop.
Here is the top of the roof and and what we use to cover it.

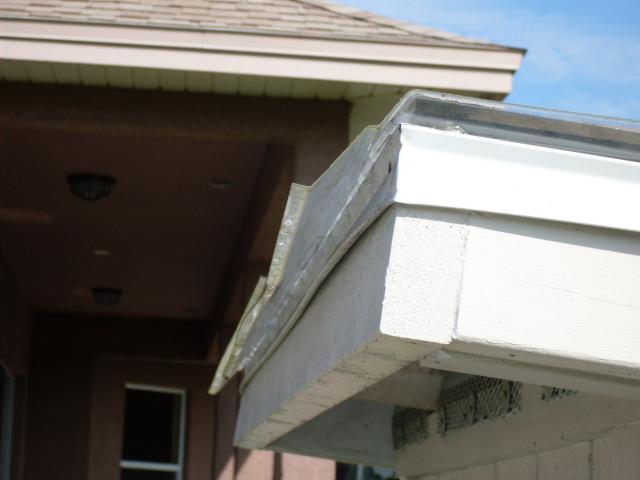
Here is the top of the coop where the roof is. There is a skylight but you can not see it in this photo. We used plastic roof panels to cover the top of the coop from rain and other things.
Now lets get onto the run. Our run is just panels put together. We made 1 2'x8' and a few 2'x4's and made 3 panels. Here is a pic of the run.
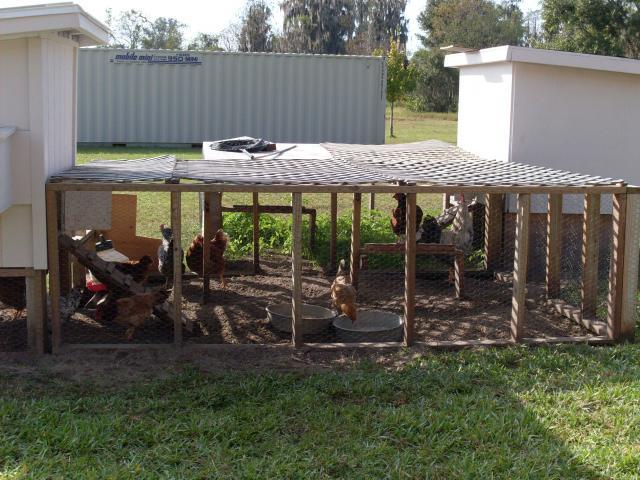
The top of our run is made up of lattice wood. We have 3 panels of the lattice wood. 2 of the panels are 8'x8' and the other panel is 4'x8'. My dad designed the run himself. The run is a 10'x8' run. My dad did a great job designing the run. Here is the lattice wood on top on the run.

Now part of the run is very important. When we built the coop we built it 17" off the ground on stilts in a way. and so the hens and roos wion't get out of the run we had to make and attach these to the run under the coop.


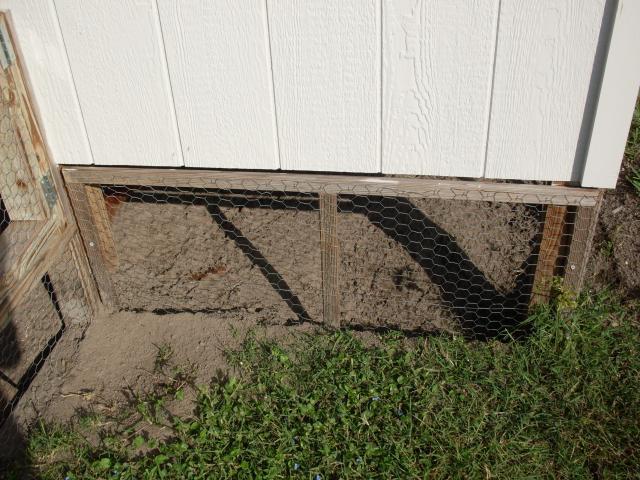
These panels are one of a kind. Of course my dad made and designed them himself. He did a great job. All 3 of the panels are 4'x17".
Last but not least we have the door on the side of the run.
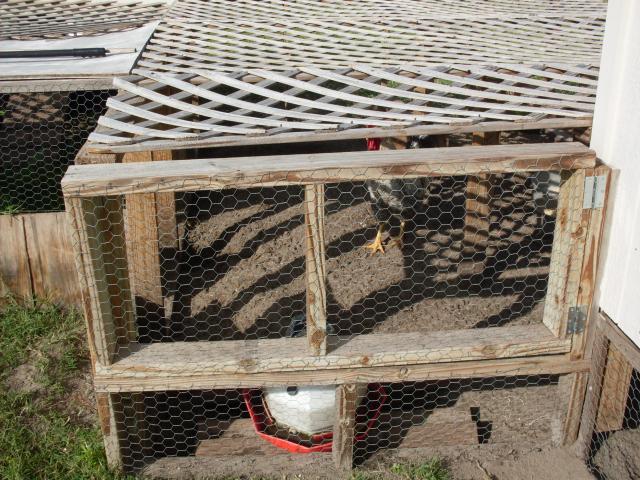
When I open the door I can get access to change their water easily and change their food. There are 2 hinges that allow me to open the door. Of course my dad designed this himself too.
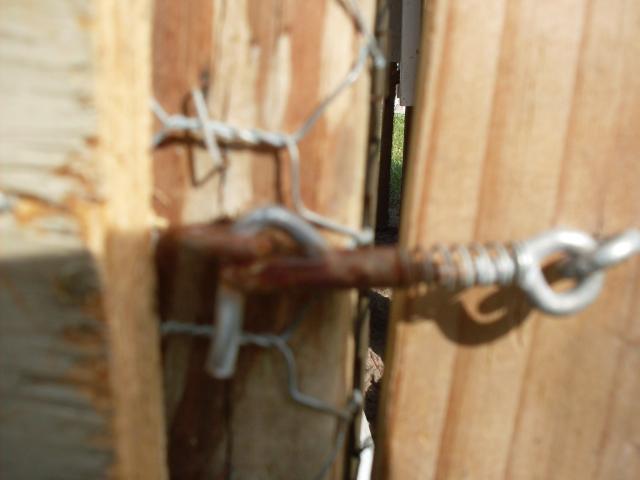
Here is the lock that can be easily undone and this keep the door closed.
Overall we did great making this coop. My dad made great designs putting it all together and I helped him through out the process. Since we went over all things on the coop lets get a couple pics of it all together. Here are the pics.
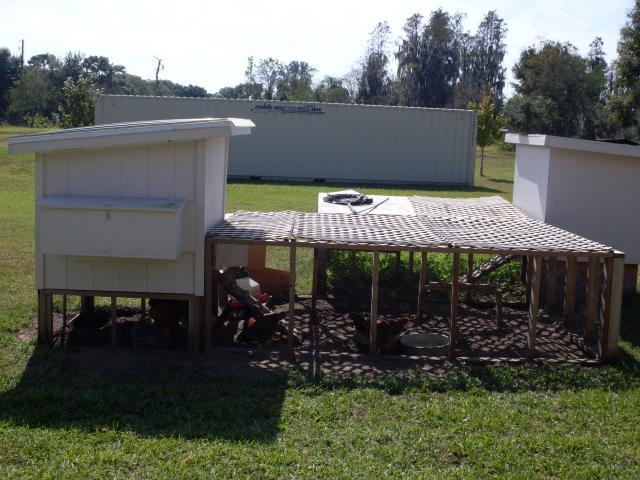
I think the girls and Bucky like the coop and run too.


If you want to get the plans for this coop or learn more about go to this link. The plans are free and you can print the plans off of your computer.
http://poultry.purinamills.com/NUTRITIONMANAGEMENT/HenHouseHutchDesign/default.aspx
Thanks for looking!!!

