The working-title of this article was "You took HOW MANY fertilized eggs to school ???"
There's nothing quite like a minor crisis to move the progress-meter along at a brisk pace. In this particular case, Migraineman Jr. had asked if he could take some fertilized eggs to school to for the incubator they were running in his science class. It didn't occur to me to place an upper-limit on how many he could take. The school had previously used a smaller 12- or 15-slot incubator, with poor results. This year, however, they had borrowed a professional 48-slot unit. MM Jr. knew of the previous low-success numbers, and just kept bringing in eggs until they were full. We estimate he took 22 eggs.
Weeelll, hatching-time rolls around, and of the 43 eggs students had contributed, 37 were viable and produced fuzzbutts. 18 or 19 of those were attributed to us. Unbeknownst to me, but knownst to MM Jr., there was an expectation that we would take our new flock home with us at the end of the semester ... just a few weeks away.
On pickup day, the teacher chose to adopt two of ours, leaving us with a tote containing 17 new residents for Migraine Manor.
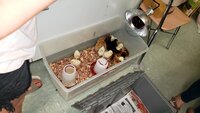
We broke out the 4-ft storage tote and re-implemented the brooder in our garage. Knowing that the chickies would outgrow this space quickly, we set to converting a storage area under a shelf in our main coop's feed room into a larger 3ft x 8ft brooder. The chickies were relocated to this space almost immediately. We don't normally have power in the coop, so we employed a long extension cord on a temporary basis.
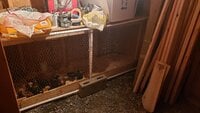
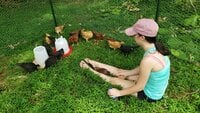
We already had 12 birds in the "adult" flock, and the main coop was overcrowded when we had 15 birds in there, so the obvious solution was ... build another coop! (Chicken Math appears to apply to coops as well.) As we hadn't really planned to be expanding our flock, previous commitments imposed time-constraints on getting a new coop in-service. Chickies were growing like weeds - Miss Migraine took them out for field trips on a regular basis while I was working the CAD system making drawings for their new home.
We designed a minimal-materials structure that is built more like an airplane or boat than a building. The structure was completely assembled and finished in a single, very long, weekend.
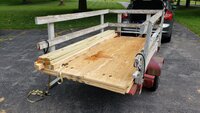
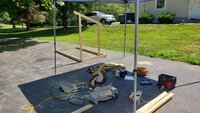
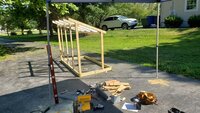
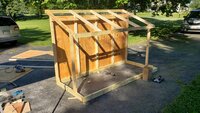
It might seem odd that the walls aren't being fabricated flat on the ground and then erected. That's a "platform framing" method used on houses. In the fourth photo, above, the sheathing is a shear member applied after the studs are installed to keep the structure from racking. There are no "header" plates along the top - the roof joists bear directly onto the vertical studs. Roof loads across the back are transferred to the corner posts via a box beam across the nesting box area.
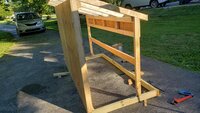
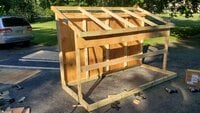
The nesting box floor went in next, with a vertical shear-plate underneath to give the rear of the structure some rigidity.
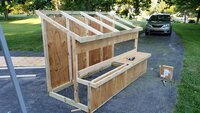
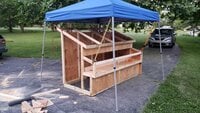
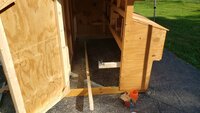
Side plates and a door were added to complete the enclosure. The large door makes it easy to get into and out-of the coop while doing maintenance (i.e. "shoveling chicken poo.")
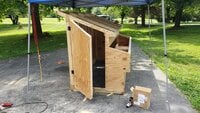
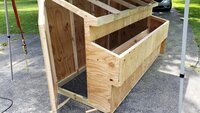
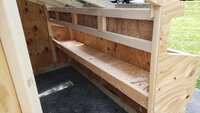
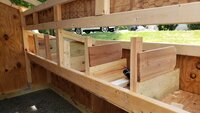
Here you can see the box-beam header above the nesting boxes. We added simple dividers made from scraps of 1x6 fence boards. The access doors for the nesting boxes run full-span, and are reinforced with a perimeter frame to keep the plywood from warping and not-sealing.
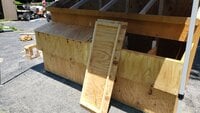
The "front" of the coop is equipped with a NPMA (Non Pressurized Mating Adapter) compatible with that described in the Coopricorn One article.
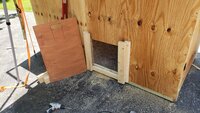
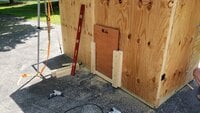
Roofing is standard asphalt shingles. We used 1/2" plywood as sheathing, and short 3/4" roofing nails, but you still need to watch your head on the slightly-exposed nails that penetrate through. It hasn't been an issue for us, but I might recommend glueing on a layer of 3/4" polystyrene sheet insulation on the bottom of the roof sheating to prevent cranium-on-nail pokeage. The roosting bar runs the length of the coop, and is supported on cantilever beams at the ends. We added joist-hanger "sockets" at each end to constrain the 2x3 bar, but allow the bar to be completely removed during maintenance cycles. This has proved to be a remarkably nice feature. The birds have bashed-around enough to knock the roosting bar off the sockets, so we retain it with a small length of 1/4" cord at each end. Just loosen the cord to remove the bar.
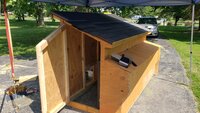
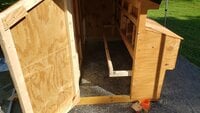
After staining the whole structure with a mop, we shoved a hand truck under one side and gave the whole thing a huge shove across the yard. It's not a feather-weight structure, but two adults can move it handily.
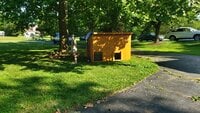
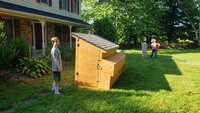
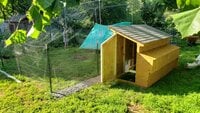
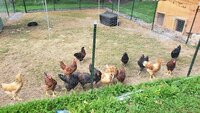
While I don't consider this to be an extraordinarily complex build, order-of-operations and attention-to-detail were key to completion in the time available. Our new chickies seem to be enjoying their new home. Chickpocalypse ... managed.
