The Clucking Club-bana

We started researching coop designs on BYC at length wanting to make the perfect (or almost perfect) home for our girls. After many hours of research a spiral notebook and two pencils, our younger son and I finally came up with a design we thought would suit our chickens best.
We decided on the following:
4' x 6' in size (build 2 feet off the ground, so the chickens can use the space under it for protection)
4' Wall height
3 windows (2 on the front -south facing side and 1 on the west side over the chicken door)
3 nesting boxes
Ability to have electricity
3 Roosting bars/poles
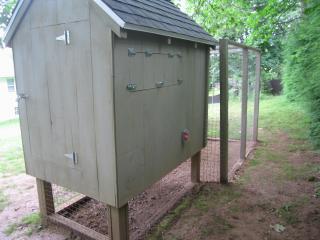
Egg Door (for collecting eggs without going into the coop)
Door big enought for us to access inside of coop for cleaning
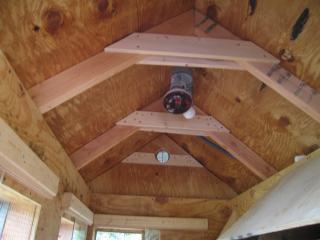
Roof pitch is 12" x 12" (making the peak height 6' inside the coop)
We began building the coop the 2nd week of March, and knew we had to get it outside before the chicks arrive on April 17th because of the sawdust, and the space the building process took, was where the brooder was to go.
My husband and I worked on the coop everynight after dinner, until about 8:30 or 9:00 in the evening, depending on how much noise we were making, as we didn't want to keep the neighbors awake, and every weekend. We built the base (floor/platform) first. We used 4" x 4" preasure treated posts, boxed out with preasure treated 2" x 4" for the frame and support beams. The floor is 3/4" plywood over 1/2" of preasure treated plywood.
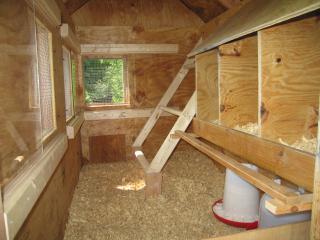
Each side wall was framed with 2" x 4" set 16" on center. The walls are insullated with R-15 insulation. Each of the windows is boxed out, and covered with 1/2" garden cloth secured under the inside plywood, and outside barnboard (for double predator protection). The windows on the inside have sliding plexiglass panels. We also have plexiglass panels to secure to the ourside of the windows for the winter, to assist in draft reduction. We also vented the eves for additional airflow.
The roof is shingled with architecture shingles. The outside barnboard is stained with beechwood tinted stain.
Here is our completed coop:We decided on the following:
4' x 6' in size (build 2 feet off the ground, so the chickens can use the space under it for protection)
4' Wall height
3 windows (2 on the front -south facing side and 1 on the west side over the chicken door)
3 nesting boxes
Ability to have electricity
3 Roosting bars/poles
Egg Door (for collecting eggs without going into the coop)
Door big enought for us to access inside of coop for cleaning
Roof pitch is 12" x 12" (making the peak height 6' inside the coop)
We began building the coop the 2nd week of March, and knew we had to get it outside before the chicks arrive on April 17th because of the sawdust, and the space the building process took, was where the brooder was to go.
My husband and I worked on the coop everynight after dinner, until about 8:30 or 9:00 in the evening, depending on how much noise we were making, as we didn't want to keep the neighbors awake, and every weekend. We built the base (floor/platform) first. We used 4" x 4" preasure treated posts, boxed out with preasure treated 2" x 4" for the frame and support beams. The floor is 3/4" plywood over 1/2" of preasure treated plywood.
Each side wall was framed with 2" x 4" set 16" on center. The walls are insullated with R-15 insulation. Each of the windows is boxed out, and covered with 1/2" garden cloth secured under the inside plywood, and outside barnboard (for double predator protection). The windows on the inside have sliding plexiglass panels. We also have plexiglass panels to secure to the ourside of the windows for the winter, to assist in draft reduction. We also vented the eves for additional airflow.
The roof is shingled with architecture shingles. The outside barnboard is stained with beechwood tinted stain.
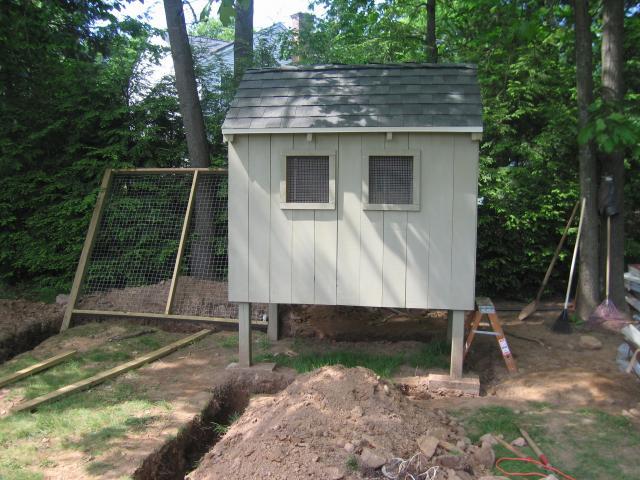
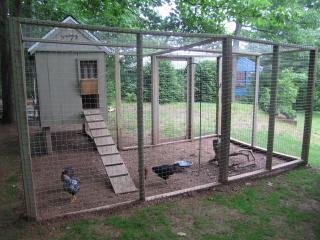
At this point we still had to complete the outside run. Living in New England, with every attempt to put the shovel into ground to dig the trench to put the fencing in, we hit stone, boulders, and tree roots. Needless to say, the outside run took us 5 days longer than originally anticipated. Our two college student sons didn’t appreciate this as their homecoming for the summer. But we were desparate to finish the run, as the chicks had already spend 5 day in the coop after being moved from their boxes in the garage.
We dug the trench 18" deep and 12" wide. It runs 8' wide from the side of the coop, and 16' long. The vertical side posts of each panel and the bottom support are all pressure treated 2" x 4"s. We used 2" x 2" garden wire for the screening. This is propable the only thing we didn't do well. When it needs to be replaced, we will use 1/2" garden cloth.
As we up-righted and set each panel into place, the bottom screening lined the trench (18" deep x 12" out - away from the run). We then filled the trench in with rocks and boulders. We did the same around the bottom of the coop, so the chickens will have access to that space, for shade and shelter from rain and snow. The fover of the run is the same 2" x 2" garden wire.
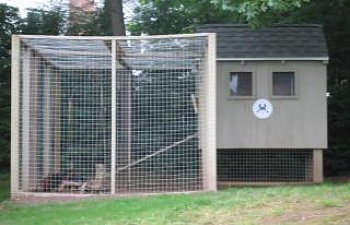
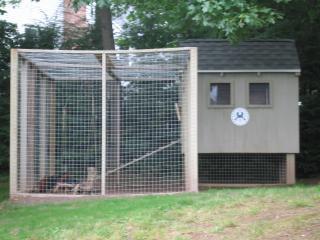
Here is the completed run and coop.
We dug the trench 18" deep and 12" wide. It runs 8' wide from the side of the coop, and 16' long. The vertical side posts of each panel and the bottom support are all pressure treated 2" x 4"s. We used 2" x 2" garden wire for the screening. This is propable the only thing we didn't do well. When it needs to be replaced, we will use 1/2" garden cloth.
As we up-righted and set each panel into place, the bottom screening lined the trench (18" deep x 12" out - away from the run). We then filled the trench in with rocks and boulders. We did the same around the bottom of the coop, so the chickens will have access to that space, for shade and shelter from rain and snow. The fover of the run is the same 2" x 2" garden wire.
Here is the completed run and coop.

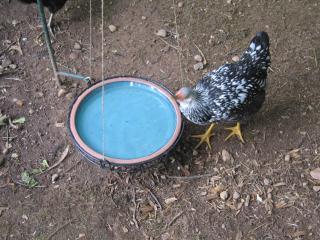
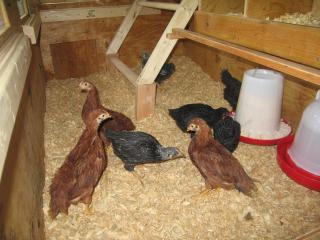
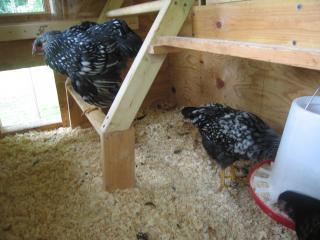
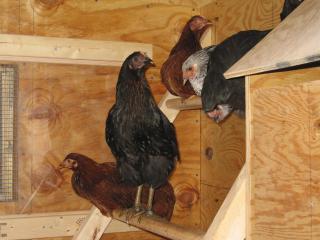
Here the girls are enjoying their new home.