Don B's Coop
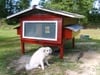
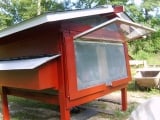
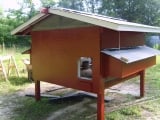
The concept for my coop started out as a chicken tractor. I had looked at some pictures online, and started designing an elevated coop. I had no idea that it would end up being too large and too heavy to move around the yard! So, to begin with a picture of the (almost) finished product, here is what it looks like: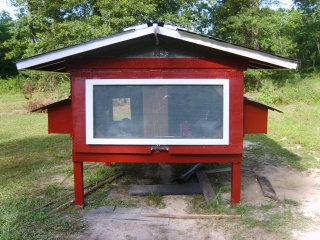
The main structure is formed by 4x4 uprights placed 6 feet apart. The floor is 2 feet off the ground, and the peak of the roof is nearly 7 feet high.
I put two extensions on the sides to contain the nesting boxes. Below is one assembly ready to be attached.
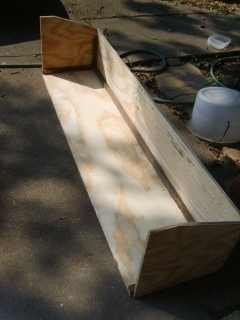
I am putting 4 nests on each side. The roofed lids of the nest boxes are hinged, and lift up from outside for egg gathering.
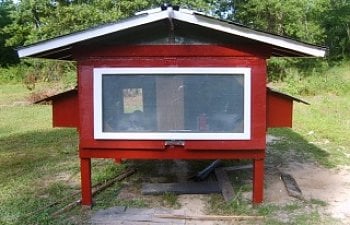
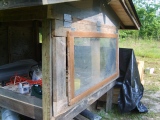
The glass window is screened, and can be propped open for extra ventilation in hot weather (we are in Louisiana).
The frame surrounding the window is also hinged at the top to open for us to have access to the interior.
Most of the material for the frame was salvaged from our greenhouse that got beaten up by Katrina. The nest boxes, floor and roof are all exterior grade 1/2" plywood. Look closely in the above photo, and you can see that I made the floor to be a slide-out tray to allow for easy cleaning. I will cover the floor with a piece of linoleum to make it moisture-proof.
The glass window was salvaged from Dad's attic, and a lot of the hardware (hinges, etc) was stuff that I had also gotten from my Dad's attic (legendary for its contents) when he and Mom were downsizing. Thank you, Dad!

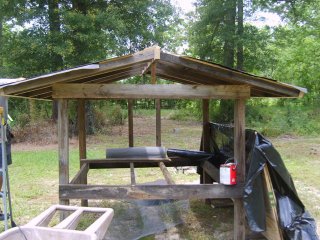
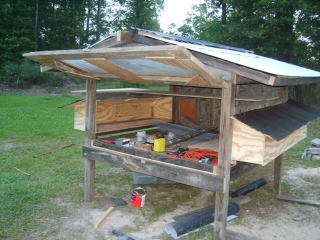
Here is some of the framing detail. I built in a ridge vent, and covered it (as well as all other vents) with window screen and 1/2" X 1/2" weld wire hardware cloth. This will keep air flowing through, and keep mosquitoes and predators out.
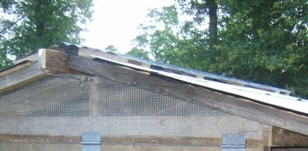
I added spacers on top of the rafters, and then covered the ridge vent with corrugated sheet metal, which overlaps the plywood and shingles by about 6 inches. You can also see the screened vents in the gable.
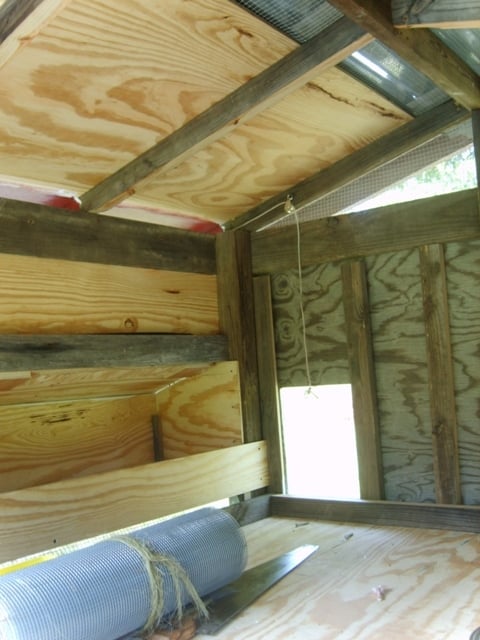
Below is a picture of the interior showing some of the key design elements.
The pulleys and rope will operate the pop door which slides in rabbets made in the upright frame. The nest boxes are attached to the 4x4 frame, and rest on a horizontal 2x6 that runs between the uprights. I added a piece of plywood to the interior edge of the nest boxes to hold in the nesting material. Beneath this is a gap for ventilation (screened). This plywood will be lowered in winter to restrict airflow, and retain warmth. The ridge vent is visible at the top.
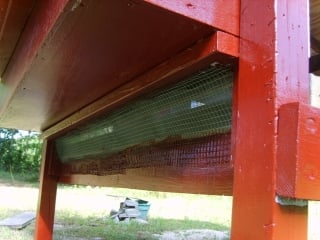
Below is a view of the vent gap from outside - below the nest box. You can see the 2x6 (mentioned above) that supports the nest box here, as well.
The view from the other side shows the pop door opening. I have a 2x12 fitted with traction strips for the entrance ramp that will attach just below the pop door.
So, I have a few finishing touches to put on the coop. I need to put in the plywood to separate the individual nests, and I will put 3 roosts across, just above the nests.
I did a lot of reading and drawing, and I am pretty pleased with my results. I hope some of you are able to use some of the ideas I used here.
Now, my dog Dorrie is waiting for the chicks to arrive!!!