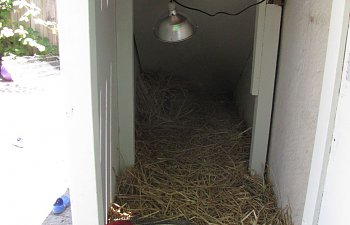
This winter we knew it was time for a change. Our 3 runner ducks were almost 3 years old, we were thinking about adding 2 more ducklings to our flock and we didn't want to go another winter with a leaky coop. Our old coop was under our back stairs, and since we had just enclosed the steps and porch over cement, it leaked where the walls met the floor, where the walls met the roof, and through the roof as well. It was very predator proof, and worked OK since we just used a sub floor raised on bricks to give the girls dry bedding in our rainy California winters. However we wanted a water tight new coop that could be moved. Our girls were good about walking from their day time run to the coop each morning and evening, but having a coop right next to their run would be so much more convenient!
Here is our old run back when our original 3 ducks were still young enough to need a heat lamp at night. (now we use shavings as their bedding)

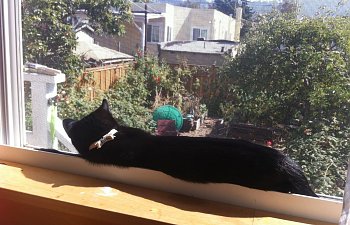
Here is our little city garden where we wanted to add a coop:
The duck run is on the right under the apple tree and we wanted to put the coop there. On the left you can see our new fence. We saved the boards from the old fence. It was probably at least 70years old, 4 feet high with old growth redwood boards that fit together with tongue and groove. That was our starting place for the coop. We knew we wanted the sides to use the old fence boards. We also knew we wanted it to be 4'x5', have a separate door for egg collecting and a roof that lifts for ease of cleaning. We decided on an A frame roof with one side on hinges.
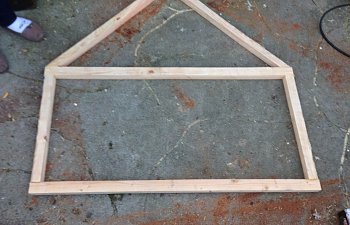
First we built the frames for the walls using split 2x4s.
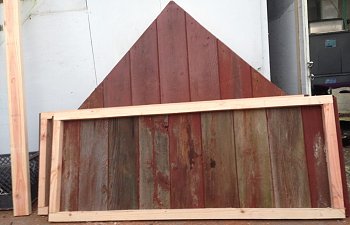
Then we screwed the fence boards to the 4 frames lining up the best quality parts of each board and using the tongue and groove to fit them together.
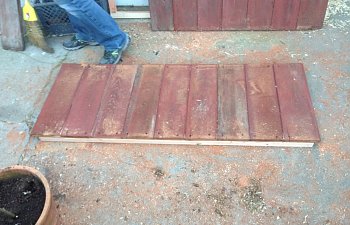
Next we cut the boards to fit the frames:
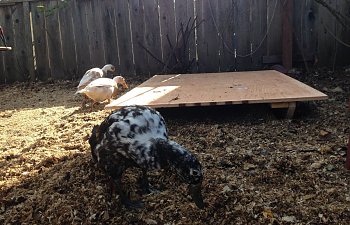
We built the floor using 3/4" plywood on 2x6 runners so it could be moved if necessary. Here it is in location checking for fit, of course the girls had to check it out too.
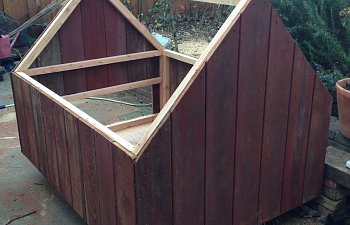
Then we screwed the walls to the floor and added a 2x4 roof beam. Notice that we framed in and cut out the two doors first.
The long door is on the side for egg access and pushing out bedding. The smaller, taller door is in the front and is for the girls to access their run.
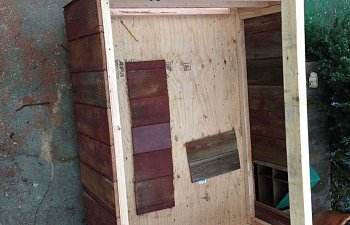
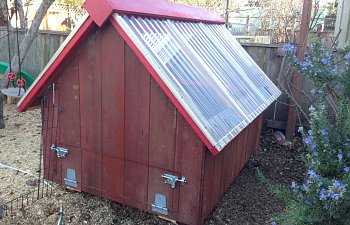
I don't have more in progress pictures but what we did was build frames for the roof. One side is attached to the beam with hinges so it lifts up entirely. The doors were attached to the bottom of their frames so they both swing down. Our roof is clear roofing material that is sturdy and lets in light for maximum egg laying and duck spying. Here it is in position. The door you can see here is the one we use to collect eggs. The "egg box" is just two pieces of plywood in an L shape so that one is on the floor of the coop and the other makes a wall to give our girls a sense of nesting area between the plywood and the wall with the egg door. Not shown here are the 3, 2" air vents added under the eaves on both sides for ventilation. They are covered in Hardware cloth for safety.
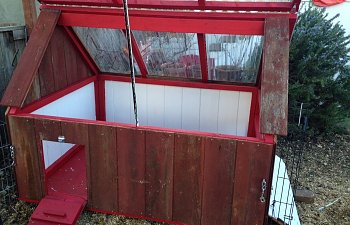
Here it is with the roof and both doors open after we painted the inside but before we added the linoleum floor.
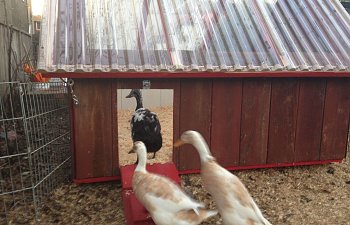
Here are the girls checking out their new coop for the first time:
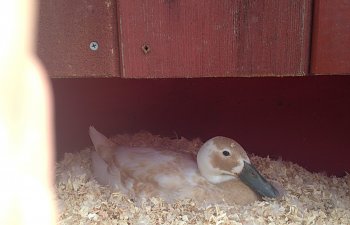
The coop has worked out really well for us so far. We built it in February and one of our girls showed us how much she loved the new coop, (and having daytime access to a coop) by going broody for the first time.
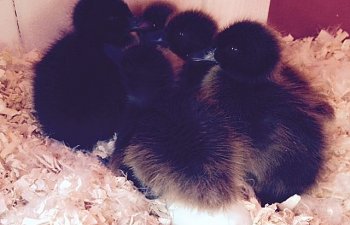
We switched out her infertile eggs for fertile ones and she hatched out 5 babies!
We have kept 2 and our flock of 5 is doing well in their new coop!
Here is our old run back when our original 3 ducks were still young enough to need a heat lamp at night. (now we use shavings as their bedding)
Here is our little city garden where we wanted to add a coop:
The duck run is on the right under the apple tree and we wanted to put the coop there. On the left you can see our new fence. We saved the boards from the old fence. It was probably at least 70years old, 4 feet high with old growth redwood boards that fit together with tongue and groove. That was our starting place for the coop. We knew we wanted the sides to use the old fence boards. We also knew we wanted it to be 4'x5', have a separate door for egg collecting and a roof that lifts for ease of cleaning. We decided on an A frame roof with one side on hinges.
First we built the frames for the walls using split 2x4s.
Then we screwed the fence boards to the 4 frames lining up the best quality parts of each board and using the tongue and groove to fit them together.
Next we cut the boards to fit the frames:
We built the floor using 3/4" plywood on 2x6 runners so it could be moved if necessary. Here it is in location checking for fit, of course the girls had to check it out too.
Then we screwed the walls to the floor and added a 2x4 roof beam. Notice that we framed in and cut out the two doors first.
The long door is on the side for egg access and pushing out bedding. The smaller, taller door is in the front and is for the girls to access their run.
I don't have more in progress pictures but what we did was build frames for the roof. One side is attached to the beam with hinges so it lifts up entirely. The doors were attached to the bottom of their frames so they both swing down. Our roof is clear roofing material that is sturdy and lets in light for maximum egg laying and duck spying. Here it is in position. The door you can see here is the one we use to collect eggs. The "egg box" is just two pieces of plywood in an L shape so that one is on the floor of the coop and the other makes a wall to give our girls a sense of nesting area between the plywood and the wall with the egg door. Not shown here are the 3, 2" air vents added under the eaves on both sides for ventilation. They are covered in Hardware cloth for safety.
Here it is with the roof and both doors open after we painted the inside but before we added the linoleum floor.
Here are the girls checking out their new coop for the first time:
The coop has worked out really well for us so far. We built it in February and one of our girls showed us how much she loved the new coop, (and having daytime access to a coop) by going broody for the first time.
We switched out her infertile eggs for fertile ones and she hatched out 5 babies!
We have kept 2 and our flock of 5 is doing well in their new coop!