Welcome To Ema's Chicken Express
My name is Ema and I am the proud Mommy of 21 Red stars. Combining all my animals in total I have 31 and still not done. I have three children, 2 boys and a girl, and a very hard working and supportive husband. We live in Northern Ontario Canada where the winters are long and frigid, springs are super short and summer season is filled with tons of bugs. So yes, it snows for 8 months of the year, rains for 2, and the other 2 we jokingly call it black fly season!!!
We moved into this farm 5 years ago with the intentions of building it into a self sufficient farm where we can grow / raise our own food. We are starting out finally with these beautiful chicks and then moving to building greenhouses and maybe adding a goat and a cow as well. In the very near future I would love to add more fruit trees and bushes, and learn beekeeping. My hopes is that one day soon I might be able to run a small farm store selling naturally hand made soaps and lotions, basketfuls of berries, fruits, and vegies and of course farm fresh eggs...well at least what will be left over after we get ours")
Our coop is built right into the barn, our winters are very cold with strong gusting winds and I live in a very open area. The coop being built inside the barn gives the chickens extra protection from the elements yet provides them with more ventilation aswell. It also provides them with a more sturdy structure to protect them from Predators, we have many animals where we live, bears, wolves, foxes, bobcats, cougars, lynx, Eagles, hawks, Owls, many different weasels too. Of course we have moose and wild grouse,partridge, pheasants, quails, ducks, and every summer we have 2 cranes that come visit us for a month or so. Anyhow, once the coop is done a little door will give my chickens access to a very large run that is also predator proof, well to the best we can anyhow.
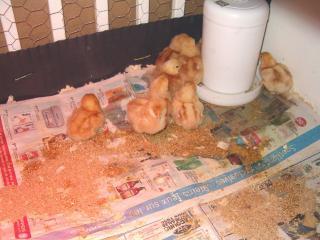
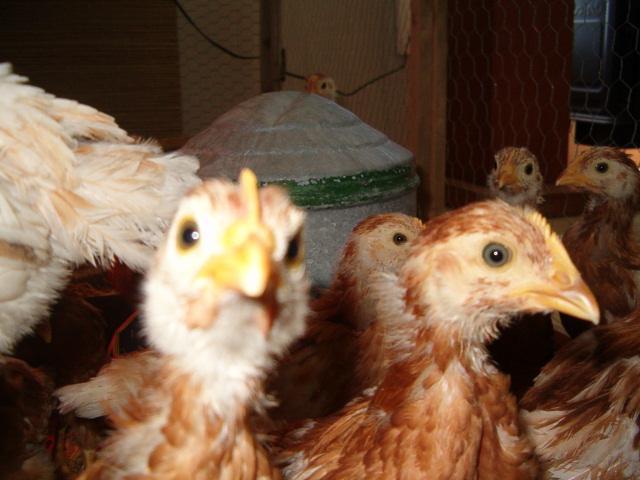
 These are my 2 day old red stars checking out their home made waterer I made. As you can see I accidentally knocked it over, spilling water everywhere. I quickly cleaned it up and provided them with a dry area again. Oh there are 21 BTW. So adorable!!
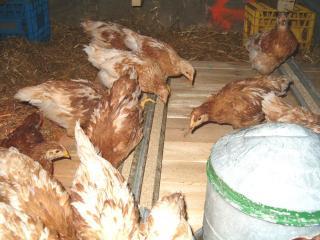
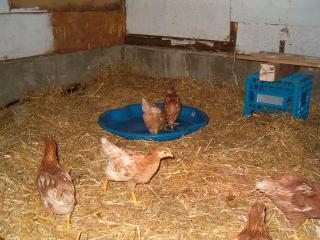
Now 4 weeks old and curious as ever.
My name is Ema and I am the proud Mommy of 21 Red stars. Combining all my animals in total I have 31 and still not done. I have three children, 2 boys and a girl, and a very hard working and supportive husband. We live in Northern Ontario Canada where the winters are long and frigid, springs are super short and summer season is filled with tons of bugs. So yes, it snows for 8 months of the year, rains for 2, and the other 2 we jokingly call it black fly season!!!
We moved into this farm 5 years ago with the intentions of building it into a self sufficient farm where we can grow / raise our own food. We are starting out finally with these beautiful chicks and then moving to building greenhouses and maybe adding a goat and a cow as well. In the very near future I would love to add more fruit trees and bushes, and learn beekeeping. My hopes is that one day soon I might be able to run a small farm store selling naturally hand made soaps and lotions, basketfuls of berries, fruits, and vegies and of course farm fresh eggs...well at least what will be left over after we get ours
Our coop is built right into the barn, our winters are very cold with strong gusting winds and I live in a very open area. The coop being built inside the barn gives the chickens extra protection from the elements yet provides them with more ventilation aswell. It also provides them with a more sturdy structure to protect them from Predators, we have many animals where we live, bears, wolves, foxes, bobcats, cougars, lynx, Eagles, hawks, Owls, many different weasels too. Of course we have moose and wild grouse,partridge, pheasants, quails, ducks, and every summer we have 2 cranes that come visit us for a month or so. Anyhow, once the coop is done a little door will give my chickens access to a very large run that is also predator proof, well to the best we can anyhow.
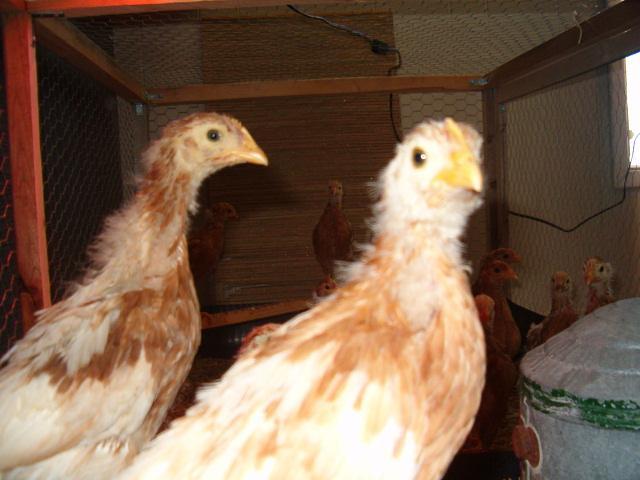
Now 4 weeks old and curious as ever.
Chicken Coop & Run Design On Dime (kind of)
List of Items we used: We strived to keep a low budget for our coop and run design. We gathered pallets from hardware stores that were being thrown out. We only took the ones that were in good shape.
The 2x4's we used were recycled from an old shed we had in the back that was falling apart.
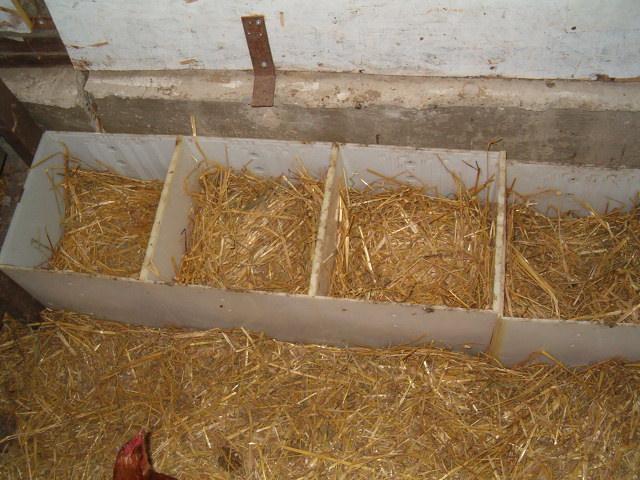
The roofing Tin was also recycled, it was found laying about on our land. Screen netting was bought years prior for a screened patio that never took shape. And the hinges were already on a cupboard door / old wooden door we had removed from our house during reno's. The heat lamp and Dome were originally from our reptile but we kept after he passed away.The nesting boxes were a great find. During a shopping trip to our local walmart the L'Oreal makeup display cases were being replaced and the old ones were going in the trash. The rep offered them to me free of charge and also gave 16 brand new ones as well. The SubEx meshing was given to my DH by his boss as they had a lot to spare.
Coop/Run:
Wood pallets in good repair
2x4x8's
roofing tin
4, 25ft rolls chicken wire (NEW)
T50 staples (10mm)
screen netting
Door bolt latch (NEW)
2 cupboard door hinges
2 heavy duty door hinges
Heat Lamp Dome and bulb
11 Nesting boxes - See above
SubEx meshing (used for road construction)
Construction Phase of coop/Run:
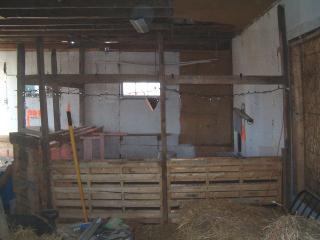
We made our coop 11x12 in size and inside the barn. DH started by screwing a 2x4x8 to the barn walls and then adding a pallet. In between each pallet he secured a 2x4 for extra support. at the top of the 2x4 he also secured 2x4's to one another. when the pallets were all put in and secured, he cut a pallet a bit smaller, added hinges to it and secured it as a door.
on the inside of the coop we secured the roofing tin to prevent bedding/rodents and pests from being able to get in. the outside of the pallets were left as they were for future painting.
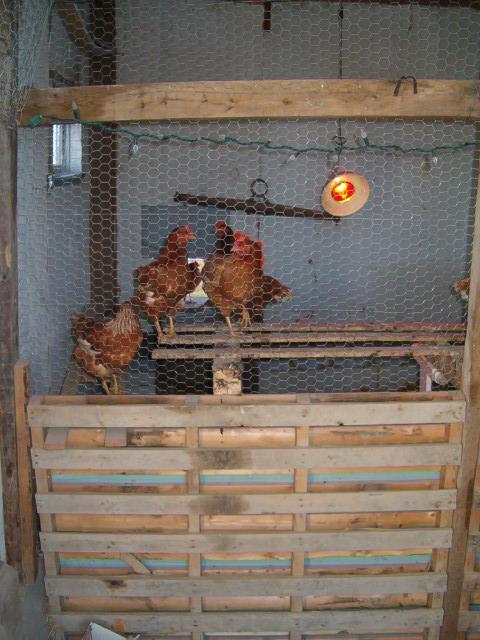
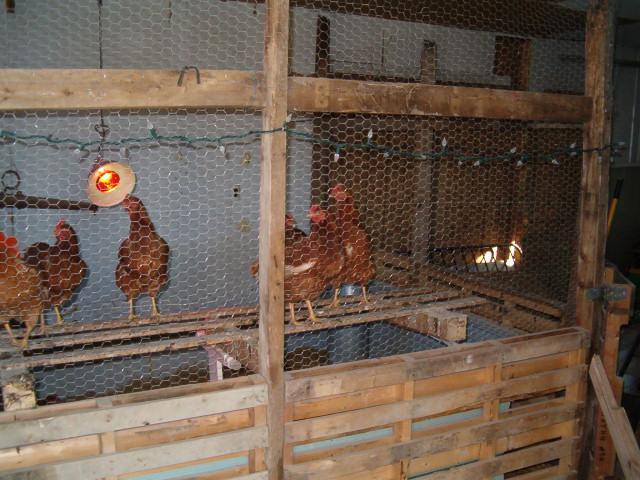
above the pallets we secured chicken wire to the top of the 2x4's creating 4 feet of pallet and 4 feet of chicken wire. We did this because it would ensure proper ventilation of the coop and because its inside the barn we weren't really worried about predators. But we do have a few field mice and moles which we did not want inside the coop.
we took 2 6ft long pallets and cut them length wise and secured them to the top of the pallets for the roosts.
on the top we added screen netting to prevent the girls from flying out. (we have since removed the netting as it was collecting too much chicken dust)
the heat lamp was hung in the middle of the coop with the wire being secured to the rafters above as well as to the roof joint and again to a hook near the plug.
We also purchased LED Clear Xmas lights to provide the chickens with a bit of extra lighting. they are not very bright but they do the trick. The lights go on at 530 am and off at 7pm. the barn gets real dark by mid afternoon so if they are going to stay indoors we decided to give them the small amount of light.
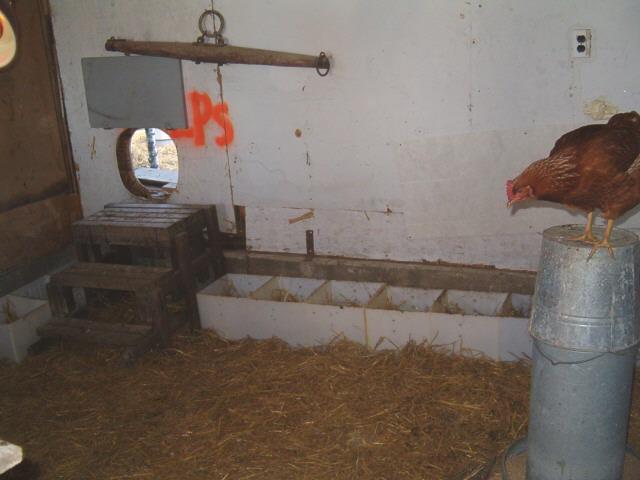
On the barn wall we cut out a round hole for the door. Currently we are using 2 cupboard doors hinged on the inside and outside of the walls. this still needs to be replaced with something a little more fancy, but it works quite well. Because we have bears and other large predators the pop doors are screwed shut every night.
We have just a regular thermometer hanging at the coop door so we can see what the temperature in the barn is.
we added a clean pallet on the ground off to the side and placed the feeder and waterer on top.Then added the nesting boxes which my girls just love!!
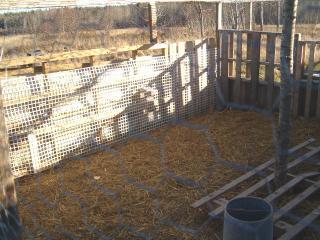
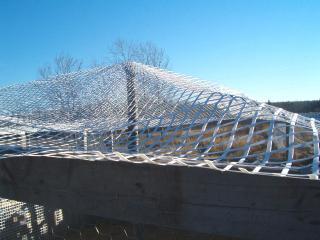
We built the run very much the same way. Added the SubEx as covering. SubEx is sharp so any small predators attempting to reach the chickens from the top would end up with cuts on talons/paws as SubEx is razor sharp (our chickens cannot reach the SubEx) The run top is peaked starting at a little over 5ft and peaking at 9 ft. We secured 2 ash tree trunks to the top and bottom to peak the top. we have a sand section that is roofed with wood and then tarped. The run was all grass at first, now its all mud, so we lay straw to keep mud down. Chickens get fresh grass daily and veggies. We are currently working on outside movable runs so the chickens can free range without the worry of foxes and bears etc.
For extra Protection the run was placed several feet form the Dog run to keep predators at bay.
Here are some pics of the run:
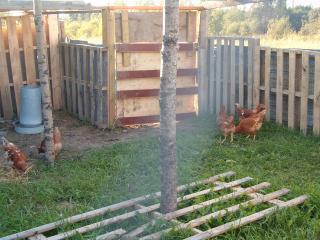
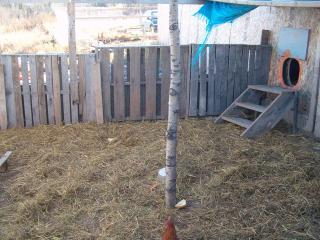
My youngest son watching the hens take their first gander at the run. And a pic of the temp pop door with a set of heavy wooden stairs found in the back of our land.
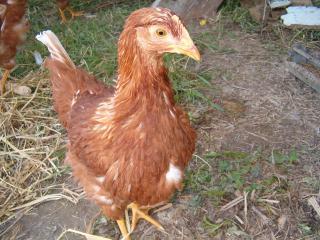
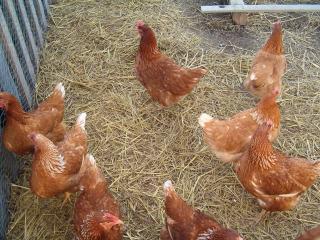
the pullets at 10 wks old, First day out in run. checking out the sand and eating grass.
Side views, Tin on the outside. Still needs to be painted.
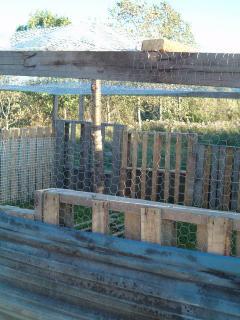
Inside view back and front of run.
View of top of run. SubEx Covering
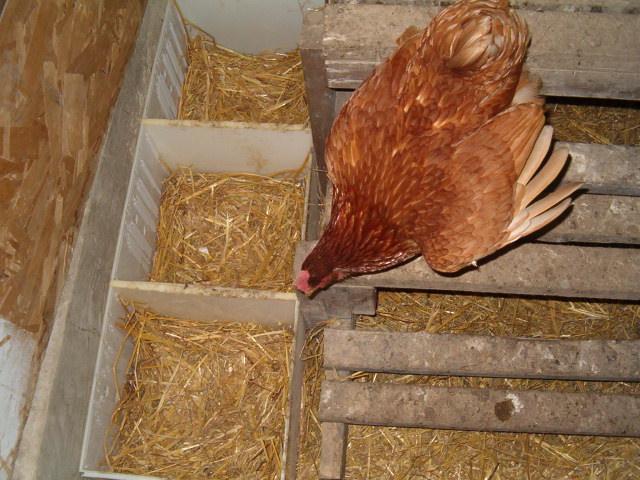
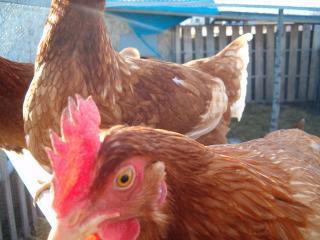
Pullet at 10 wks old.
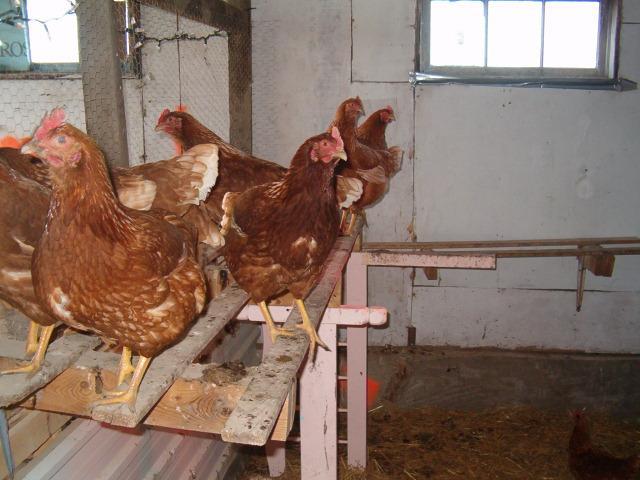
Hens at 23wks old
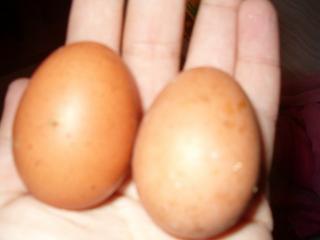
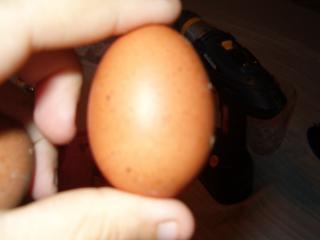
The first three Eggs my hens gave me at 17wks old!!! were super tiny but super yummy!!
The 2x4's we used were recycled from an old shed we had in the back that was falling apart.
The roofing Tin was also recycled, it was found laying about on our land. Screen netting was bought years prior for a screened patio that never took shape. And the hinges were already on a cupboard door / old wooden door we had removed from our house during reno's. The heat lamp and Dome were originally from our reptile but we kept after he passed away.The nesting boxes were a great find. During a shopping trip to our local walmart the L'Oreal makeup display cases were being replaced and the old ones were going in the trash. The rep offered them to me free of charge and also gave 16 brand new ones as well. The SubEx meshing was given to my DH by his boss as they had a lot to spare.
Coop/Run:
Wood pallets in good repair
2x4x8's
roofing tin
4, 25ft rolls chicken wire (NEW)
T50 staples (10mm)
screen netting
Door bolt latch (NEW)
2 cupboard door hinges
2 heavy duty door hinges
Heat Lamp Dome and bulb
11 Nesting boxes - See above
SubEx meshing (used for road construction)
Construction Phase of coop/Run:
We made our coop 11x12 in size and inside the barn. DH started by screwing a 2x4x8 to the barn walls and then adding a pallet. In between each pallet he secured a 2x4 for extra support. at the top of the 2x4 he also secured 2x4's to one another. when the pallets were all put in and secured, he cut a pallet a bit smaller, added hinges to it and secured it as a door.
on the inside of the coop we secured the roofing tin to prevent bedding/rodents and pests from being able to get in. the outside of the pallets were left as they were for future painting.
above the pallets we secured chicken wire to the top of the 2x4's creating 4 feet of pallet and 4 feet of chicken wire. We did this because it would ensure proper ventilation of the coop and because its inside the barn we weren't really worried about predators. But we do have a few field mice and moles which we did not want inside the coop.
we took 2 6ft long pallets and cut them length wise and secured them to the top of the pallets for the roosts.
on the top we added screen netting to prevent the girls from flying out. (we have since removed the netting as it was collecting too much chicken dust)
the heat lamp was hung in the middle of the coop with the wire being secured to the rafters above as well as to the roof joint and again to a hook near the plug.
We also purchased LED Clear Xmas lights to provide the chickens with a bit of extra lighting. they are not very bright but they do the trick. The lights go on at 530 am and off at 7pm. the barn gets real dark by mid afternoon so if they are going to stay indoors we decided to give them the small amount of light.
On the barn wall we cut out a round hole for the door. Currently we are using 2 cupboard doors hinged on the inside and outside of the walls. this still needs to be replaced with something a little more fancy, but it works quite well. Because we have bears and other large predators the pop doors are screwed shut every night.
We have just a regular thermometer hanging at the coop door so we can see what the temperature in the barn is.
we added a clean pallet on the ground off to the side and placed the feeder and waterer on top.Then added the nesting boxes which my girls just love!!
We built the run very much the same way. Added the SubEx as covering. SubEx is sharp so any small predators attempting to reach the chickens from the top would end up with cuts on talons/paws as SubEx is razor sharp (our chickens cannot reach the SubEx) The run top is peaked starting at a little over 5ft and peaking at 9 ft. We secured 2 ash tree trunks to the top and bottom to peak the top. we have a sand section that is roofed with wood and then tarped. The run was all grass at first, now its all mud, so we lay straw to keep mud down. Chickens get fresh grass daily and veggies. We are currently working on outside movable runs so the chickens can free range without the worry of foxes and bears etc.
For extra Protection the run was placed several feet form the Dog run to keep predators at bay.
Here are some pics of the run:
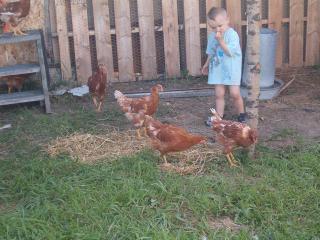
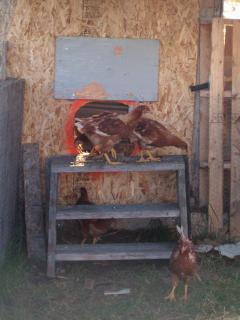
My youngest son watching the hens take their first gander at the run. And a pic of the temp pop door with a set of heavy wooden stairs found in the back of our land.
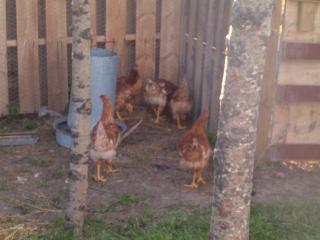
the pullets at 10 wks old, First day out in run. checking out the sand and eating grass.
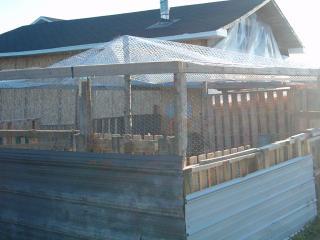
Side views, Tin on the outside. Still needs to be painted.
The first three Eggs my hens gave me at 17wks old!!! were super tiny but super yummy!!