I bought my chicks and hens thinking our new coop would arrive sooner than it did. But we got busy building a tractor and had two humungous totes we used for brooders. That took care of things temporarily. Within a week, I knew the chicks were outgrowing their brooder boxes. Yikes! So I got busy building a brooder pen in my regular shed. I actually built it on top of my work bench which is 6 ft wide by 3 ft deep. At the time, I was low on funds so I used whatever wood I had laying around. I had to be creative and I worried how I was going to do this. I don't have carpenter skills, but I do have a diy attitude that runs deep! It doesn't look like much, but it works great! (Until they outgrow it)! I built it using mostly screws for removal later.
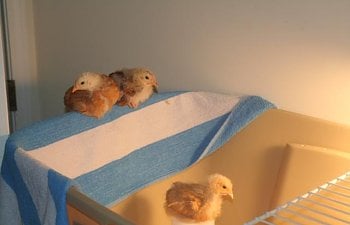
So I went from this:

To this:
They seem happy enough...Yeah!
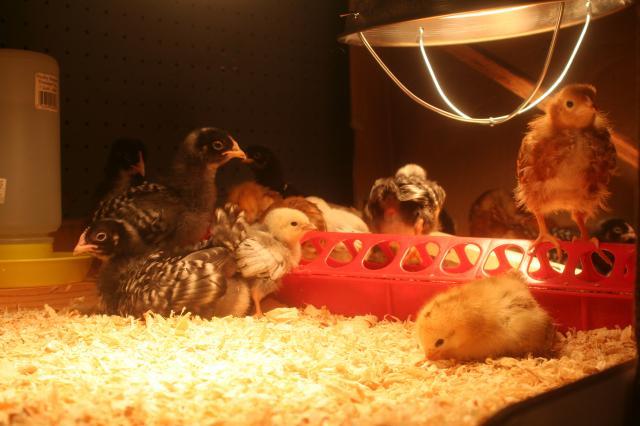
So far, I have 5 Black Sex Link hens that have just matured enough to lay. I have one Ameracuana hen who hasn't started laying yet. The 3 older chicks are Rhode Island Reds. The younger chicks consist of: 8 Barred Rock, Some Rhode Island Reds, 2 Columbian Wyandottes, 1 Cuckoo Maran, and some barn yard mixes. The mixes also have Buff Orpington in them and two really show it!
(I really want some Buff Orpingtons). Here of late I'm thinking of getting at least a couple more of the Ameracuanas as they are sweet and I want blue eggs! I really like the looks too! I didn't plan on the one, but the gal wanted to get rid of her. I begrudgingly took her and now she's my favorite!
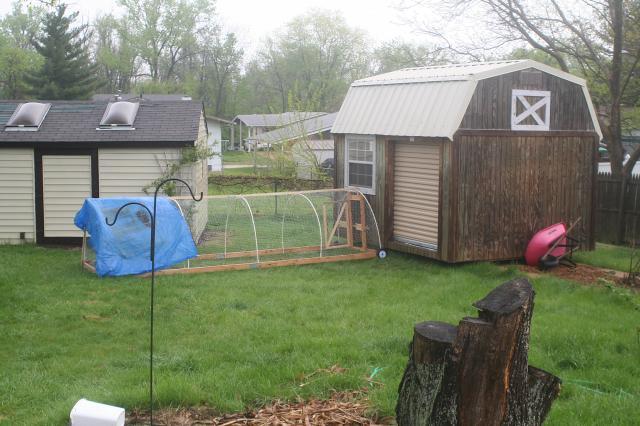
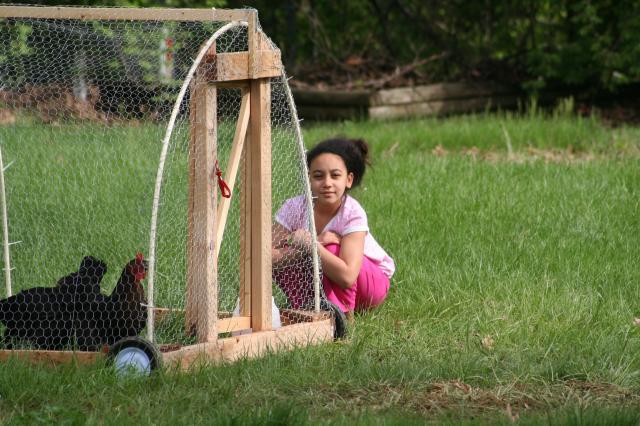
Here's the shed aka coop I bought from CL for $500 ($300 for delivery). In this picture, you can see the tractor my ex and the kids built for me.
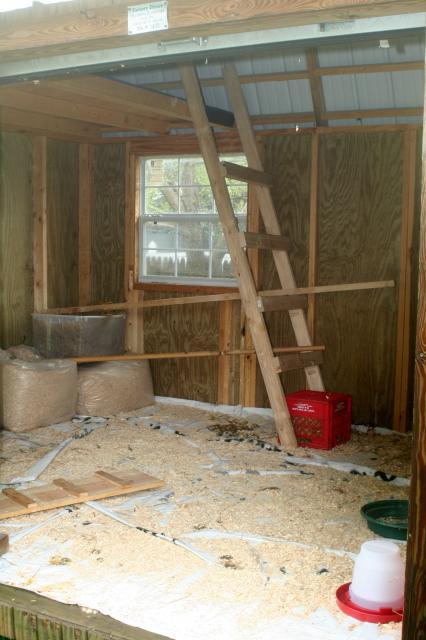
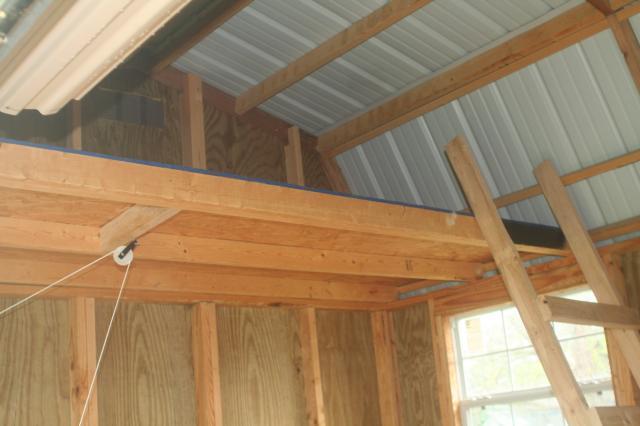
The kids built the chicken ladder and a ladder for the loft in the coop.
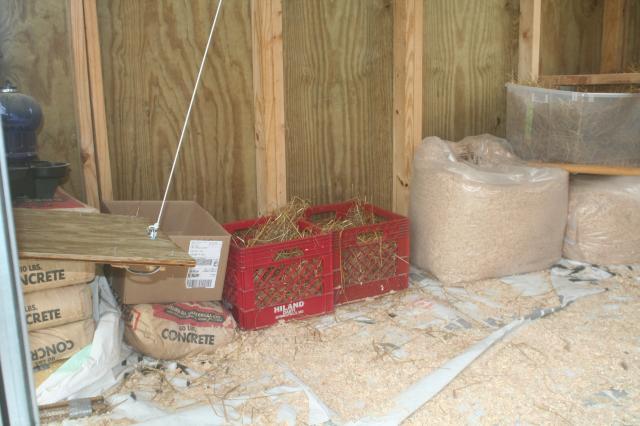
This isn't a permanent setup. I have 4 of these milk crates I use for nesting. Everyday I put a couple in the tractor. Unfortunately, I have two hens that throw a hissy until I put them in the coop to lay their eggs. We'll work that out. We're making modifications as we go according to what is needed at the moment and funds. My plan is a set run on the backside of the coop for a run. It will be five or six feet wide and 30 feet long and have it's own pop door and a cover. It'll be totally enclosed with 1/2" hardware cloth and the posts will probably be 4 x 4 x 8's set in concrete 2 feet. I want to walk in this one comfortably, unlike the tractor!
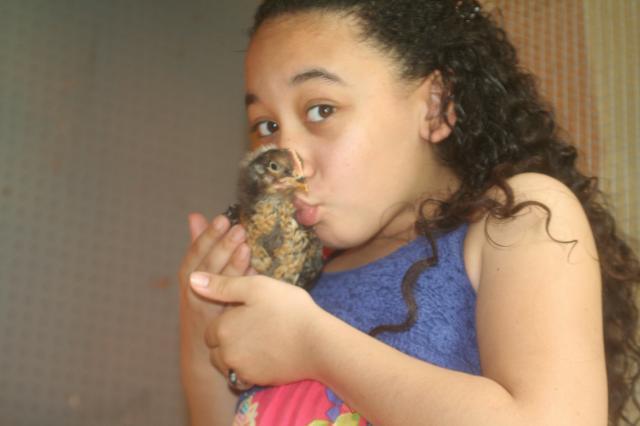
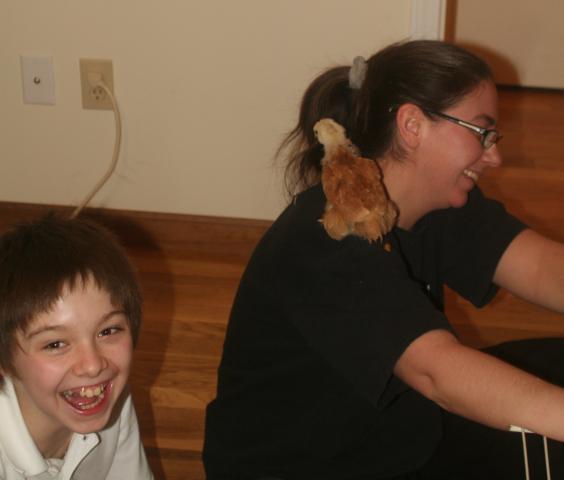
My grandbaby visiting with the big girls My Favorite 'Sierra'
Two of the five BSL's
I have the 6 hens, 3 chicks that are about 5 weeks?,
and the little chicks; which are a week or so (ranging)
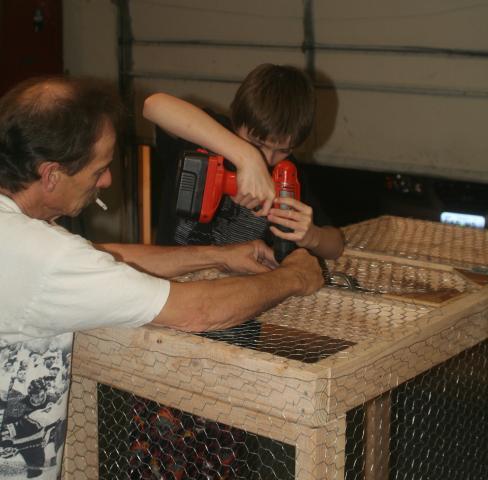
younger than these. There are 22 of them. Here my son helps his dad build the new brooder pen for the 3 older chicks.
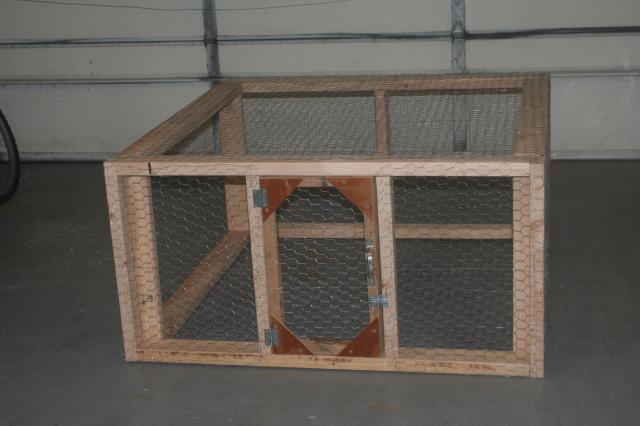
The finished pen. It's 4 x 4 x 2' Fun times before they go to the garage in their new brooder pen (and OUT of my bedroom)!
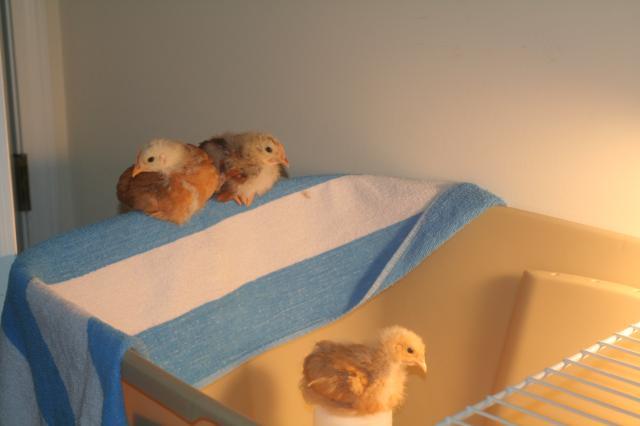
The little girls were getting hot in the tote, but I was afraid to take the light out.
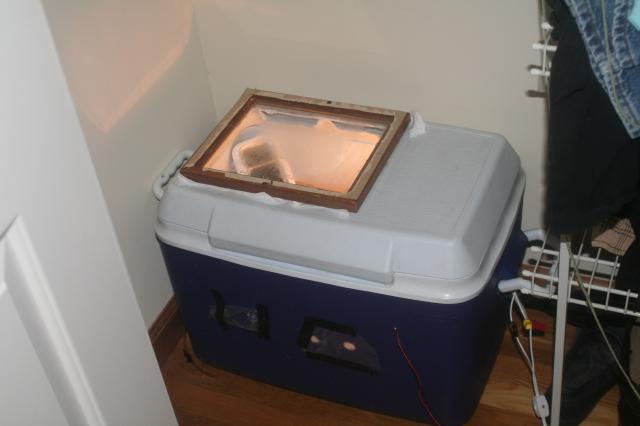
And then I got the hatching bug when I realized my eggs would be fertile for a month! (Thanks to BYC'ers!) So I built a home made incubator and set it up. 27 eggs set on April 24th!
I'm hand-turning, because the turner I built didn't work as well as I would have liked it to. I was tired of waiting to set them. We'll see how it goes, but it will be hard to be patient!
I read and read on the forums soaking up all the knowledge from the members. My family says I tend to overthink everything. I just like be knowledgeable and do things correctly the first time. If I make mistakes, I don't sweat it for too long, as I prefer to look at it as a learning experience.
Removed 7 eggs today because I thought they were infertile due to being clear. I cracked them open, and sure enough they were! Oh, well. I still have 20 that are developing okay. It seems the air cell is a little large on some, so I upped the humidity today, too. I went back and forth after reading posts about humidity. I think it really boils down to each individuals' area, the humidity in the room, and your particular setup/incubator. It's a learning experience, that's for sure!Update 5/3:
I've created an Excel spreadsheet to keep vigil on the temps, humidity, tweaks, and general notes. I'm sure I'll be happy to have this to look back on when trying future hatches. It still remains to be seen if any actually survive, and for how long. Fingers crossed and prayers said. These eggs will be a barnyard mix of sorts, as they are from Black Sex Link hens and roo. That would be fine with me because we like eggs! I'm really wanting to learn to do this well with my setup I have. I would love to purchase eggs from true Ameraucanas or Buff Orpingtons!
Update 5/4: Down to 19 eggs!
I found one more that was infertile today. I'm guessing I missed it, because I was nervous handling eggs yesterday. I'm really excited though, because all the chicks look active and air cells look great so far! Whew! But I am stressing what I'm going to do come lockdown. My home made incubator doesn't hold temperature very well. And yes, it's a lower hot water heater thermostat (you get what you pay for?). Cheap chit!
Right now, I'm keeping an extremely close eye on it around the clock. I can do this because I am not working. If something were to come up that I'd be gone for very long, I'd probably have a major stress attack! (Sigh) Well, I want to see this through the end, but doubt I'll be trying to hatch anything else in this incubator until I've made some modifications to stabilize it. Wish me luck---I'm going to need it!
So I went from this:
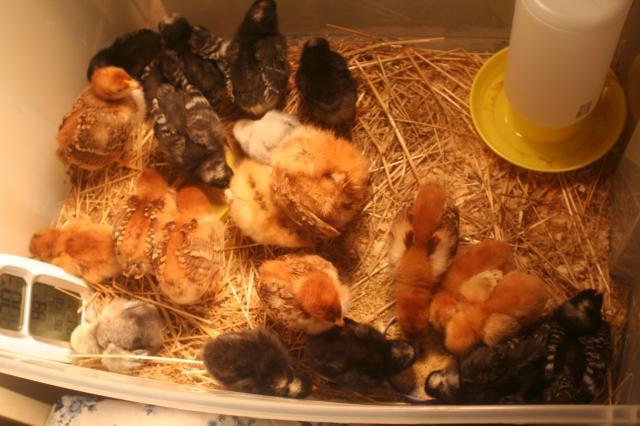
To this:
They seem happy enough...Yeah!

So far, I have 5 Black Sex Link hens that have just matured enough to lay. I have one Ameracuana hen who hasn't started laying yet. The 3 older chicks are Rhode Island Reds. The younger chicks consist of: 8 Barred Rock, Some Rhode Island Reds, 2 Columbian Wyandottes, 1 Cuckoo Maran, and some barn yard mixes. The mixes also have Buff Orpington in them and two really show it!
(I really want some Buff Orpingtons). Here of late I'm thinking of getting at least a couple more of the Ameracuanas as they are sweet and I want blue eggs! I really like the looks too! I didn't plan on the one, but the gal wanted to get rid of her. I begrudgingly took her and now she's my favorite!
Here's the shed aka coop I bought from CL for $500 ($300 for delivery). In this picture, you can see the tractor my ex and the kids built for me.
The kids built the chicken ladder and a ladder for the loft in the coop.
This isn't a permanent setup. I have 4 of these milk crates I use for nesting. Everyday I put a couple in the tractor. Unfortunately, I have two hens that throw a hissy until I put them in the coop to lay their eggs. We'll work that out. We're making modifications as we go according to what is needed at the moment and funds. My plan is a set run on the backside of the coop for a run. It will be five or six feet wide and 30 feet long and have it's own pop door and a cover. It'll be totally enclosed with 1/2" hardware cloth and the posts will probably be 4 x 4 x 8's set in concrete 2 feet. I want to walk in this one comfortably, unlike the tractor!
My grandbaby visiting with the big girls My Favorite 'Sierra'
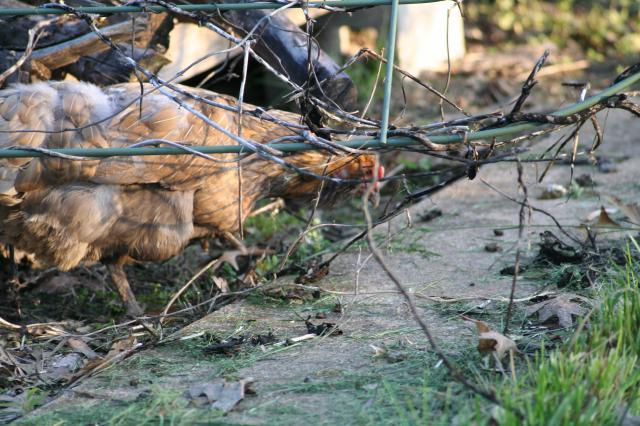
Two of the five BSL's

I have the 6 hens, 3 chicks that are about 5 weeks?,
and the little chicks; which are a week or so (ranging)
younger than these. There are 22 of them. Here my son helps his dad build the new brooder pen for the 3 older chicks.

The finished pen. It's 4 x 4 x 2' Fun times before they go to the garage in their new brooder pen (and OUT of my bedroom)!
The little girls were getting hot in the tote, but I was afraid to take the light out.
And then I got the hatching bug when I realized my eggs would be fertile for a month! (Thanks to BYC'ers!) So I built a home made incubator and set it up. 27 eggs set on April 24th!
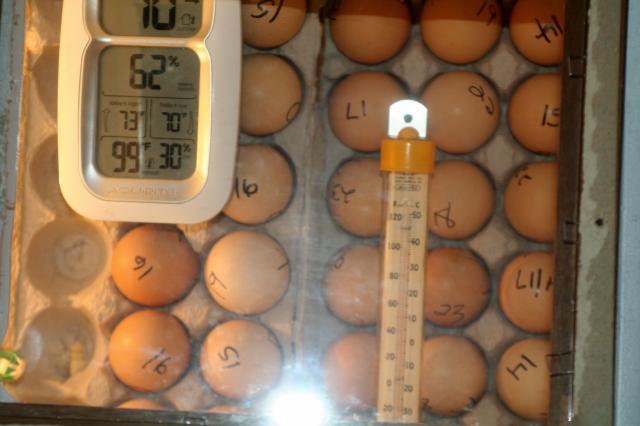
I'm hand-turning, because the turner I built didn't work as well as I would have liked it to. I was tired of waiting to set them. We'll see how it goes, but it will be hard to be patient!
I read and read on the forums soaking up all the knowledge from the members. My family says I tend to overthink everything. I just like be knowledgeable and do things correctly the first time. If I make mistakes, I don't sweat it for too long, as I prefer to look at it as a learning experience.
Removed 7 eggs today because I thought they were infertile due to being clear. I cracked them open, and sure enough they were! Oh, well. I still have 20 that are developing okay. It seems the air cell is a little large on some, so I upped the humidity today, too. I went back and forth after reading posts about humidity. I think it really boils down to each individuals' area, the humidity in the room, and your particular setup/incubator. It's a learning experience, that's for sure!Update 5/3:
I've created an Excel spreadsheet to keep vigil on the temps, humidity, tweaks, and general notes. I'm sure I'll be happy to have this to look back on when trying future hatches. It still remains to be seen if any actually survive, and for how long. Fingers crossed and prayers said. These eggs will be a barnyard mix of sorts, as they are from Black Sex Link hens and roo. That would be fine with me because we like eggs! I'm really wanting to learn to do this well with my setup I have. I would love to purchase eggs from true Ameraucanas or Buff Orpingtons!
Update 5/4: Down to 19 eggs!
I found one more that was infertile today. I'm guessing I missed it, because I was nervous handling eggs yesterday. I'm really excited though, because all the chicks look active and air cells look great so far! Whew! But I am stressing what I'm going to do come lockdown. My home made incubator doesn't hold temperature very well. And yes, it's a lower hot water heater thermostat (you get what you pay for?). Cheap chit!
Right now, I'm keeping an extremely close eye on it around the clock. I can do this because I am not working. If something were to come up that I'd be gone for very long, I'd probably have a major stress attack! (Sigh) Well, I want to see this through the end, but doubt I'll be trying to hatch anything else in this incubator until I've made some modifications to stabilize it. Wish me luck---I'm going to need it!